Beanies Coffee asked 10 bloggers to create a special Easter recipe creation for their #BeaniesBakeOff competition using their flavoured coffees. I was lucky enough to be one of those bloggers! yay!

So it was with great excitement that I opened my package of beanies coffees. They sent me 5 delicious flavours to play with – creamy caramel, amaretto, french vanilla, rich hazelnut and cinnamon.

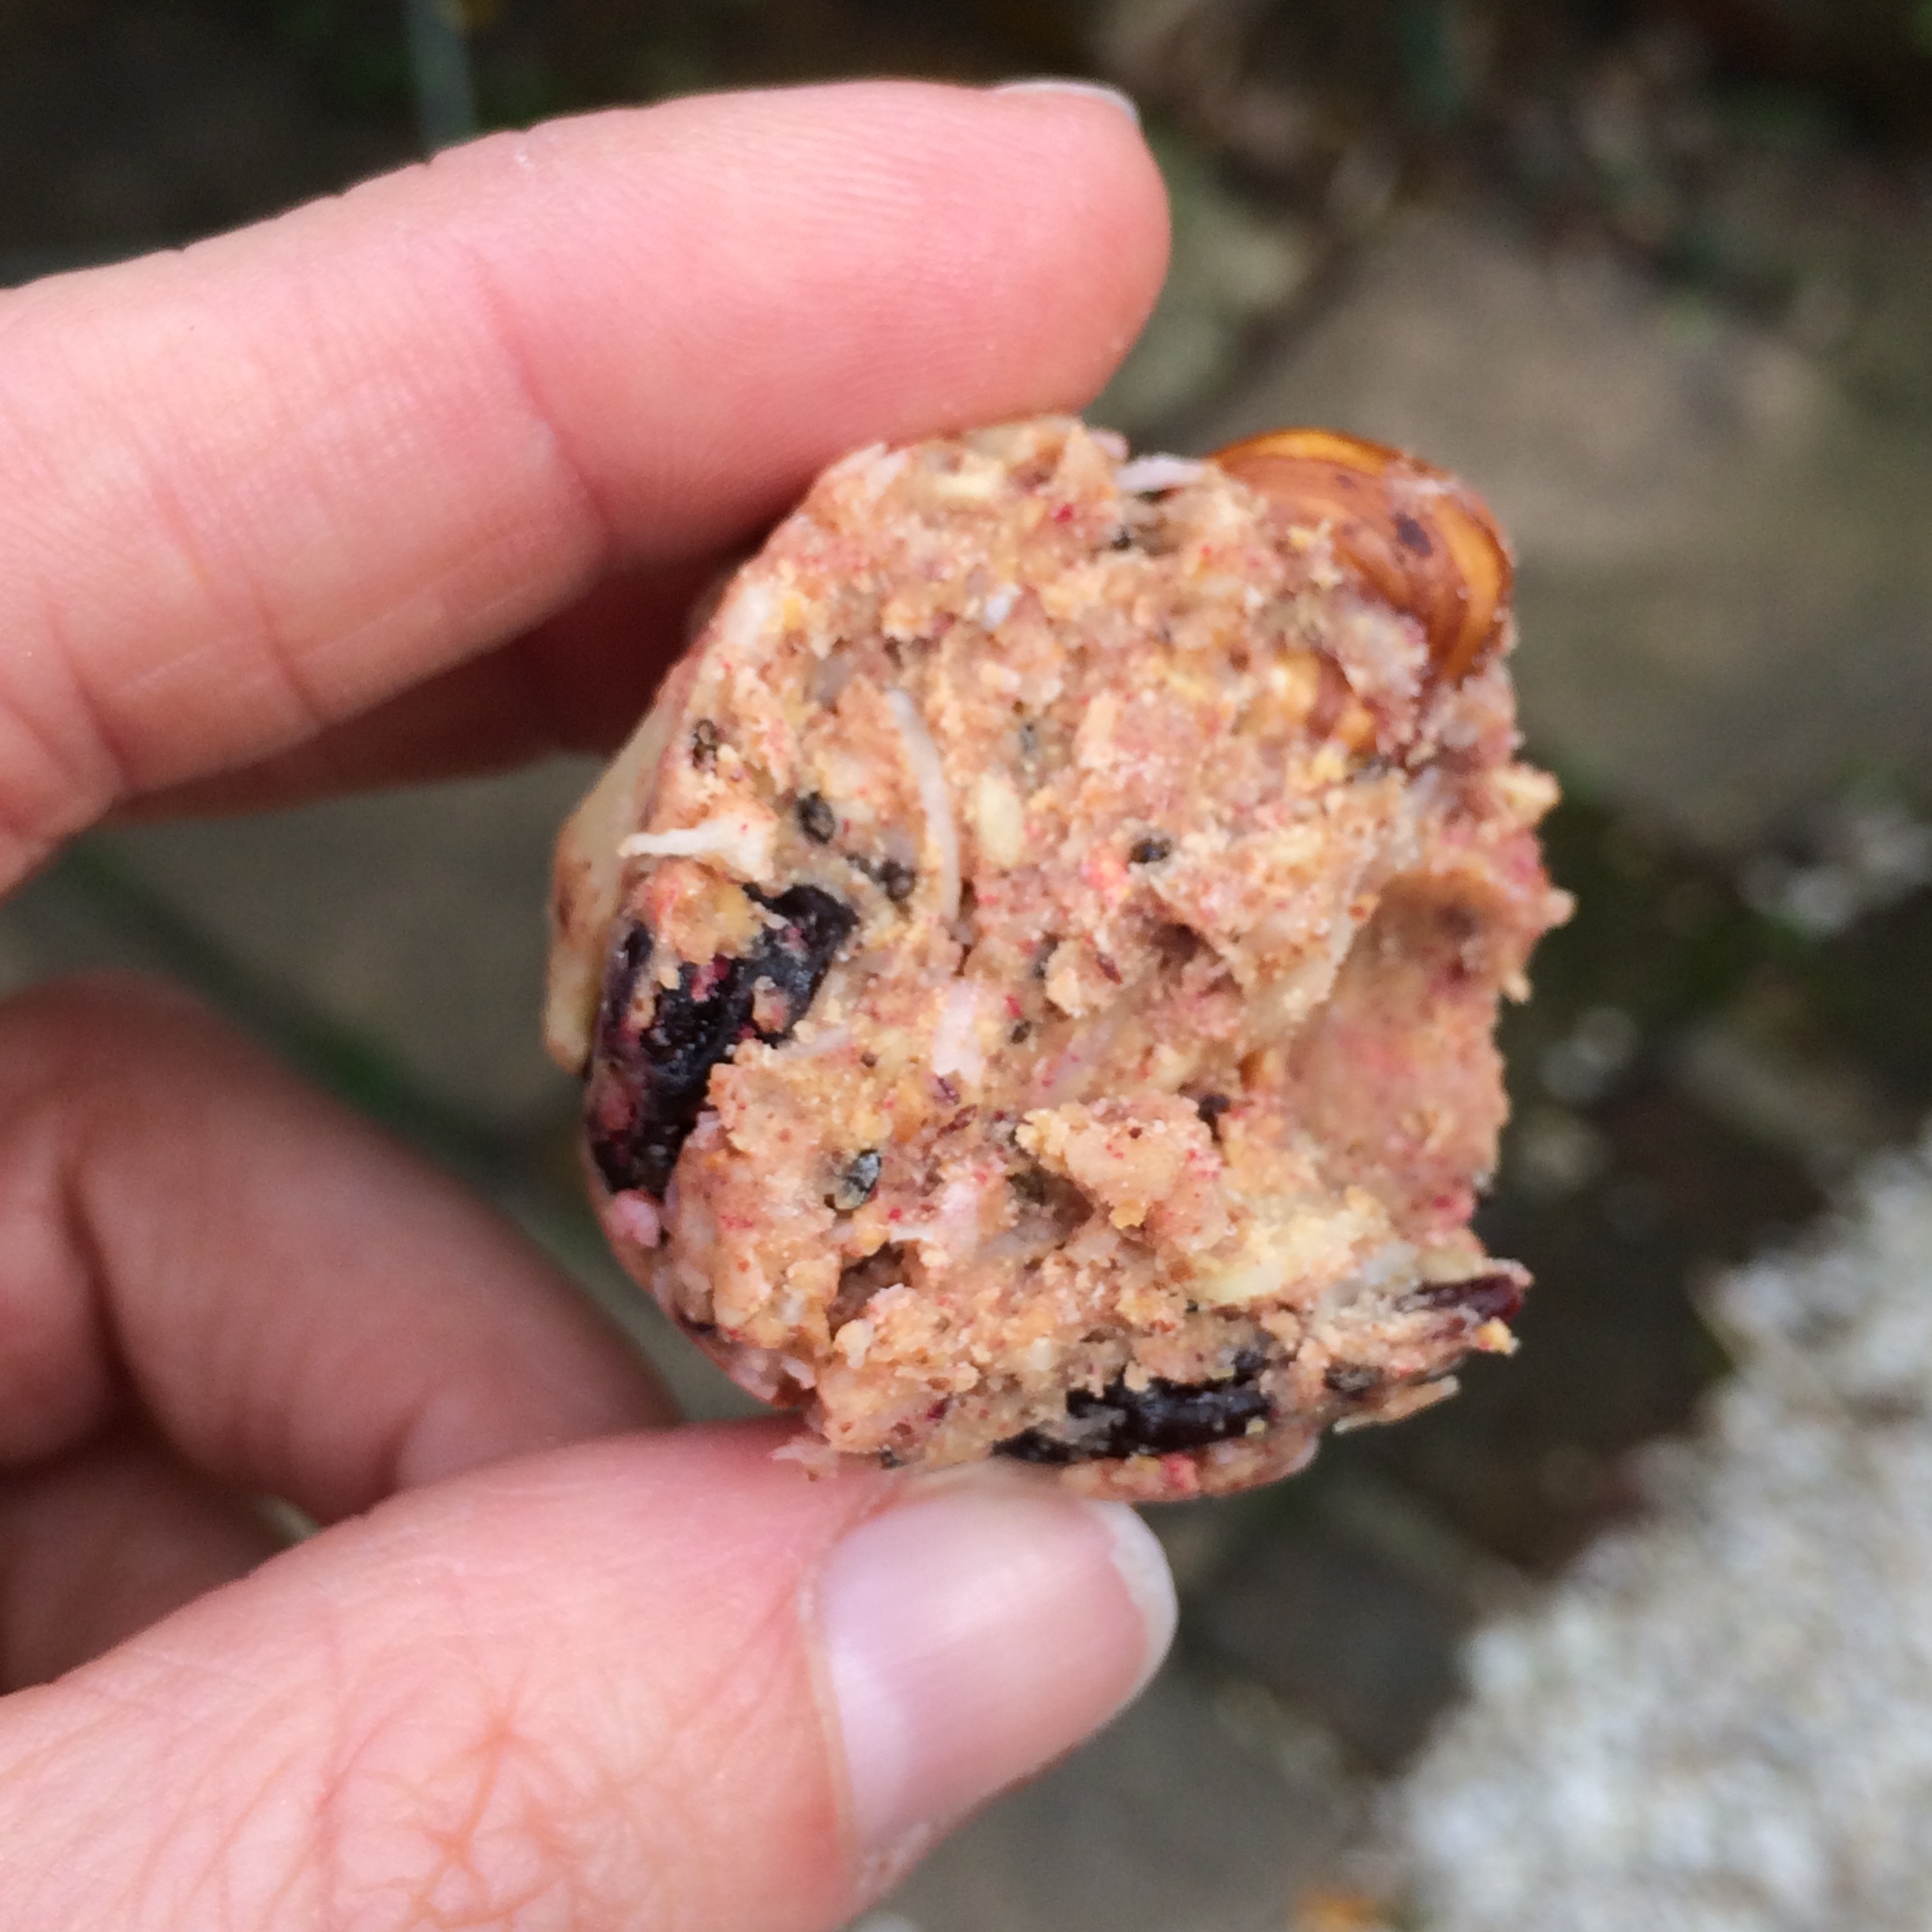
I toyed with a load of different Easter recipes for this challenge. I wanted to create something that was fun but that adults would enjoy, and that would show off the flavoured coffee flavour at it’s best. I also wanted to keep that Easter link (of course)… so after much deliberation and a few trials… I came up with this little creation! Coffee Amaretto Easter Cakes with a little secret surprise of delicious creamy coffee cream and marzipan in the middle! My top tasters, my very good friend Colette and her husband Rod, gave it their seal of approval so I know it’s good! 🙂
The recipe is dairy and gluten free but if you don’t need to avoid gluten then feel free to use normal flour, or if you can tolerate it spelt flour works well too 🙂

There’s a lot going on in this recipe, but the beauty of it is that you can leave out any element of it. If you just want to make the cakes and ice them normally, they will still taste delicious. If you want to take a few shortcuts and use bought marzipan or “real” cream in the middle (or have no cream in the middle!) then you can. You can make this your own! The other bonus is that you could substitute other coffee flavours in here if you wanted to.
I’ve gone with the Amaretto coffee for a more grown up little cake. You can use the ground coffee or their instant version (if using the instant make it even stronger!), and you can also use a decaf version too – so many choices! 🙂 The Amaretto flavour works brilliantly with the marzipan which gives a hint of a traditional Simnel cake flavour.
Prepare the coconut cream
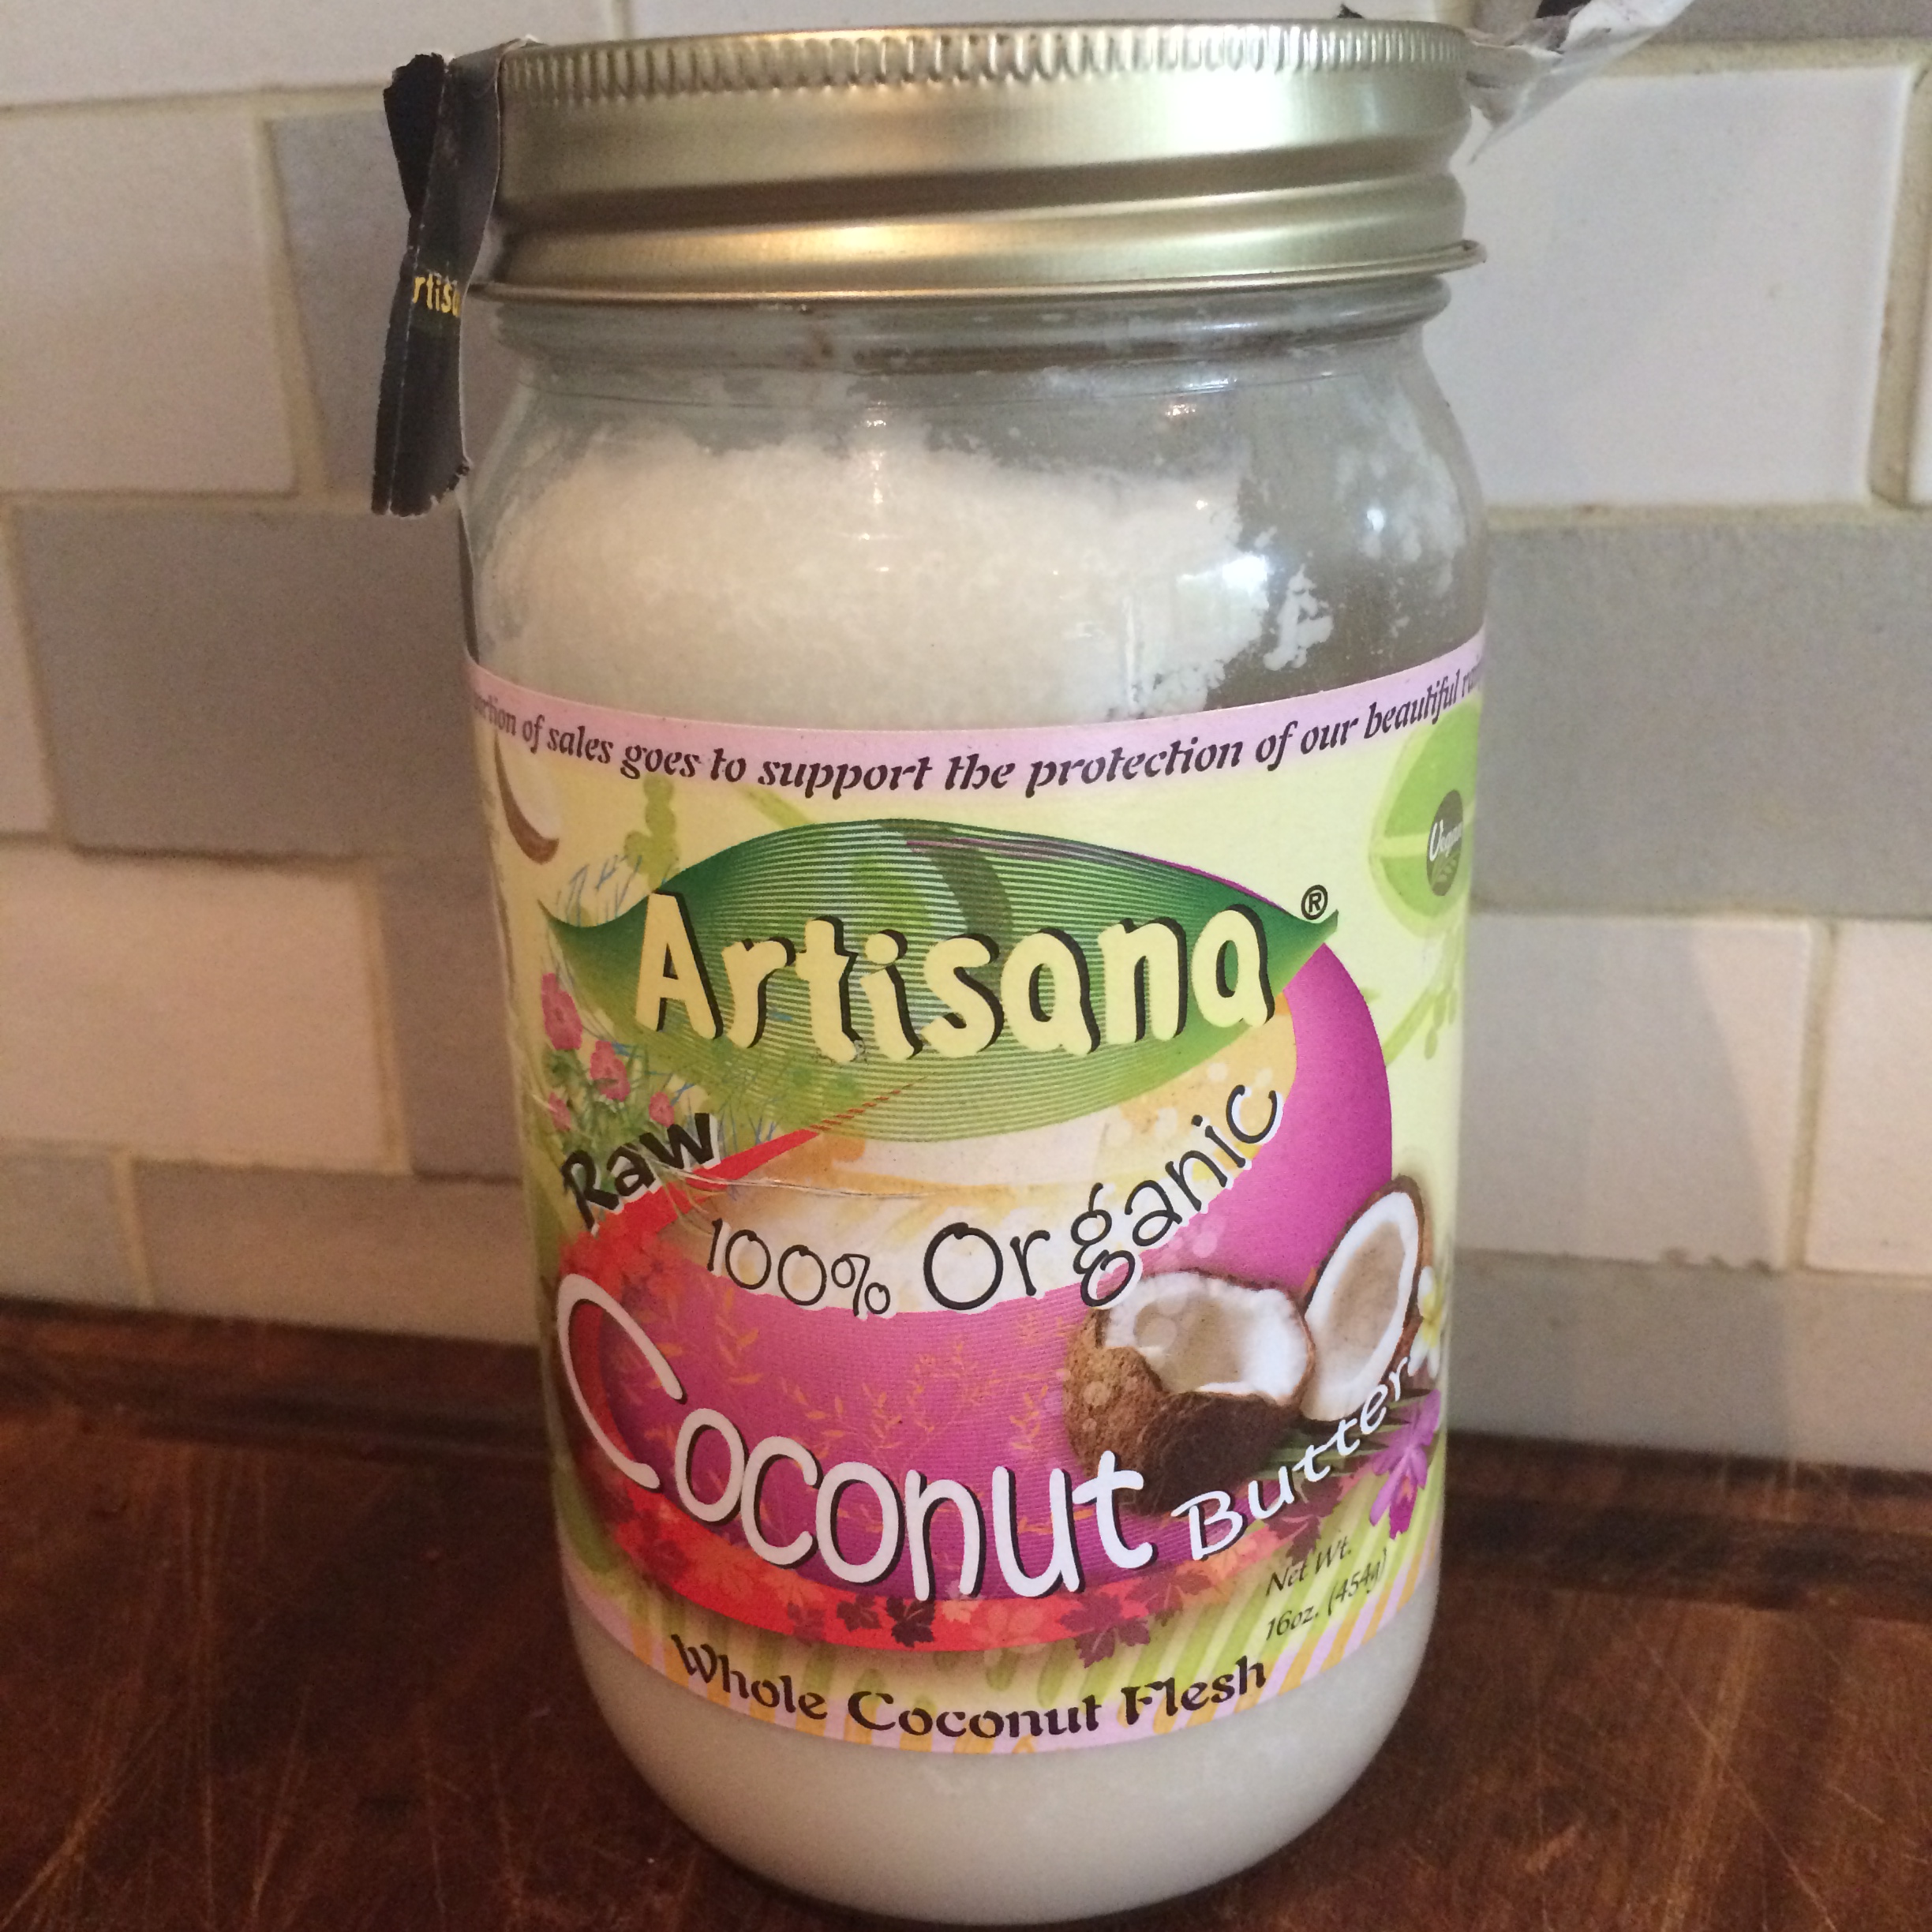
Before we start we need to do a little prep. If you want to fill the cakes with the coffee cream as I’ve done then you need to pop a can of coconut cream (and it needs to be a can) in the fridge, upside down (yes upside down) for at least 12 hours. I use this brand of coconut cream (and you only need a small can – 160ml) but you can use any brand with a high coconut extract content (65% or more is best).

Why do you need to put it in the fridge? This allows the hard coconut cream to settle to the in the can. You can then open the can (open it upside down – so open the bottom!) and you will see a layer of clearish liquid coconut cream – pour this off carefully (don’t throw it away – you can use it in smoothies etc). Then scoop out the remaining coconut cream! Store the cream in the fridge while you wait to use it in the recipe (best to keep it as cold as possible).
Prepare your marzipan…
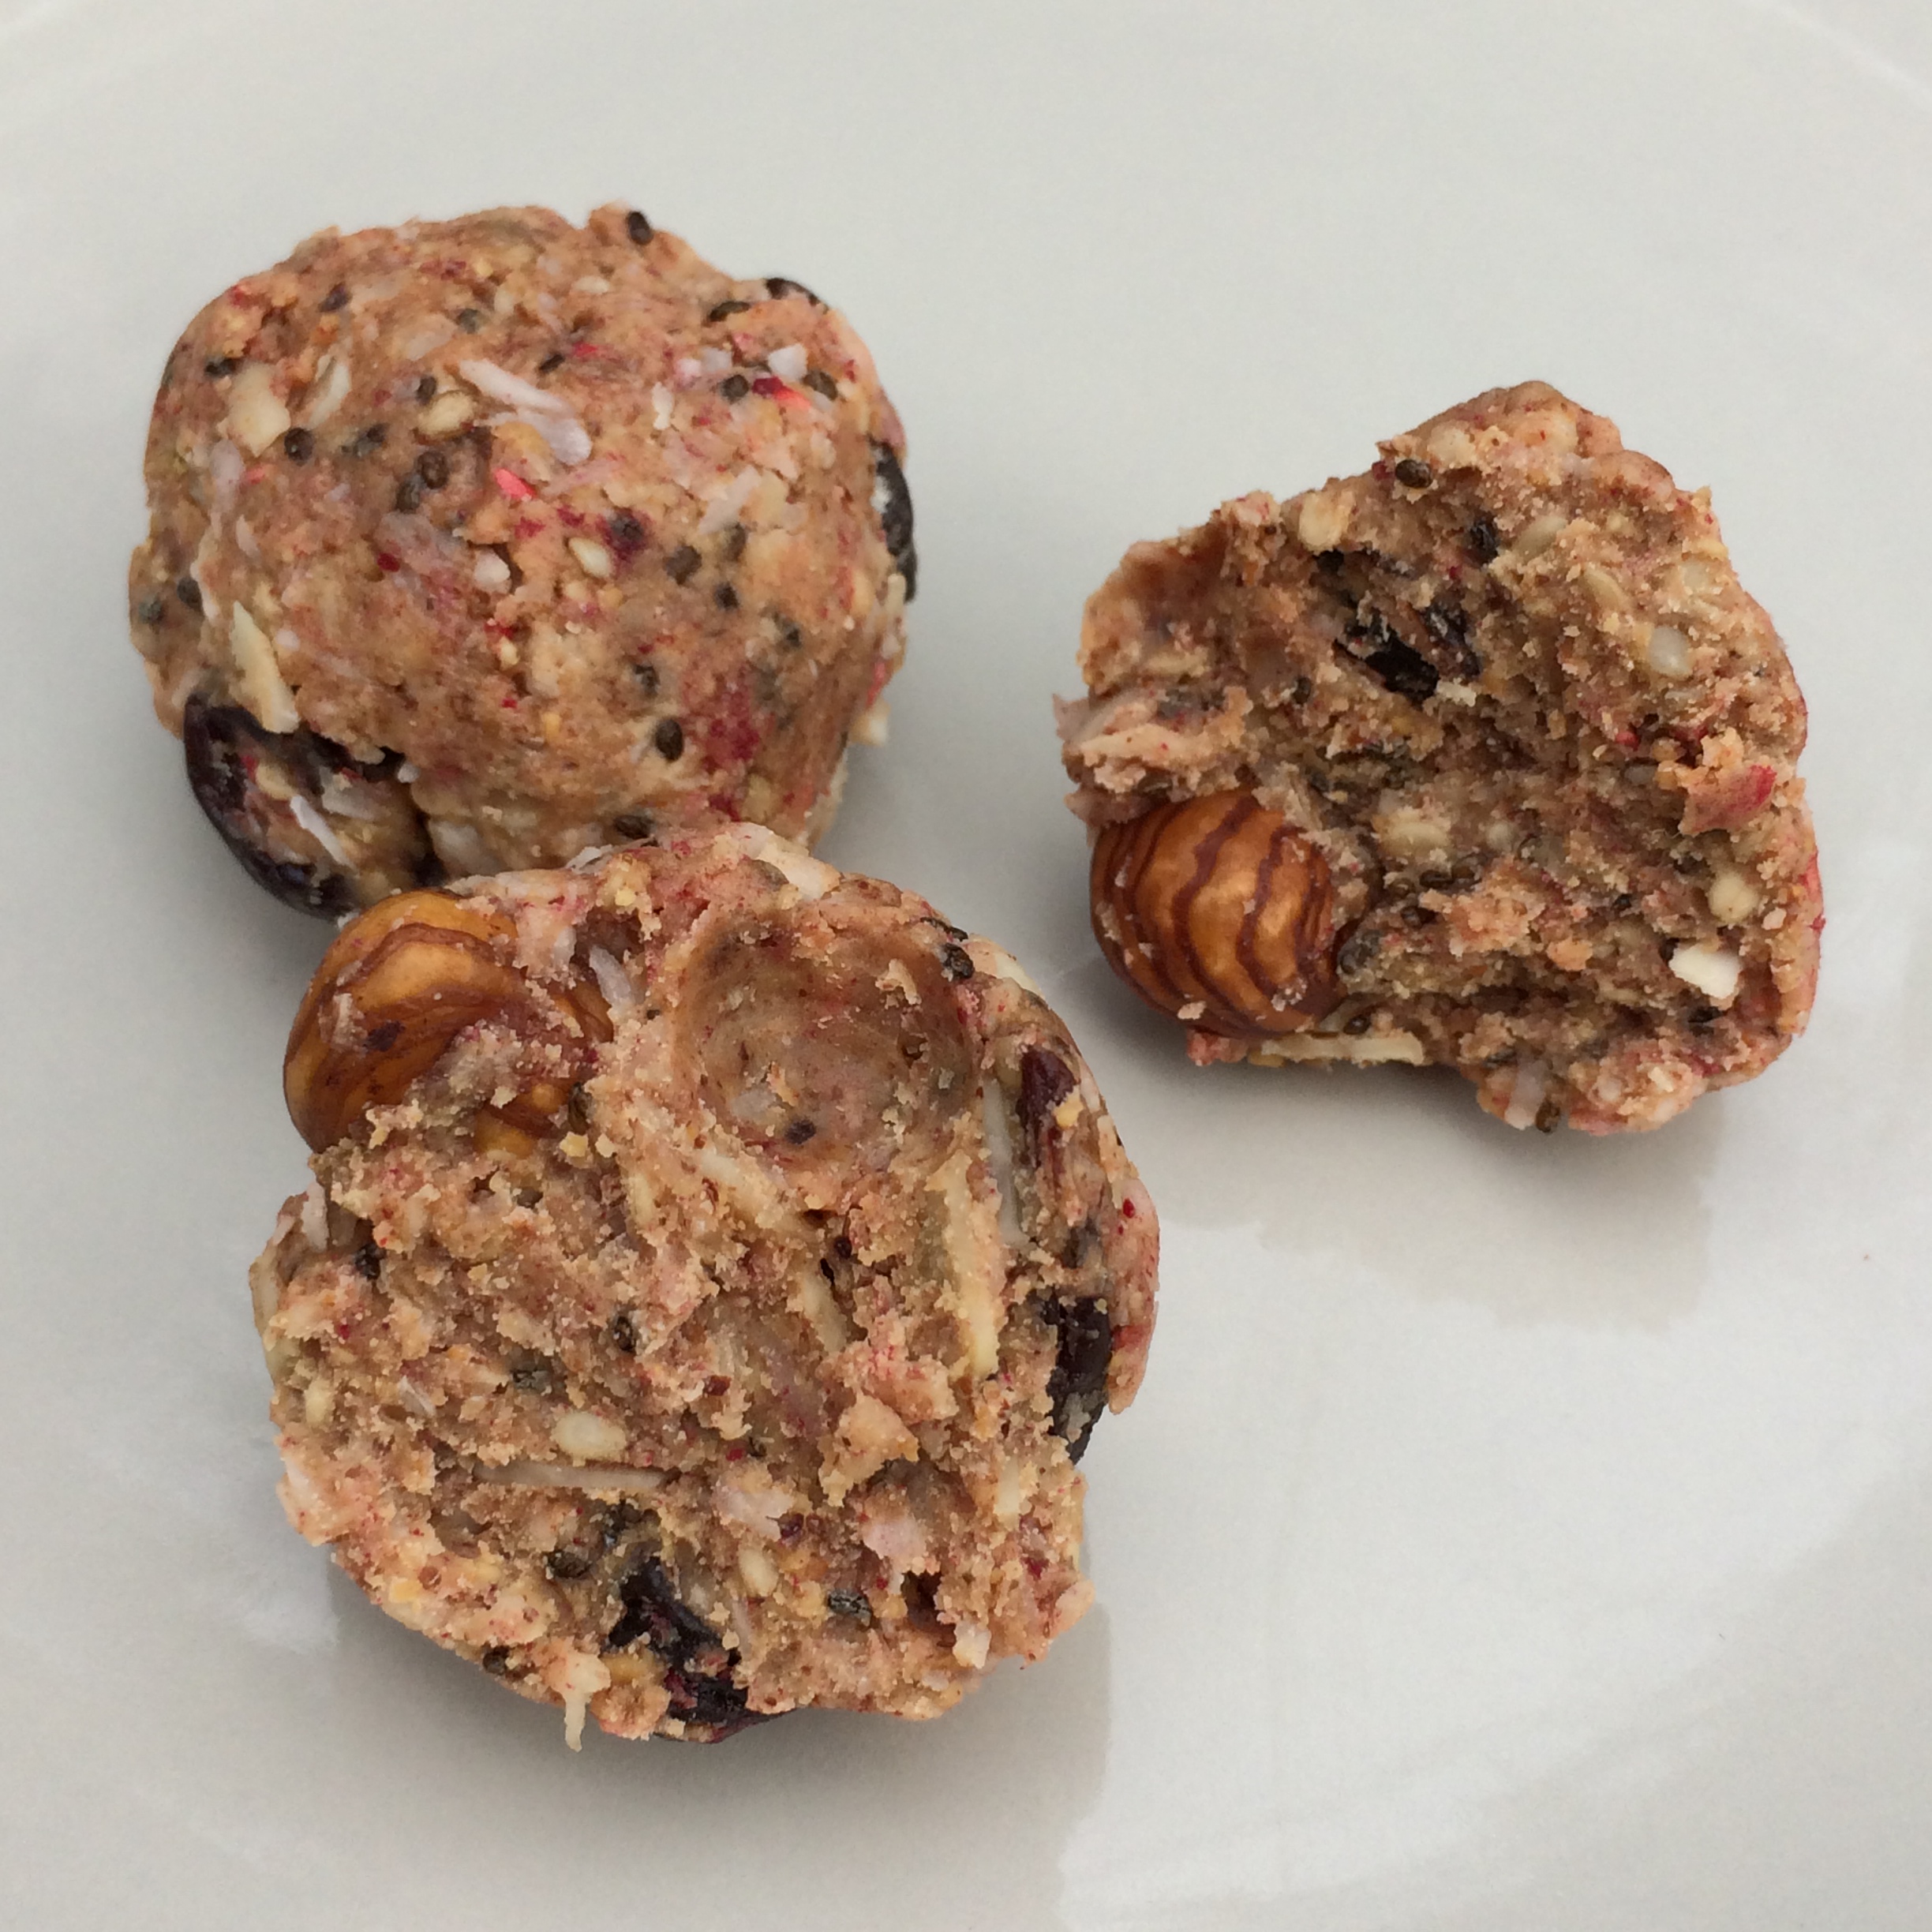
Now obviously you can buy marzipan – a good quality white marzipan if best. But if you fancy it you could make your own! It’s super easy 🙂 This should give you enough marzipan to easily cover 6 muffin-sized cakes (unless like me you end up eating it while you make it! in which case I would make one and a half times this recipe to be safe 🙂 )
400g Ground Almonds
200g Raw unrefined icing Sugar (or normal icing sugar if you prefer)
2 tbsp Lemon Juice
4 tbsp Maple Syrup
2 tbsp Cold Water
2 tsp Almond extract
Put the ground almonds and icing sugar in a bowl and mix well. Make a well in the centre and add the liquid ingredients. Mix thoroughly. You should end up with a pastry-like dough. If it is too dry add a drop of lemon juice but be careful you don’t make it too moist. Wrap in clingfilm and put in the fridge for at least an hour.
Prepare your decorations…
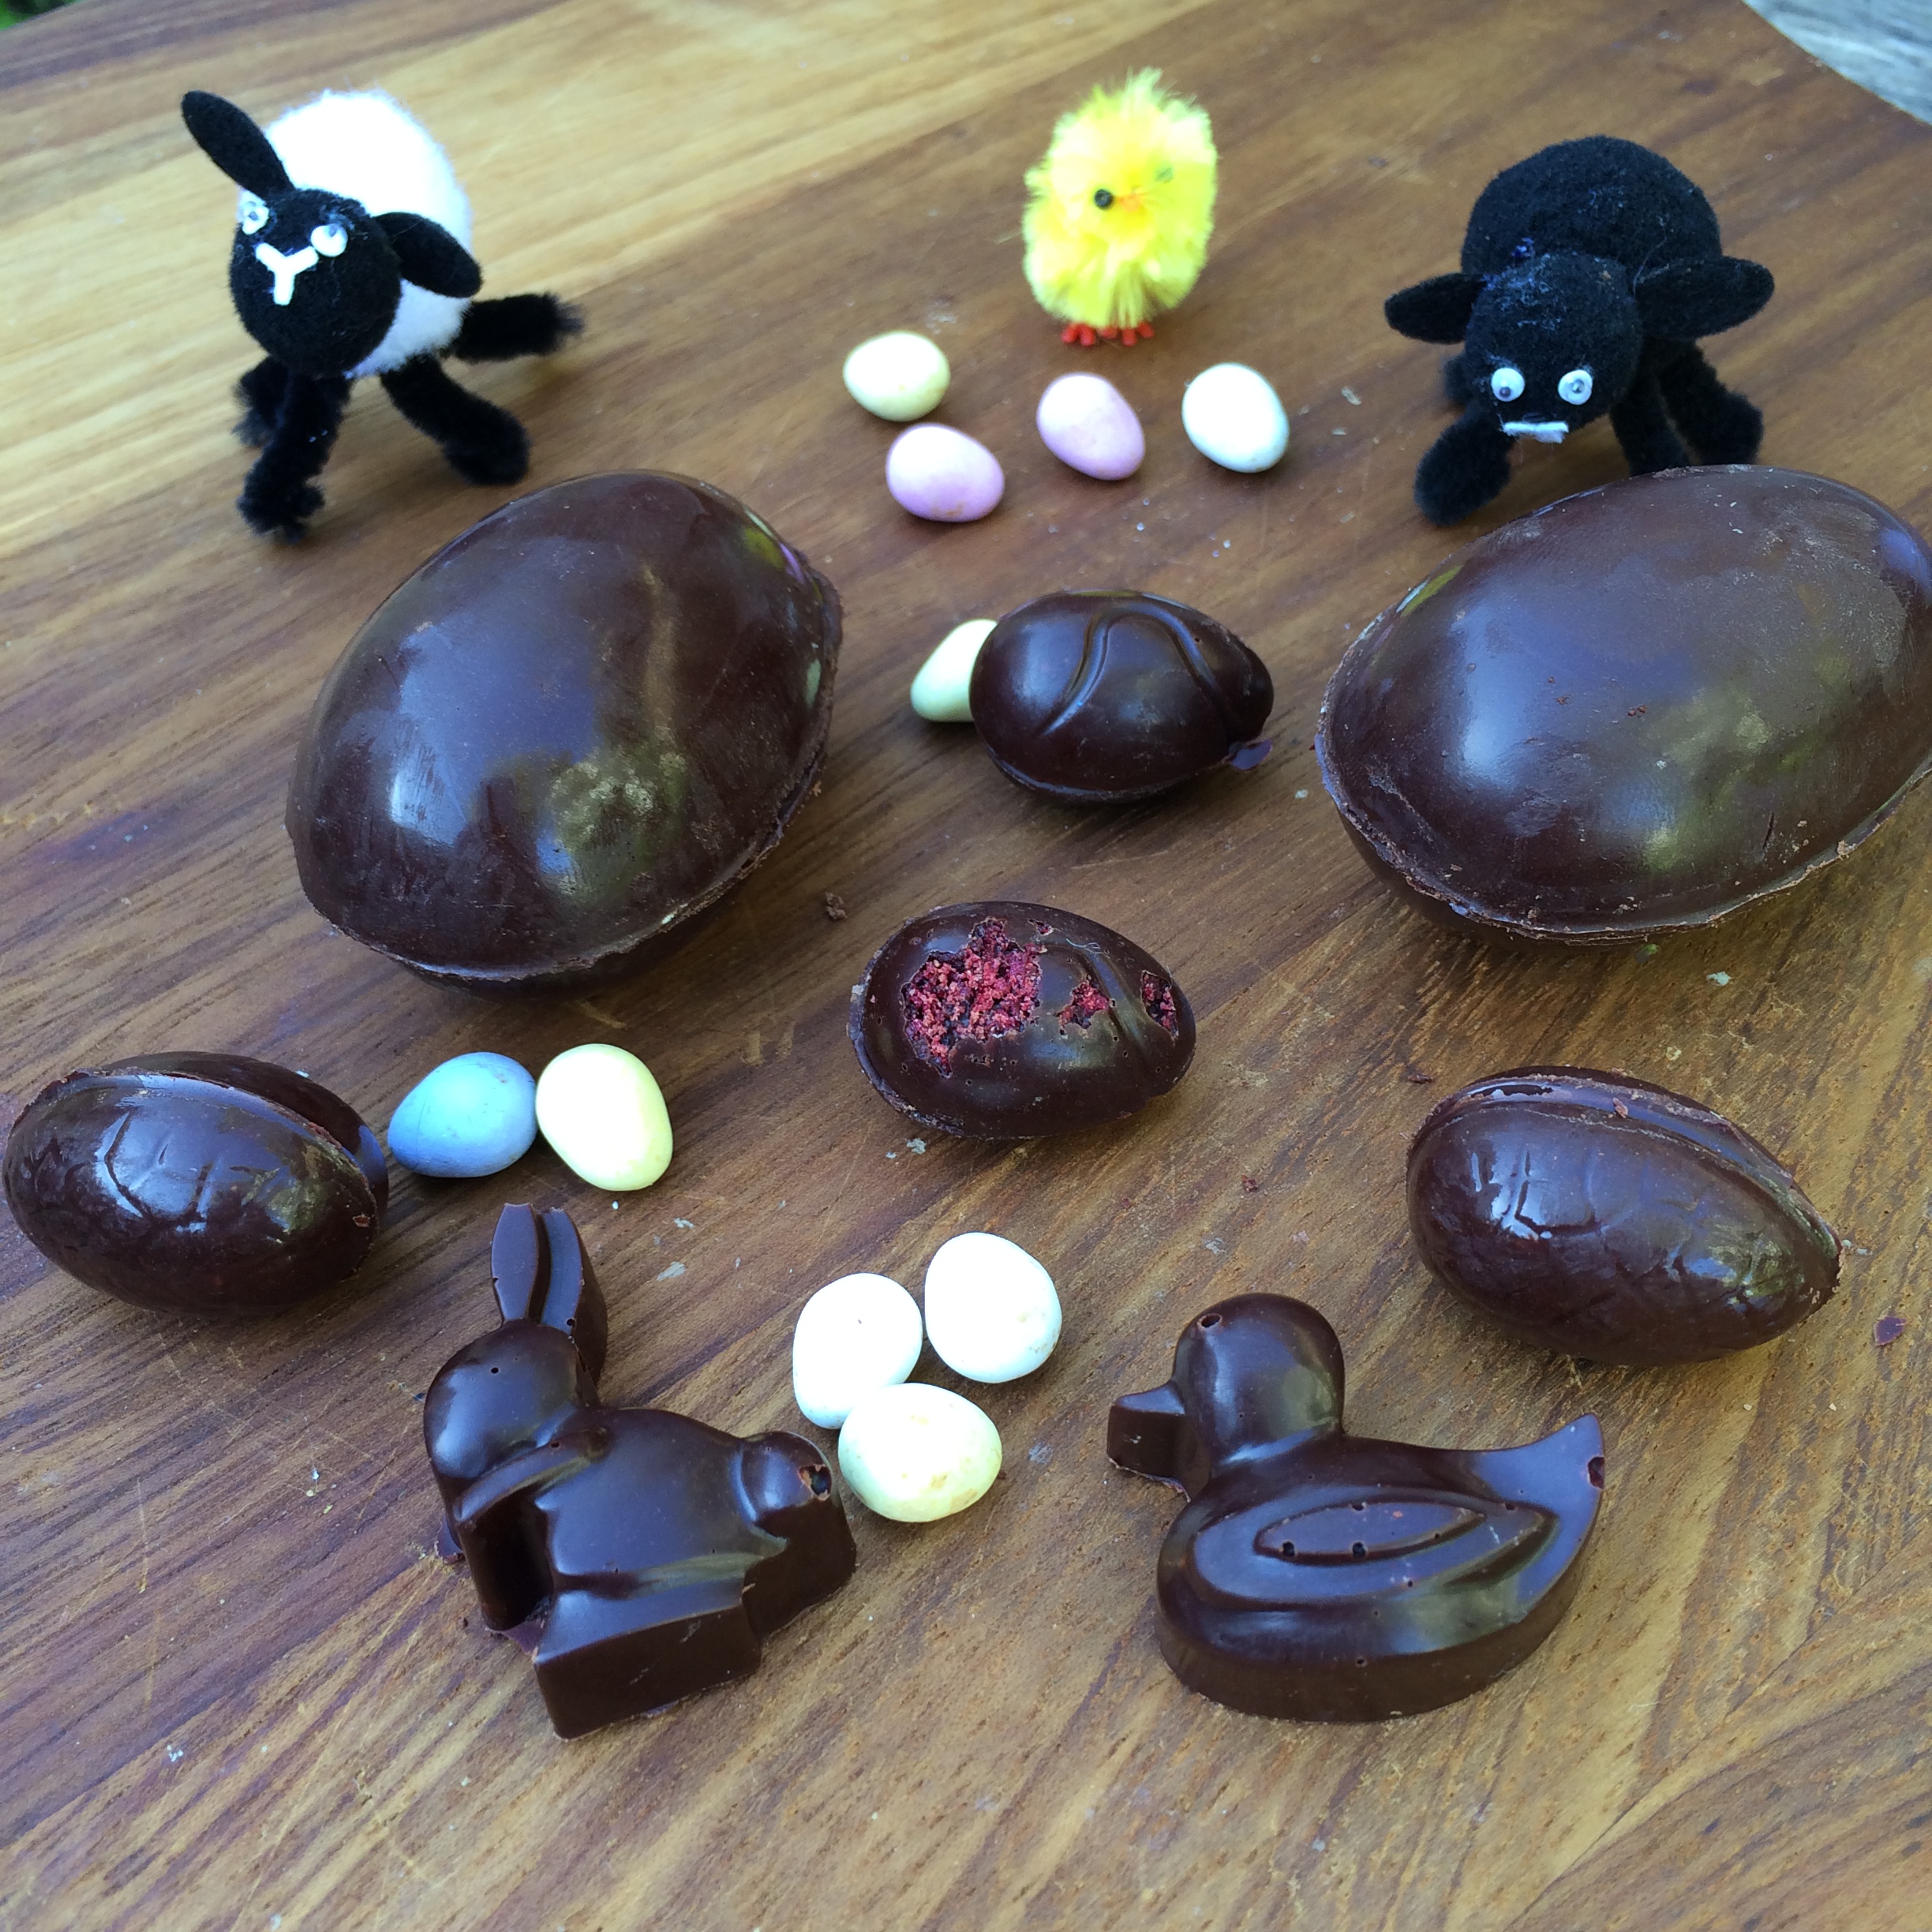
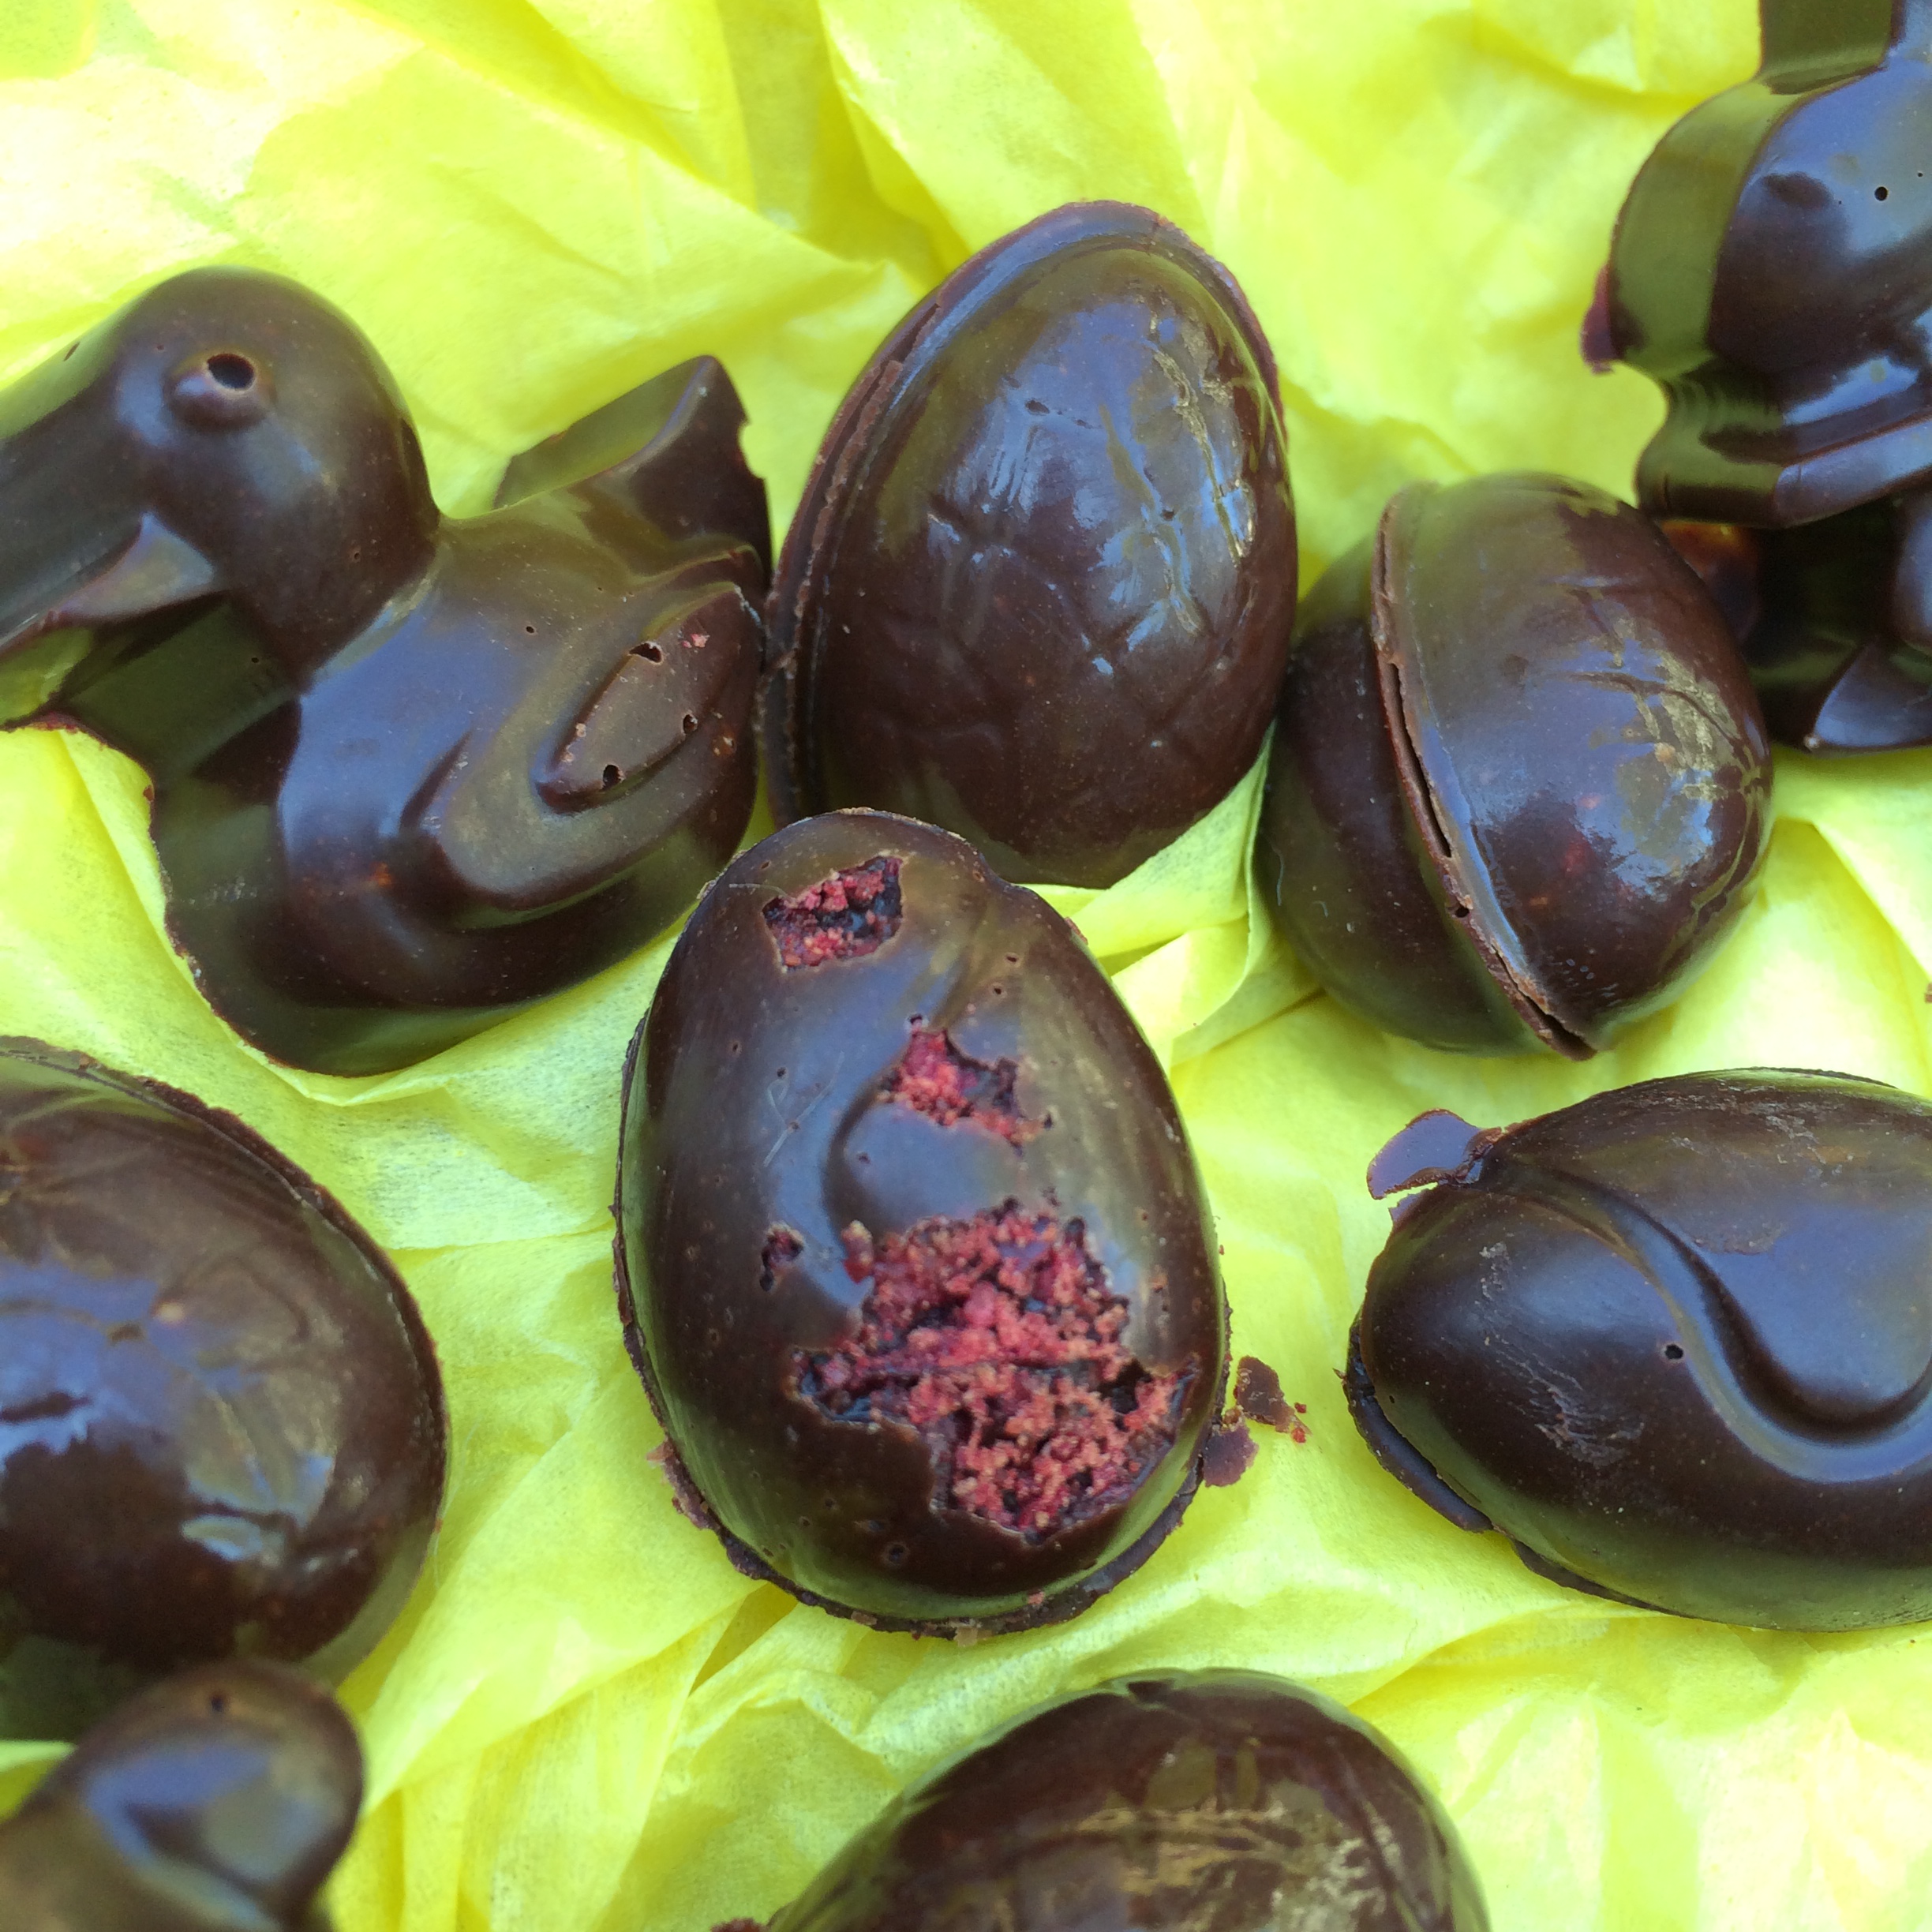
You can decorate these how you like. I did two versions – a little nest of eggs, and a simnel cake-style circle of marzipan balls. If you want to go for the nest of eggs you will need some eggs! You can use any little eggs you like – mini eggs work well as do chocolate covered carob beans (for something a little more grown up), but if you want to go for something homemade or dairy free then two other lovely options are marzipan eggs and raw choc eggs.
The marzipan eggs are easy – just mould a little of your marzipan in to an egg shape! I then dotted some melted raw choc (or you can use dairy free chocolate – Willies Cacao works well) to make them speckled eggs!
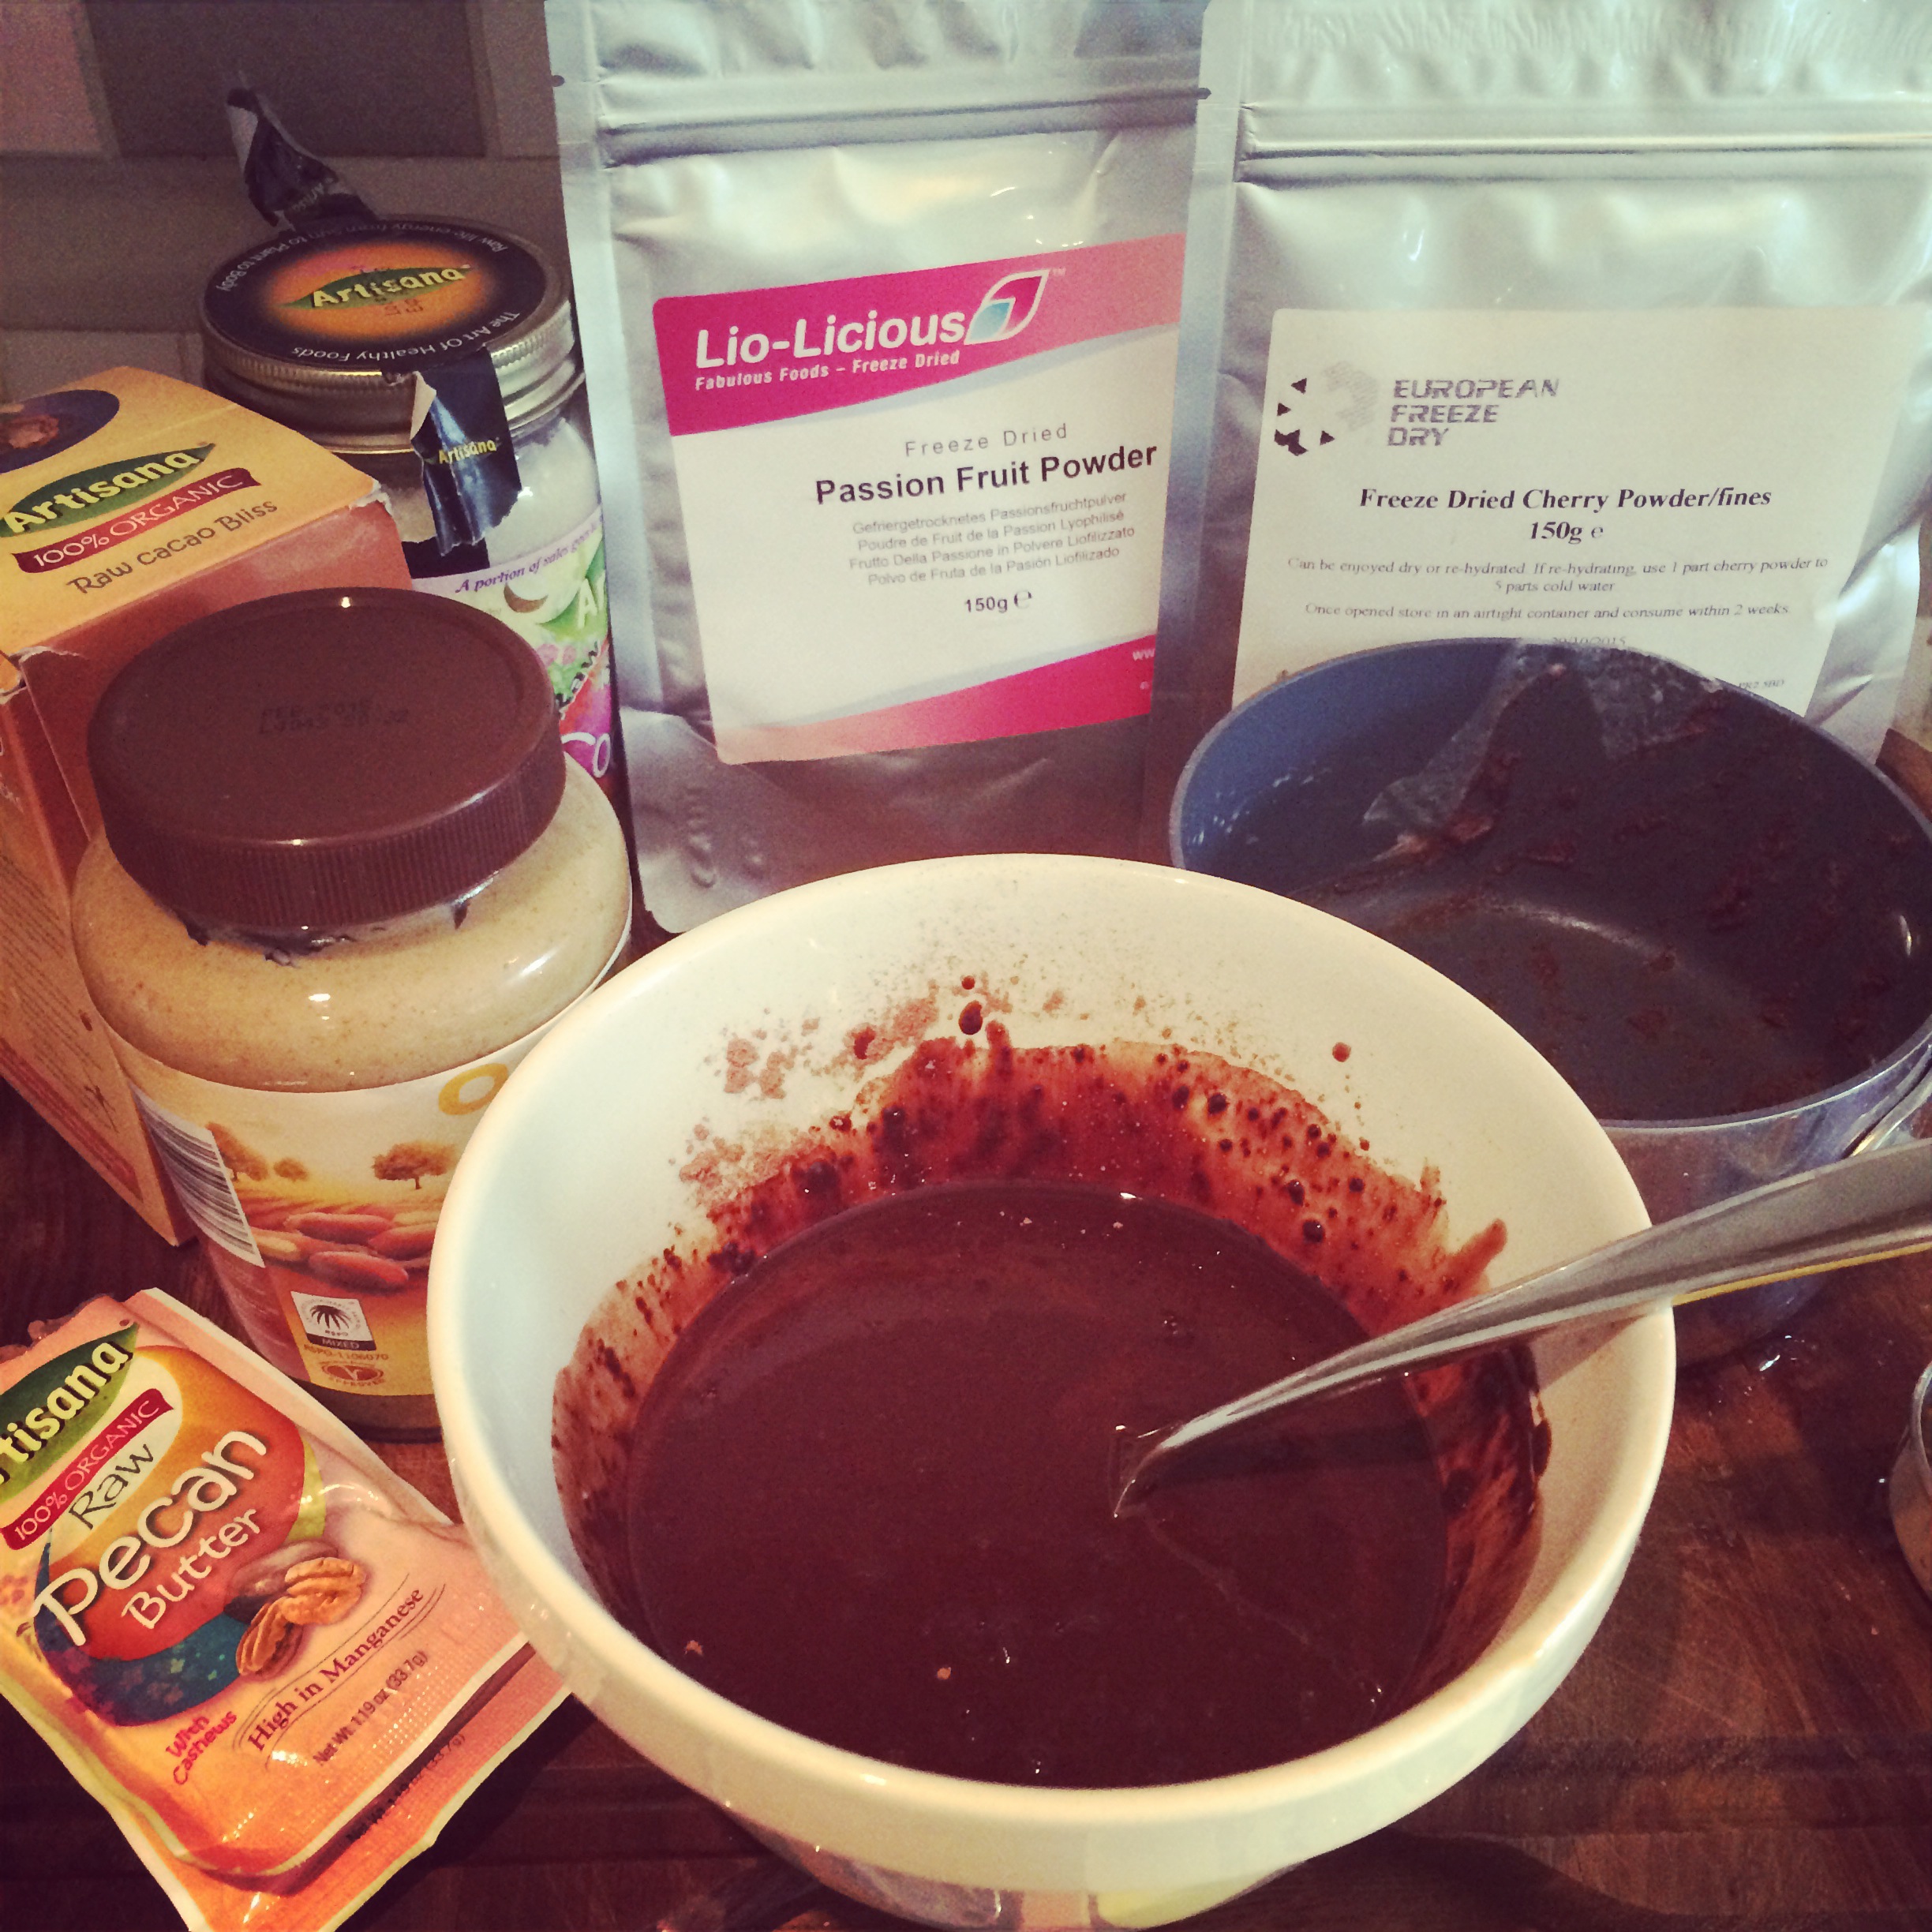
If you fancy making raw chocolate eggs you will need
1 cup Cacao butter (melted)
1 cup Raw Cacao powder
1/3 cup Maple syrup (or other liquid sweetener)
If you’re feeling adventurous you can also had a small amount of the ground or instant coffee (if you’re using the ground coffee you will end up with a gritty texture – but I quite like that :)).
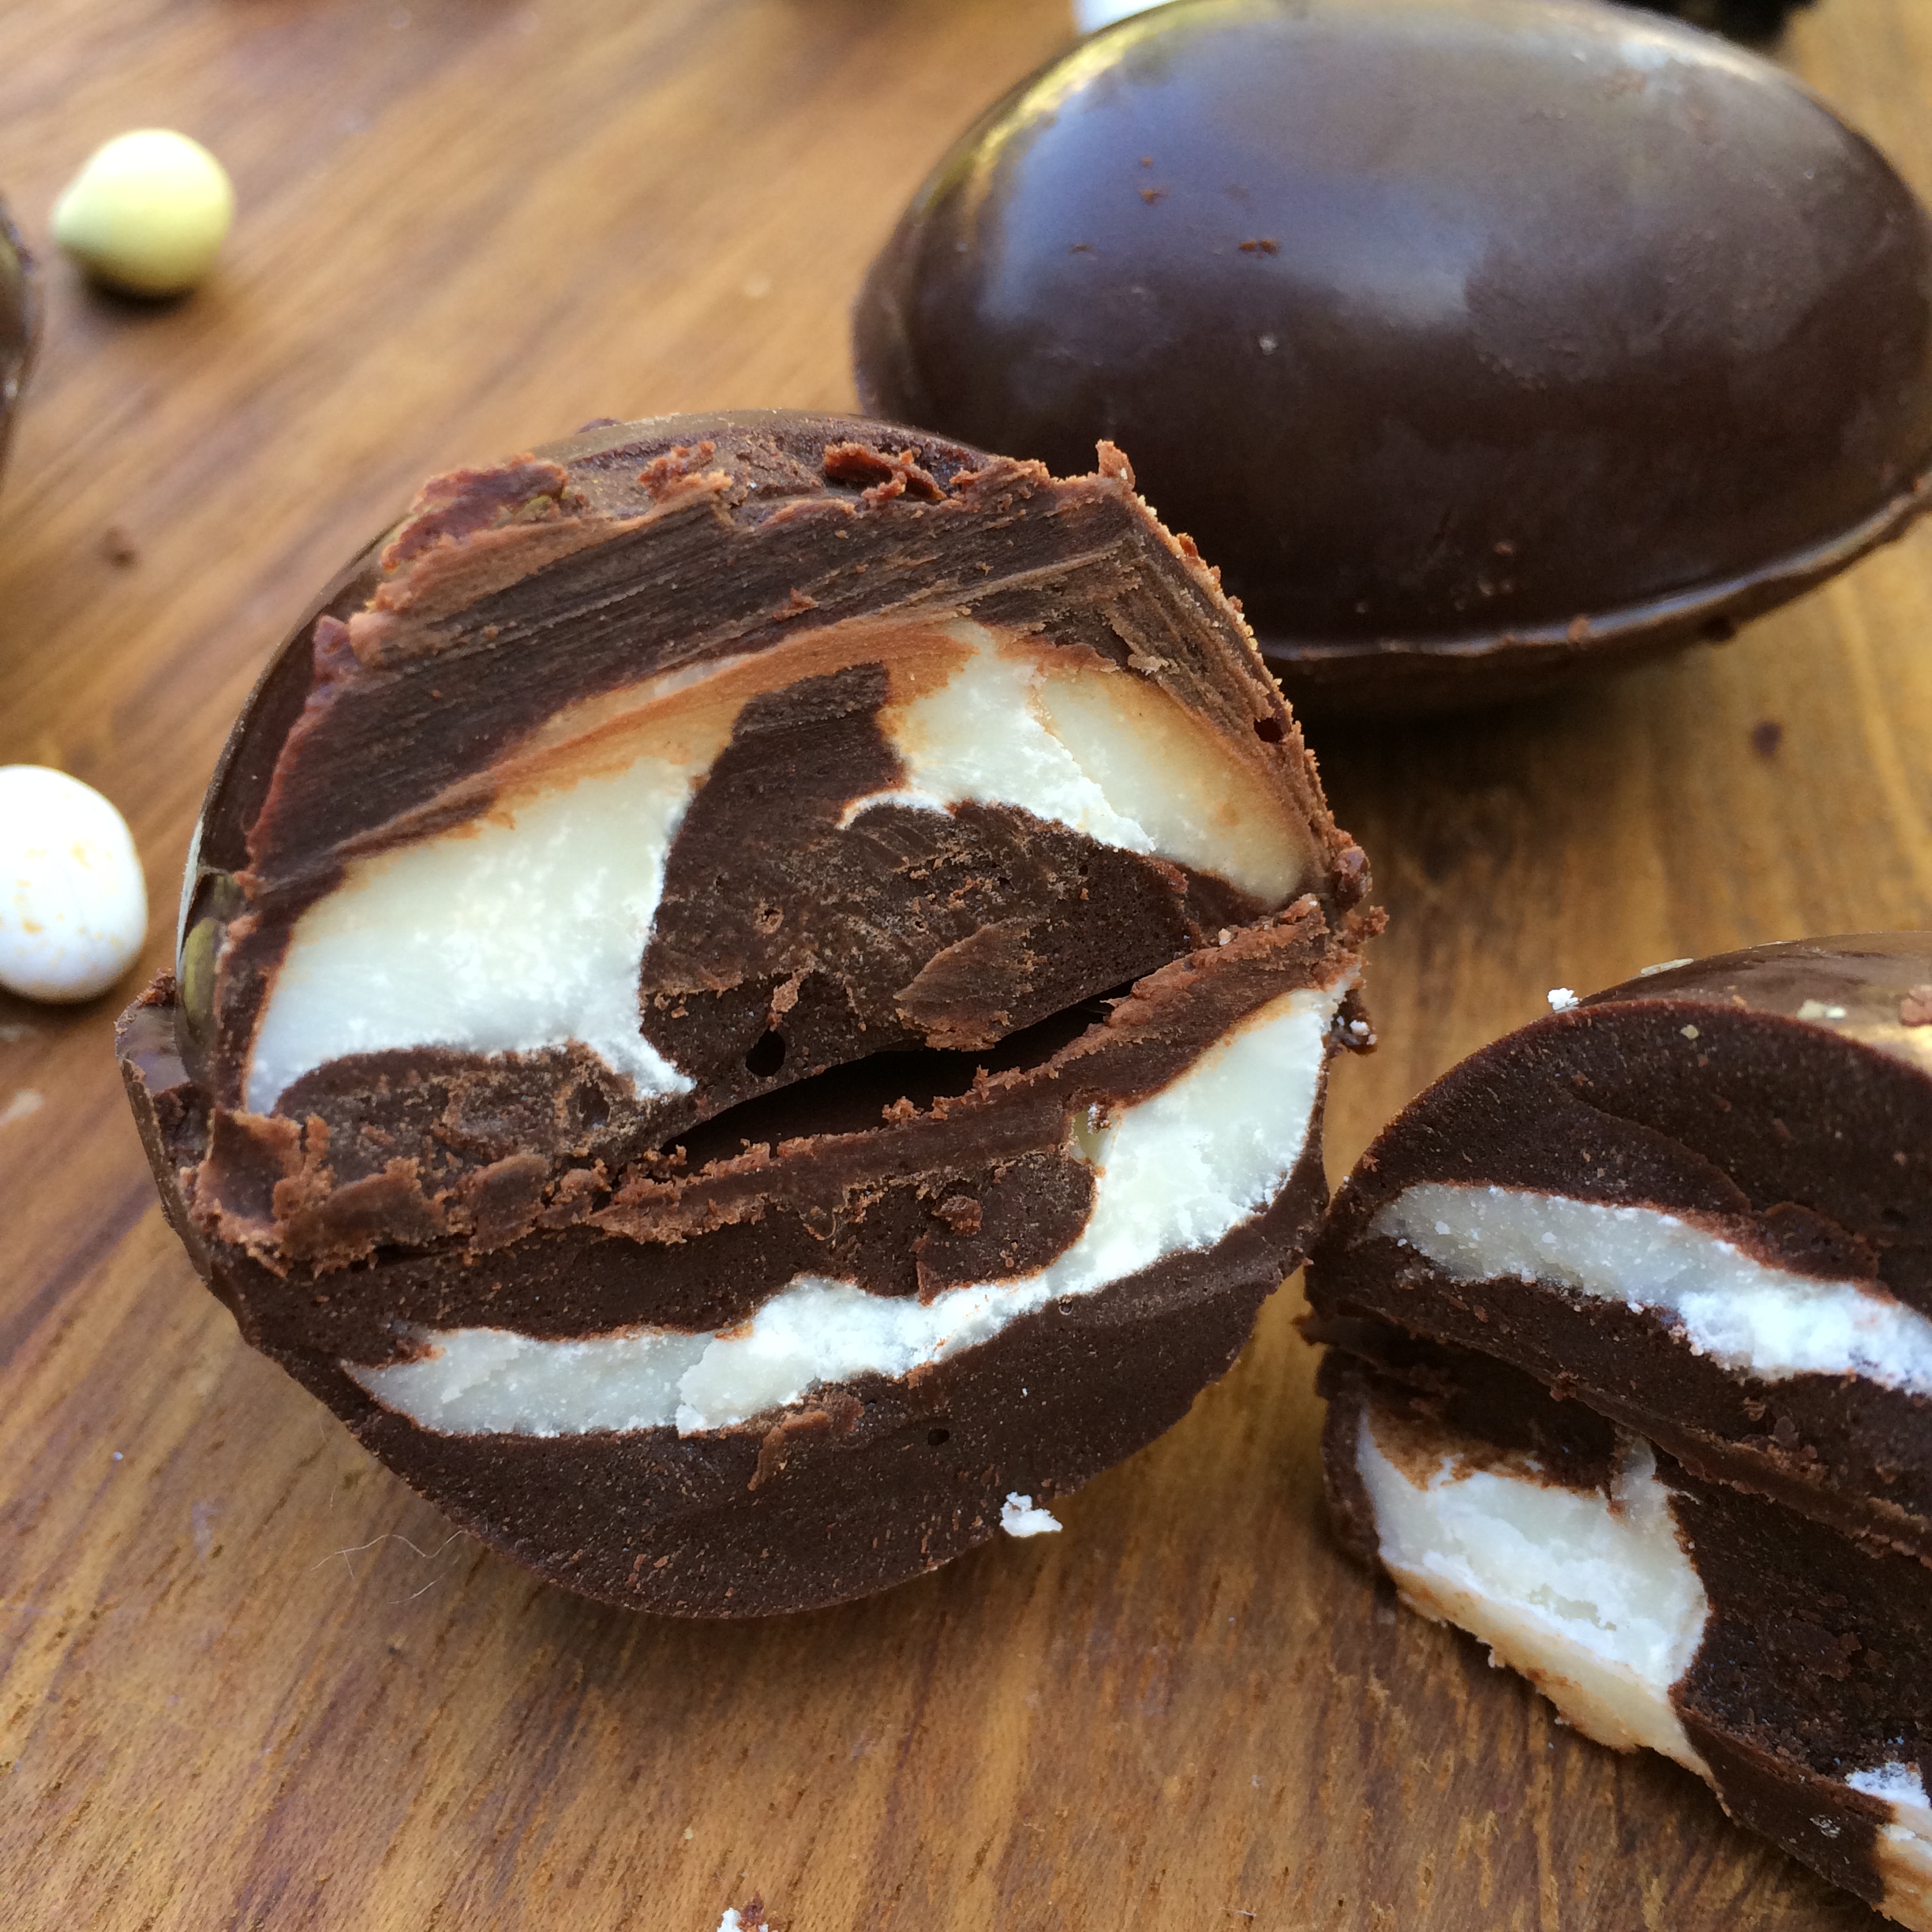
Mix the ingredients together, adding your coffee to the melted cacao butter (add to taste). Then pour in to little egg shaped chocolate moulds. Save a little of the chocolate to stick your egg halves together. Allow to set in the fridge or freezer, then remove and “glue” the halves of the eggs together using the left over raw choc. Leave in the freezer until ready to add to the cakes.

Make a coffee…
You will also need to make a nice coffee before you start!

No seriously – aside from making one to drink 🙂 you will need to make up a pot of strong coffee. Make it stronger than you would usually like to drink it – it has to be strong to hold the flavour when you bake it. I used the Beanies ground coffee in this recipe and I used approx 6 tbsp coffee and 1 cup of water, but adjust to suit your taste. If you’re using the instant blends then equally just make a really nice strong cup.
Now, down to business….
For the cakes you will need (makes 6 muffin-sized cakes – or more smaller ones!):
1/2 cup of non-dairy milk (soya,almond milk or coconut milk )
1/2 tsp Cider apple vinegar
1/2 cup of strong Beanies Amaretto coffee
1 1/4 cups Gluten-free flour blend or Spelt flour if you prefer
2 Tbsp Cornflour
3/4 cup Raw unrefined sugar – golden caster sugar or coconut palm sugar
3/4 tsp Baking powder
1/2 tsp Bicarbonate of soda
1/2 tsp Himalayan rock salt
1/3 cup Almond oil (or mild olive oil)
For the filling you will need:
A small amount of marzipan
Coconut cream (the contents of one 160ml can)
A small amount of the strong coffee you made earlier (1 tbsp or so)
1 tsp Beanies Amaretto coffee – instant or normal ground (see below) – optional
1 – 2 tsp Raw icing sugar (to taste)
dash of amaretto! (optional)
For the topping you will need:
approx 250g Marzipan
a little Marmlade or apricot jam (this is just to stick the marzipan on so you can use anything you have to hand)
2 cups Raw icing sugar
1/4 cup Strong beanies Amaretto coffee
Dash of Amaretto or Almond essence (optional!)
Eggs – made of marzipan, raw choc eggs, choco covered carob beans, shop-bought mini eggs… or just little balls of marzipan
some crushed Amaretti biscuits (optional)
Time to make some cakes!
Preheat oven to 350 F.
Put the milk and vinegar together in bowl and whisk together, then leave to curdle for a few minutes. Add the milk mixture, oil, sugar and coffee to a large bowl and mix together.
Sieve the flour, cornflour, baking powder, bicarbonate of soda and salt into the liquid mixture and stir well until no large lumps remain. If you find it’s still quite lumpy you can always pass it through a sieve. The mixture is VERY liquid so do not worry about this – it’s normal!
Pour into cupcake liners in a muffin pan. Place in the oven for 20 – 25 minutes until a skewer inserted in the middle comes out clean.
Remove from the oven and allow to cool a little. Once warm enough to handle use a sharp knife to remove the top and flatten off the top of the cakes. Eat the cut offs whilst still warm 😉
Using a cupcake corer (or a knife) cut a hole in the cupcakes to create a little well for your filling.
Prepare the filling …
While the cupcakes are cooling further roll out your marzipan into a thin sheet (few mm). Use a little icing sugar to dust the board and rolling pin to prevent sticking.
Using the cupcake corer (or just free hand with a knife) cut out small circles of marzipan (these are to pop in to the bottom of the hole you just cut in the cake). From the rest of the marzipan you can cut out discs to put on the top of the cakes (using a biscuit cutter)

Take the small discs and pop one in the bottom of then hole you’ve just made in each cakes. Ideally the cakes will still be a little warm which will melt the marzipan very slightly. Top tip – if the cakes aren’t still warm then pop them back in the oven (don’t turn it back on – it will still be warm from before) and leave them for 5 mins or so just to soften the marzipan a little).

Allow the cakes to cool completely before you attempt to fill them with the coconut cream. While they are cooling you can prepare the cream though.
Take your coconut cream which you prepared earlier (see above) and pop in a clean bowl. Gently, using a fork, whisk the coffee and icing sugar in to it. If this is a strong enough flavour for you then you’re fine. If not though then take the small amount of instant or ground coffee and place in a pestle and mortar and grind to a fine powder. Stir that in (for a real coffee kick!). Add a few drops of amaretto if you fancy it (or almond essence if not). Be careful not to add too much liquid and not to over mix – you want the cream to maintain a thick, almost whipped texture.

You can then spoon or pipe this in to the cakes. Fill right to the top.


Then you’re ready to add your larger marzipan discs to the top. Take a small amount of apricot jam or marmalade (or jam of your choice) – I used homemade marmalade made by my very good friend Colette from Colette’s fitness kitchen. Melt it in the microwave for a few secs (or on the hob if not) so it’s liquid and then brush on to the back of the marzipan discs and stick the discs to the top of the cakes.

Time to decorate…
Now comes the fun bit! Time to decorate the cakes 🙂
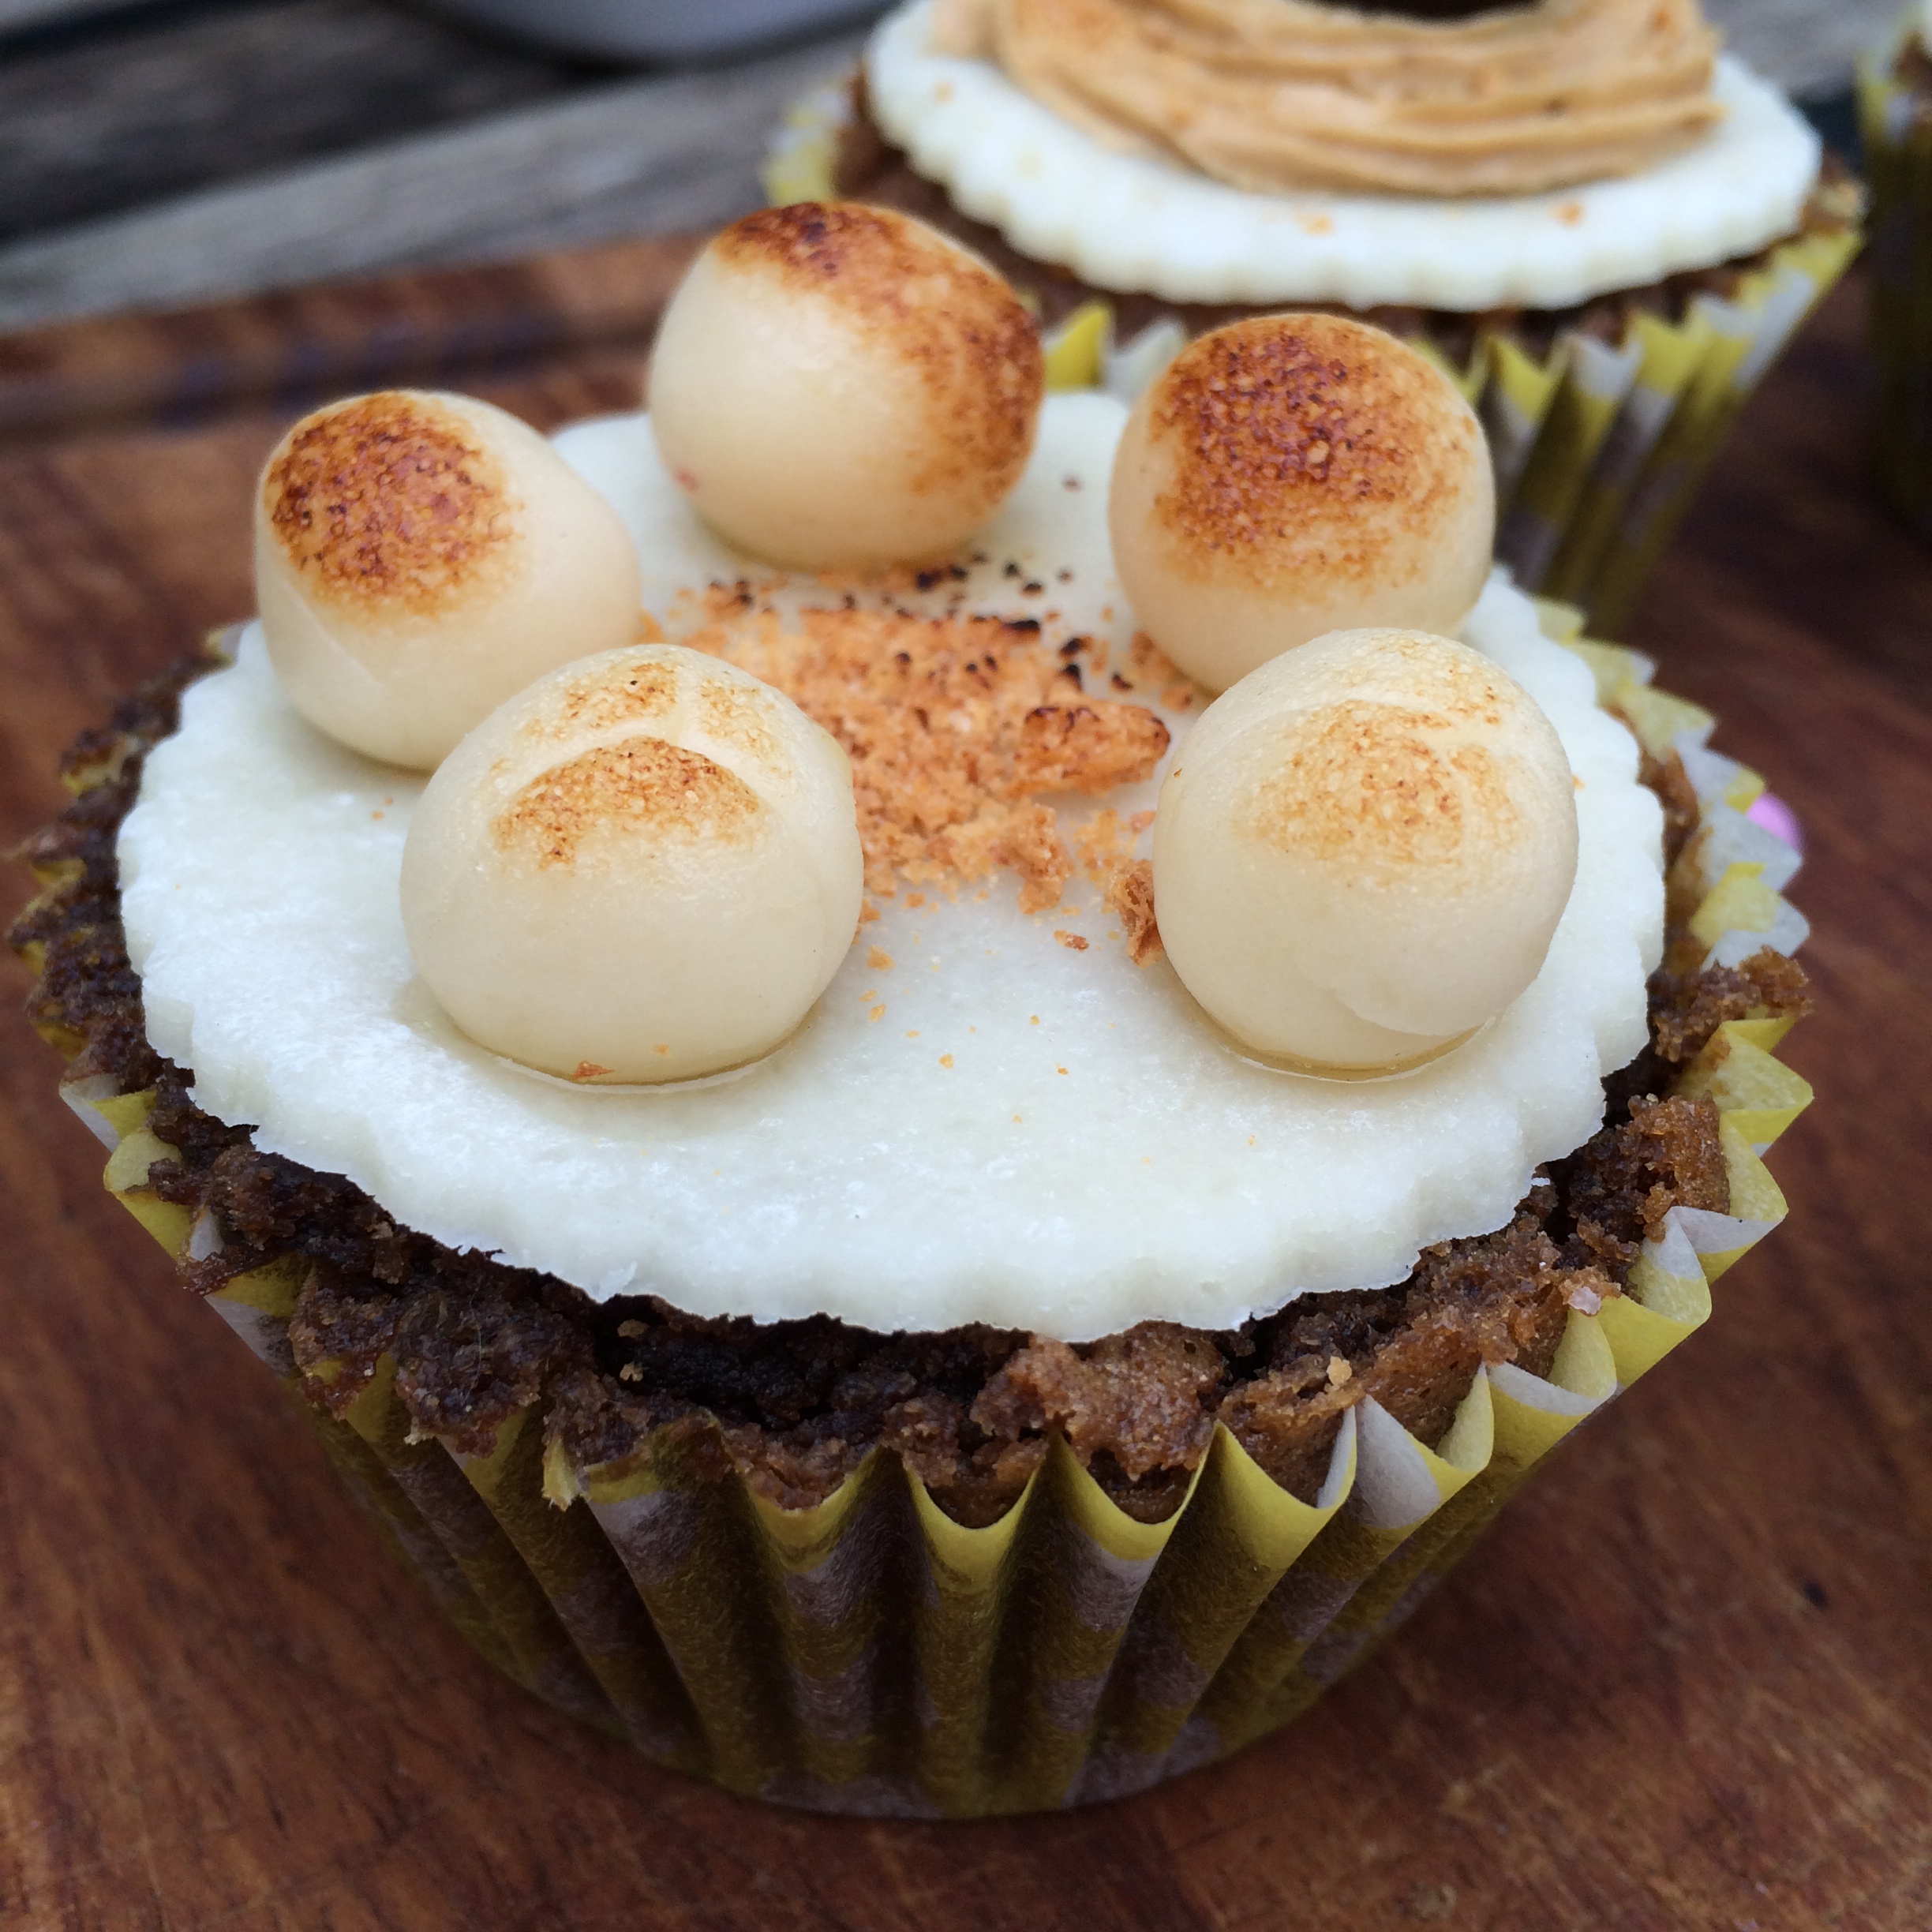
If you want to go for a little simnel-style decoration then all you need to do is make 5 – 6 small balls of marzipan for each cake. Pop them on in a circle using a little jam or marmalade to secure them down. I used a cook’s blowtorch to give them some colour but you could also pop them under a hot grill (but only for a moment! keep an eye on them!). Then I dabbed a bit of the marmalade/jam in the middle and sprinkled on some crushed amaretti biscuits 🙂

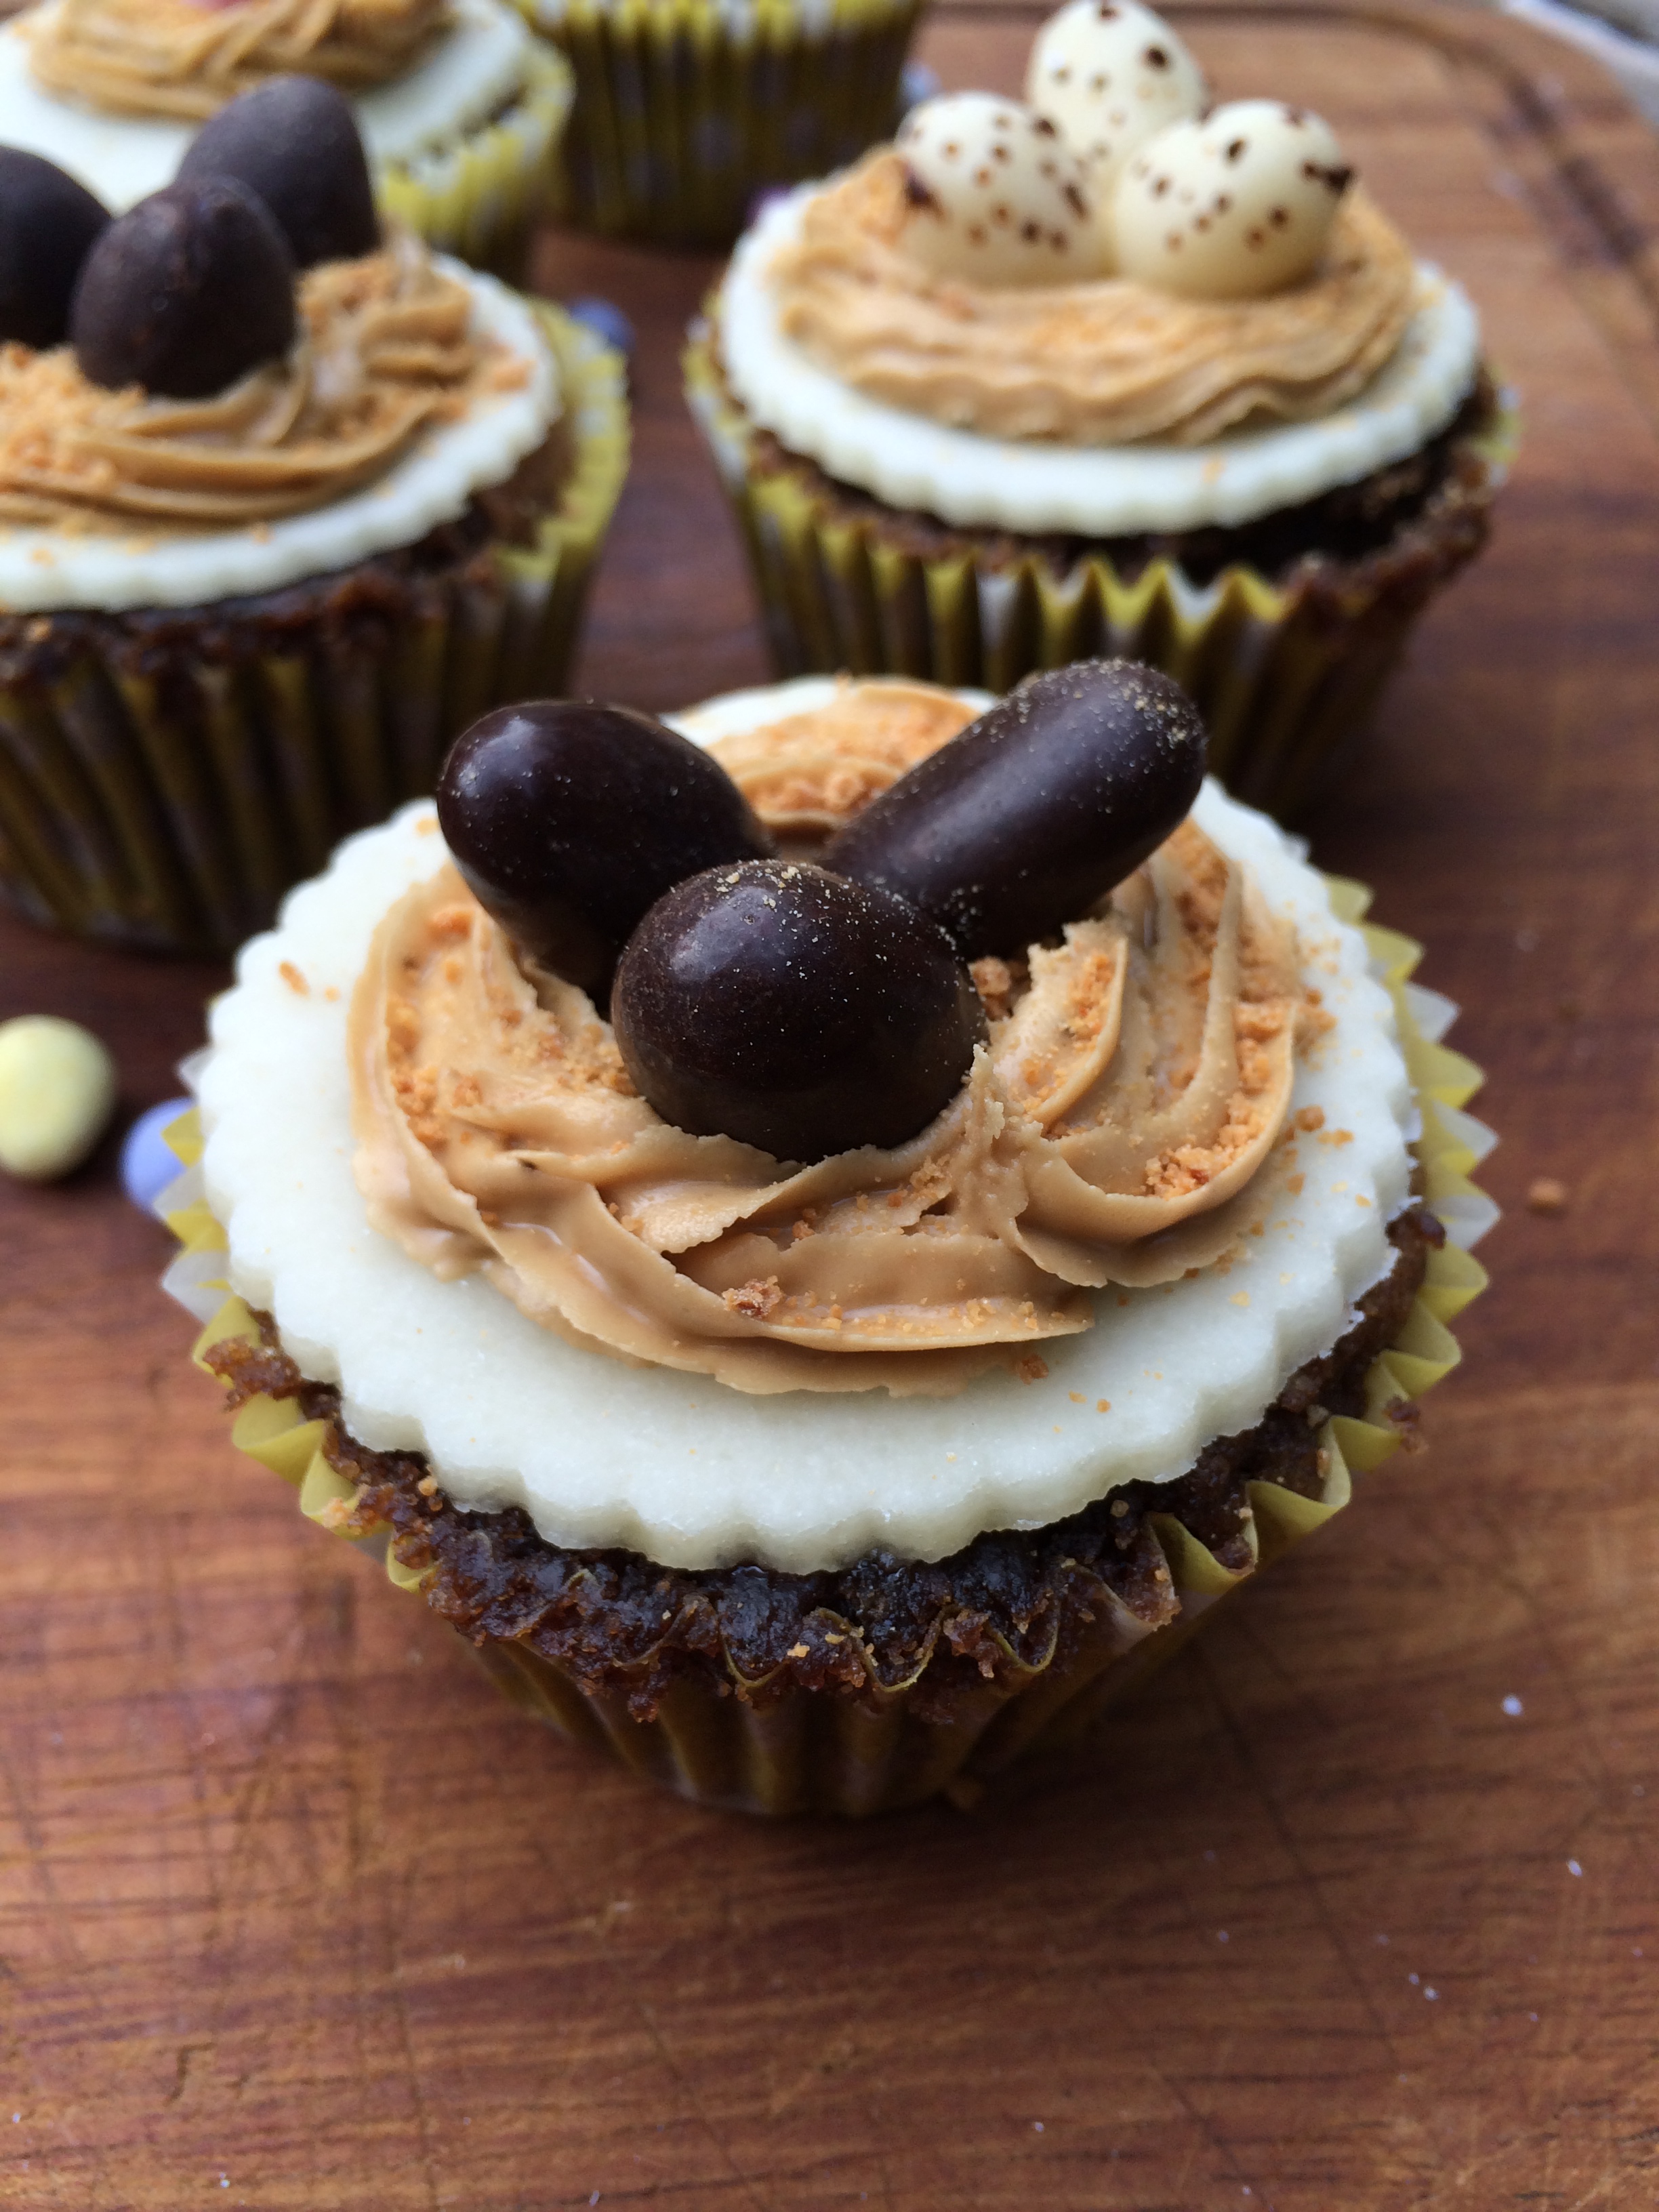
If you want to go for a little nest of eggs then you need to make up a batch of nice thick icing 🙂
Mix the icing sugar with the strong coffee and a dash of amaretto (or almond essence) to form a nice thick icing. You want it to be quite stiff so it holds it’s shape when you pipe it into the nest shape. Pipe it straight on to the cakes in a nest shape and add a little tiny amount in the middle (to stick the eggs on with). Whilst still wet sprinkle with crushed amaretti biscuits if you want to.

Then add the eggs of your choice (bought eggs, raw choc eggs, choc covered carob beans or marzipan eggs)


Enjoy your Easter treat with a nice big cup of Beanies Coffee! 🙂
To check out the other entries follow #beaniesbakeoff