Peanut Butter and Jam Porridge


Nothing beats a yummy bowl of porridge on a chilly day! And this one combines two of my favourite things – peanut butter and jam! Yum!

I actually tend to have this for lunch as it’s quite a filling portion. If you wanted you could also add a scoop of vanilla protein powder to make it even more filling. My current favourite protein powder is Missfits Vegan Vanilla powder – super yummy and available from amazon and Ocado (and other places!). I like my porridge made with water – but obviously use any type of milk if you prefer (though bear in mind the protein powder and milk will increase the calories).

This comes in at approx 384 cals of warming yumminess!

You will need:

50g jumbo oats

1 tbsp raspberry (or any flavour) jam

15g peanut butter

Raspberries and blueberries to top

1 scoop vanilla protein powder (optional)

Place the oats in to a saucepan (also add the protein powder if using) Add enough water to cover (I like my porridge quite dry so adjust the amount of water to suit you) – heat gently and stir well. If I’m rushed I just pour boiling water on to the oats, stir and add a little extra water then blast in the microwave for a min.

Once cooked pour the porridge in to a bowl and add the jam and stir through.

Drizzle the peanut butter on top next.

And then pop the berries on top.

Enjoy!

🙂

Xx

Valentine’s Vanilla, Berry and Chocolate Porridge


As it’s the season of love I thought I’d celebrate with something I love… porridge! This makes a great brekkie or lunch option. The protein powder is optional but adds the vanilla flavour and also the added protein helps to keep you fuller for longer. My current favourite protein powder is Missfits Vegan Vanilla powder – super yummy and available from amazon and Ocado (and other places!)

I make my porridge with water because I prefer it that way but obviously use milk if you prefer. I have used some yummy little protein chocolate hearts from Cocoa+ but you can use any chocolate you like! It would work well with some squares of dark chocolate

This comes in at approx 415 cals of warming yumminess!

You will need:

50g jumbo oats

Large handful of mixed berries (blueberries, raspberries, strawberries)

1 scoop vanilla protein powder (optional – replace with a 1/4 tsp Vanilla essence if not using)

3 Chocolate hearts or squares

Place the oats in to a saucepan with the protein powder. Add enough water to cover (I like my porridge quite dry so adjust the amount of water to suit you) – heat gently and stir well. If I’m rushed I just pour boiling water on to the oats and protein powder, stir and add a little extra water then blast in the microwave for a min.

Once it starts to cook add in the blueberries and raspberries and stir in.

Slice the strawberries. Once cooked pour the porridge in to a bowl and add the strawberries and chocs on the top.

Enjoy!

🙂

Xx

Wild blackberry Banana N’ice cream


That time of year has come around again – wild blackberry foraging time!  We went for a lovely walk yesterday and got a huge box full so I thought I’d better start using them.

The sun was shining earlier and that obviously put me in the mood for ice cream so I whipped up a quick batch of wild blackberry n’ice cream.

Super easy as always – you just need  3 – 4 frozen bananas (peeled and chopped before freezing) and a good handful of blackberries. Pop the bananas in the blender (a high speed one) and blitz until they start to form a creamy mixture. Throw the blackberries in and blitz again. I like to leave some of the blackberries as pieces so I don’t blitz fully but it’t up to you.

Delicious as it is, or even better sprinkled with my cinnamon spiced coconut caramelised nuts (recipe here). Enjoy!

Almond Caramel N’ice Cream – quick, healthy and delicious


You can never have too much n’ice cream! Dairy, gluten and added sugar free – this is guilt free loveliness. I think this may be my favourite flavour yet! This is really scrummy and tastes divine. It doesn’t need any extra sugar as the bananas and date caramel give it tonnes of rich sweetness and creaminess. It’s also pretty quick to make. I usually make up a big batch of the date caramel so I can use it for other stuff (or just eat it by the spoonful!).


You will need:

8 – 10 Medjool dates (this will create extra caramel so reduce if you don’t want any spare)

1 tbsp Almond butter

1 tbsp hot Water

4 frozen bananas

Handful almonds

Drizzle of coconut, maple or date syrup

It’s best if you peel and slice your bananas for freezing as it makes it easier for the blender to handle so make sure your bananas are well frozen first.

First caramelise the almonds. Pop the almonds into a dry frying pan, add a good drizzle of maple, coconut or date syrup and heat. You need to keep an eye on this – you want it to start to bubble and thicken but not burn. Keep stirring so they don’t catch. Once the syrup is reduced down and they’re well coated tip them out in to some baking paper and allow to cool. You can break them apart once cool.


Then make the caramel. Chop the dates and pop in to a high speed blender together with the almond butter. Depending on how dry your dates are you may not need all the water so start with half. Process well, adding the rest of the water if necessary, until you have a smooth caramel. Remove this from the blender (don’t worry about getting every last bit out and there’s no need to clean the blender).

Pop your frozen bananas in to the blender and pulse to blend the banana. Once it’s almost smooth add a tablespoon or so of the caramel back in to the blender with the bananas (add as much as you want – to taste). Blend well and then serve with the almonds sprinkled in top. If you want to serve it later freeze in small portions (plastic food bags or ice cube trays work best) and reblend briefly before serving to remove any large ice crystals.


Peanut butter and blueberry n’ice cream


Nothing beats a nice cold, creamy ice cream on a warm afternoon and this combo works so well together. If you’ve got bananas already frozen this only takes a few minutes to make! 🙂

Freeze your bananas ready diced – it makes blending them easier. Freeze for a few hours, ideally overnight if you can. They will stick together so give them a bash before you blend. If your blender can’t handle them then try blitzing in short pulses or add a very small amount of non-dairy milk,  but the juice from the blueberries will help anyway 🙂

You will need:

4 or so frozen bananas

1 cup blueberries or berries of your choice

1 – 2 tbsp peanut butter

Take half the bananas and pop in to a high speed blender / vitamix with the blueberries and blitz until smooth. It will melt fast so pop in freezer once done while you make the peanut butter one.

Take the other half of the bananas and 1 tbsp peanut butter and blitz. This will be thicker so you may need a small dash of milk. Once blended have a taste and add more peanut butter if you want. Blitz.

Serve together 🙂

If you want to keep it for later pop in the freezer – ideally in ice cube trays then pop out and re-blend briefly to eat (this breaks up the ice crystals that may have formed).

Homemade n’ice cream ‘Nobbly Bobbly’ – easy, healthy but super tasty!


I confess, I have a problem. I am addicted to Nobbly Bobblys. So to save myself from myself I’ve created my own version. These are divine! For me they hit that Nobbly Bobbly spot but with way less guilt! They’re dairy, gluten and sugar free (if you want them to be – with the exception of those little sugar balls on the outside which if you didn’t want to use you could substitute with desiccated coconut or chopped nuts or something instead :)). I didn’t use any sweetener in the chocolate coating as I find the sugar balls and natural sweetness of the n’ice cream is enough for me but its personal preference so if you want it a little sweeter then I’ve added the details below.


These are easy but take a little time. You are going to need quite a few frozen bananas and some lolly sticks. I got mine from Amazon but places like Lakeland or other baking stores will have them, and you may also find them in craft stores. If you have a lolly mould you can use this for the first layer too (I tried using a mould and moulding them without – both worked).

This amount made me 4 pretty large Nobbly Bobblys and I had some n’ice cream and chocolate to spare for a quick pud afterwards but it will depend how big you make them.


You will need:

For the chocolate layer 

4 frozen bananas

4 tbsp Cocoa powder

For the Strawberry layer 

4 frozen Bananas

4 large ripe Strawberries

6 – 10 Raspberries (you can use more strawberries instead, I just like the colour and flavour the raspberries give)

For the chocolate coating

1/2 cup Coconut oil (melted)

1/3 cup Cocoa powder

Optional – 1/4 cup Coconut syrup/ maple syrup/ rice malt syrup / any liquid sweetener

Sugar balls or dessicated coconut or nuts etc (if using sugar balls you’ll need at least a full pot, probably two if you’re as messy as me 😉 )

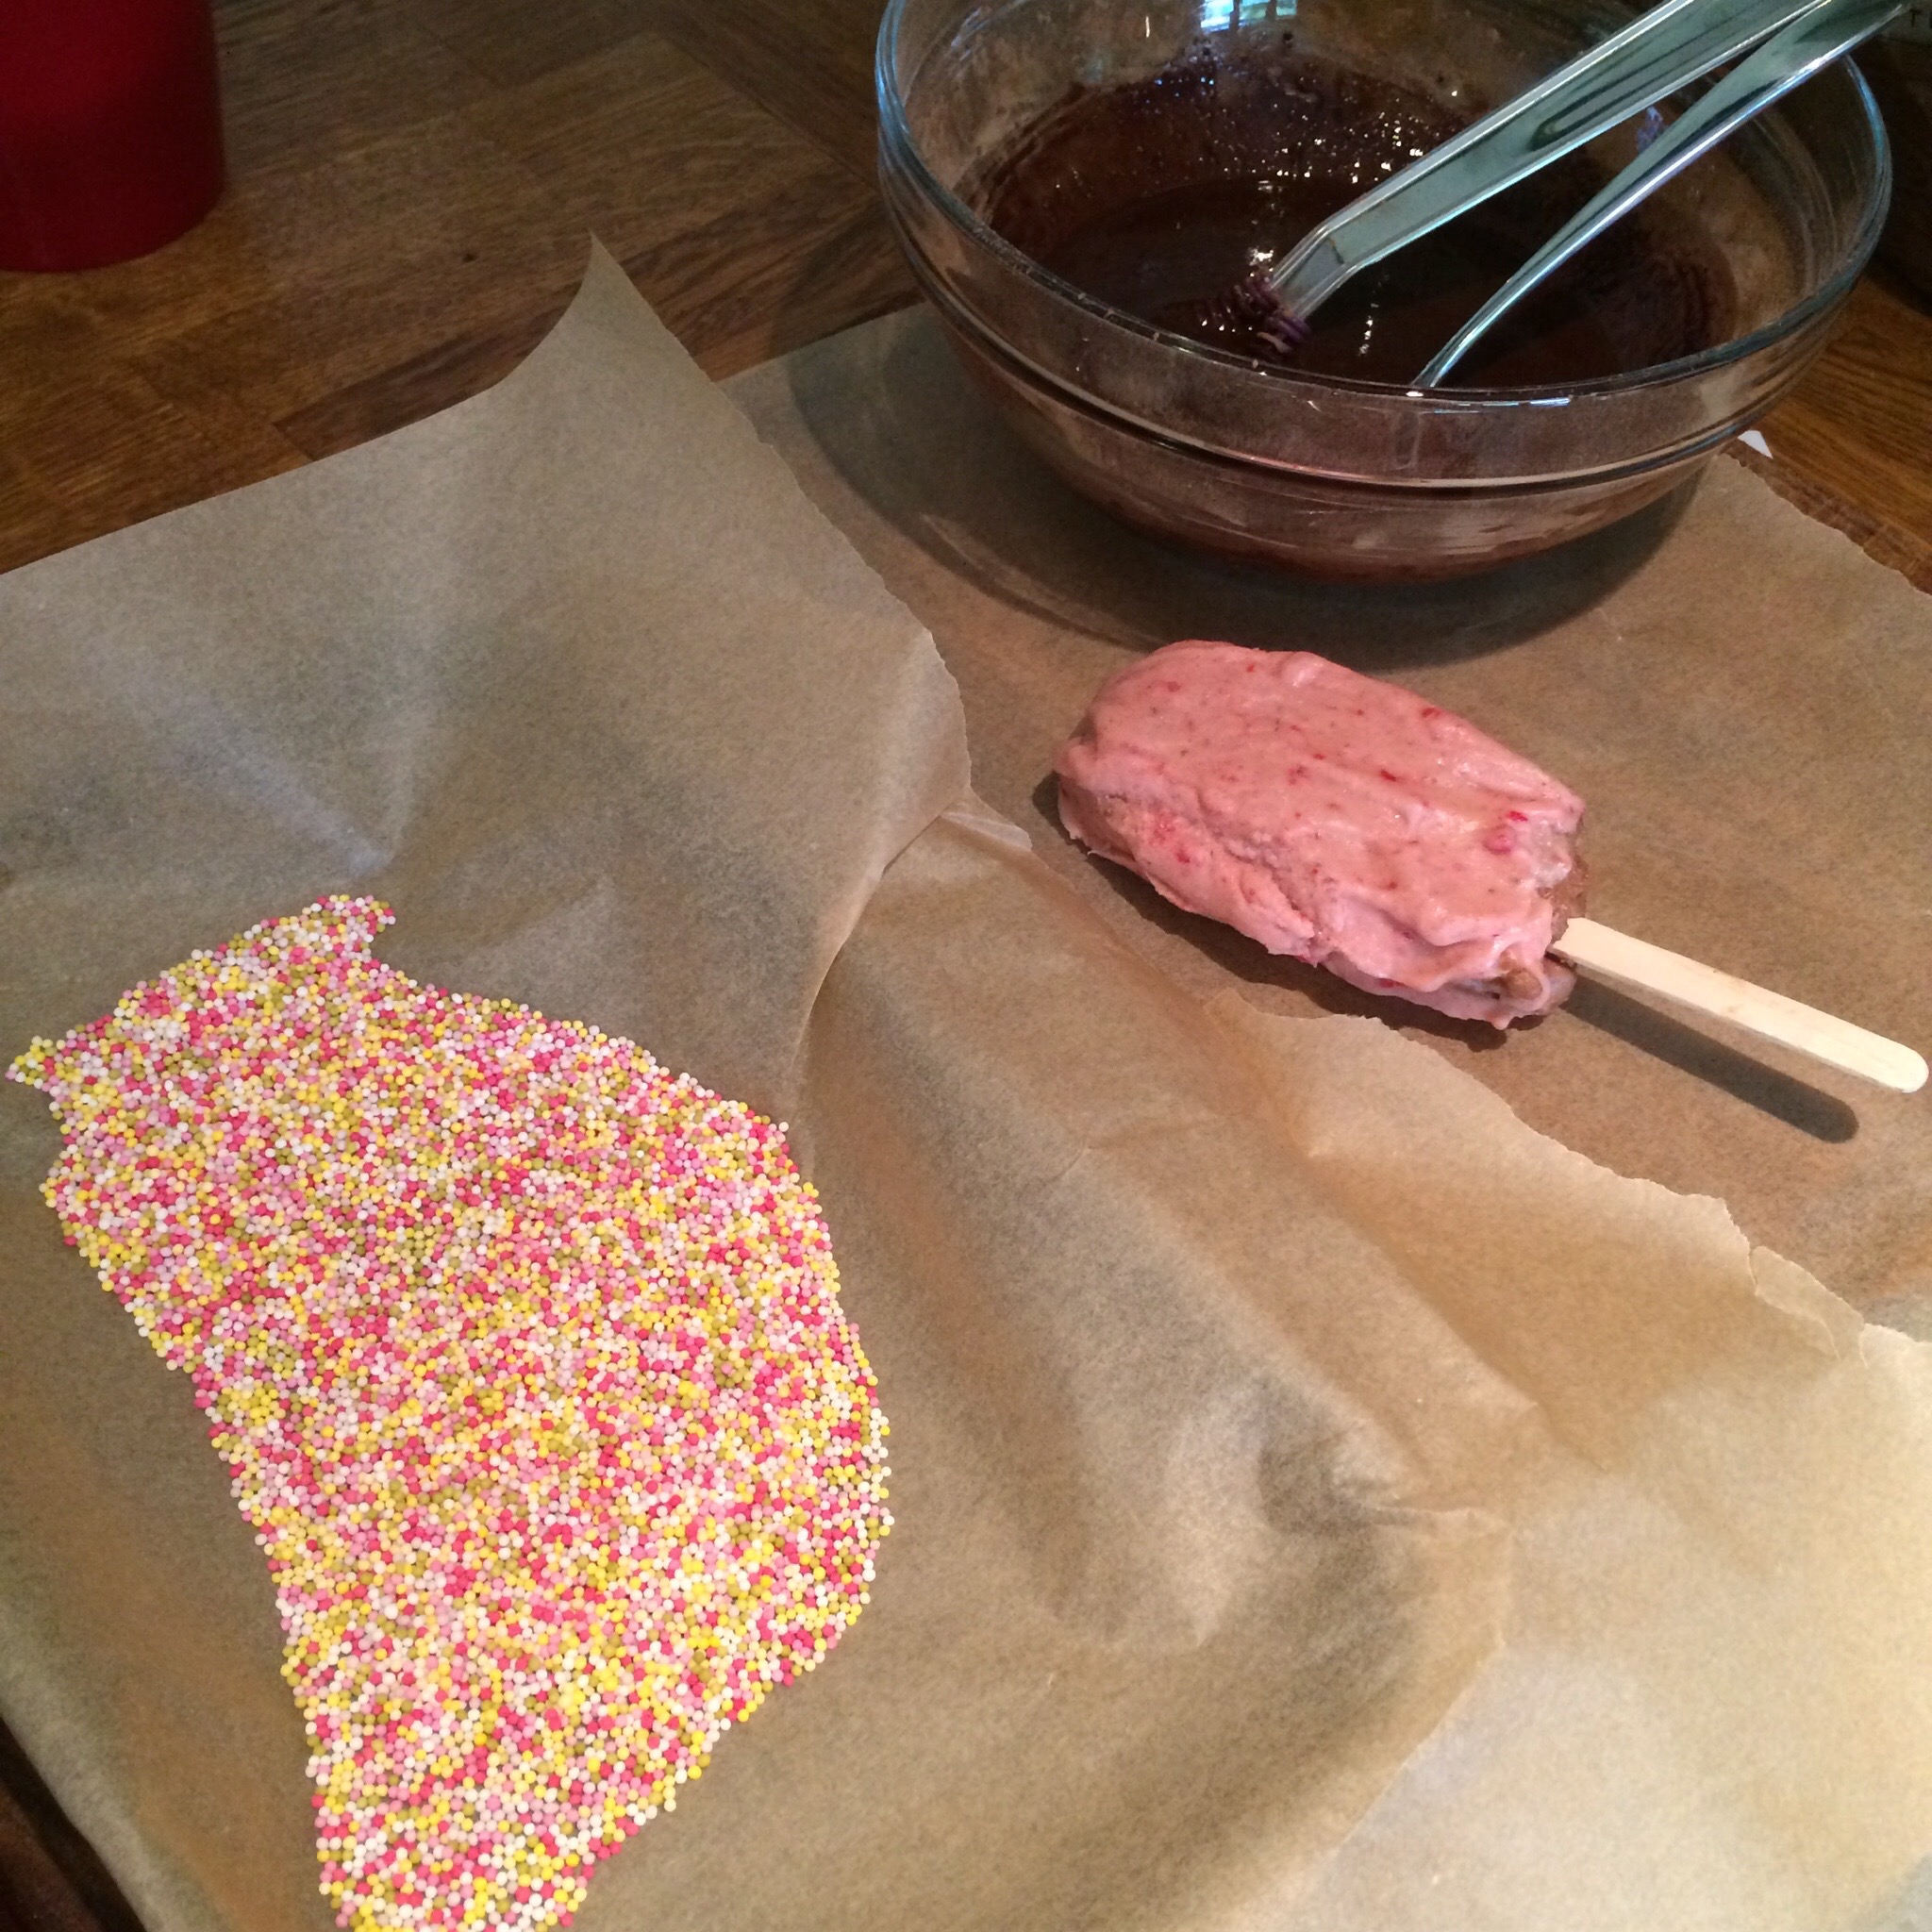
First clear some space in your freezer and find a suitable tray to lay the ice creams on. Cover it in baking paper and have your ice cream sticks handy.

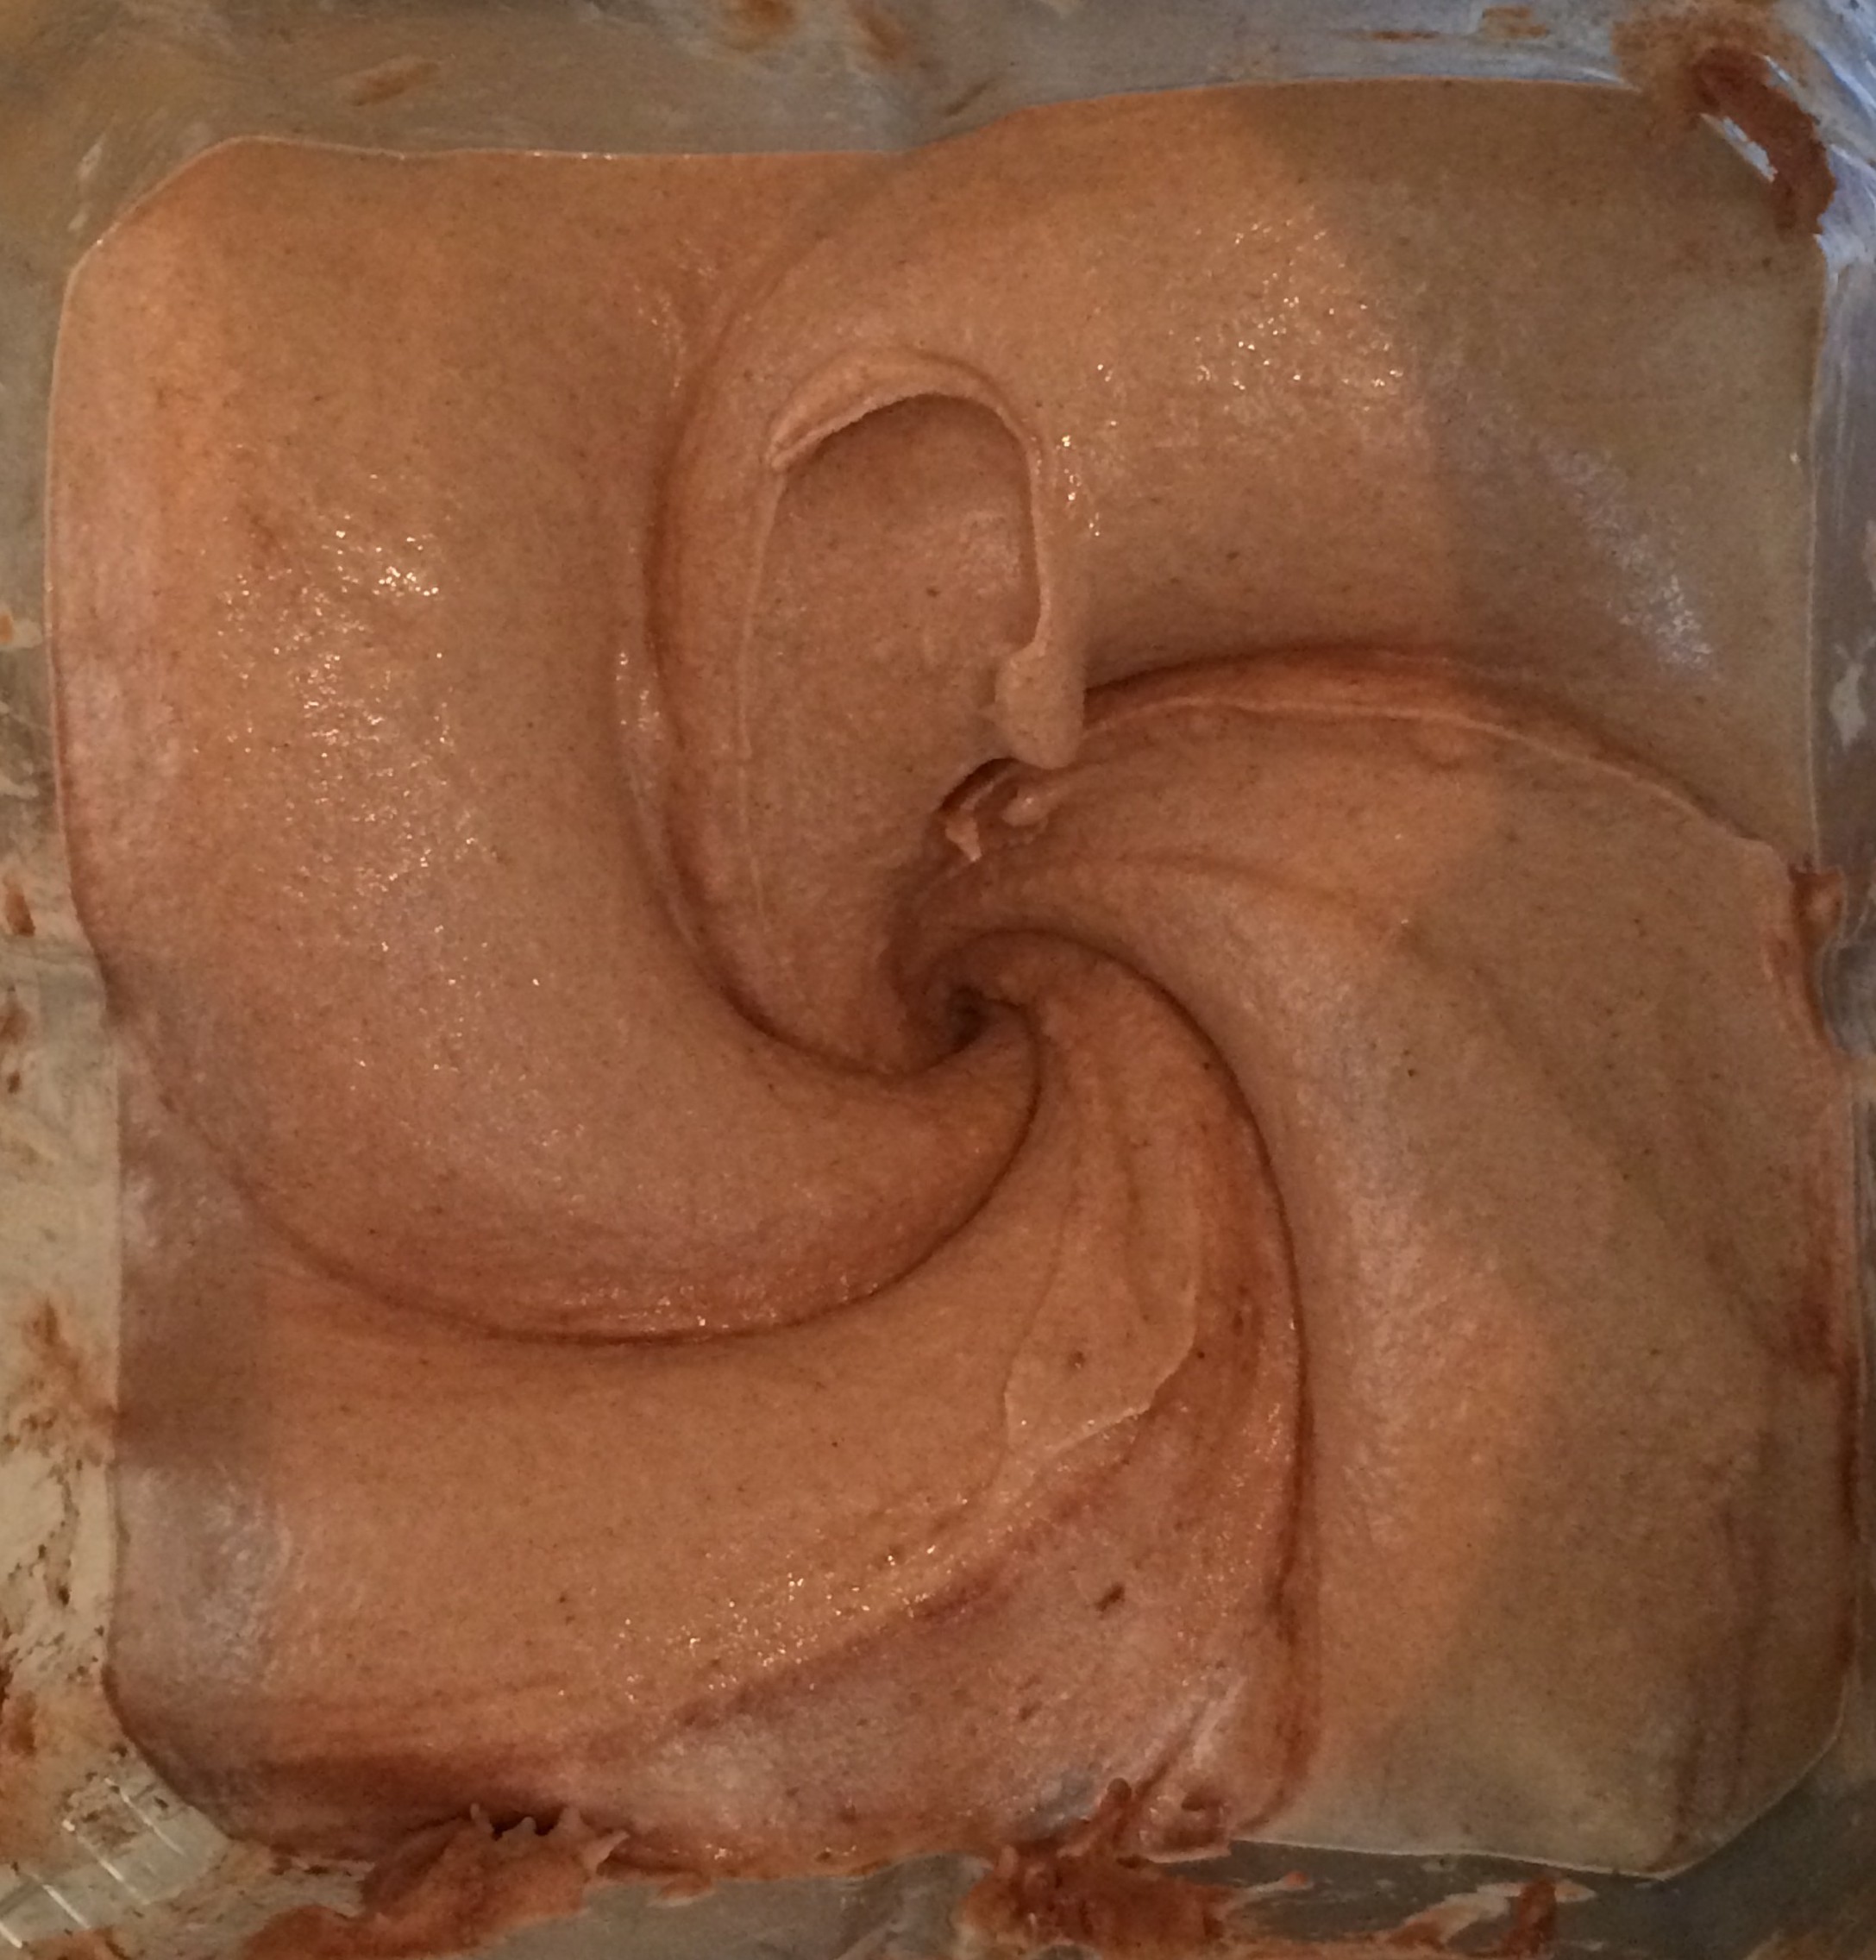
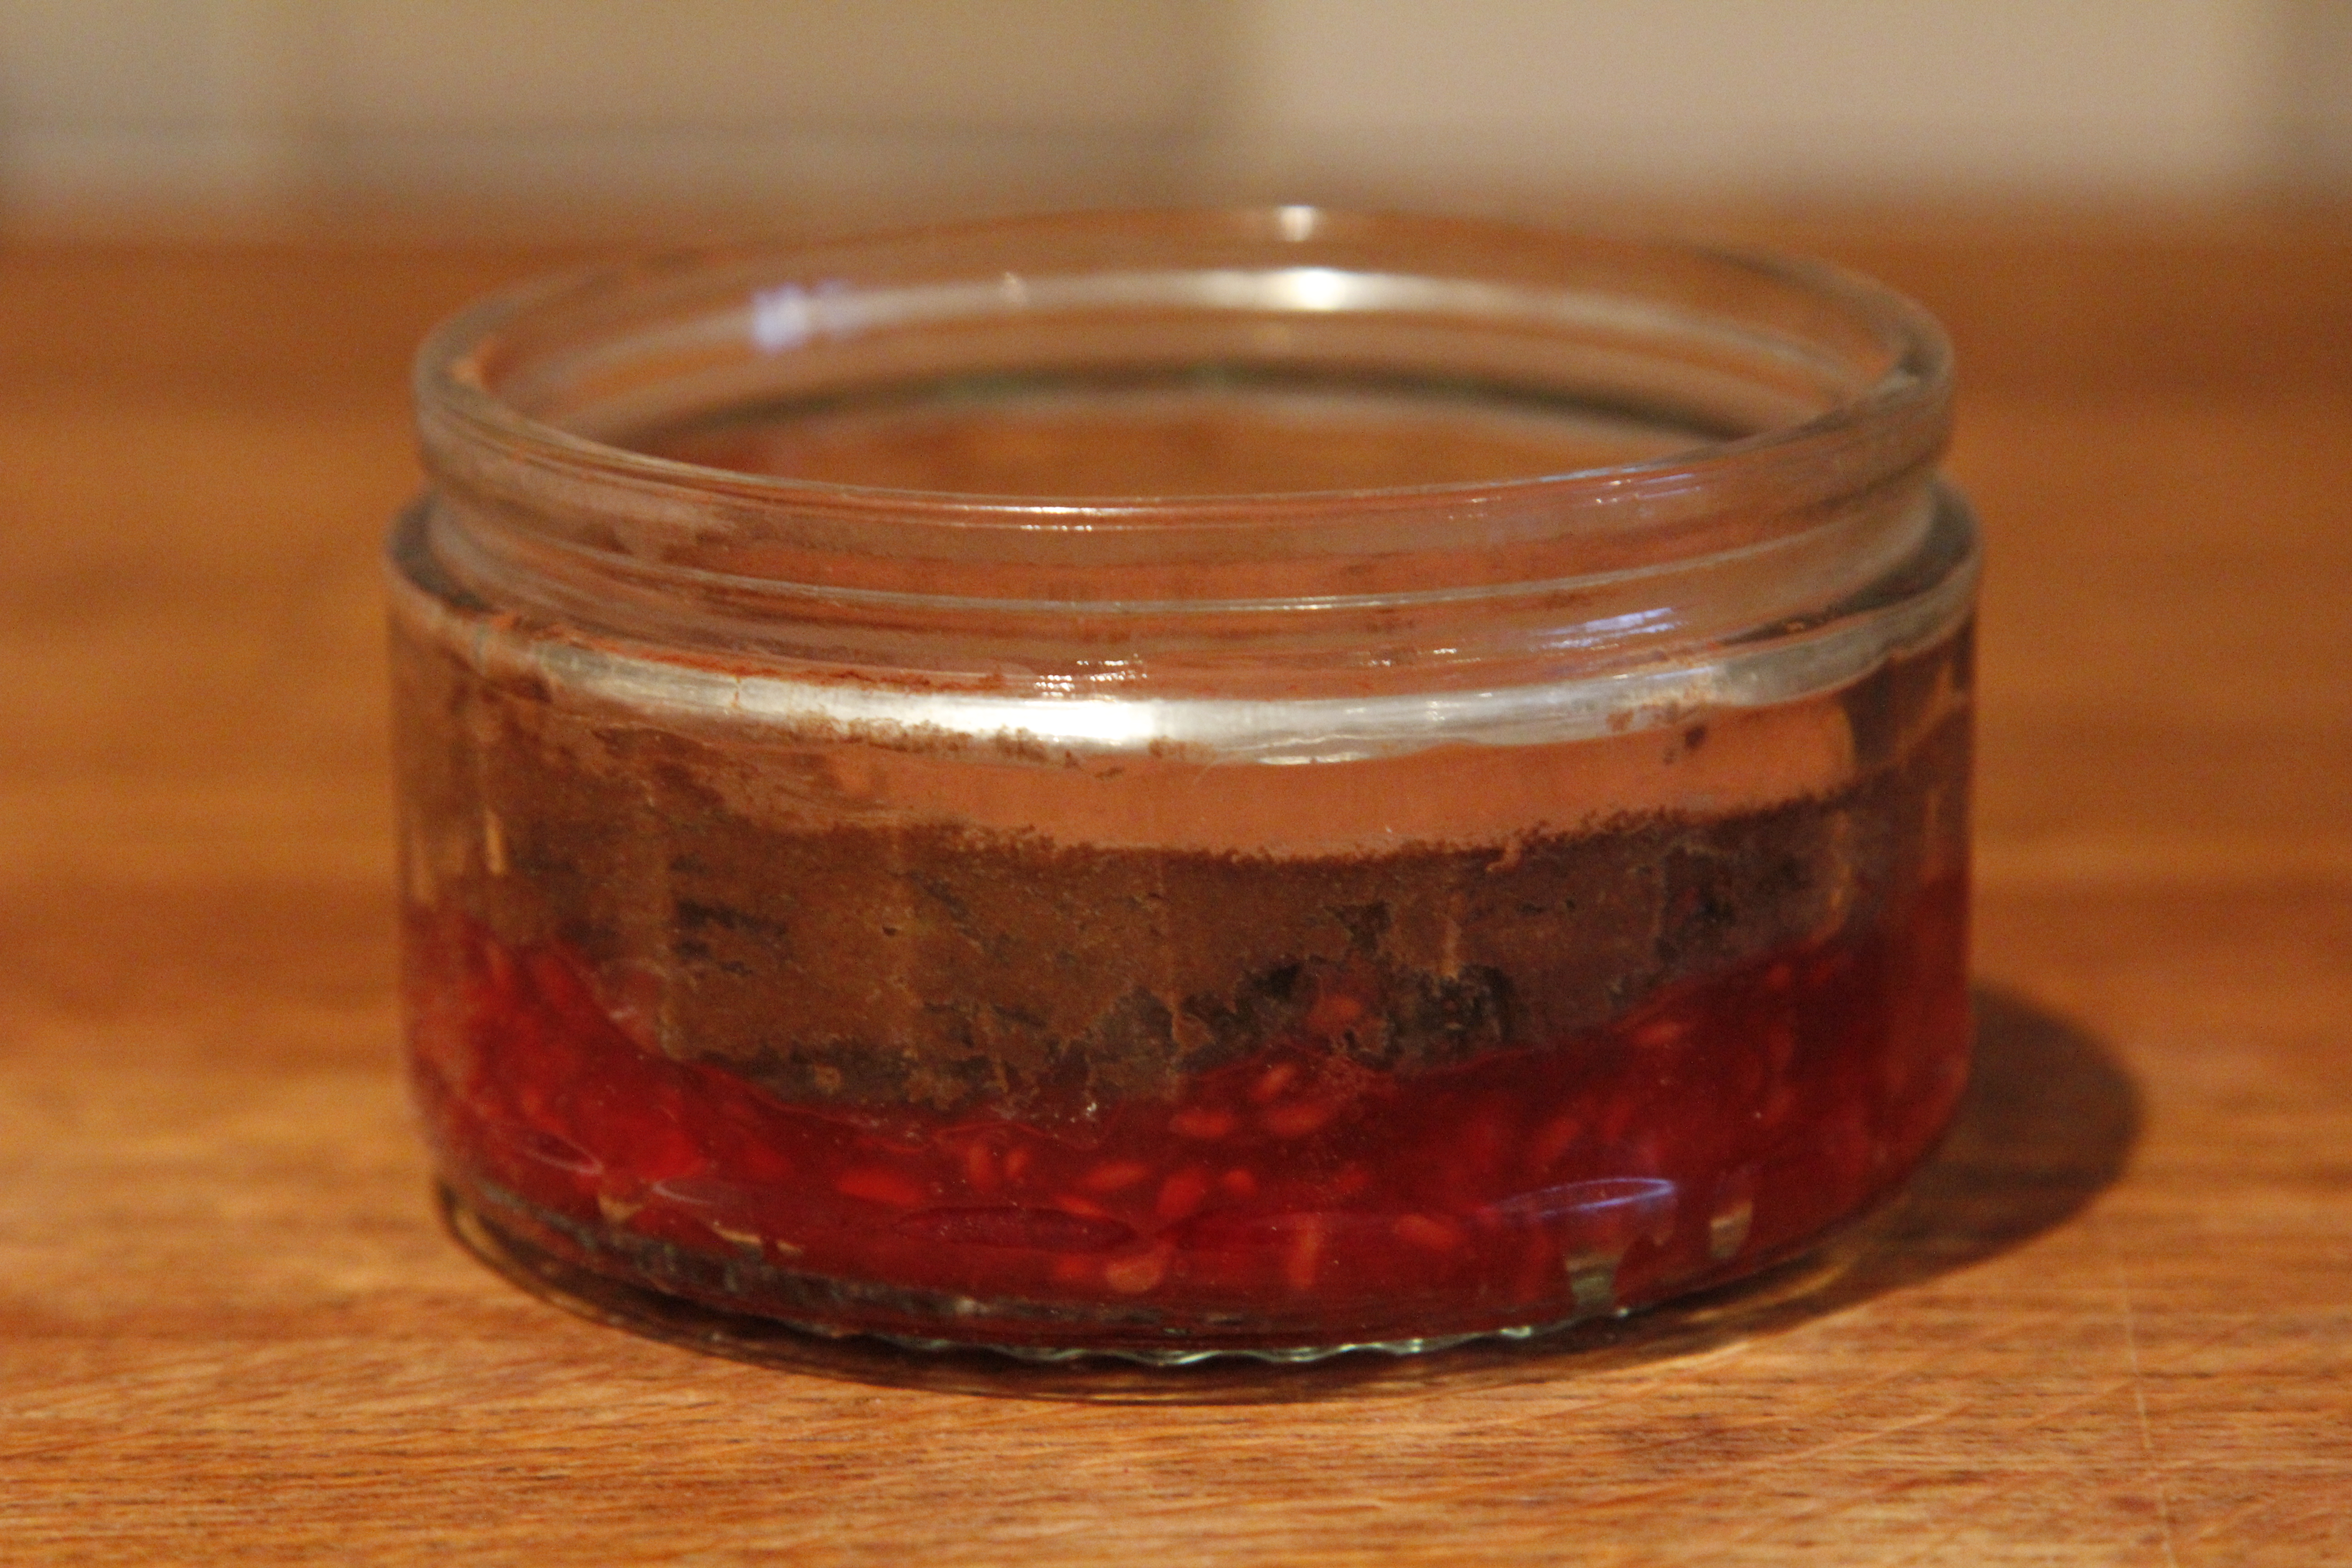
Start with the chocolate layer. Pop the bananas and cocoa into a high speed blender (I use my vitamix) and blitz until you get a smooth consistency – you will need to do it in bursts and keep stirring in between. Remove from the blender and then as quickly as you can mould your first layer around the lolly sticks (Or in the mould if you’re using one). Place on the tray and in to the freezer. Leave for at least an hour. If they’re s bit messy don’t worry you can tidy them up with a knife before the next layer goes on.

IMG_7044 
 
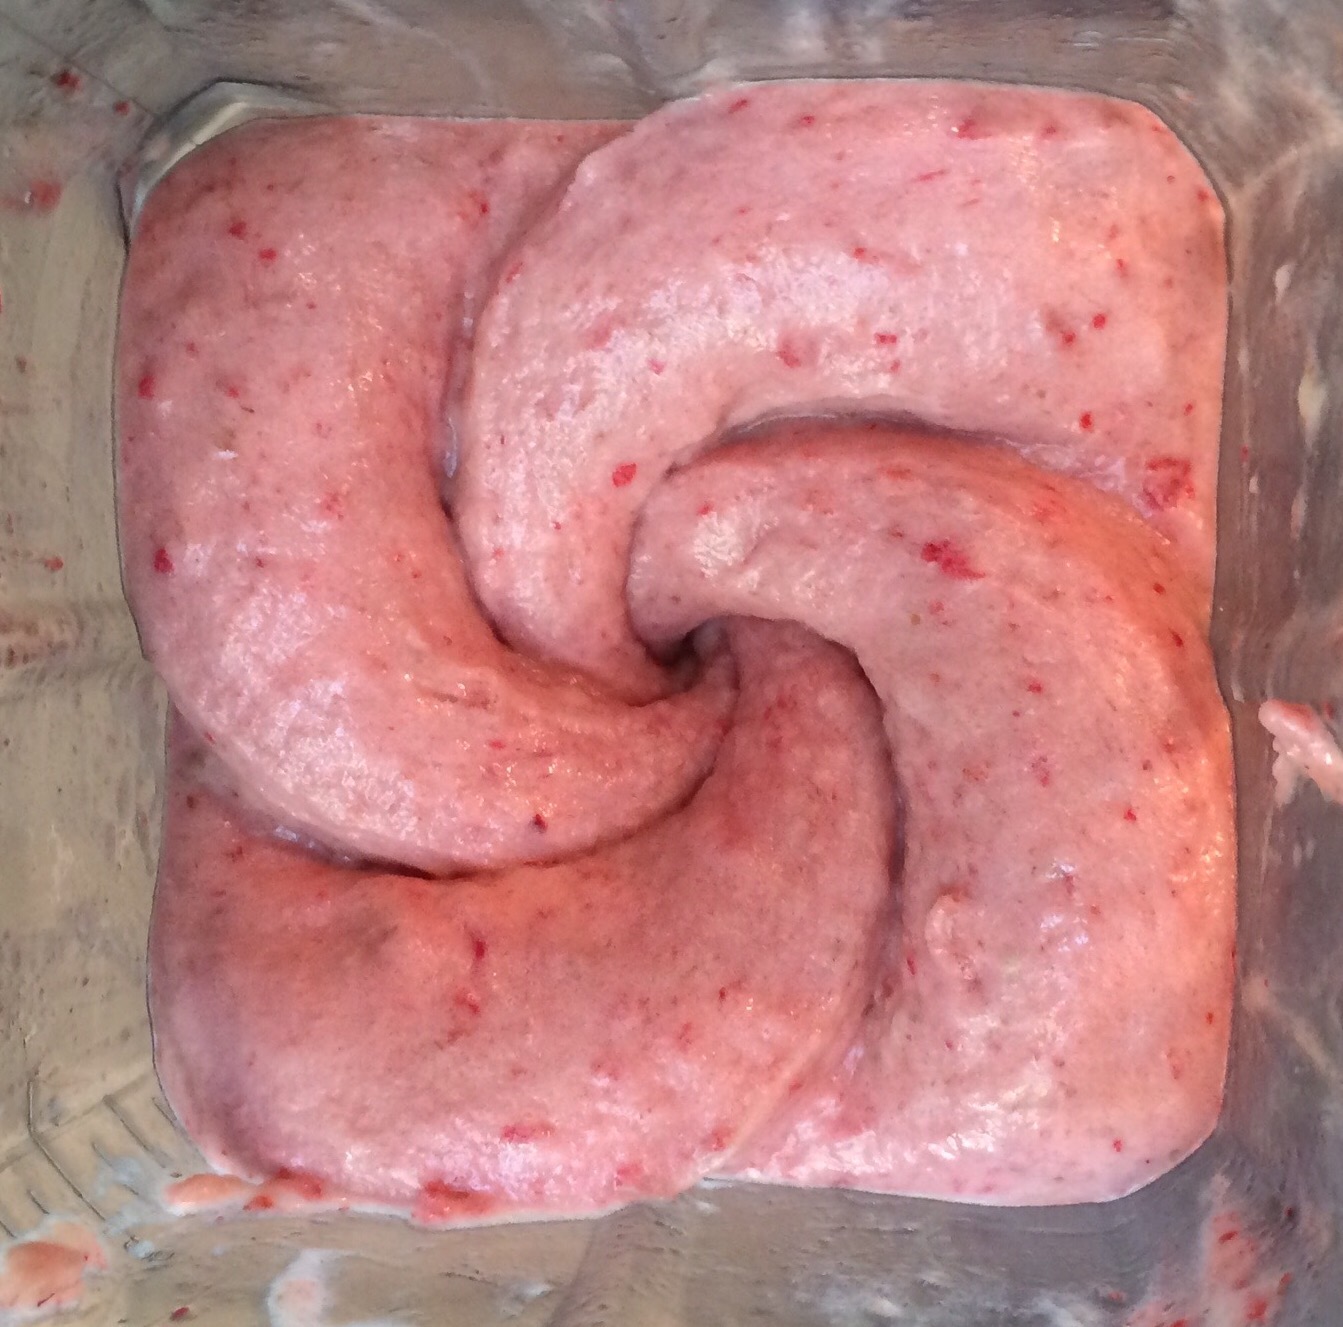
Next make the strawberry layer. Pop the bananas, strawberries and raspberries into the blender. Blitz until smooth. You will need to work quickly now. Remove the frozen chocolate layer from the freezer (tidy them up if you want to) and using a spatula add a layer of the strawberry n’ice cream all over and then pop back on the tray and get them back in the freezer for another 40 mins or more.


Once they’re frozen you can coat them. Mix the coconut oil and cocoa powder together with a fork or whisk (add the sweetener if you want to). If the coconut oil is very hot allow it to cool a little – it will stay liquid for ages so there’s no rush. Place on one side and pour your sugar balls (or whatever you are using) into a tray or plate and have it handy.  It’s best to work with one lolly at a time as they melt so fast. Warning this may get messy 🙂


Take your lolly and spoon the chocolate over one side and immediately press in it the sugar balls (or pour them over the top). Repeat over the whole lolly then get it straight back in the freezer on the tray asap. Do this for all your lollies.


Allow to freeze initially for at least 20 – 30 mins on the tray and then you can transfer them to a Tupperware box to keep them in the freezer until you want to eat them! Then enjoy! 

Mint Chocolate Mousse and N’ice cream layered dessert – dairy and gluten free


Does anyone else remember those mint chocolate swirled mousse/ice cream dessert things we used to have as children? They came in a little pot, they were mostly sugar and air but they tasted amazing! I’m such a massive mint choc fan and was feeling a little nostalgic so thought I’d see if I could recreate something similar but a little more classy.

FullSizeRender

This would make a great dinner party pud – it looks fab and tastes amazing. You can prepare the mousse and the n’ice cream in advance and then put it together in a few mins. It’s also a great healthy, high protein treat for you or the kids on summer evenings.

IMG_6551

This also gave me a chance to use the yummy choc shot I was sent my the lovely people over at sweet freedom for something other than pouring liberally over my porridge and soya yoghurt 🙂  The mousse recipe is based on Colette’s recipe from The Pure Form Fitness Kitchen and the n’ice cream is my recipe from the other day (here) which I’ll re-post below for ease.

IMG_6550

This will make approx 2 large layered desserts.

For the mousse you will need:

1 packet of Silken tofu

2 tbsp Cocoa powder

2 tbsp sweet freedom Choc Shot (you may want to add a little extra if you want it sweeter)

Natural peppermint extract (to taste)

Pop all the ingredients except the peppermint extract in to your blender/processor and mix well until combined. Have a little taste and add a little more choc shot if you feel you need it. Then add the peppermint extract to taste and mix. Store the mousse in the fridge until you’re ready to prepare the dessert (it will last up to a week – it may separate a little but just stir it before you use it).

For the n’ice cream you will need:

Frozen bananas – I used 4 medium bananas

Handful of spinach (adjust according to how green you want it!)

Couple of tbsp Cacao nibs (or you can use any dark chocolate – sugar free or not – your choice)

Natural peppermint extract (to taste) (or fresh mint leaves if you happen to have some)

Pop the bananas in to a high speed blender – I use my trusty vitamix but any blender that can handle ice will do, and blitz it to start to break up the bananas. Once they start to smoosh up (technical term 😉 ) add the spinach a little at a time. Then add a few drops of peppermint extract – the amount will depend on how minty you like it! You don’t want it tasting like mouthwash though so go easy to start with! Keep blitzing it and stirring it in until the spinach is combined and the colour you want. Remove from the blender and stir the cacao nibs/chopped chocolate through it.

It melts fast so if you’re making it just before you serve it then that’s fab, but if not then you can refreeze it – ideally refreeze in ice cube trays (or small portions) and then when are ready to put the dessert together pop the cubes in to the blender and give it a very quick blitz!

Assemble the pud

Add a layer of mousse, then a layer of n’ice cream and top with another layer of mousse in a glass, sundae dish or bowl. Top with a sprig of fresh mint and enjoy!

IMG_6544

Rasberry almond protein balls


These little beauties have saved me this week!

photo 2

Whenever I feel like I need a boost, or the craving for chocolate kicks in, I’ve just grabbed one of these and they do the trick!

I don’t have specific quantities for these as I just grabbed what I had in the cupboard and threw it together – but I’ll give you a vague idea! It doesn’t really matter what quantities you use – it’s about what you like and finding a combination that’s tasty for you 🙂

What I like most about these is that they’re also full of protein and good fats.

I used freeze dried raspberry powder in this version – I got mine online (here) but your local health store might stock it too.

2 – 4 tbsp Nut butter (I used cashew and almond)

2 – 4 tbsp liquid Sweetener (maple syrup, agave, sweet freedom – your choice!)

a big handful of Nuts – I used hazelnuts, almonds and cashews (you can chop these up if you want to – I couldn’t be bothered!)

a few tbsps desiccated Coconut

1 – 2 tbsp Chia seeds

1 – 2 tbsp Sesame seeds

half a handful of dried Cherries

2 tbsp of freeze dried raspberry powder

2 scoops of Vanilla protein powder

photo 1

Put the nut butter and sweetener in a frying pan over a low heat. Stir while it heats through and combine the butter and sweetener. Don’t heat too fast or you’ll just end up drying the nut butter out. After a minute or so add in the rest of the ingredients. Stir well. You want to be able to squish the mixture into balls so if it’s too dry add a little more sweetener or nut butter. If it’s too wet add more nuts etc.

Remove from the heat and whilst still warm form little balls! You can roll the warm balls in desiccated coconut, sesame seeds, chia seeds, cocoa powder etc but I like my balls naked!

Enjoy!

photo 3

Salt and Spice and all things nice! The smallest pumpkin in the world and a yummy pumpkin seed snack! Re-post :)


As if you hadn’t noticed, it’s that time of year again – PUMPKIN TIME! So as part of my drive to post all things pumpkiny I thought I would re-post this little recipe from last year!

I’m getting my hands on another one of these little munchkin pumpkins for this year, but in the meantime – here’s last year’s delights! 🙂

Well, when I asked for a small pumpkin I wasn’t expecting something quite as small as this….

But anyone who knows me knows I love a challenge so not to be thwarted I decided I’d do my best with this little munchkin of a pumpkin and lo and behold look what I managed to create! Scary eh?

So there wasn’t much meat in this little pumpkin so rather than create the pumpkin-based hallowe’en cake I had planned I decided instead to do something funky with the seeds. It’s a sweet salty treat which sounds odd but combines some wonderful autumn flavours. I adapted it from the SNOG healthy treats book.

Salty and Spicey Sweet potato, raisin, pumpkin seed yumminess!

So I started off by creating some salted roasted seeds. Take your pumpkin seeds, remove all the stringy bits of pumpkin flesh and put in a pan. For every half cup of pumpkin seeds add 2 cups of water and 1 tablespoon of salt. Bring to the boil and then simmer for 10 minutes. Drain and allow to cool slightly.

Then spread them out in one layer on a baking tray and place in an oven at 200 degrees C for anything from 5 – 15 minutes. Just keep checking them as it will depend how big the seeds are. Mine took around 8 minutes 🙂

These are yummy as they are or you can hull (de-husk) them if you really want to (I couldn’t be bothered!). Eat them just like this or use them in the next bit of the recipe.

Take 1 sweet potato and cut it into 1cm cubes. Spread on a baking tray with 2 – 3 tablespoons of the salted roasted pumpkin seeds. Add a handful of raisins and then sprinkle with 1 tablespoon of coconut palm sugar and 1/2 teaspoon of cinnamon. Finally drizzle over some coconut oil (approx 2 tablespoons) and place in the oven at 190 degrees C for about 20 – 25 minutes until the sweet potato is cooked through and the sugar is caramelised. Stir occasionally.

Remove from the oven and allow to cool. Then enjoy on it’s own or spoon it over some natural yoghurt (or ice cream!). It sounds odd but trust me – the sweetness of the sweet potato and raisins go really well with the salty roasted seeds and the cinnamon adds a lovely autumnal twist! Divine and healthy too! 🙂

Happy Hallowe’en!

Simple Chocolate and Raspberry Pudding Recipe


This is a simple dessert recipe marrying two of my favourite flavours – raspberry and chocolate! Tastes like it shouldn’t be as healthy as it is! 🙂

_MG_7945

The chocolate part of this recipe is this awesome chocolate pudding from Colette’s Fitness Kitchen. Check out the original recipe on her site, but I’ve copied it below for you for ease too (I’ve omitted the orange extract for this pud) 🙂

_MG_8035

Raspberry layer

17g fresh Raspberries

1 1/2 tbsp Cornflour

2 1/2 tbsp of raw unrefined Caster sugar

1 1/2 tbsp cold Water

Put all the ingredients in to a small pan. Stir well until the flour is dissolved whilst heating gently. Bring to a boil and then reduce the heat and allow it the mixture to thicken (probably about 5 minutes). Remove and pour straight in to ramekins and set to one side. Now on to the chocolate pud bit!

Chocolate pud

1oz Cocoa butter
3 tbsp Cocoa powder
2 tbsp Pure protein powder (vanilla)
½ Avocado
Agave syrup to taste

Melt the cocoa butter gently on the hob or in the microwave. Mix the cocoa in until well combined. Add the avocado and blend until smooth (a wand blender works best). Mix in the protein powder and agave to taste. When smooth transfer to the ramekins and spread a layer on top of the raspberry mixture. Place in the fridge to cool and then serve with a dusting of cocoa powder

_MG_8041