Plum and Pear Cake


I had a last handful of my Nannie’s homegrown plums left and some more my friend’s pears so thought I’d try one last bake!

This is a really nice, moist sponge type of cake – perfect with a cup of tea on a Sunday afternoon! It’s delicious whilst still warm, but actually gets better the next day so is something you can easily make in advance. It’s a large cake and can comfortably serve 10-12 slices. I used half spoon sugar and a light spread to reduce the calories a bit so each slice was around 300 cals.

(If you want to make it egg free then egg replacer works well with this recipe 🙂 )

You will need:

300g plain flour

2 tsp baking powder

pinch of salt

225g Sugar (I used half spoon)

225g margarine or butter (I used a light non dairy spread)

4 large eggs

4-5 plums

1-2 small pears

Juice of half a lemon

cinnamon and sugar to sprinkle on top


Preheat the oven to 180 C.

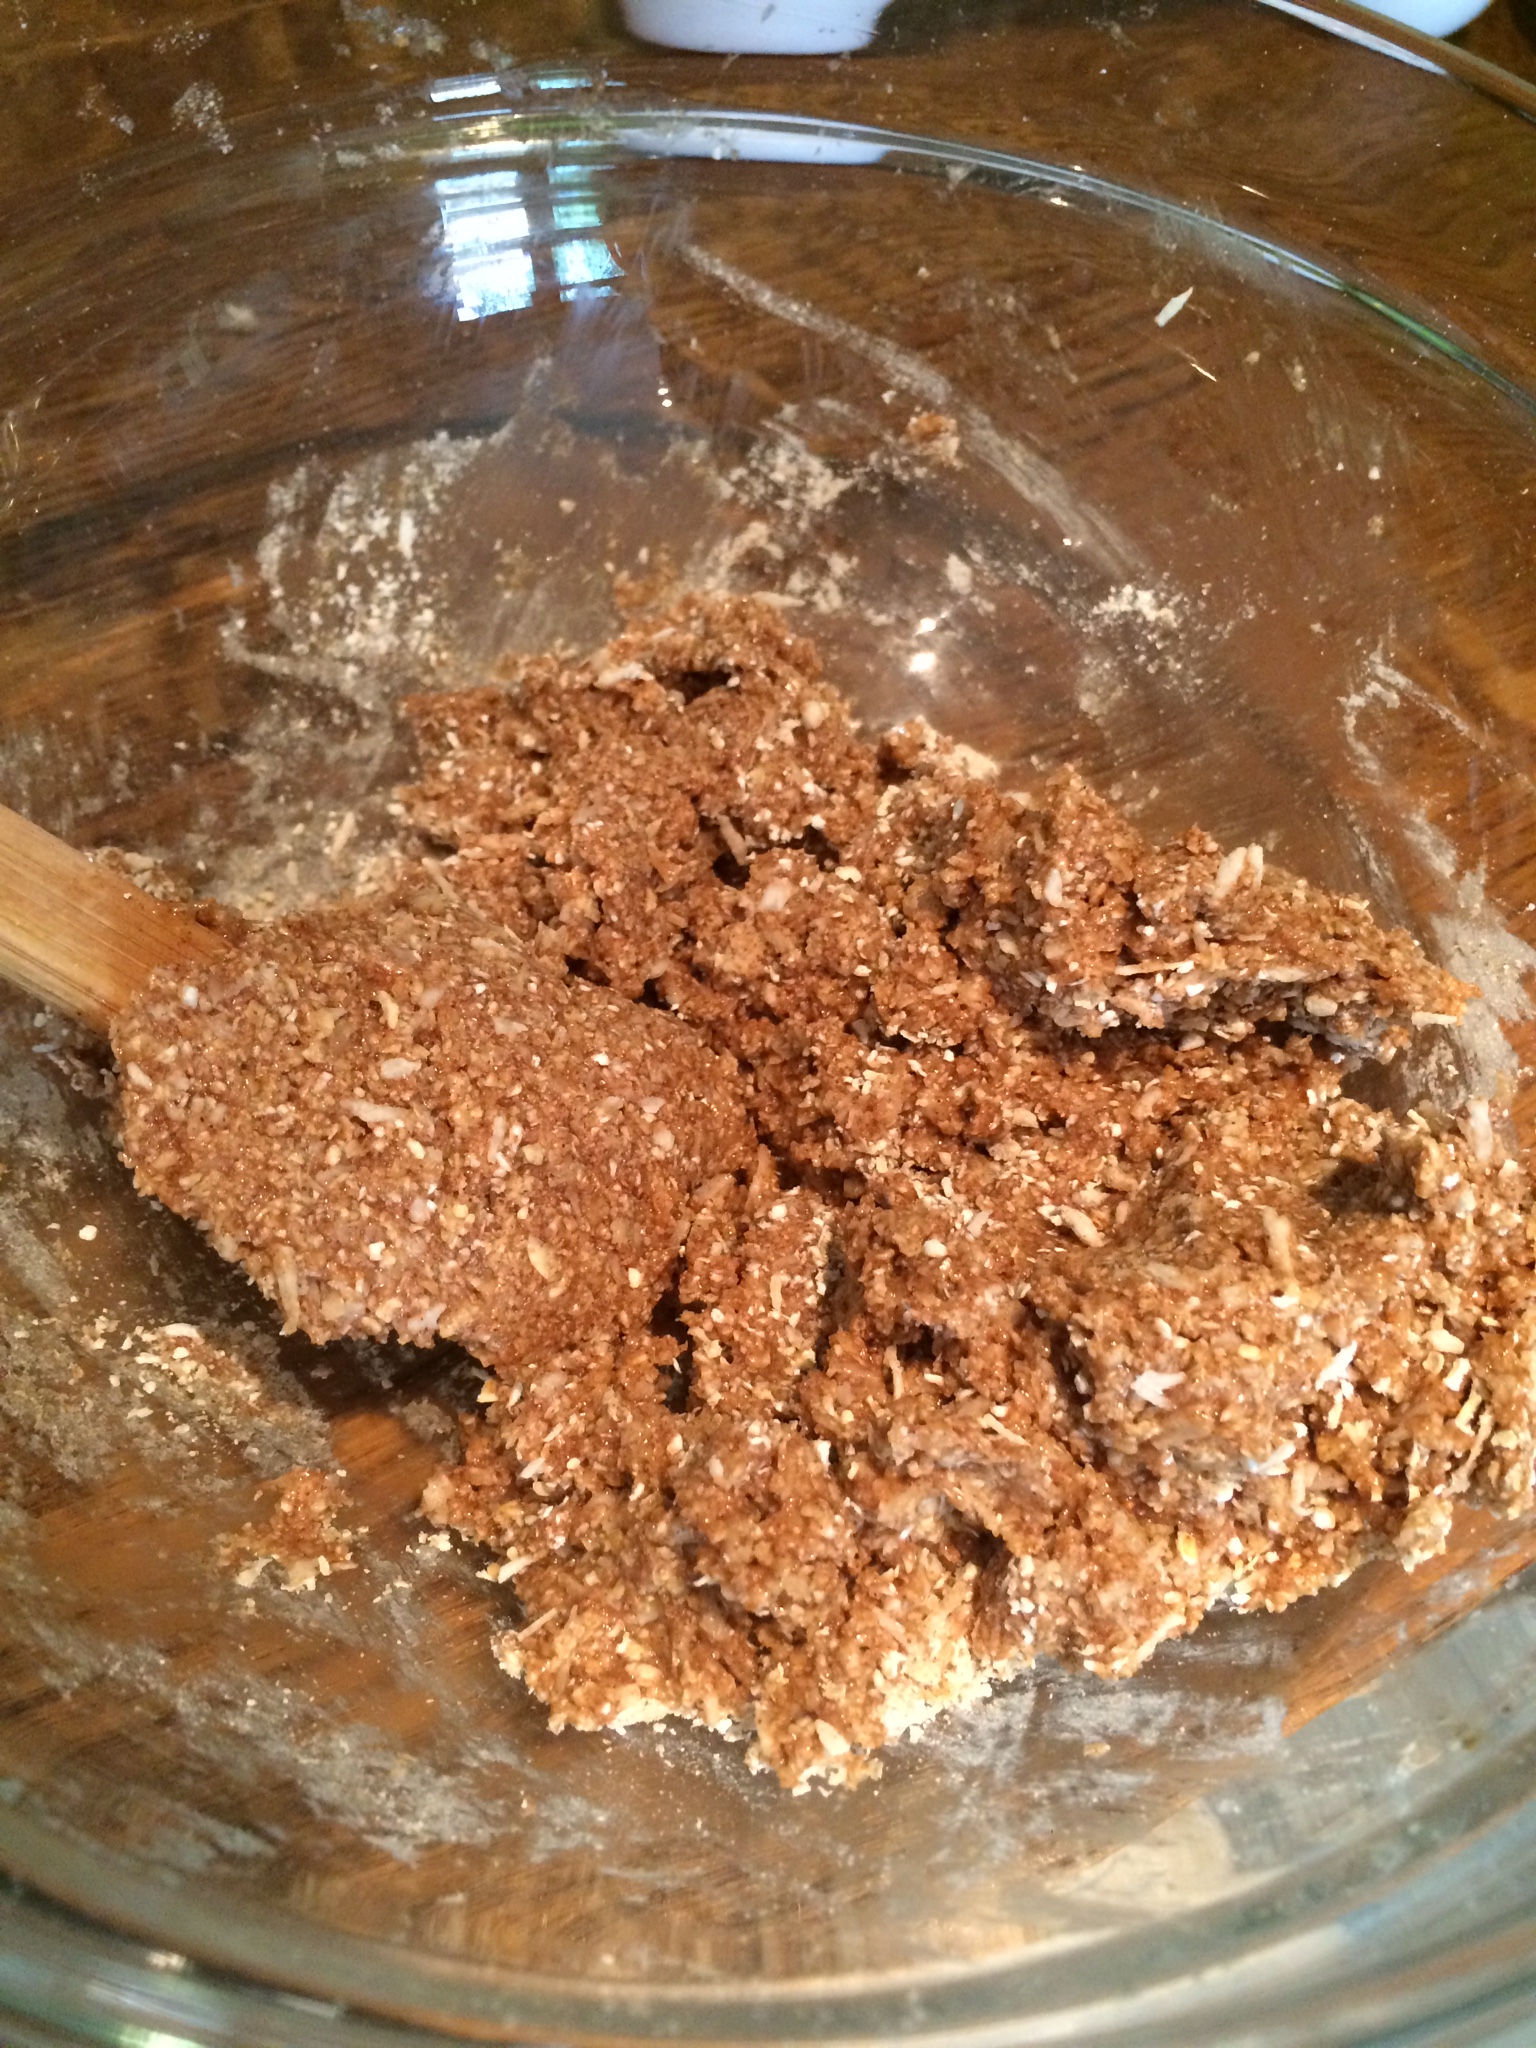
Mix the flour, baking powder and salt together bowl.

In another bowl cream the margarine and sugar until fluffy and light in color.

Add the eggs, one at a time and scraping down the bowl to ensure it’s mixed well.

Add the dry ingredients and mix until combined.

Spoon batter into a greased or lined 25cm spring form pan.

Cut the plums in halves and the pears in quarters (unless large then cut smaller). Arrange the plums and pears, skin side up as much as possible , all over the batter. Push them down in to the batter until partially covered.

Sprinkle the top with lemon juice, then cinnamon and finally a sprinkling of sugar.

Pop in the centre of the ovens for approximately 45-50 minutes or until cake is golden and a skewer comes out clean. Cool in the tin for ten mins then remove and cool on a rack.

Lightly dust with icing sugar before serving and then enjoy with a nice cup of tea!

Enjoy! 🙂

Xxx

Advertisement

Plum Jam


I was lucky enough to be given a load of Victoria plums from a friend – so what better thing to do with them than whip up some jam! I wanted to go for a slightly lower sugar jam so I used mostly halfspoon sugar but you could use normal sugar (just bear in mind you’ll need more sugar – a 1:1 ratio of sugar to fruit if so). You can use any weight of fruit you have, just adjust the quantity of sugar accordingly.

You will need:

900g Plums

500g Halfspoon sugar or 900g of jam sugar

Juice of 1/2 lemon

(Tiny knob of butter/spread – optional)

To start with pop a saucer in the freezer (to test the jam later!). De-stone and chop the plums in to quarters or small pieces (keep an eye out for the little maggots that sometimes get in them!).

Pop the plums in to a large saucepan with the sugar and lemon juice.Using a very gentle heat start to warm them up, folding the sugar in until it melts.

Bring it up to the boil gently (the key is taking your time so keep the heat low). Stir occasionally. Once it’s boiling you can turn it up a little and let it simmer for 5-10 mins.

A froth may form – if it does you can either skim it off with a spoon, or you can add a tiny bit of spread/butter to disperse the froth, or just leave it (I left it – I’m not too fussed about it!).

Test the jam after 10 mins or so. Put a small amount on the saucer from the freezer leave it for a min or so. If you can create a trail through the jam that doesn’t refill, or if the jam crinkles up when you push it, then it’s ready. If it’s still runny allow it to simmer for another couple of minutes and test again. If the fruit is very ripe you may find it takes much longer – it’s all about the ratio of water to sugar so keep boiling off the water (or you can add a little extra sugar too).

Pop some clean jars in the oven at about 100 C for ten mins or so. Remove the jam from the heat and pour into the jars.

Apply wax seals and cellophane if you have it (Lakeland and other places do fab little sets, but if not you can just put the lid on). Allow to cool, label and store in the fridge.

It should be ready to eat after 24hrs. If it turns out not to have set then it’s no drama, you just have a lovely plum compote to pour over yoghurt, pancakes or ice cream instead! Plum jam does have a tendency to over set – if you find it’s a tad rubbery don’t panic – empty the jars back in to a pan, heat gently and add a little water to loosen it. Perform the saucer test again and then pop back into the jars (having cleaned and sterilised then again).

Enjoy 🙂

Xx

Ps also delicious spread on a slice of plum and cinnamon loaf (recipe here)!

Blackberry bakewell slice


Having made some blackberry jam I thought it was only right to find a use for it! I love Bakewell tarts – that combo of almond frangipane and jam is just delish! So I thought I’d make a blackberry version!

You can obviously use shop bought jam for this but if you fancy making it yourself then you can follow my recipe here (blackberry jam). If you have the time, and inclination, you can make your own short crust pastry (recipe below) or you can just buy the ready made stuff from the supermarket! This made one tray and three small tarts – approx 20 slices, at 299 cals each!

You will need:

For the pastry
300g plain flour
125g cold butter or dairy free ‘butter’/ spread
30g sugar (or 15g half spoon to save cals)
1 egg
2 tbsp non dairy or dairy milk (optional)

Or one pack of ready made short crust pastry.

For the filling:
approx 200g blackberry jam

A handful of blackberries

A handful of flaked almonds
250g dairy free spread
100g caster sugar (or 50g half spoon sugar)
5 eggs
250g ground almonds
2 tbsp self-raising flour

If you are making the pastry put the flour, butter and sugar into a processor and pulse until it resembles breadcrumbs. Add the egg and pulse until it comes together into a rough dough. If it is too dry add a little milk. Add one of the eggs and pulse until the mixture comes together to form a rough dough. If the dough is too dry, add a bit of milk. Form the dough into a ball, wrap in clingfilm and chill in the fridge for 20-25 mins.

Unwrap the dough (or open up your packet of ready made pastry!) and turn out onto a floured surface. Roll it out until it is large enough for your tray (l used one thought 20 x 15 cm, and then three small round tart cases).

Grease the tin or line with baking parchment and then lay the pastry tins and trim off the excess. Pop in the fridge to chill for 10 – 20 mins and preheat the oven to 200 C.

Remove from fridge, prick with a fork across the tin and line with baking parchment and fill with baking beans (or dried pulses or rice if you don’t have any). Bake for 15-20 minutes, or until the pastry is lightly golden-brown.

Remove the paper and beans and brush the pastry with a little spread, beaten egg or milk and then return to the oven for 5 mins or so until golden brown. all over with the remaining beaten egg. Remove the pastry from the oven and turn the oven down to 180 C. Once done remove and leave out to one side.

Now start on the filling. Beat the spread and sugar together until light and fluffy. Add the eggs one at a time and beat gentle each time (don’t worry if it appears to split a bit). Add the flour and ground almonds and beat together.

Spread the jam over the pastry, be as generous as you like – I love the jammy bit so I like a thick layer!

Gently spoon or pipe the filling over the top and smooth it down. Press in the whole blackberries, and sprinkle with a little sugar and flakes almonds.

Bake for 45-50 mins. The frangipane should be cooked all the way through with a sugary crust on the top. Remove from the oven and leave to cool.

Slice and serve – on its own or with some ice cream or custard!

Enjoy 🙂

Xx

Easy Blackberry Jam


Still making the most of the blackberry season and thought I’d have a go at a simple blackberry jam. Perfect for using up the end of season blackberries or those that have gone a bit squishy!

It doesn’t matter what weight of blackberries you use just ensure you use an equal weight of sugar.

You will need:

500g blackberries

500g jam or preserving sugar

Juice of 1 lemon

(Tiny knob of butter/spread – optional)

Ensure your blackberries are clean and then pop in the saucepan together with the sugar, and lemon juice.

Using a very gentle heat start to warm them up, folding the sugar in until it melts.

Bring it up to the boil gently (the key is taking your time so keep the heat low). Stir occasionally. Once it’s boiling you can turn it up a little and let it simmer for 10-12 mins.

A froth may form – if it does you can either skim it off with a spoon, or you can add a tiny bit of spread/butter to disperse the froth.

Test the jam after 10 mins or so. Put a small amount on a plate and pop it in he fridge for a couple of mins. If you can create a trail through the jam that doesn’t refill, or if the jam crinkles up when you push it, then it’s ready. If it’s still runny allow it to simmer for another couple of minutes and test again.

Pop some clean jars in the oven at about 100 C for ten mins or so. Remove the jam from the heat and pour into the jars.

Apply wax seals and cellophane if you have it (Lakeland and other places do fab little sets, but if not you can just put the lid on). Allow to cool, label and store in the fridge.

It should be ready to eat after 24hrs. If it turns out not to have set then it’s no drama, you just have a lovely

Blackberry syrup to pour over yoghurt, pancakes or ice cream instead!

Enjoy 🙂

Xx

Apple and blackberry loaf


I got given a massive haul of blackberries and some little wild apples from some very kind friends (and I do mean a massive haul!). So I thought I’d better come up with another recipe to use some of them!

This time it’s a yummy loaf cake – combining the apples and blackberries. Perfect for a Sunday afternoon, with a cuppa! This makes one loaf and assuming you cut it into 8 slices it’s about 284 cals per slice!

You will need:

250g self-raising flour (any type you like)

175g dairy-free spread

175g sugar (or 85g half spoon sugar for less cals)

1 small cooking apple (or in my case 5 tiny apples!)

2 large eggs, beaten

225g blackberry

1 tsp cinnamon

1 tsp baking powder

Preheat the oven to 180 C.

Put the flour, sugar and spread in a large bowl and using a fork or your fingertips rub together to form a crumb-like mixture. Take 5 tbsp of the mixture out and place to one side. Then add the baking power and mix well.

Peel and core the apple (or mini apples in my case) and then grate into a bowl. Add the beaten eggs and mix well.

Add to the dry mixture and combine lightly to form a dough (try not to over mix it). Gently fold in three quarters of the blackberries.

Put the mixture into the loaf tin and scatter the remaining berries over the top and then cover with the crumb mixture you set aside earlier.

Put in the oven and bake for 60 – 80 mins. Check it half way through and cover with foil if the top is starting to burn. It’s done when a skewer comes out clean.

Allow to cool in the tin for about 25 mins, then remove. Slice and serve!

enjoy! 🙂

Xx

Blackberry and Coconut Slices


I was given an extremely generous haul of blackberries from some lovely friends so it was time to whip up another blackberry-based bake! I love coconut so thought I’d combine the two!

This is really easy to make and quick to prepare, though takes a little while to cook. Perfect for school lunch boxes or mid-afternoon office snacks too, or a tasty dessert with custard! This makes 12 – 16 slices (depending how large you cut them!) at 260 – 200 cals per slice.

You will need:

250g self raising flour (any type you like)

50g oats

200g sugar (or 100g half spoon sugar)

90g desiccated coconut

200g dairy free spread (or butter)

300g blackberries

1 tsp cinnamon (if you’re a fan of cinnamon you can add more)

Preheat oven to 180 C.

Add the flour, oats, sugar and cinnamon into bowl and mix well. Add the spread and use your fingers or a fork to rub it in to the flour until you have a crumble mix.

Add the coconut and mix well. Remove a cup full of mixture and place to one side. Add the eggs to the remaining mixture and stir in to form a sticky dough. Line a small baking tray (I used a 27 x 17cm tray) and press the mixture into the tray, smoothing the top with a spoon.

Scatter the blackerries over the top and then sprinkle the mixture you set aside over the top.

Place in the oven for 60 mins or until a skewer comes out with only moist crumbs. Check regularly and about half way through cover the tray with foil before the topping starts to burn.

Leave to cool, then remove from the tin and cut into squares.

Eat as it is, or serve with more berries and yoghurt, custard or ice cream!

Enjoy 🙂

Xx

Banana blueberry oat bites


I had a spare half an hour and some over ripe bananas so whipped up these super quick, easy, healthy banana blueberry oat bites! These are a perfect snack at only 184 kcals (and really good fresh out the oven!) – a couple would make a great brekkie on the go too!

You can experiment with different options instead of blueberries – raspberries, coconut, chocolate chips etc would all work brilliantly! They are dairy free and can easily be made with an egg replacer if you want a vegan option, and can easily be made gluten free too if required (see below).

This made 9 bites (you could squeeze 12 out of the mix if you wanted smaller ones of about 154 kcals).

You need:

2 ripe bananas mashed

1 egg (or egg replacer if required)

1/4 cup liquid sweetener (maple syrup/agave etc)

1/3 cup nut butter (I used almond but any would work)

2 tbsp soya (or any) milk

A dash of vanilla extract

1 tsp baking powder (gluten free if required)

2 cups jumbo rolled oats (gluten free if required)

1 cup blueberries

Add everything except the oats and baking powder to a large bowl and mix well. Add the oats and baking powder and combine, then fold in the blueberries. Bake for 15 mins at 180 C (or until set).

Eat! 🍌🍒🍪

Raspberry and vanilla heart biscuits 


I thought I’d have a go at some cute valentine’s biscuits this year. These can be gluten free or not depending on what flour you use. They’re dairy free but do contain eggs. They look fab and are a lot simpler to make than they look!


Give them a go this Valentine’s 🙂

You will need:

300g plain flour (or plain gluten free flour)

200g dairy free margarine 

120g golden caster sugar

2 egg yolks

30g freeze-dried raspberries

2 tsp vanilla extract

Put the flour and margarine (chopped or in small bits) in a food processor and pulse until it forms a crumb-like texture. Add the egg yolks and sugar and then pulse again until it forms a dough. 

Take 1/3 of the dough and put in a separate bowl. Add the vanilla extract to the remaining 2/3 and pulse again to combine. Then remove that dough and leave it in the fridge to chill. 

Put freeze dried raspberries into the processor and whizz until a fine dust. Add the 1/3 of the dough you removed to the raspberries. Pulse to combine.  Put the dough in the fridge to chill for at least an hour. 

Once chilled roll out the raspberry dough and cut out small heart shapes (I used a small 3cm heart cutter). It doesn’t matter exactly how thick they are as you will take all the cut out hearts and stack them together. Press them carefully together, ensuring you maintain the heart shape. Wrap in cling film and pop in the freezer for a couple of hours (you can do all this but one day and leave it overnight too).

When you’re ready to make the biscuits take the heart-roll out the freezer and the vanilla dough out of the fridge. Make three cylinders of the vanilla dough that are the length of the heart-roll. Stick them on to the heart-roll and carefully press them around it until you have completely covered the hearts in a circle. 


Wrap and pop in the freezer for 20 mins or so, then remove and cut into 1cm slices. 


Place them on a baking tray and pop them into a preheated oven at 170 C for 20 – 25 mins or until the edges start to turn golden. Allow them to cool on the tray for ten mins and then transfer to a wire rack.


They’re crumbly and yummy! Enjoy with a cup of tea or give them to someone you love!

Ape Crispy Coconut Curls – A review of a delicious savoury snack!


Well these kinda won me over right from the off – the anthropologist and monkey Dr in me was naturally drawn straight to any snack called Ape Crispy Coconut Curls and thrilled to be sent some to try. They’re made by a small london based company which also ticks lots of boxes for me as I’m always keen to support small businesses.

IMG_1804

So unlike most coconut-based snacks these are actually savoury, not sweet – which is fab! Finding a healthy, tasty alternative to things like crisps can be really tough and I’ve tried lots of savoury snacks in the past but I think these hit the spot the best. They are little bags of delightfully crispy coconut shavings with either a light dusting of black pepper or salt.

IMG_1807

Coconut is an awesome thing to snack on – it’s full of fibre and has more protein and less carbs than other savoury snacks like popcorn or potato crisps. They’re also full of good fats – medium-chain triglycerides which are linked to lots of healthy benefits increased calorie burning and make a great fuel as they’re easy for the body to metabolise. They also have antioxidant, antiviral and antimicrobial properties.

So on to the curls themselves. They’re completely natural with only two ingredients – the coconut and seasoning and are dried, not fried. I tried both flavours and loved both of them! So much I wolfed them down!

IMG_1812

The slightly peppered flavour has just enough punch to give you a peppery hit without being overbearing and is super tasty. The lightly salted variety is also delicious – again not too salty but just enough to hit any savoury craving. The packs do look small so I was a bit worried they wouldn’t be enough but actually because coconut is so filling it was the perfect portion size.

IMG_1817

I will definitely be getting these again – they’re a brilliant on-the go snack, they’re only 107 – 109 kcals and are gluten-free and vegan so everyone can enjoy them! Grab yourself a few bags and start munching happy!

If you want to find out more check out their website www.apesnacks.com or their facebook page  and look out for them in Ocado, Morrisons, Planet Organic, As Nature Intended, Revital and Nourish (as well as some independent cafes etc).


Coconut Apple Bites – a delicious alternative to apple pie!


These are absolutely delicious – quick and easy to make and so much better than a slice of apple pie – but taste just as good – if not better!

IMG_1774

Depending on how large your apples are you may need more or less of the crust – you may just have to adjust. Don’t worry about having to buy oat flour – you can make your own – just pop some porridge oats in to a blender and blend until fine.

Here’s a video showing you exactly how to make them 🙂

You will need:

1 cup Oat flour

2 tsp Cinnamon

1 tsp Nutmeg

1/2 cup Desiccated coconut

4 tbsp Coconut syrup (I use Bali Nutra)

1 – 2 Apples (depending on size. I used Bramley’s)

Warm water – up to 4 tbsp

IMG_1775

Pre-heat the oven to 175 C.

Peel, core and dice your apples – you want chunks about an inch square. If you don’t want them to go brown you can pop them in cold water with some lemon/lime juice in. I don’t really mind if they go a little brown so I don’t bother.

Pop the oats and coconut in a bowl, mix the spices in and stir together. Add the coconut syrup and mix to form a dough. You need a workable but sticky dough so you may find you need to add a little water. I prefer not to add more coconut syrup as it gets too sweet but it’s up to you.

IMG_1776

Take a spoonful of the crust mixture and flatten in your hand. Pop a piece of apple in the middle and cover it in the crust dough.

IMG_1766

Pop on a lined baking tray. Once all the apples are covered pop in the oven for 10 – 15 mins – turning once. You want them to crisp up and go golden brown.

IMG_1778

Eat warm or allow to cool and store in an airtight container for later.

IMG_1770