I was lucky enough to be given a load of Victoria plums from a friend – so what better thing to do with them than whip up some jam! I wanted to go for a slightly lower sugar jam so I used mostly halfspoon sugar but you could use normal sugar (just bear in mind you’ll need more sugar – a 1:1 ratio of sugar to fruit if so). You can use any weight of fruit you have, just adjust the quantity of sugar accordingly.


You will need:
900g Plums
500g Halfspoon sugar or 900g of jam sugar
Juice of 1/2 lemon
(Tiny knob of butter/spread – optional)
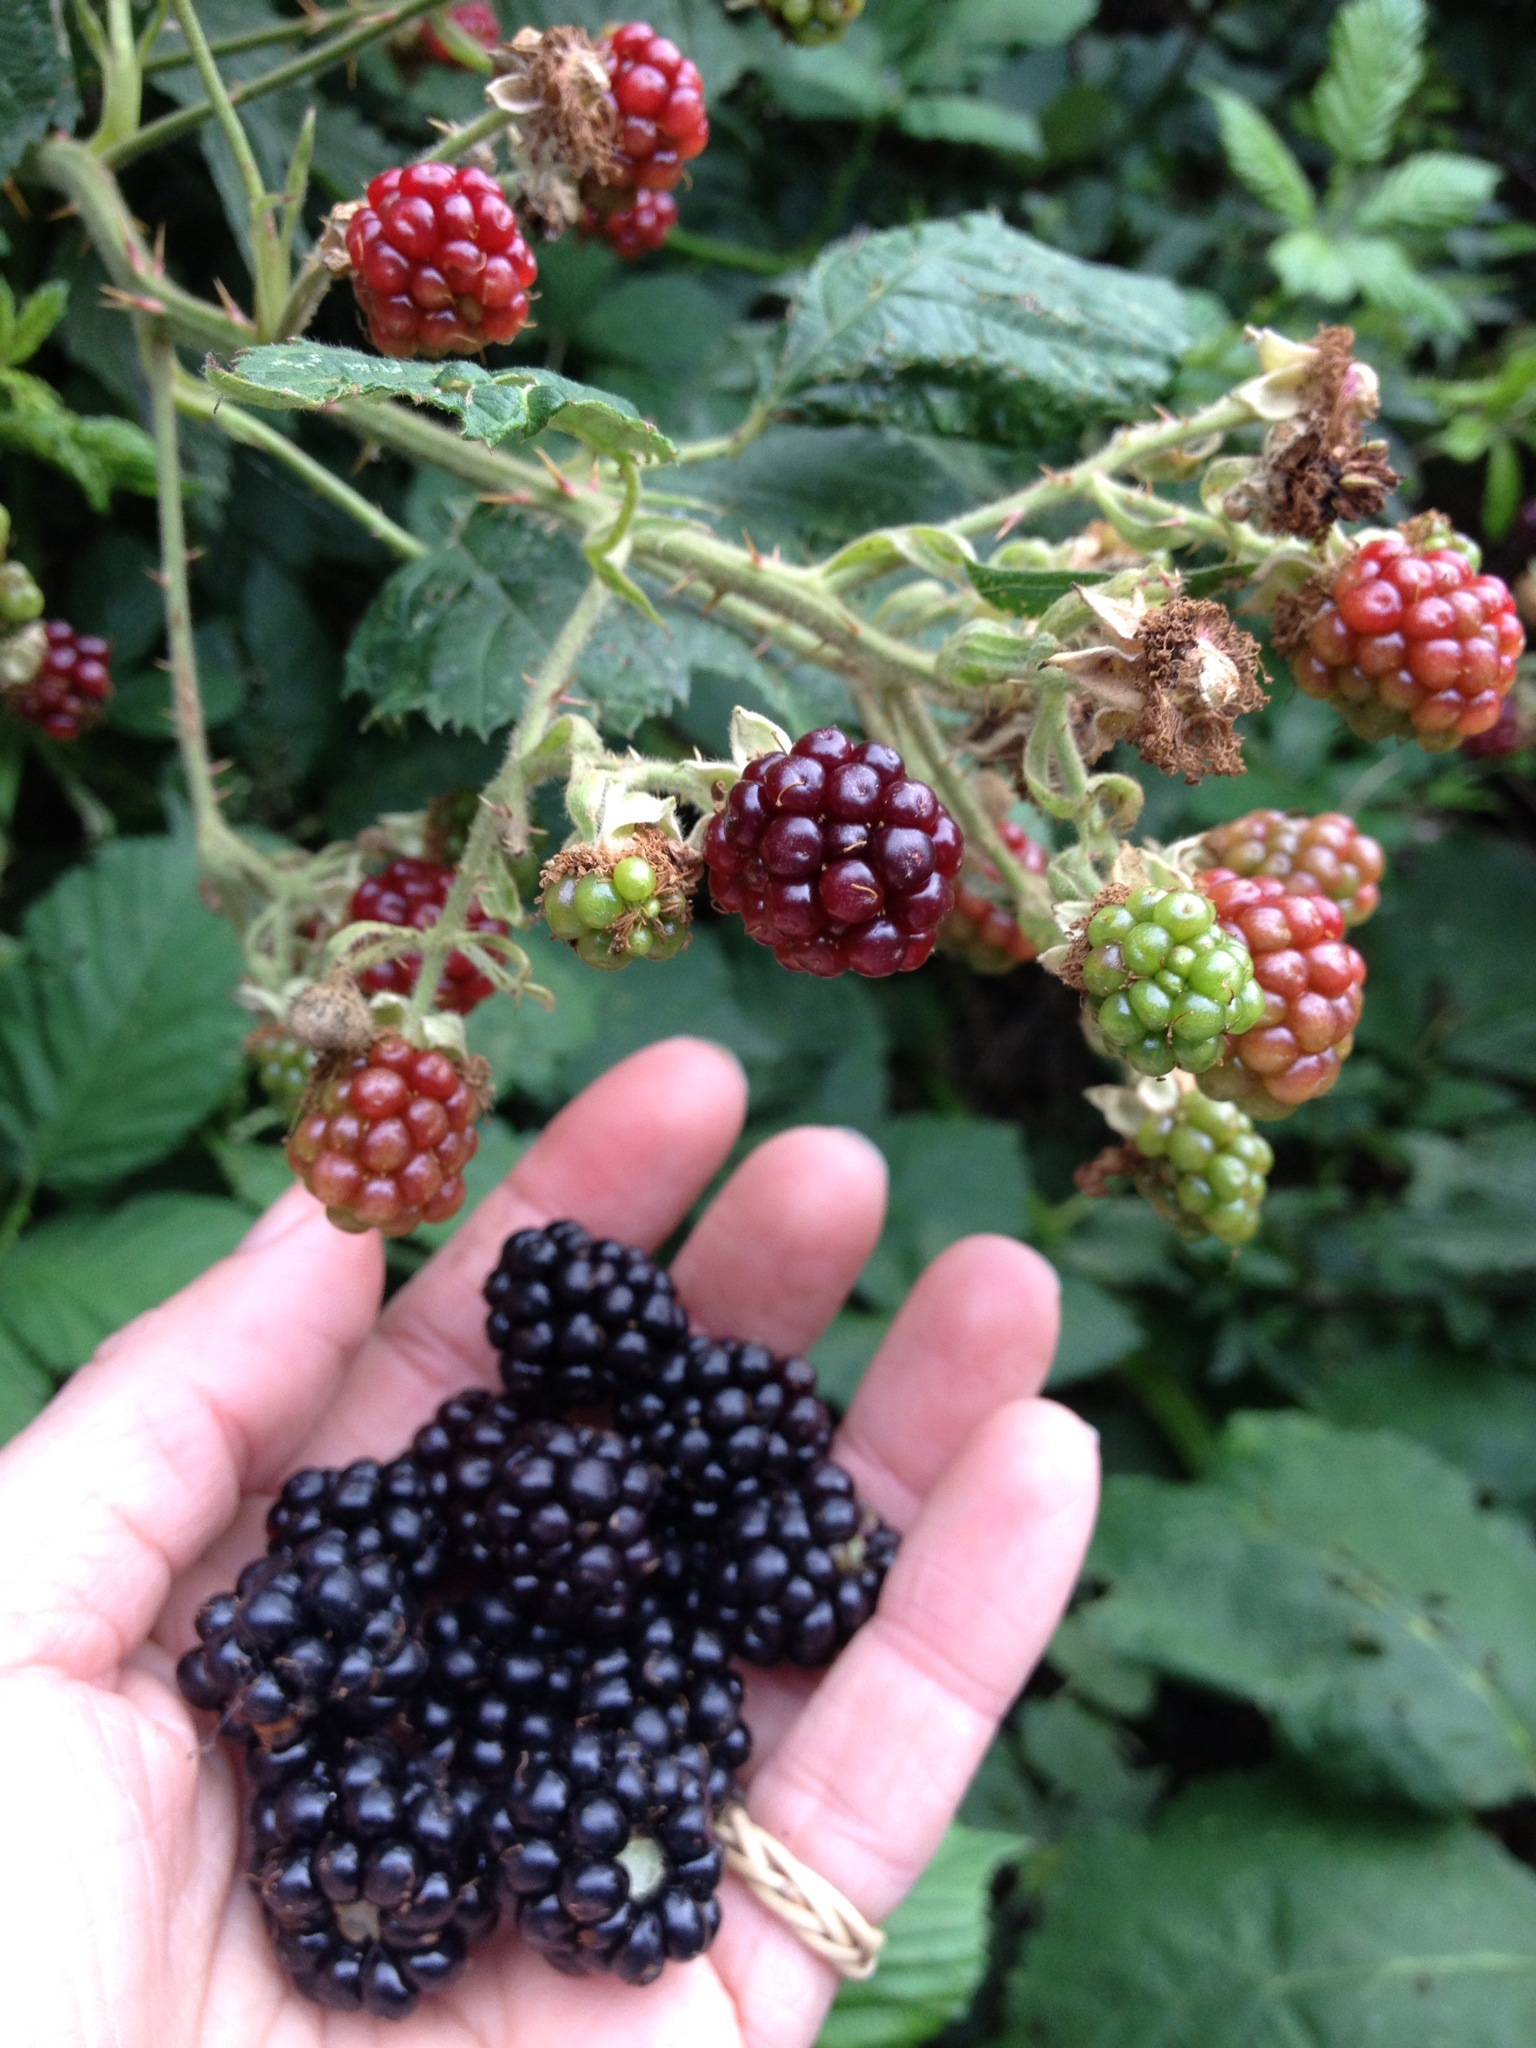
To start with pop a saucer in the freezer (to test the jam later!). De-stone and chop the plums in to quarters or small pieces (keep an eye out for the little maggots that sometimes get in them!).

Pop the plums in to a large saucepan with the sugar and lemon juice.Using a very gentle heat start to warm them up, folding the sugar in until it melts.

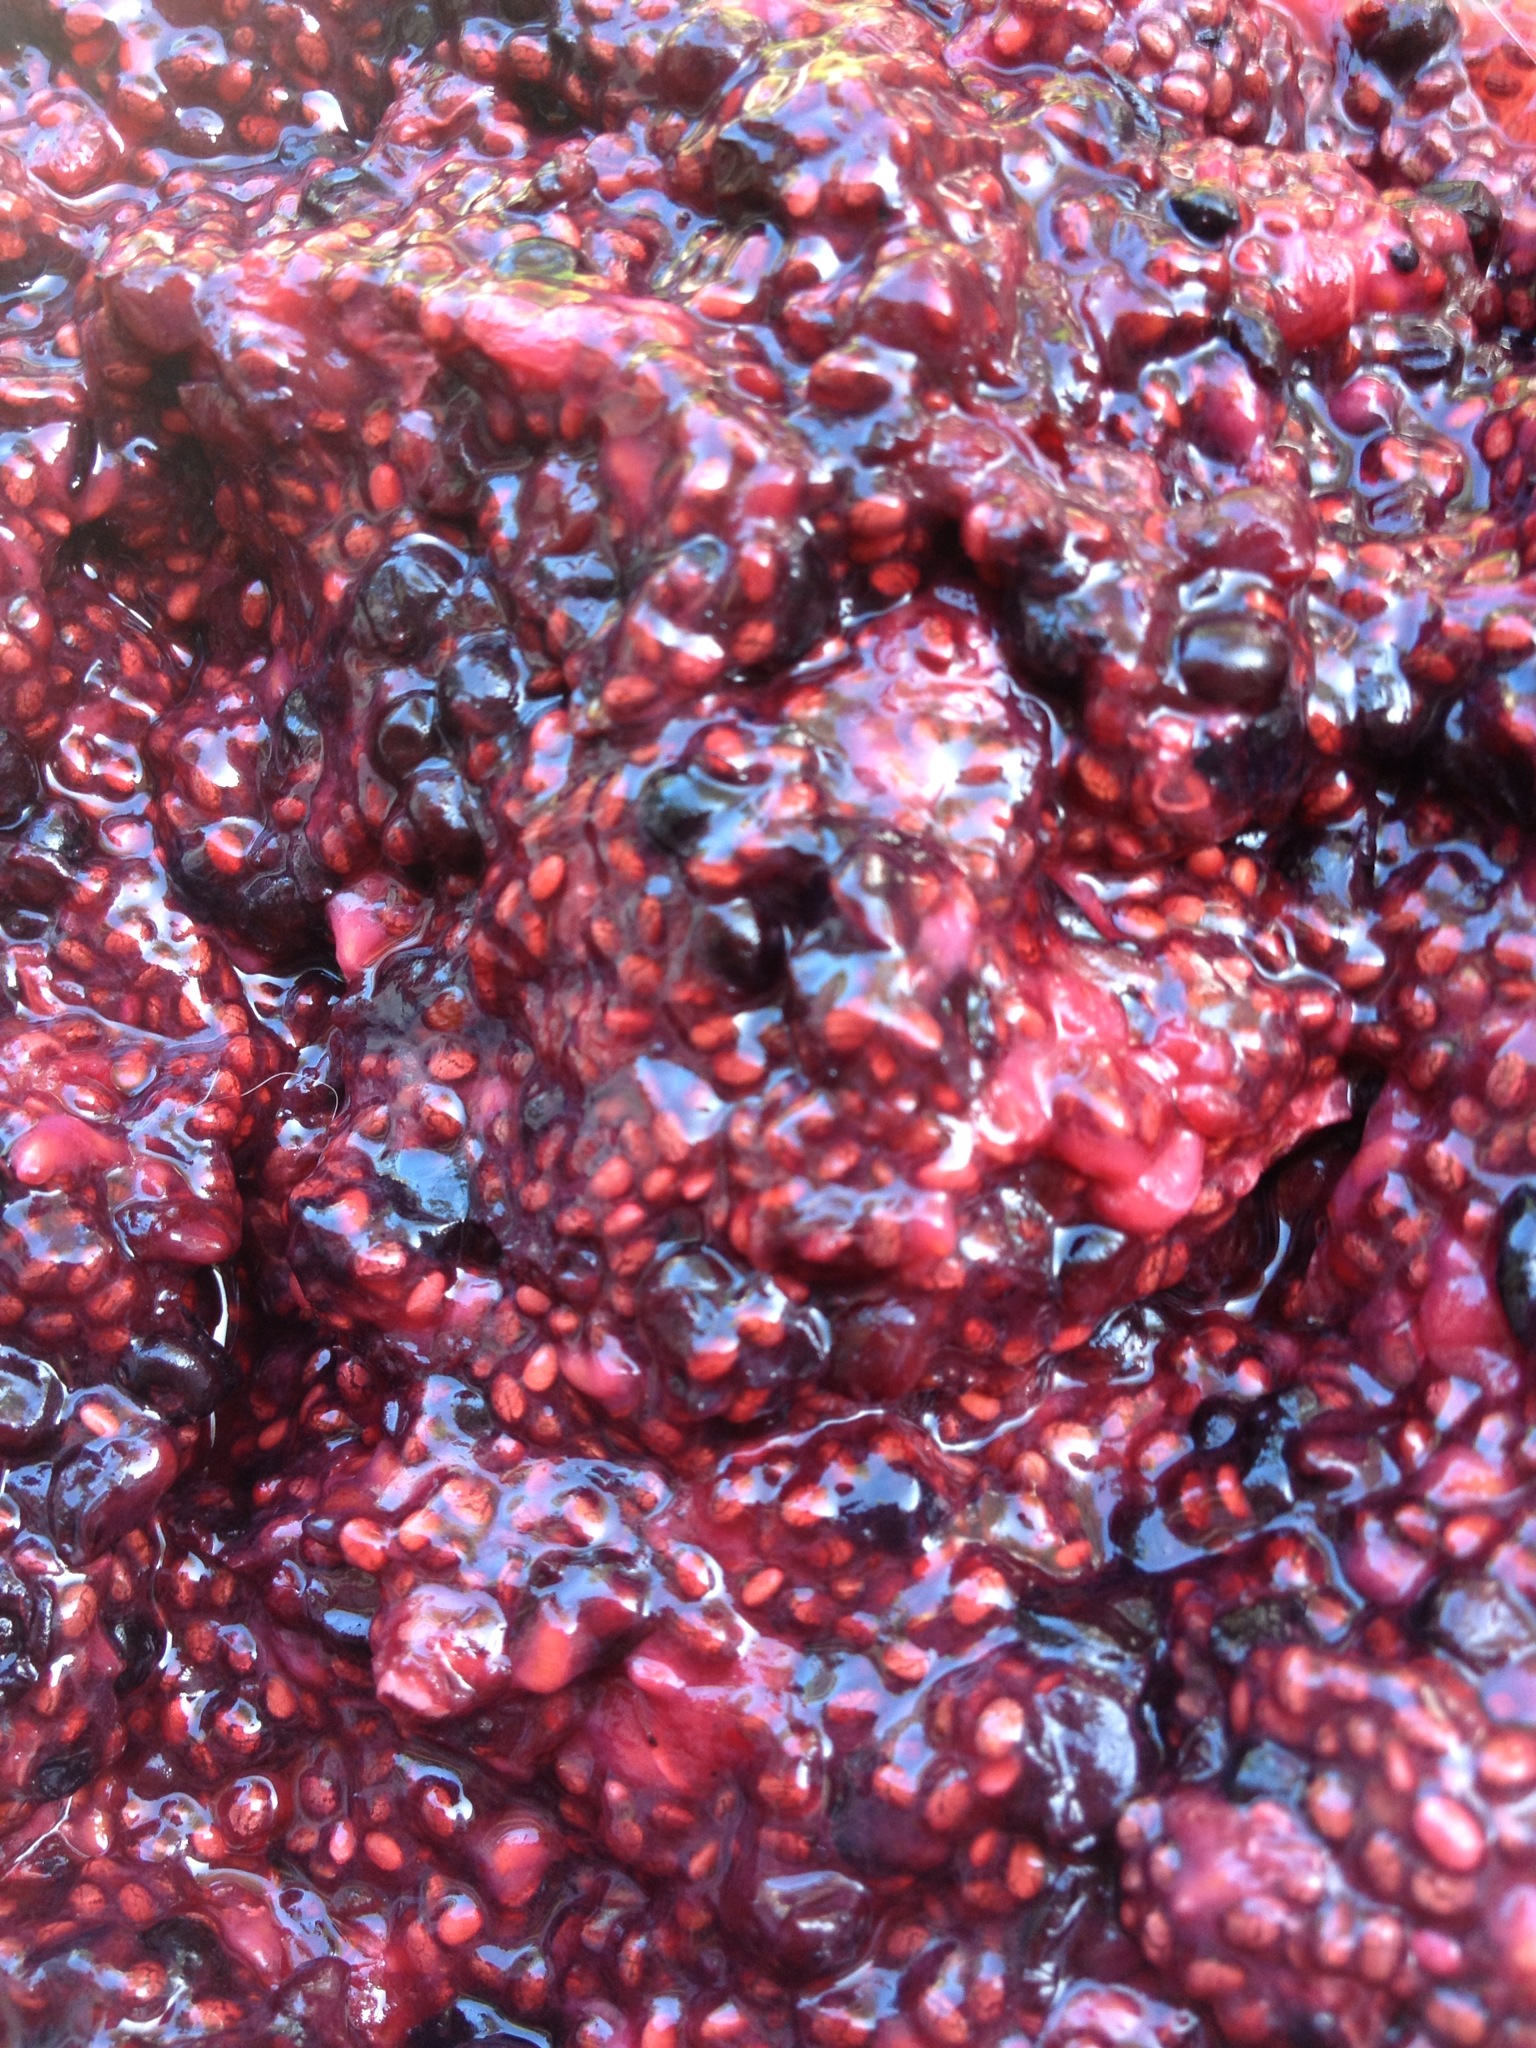
Bring it up to the boil gently (the key is taking your time so keep the heat low). Stir occasionally. Once it’s boiling you can turn it up a little and let it simmer for 5-10 mins.

A froth may form – if it does you can either skim it off with a spoon, or you can add a tiny bit of spread/butter to disperse the froth, or just leave it (I left it – I’m not too fussed about it!).

Test the jam after 10 mins or so. Put a small amount on the saucer from the freezer leave it for a min or so. If you can create a trail through the jam that doesn’t refill, or if the jam crinkles up when you push it, then it’s ready. If it’s still runny allow it to simmer for another couple of minutes and test again. If the fruit is very ripe you may find it takes much longer – it’s all about the ratio of water to sugar so keep boiling off the water (or you can add a little extra sugar too).


Pop some clean jars in the oven at about 100 C for ten mins or so. Remove the jam from the heat and pour into the jars.
Apply wax seals and cellophane if you have it (Lakeland and other places do fab little sets, but if not you can just put the lid on). Allow to cool, label and store in the fridge.

It should be ready to eat after 24hrs. If it turns out not to have set then it’s no drama, you just have a lovely plum compote to pour over yoghurt, pancakes or ice cream instead! Plum jam does have a tendency to over set – if you find it’s a tad rubbery don’t panic – empty the jars back in to a pan, heat gently and add a little water to loosen it. Perform the saucer test again and then pop back into the jars (having cleaned and sterilised then again).
Enjoy 🙂
Xx
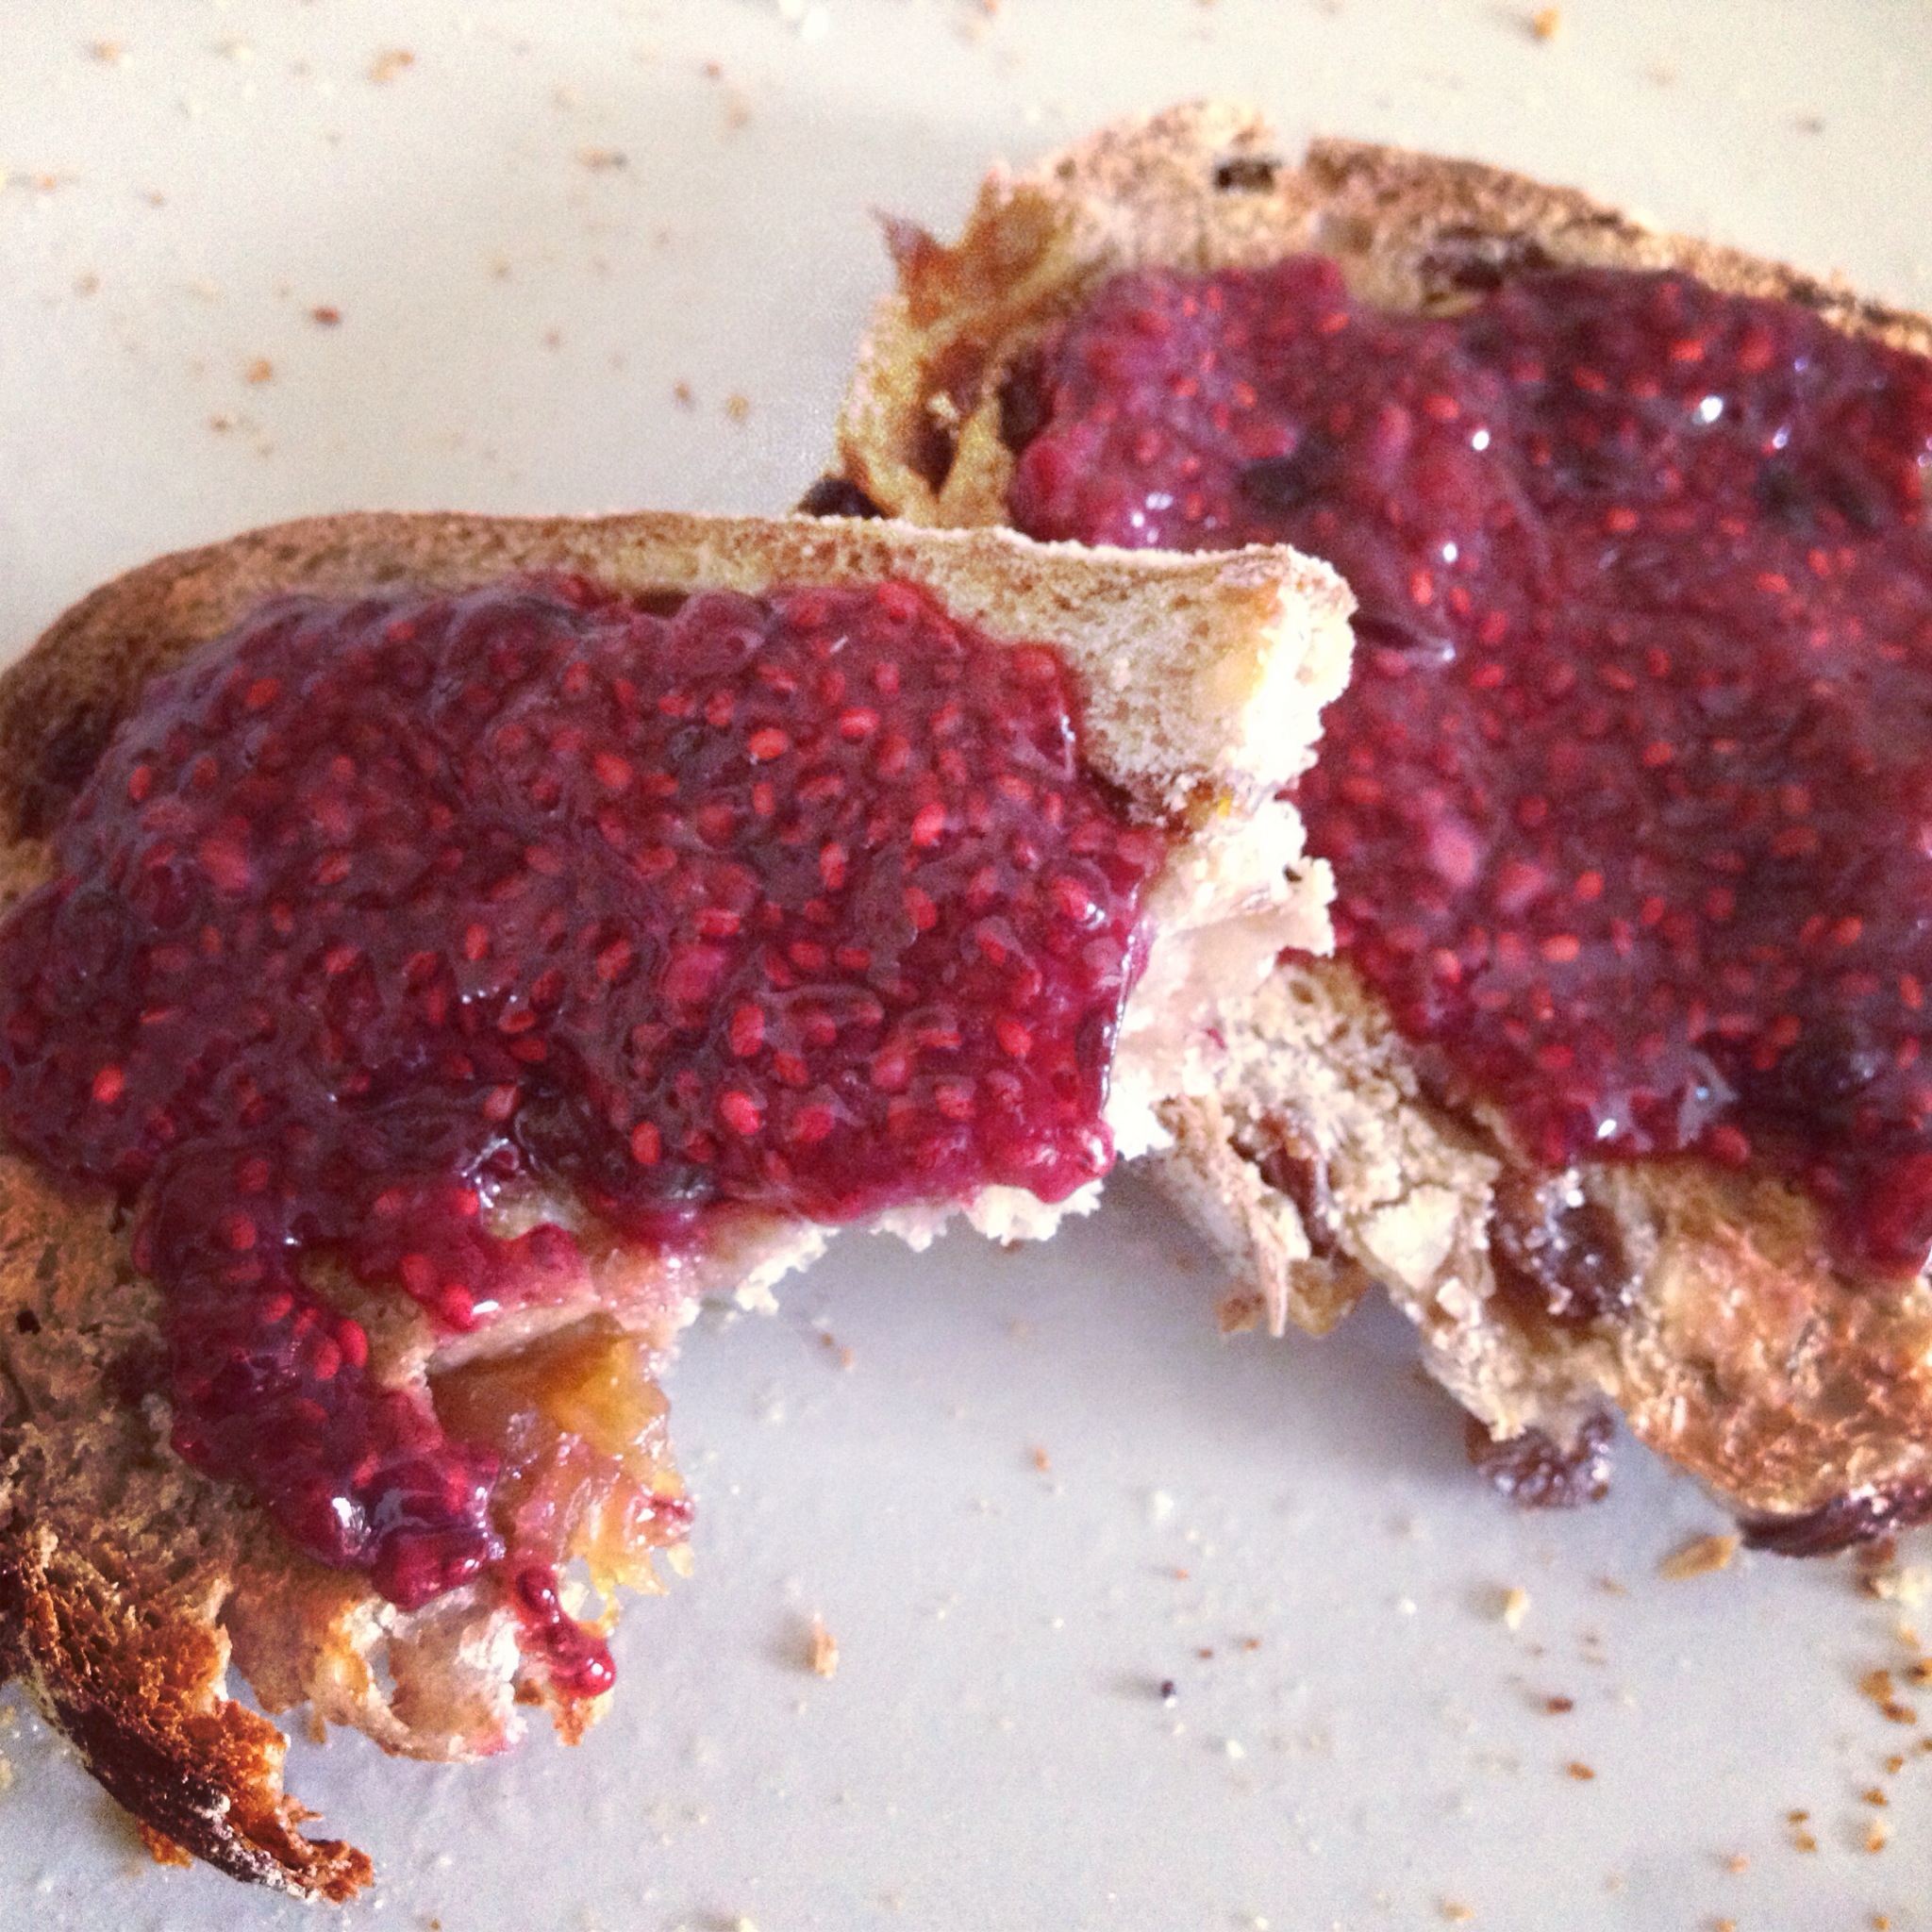
Ps also delicious spread on a slice of plum and cinnamon loaf (recipe here)!