Blackberry bakewell slice


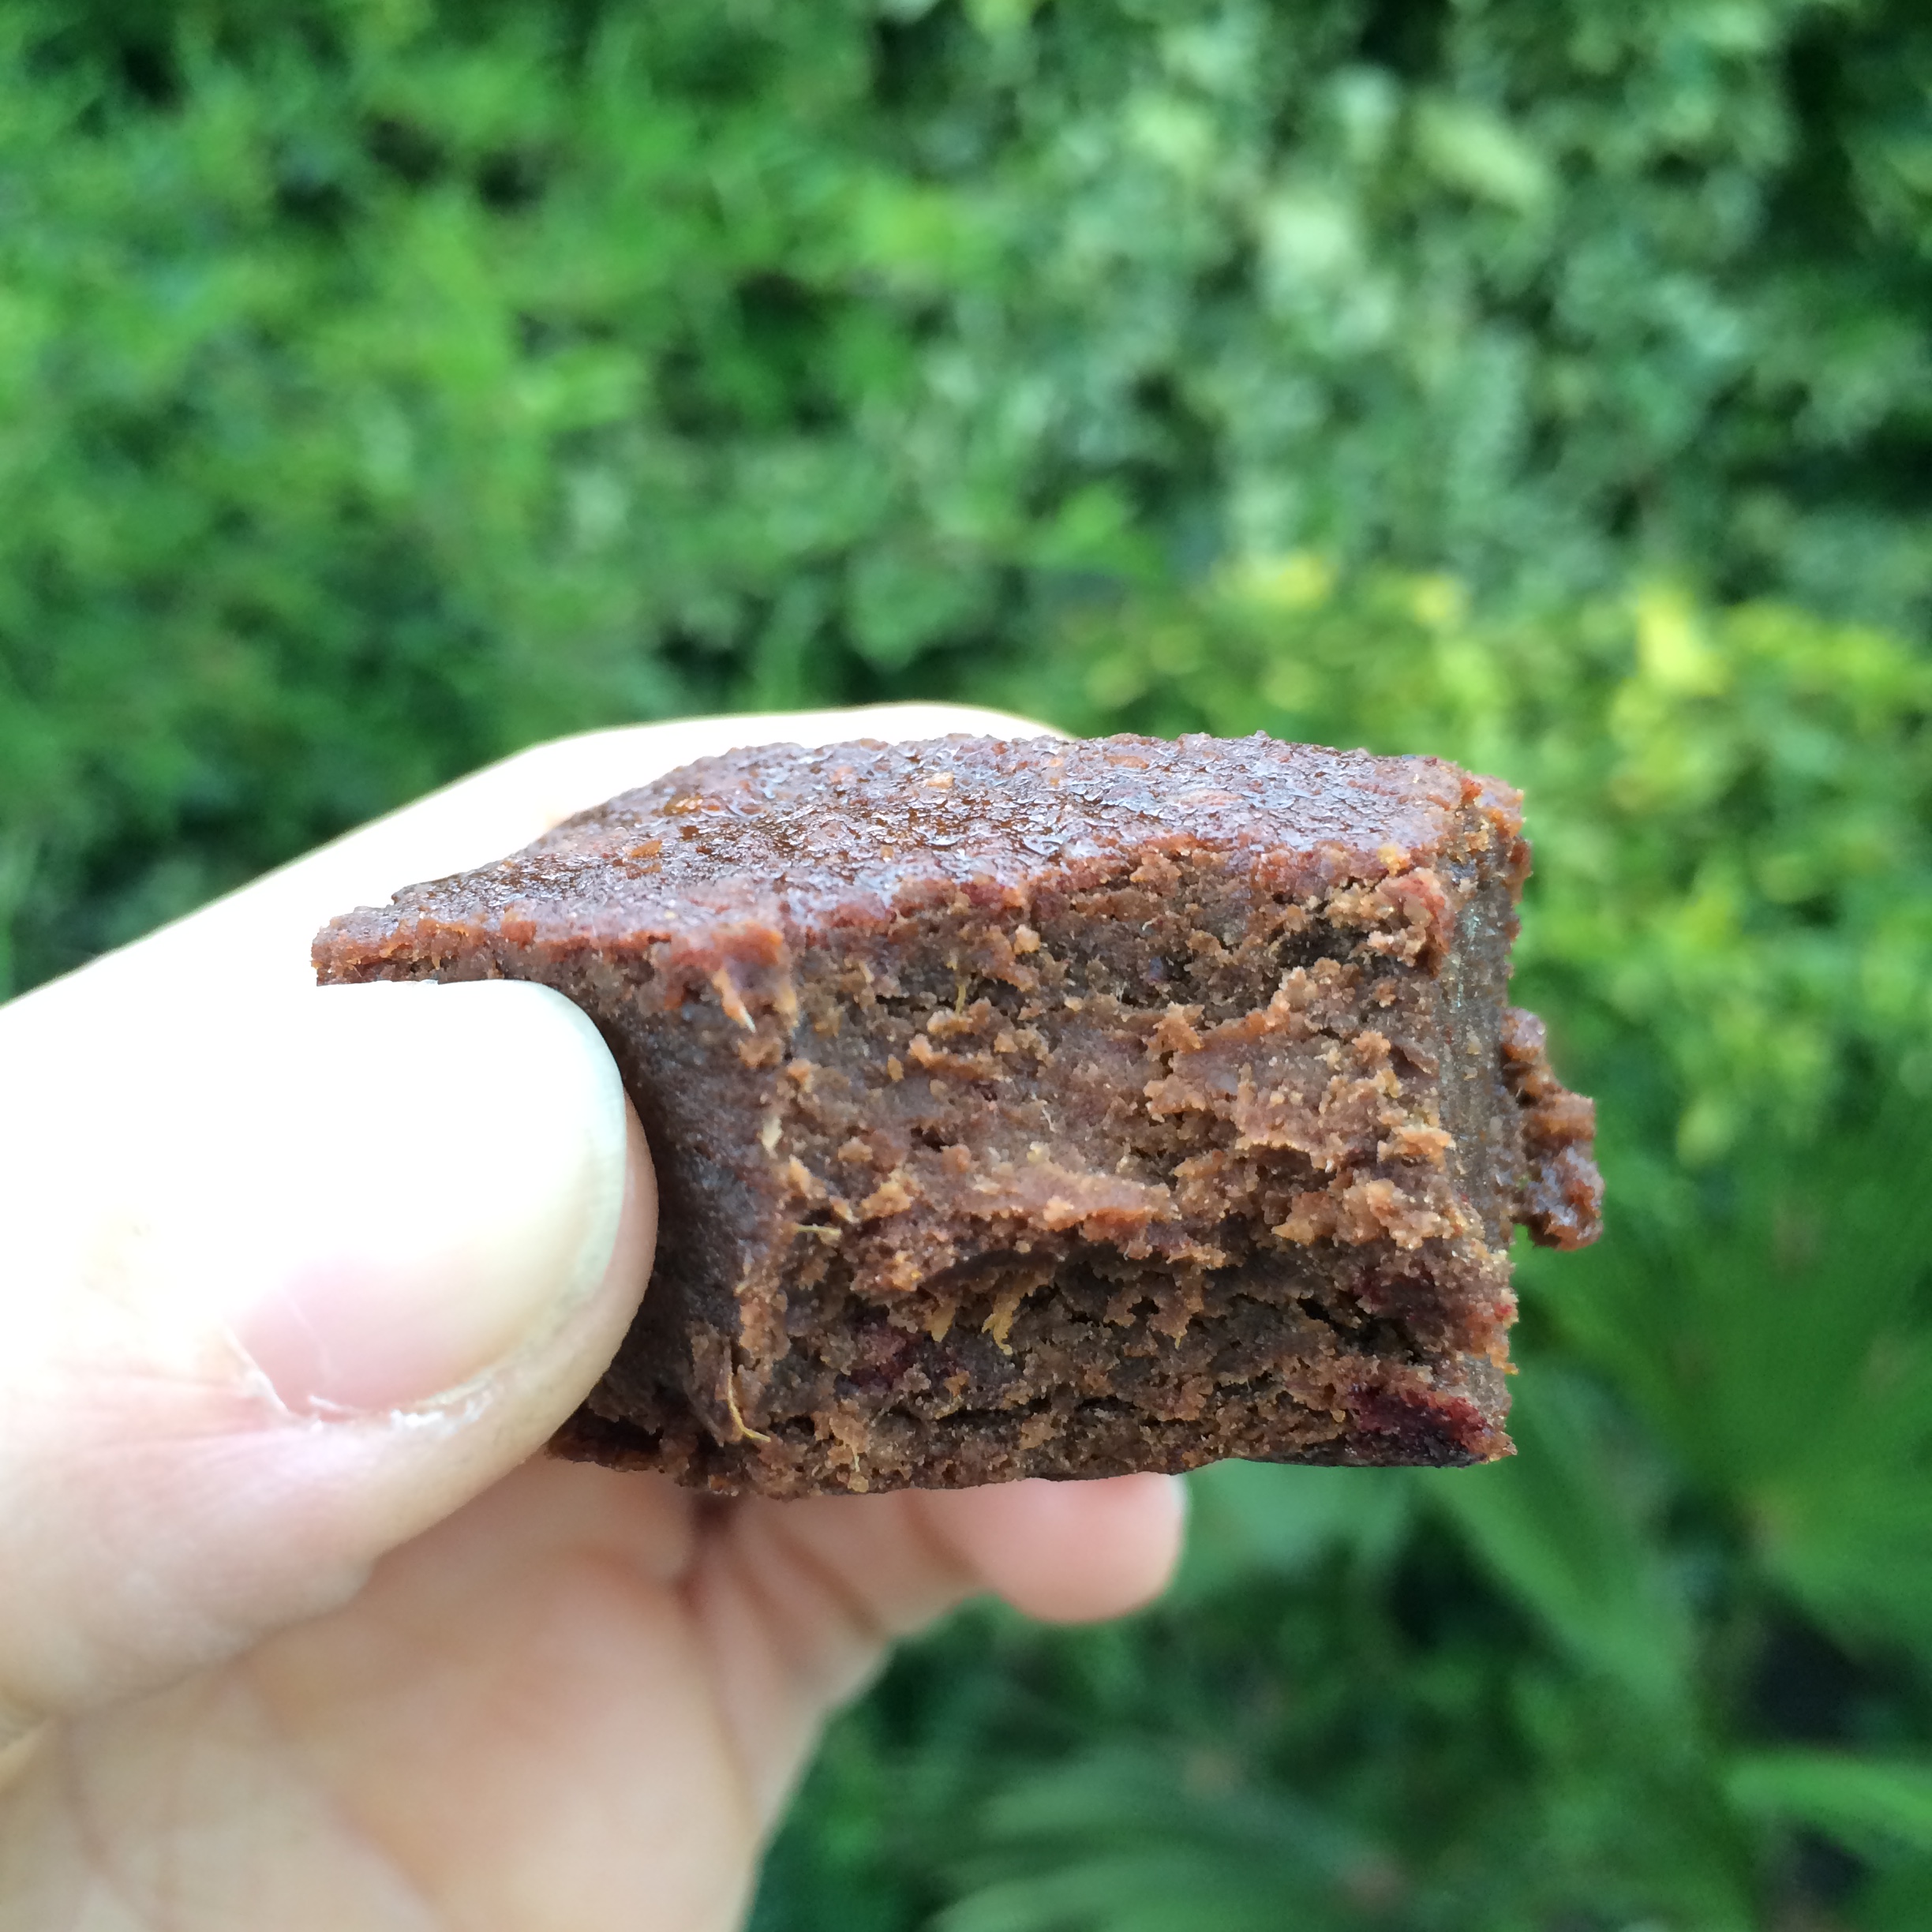
Having made some blackberry jam I thought it was only right to find a use for it! I love Bakewell tarts – that combo of almond frangipane and jam is just delish! So I thought I’d make a blackberry version!

You can obviously use shop bought jam for this but if you fancy making it yourself then you can follow my recipe here (blackberry jam). If you have the time, and inclination, you can make your own short crust pastry (recipe below) or you can just buy the ready made stuff from the supermarket! This made one tray and three small tarts – approx 20 slices, at 299 cals each!

You will need:

For the pastry
300g plain flour
125g cold butter or dairy free ‘butter’/ spread
30g sugar (or 15g half spoon to save cals)
1 egg
2 tbsp non dairy or dairy milk (optional)

Or one pack of ready made short crust pastry.

For the filling:
approx 200g blackberry jam

A handful of blackberries

A handful of flaked almonds
250g dairy free spread
100g caster sugar (or 50g half spoon sugar)
5 eggs
250g ground almonds
2 tbsp self-raising flour

If you are making the pastry put the flour, butter and sugar into a processor and pulse until it resembles breadcrumbs. Add the egg and pulse until it comes together into a rough dough. If it is too dry add a little milk. Add one of the eggs and pulse until the mixture comes together to form a rough dough. If the dough is too dry, add a bit of milk. Form the dough into a ball, wrap in clingfilm and chill in the fridge for 20-25 mins.

Unwrap the dough (or open up your packet of ready made pastry!) and turn out onto a floured surface. Roll it out until it is large enough for your tray (l used one thought 20 x 15 cm, and then three small round tart cases).

Grease the tin or line with baking parchment and then lay the pastry tins and trim off the excess. Pop in the fridge to chill for 10 – 20 mins and preheat the oven to 200 C.

Remove from fridge, prick with a fork across the tin and line with baking parchment and fill with baking beans (or dried pulses or rice if you don’t have any). Bake for 15-20 minutes, or until the pastry is lightly golden-brown.

Remove the paper and beans and brush the pastry with a little spread, beaten egg or milk and then return to the oven for 5 mins or so until golden brown. all over with the remaining beaten egg. Remove the pastry from the oven and turn the oven down to 180 C. Once done remove and leave out to one side.

Now start on the filling. Beat the spread and sugar together until light and fluffy. Add the eggs one at a time and beat gentle each time (don’t worry if it appears to split a bit). Add the flour and ground almonds and beat together.

Spread the jam over the pastry, be as generous as you like – I love the jammy bit so I like a thick layer!

Gently spoon or pipe the filling over the top and smooth it down. Press in the whole blackberries, and sprinkle with a little sugar and flakes almonds.

Bake for 45-50 mins. The frangipane should be cooked all the way through with a sugary crust on the top. Remove from the oven and leave to cool.

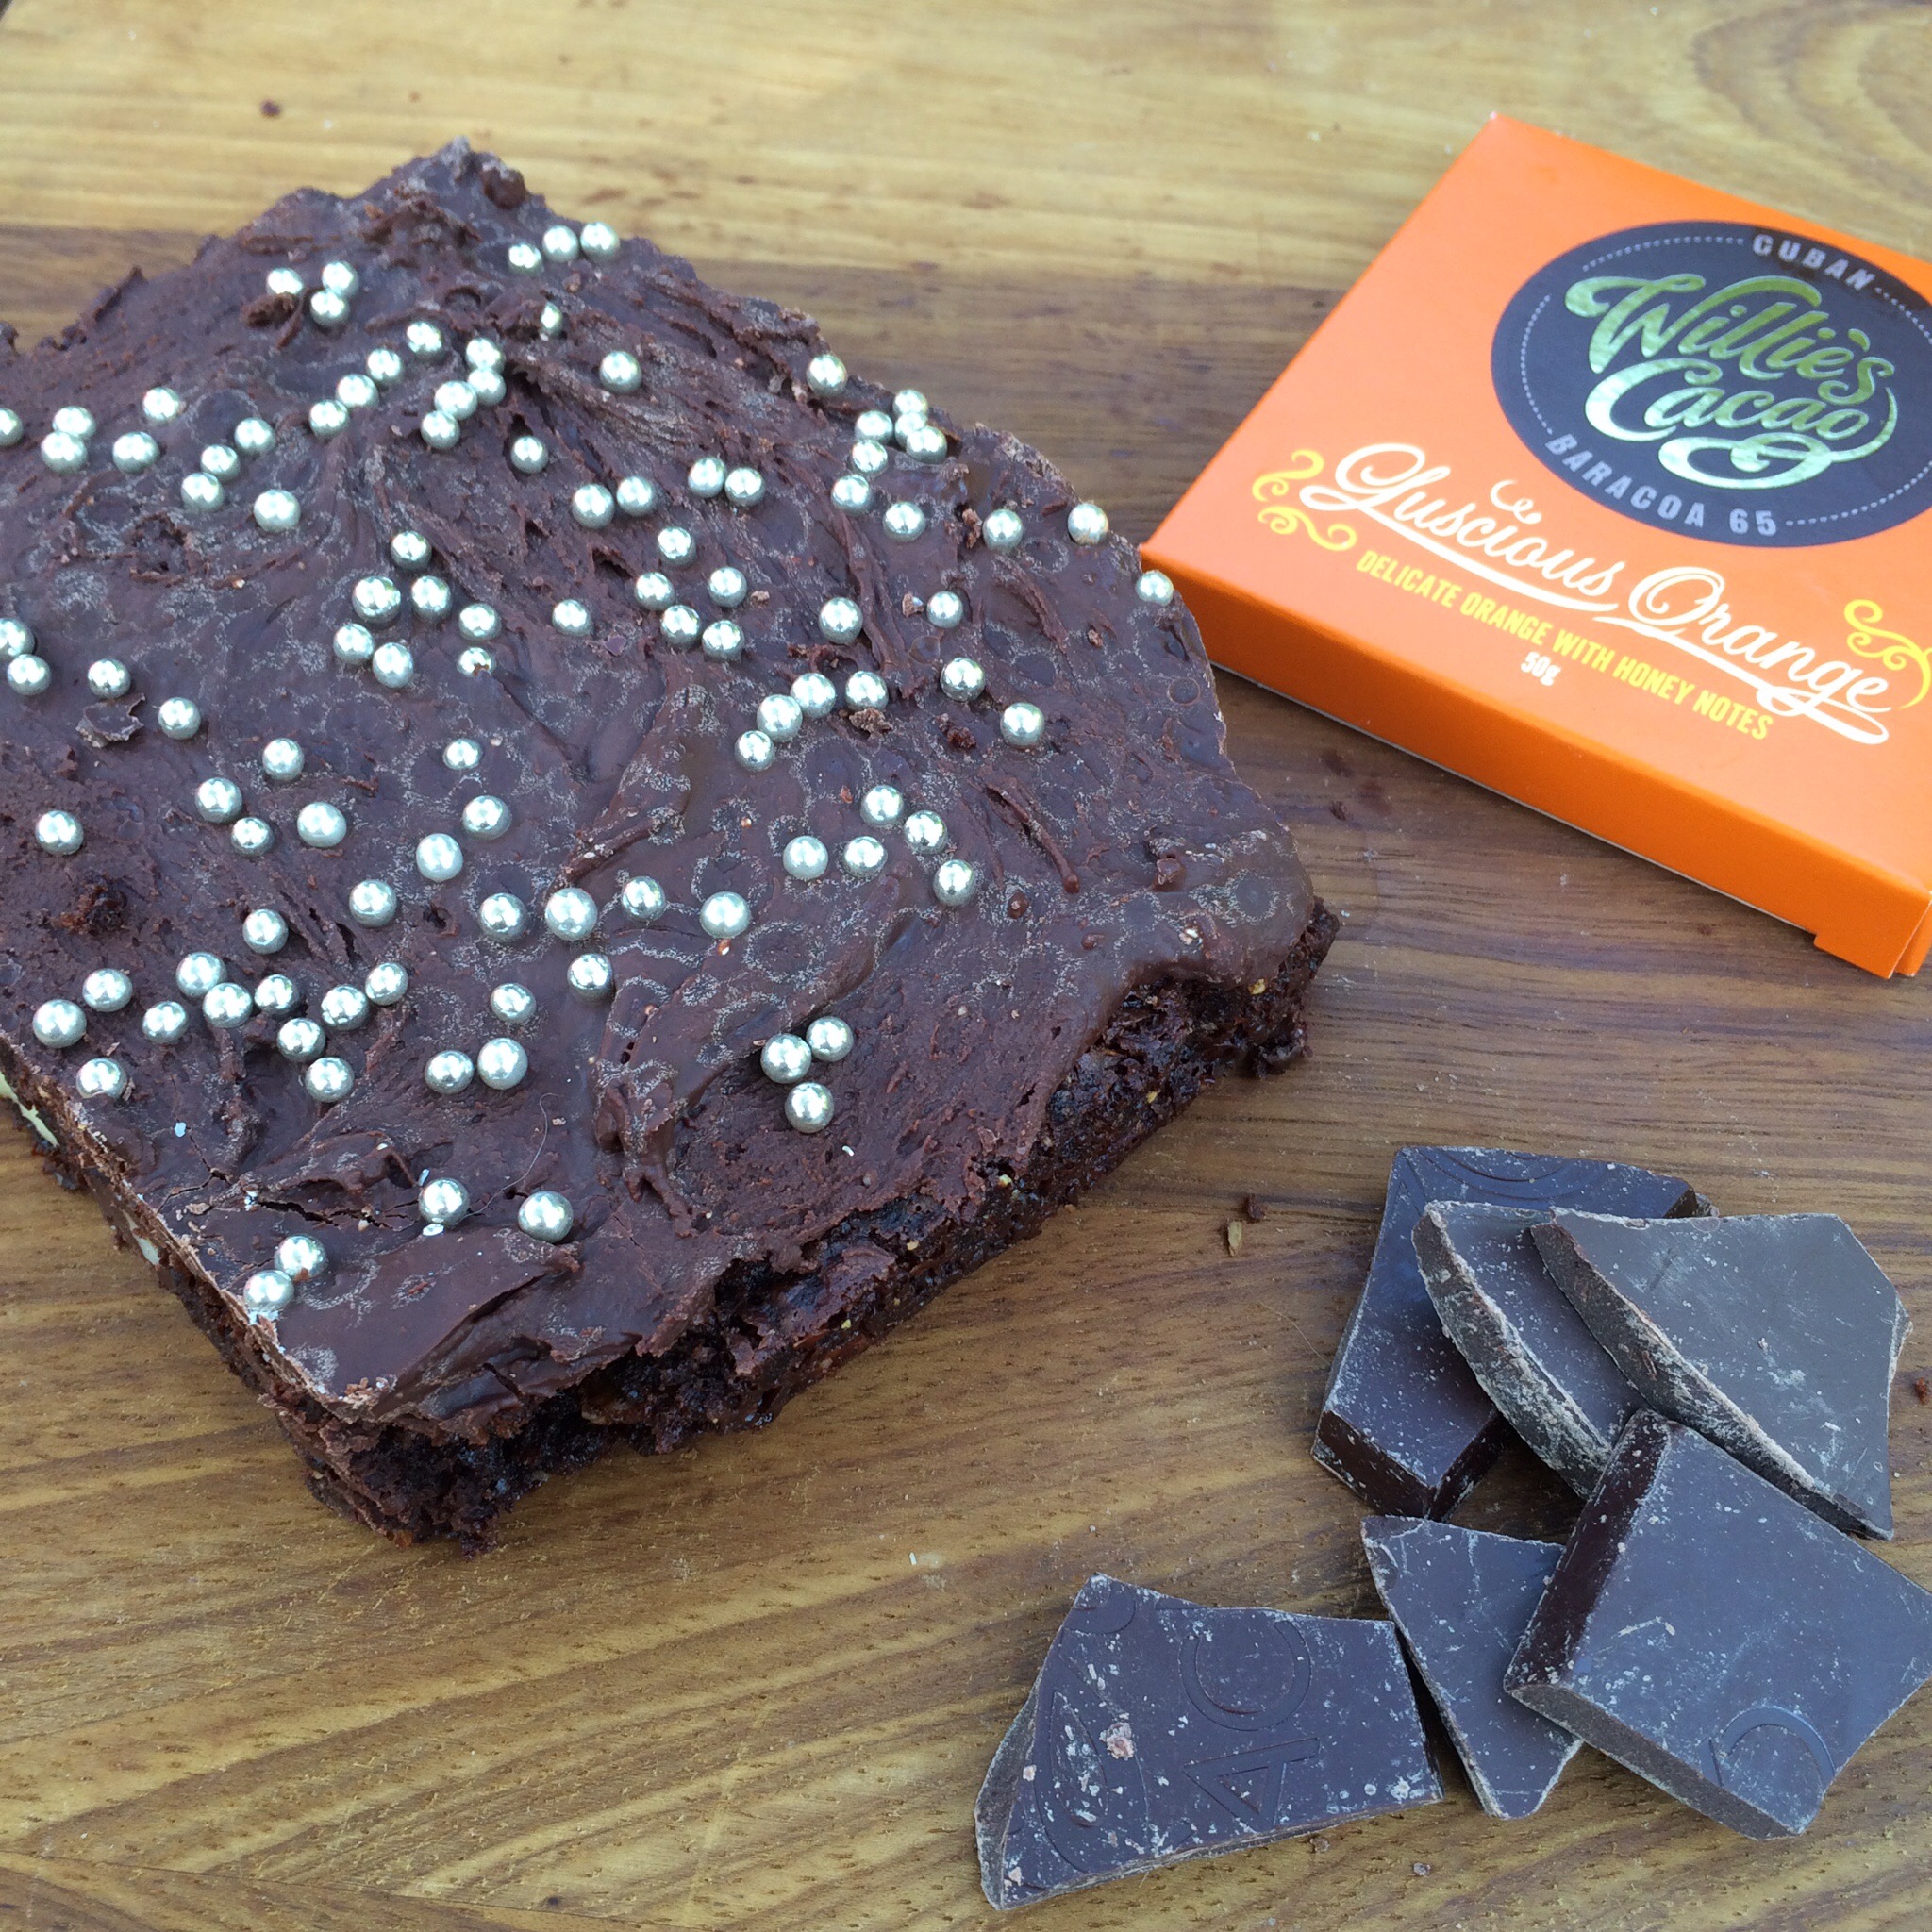
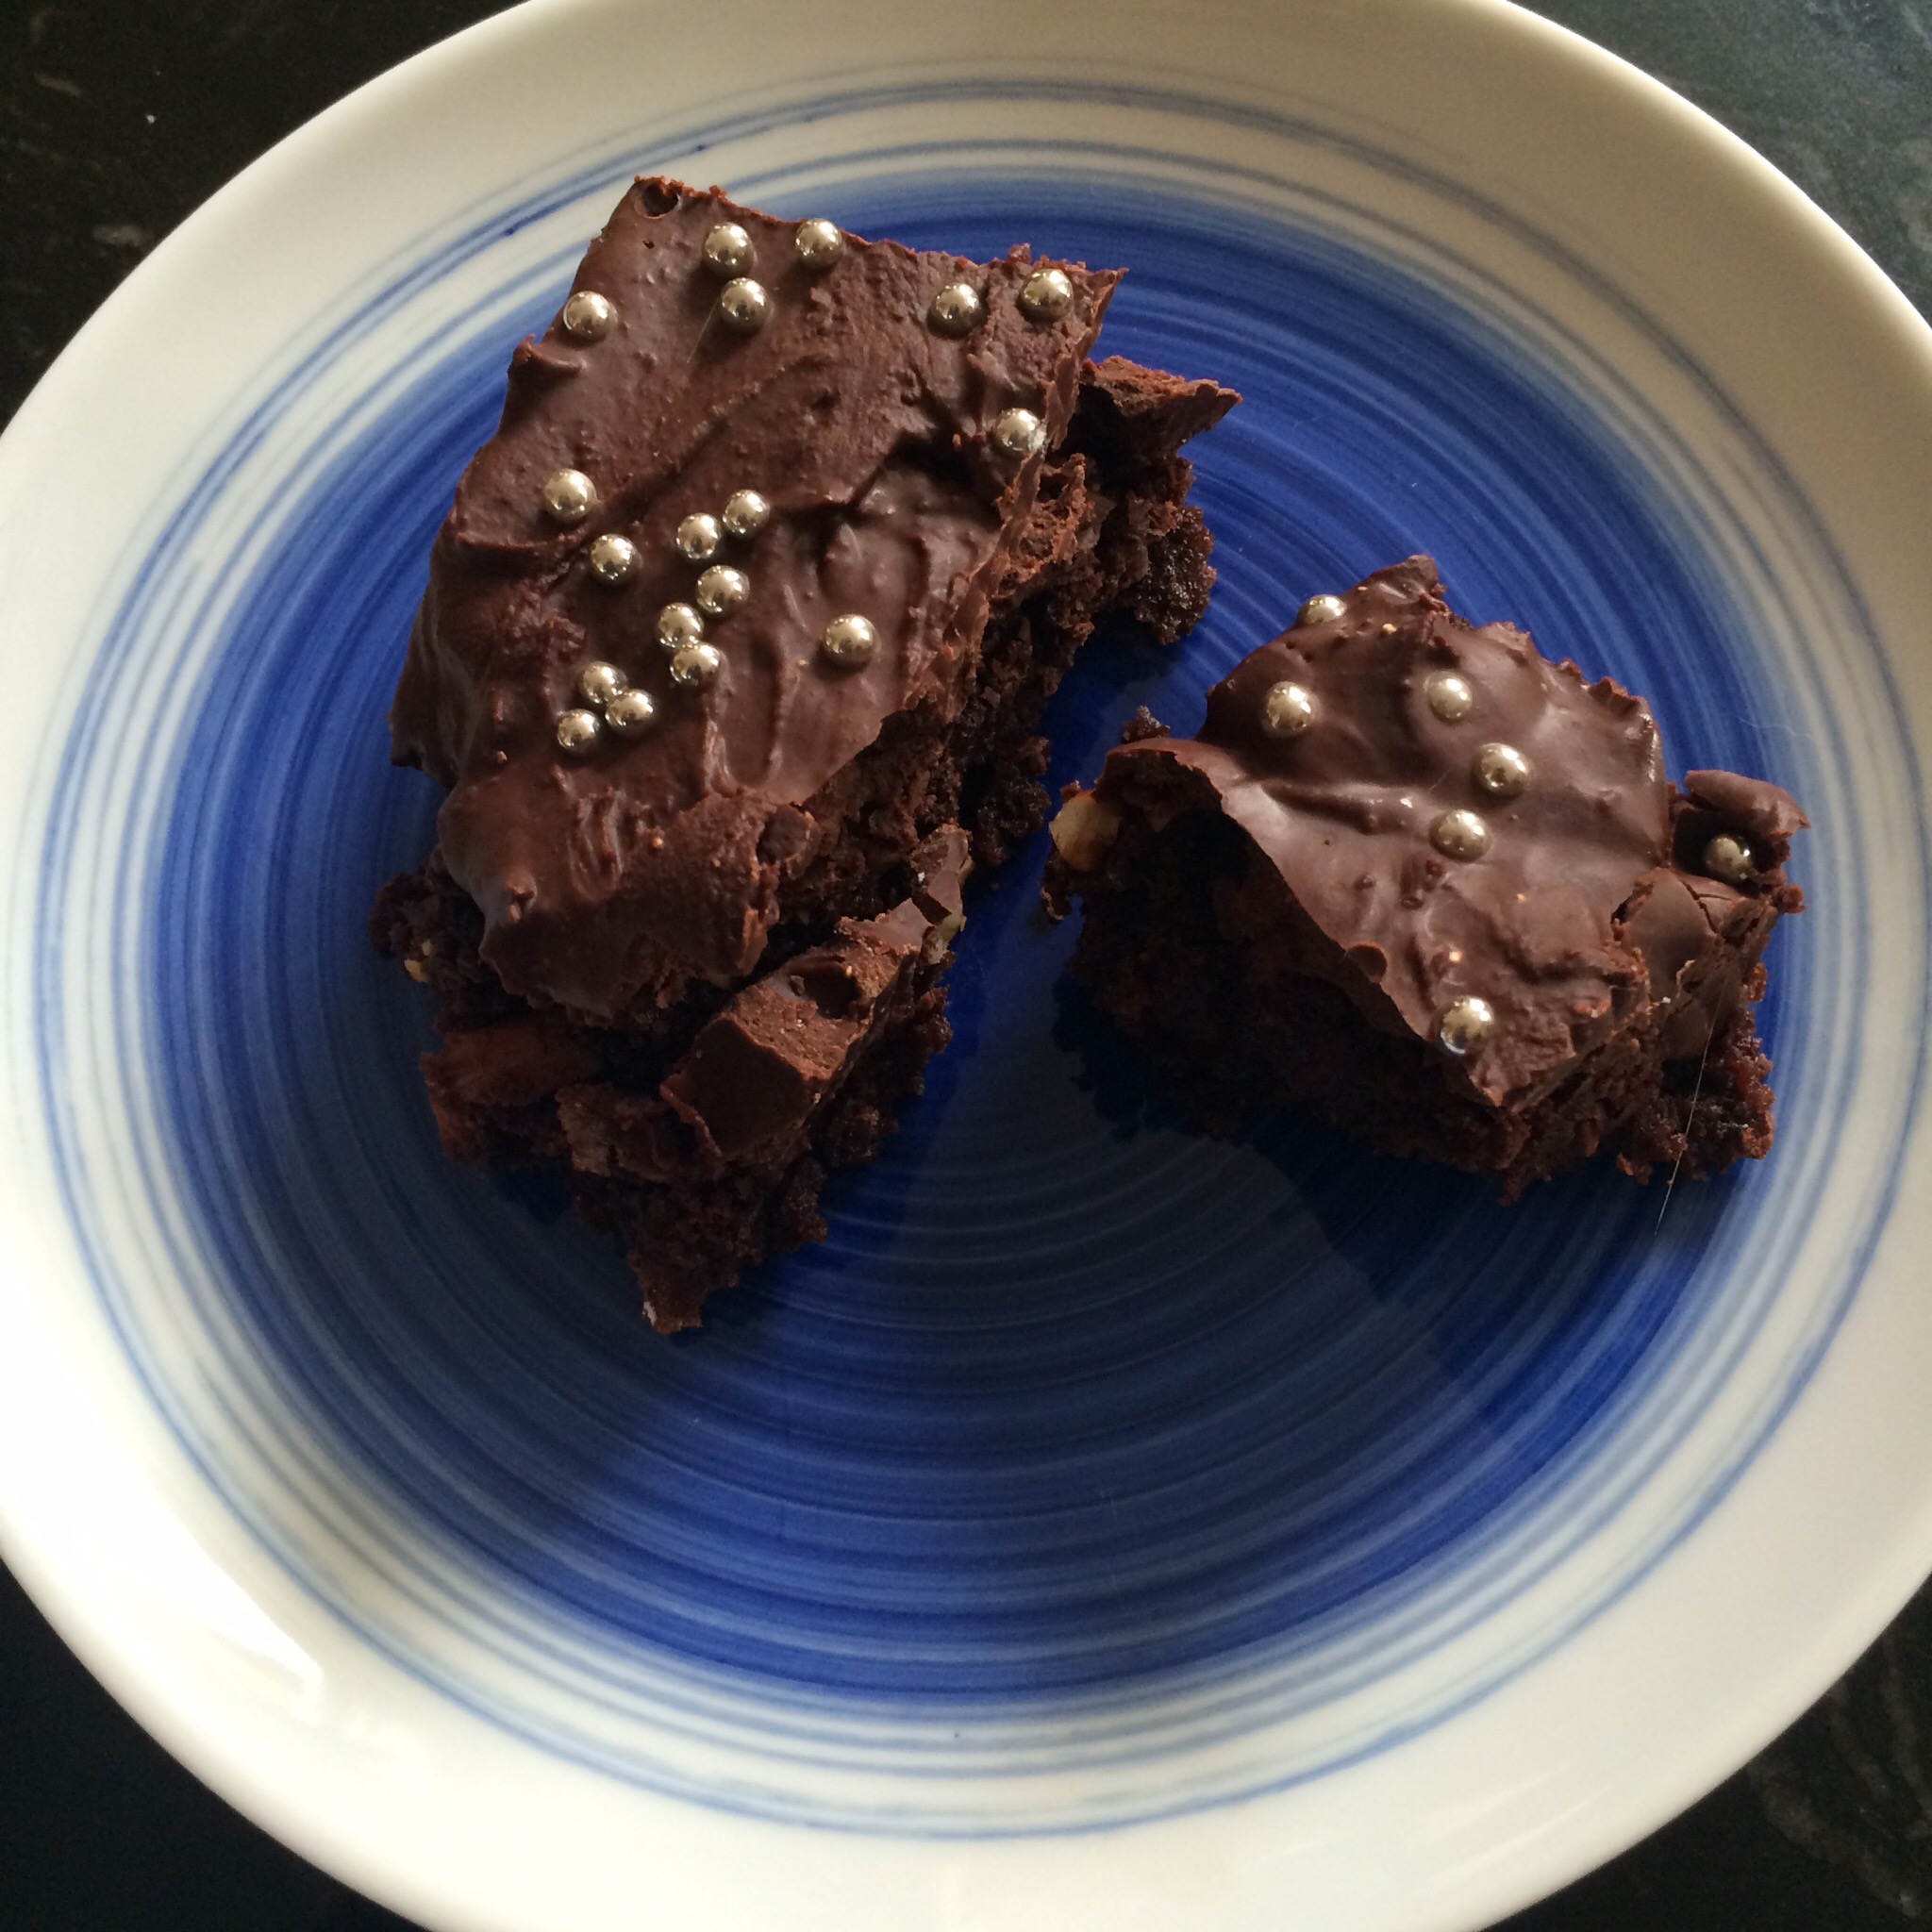
Slice and serve – on its own or with some ice cream or custard!

Enjoy 🙂

Xx

Advertisement

Summer pudding – mum’s recipe :)


As I still had a load of summer fruits left I thought I’d try one of my mum’s favourite summer recipes – Summer Pudding!

You can use any fruits you like – I had a few gooseberries and red currants left so they went in, along with blackberries, strawberries and raspberries.

You will need:

  • Approx 500 – 750g fruit (best to make more as you can always have any excess for brekkie or pud with some yoghurt etc)
  • Sugar to taste (I used none as my fruit was all really sweet but up to you)
  • A small white loaf (a day old so its slightly stale)

Put berries that have tough skins (blackcurrants,  cherries , gooseberries etc) into pan with small amount of sugar if needed and a little water.  Heat gently until berries soften and juices run.

Leave to cool for a few mins and then add soft fruit – raspberries, blackberries, strawberries etc and stir, gently.  If required you can add more sugar to taste.

Cut medium slices of white bread (one day old) and remove crusts.

Line a pudding basin with clingfilm cut larger than the basin.  Cut the bread into shape to line the basin with a disc for the base.

Drain the fruit, saving the juices in a separate bowl. Dip the bread into the juices and place the bread around the inside of the basin, plugging any holes with small pieces of bread. Pack the cooled fruit well into the basin.

Put a larger disc of bread (or several pieces cut to shape) on the top.

Overlap the cling film to cover the top of the bread.  Put a saucer or small plate on the top and weigh down with a tin or similar weight to compress the fruit.

Chill overnight, then turn out and serve with more fruit and yoghurt!

img_2735

Enjoy! Xx

Sweet Potato Brownies – sugar, dairy and gluten free


Brownies are a staple treat for me, my husband and our friends and it’s usually the dessert of choice whenever we go to our friend’s house for dinner. My usual brownie recipe (see all the various recipes here) is a firm favourite and is also dairy and gluten free but I needed a sugar-free version for this weekend. My very special friend Colette from The Pure Form Fitness Kitchen is in training for an upcoming competition and I just couldn’t bring dessert that she couldn’t eat!

So thinking cap on…. I knew I could use sweet potato to add some natural sweetness but I searched and searched online and couldn’t find a recipe that didn’t have any added sugar of any type (aside from fruit/veg sugar). Every recipe had maple syrup, agave, coconut syrup or rice malt syrup in it. So I decided to have a go at creating one myself, based on all the recipes I found (and there are a lot of sweet potato brownie recipes out there!).

IMG_6622

I have to be honest – this was a complete experiment, but I’m pretty happy with the results. It’s tasty, it’s got a natural sweetness and it’s actually really good (even better the day after they’re made).  I’ve gone for the smallest amount of dates, apple and sweet potato possible to limit the amount of fruit sugars whilst still keeping the flavour.

You will need:

2 Sweet potatoes (approx 500 g in total – unpeeled weight)

50g Apple Purée (make your own – recipe here)

60g Buckwheat flour

80g ground Almonds

75g Cocoa powder

6 Medjool Dates

IMG_6621

Preheat the oven to 180 C

Peel and dice the sweet potato and then pop in a covered bowl in the microwave. Microwave until soft (a couple of blasts of 2 – 3 minutes). Using a fork mash up the sweet potato and then pop into a blender or processor. Chop the dates and add them to the sweet potato (it’s easier if you do this while the potato is still warm). Blitz it until the dates are well combined with the sweet potato. I actually like a bit of substance to the dates so I’m not fussed if it’s not smooth but it’s up to you.

Mix together the flour, almonds and cocoa and then stir the sweet potato mixture in (it will be quite stiff). Add the apple and mix well. You want a sticky, quite thick mixture – thicker than a normal brownie batter. If the flour won’t all combine (as it will depend a little on the moisture content of the dates and apple) then add a drizzle of warm water, but not too much.

Pour into a lined tin and place in the oven for 30 -35 minutes. The top will be crusty and if you stick a skewer in it will come out clean. Remove from the oven and allow to cool in the tin (if you can wait :)). Then slice and serve!

IMG_6625


A host of Easter Treats


With Easter upon us I thought I’d share a few of my favourite, slightly healthier but equally yummy Easter recipes.

So if chocolate is your thing then why not try some quick, raw chocolates like these chocolate coconut treats, or the raw chocolate filled eggs and fruit eggs, or if you fancy something with a little more kick – why not try the chilli chocs.

2014-04-18 19.27.21        2014-04-13 16.29.29

Or how about whipping up some quick, cute, marzipan bunnies!

2014-04-05 17.33.53

What about creating a quick batch of Easter spiced biscuits, or some fresh, light lemon and chia cookies to dunk in your afternoon tea on Easter Sunday.

If you’re feeling adventurous you could try my coffee and amaretto cupcakes (using any instant coffee you have to hand).

2014-04-05 17.37.59

And finally..it wouldn’t be Easter without some hot cross buns right? Try my better bun recipe for some hot cross fun! 🙂

Happy Easter! 🙂


Nancy’s Mince Pies! gluten and dairy free!


It’s mince pie time again! whoop! It’s so hard to find plant-based, dairy and gluten free mince pies that don’t taste like cardboard so I decided to make my own and boy are they good! I could eat these by the dozen… and in fact I do!

This recipe has been posted here before but has recently been featured over at Pure Form Fitness Kitchen so I thought I’d repost for you 🙂

and here’s a little video of me making them too :

For the Pastry:

4 oz Buckwheat flour
2 oz ground Almonds
5 tbsp Agave nectar
Up to 6 tbsp Water

For the Mincemeat:

3 oz Bramley apples, cored and finely chopped
6 oz Mixed dried fruit (I prefer raisins, currants, cranberries and apricots)
1 oz Vegetable suet
2 oz Raw sugar (coconut palm or dark raw muscovado)
Juice and grated zest of half an Orange
1 level tsp of ground allspice
1 pinch ground Cinnamon
1 pinch ground Cloves
1 pinch grated / ground Nutmeg
1 small handful chopped Almonds
1 tbsp Date syrup

Make the pastry first. Put the buckwheat flour and ground almonds in a processor and add the agave. Pulse and gradually add the water until it forms a dough. You may find you need more or less water. If it is too wet add a little more flour. Once it is forming a firm dough remove, wrap in cling-film and place the mixture in the fridge. You can do this by hand if you prefer – just ensure you mix the flour and almonds thoroughly.

Put all the ingredients for the mincemeat into a saucepan. Cook on a low heat, stirring frequently. Cook until the apple is soft and the mixture is thick – it may take some time. Remove from the heat and allow to cool.

Preheat the oven to 180 C/ gas mark 6.

Lightly oil a mini muffin tin with almond, coconut or hazelnut oil. Remove pastry from the fridge and roll out on a lightly floured surface. Roll it as thin as you can – a few mm. Use a round biscuit cutter to cut out the bases. Place them in the tin. Place in an oven to blind bake for 5–10 mins. Keep an eye on them – this pastry browns quite fast. Once the edges are brown and the middle is firm remove them. While the cases are in the oven take a smaller star shaped (or any shaped) biscuit cutter to cut out the “lids”.

Roll and cut out the pastry cases and lids

Roll and cut out the pastry cases and lids


Place a generous helping of mincemeat in each of the cases and place your chosen “lid” on top. Lightly oil and sprinkle with a little cinnamon and raw sugar.

Fill the cases and add the lids

Fill the cases and add the lids

Place the pies back in the oven and bake until golden (5 – 7 mins but check regularly). Keep a careful eye on them. You want the tops to brown but be careful the bases don’t burn. Remove from the oven and leave to cool for 5 mins, then remove and place on a wire cooling rack.

Enjoy!

Enjoy!

Chocolate Orange and Almond Brownies – dairy and gluten free


I think I’m in heaven. I’ve managed to combine three of my most favourite things – Willie’s Cacao Luscious Orange chocolate, roasted Almonds and my dairy and gluten free brownie! And wow – this is good! I’ve even managed to win over my orange chocolate hating friend! Win! 🙂

IMG_0026.JPG

You will need:

1/4 cup Rice flour

1/2 cup Ground almonds

1 cup unrefined Raw sugar (golden caster sugar, coconut sugar etc)

1/2 cup almond oil (or coconut oil)

1/4 cup raw Cacoa powder

2 tbsp chia seeds soaked in 6 tbsp water

1/2 tsp Himalayan rock salt

1/4 tsp Bicarbonate of soda

1 tsp Orange extract

Handful of Almonds

1 – 2 bars Willie’s Luscious Orange chocolate (chopped)

For Icing

1 – 2 bars Willie’s Luscious Orange chocolate

50 – 100g Unrefined icing sugar (adjust quantity to depending how runny you want it)

Silver balls to decorate

IMG_0476.JPG

Preheat the oven to 170C and grease a 20 x 20cm square baking pan with parchment paper.

Toast the almonds in a dry frying pan until they just start to turn brown. To make them even crunchier I let them cool to room temperature then chopped them and toast again briefly. Pop to one side until later.

Mix the ground almonds, flour, cacao powder, sugar, salt and bicarbonate of soda together in a large mixing bowl. In a separate bowl soak the chia seeds in the water. Once the chia seeds have absorbed all the water add them to the mix along with the orange extract, and oil. Whisk together using a hand mixer until well mixed. It should be thick and glossy when mixed.

Stir in the chocolate and almonds. Pour in to the baking tin and place in the oven for 25 – 30 mins until a skewer inserted in the middle comes out clean.

Cool on a wire rack

Then prepare the icing. Melt the chocolate and then stir in the icing sugar a little at a time until you get the consistency you want. Spread quickly on to the brownies and sprinkle the silver balls and any other decorations you want to use on to the top!

Enjoy!

IMG_0478-0.JPG

Peanut butter fruit and nut brownies – dairy and gluten free


Two very exciting things happened recently…Firstly I was given this beautiful pot full of scrummy raisins from my friend Dee 🙂 and secondly I finally found some PB2 powdered peanut butter!

photo (1)

The raisins… well that’s a long (somewhat amusing) story which I won’t go in to here, but needless to say they were very gratefully received :). Now PB2….What on earth is that and why would I be so excited to find it? Well for a start it’s a powdered peanut butter which means it’s a great way to get peanut butter in to your baking (if you want to.. which I do!). As an added bonus it has 85% less calories from fat compared to traditional peanut butter, but it isn’t full of rubbish. It’s all natural, slow roasted peanuts which are then pressed to remove the fat and oil. It comes as natural and chocolate (yum!) and you can either just add water to make it in to a butter to use as you would normal peanut butter…. or you can use it as a powder in bakes and shakes!

2014-09-06 18.04.13

So these two wonderful things were just crying out to be combined into something yummy…. and here it is! Peanut butter fruit and nut brownies! A great way to have a healthy treat with a little bit of a protein boost too!

2014-09-07 12.47.56

You can change the fruit and add different nuts if you like but I wanted to really give that peanut punch so I stuck with peanuts! You can also use peanut butter if you don’t have PB2 but it will change the consistency so I suggest you go a little lighter on the oil.

You will need:

1/4 cup Rice flour

1/2 cup Ground almonds

1 cup unrefined Raw sugar (golden caster sugar, coconut sugar etc)

1/2 cup almond oil (or coconut oil)

1/4 cup raw Cacoa powder

4 heaped tbsp PB2 (if you don’t have this you can use normal peanut butter – 2 – 3 tbsp)

2 tbsp chia seeds soaked in 6 tbsp water

1/2 tsp Himalayan rock salt

1/4 tsp Bicarbonate of soda

1 tsp Vanilla extract

100g dried Raisins

50g dried Cherries

Handful of natural roasted Peanuts (halved or chopped)

For topping

2 – 3 tbsp PB2 original

1 – 2 tbsp PB2 chocolate

a little Water

Preheat the oven to 170C and grease a 20 x 20cm square baking pan with parchment paper.

Mix the ground almonds, flour, cacao powder,PB2, sugar, salt and bicarbonate of soda together in a large mixing bowl. In a separate bowl soak the chia seeds in the water. Once the chia seeds have absorbed all the water add them to the mix along with the vanilla extract, and oil. Whisk together using a hand mixer until well mixed. It should be thick and glossy when mixed. Have a taste – if you want a bit more peanutty flavour you can add a little more PB2 now but mix it in really well.

Stir in the peanuts, raisins and cherries (cut them in half if they are large). Pour in to the baking tin and place in the oven for 25 – 30 mins until a skewer inserted in the middle comes out clean.

Cool on a wire rack

Then prepare the topping. In separate bowls mix the original PB2 and chocolate PB2 with water. Add a little water at a time – you want a runny consistency but not too runny.  Drizzle the original one over the brownie, then the chocolate one. Pop in the fridge to set  – or just eat straight away!

2014-09-07 12.46.56

2014-09-07 12.45.17

Chocolate Cherry Brownies – gluten and dairy free


My hubby and I had a rare evening out last night with some very good friends to go and watch “Dirty Dancing” at the open air cinema. Tasked with providing dessert I decided I’d go for some good old chocolately goodness and whip up a new version of my brownies for us to munch on whilst watching the film… They’re almost as tasty as Patrick Swayze 😉

The sweet-sour of the cherries works so well to balance out the rich chocolate in these and they’re brilliant served with berries and some cashew cream (recipe here) for a decadent (but not too bad for you) dessert.

photo 4

You will need:

1/4 cup Rice flour

1/2 cup Ground almonds

1 cup unrefined Raw sugar (golden caster sugar, coconut sugar etc)

1/2 cup almond oil (or coconut oil)

1/4 cup raw Cacoa powder

2 tbsp chia seeds soaked in 6 tbsp water

1/2 tsp Himalayan rock salt

1/4 tsp Bicarbonate of soda

1 tsp Vanilla extract

100g dried Cherries

Dairy free chocolate (I use Willie’s cacao drops) – about a handful (approx 100g)

For Icing

100g Dairy free chocolate (again I use Willie’s cacao drops)

100 – 200g Unrefined icing sugar (adjust quantity to depending how runny you want your icing)

Freeze dried Cherries to decorate

Preheat the oven to 170C and grease a 20 x 20cm square baking pan with parchment paper.

Mix the ground almonds, flour, cacao powder, sugar, salt and bicarbonate of soda together in a large mixing bowl. In a separate bowl soak the chia seeds in the water. Once the chia seeds have absorbed all the water add them to the mix along with the vanilla extract, and oil. Whisk together using a hand mixer until well mixed. It should be thick and glossy when mixed.

Stir in the chocolate and cherries (cut them in half if they are large). Pour in to the baking tin and place in the oven for 25 – 30 mins until a skewer inserted in the middle comes out clean.

Cool on a wire rack

Then prepare the icing. Melt the chocolate and then stir in the icing sugar a little at a time until you get the consistency you want. Spread quickly on to the brownies and sprinkle the freeze dried cherries and any other decorations you want to use on to the top!

photo 1

Then enjoy (preferably with a side helping of Patrick Swayze 😉 )

photo 3

Lemon and Chia Seed Cookies – Dairy and Gluten free!


I’ve seen quite a few recipes around using tapioca flour and finally my supermarket has started stocking it so I thought I’d have a go at making up some cookies with it!

These are simply divine – they’re light and crumbly and really melt in the mouth.

photo 3

You will need:

1 cup Tapioca flour

1.5 cups raw Cashews

1/2 cup Coconut oil (melted)

1 Egg

1/4 cup Maple syrup

3 tbsp Chia seeds

Zest of 1 and 1/2 lemons

a pinch of Himalayan rock salt

For the icing:

100g unrefined Icing sugar

Zest of half a lemon

Juice of up to half a lemon

photo 4

First pop the cashews in to a blender or food processor and blend until they form a fine flour. Combine the cashew flour and tapioca flour together in a large bowl. Grate the lemon zest in to the bowl and add the chia seeds and salt and mix well.

Create a well in the centre of the dry mixture and add the egg, maple syrup and coconut oil and mix really well to form a dough. You may find the mixture is a little too wet (depending on the size of your egg!) – if so add more tapioca flour until it forms a firmish dough (whilst the coconut oil is melted though it will still be quite a loose dough).

Wrap it in clingfilm and pop the dough in the fridge to chill for 20 minutes.

Pre-heat the oven to 160 C.

Place the dough between two sheets of baking parchment and roll thin (few mm thick). Use whatever shaped cutters you like and then transfer the cookies to a lined baking tray. Bake in the oven for 20 – 25 mins or until golden (check after 15 mins).

Allow to cool and then mix the icing ingredients together. Add the lemon juice a little at a time until you have a consistency that you want. Then drizzle over the biscuits. Allow to set and then enjoy with a nice cup of tea! 🙂

photo 1

Peppermint Triple Chocolate Candy Cane Brownies – gluten and dairy-free


I’m a bit late posting this but hey, what can I say – it’s been christmas and all that 😉

I actually re-made this over this weekend so thought it was about time I posted the recipe.

This was a birthday creation for myself, to be shared with my favourite cake-eating friend 🙂 We are both fans of chocolate and peppermint so what better than this delicious minty chocolatey combo! The crunch of the peppermint candy canes on top really make this something special (you can use any hard mint candy for this).

3648

01ed1c23089e903956a29203b04989f148abd8ec5b

You will need:

1/4 cup Rice flour

1/2 cup Ground almonds

1 cup unrefined Raw sugar (golden caster sugar, coconut sugar etc)

1/2 cup almond oil (or coconut oil)

1/4 cup raw Cacoa powder

2 eggs (or 2 tbsp chia seeds soaked in 6 tbsp water)

1/2 tsp Himalayan rock salt

1/4 tsp Bicarbonate of soda

1 tsp Vanilla extract

1/8 Tsp Pure peppermint extract

Milk, white and dark chocolate chunks (optional)

For Icing

100g Dairy free chocolate

200 – 300g Unrefined icing sugar (adjust quantity to depending how runny you want your icing)

drop of Pure peppermint extract

a dash of warm water

Hard mints or candy canes, silver balls, any other decorations

photo 1

Preheat the oven to 170C and grease a 20 x 20cm square baking pan with parchment paper.

Mix the ground almonds, flour, cacao powder, sugar, salt and bicarbonate of soda together in a large mixing bowl. In a separate bowl beat the eggs (or if using chia seeds instead then soak them in the water). Make a well in the center and add the beaten egg (or soaked chia seeds), vanilla extract, peppermint extract and oil. Whisk together using a hand mixer until well mixed. It should be thick and glossy when mixed.

If you are the chocolate chunks stir them in now. Pour in to the baking tin and place in the oven for 20 – 25 mins until a skewer inserted in the middle comes out clean.

Cool on a wire rack

Take the hard mints (or candy cane) and bash with a rolling pin in to small pieces.

Then prepare the icing. Melt the chocolate and then stir in the icing sugar and peppermint extract.

Use enough icing sugar to get the consistency of icing you want (if it’s too thick add a little water). Spread quickly on to the brownies and sprinkle the crushed mint and any other decorations you want to use on to the top! Then enjoy (with a big old candle if it’s your birthday 😉 )

017a036669e0ee6626053c99677bb8d2b2e6ec2f8e
and in case you’re wondering if they taste good… well this is all that’s left of this weekend’s creation!
photo 2