It’s been nearly 18 months since I first reviewed the lovely treats from Guilt Free Goodies. Since then it’s been such a pleasure to see Natasha’s business thrive and grow. I still regularly buy treats from her and have given them as gifts too. I thought I would repost my review just in case any of you haven’t yet had a chance to check out her goodies.
The best bit is that Natasha has very kindly set up a discount code for all of you lovely lot so if you place an order you will get 5% off! Just enter this code at checkout 🙂 NANCYGFG5%OFF
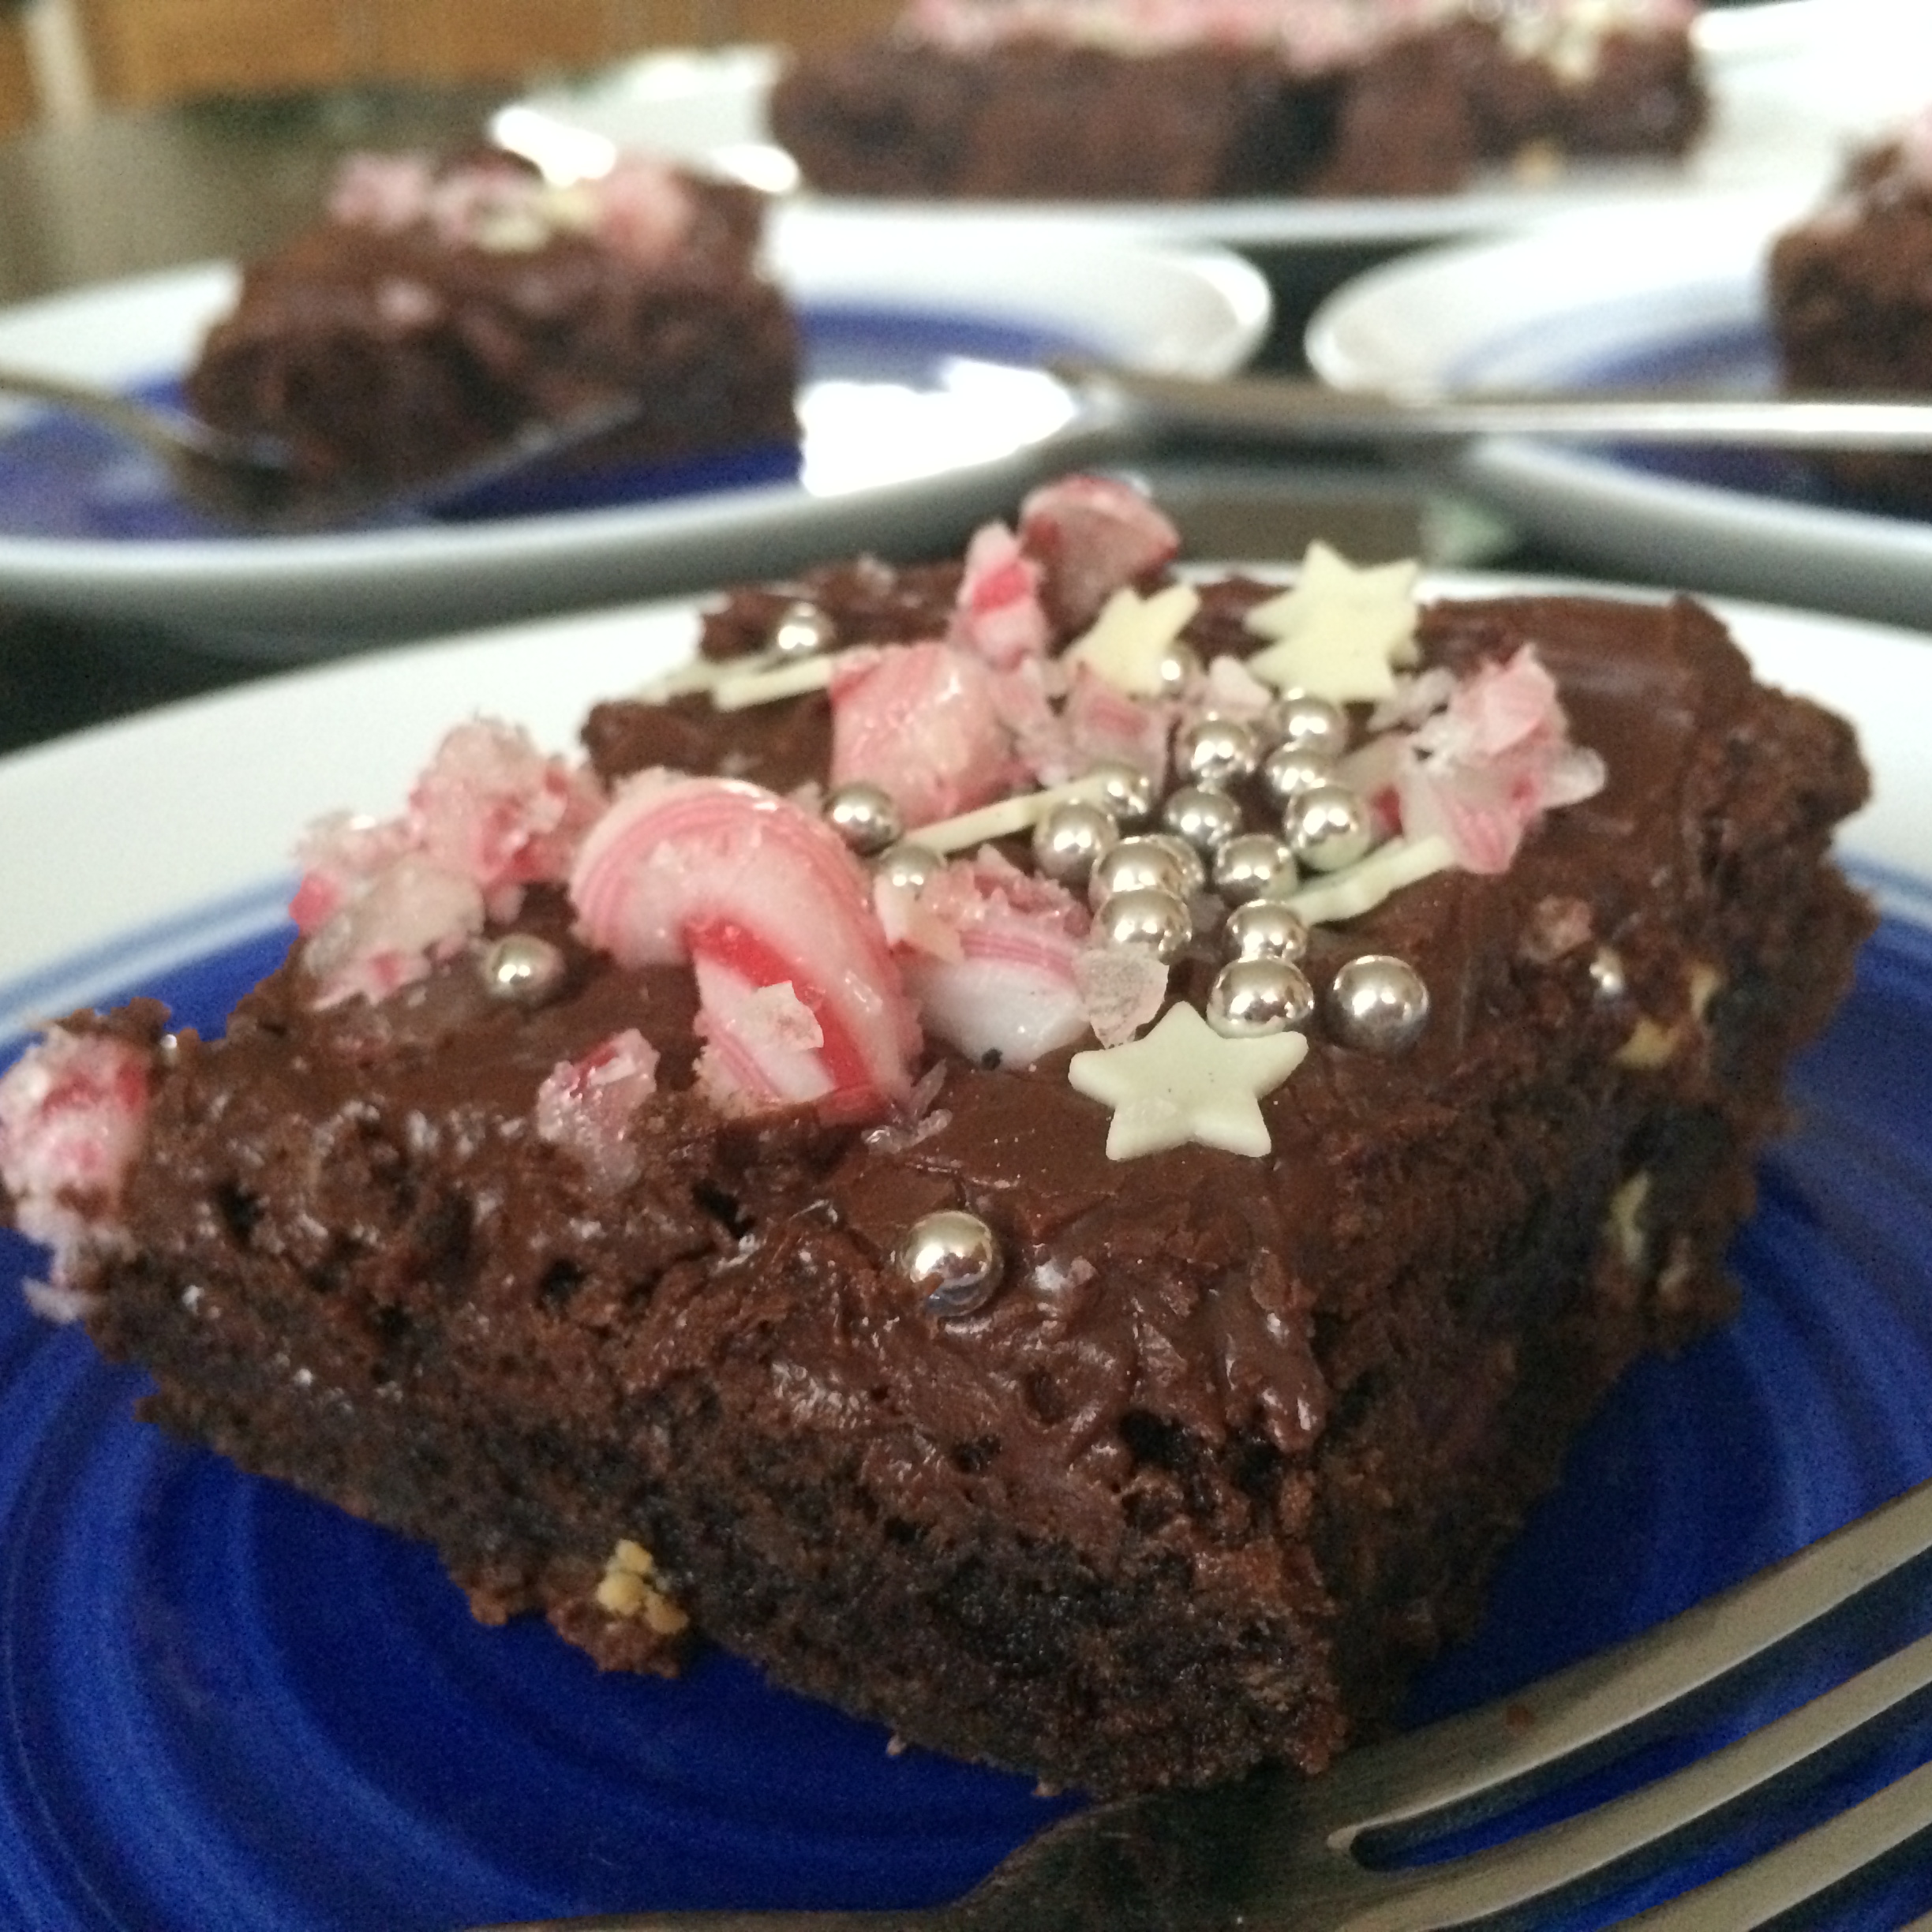
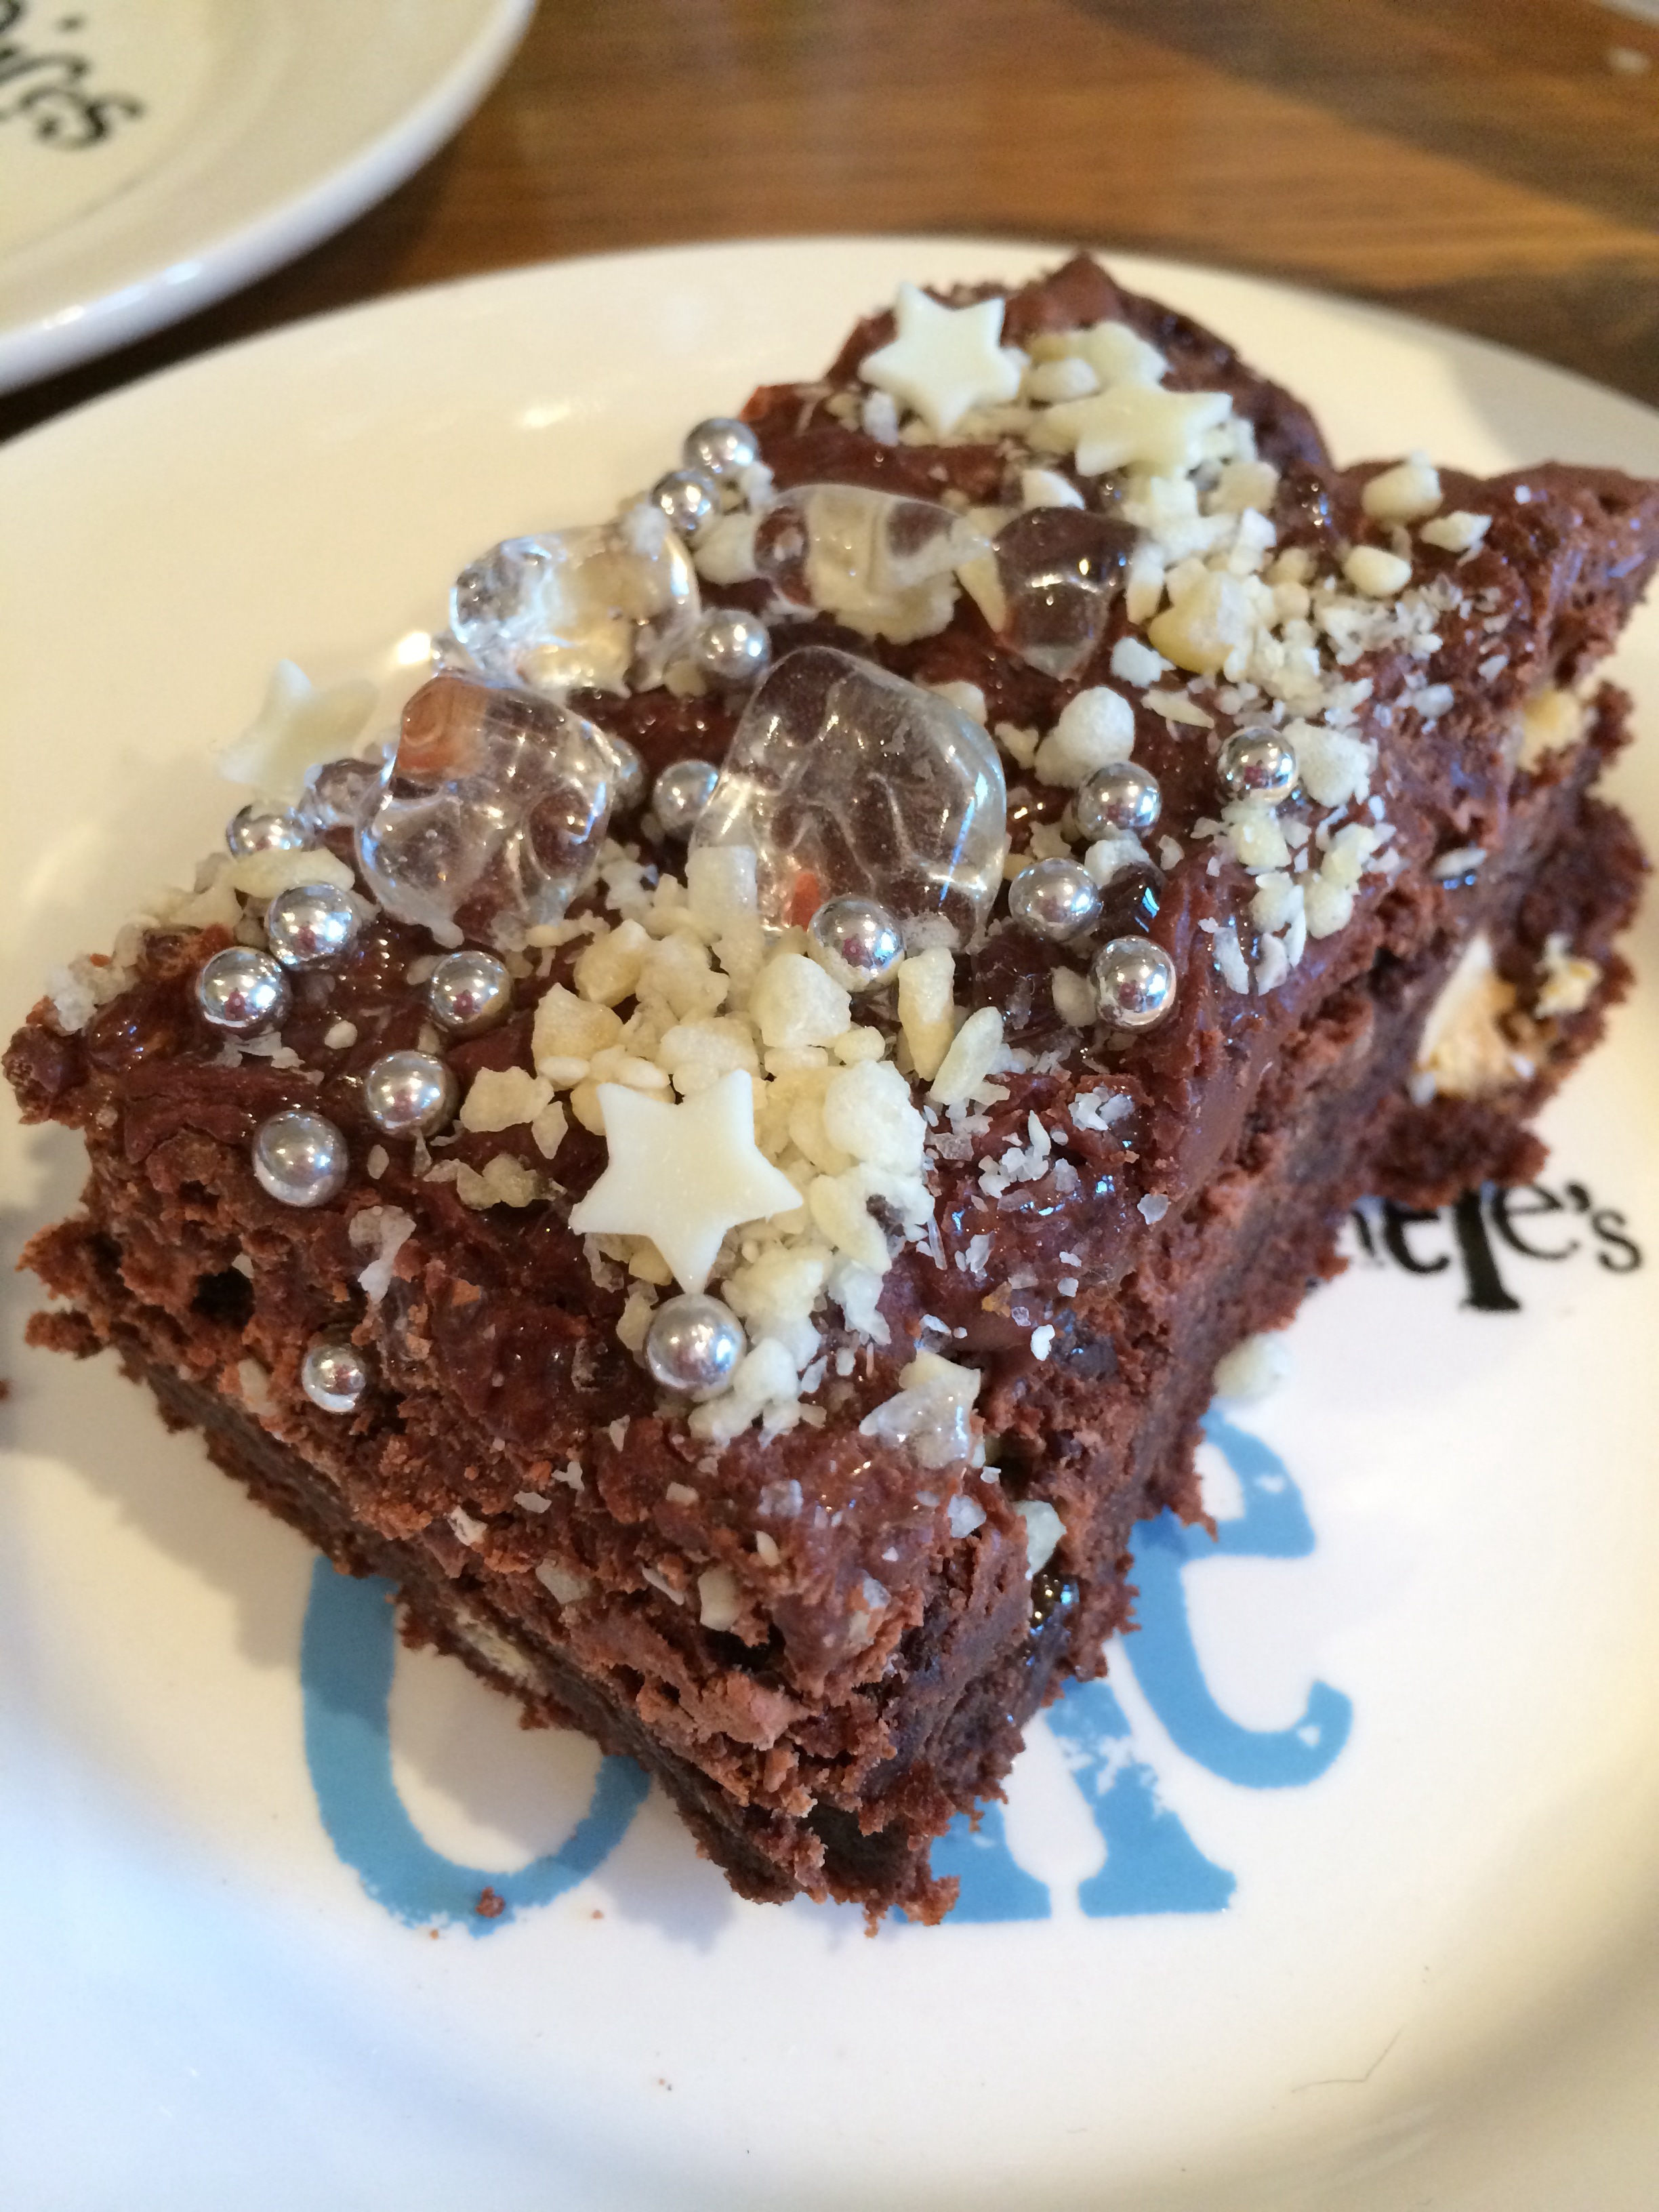
Since my review her product range has really expanded with some truly delicious new treats – including delicious cookies, raw chocolates and chocolate truffles (as well as more flavours of her other treats like bites and bars). I’ve tried quite a few and they are all delicious – I particularly like the peanutter white chocolate truffles and raw raspberry ruffle truffle! Oooh and the salted caramel almond slice! Divine!

There are also hampers available at the moment for christmas – you’ll have to get in wuick though if you want to pre-order them! check them out here.
And most exciting of all, Natasha has released her first ebook! So you can have a go at creating some treats at home! Order yours here. It’s beautifully put together and has a really lovely range of treats. It’s well written and set out and easy to follow so I’d definitely recommend it 🙂

Here’s my review from last year:
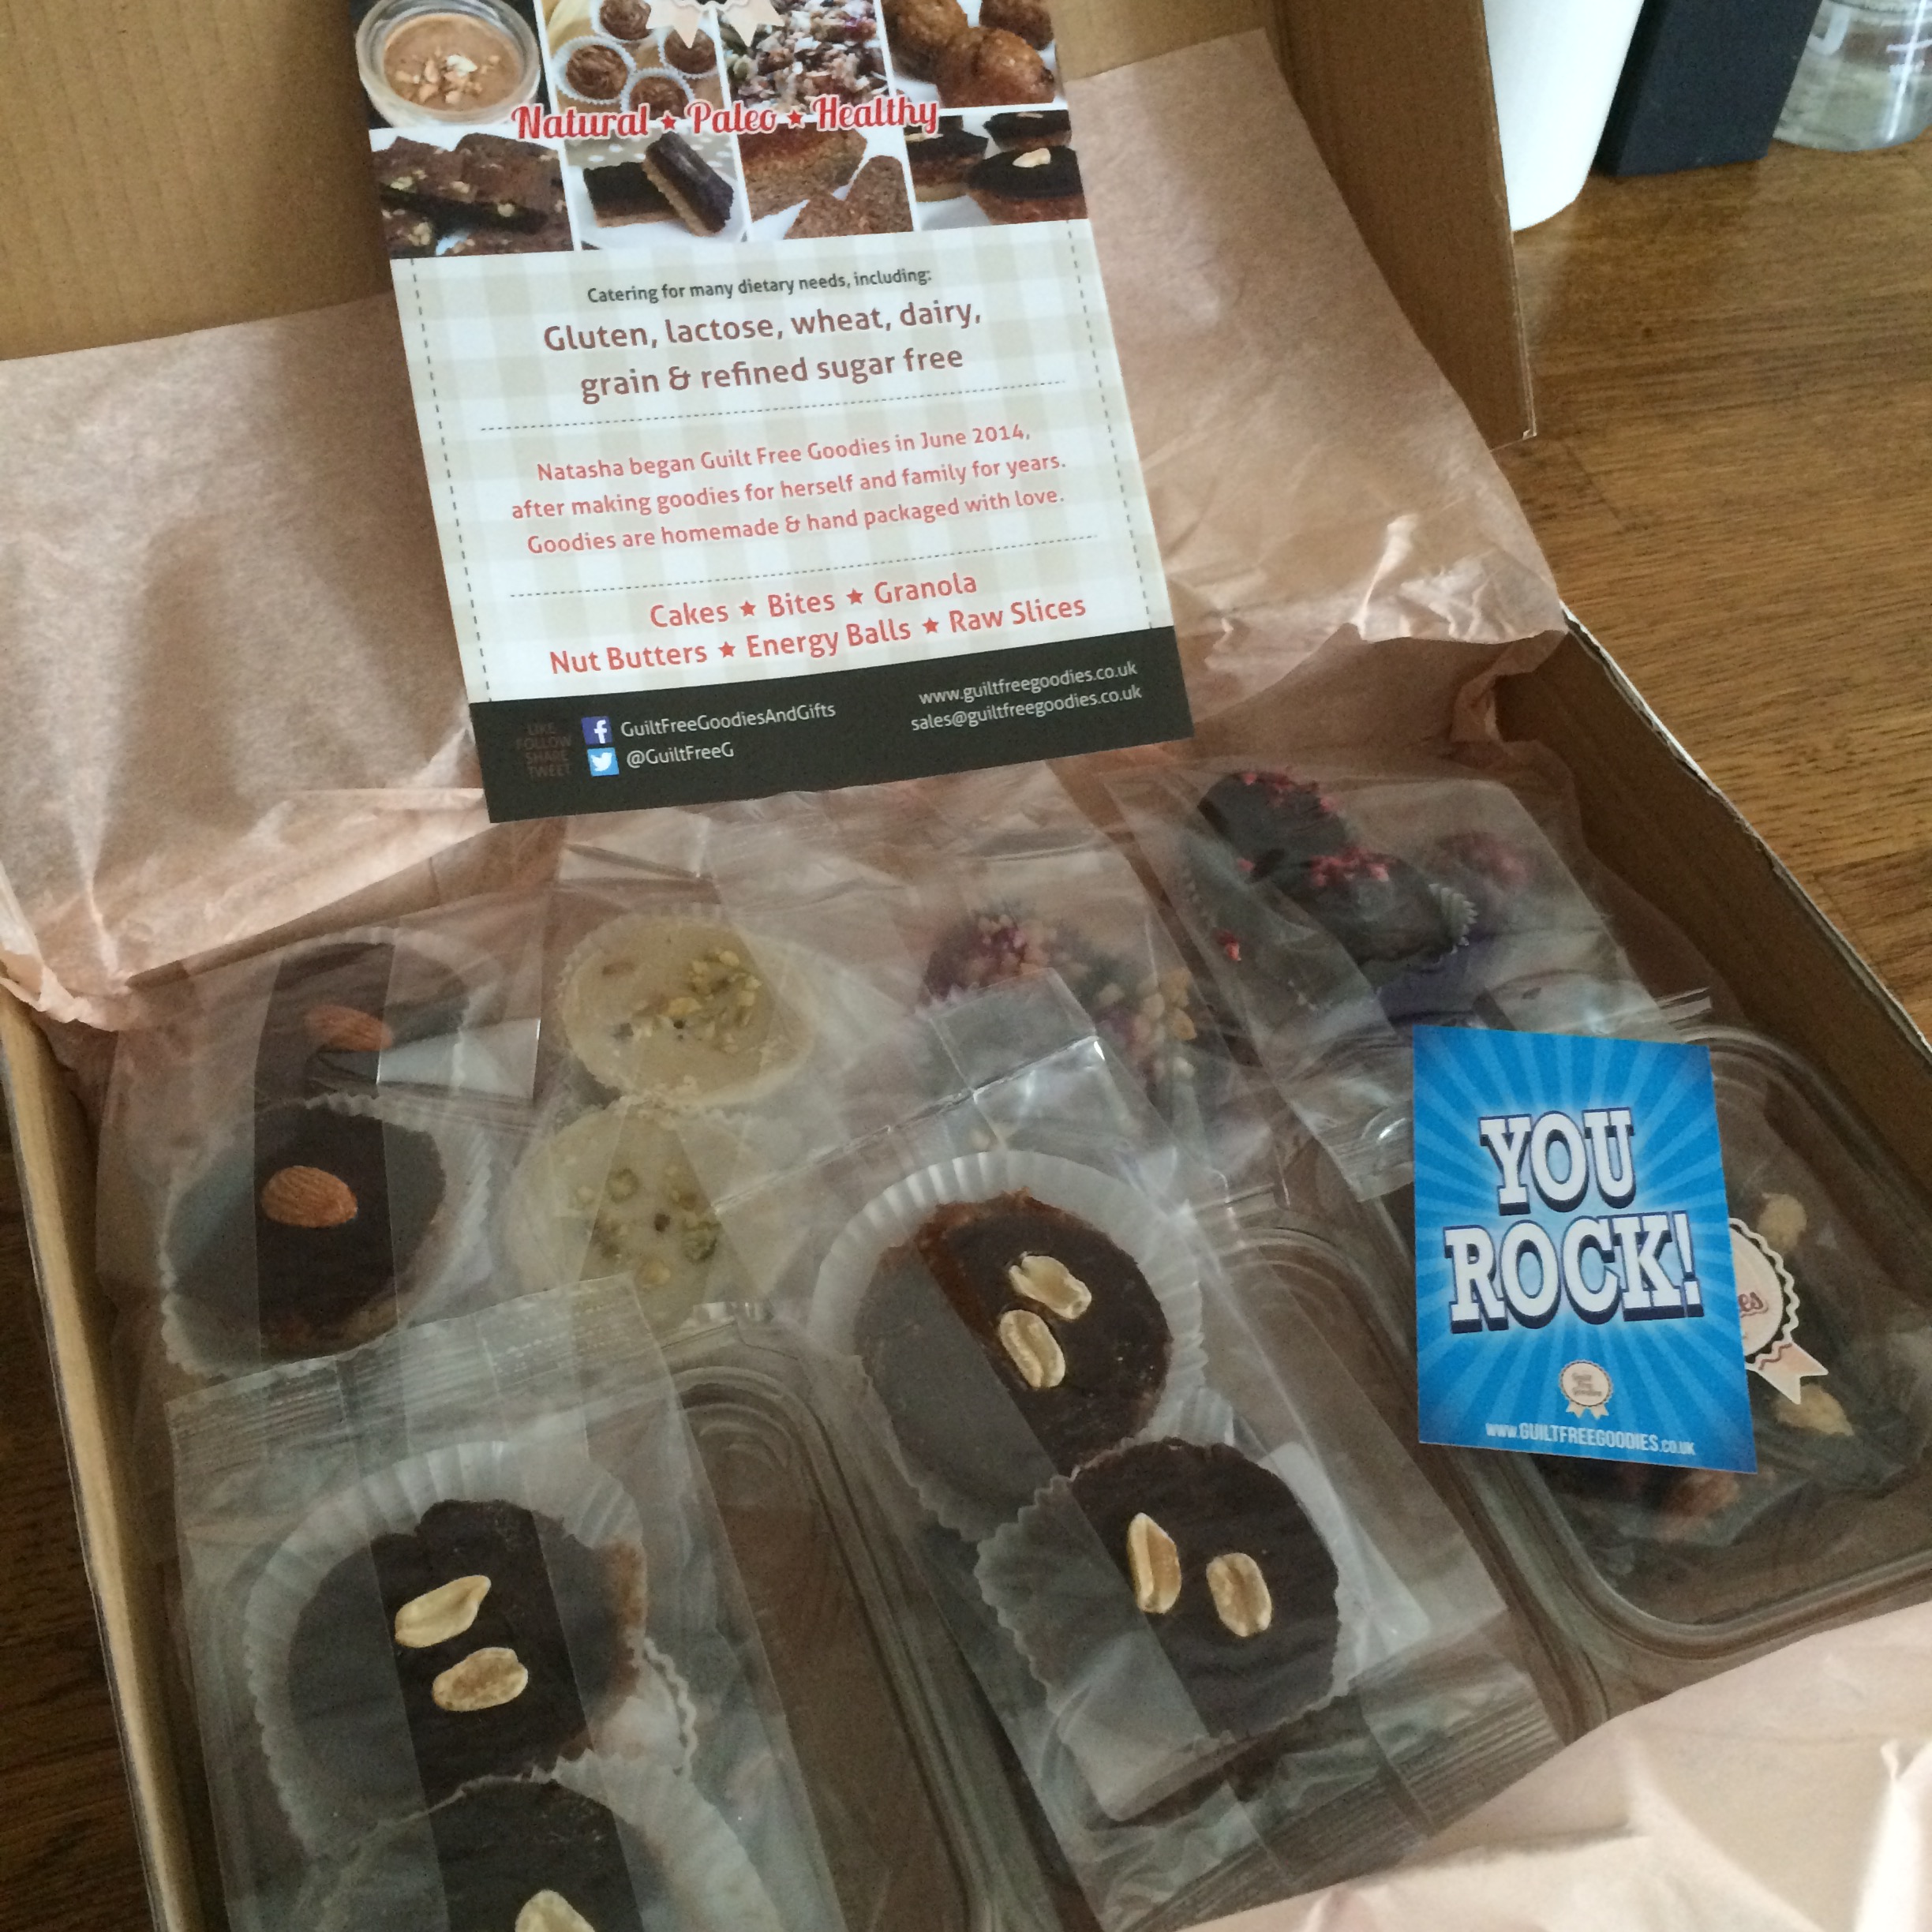
I had the great pleasure this week of being sent a beautiful box of treats from Guilt Free Goodies.

This UK, home-based business is run by Natasha and her partner, who produce homemade, all natural, healthy goodies – from granolas, nut butters to delicious treats and cakes. They’re perfect for anyone looking for dairy-free treats, diabetics and those wanting refined sugar-free treats (only natural sweeteners are used) or following the “paleo” diet. They’re also great for anyone who’s just health conscious and wants to watch what they eat. They can also make most of their products (granola, bites, energy balls and butters) suitable for vegans (some products do contain egg or honey).
I was sent this delightful selection of:
Peanut butter surprise muffin
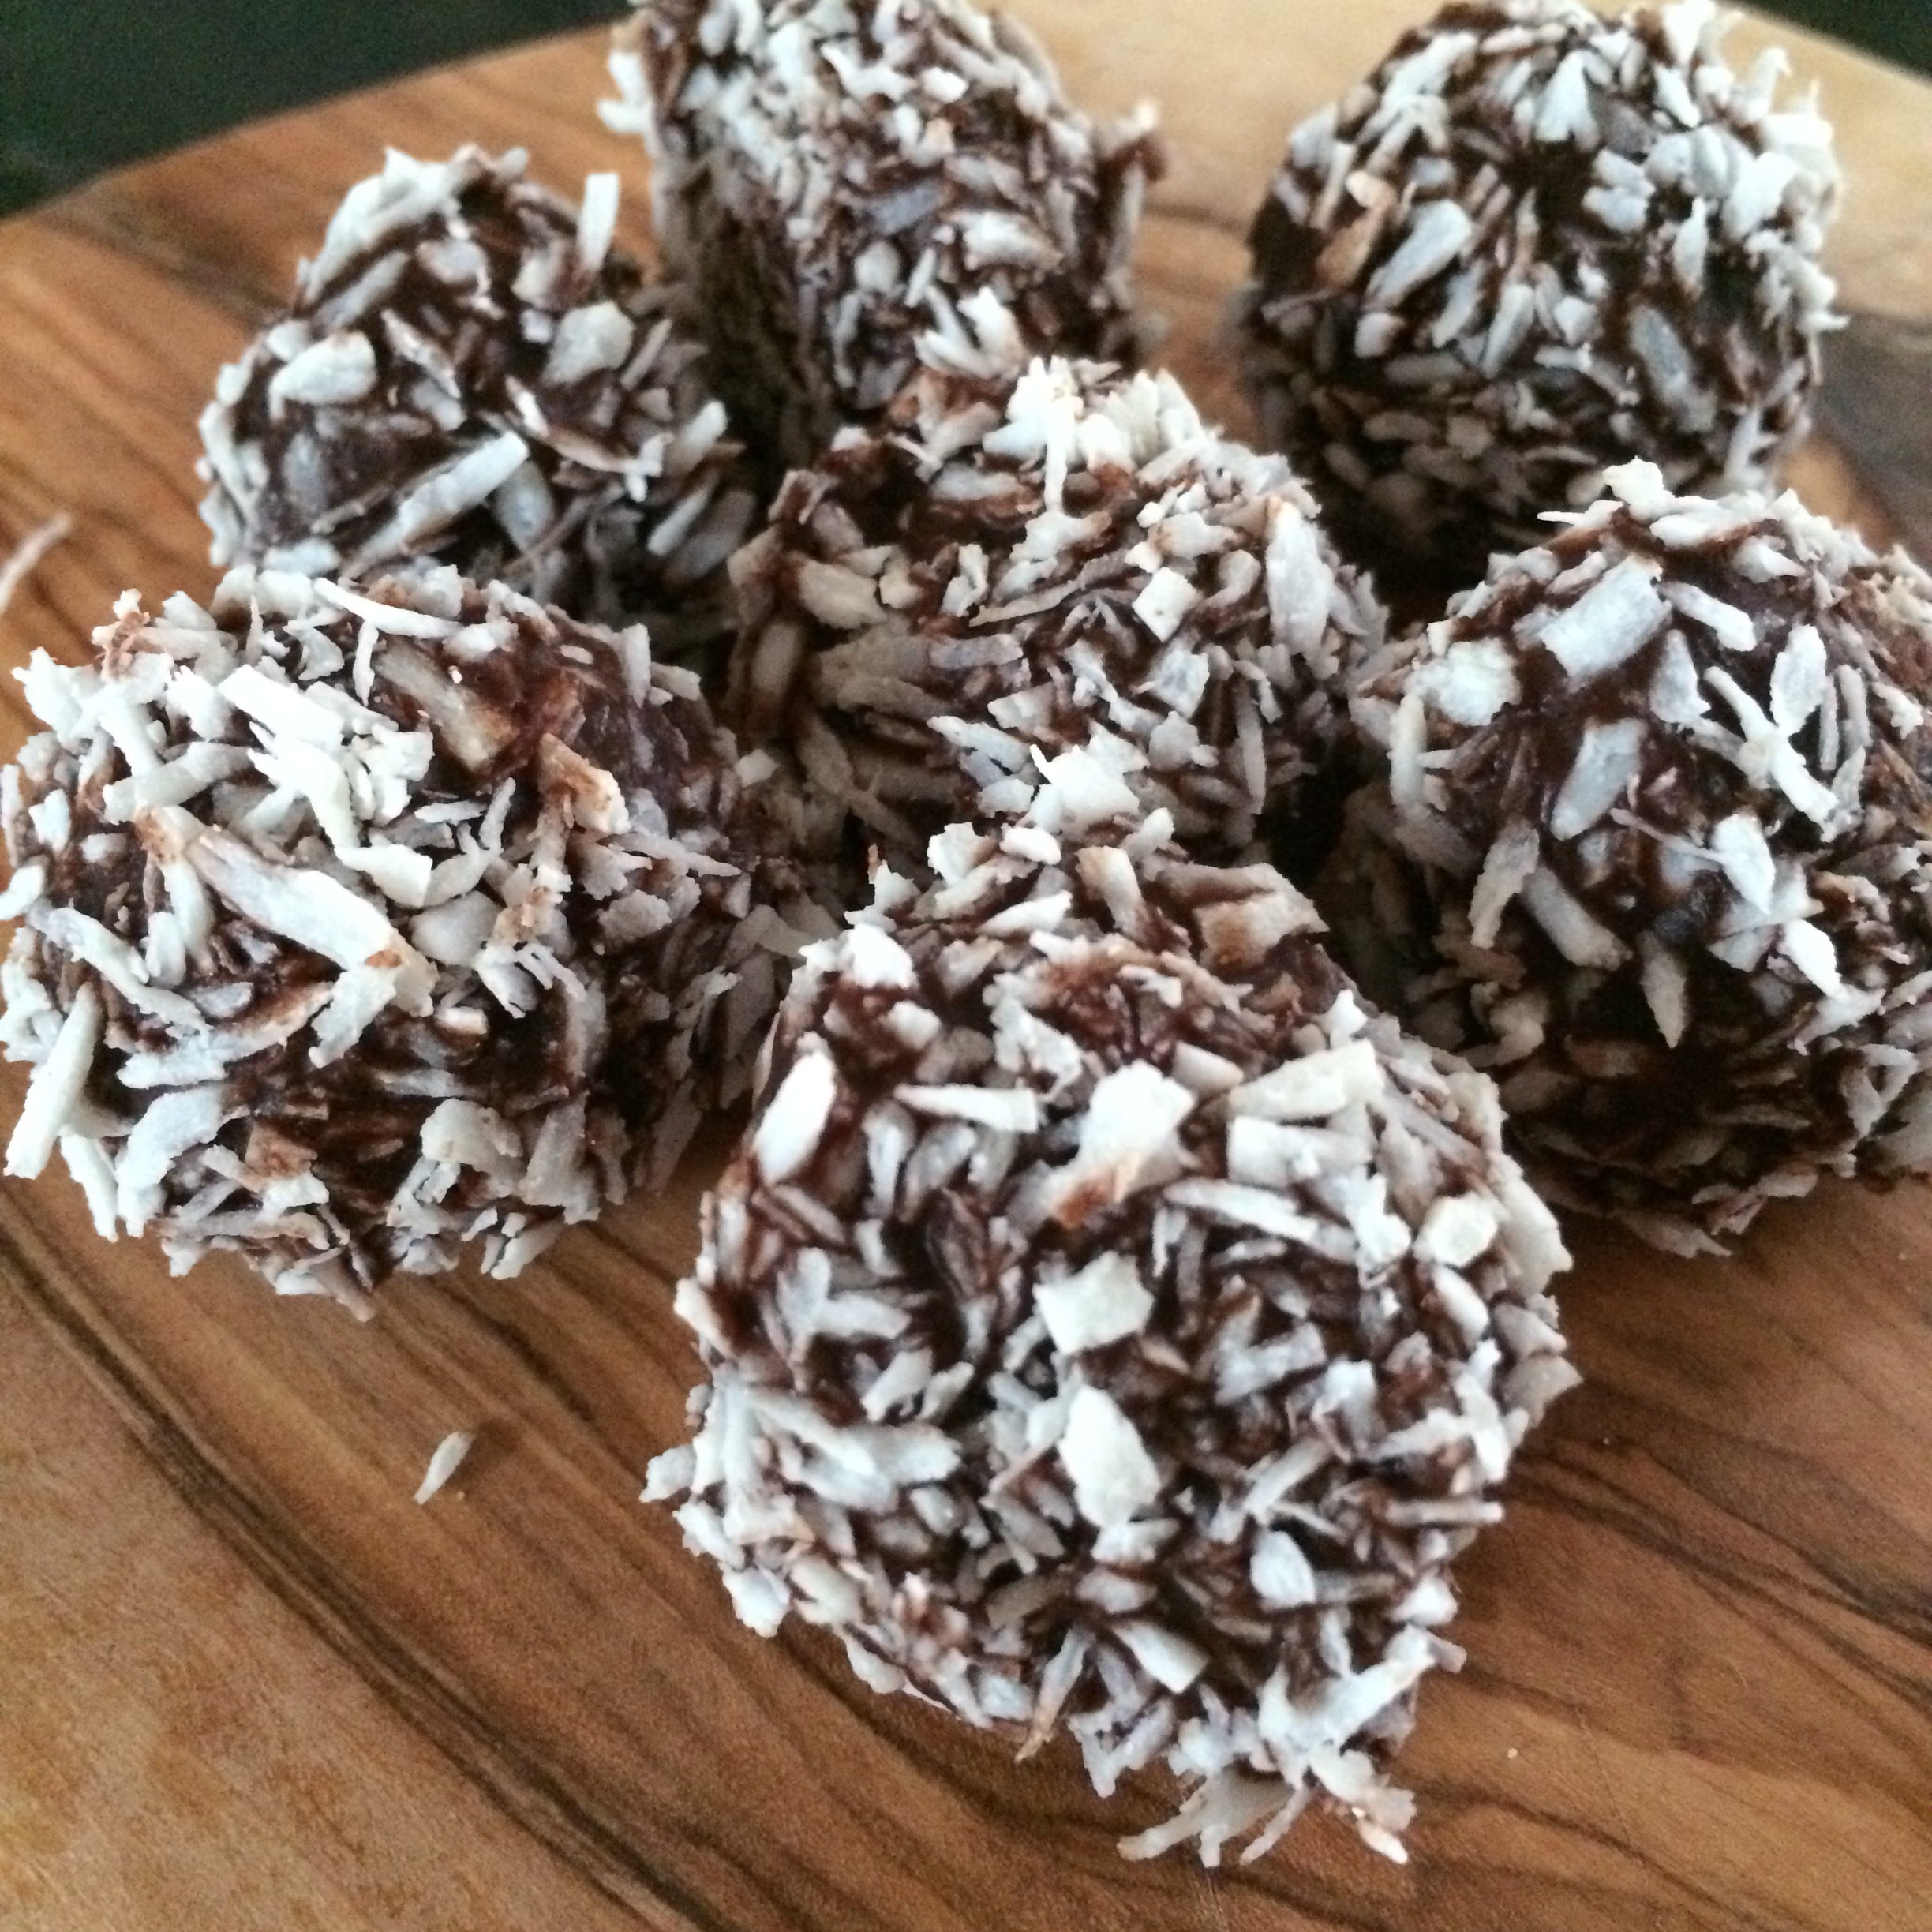
Cashew butter, coconut and blueberry energy balls
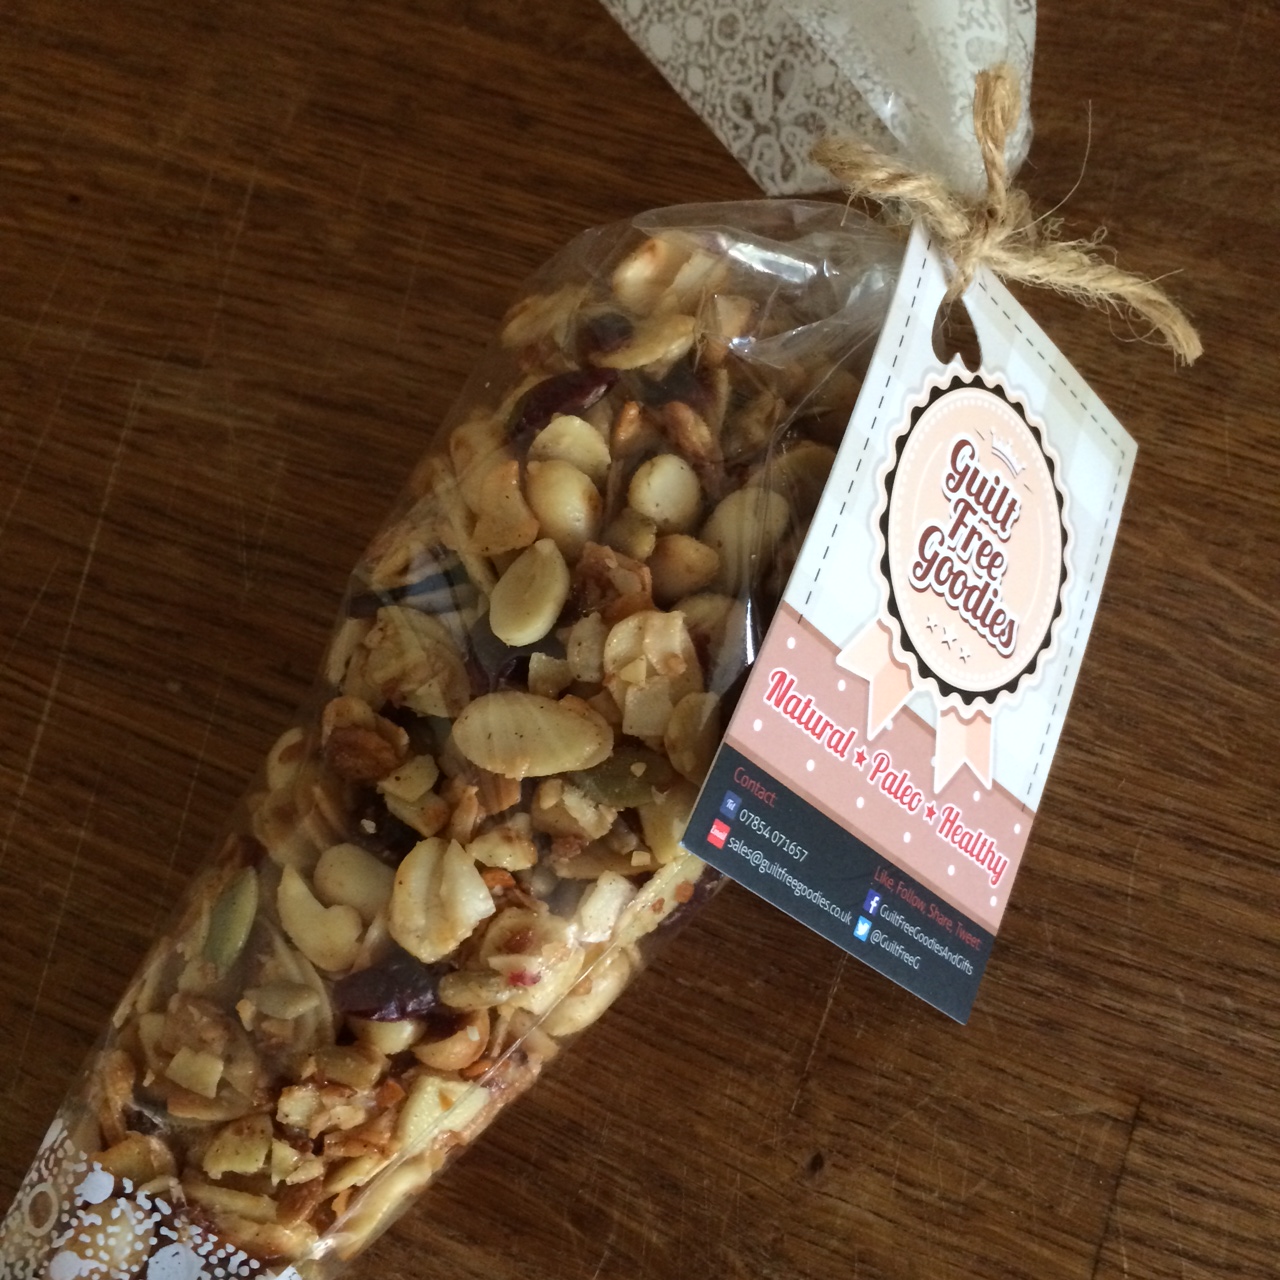
Honey and peanut granola
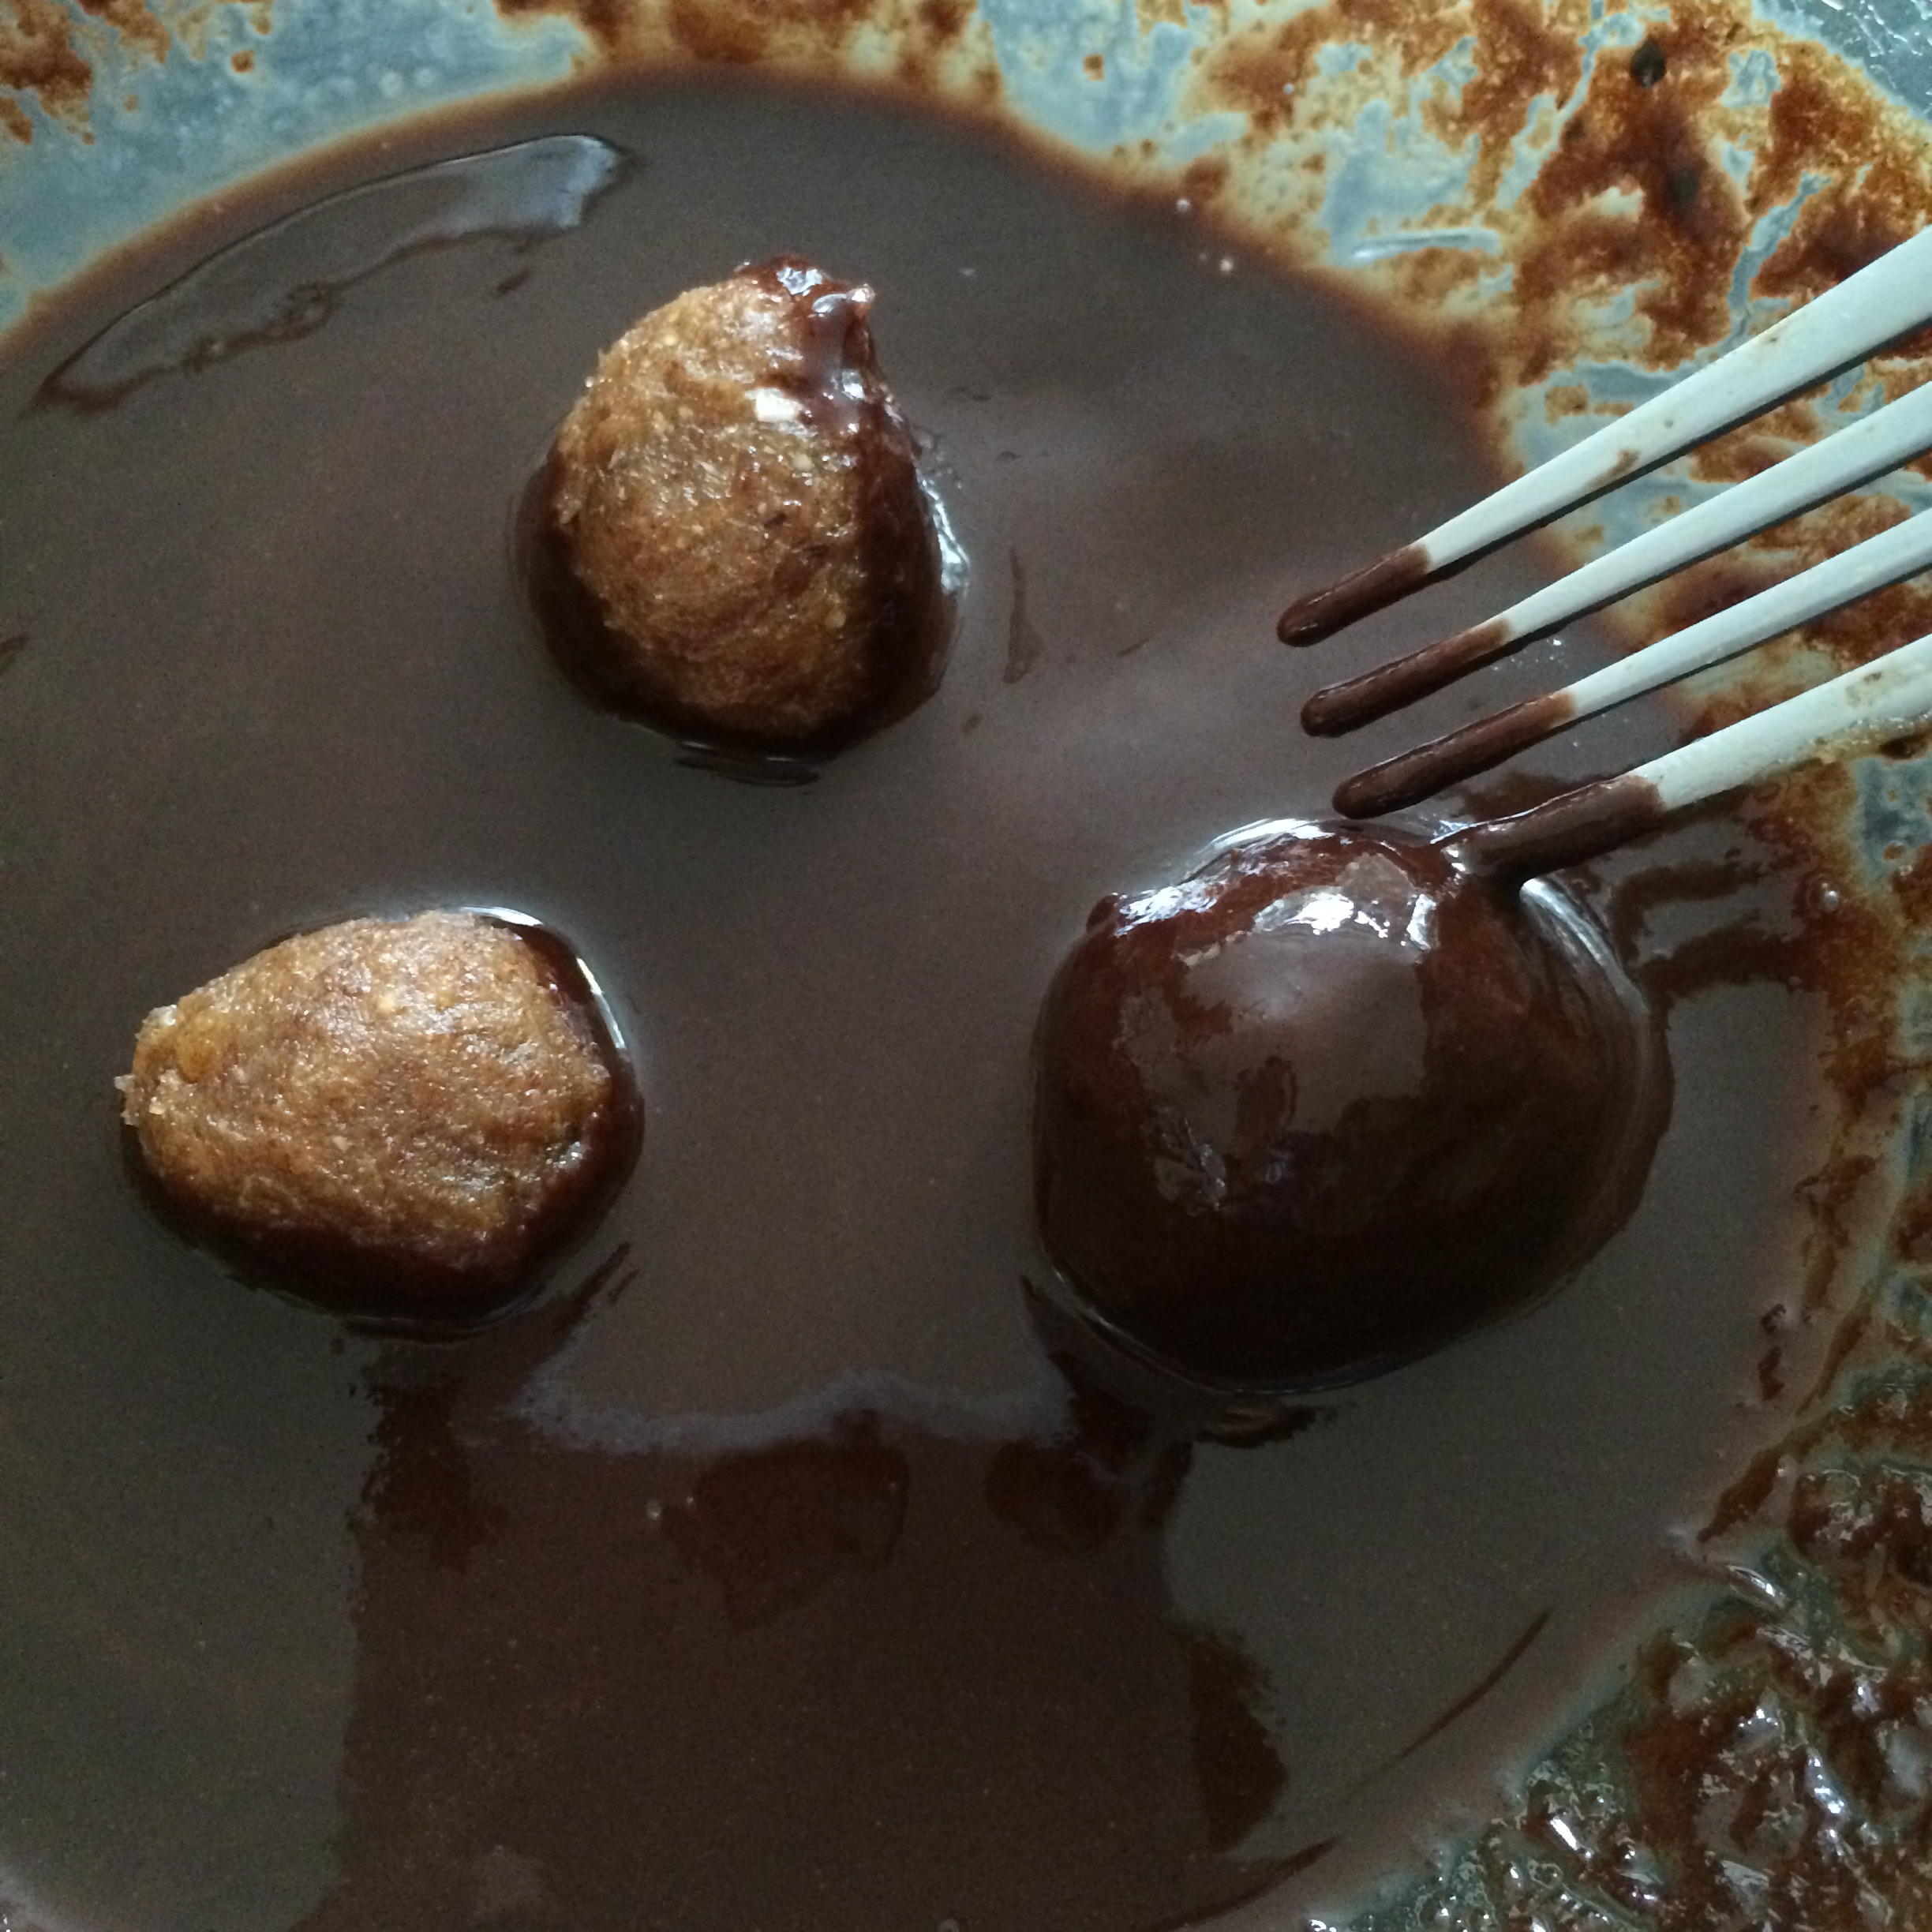
Salted caramel almond bites
The first thing I noticed is how lovely the packaging was – all the items are beautifully packaged with lovely little touches like the handwritten notes. They’re also really securely packaged so nothing was damaged in transit.

As instructed I popped the almond bites in the freezer (top tip – highly recommended!) and the first item I tucked in to was the cashew, coconut and blueberry energy balls. After a busy morning teaching spin and bodypump I was famished and needed something quick to munch on. These really hit the spot – full of goodness and flavour. Really satisfying and tasty too – not too sweet but sweet enough to satisfy 🙂

Later that afternoon I was in dire need of a boost so thought I’d try the granola next – I served it with some homemade compote from my friend Colette and a big dollop of soya yoghurt.

It was absolutely divine – crunchy and crisp with a great mix of nut and fruit. The sweetness wasn’t overpowering either which was great. I had to eek it out as otherwise I’d have eaten it all in one go! As it’s full of good fats (from the nuts) it really sustained me for my evening classes which is exactly what I needed. This would be just as good served with a little almond milk or yoghurt for brekkie, or as a decadent treat you could serve it with some coconut yoghurt or ice cream for dessert! Yum!
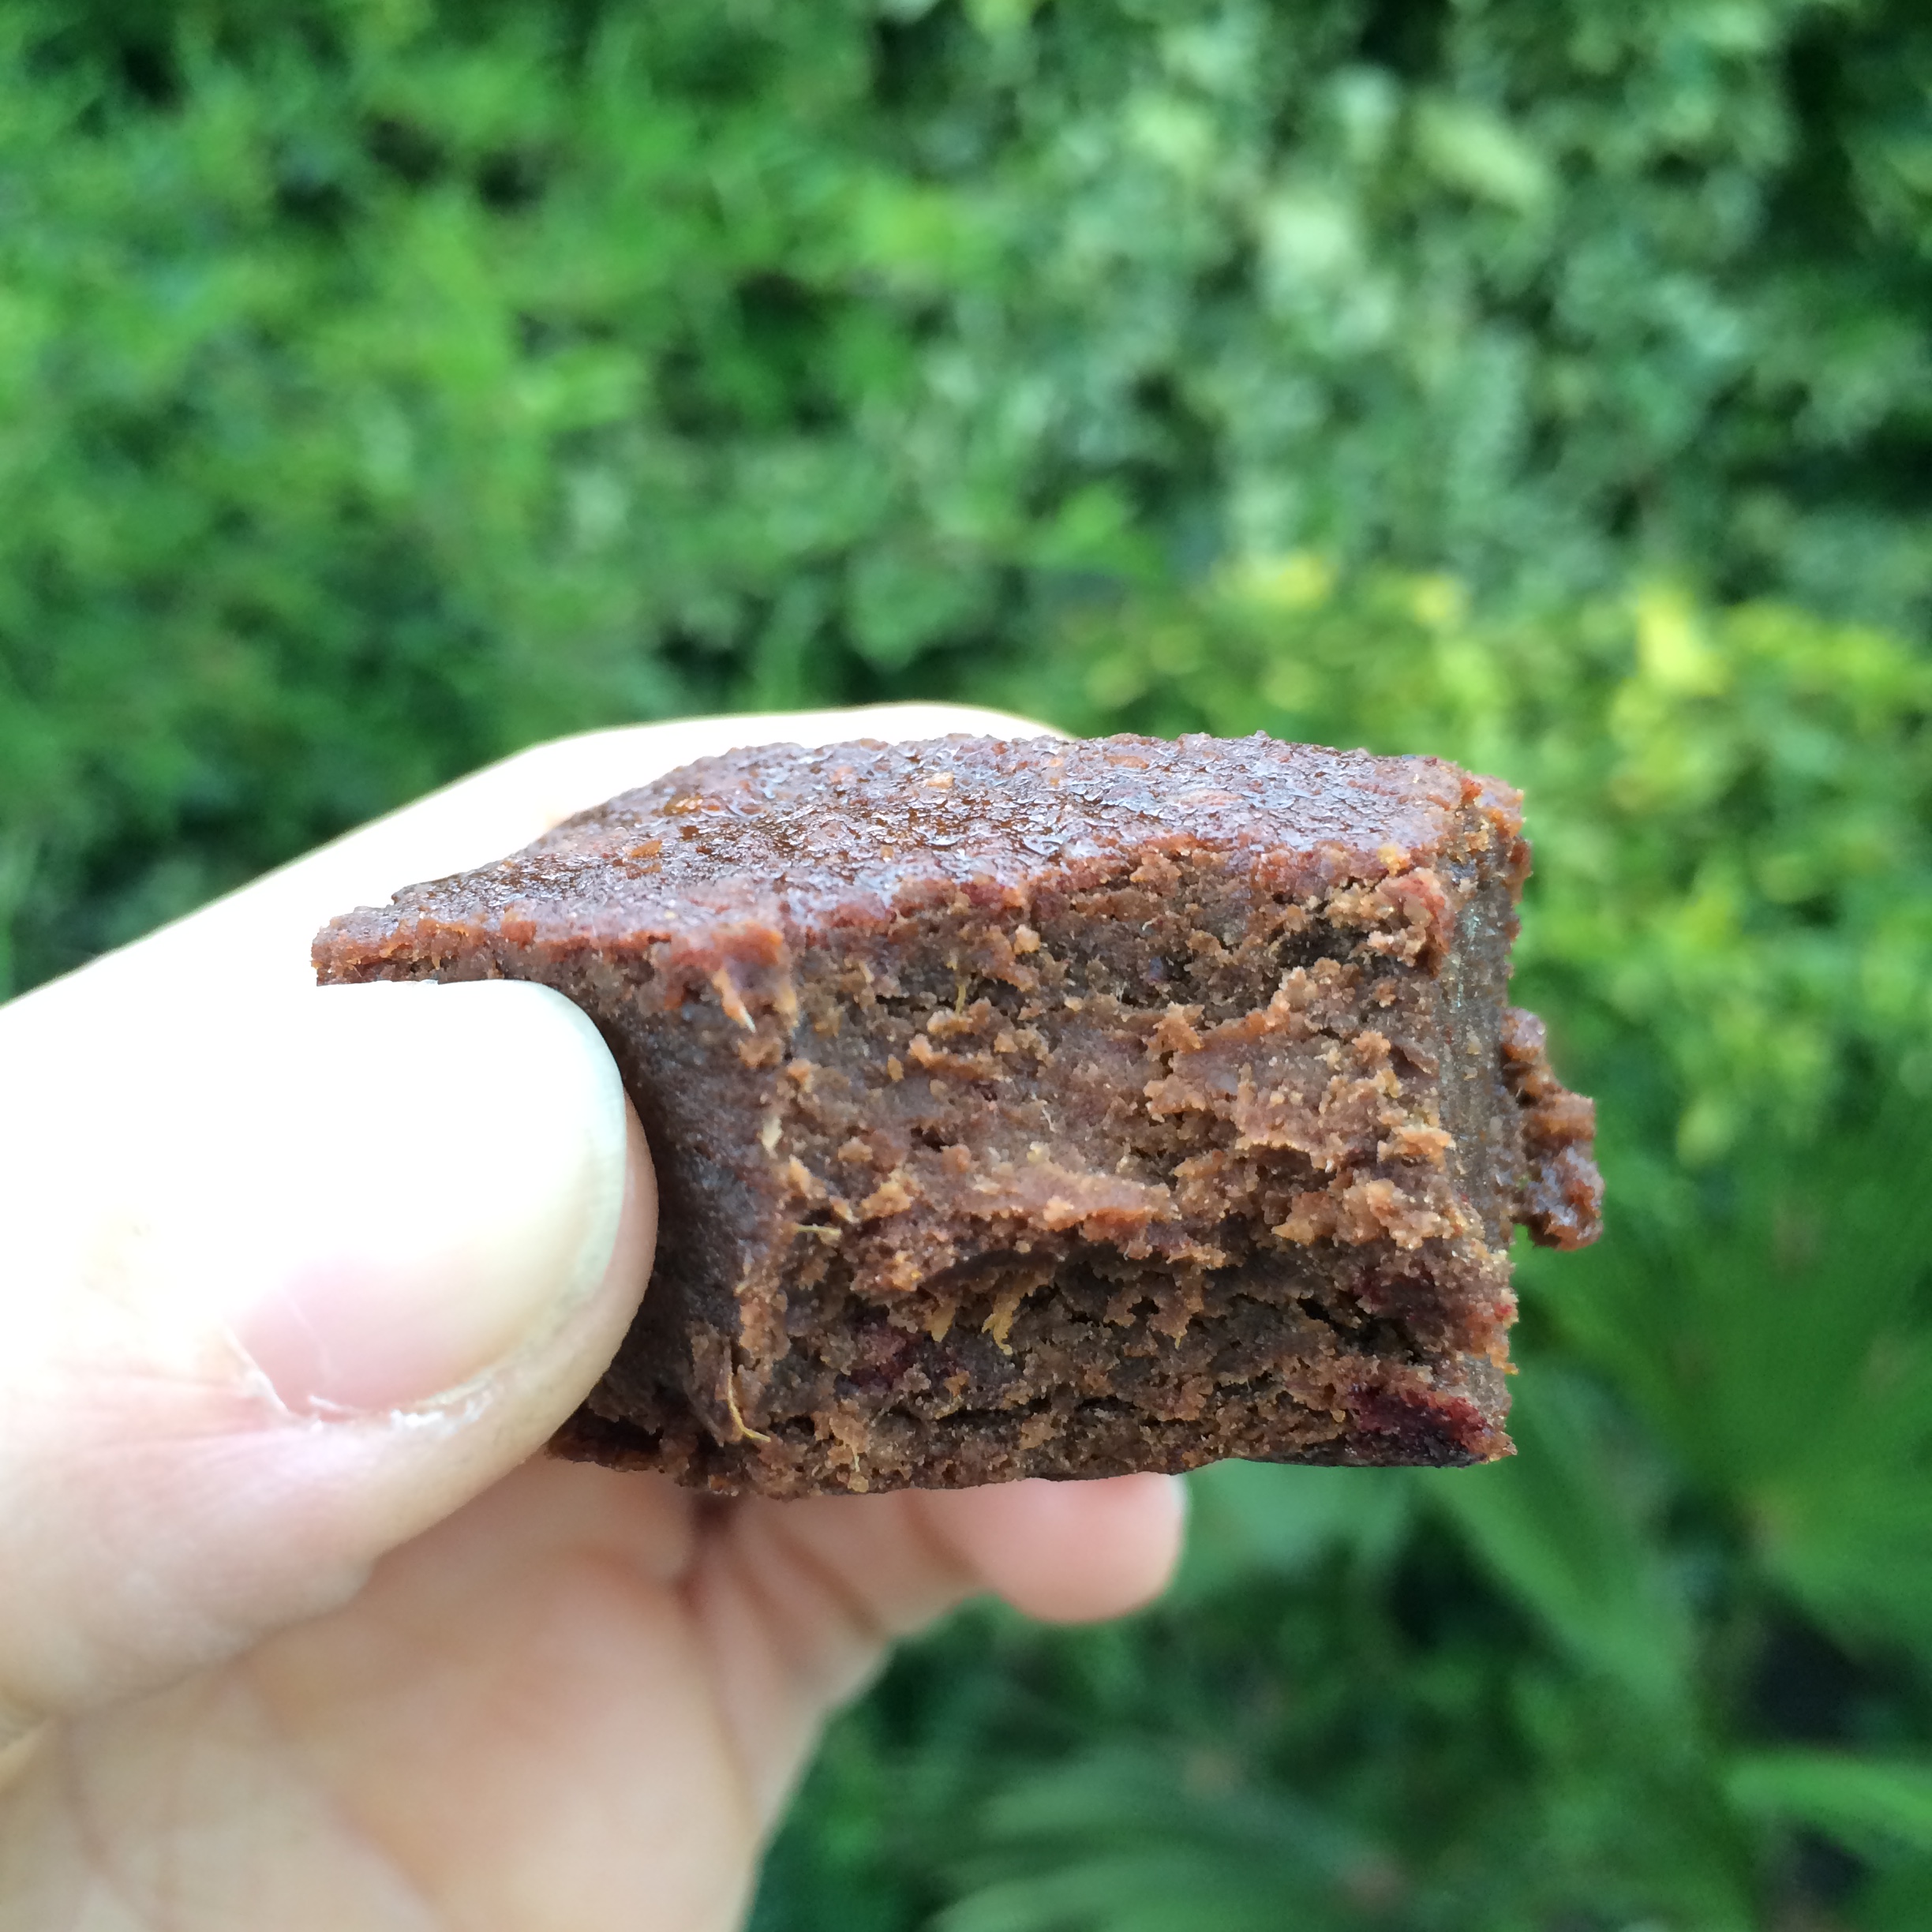
I saved the muffin for a mid-morning snack with a cuppa. This was a really nice treat. Now it’s not like a traditional muffin so don’t be surprised. It’s a lot smaller but it’s also much denser. I really like this about it – it’s moist and squishy (in a good way!) and although small it’s exactly the right amount for a snack. I loved the peanut butter in the middle of this one. The nice thing about these muffins is that they really fill you up in a way traditional muffins just don’t.

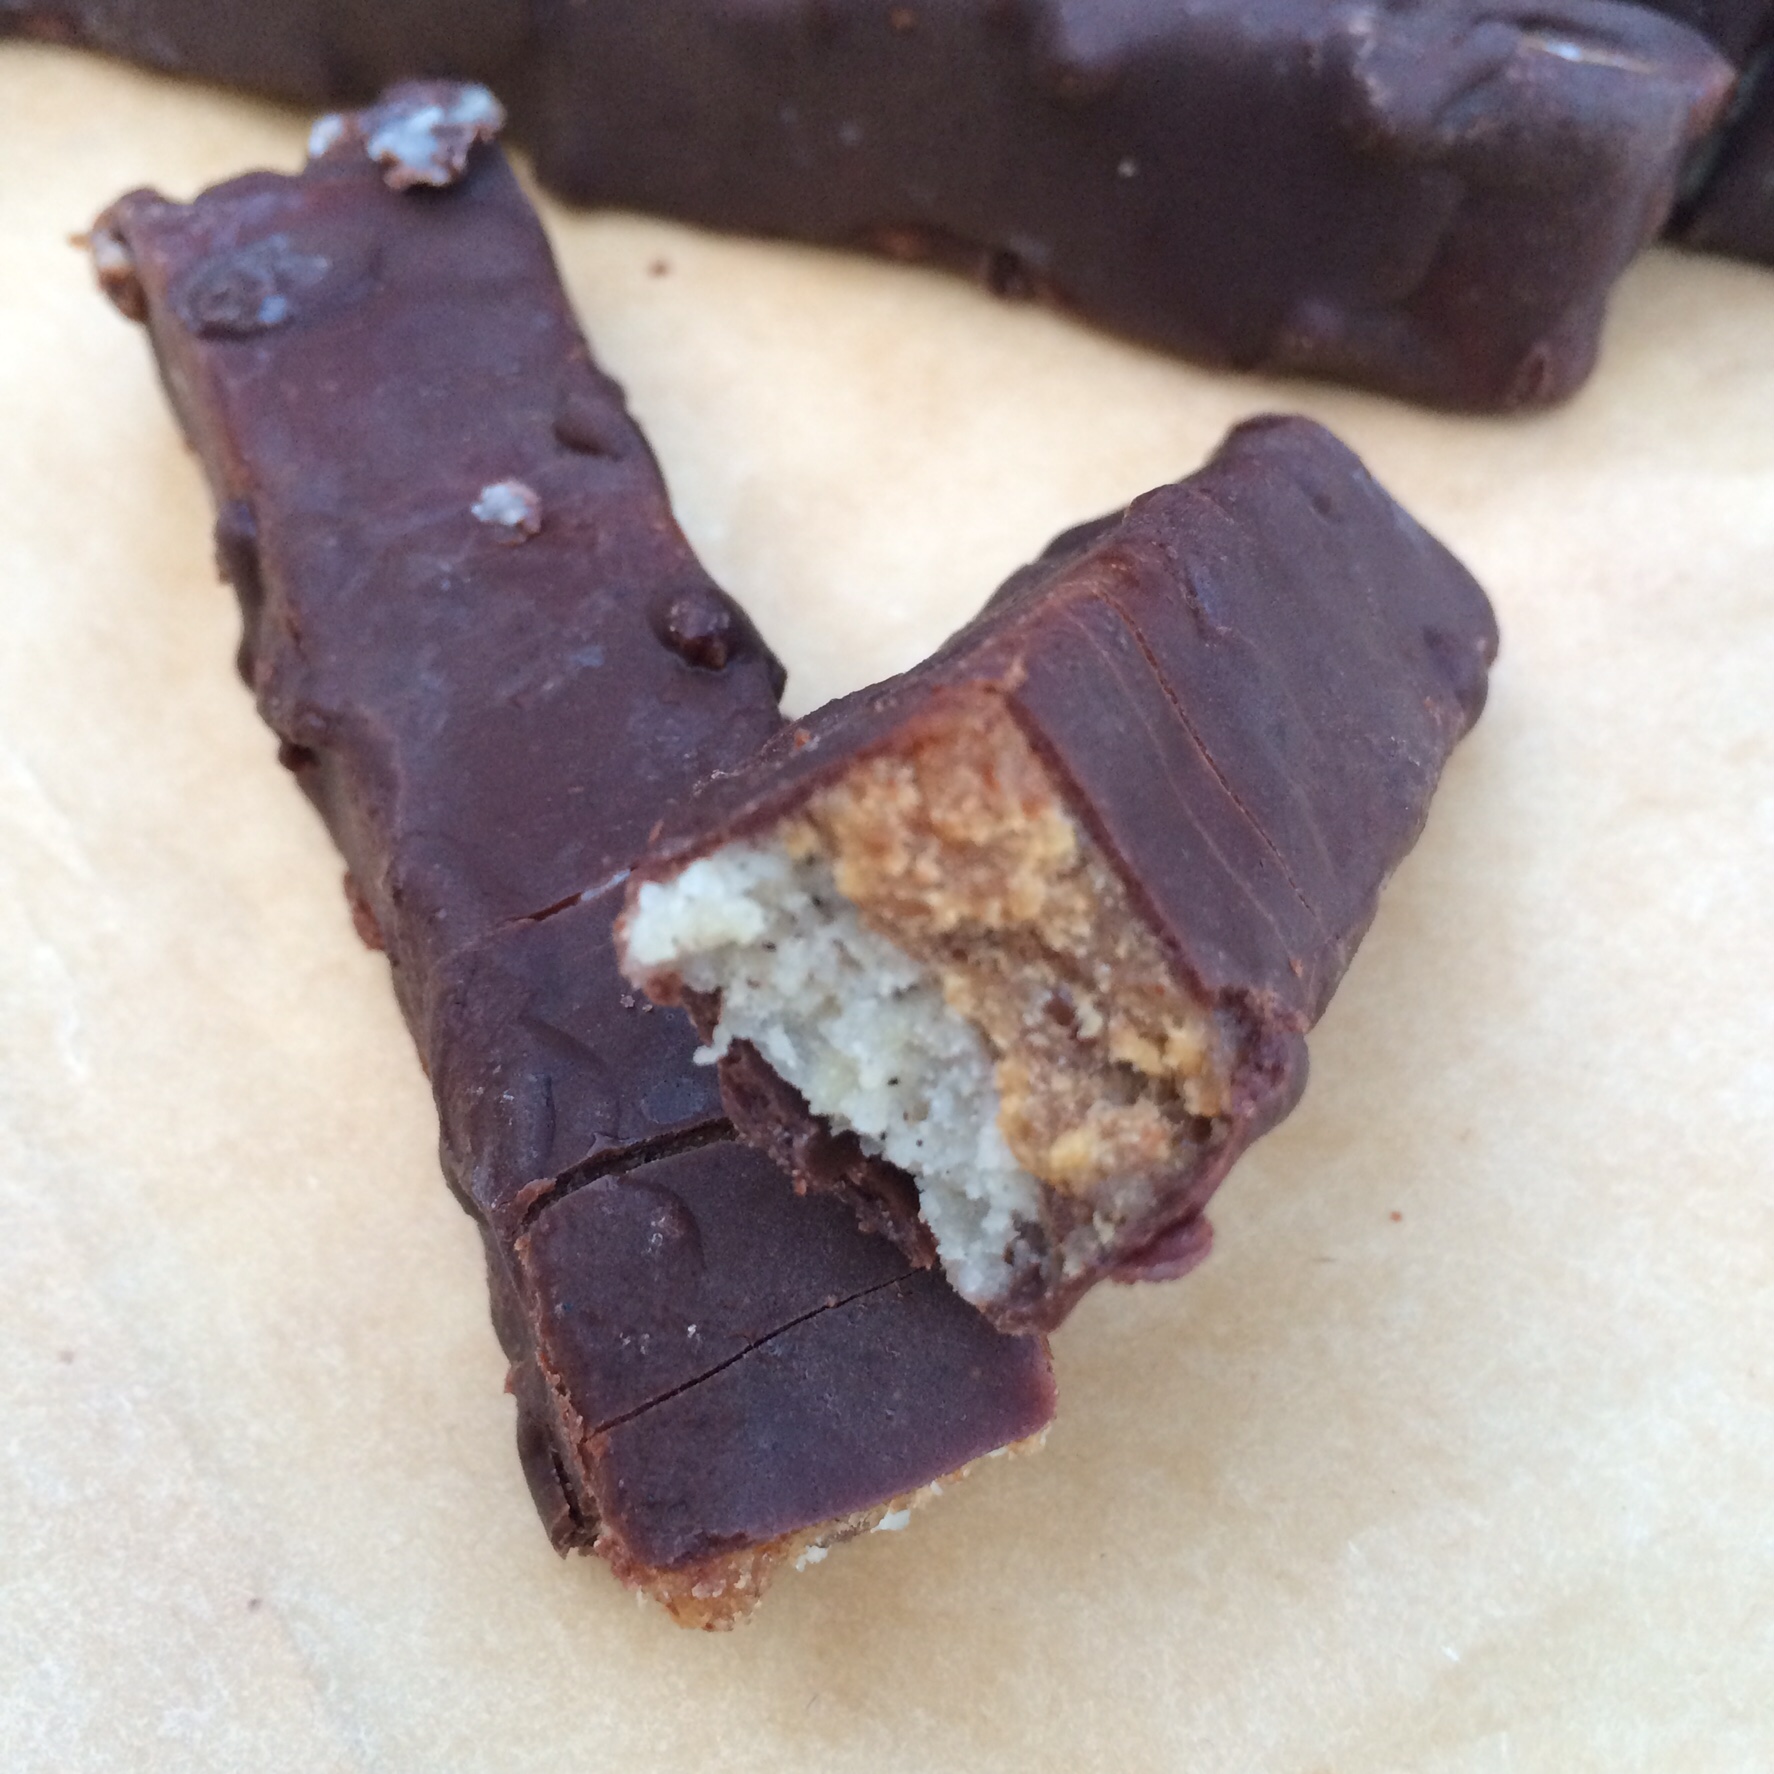
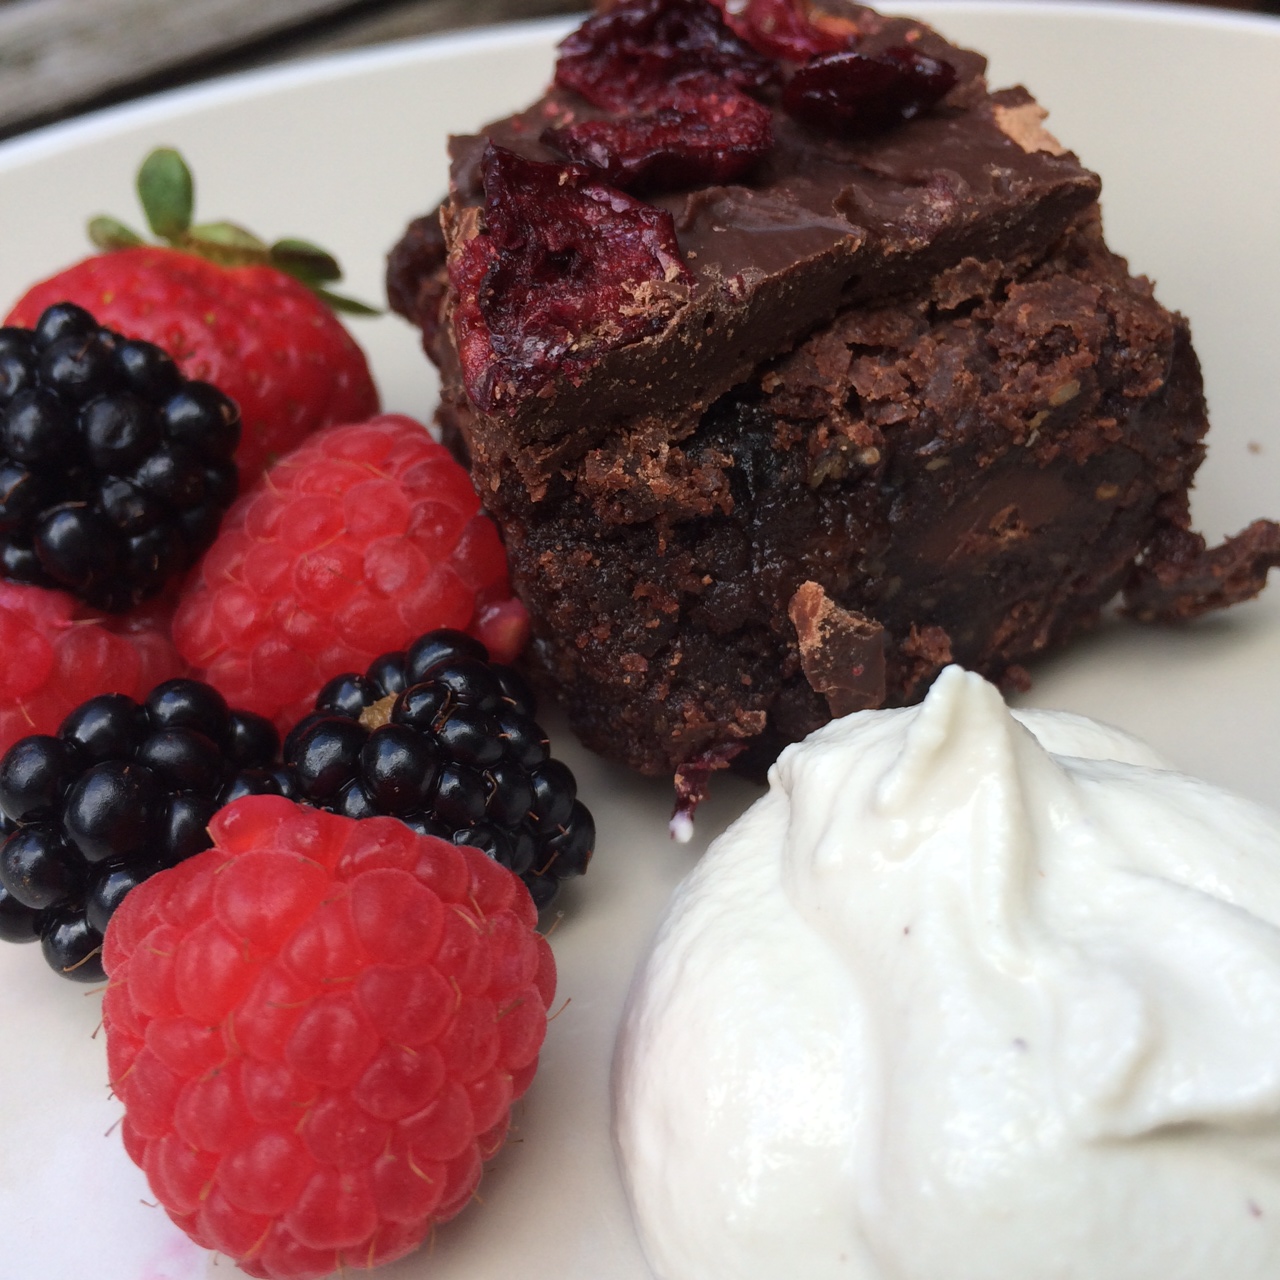
I saved the best until last – the almond bites. I was most excited about these – they looked delicious and I’m such a sucker for anything almond-based so I had high hopes.
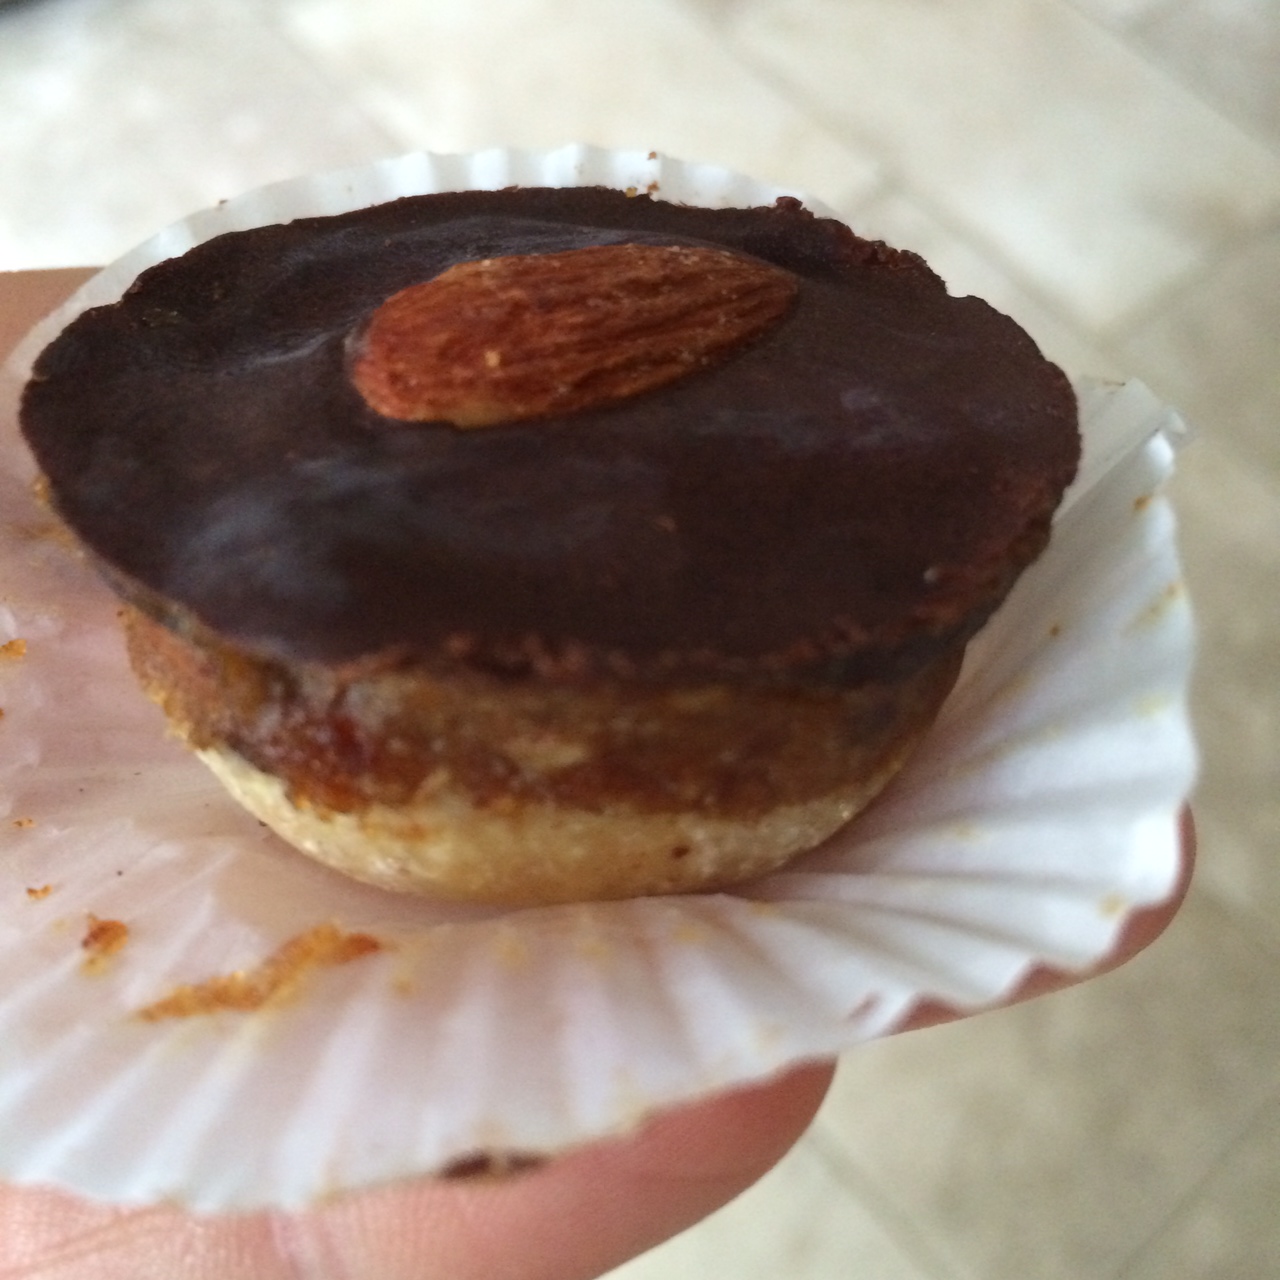
I was not disappointed in the slightest. These were so good! They’re definitely best out the freezer – the base goes all crispy and the caramel stays soft. The combination of the caramel, a whole almond in the middle (!), and lovely chocolate on the top is just fab!

So all in all I was really impressed with all these products. They certainly live up to their reputation and satisfy your cravings without ruining any of your hard work!
I just love that this is a home-run business, run by someone who clearly puts their heart and soul in to their products. I’d definitely recommend them so do go and try them. You can also buy hampers or sample boxes and they’d make great gifts for the health foodlovers in your life. I’m really looking forward to ordering some of Natasha’s other products now – especially the loaf cakes and nut butters! 🙂
You can find out more about the products and place orders from their facebook page – here: Guilt Free Goodies or their new online shop here: Guilt Free Goodies Eshop.
Do check them out! and if you do let me know what you think 🙂