Caramel Buckwheat Crispy Squares – Dairy and Gluten free


When I was at school I used to take a Kellogg’s Rice Krispie Marshmallow square with me every day for my breaktime snack. Does anyone else remember them? I was addicted! All gooey and sweet… and delicious…but so full of rubbish…..

So I thought I’d recreate a healthier version of them! So I’ve had a play and come up with  Caramel Buckwheat Crispy Squares. Super easy to make and really scrummy! You could use any puffs you like – buckwheat, spelt, quinoa, rice…. These are better than the originals I think and not half as bad for you 🙂

You will need:

10 -12 medjool dates

2 tbsp Cashew or almond butter

1 – 2 tbsp warm Water

1 – 2 cups of Buckwheat (or any) puffs

Optional Chocolate for decoration:

1/2 cup Coconut oil (melted)

1/3 cup Cacao/cocoa powder

1/4 cup Coconut syrup

Start by making your caramel. Pit and chop the dates and pop them in to your blender together with the nut butter. Add a little of the water and blitz. You want to nice smooth caramel which is thick enough to hold the puffs together, so you may need to add a little more water but not too much. I have to say, watching the caramel in the blender is very pleasing… look….

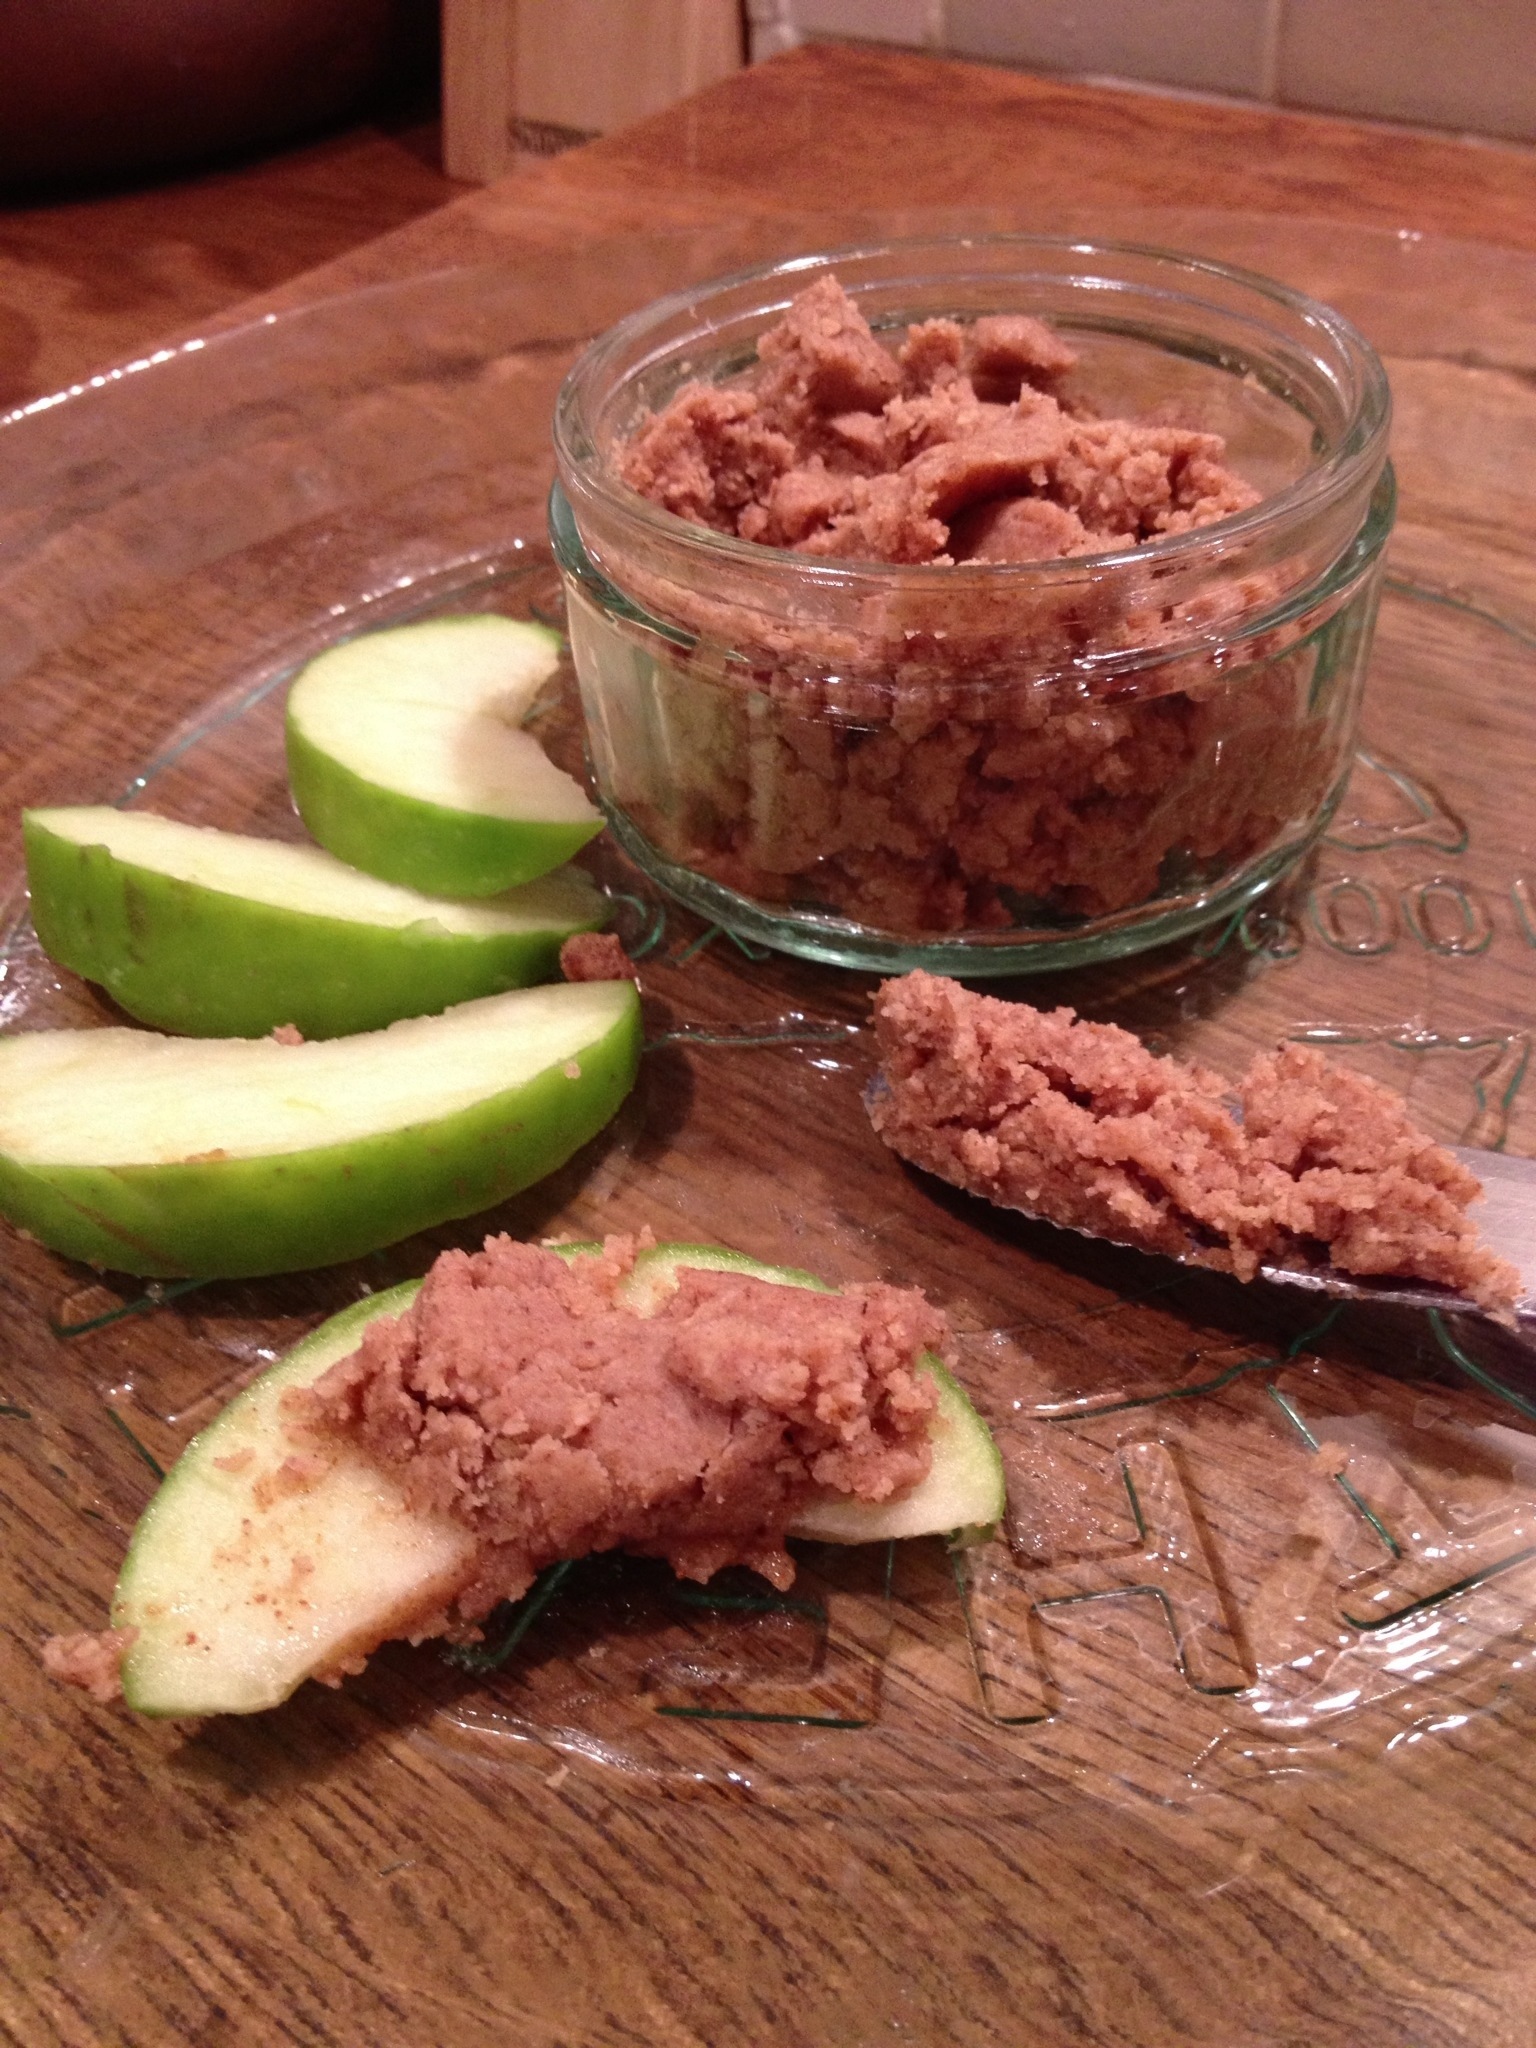
Once you have a smooth but sticky caramel remove it from the blender. You will probably have more caramel than you need but that’s ok as you can use it for some other yummy treats like my apple cinnamon smoothie or homemade toffee poppets.

Put your puffs in a bowl and add a few spoonfuls of caramel. Stir it through and keep adding caramel until you have a sticky mess! Line a tupperware pot or tray with some baking paper and press the caramel puff mess in to the tray and push down well.

Pop in the freezer for at least an hour to set. It won’t set firm – it will be all sticky and chewy 🙂

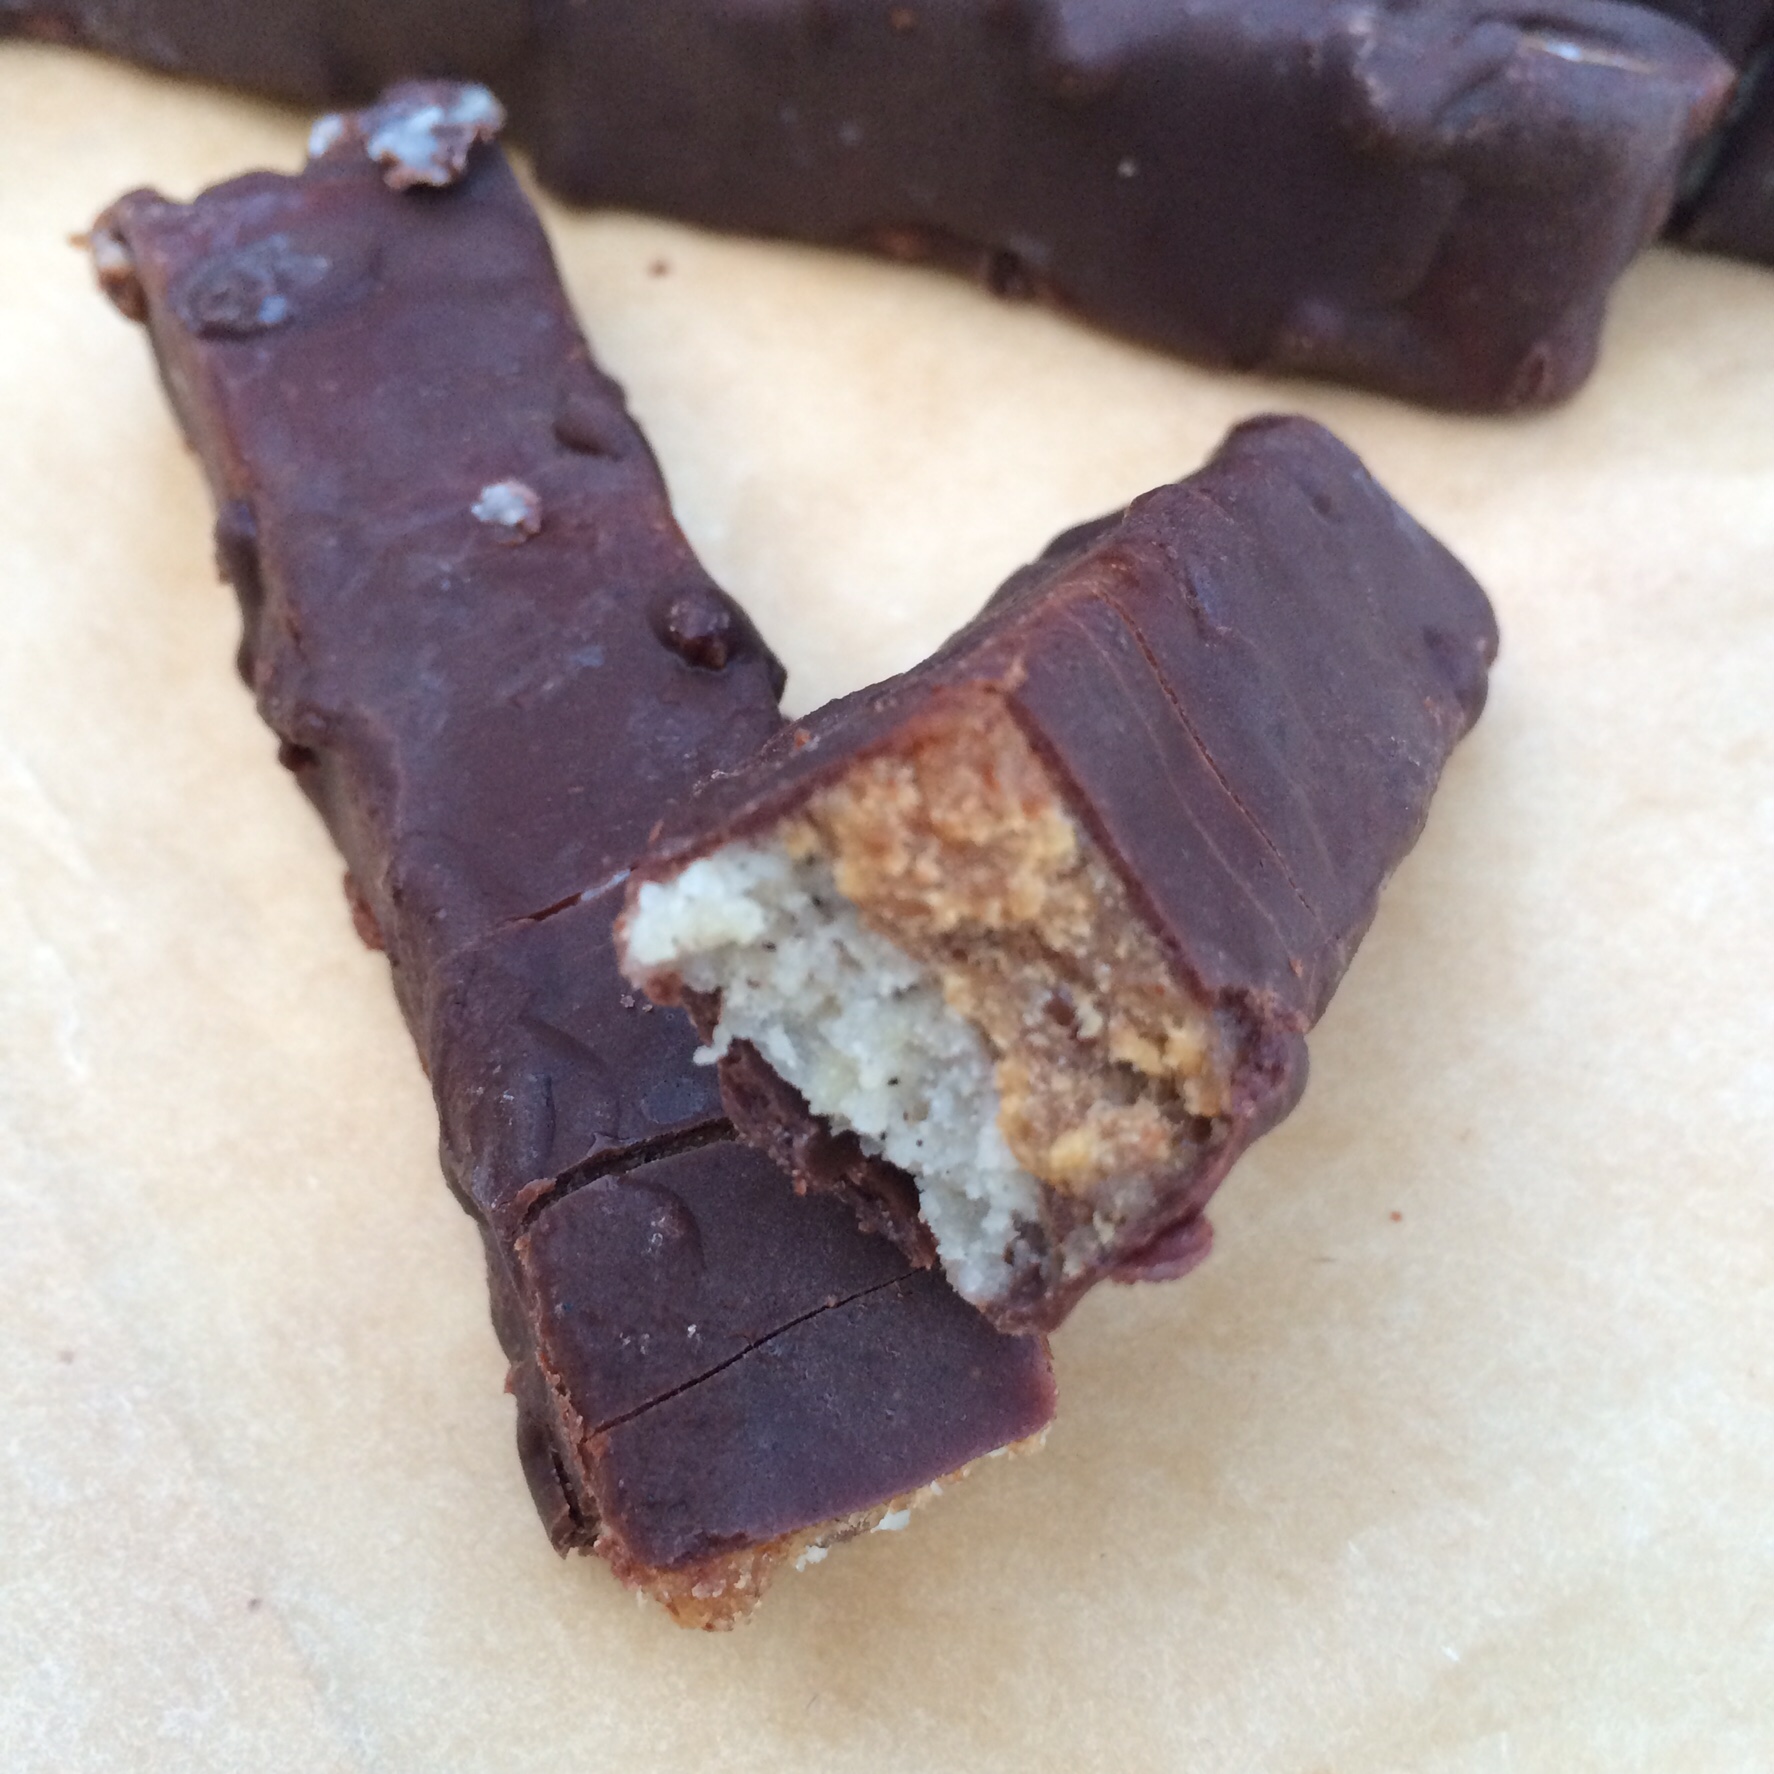
Once set remove from the freezer, slice and serve!

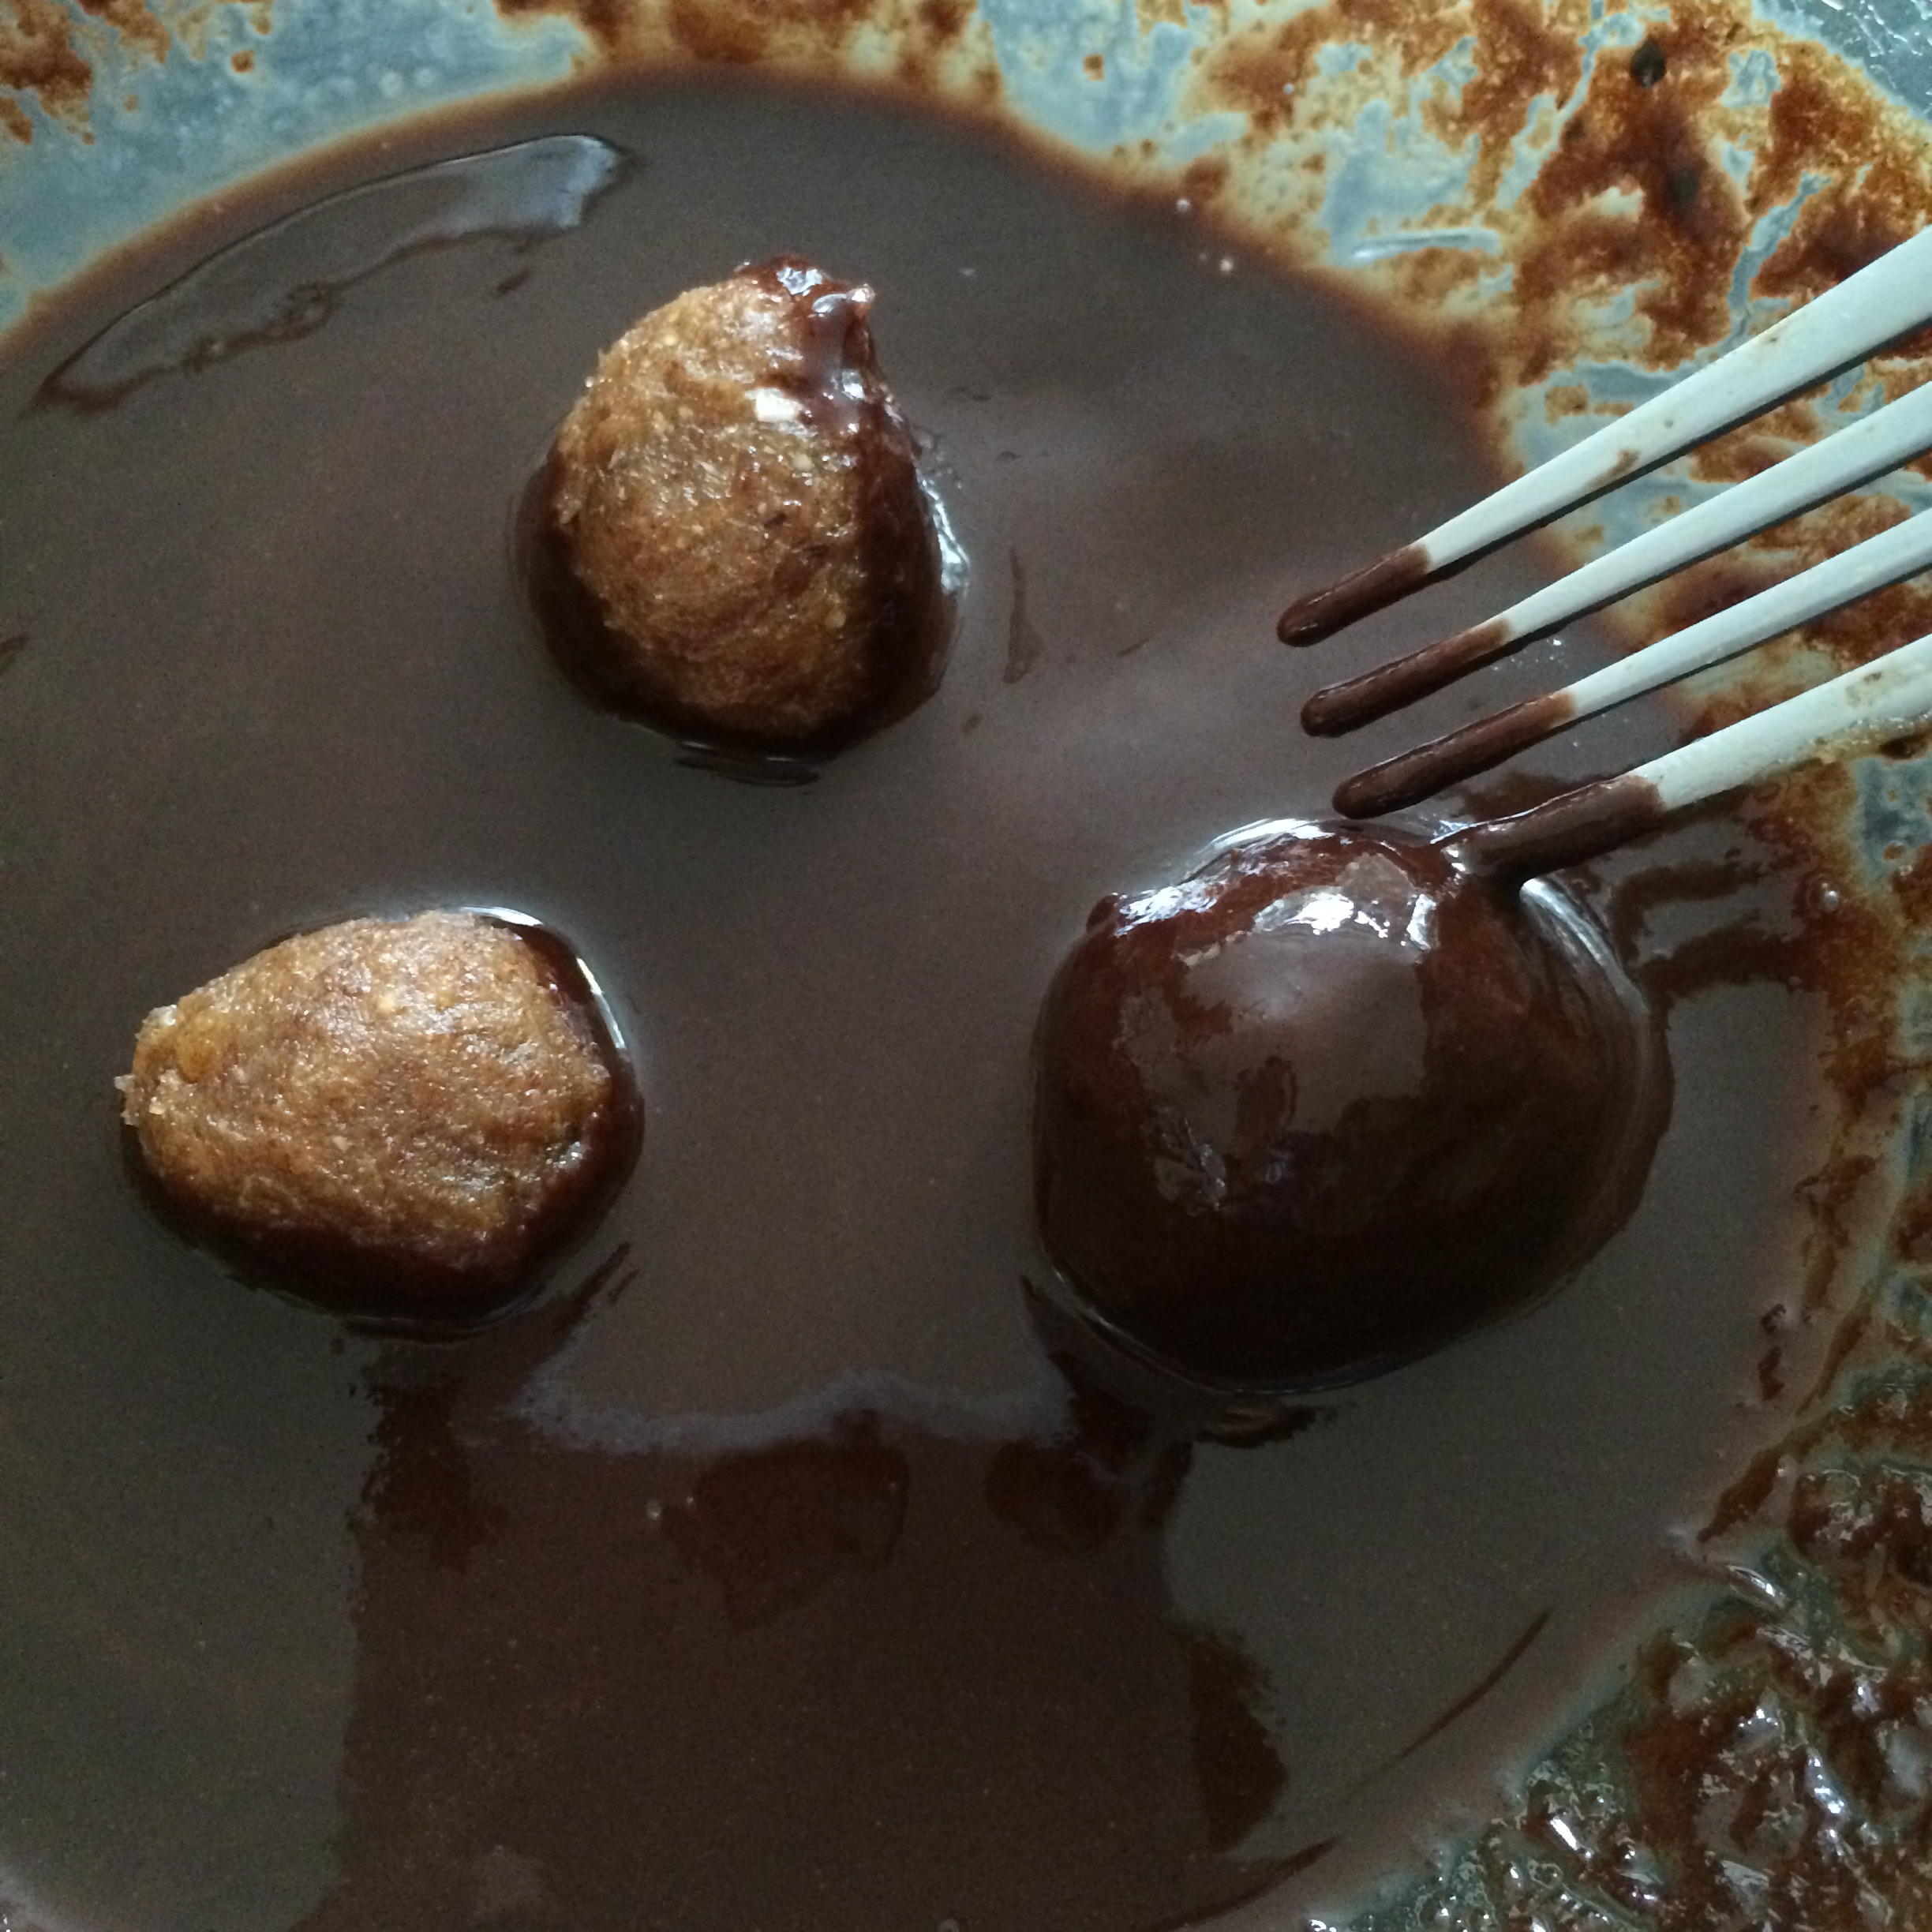
If you want to decorate with raw chocolate then combine the coconut oil, cacao powder and coconut syrup and whisk with a fork. Drizzle the chocolate over the bars and then pop back in the freezer briefly to set. Enjoy!

  IMG_3833

Advertisement

Homemade Toffee Poppets! Raw, dairy-free Chocolate Caramel Balls!


When I was little my grandma (Nannie 🙂 ) would come to pick me up on a Friday night from school and as a treat she’d take me across the road from our house to the newsagents to buy some sweets. I could have whatever I wanted… More often than not I went for a packet of Poppets – either mint, or the toffee ones (also known as Toffets). For those of you who haven’t had the pleasure – they were a little cardboard box full of nuggets of chocolate covered mint fondant or chewy caramel. I always associate them with those friday night treats and my Nannie and so they hold a special place in my heart 🙂

Poppets - Mint CreamsPoppets-toffeePAY-CHW-PPT

I’ve been having a bit of a caramel craving lately so I thought I’d better try to recreate those yummy little balls of goodness. (I’ll have a go at mint ones too at some point 🙂 ). As well as plain ones I also thought I’d try adding some coconut and nuts to the outside – you could coat yours in anything you like!

IMG_2749

You will need:

For the centres:

10 – 12 Medjool dates

3 tbsp Almond butter or Cashew butter if you don’t want the almond taste

(water as required)

For the chocolate:

1/2 cup Coconut oil (melted)

1/3 cup Cacao/cocoa powder

1/4 cup Coconut syrup

Desiccated coconut/chopped roasted nuts to decorate if desired

IMG_2752IMG_2751IMG_2750

Pop the dates and almond/cashew butter in a processor and pulse until blended and smooth. Add water if you want a softer texture. Take small spoonfuls and roll into balls with your hand – this is easier if you can chill it in the fridge for a while first. Pop the balls in the freezer for as long as you can wait!

To make the chocolate combine the coconut oil, cacao powder and coconut syrup and whisk with a fork.

Take the balls out the freezer and pop in to the chocolate to coat. Use a fork to move them around until coated and then pop on some greaseproof paper to set. Once set a little bit turn so the bottoms don’t stick.

IMG_2738 If you want to coat them in coconut or nuts then as soon as you’ve coated in them in chocolate roll in the coconut/nuts and then place on the greaseproof paper.

IMG_2736    IMG_2739

Then place in the freezer until ready to eat! All I need to do now is recreate the little cardboard box!

FullSizeRender

Raw Almond Caramel Chocolate Fingers


I’ve been dying to make something nutty and caramel-ly for ages and just haven’t got round to it  – finally the other weeked I got all my ingredients out and had a play and I’m very very pleased with the results! These are delish! They need to be kept in the freezer and are best eaten cold otherwise they get a bit squishy… although… that’s not such a bad thing!!

IMG_1411

You will need:

For the base:

1 cup Macadamia nuts

2 – 3 Tbsp Coconut syrup (or any liquid sweetener – agave, rice malt syrup etc)

1/2 tsp Vanilla powder or 1 tsp vanilla extract

1/4 tsp Almond extract

For the caramel:

12 – 14 Medjool dates

3 tbsp Almond butter

1/8 tsp Almond extract

pinch of salt

A little Water as needed (it depends how dry your dates are)

For the chocolate:

1/2 cup Coconut oil (melted) or Cacao butter (melted)

1/3 cup Raw cacao powder

1/4 cup Coconut syrup or maple syrup (or any liquid sweetener)

1/4 tsp Vanilla powder or 1/2 tsp Vanilla extract

First you need to make the base. Pop all the ingredients into a food processor and pulse until well blended and it forms a sticky dough. Line a small tray with baking paper and then press the base mixture in to the tray firmly.

IMG_1388    IMG_1390

Pop this in the freezer and then start on the caramel layer. I find it easier if you chop the dates up a bit first, so chop them and pop in to the processor together with the other ingredients, but not the water. Pulse until blended in to a paste. If it’s a little too dry then add some water (carefully so you don’t add to much). Once you have the consistency you want (sticky but spreadable) then take the base out the freezer and spread the caramel on top. You may have some caramel left over – this is no bad thing, I rolled it into balls which I coated in chocolate for some extra little caramel bites! 🙂

IMG_1391

Place this back in the freezer for as long as you can – an hour or more if possible.

Once you’re nearing the end of your the hour you can make up the chocolate (if you want to make it sooner you can, and you can just gently warm it to re-melt it). It’s best to use a large bowl for this so your caramel fingers will fit in (it makes it easier to coat them). Add the cacao, coconut syrup and vanilla to the melted coconut oil or cacao butter and mix well using a fork or a small hand whisk. Remove the caramel from the freezer and slice into fingers (or any shape you want).

IMG_1394

Then comes the fun bit! First of call place a wire rack over some baking parchment (or a board – or anything you don’t mind getting messy!). Make sure your chocolate is melted and combined well, then begin the dipping! Dunk the caramel fingers in the chocolate and ensure they’re coated. Then transfer to the wire rack and allow to set. They will stick to the rack, so before they’re set just move them slightly. If you’re anything like me you will probably end up with a bit of a mess on the bottom side, don’t worry, just wait til the top is set (it won’t take long) and turn them over and drizzle chocolate over them to tidy them up.

If you find the chocolate starts to thicken while you’re still coating them then just pop it in the microwave for a few seconds to re-melt (or even just place in a warm area – like on a radiator for a few moments – it melts so easily). Once they are all coated and lightly set (because the fingers are frozen it sets pretty quickly but will still be fragile) pop back in the freezer (I just popped them in a tupperware pot).

IMG_1395

Store in the freezer until you want to eat them.. then eat! They’re delicious as a quick pick me up.. and if you’re feeling really naughty they’re even better dipped in a tofu chocolate chili mousse (oh yes I did..!).

IMG_1400IMG_1408IMG_1414


Super easy Almond and Cinnamon Butter – gluten and dairy free


I’ve been meaning to start making my own nut butter for ages and finally got round to it today! 🙂 The cinnamon turns this from a normal spread in to a delicious indulgent treat!

20130317-195752.jpg

This is so easy and so delicious!

You will need:

150g Raw almonds
1/2 tbsp Cinnamon (adjust to taste)
1 tbsp Coconut oil
1 tbsp Sweet freedom, honey or other liquid sweetener

Simply place everything in to a food processor or vitamix and pulse until combined and smooth. It may take up to 10 minutes depending how smooth you want it. You can add a little extra coconut oil for a creamier texture if you like. Adjust the cinnamon and sweet freedom to taste. Once combined remove and eat! It’s lovely on toast, or you can use it in your smoothies, but it’s even better spread on some lovely fresh, tart apples! Yummy! 🙂

20130317-200328.jpg