Coconut and Apple Cake – gluten and dairy free


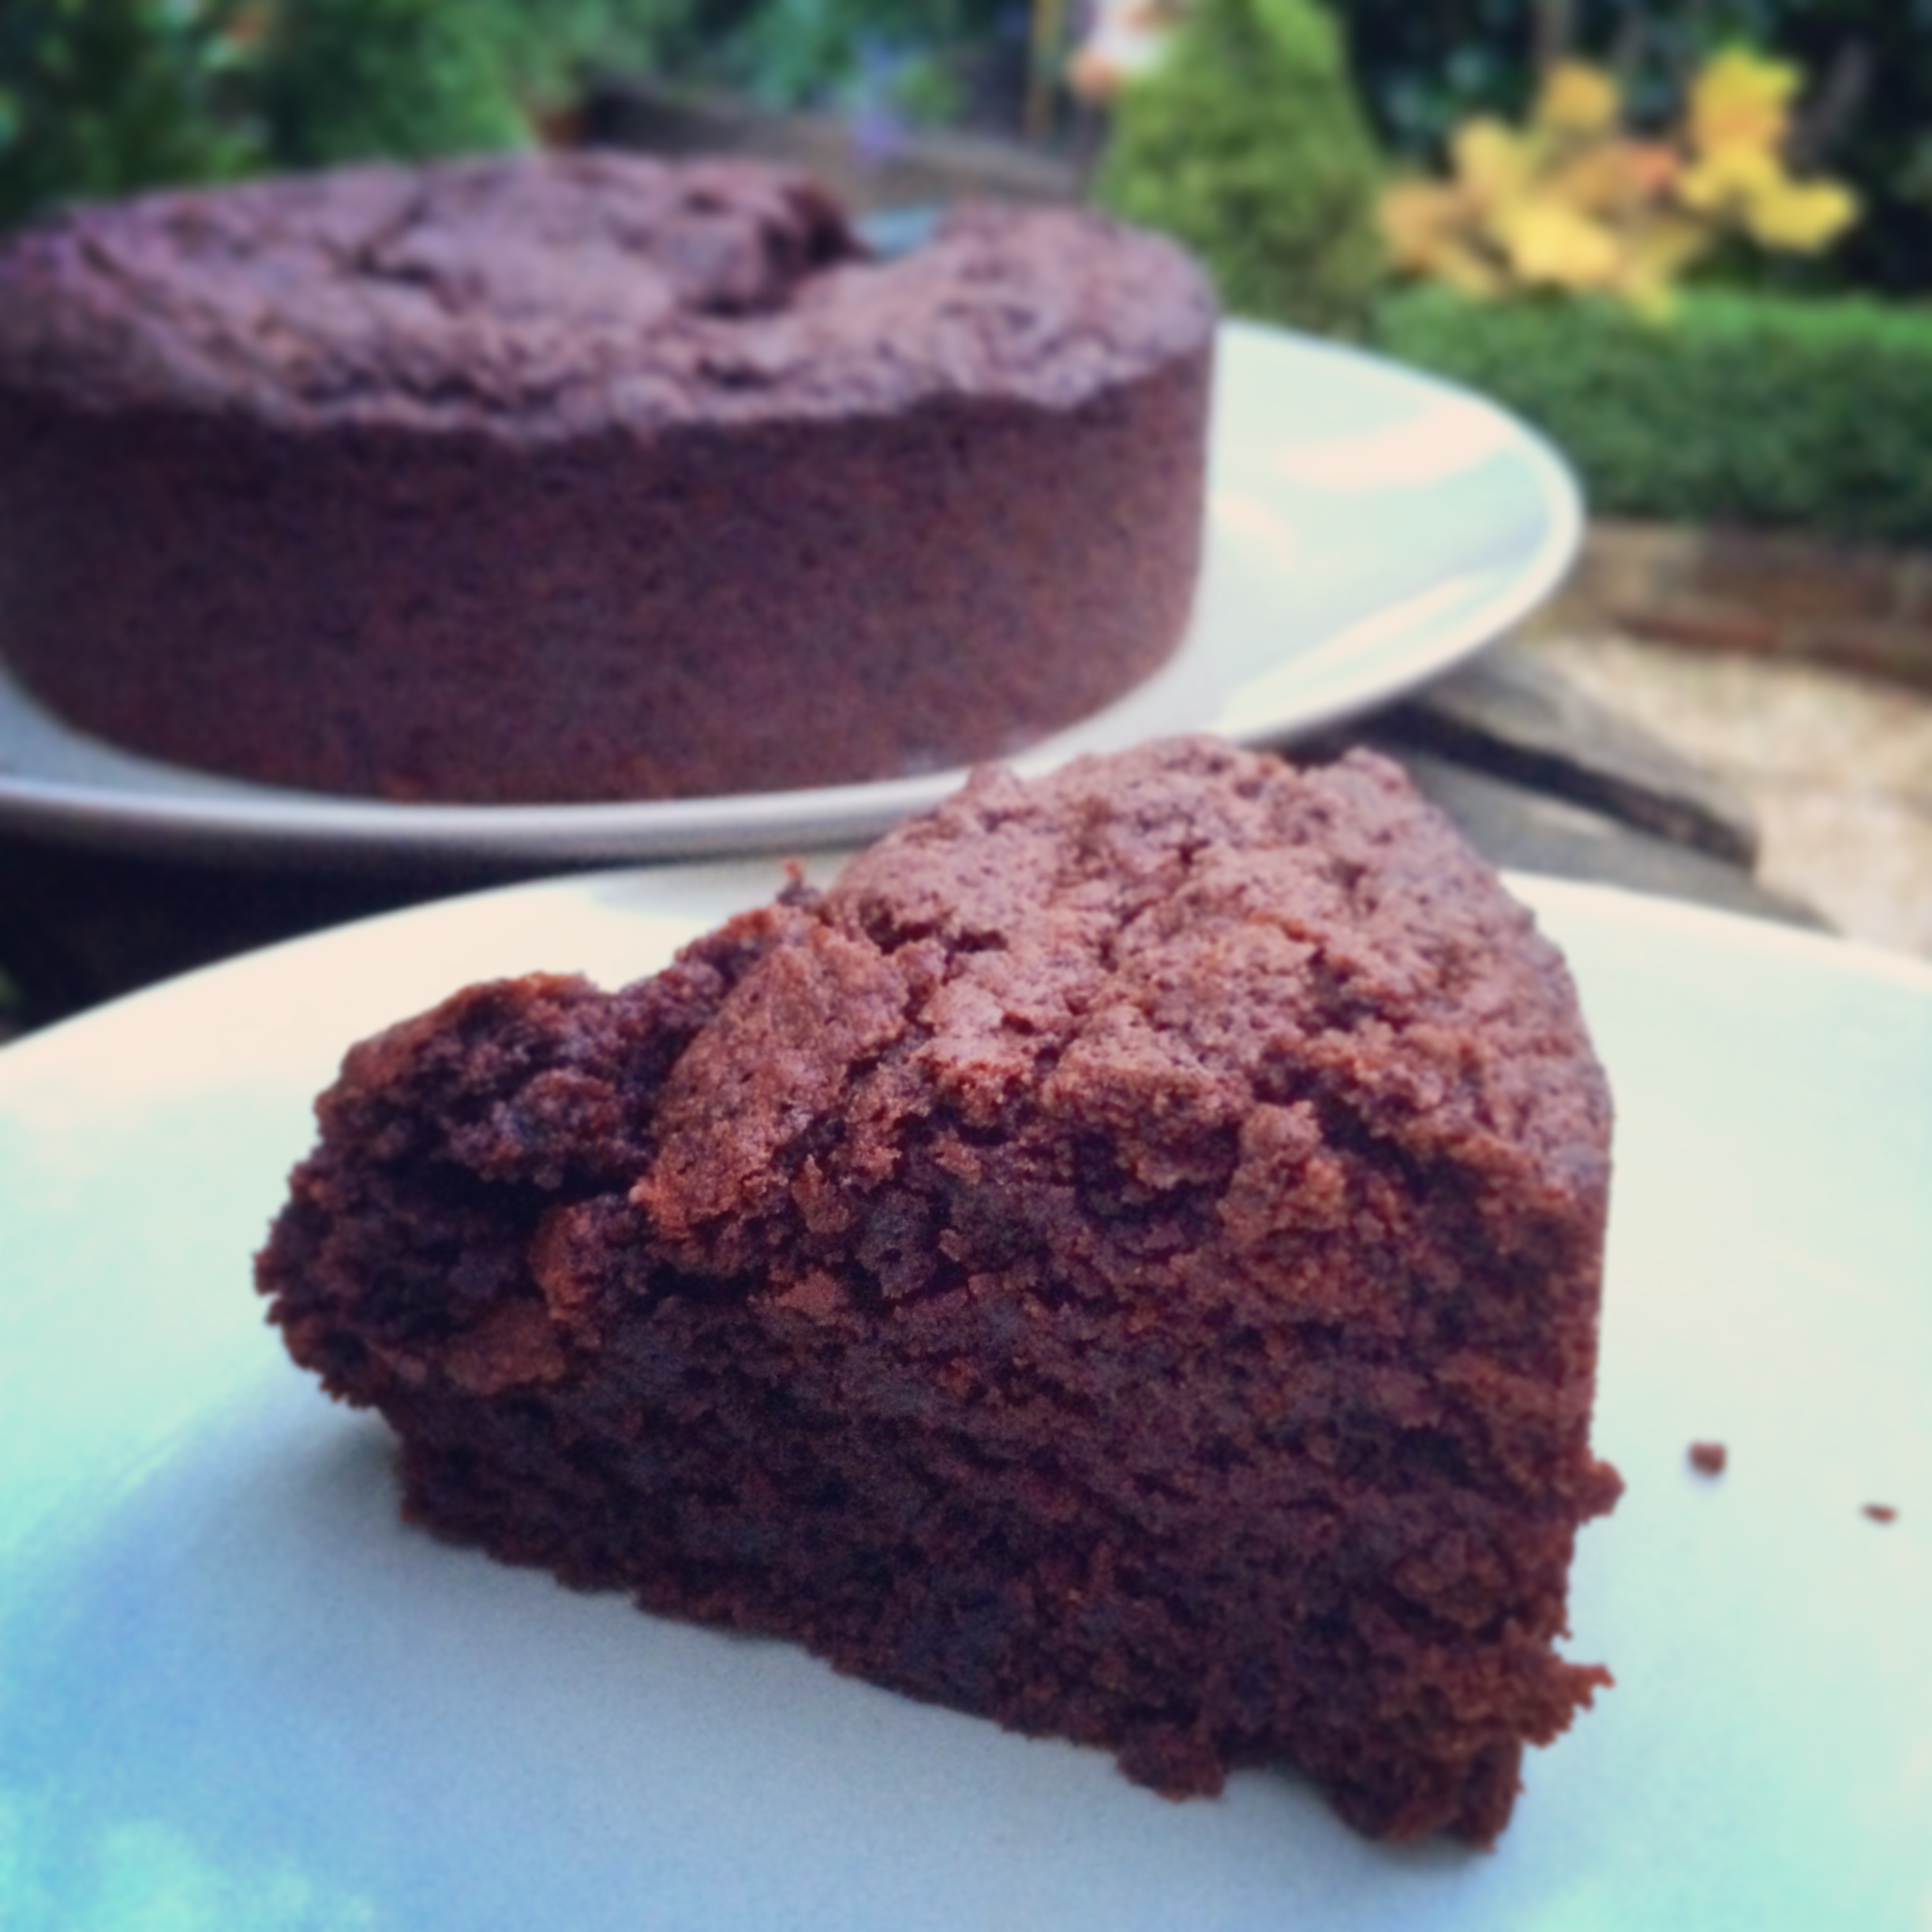
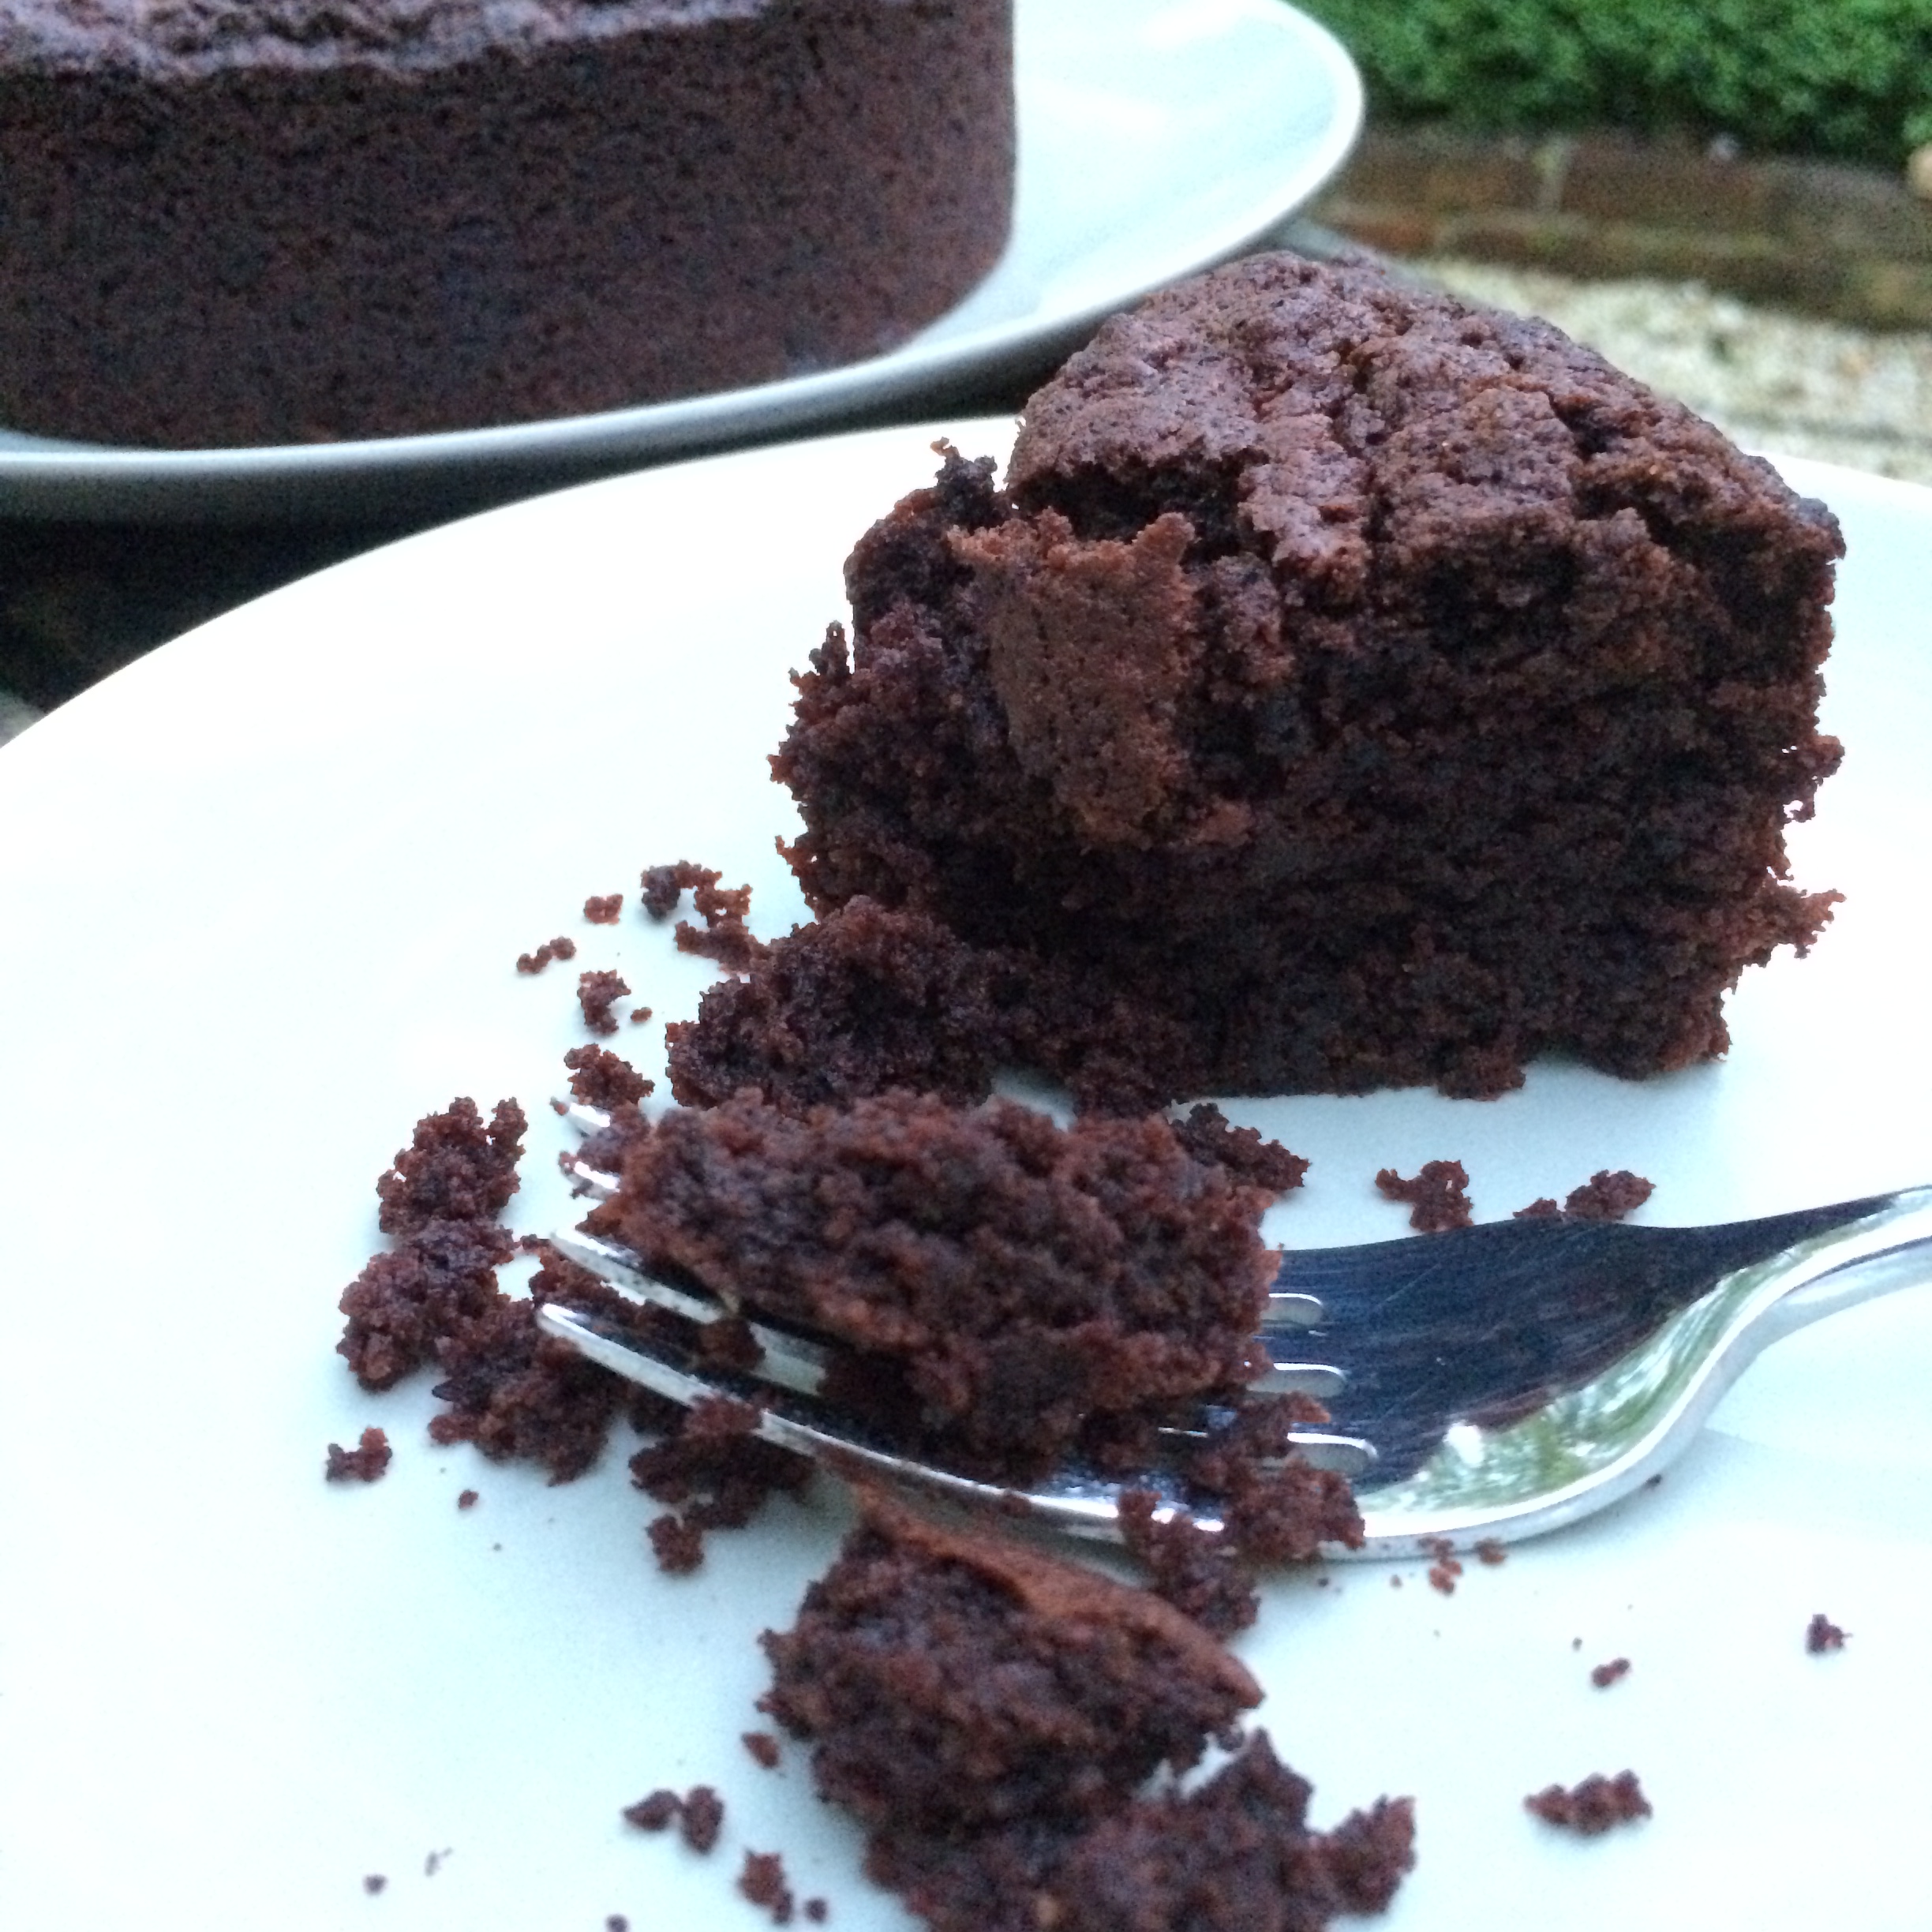
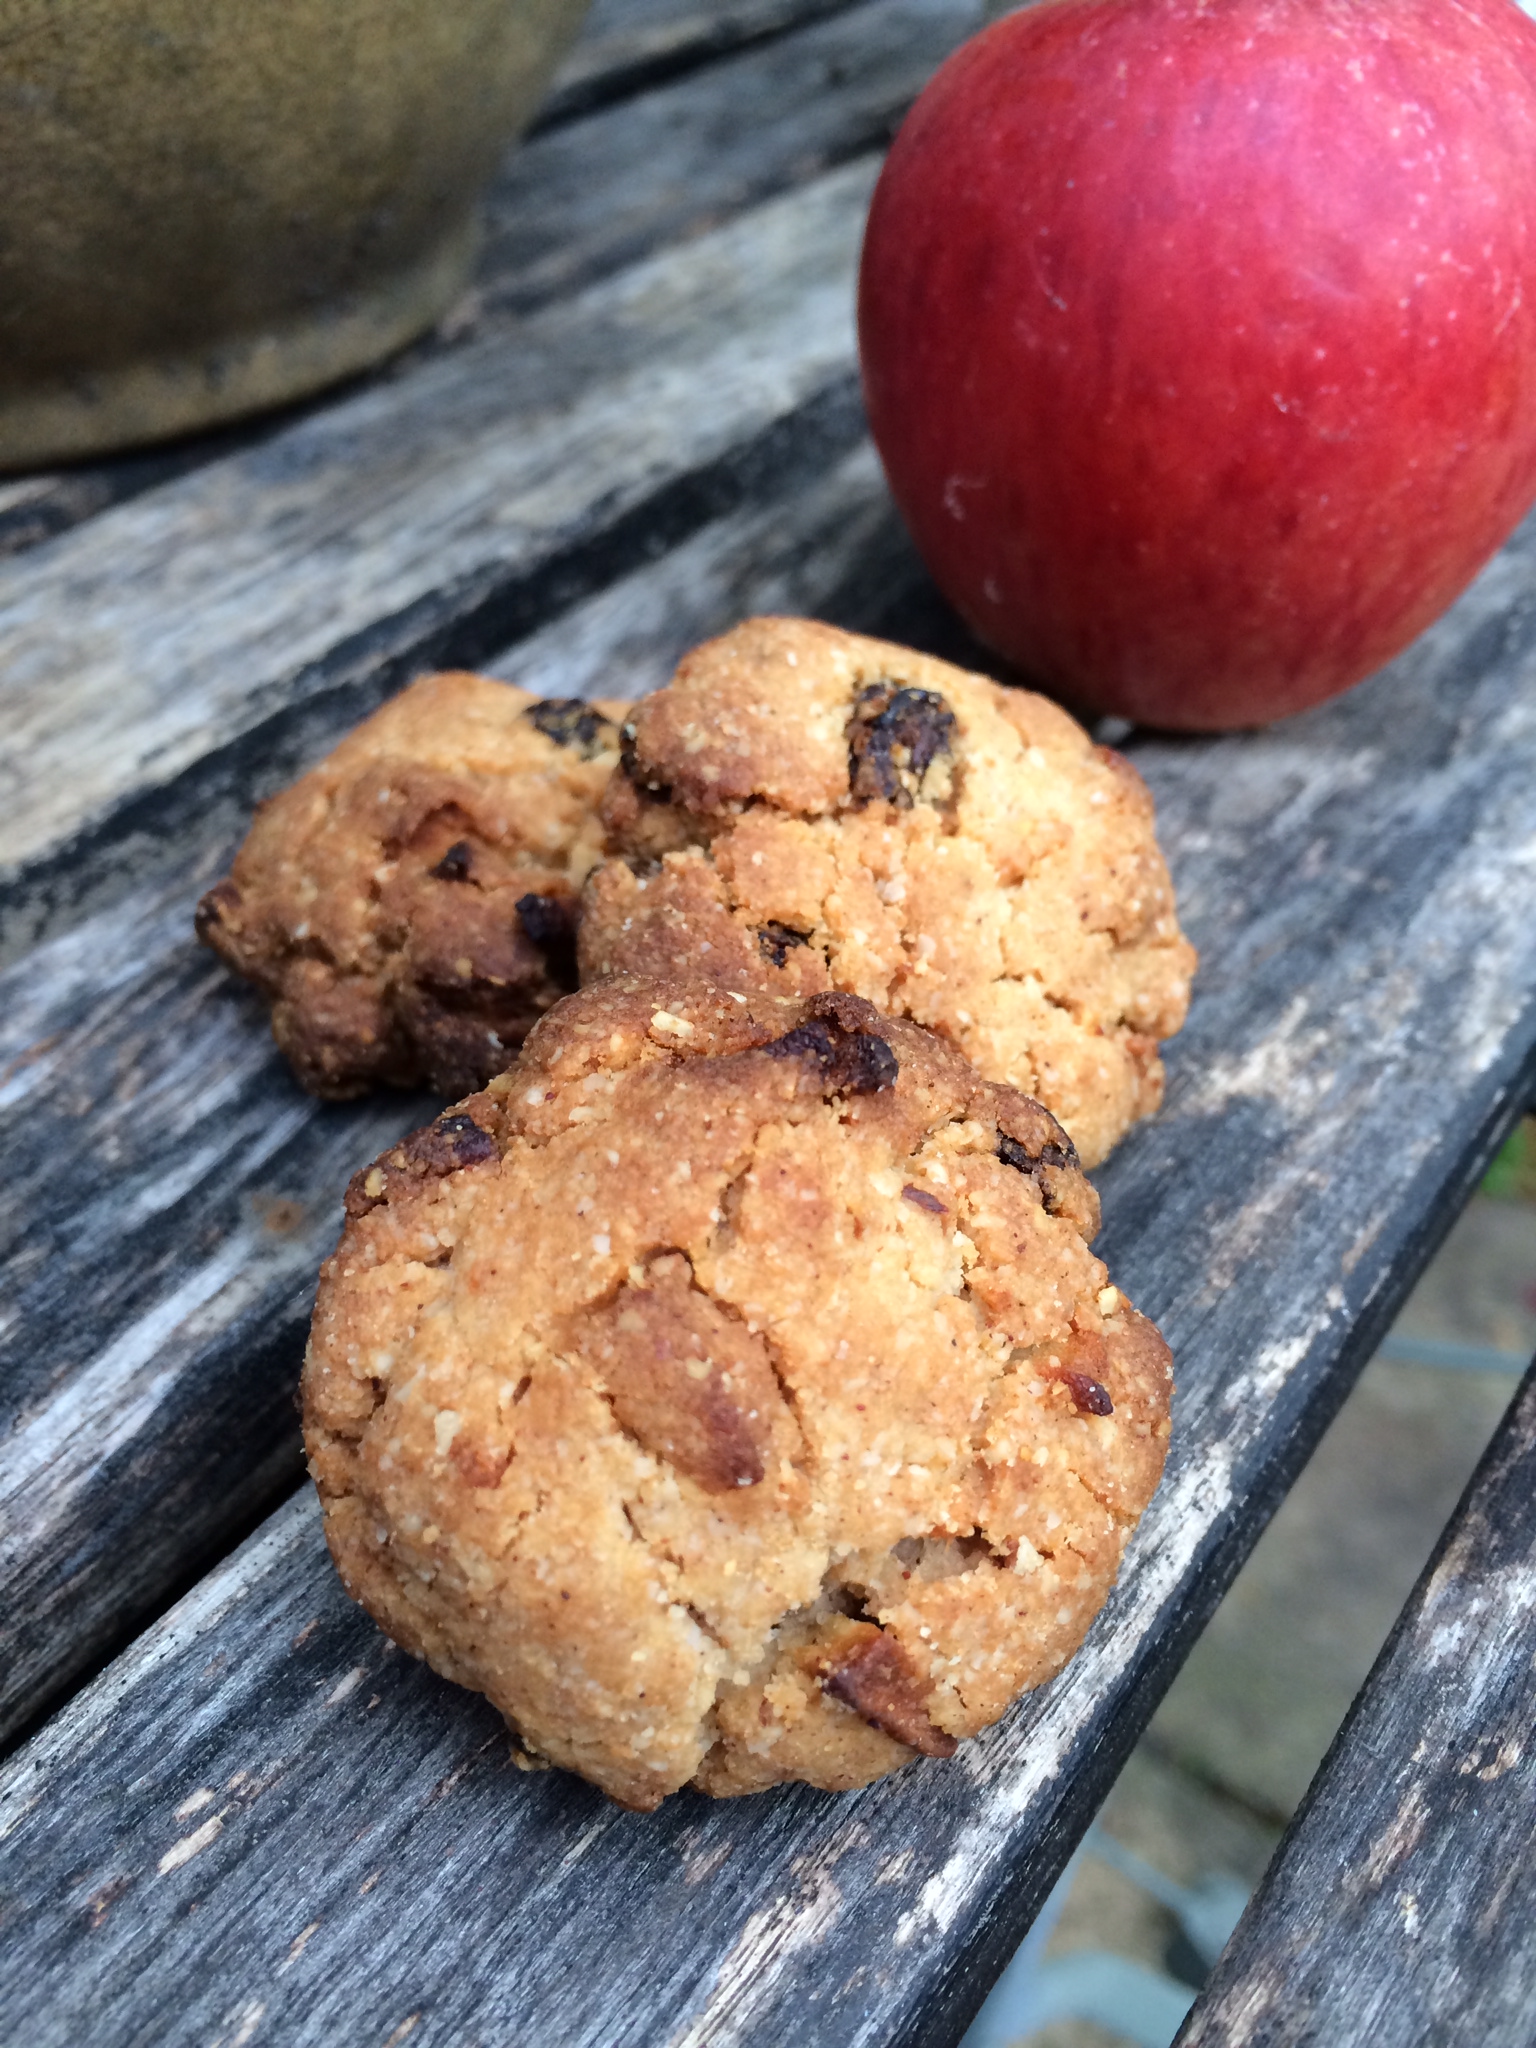
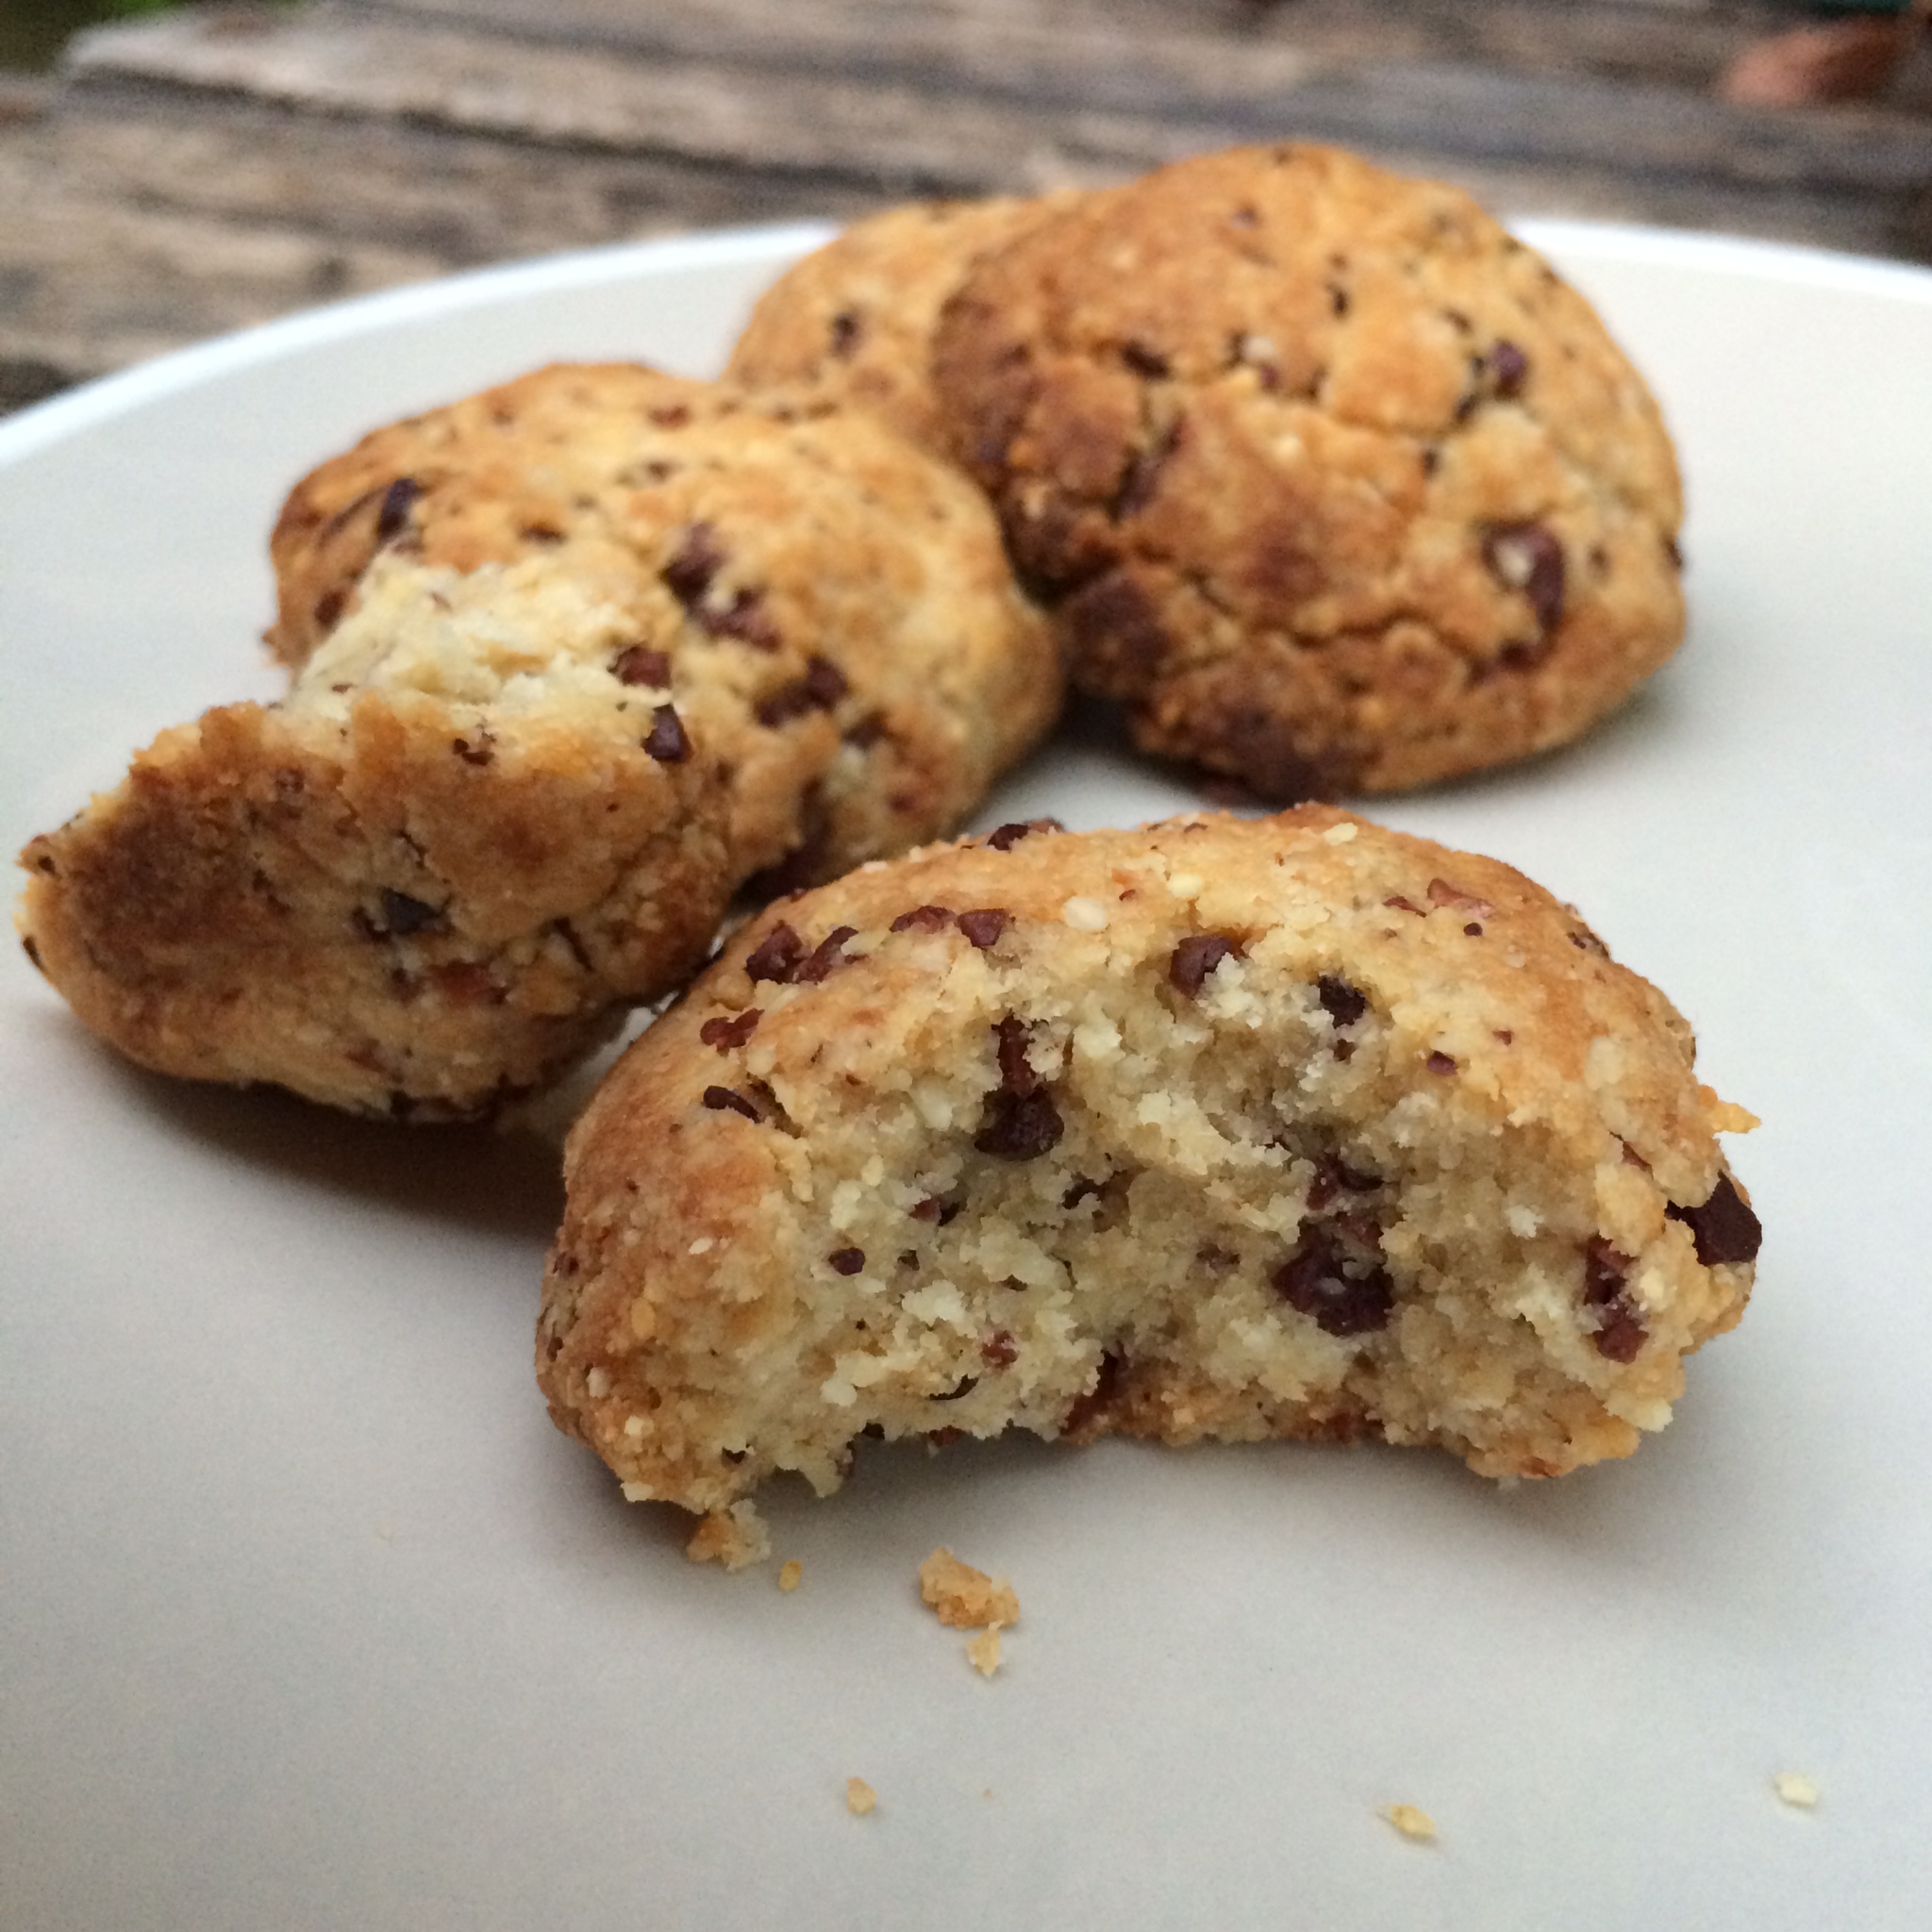
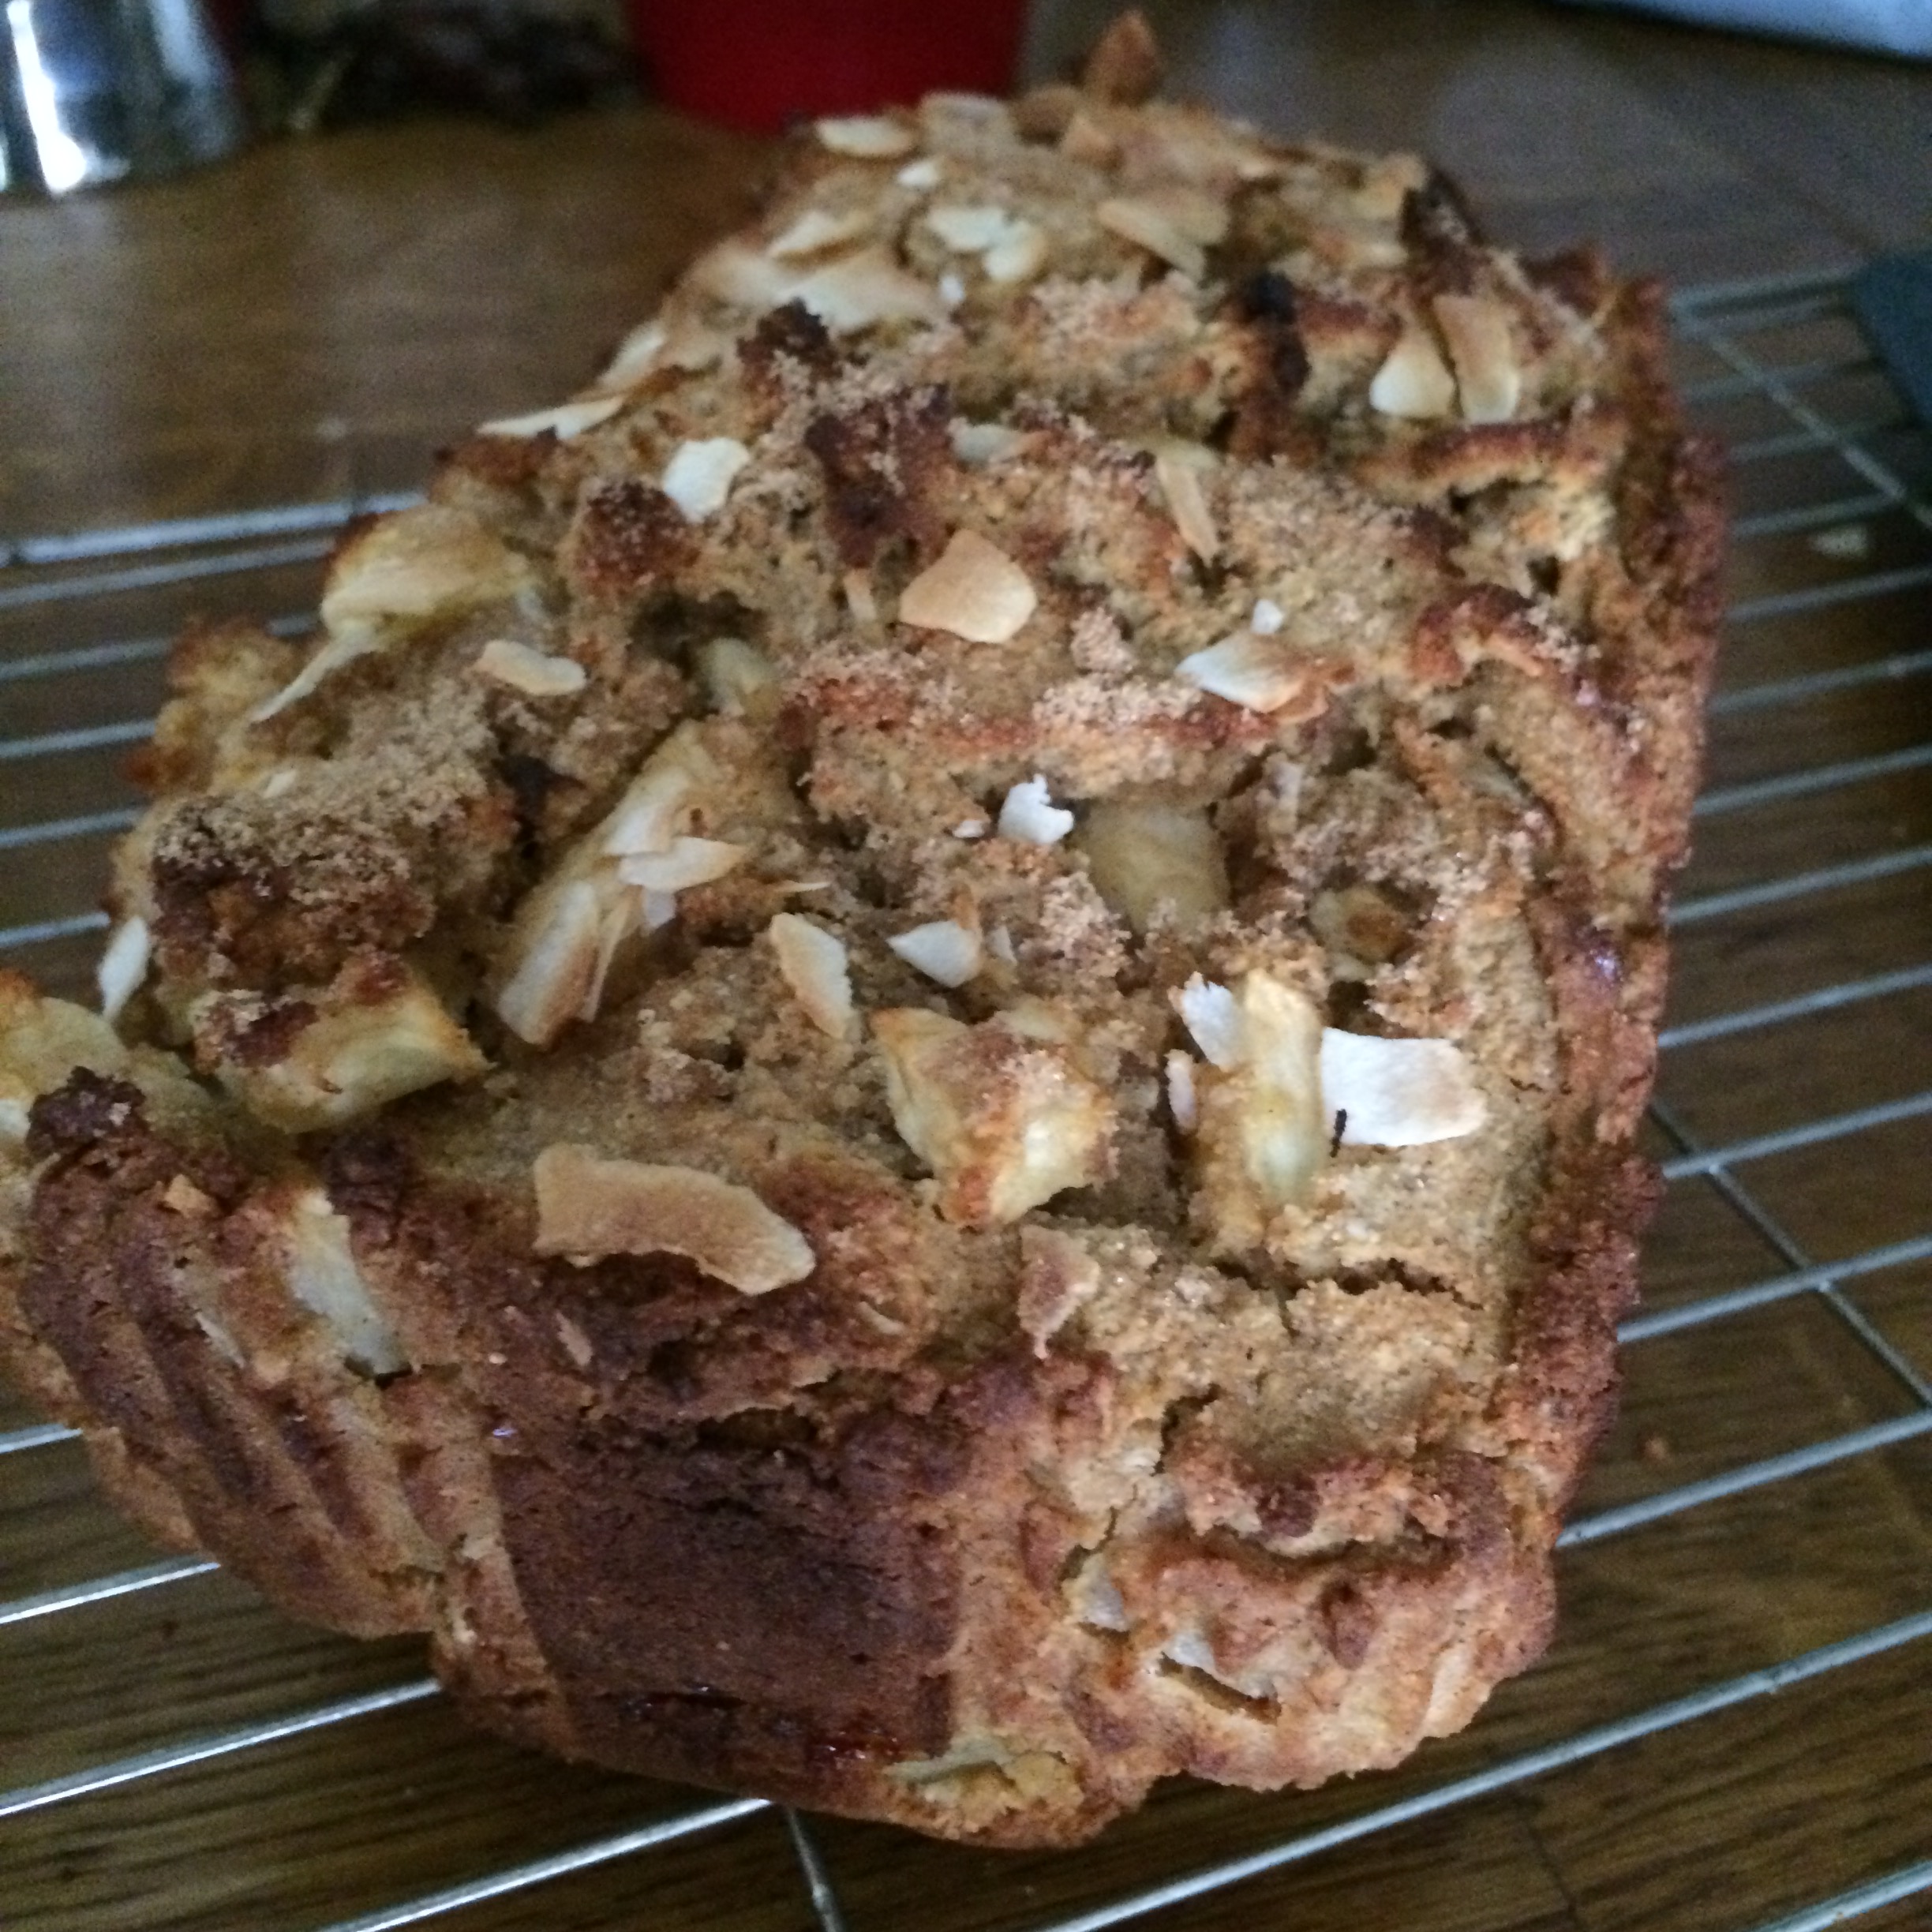
This is a wonderful combination of squidgy, moist and dry and crumbly cake which makes it super moreish. It’s also full of goodness and, if you add the protein, is also full of extra protein too. It can be made completely vegan if you want it to be (see below), or you can use eggs if you’re not fussed.

IMG_9677

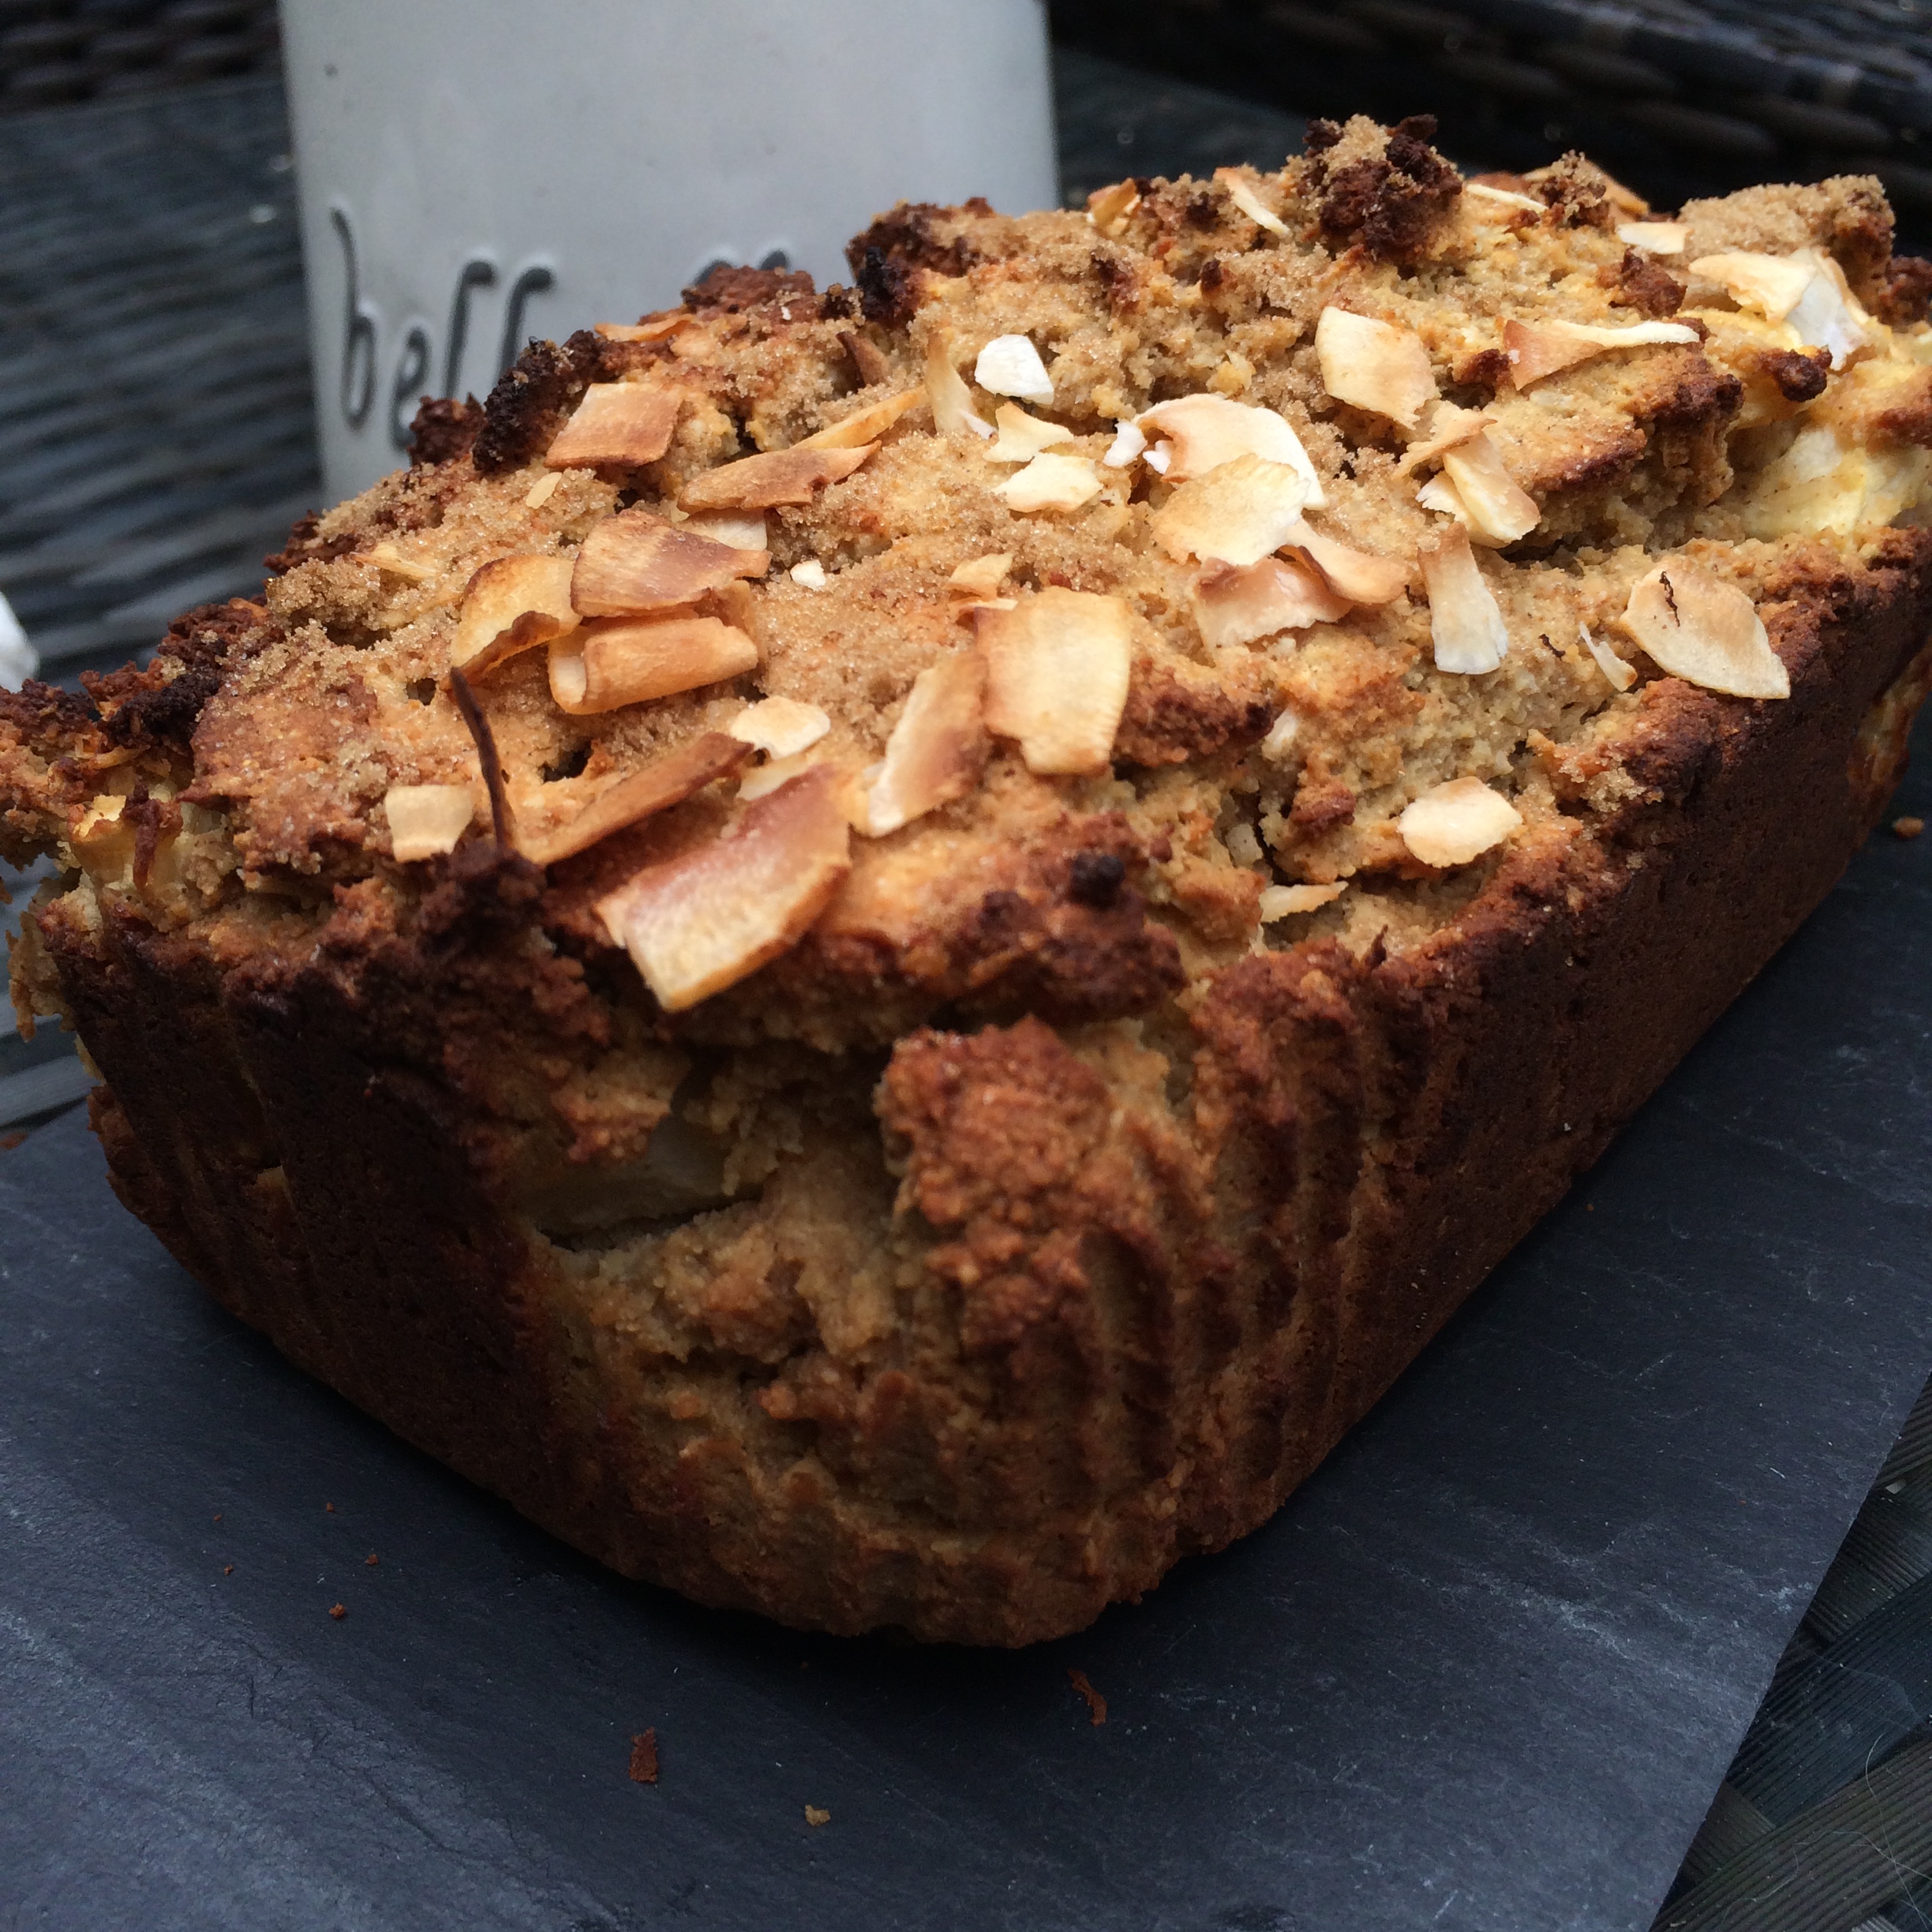
This is especially good if served with the topping I’ve whipped up too and even better with a big dollop of Soya yoghurt or ice cream 🙂

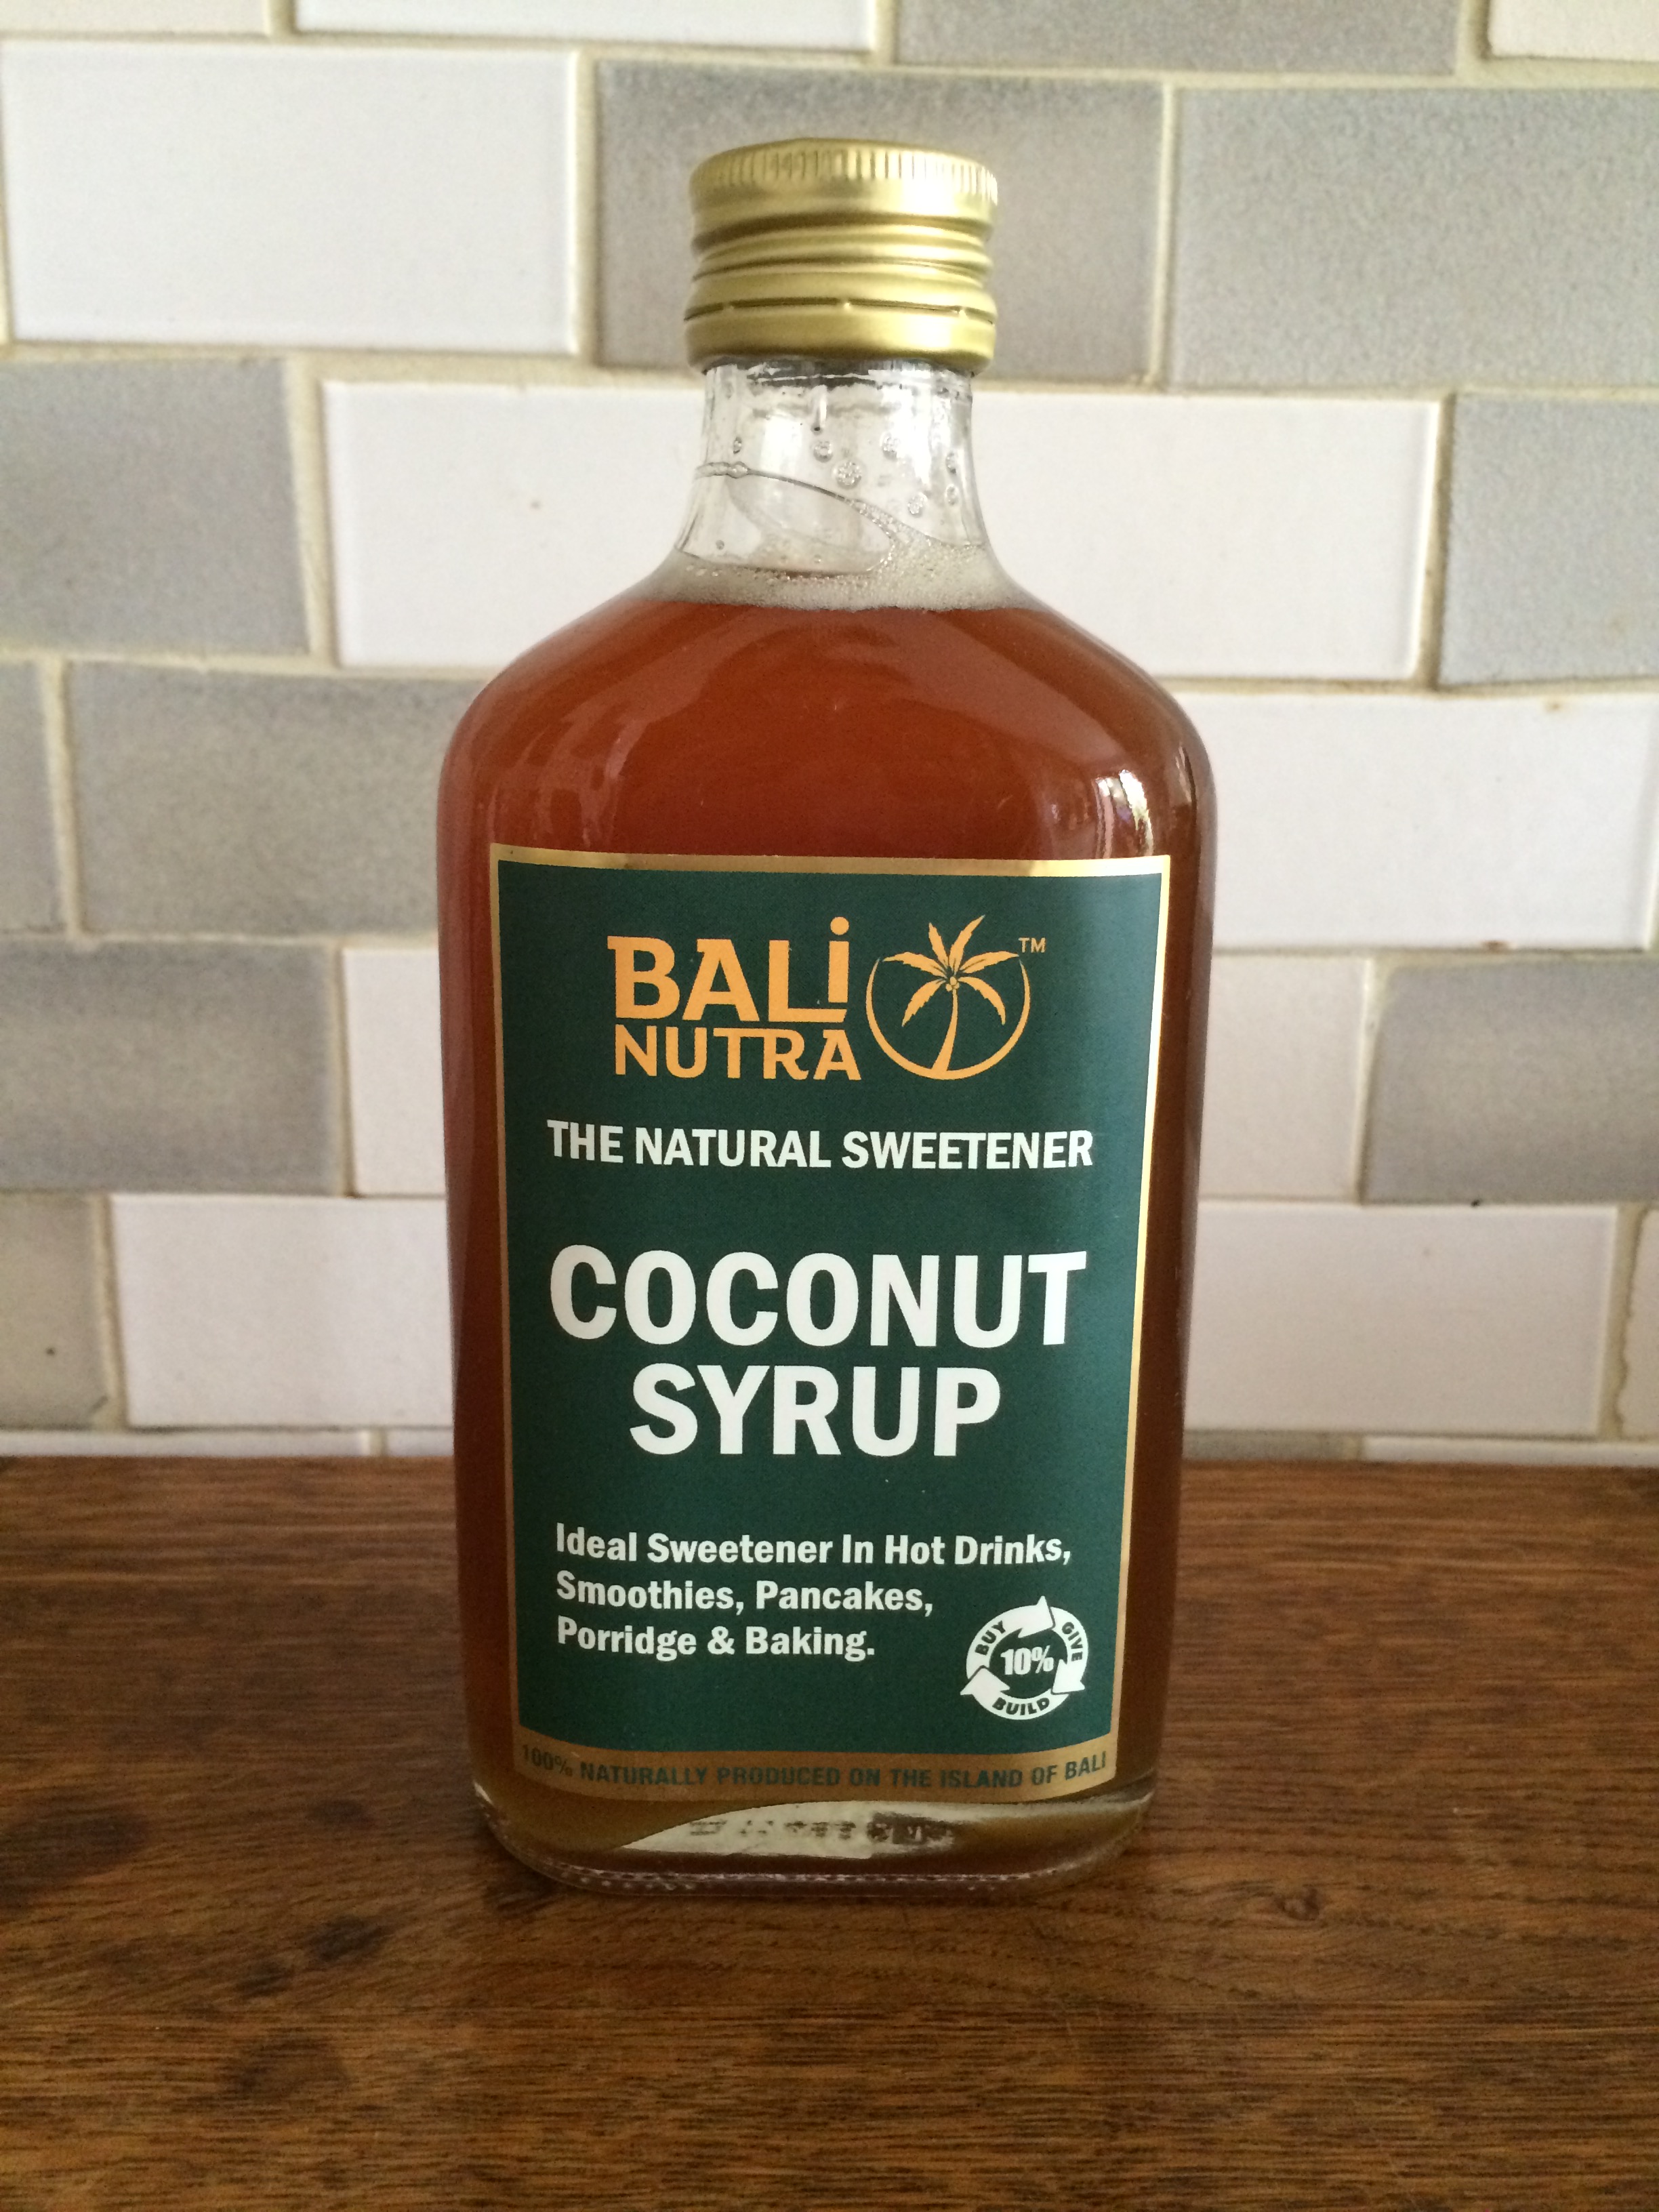
I’ve used the Bali Nutra Coconut Syrup in this recipe which I absolutely love – it’s so tasty!

IMG_9641


I’ve recorded a little video of this recipe here too :

IMG_9643

You will need:

1 cup of flour – you can use any flour you like here – spelt, almond, coconut. I used Almond flour

1/2 cup Ground Almonds

1/2  cup Vanilla Protein Powder (I use this one) – or if not then just add more flour

1/2 cup Desiccated Coconut

1 cup Coconut Syrup (from Bali Nutra)

1/2 cup Coconut Oil (melted)

3 eggs (or 3 tbsp Chia seeds soaked in 9 tbsp water)

2 heaped tsp Cinnamon

1/2 tsp ground Cardamom (or 1 drop of cardamom extract)

1/2 tsp Bicarbonate of Soda

1 – 2 Bramley apples (depends how big they are!) (plus lemon juice to squeeze over them once cut if you want)

Optional – if your batter is too dry (it will depend on the flour you use) then you may need to add a small amount of any non-dairy milk (I splashed a bit of coconut milk in mine)

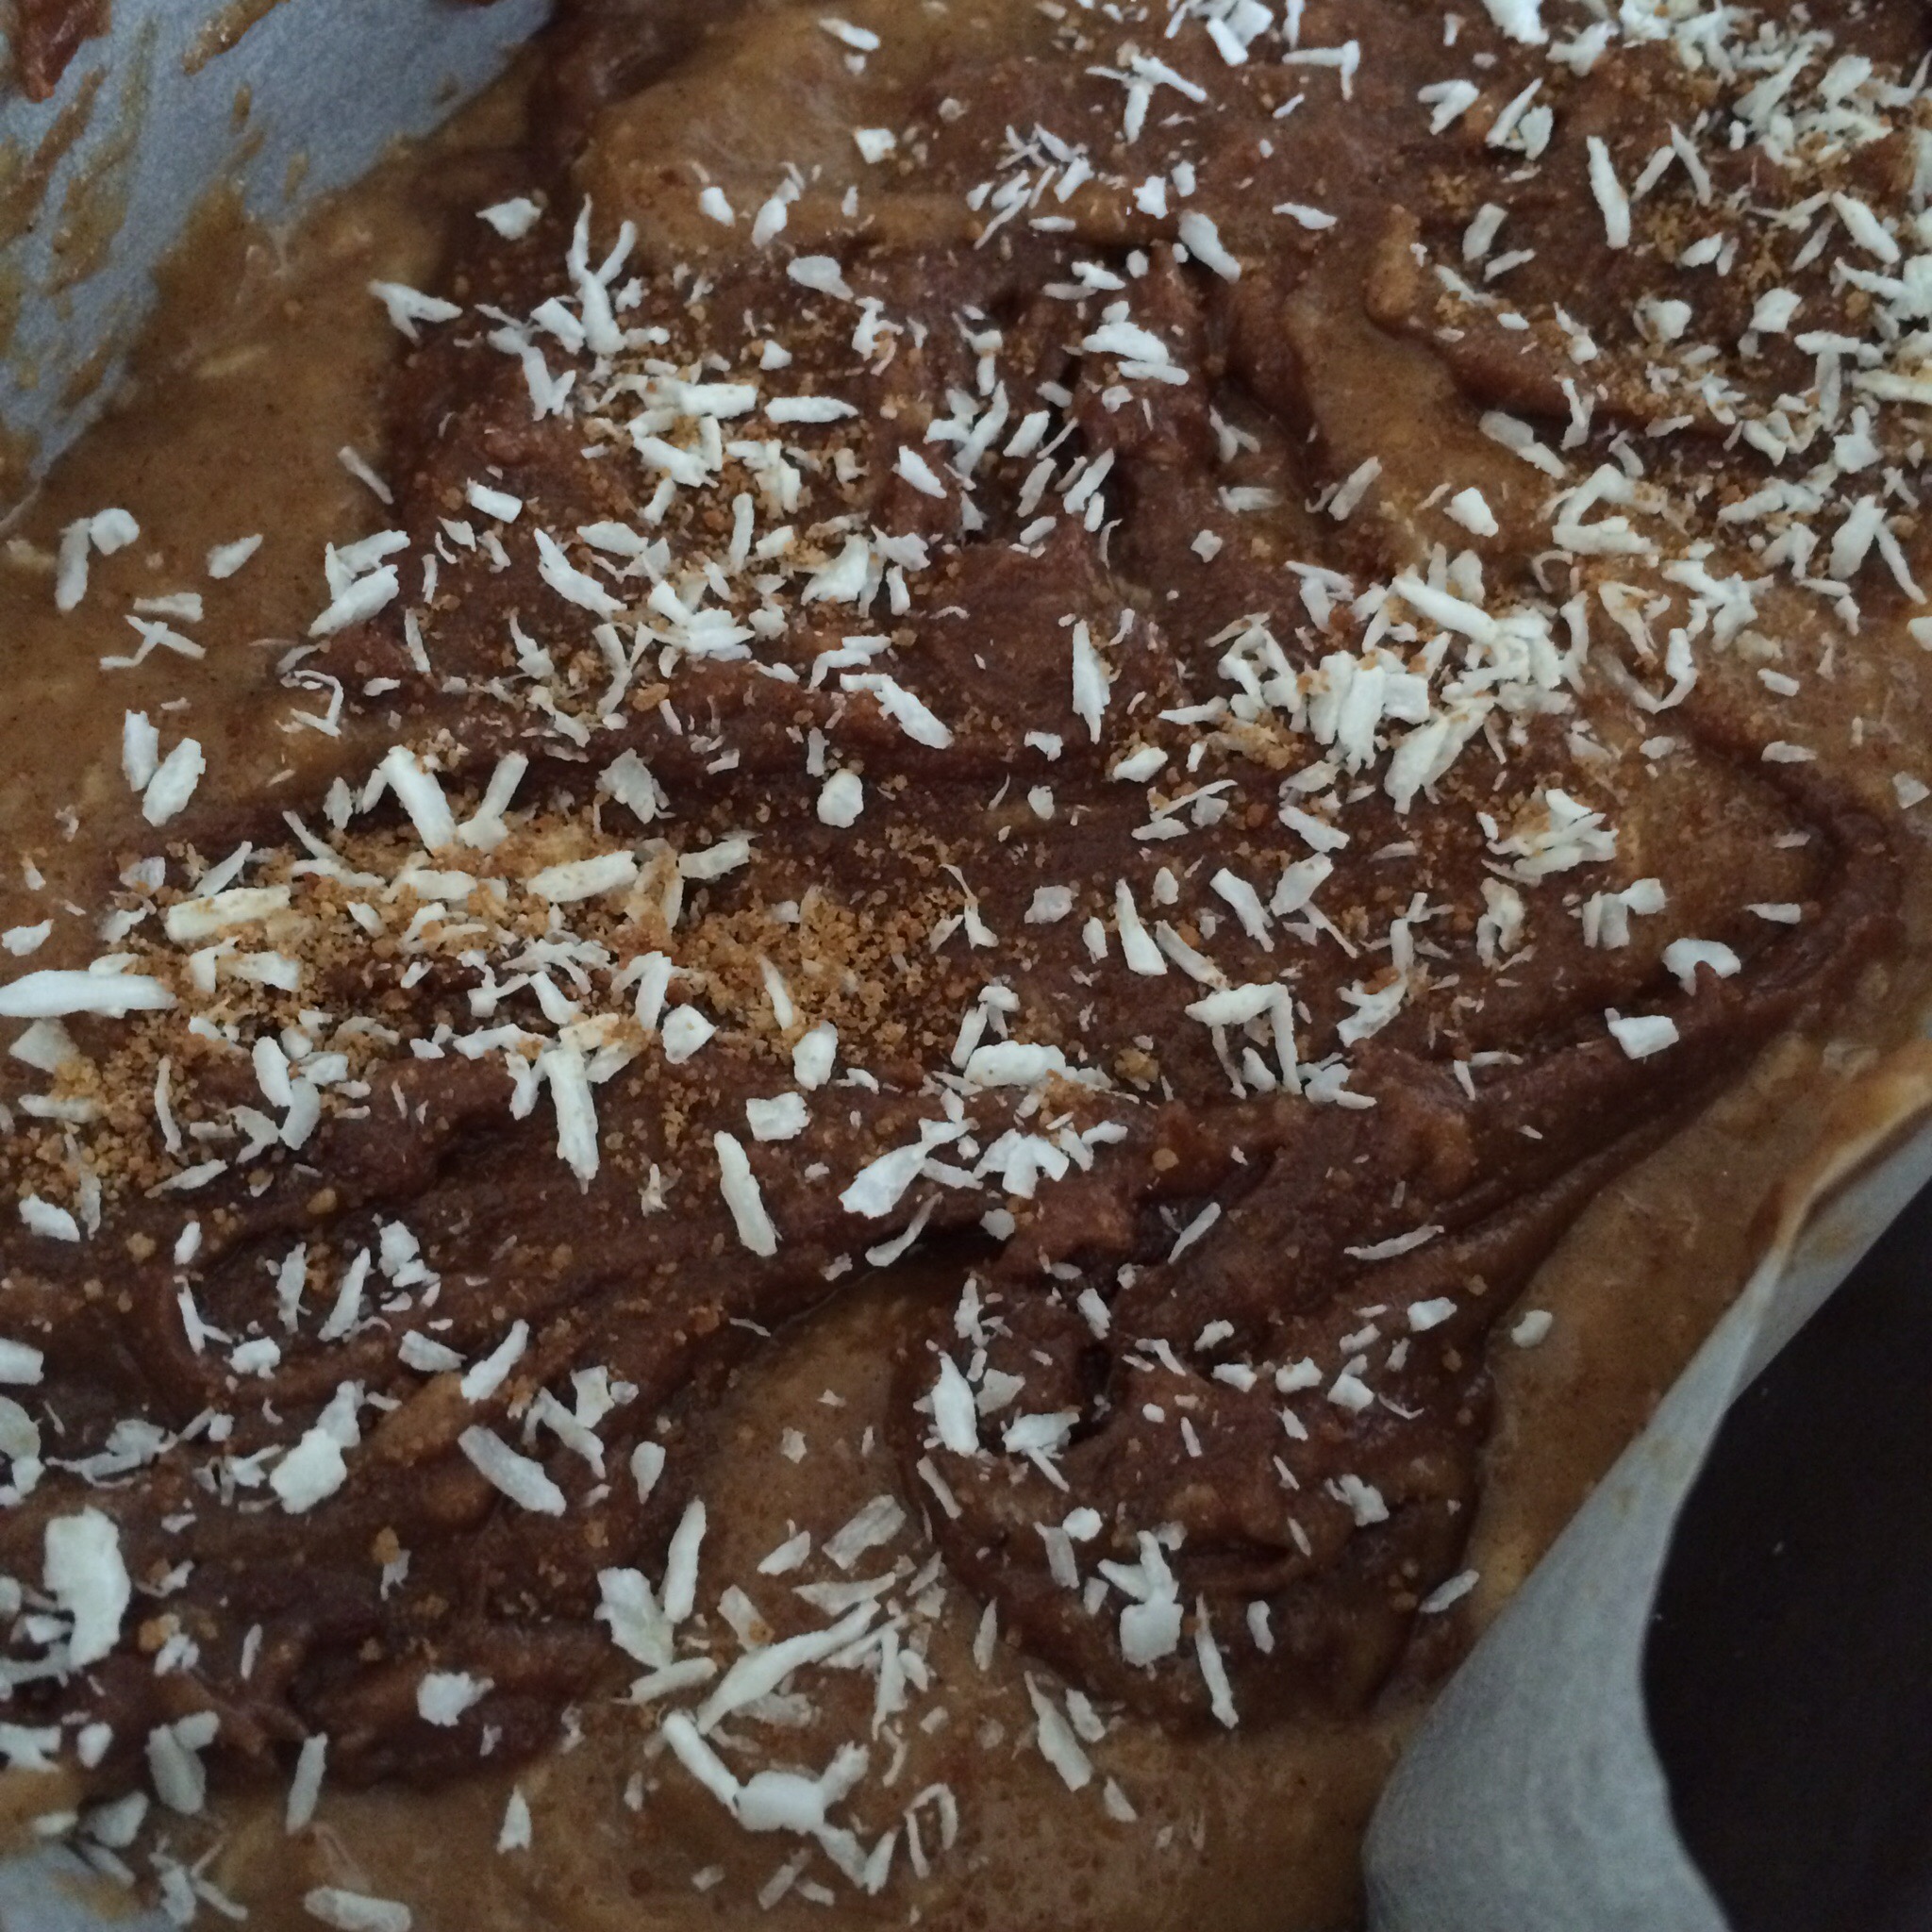
A sprinkle of coconut sugar and some coconut flakes to decorate.

I also made a little topping to go with it for this you will need:

4 tbsp Coconut milk (use the 65 – 70% extract milk and see here for instructions on how to get the thick creamy part)

2 tbsp Coconut oil (melted)

2 – 3 tbsp Coconut syrup (adjust to taste)

2 tsp ground Cinnamon (adjust to taste)

IMG_9685

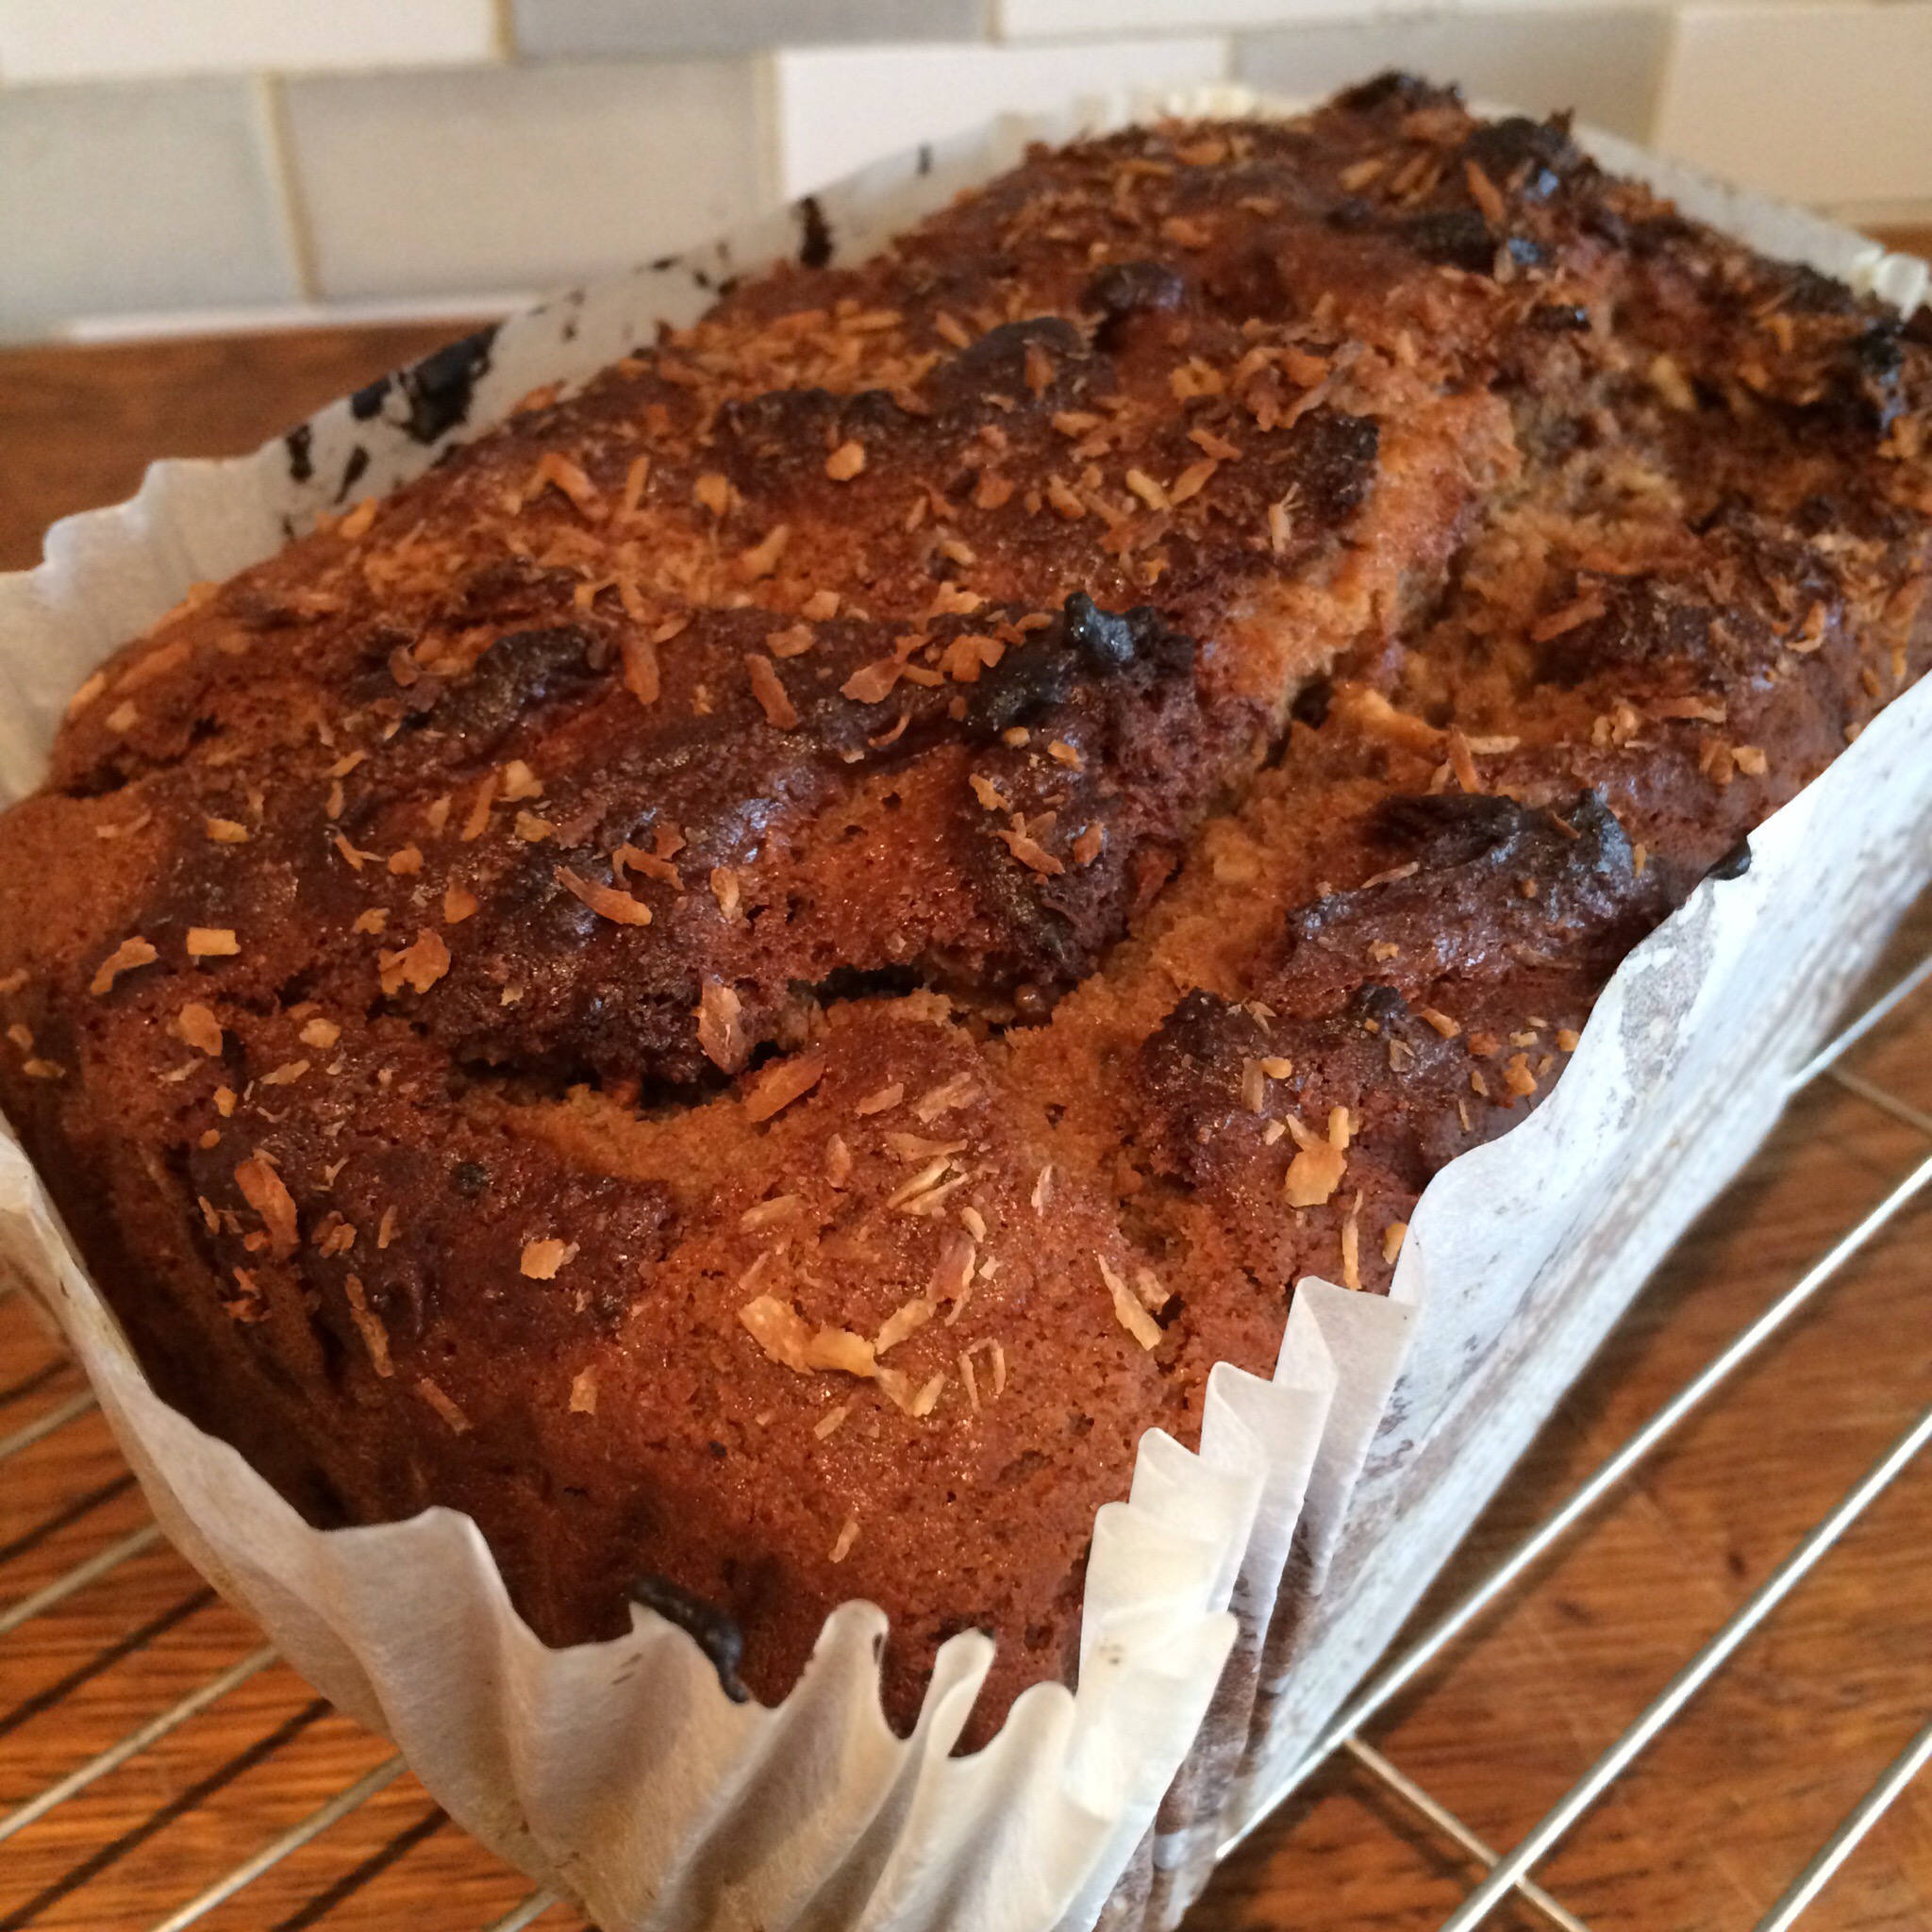
Preheat the oven to 180 C and grease and line a baking tin (I used a large loaf tin and three small ones as I had some extra batter but you could any tin you like – a 20 – 25cm round tin would work).

Put all the dry ingredients (flours, protein powder, spices etc) into a large mixing bowl and stir well. Peel and dice the apples. Set the apples aside and if you don’t want them to go brown add a squeeze of lemon juice while you wait to add them. Put all the wet ingredients in another bowl and mix well. Add the wet to the dry and combine. The batter will be thick but if you have used coconut flour and the chia seeds then you may find your batter is far too dry. In which case add a little milk to loosen it up. Fold in the apple.

IMG_9652

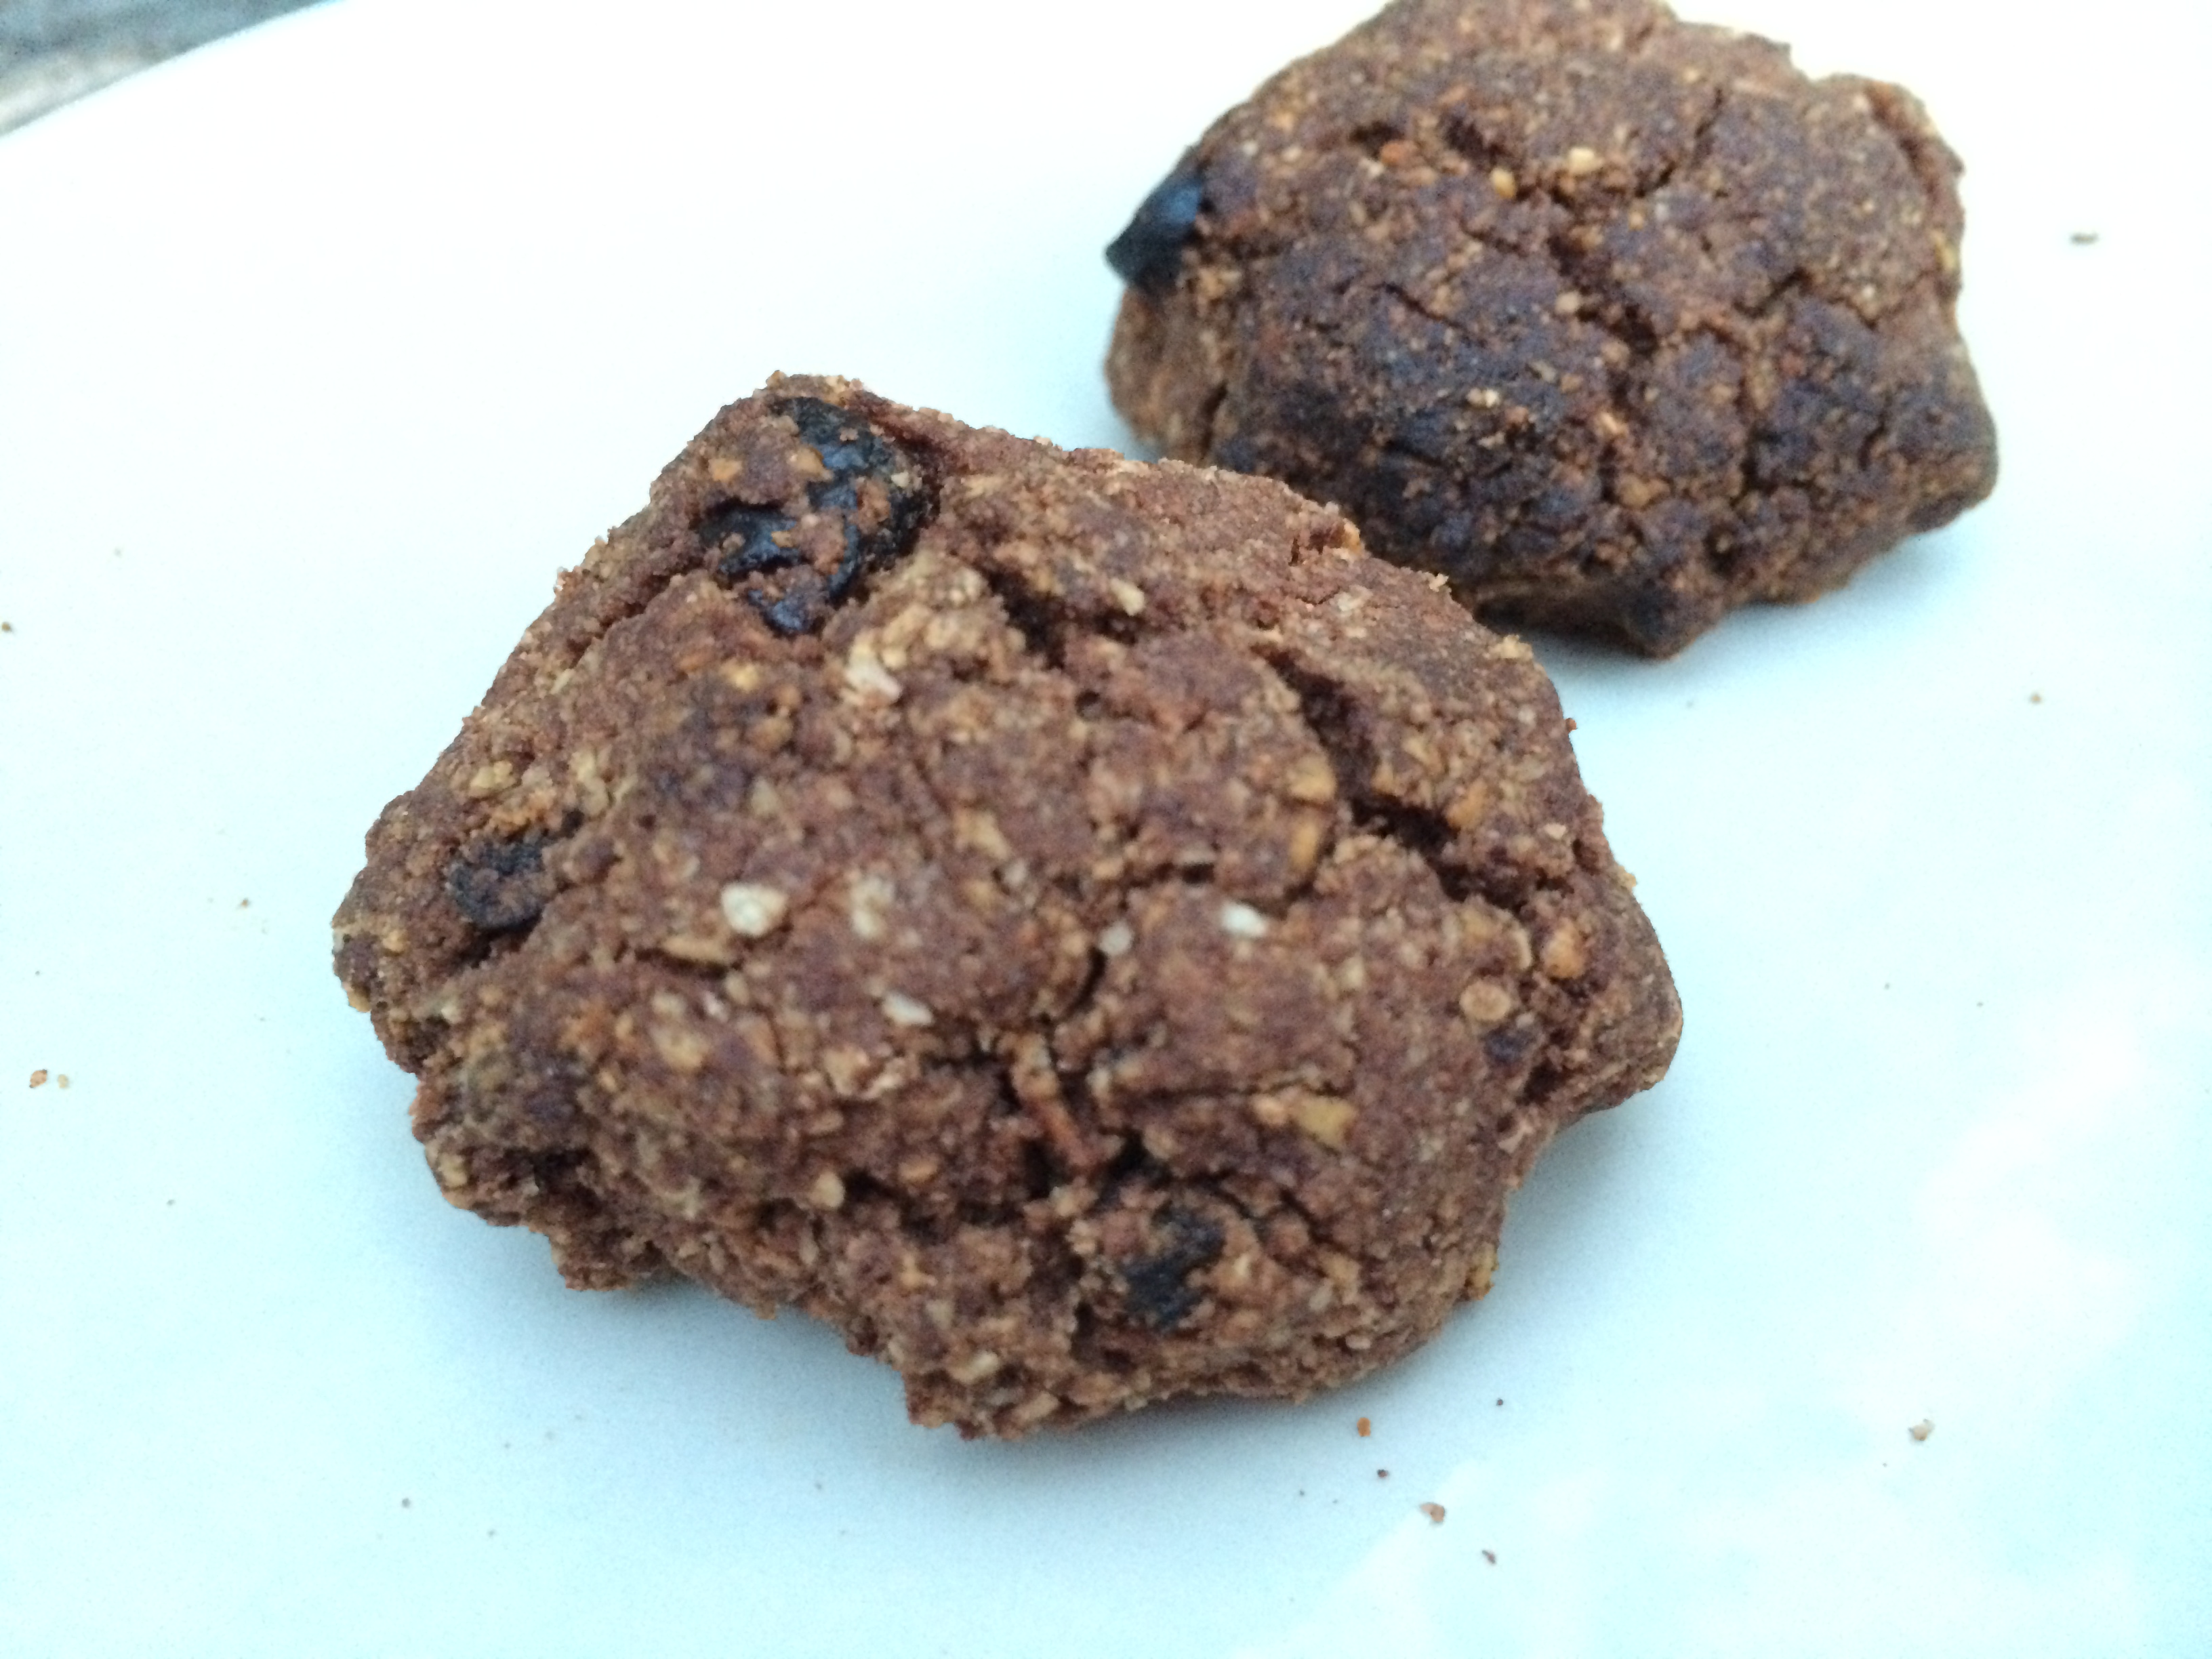
Spoon the batter in to your tin, sprinkle a little coconut sugar and coconut flakes over the top for decoration if you fancy, and pop in the oven. If like me you have too much batter then make some small cakes too! Depending on the size of your tin it will take 25 – 40 mins to cook but just keep checking it and when a skewer comes out clean it’s done! As it cooks you may find the top starts to brown too much so just pop some foil over it if so.

IMG_9670

This is best eaten warm with a dollop of the topping – combine the topping ingredients together and serve!

IMG_9689

Advertisement

Apple and Coconut Cinnamon Caramel Swirled Loaf – Dairy free, Gluten Free and Vegan


This may be my best loaf recipe yet… This was so good I had to make it twice, in two days.. and it didn’t last long!


I was sent a bottle of this fab Coconut Syrup, which I was already a big fan of, and I’m really enjoying playing around with date caramel at the moment, so I thought why not combine the two in an appley-caramely-coconutty-squidgy loaf! The coconut syrup adds a lovely richness to the loaf which is fab. The syrup is great for drizzling over yoghurt, sweetening smoothies or pouring over your finished slice of loaf too! You can find out more here – Bali Nutra Coconut Syrup.


I’ve even done a little video too! 🙂


You will need:

2 cups Gluten-free flour or spelt flour
1 cup coconut palm (or any unrefined) sugar (plus a little extra to sprinkle on top)
1/4 cup Coconut Syrup
1/4 cup and 2 tbsps almond oil or olive oil
3/4 cup apple purée (make your own – instructions here)
1/2 cup desiccated coconut (plus a little extra to sprinkle on the top)
1/2 cup date caramel (recipe here)
1 tbsp Cocoa powder
1 small apple – diced
1/4 cup soya milk mixed with 1 tsp apple cider vinegar
1/2 tsp baking soda
1 tsp vanilla extract
1 tsp cinnamon
1/4 tsp allspice
1/2 tsp himalayan rock salt

Preheat oven to 350 F / 175 C. Line and grease a small loaf tin (approximately 8 inches x 4 inches).

Mix the flour, baking soda, coconut, cinnamon, allspice and salt together in a large bowl. In a separate bowl mix the oil and sugar together until well combined. Add the apple purée and the soya milk (to which vinegar has been added), the coconut syrup and the vanilla extract. Add this mix to the flour mixture and stir well. Add the diced apple and stir well.

Remove about one cup of this batter and put it in a separate bowl. Stir the date caramel in to this mix. Add the cocoa powder and mix well – this adds a lovely richness to the batter and also darkens it to make the swirls more obvious, without giving a Chocolate flavour 🙂

Start by adding a layer of the plain batter in your loaf tin. Drop a few spoonfuls of the caramel batter and use a fork to marble it, then add another layer of plain batter. Continue to layer and marble the batters until you’ve used it up! Sprinkle with a little coconut sugar and desiccated coconut.


Place in the oven for an hour, or until a skewer inserted in the middle comes out clean. Once cooked remove from the oven and allow to cool in the tin for 5 mins then transfer to a wire rack to cool.


This is absolutely divine when warm and if you have any spare date caramel I highly recommend smearing some on top!

You can easily freeze this too – it keeps brilliantly.

Caramel Buckwheat Crispy Squares – Dairy and Gluten free


When I was at school I used to take a Kellogg’s Rice Krispie Marshmallow square with me every day for my breaktime snack. Does anyone else remember them? I was addicted! All gooey and sweet… and delicious…but so full of rubbish…..

So I thought I’d recreate a healthier version of them! So I’ve had a play and come up with  Caramel Buckwheat Crispy Squares. Super easy to make and really scrummy! You could use any puffs you like – buckwheat, spelt, quinoa, rice…. These are better than the originals I think and not half as bad for you 🙂

You will need:

10 -12 medjool dates

2 tbsp Cashew or almond butter

1 – 2 tbsp warm Water

1 – 2 cups of Buckwheat (or any) puffs

Optional Chocolate for decoration:

1/2 cup Coconut oil (melted)

1/3 cup Cacao/cocoa powder

1/4 cup Coconut syrup

Start by making your caramel. Pit and chop the dates and pop them in to your blender together with the nut butter. Add a little of the water and blitz. You want to nice smooth caramel which is thick enough to hold the puffs together, so you may need to add a little more water but not too much. I have to say, watching the caramel in the blender is very pleasing… look….

Once you have a smooth but sticky caramel remove it from the blender. You will probably have more caramel than you need but that’s ok as you can use it for some other yummy treats like my apple cinnamon smoothie or homemade toffee poppets.

Put your puffs in a bowl and add a few spoonfuls of caramel. Stir it through and keep adding caramel until you have a sticky mess! Line a tupperware pot or tray with some baking paper and press the caramel puff mess in to the tray and push down well.

Pop in the freezer for at least an hour to set. It won’t set firm – it will be all sticky and chewy 🙂

Once set remove from the freezer, slice and serve!

If you want to decorate with raw chocolate then combine the coconut oil, cacao powder and coconut syrup and whisk with a fork. Drizzle the chocolate over the bars and then pop back in the freezer briefly to set. Enjoy!

  IMG_3833

Homemade Toffee Poppets! Raw, dairy-free Chocolate Caramel Balls!


When I was little my grandma (Nannie 🙂 ) would come to pick me up on a Friday night from school and as a treat she’d take me across the road from our house to the newsagents to buy some sweets. I could have whatever I wanted… More often than not I went for a packet of Poppets – either mint, or the toffee ones (also known as Toffets). For those of you who haven’t had the pleasure – they were a little cardboard box full of nuggets of chocolate covered mint fondant or chewy caramel. I always associate them with those friday night treats and my Nannie and so they hold a special place in my heart 🙂

Poppets - Mint CreamsPoppets-toffeePAY-CHW-PPT

I’ve been having a bit of a caramel craving lately so I thought I’d better try to recreate those yummy little balls of goodness. (I’ll have a go at mint ones too at some point 🙂 ). As well as plain ones I also thought I’d try adding some coconut and nuts to the outside – you could coat yours in anything you like!

IMG_2749

You will need:

For the centres:

10 – 12 Medjool dates

3 tbsp Almond butter or Cashew butter if you don’t want the almond taste

(water as required)

For the chocolate:

1/2 cup Coconut oil (melted)

1/3 cup Cacao/cocoa powder

1/4 cup Coconut syrup

Desiccated coconut/chopped roasted nuts to decorate if desired

IMG_2752IMG_2751IMG_2750

Pop the dates and almond/cashew butter in a processor and pulse until blended and smooth. Add water if you want a softer texture. Take small spoonfuls and roll into balls with your hand – this is easier if you can chill it in the fridge for a while first. Pop the balls in the freezer for as long as you can wait!

To make the chocolate combine the coconut oil, cacao powder and coconut syrup and whisk with a fork.

Take the balls out the freezer and pop in to the chocolate to coat. Use a fork to move them around until coated and then pop on some greaseproof paper to set. Once set a little bit turn so the bottoms don’t stick.

IMG_2738 If you want to coat them in coconut or nuts then as soon as you’ve coated in them in chocolate roll in the coconut/nuts and then place on the greaseproof paper.

IMG_2736    IMG_2739

Then place in the freezer until ready to eat! All I need to do now is recreate the little cardboard box!

FullSizeRender

Raw Almond Caramel Chocolate Fingers


I’ve been dying to make something nutty and caramel-ly for ages and just haven’t got round to it  – finally the other weeked I got all my ingredients out and had a play and I’m very very pleased with the results! These are delish! They need to be kept in the freezer and are best eaten cold otherwise they get a bit squishy… although… that’s not such a bad thing!!

IMG_1411

You will need:

For the base:

1 cup Macadamia nuts

2 – 3 Tbsp Coconut syrup (or any liquid sweetener – agave, rice malt syrup etc)

1/2 tsp Vanilla powder or 1 tsp vanilla extract

1/4 tsp Almond extract

For the caramel:

12 – 14 Medjool dates

3 tbsp Almond butter

1/8 tsp Almond extract

pinch of salt

A little Water as needed (it depends how dry your dates are)

For the chocolate:

1/2 cup Coconut oil (melted) or Cacao butter (melted)

1/3 cup Raw cacao powder

1/4 cup Coconut syrup or maple syrup (or any liquid sweetener)

1/4 tsp Vanilla powder or 1/2 tsp Vanilla extract

First you need to make the base. Pop all the ingredients into a food processor and pulse until well blended and it forms a sticky dough. Line a small tray with baking paper and then press the base mixture in to the tray firmly.

IMG_1388    IMG_1390

Pop this in the freezer and then start on the caramel layer. I find it easier if you chop the dates up a bit first, so chop them and pop in to the processor together with the other ingredients, but not the water. Pulse until blended in to a paste. If it’s a little too dry then add some water (carefully so you don’t add to much). Once you have the consistency you want (sticky but spreadable) then take the base out the freezer and spread the caramel on top. You may have some caramel left over – this is no bad thing, I rolled it into balls which I coated in chocolate for some extra little caramel bites! 🙂

IMG_1391

Place this back in the freezer for as long as you can – an hour or more if possible.

Once you’re nearing the end of your the hour you can make up the chocolate (if you want to make it sooner you can, and you can just gently warm it to re-melt it). It’s best to use a large bowl for this so your caramel fingers will fit in (it makes it easier to coat them). Add the cacao, coconut syrup and vanilla to the melted coconut oil or cacao butter and mix well using a fork or a small hand whisk. Remove the caramel from the freezer and slice into fingers (or any shape you want).

IMG_1394

Then comes the fun bit! First of call place a wire rack over some baking parchment (or a board – or anything you don’t mind getting messy!). Make sure your chocolate is melted and combined well, then begin the dipping! Dunk the caramel fingers in the chocolate and ensure they’re coated. Then transfer to the wire rack and allow to set. They will stick to the rack, so before they’re set just move them slightly. If you’re anything like me you will probably end up with a bit of a mess on the bottom side, don’t worry, just wait til the top is set (it won’t take long) and turn them over and drizzle chocolate over them to tidy them up.

If you find the chocolate starts to thicken while you’re still coating them then just pop it in the microwave for a few seconds to re-melt (or even just place in a warm area – like on a radiator for a few moments – it melts so easily). Once they are all coated and lightly set (because the fingers are frozen it sets pretty quickly but will still be fragile) pop back in the freezer (I just popped them in a tupperware pot).

IMG_1395

Store in the freezer until you want to eat them.. then eat! They’re delicious as a quick pick me up.. and if you’re feeling really naughty they’re even better dipped in a tofu chocolate chili mousse (oh yes I did..!).

IMG_1400IMG_1408IMG_1414


Guilt-free Chocolate cake (with beetroot!)


You can’t beat a good chocolate cake and this is definitely a good chocolate cake! It’s totally vegan and totally yummy! This was inspired by a delicious cake my friend Vicky made so I thought I’d have a go at veganising and gluten-freeing it! 🙂

2014-06-07 21.18.06-1

You will need:

250g cooked Beetroot

250g unrefined Raw sugar (coconut palm sugar etc)

190g self-raising gluten free Flour

60g raw Cacao powder

1 tsp Bicarbonate of soda

3 tbsp Chia seeds soaked in 9 tbsp water

180 ml Almond oil (or other non flavoured oil)

1 tsp Vanilla extract

1 tsp Chocolate extract (or extra Vanilla if you don’t have this)

2014-06-07 21.18.34

Preheat the oven to 170 C. Lightly grease a 23 cm diameter cake tine.

In a large mixing bowl, sift together the flour, cacoa and bicarbonate of soda. Then stir in the sugar.  Pop the cooked beetroot in to a food processor and blend until smooth. Place this in to a sieve over another bowl and push out any juices with the back of a spoon. You don’t need the juice for this recipe but don’t bin it – you can throw it in to a smoothie 🙂

Put the beetroot pulp back in to the processor and then turn on the motor and add the soaked chia seeds, vanilla and chocolate extract (if using) and then slowly pour in the oil.

Mix until well blended. Make a well in the centre of the flour mix and add the beetroot mixture. Gently fold together with a large spoon. Pour the mixture in to the cake tin and place in the oven for 35 -40 mins (or until a skewer comes out clean). Remove from oven and allow to cool for 5 – 10 mins in the tin, then remove and place on a wire rack to cool.

Then enjoy with a cup of tea (and maybe a cat)! 🙂

2014-06-07 21.22.39

Raspberry Raw Chocs


These beautiful raw chocolates are fantastically easy to make and taste delicious. They’d make a perfect gift too (if you don’t eat them all first 😉 ).

2014-03-23 14.22.27

You can flavour them with anything you like but I’m a big fan of raspberry and chocolate and when I found the freeze-dried raspberries online (Amazon sell them) and thought they’d be a great addition to these chocs.

2014-03-23 14.26.57

You will need (makes approx 15 chocs):

1 cup Cacao butter (melted)

1 cup Raw Cacao powder

1/3 cup Maple syrup (or other liquid sweetener)

1 cup Freeze-dried raspberries

2- 3 tbsps Freeze-dried raspberry powder (you can buy them powdered or you can simply grind up the whole raspberries)

Melt the cacao butter and mix it with the cacao powder and maple syrup. Use a small whisk or fork to mix the ingredients well. Add in the raspberry powder and mix well. Lightly crush the whole raspberries into smaller pieces and then stir them in.

Pour in to chocolate moulds and leave in the freezer to set. Enjoy! 🙂

2014-03-23 14.24.25


Fight that grump! Chocolate, Cherry and Chilli Biscuit balls! Dairy and Gluten free


We all get a little grumpy sometimes don’t we? When I’m feeling the grump I usually reach for the chocolate (Willie’s Cacao is my chocolate of choice!) but I thought this week I’d try something a little different! It’s still chocolate but with a kick, and I guarantee this little beauties will cheer up even the biggest grump!

photo 2

This a modified version of my great balls of biscuit recipe but I’ve made these bigger – cos you need a bit more biscuit to fight that grump 😉

photo 5

To make about 16 biscuit balls you will need:

260g Ground almonds

4 tbsp Raw cacao powder (or cocoa powder)

30g Dark, dairy-free chocolate (I use the Willie’s Cacao Drops but any dark chocolate chopped up small will be fine)

30g Dried cherries

5 tablespoons Coconut oil (melted)

1/2 tsp Baking powder

1/2 tsp Himalayan rock salt

1/4 – 1/2 tsp Cayenne pepper (adjust to taste)

1/4 – 1/2 tsp hot chilli powder (adjust to taste)

1 tsp Vanilla extract

4 tbsp Maple syrup (or other liquid sweetener such as agave or honey)

Preheat the oven to 170 C.

Put the dry ingredients in to a mixing bowl and combine thoroughly. Start with a small amount of cayenne and chilli powder at this stage (unless you are confident in how hot you want it 🙂 ). Then chop the chocolate and cherries into small pieces and add them in to the mixture. Add the coconut oil, maple syrup and vanilla extract and mix together. Have a little taste and add more of the cayenne and chilli is required. I like it pretty hot so I added quite a bit! Mix it in well if you’re adding more at this stage. You should find the mixture will stick together when you squeeze it between your fingers.

Take tablespoon sized portions of the mixture and form in to a ball. Pop on a greased baking tray and flatten a little. Place in the oven for 10 – 15 minutes (start checking at 10 minutes). Remove when they are starting to brown. They will feel very soft when you take them from the oven but just leave them to cool on the tray and they will harden.

Enjoy with a nice cuppa and feel that grump melt away! 🙂

photo 3

Apple and Cherry Cinnamon Biscuit Balls


Tuesdays are long, tiring days for me so I have just whipped up a batch of these bad boys to get me through!

01cc62a41d73daa109cedff7bd94155a2d26147c40

To make about 24 small biscuit balls you will need:

260g Ground almonds

40g Dried apple

30g Dried cherries

5 tablespoons Coconut oil (melted)

1/2 tsp Baking powder

1/2 tsp Himalayan rock salt

1 tsp ground Cinnamon

1 tsp Vanilla extract

4 tbsp Maple syrup (or other liquid sweetener such as agave or honey)

Preheat the oven to 170 C.

Put the dry ingredients in to a mixing bowl and combine thoroughly. Then chop the apple and cherries finely and add them in to the mixture. Add the coconut oil, maple syrup and vanilla extract and mix together.  You should find the mixture will stick together when you squeeze it between your fingers.

Take tablespoon sized portions of the mixture and form in to a ball. Pop on a greased baking tray and flatten a little. Place in the oven for 10 – 15 minutes (start checking at 10 minutes). Remove when they are starting to brown. They will feel very soft when you take them from the oven but just leave them to cool on the tray and they will harden.

Enjoy with a nice cuppa!

014a52b312eb3bb6bdf30bc382c19b384b035bd0e2


Goodness, gracious, great balls of…. biscuit!


I love a good biscuit with a cup of tea and am always searching for gluten and dairy free recipes for biscuits / cookies that actually work! I’ve tried so many and so often they end up too soft or too crumbly or too much effort to make! But I think with these little beauties I’ve found the perfect biscuit! It’s so easy to make and so quick – you can whip up a batch in 20 minutes!

photo 1 (5)

To make about 24 small biscuit balls you will need:

260g Ground almonds

60g Cacao nibs

5 tablespoons Coconut oil (melted)

1/2 tsp Baking powder

1/2 tsp Himalayan rock salt

2 tsp Vanilla extract

4 tbsp Maple syrup (or other liquid sweetener such as agave or honey)

Preheat the oven to 170 C.

Put the dry ingredients in to a mixing bowl and combine thoroughly. Add the coconut oil, maple syrup and vanilla extract and mix together. You should find the mixture will stick together when you squeeze it between your fingers.

Take tablespoon sized portions of the mixture and form in to a ball. Pop on a greased baking tray and flatten a little. Place in the oven for 10 – 15 minutes (start checking at 10 minutes). Remove when they are starting to brown. They will feel very soft when you take them from the oven but just leave them to cool on the tray and they will harden.

Enjoy with a nice cuppa! 🙂

photo 2 (5)