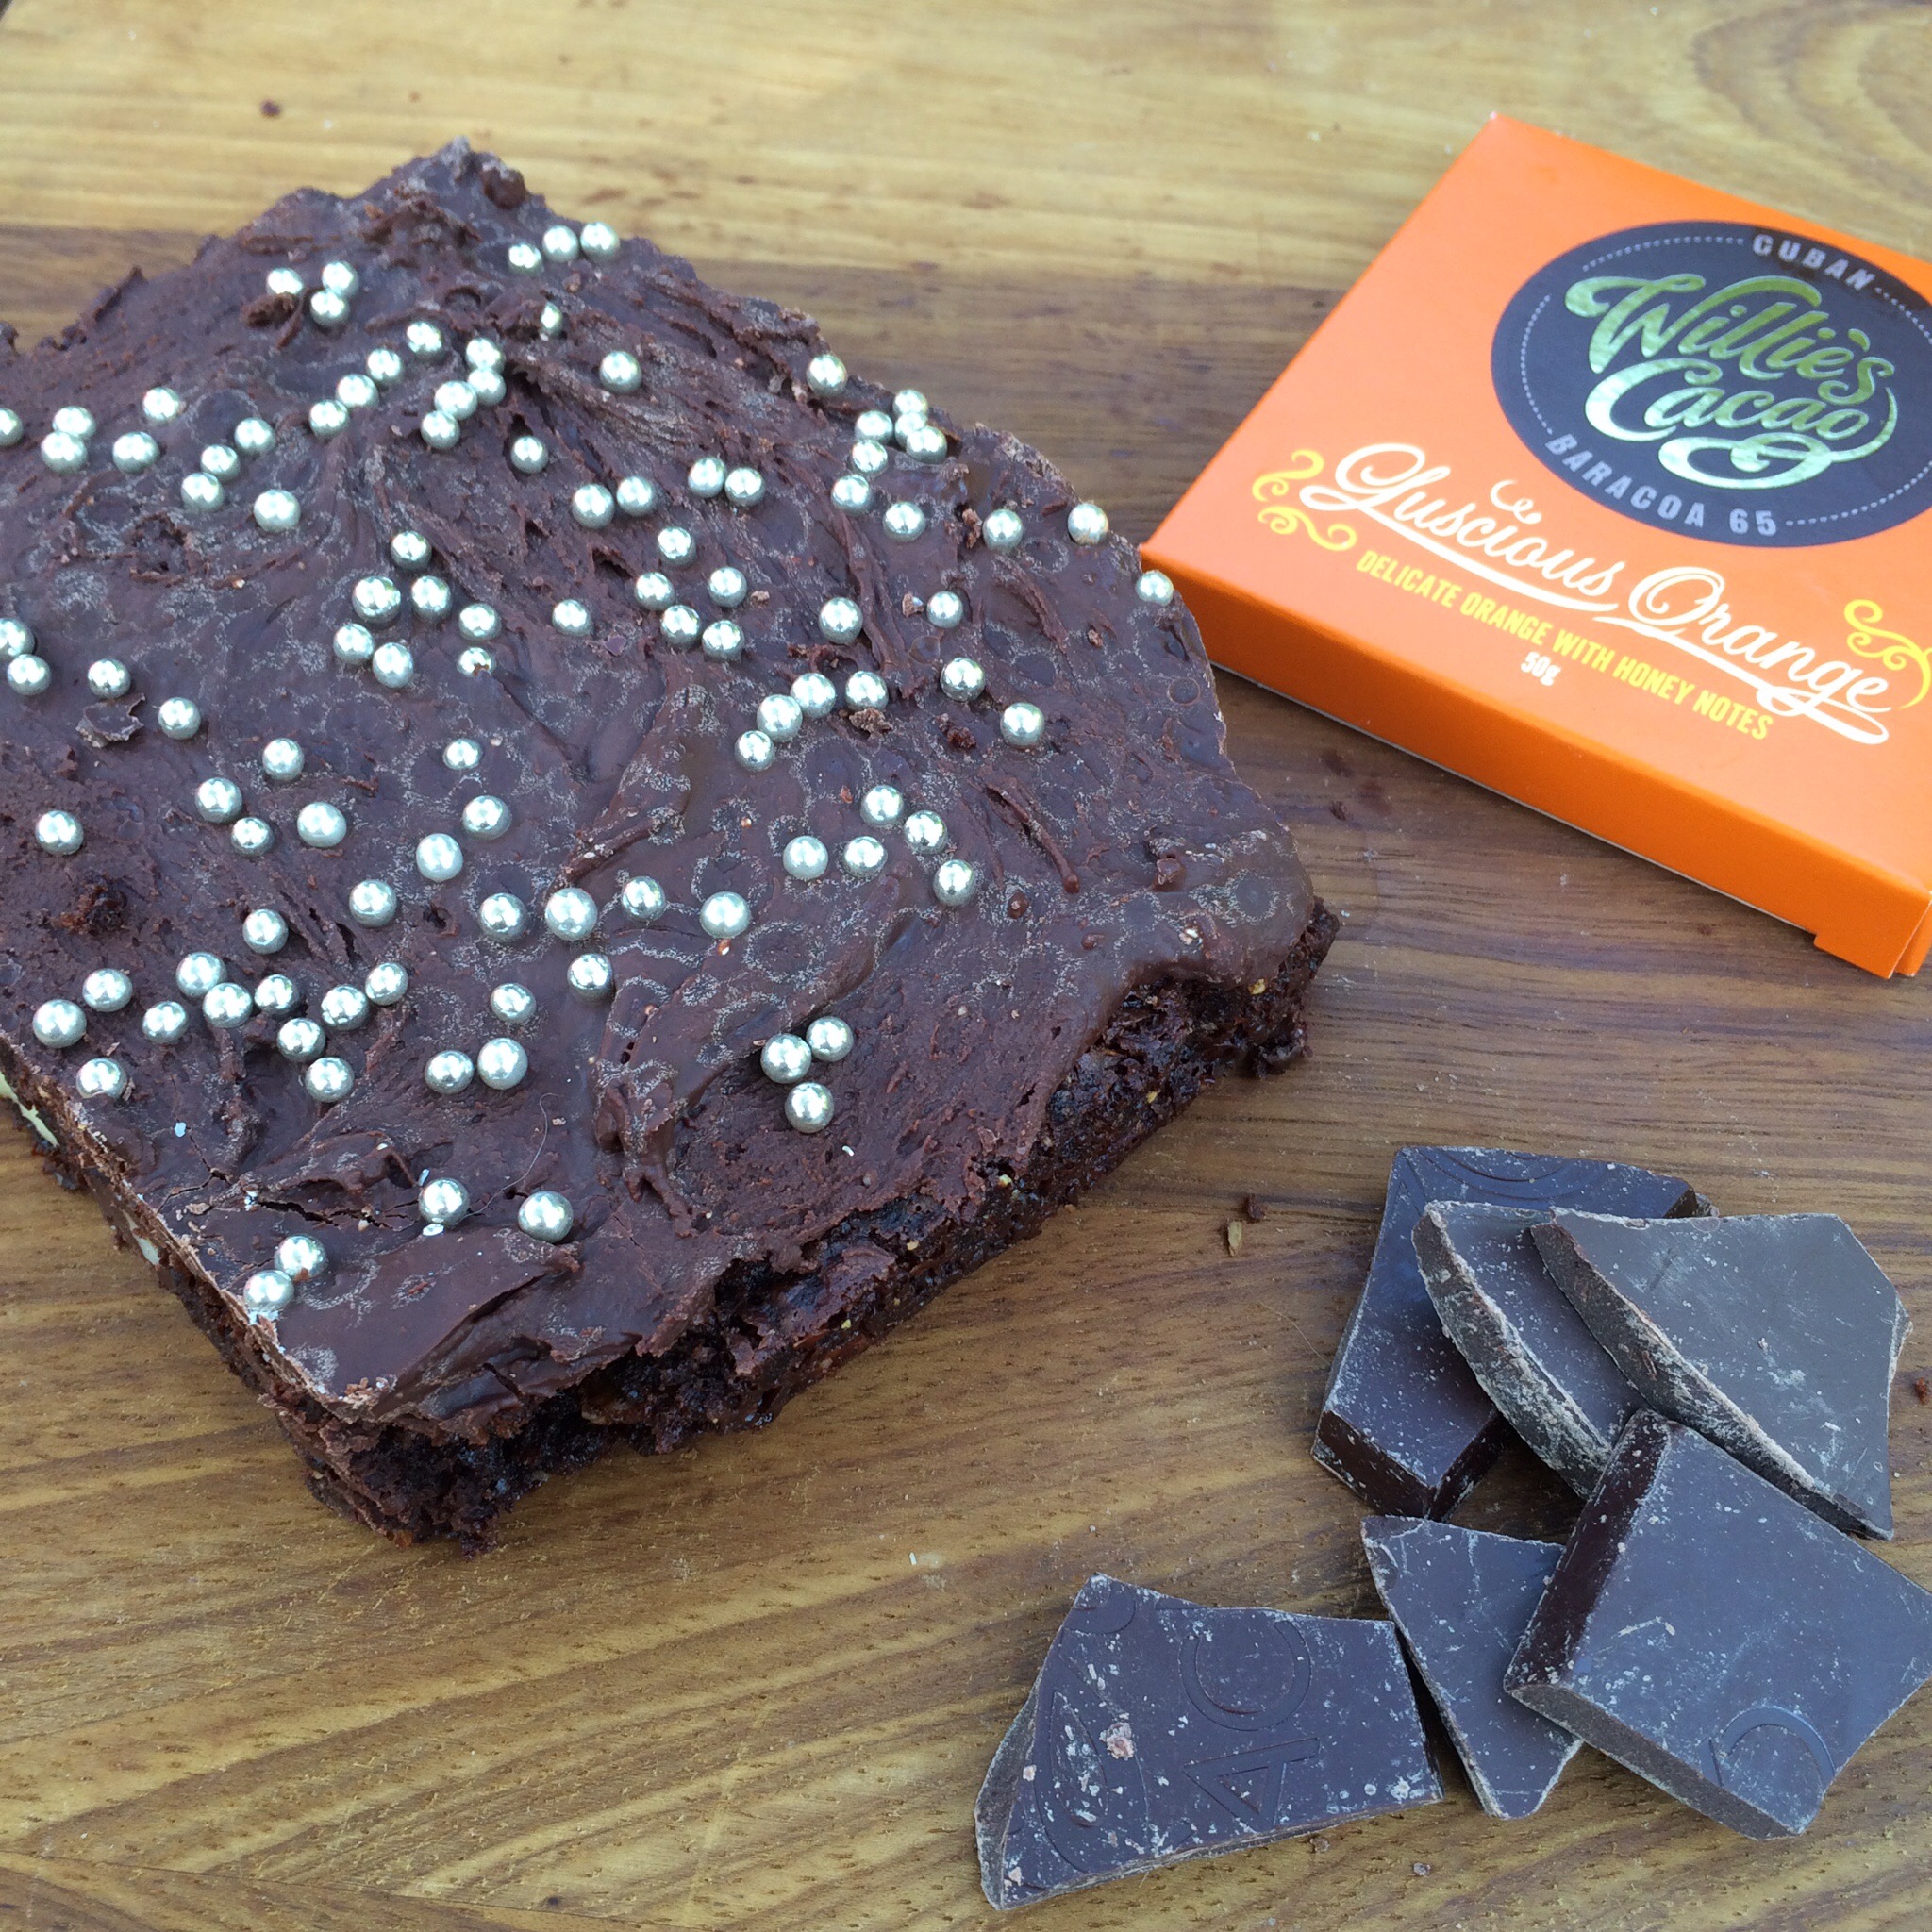
I think I’m in heaven. I’ve managed to combine three of my most favourite things – Willie’s Cacao Luscious Orange chocolate, roasted Almonds and my dairy and gluten free brownie! And wow – this is good! I’ve even managed to win over my orange chocolate hating friend! Win! 🙂
You will need:
1/4 cup Rice flour
1/2 cup Ground almonds
1 cup unrefined Raw sugar (golden caster sugar, coconut sugar etc)
1/2 cup almond oil (or coconut oil)
1/4 cup raw Cacoa powder
2 tbsp chia seeds soaked in 6 tbsp water
1/2 tsp Himalayan rock salt
1/4 tsp Bicarbonate of soda
1 tsp Orange extract
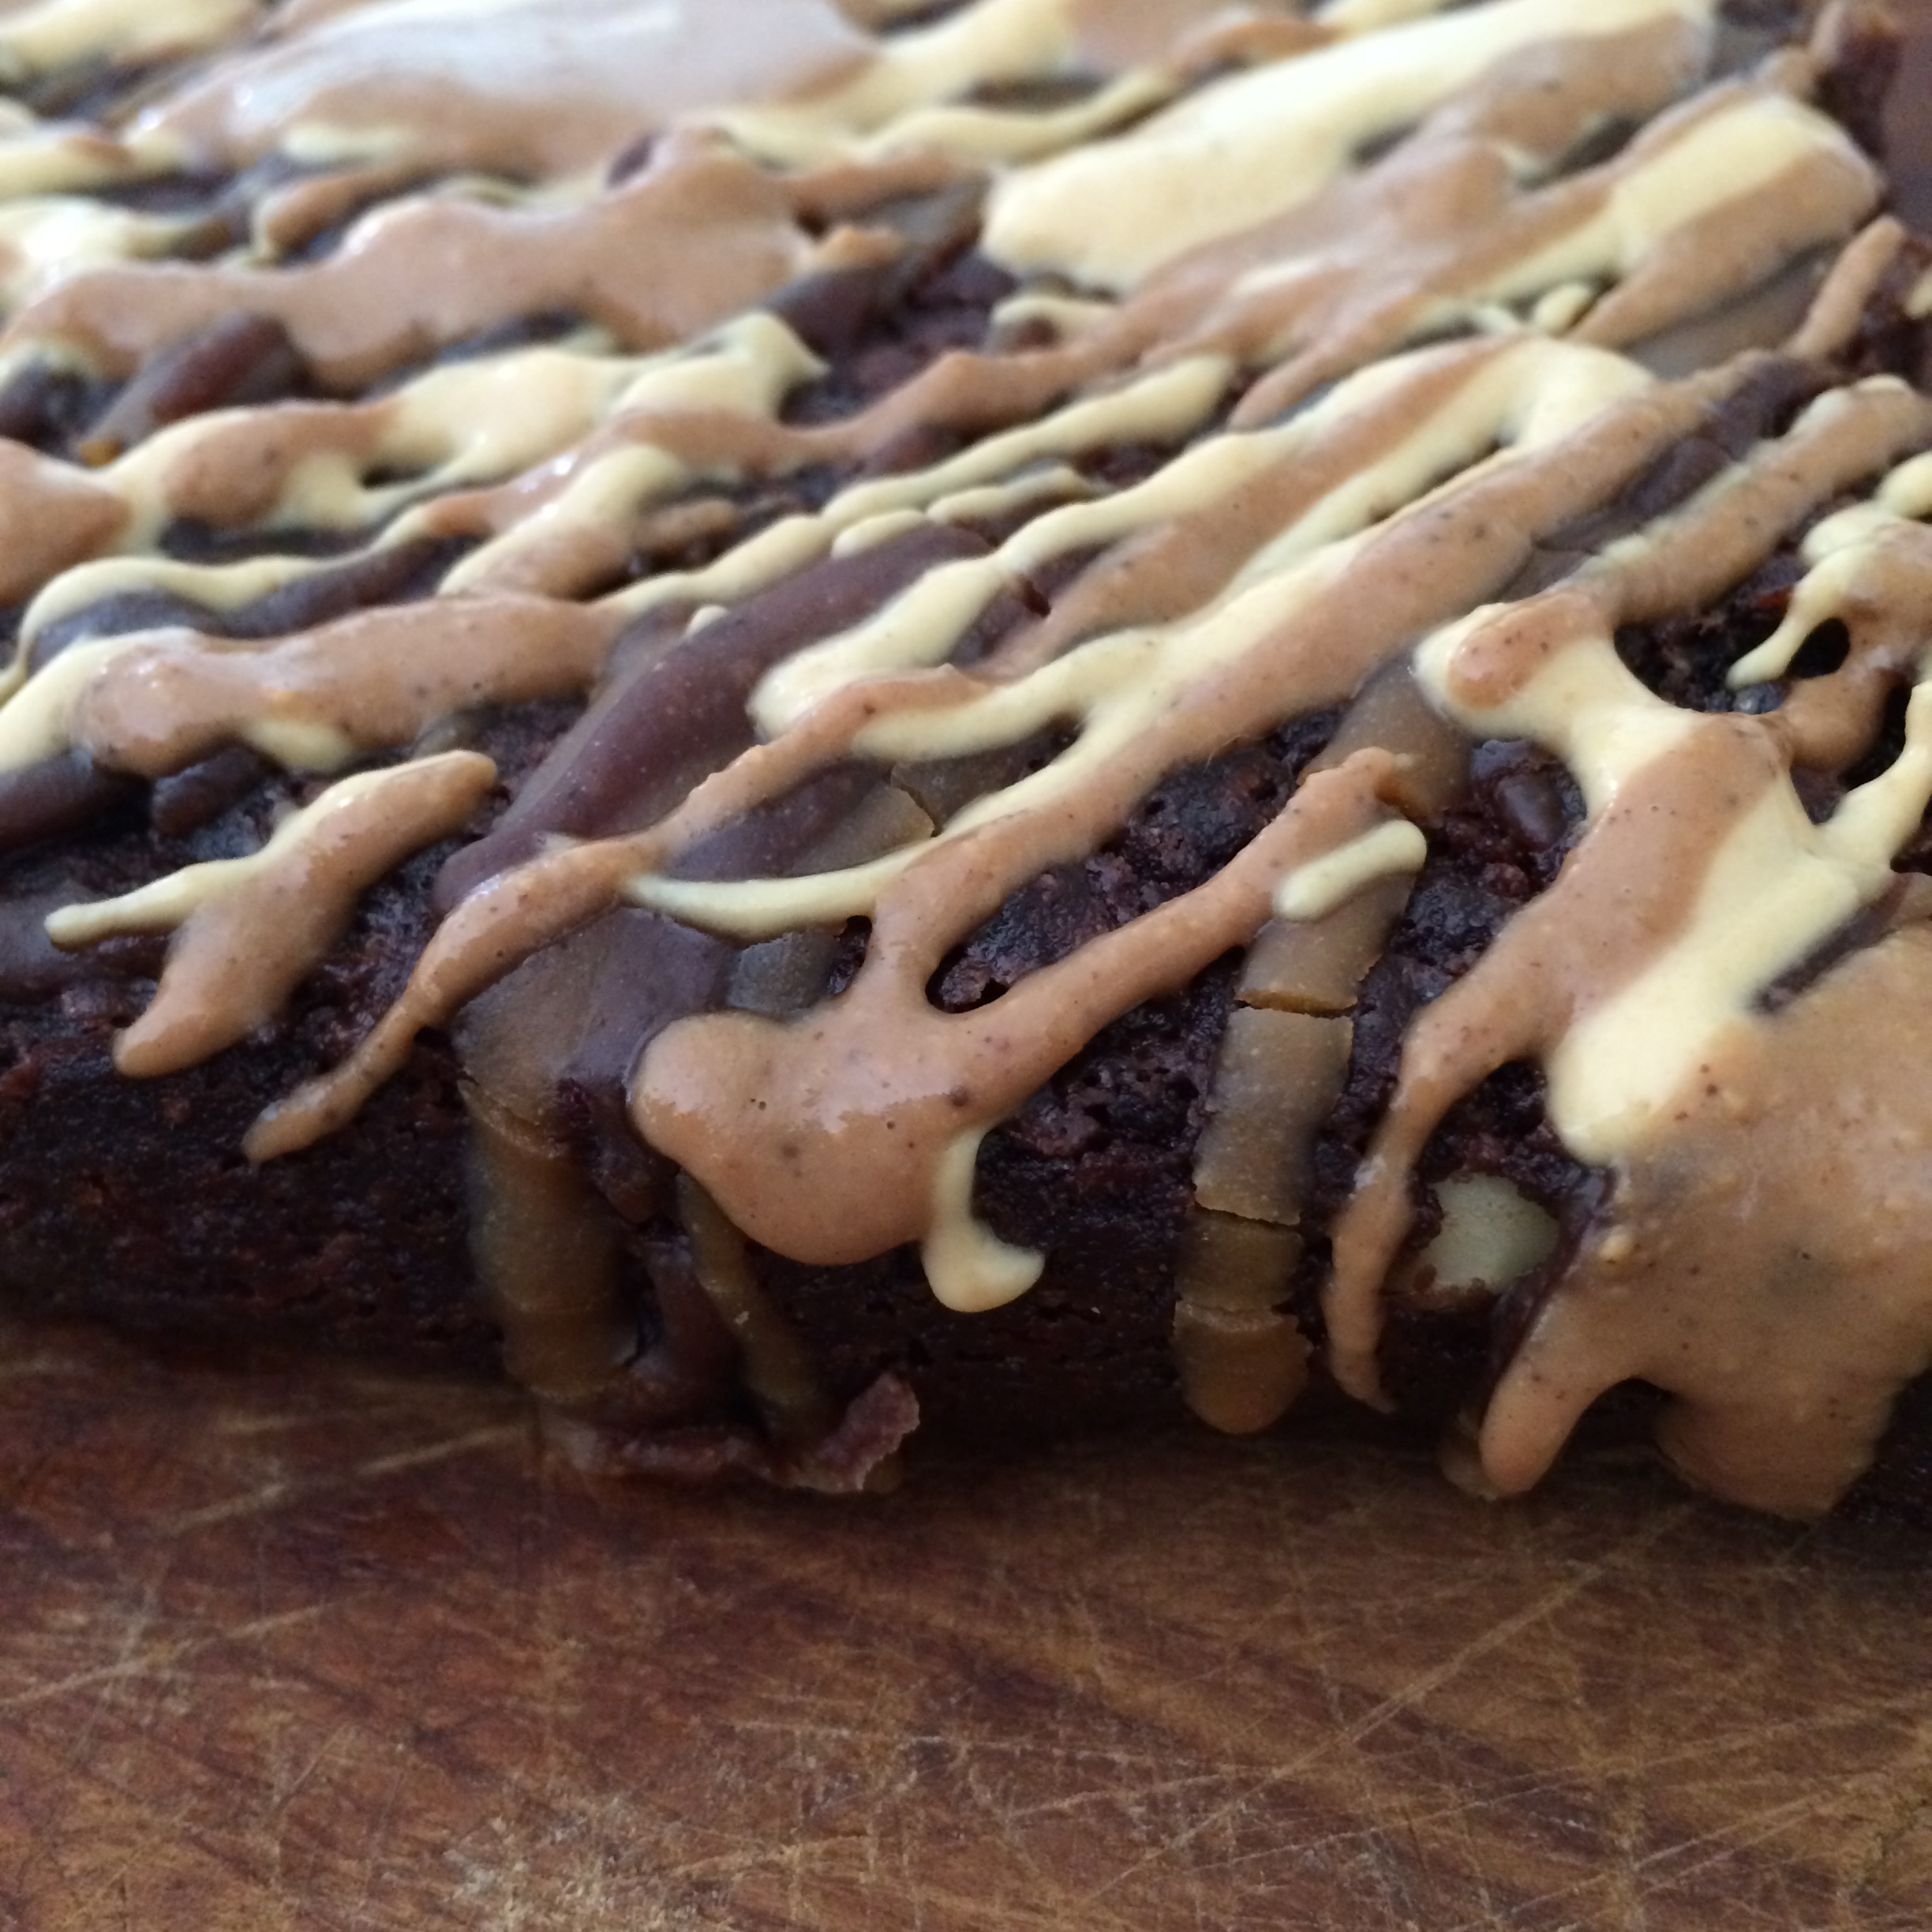
Handful of Almonds
1 – 2 bars Willie’s Luscious Orange chocolate (chopped)
For Icing
1 – 2 bars Willie’s Luscious Orange chocolate
50 – 100g Unrefined icing sugar (adjust quantity to depending how runny you want it)
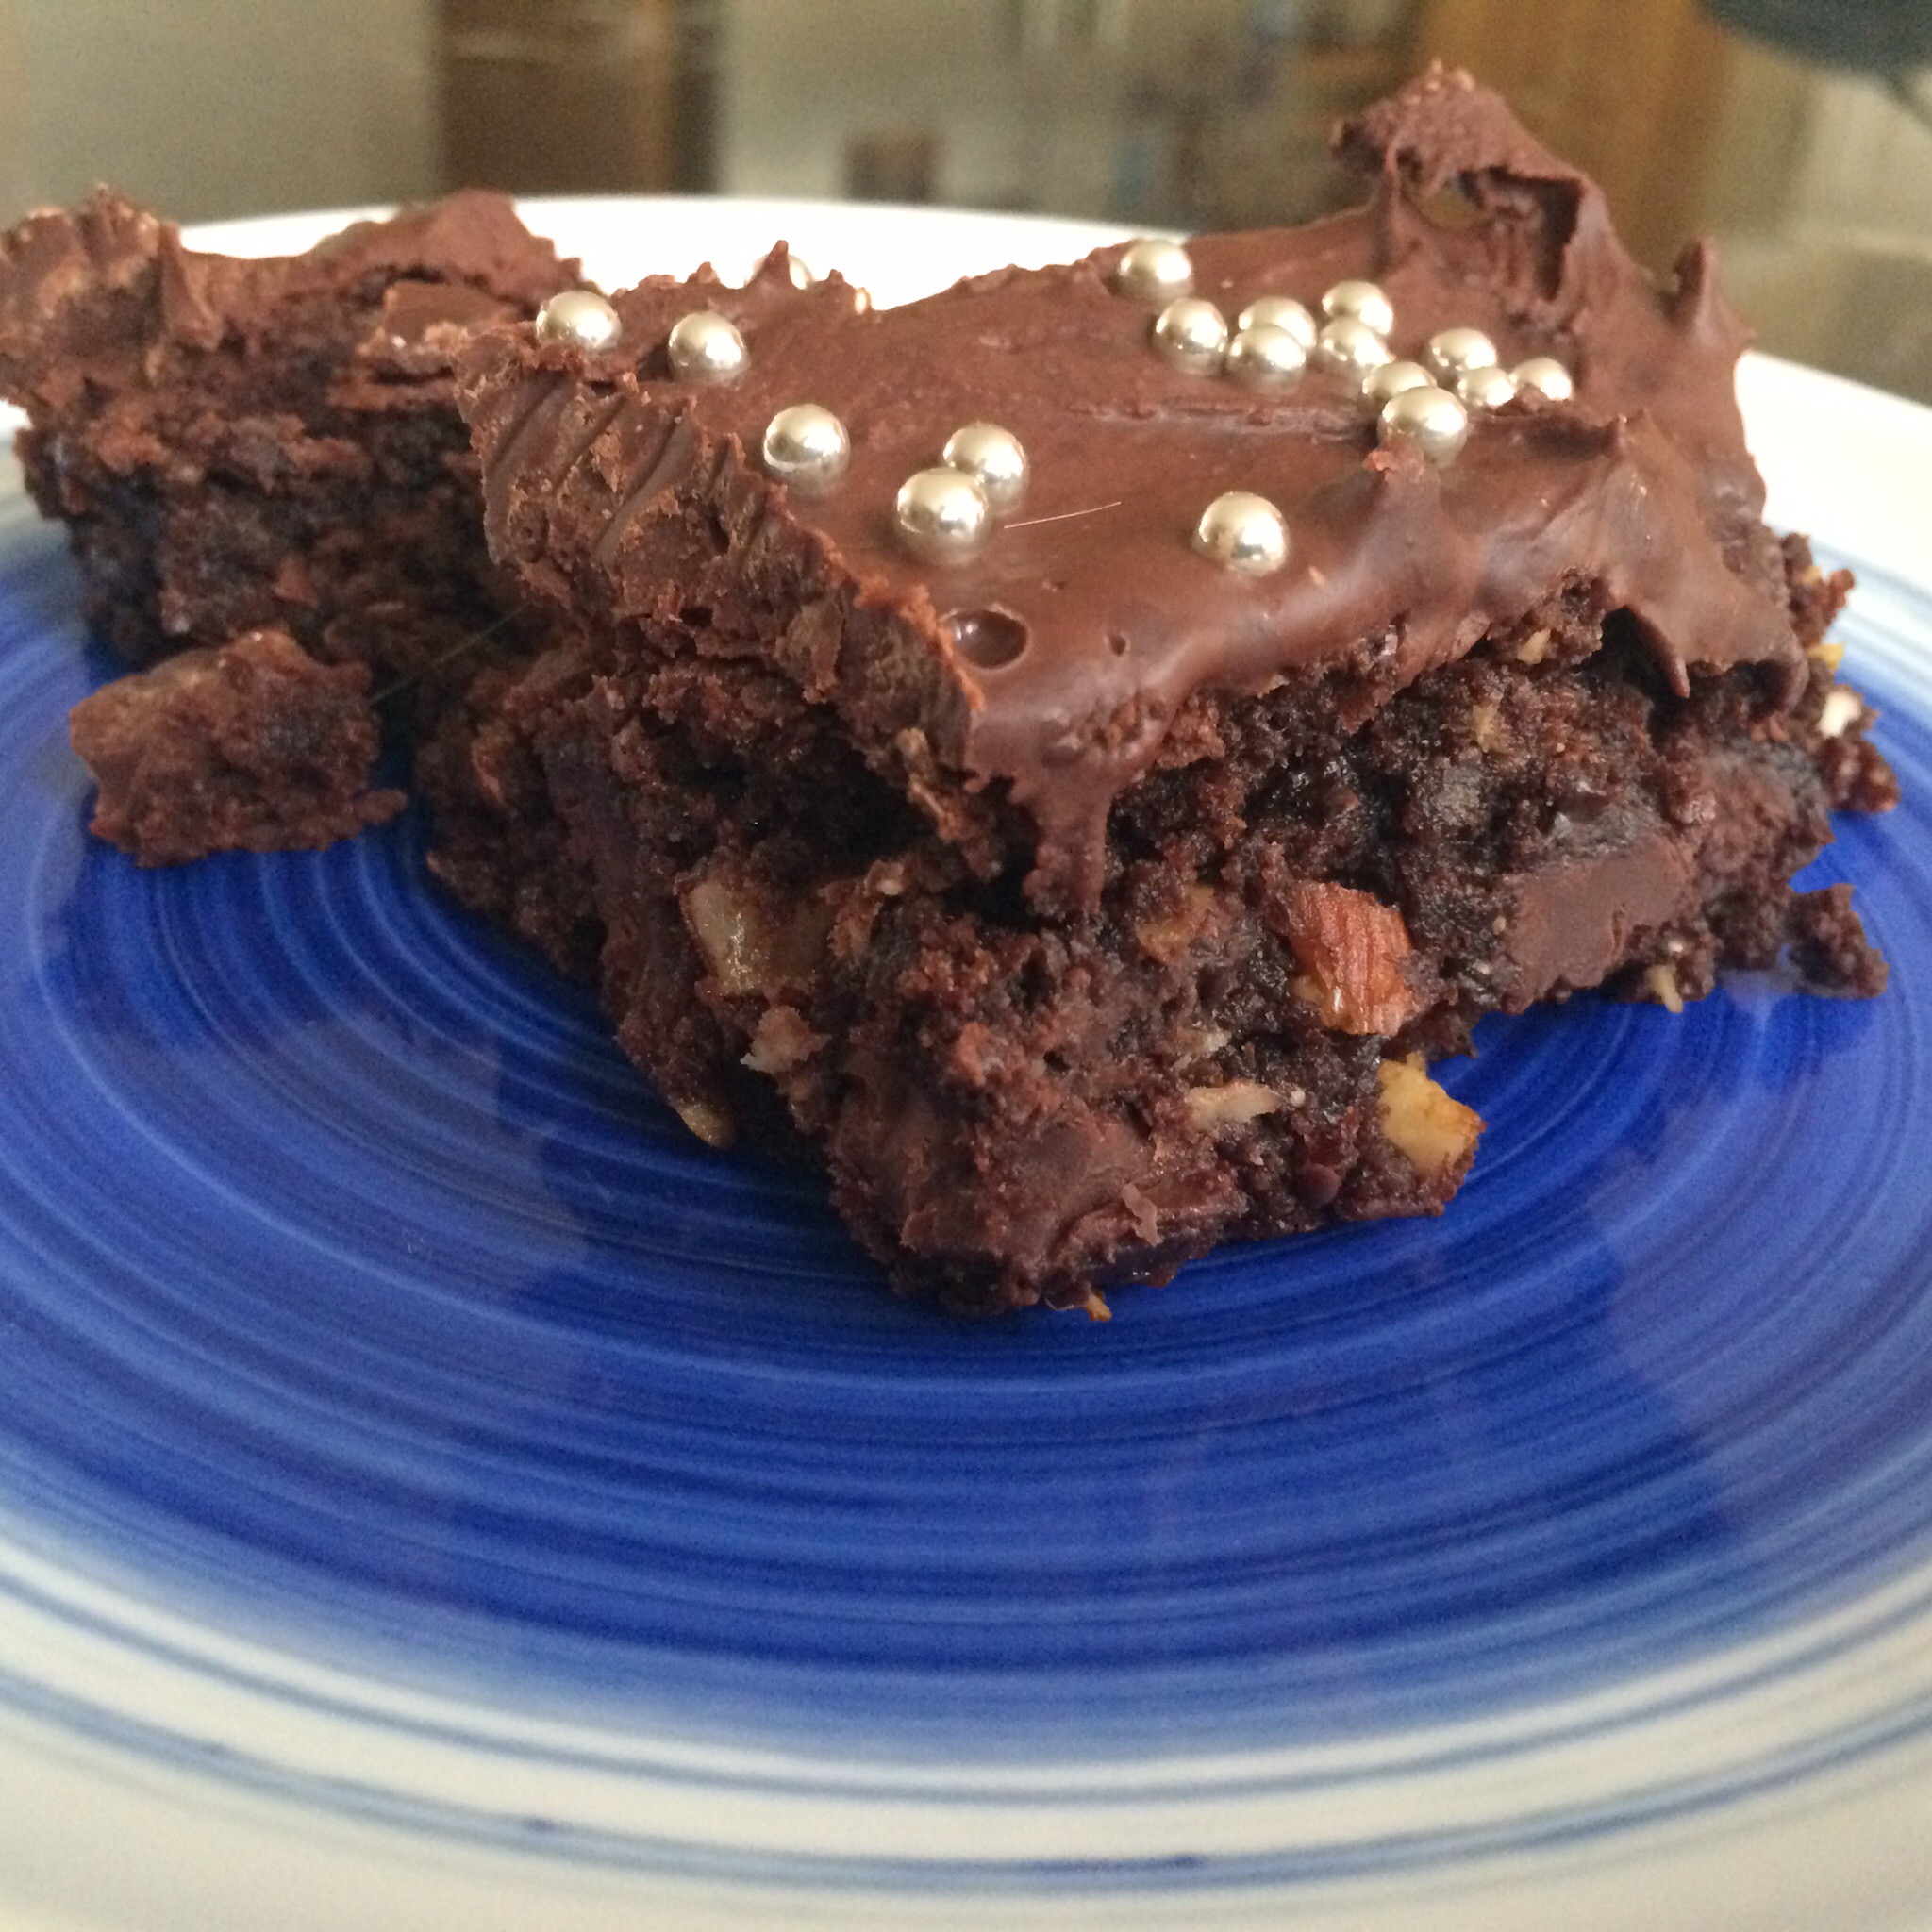
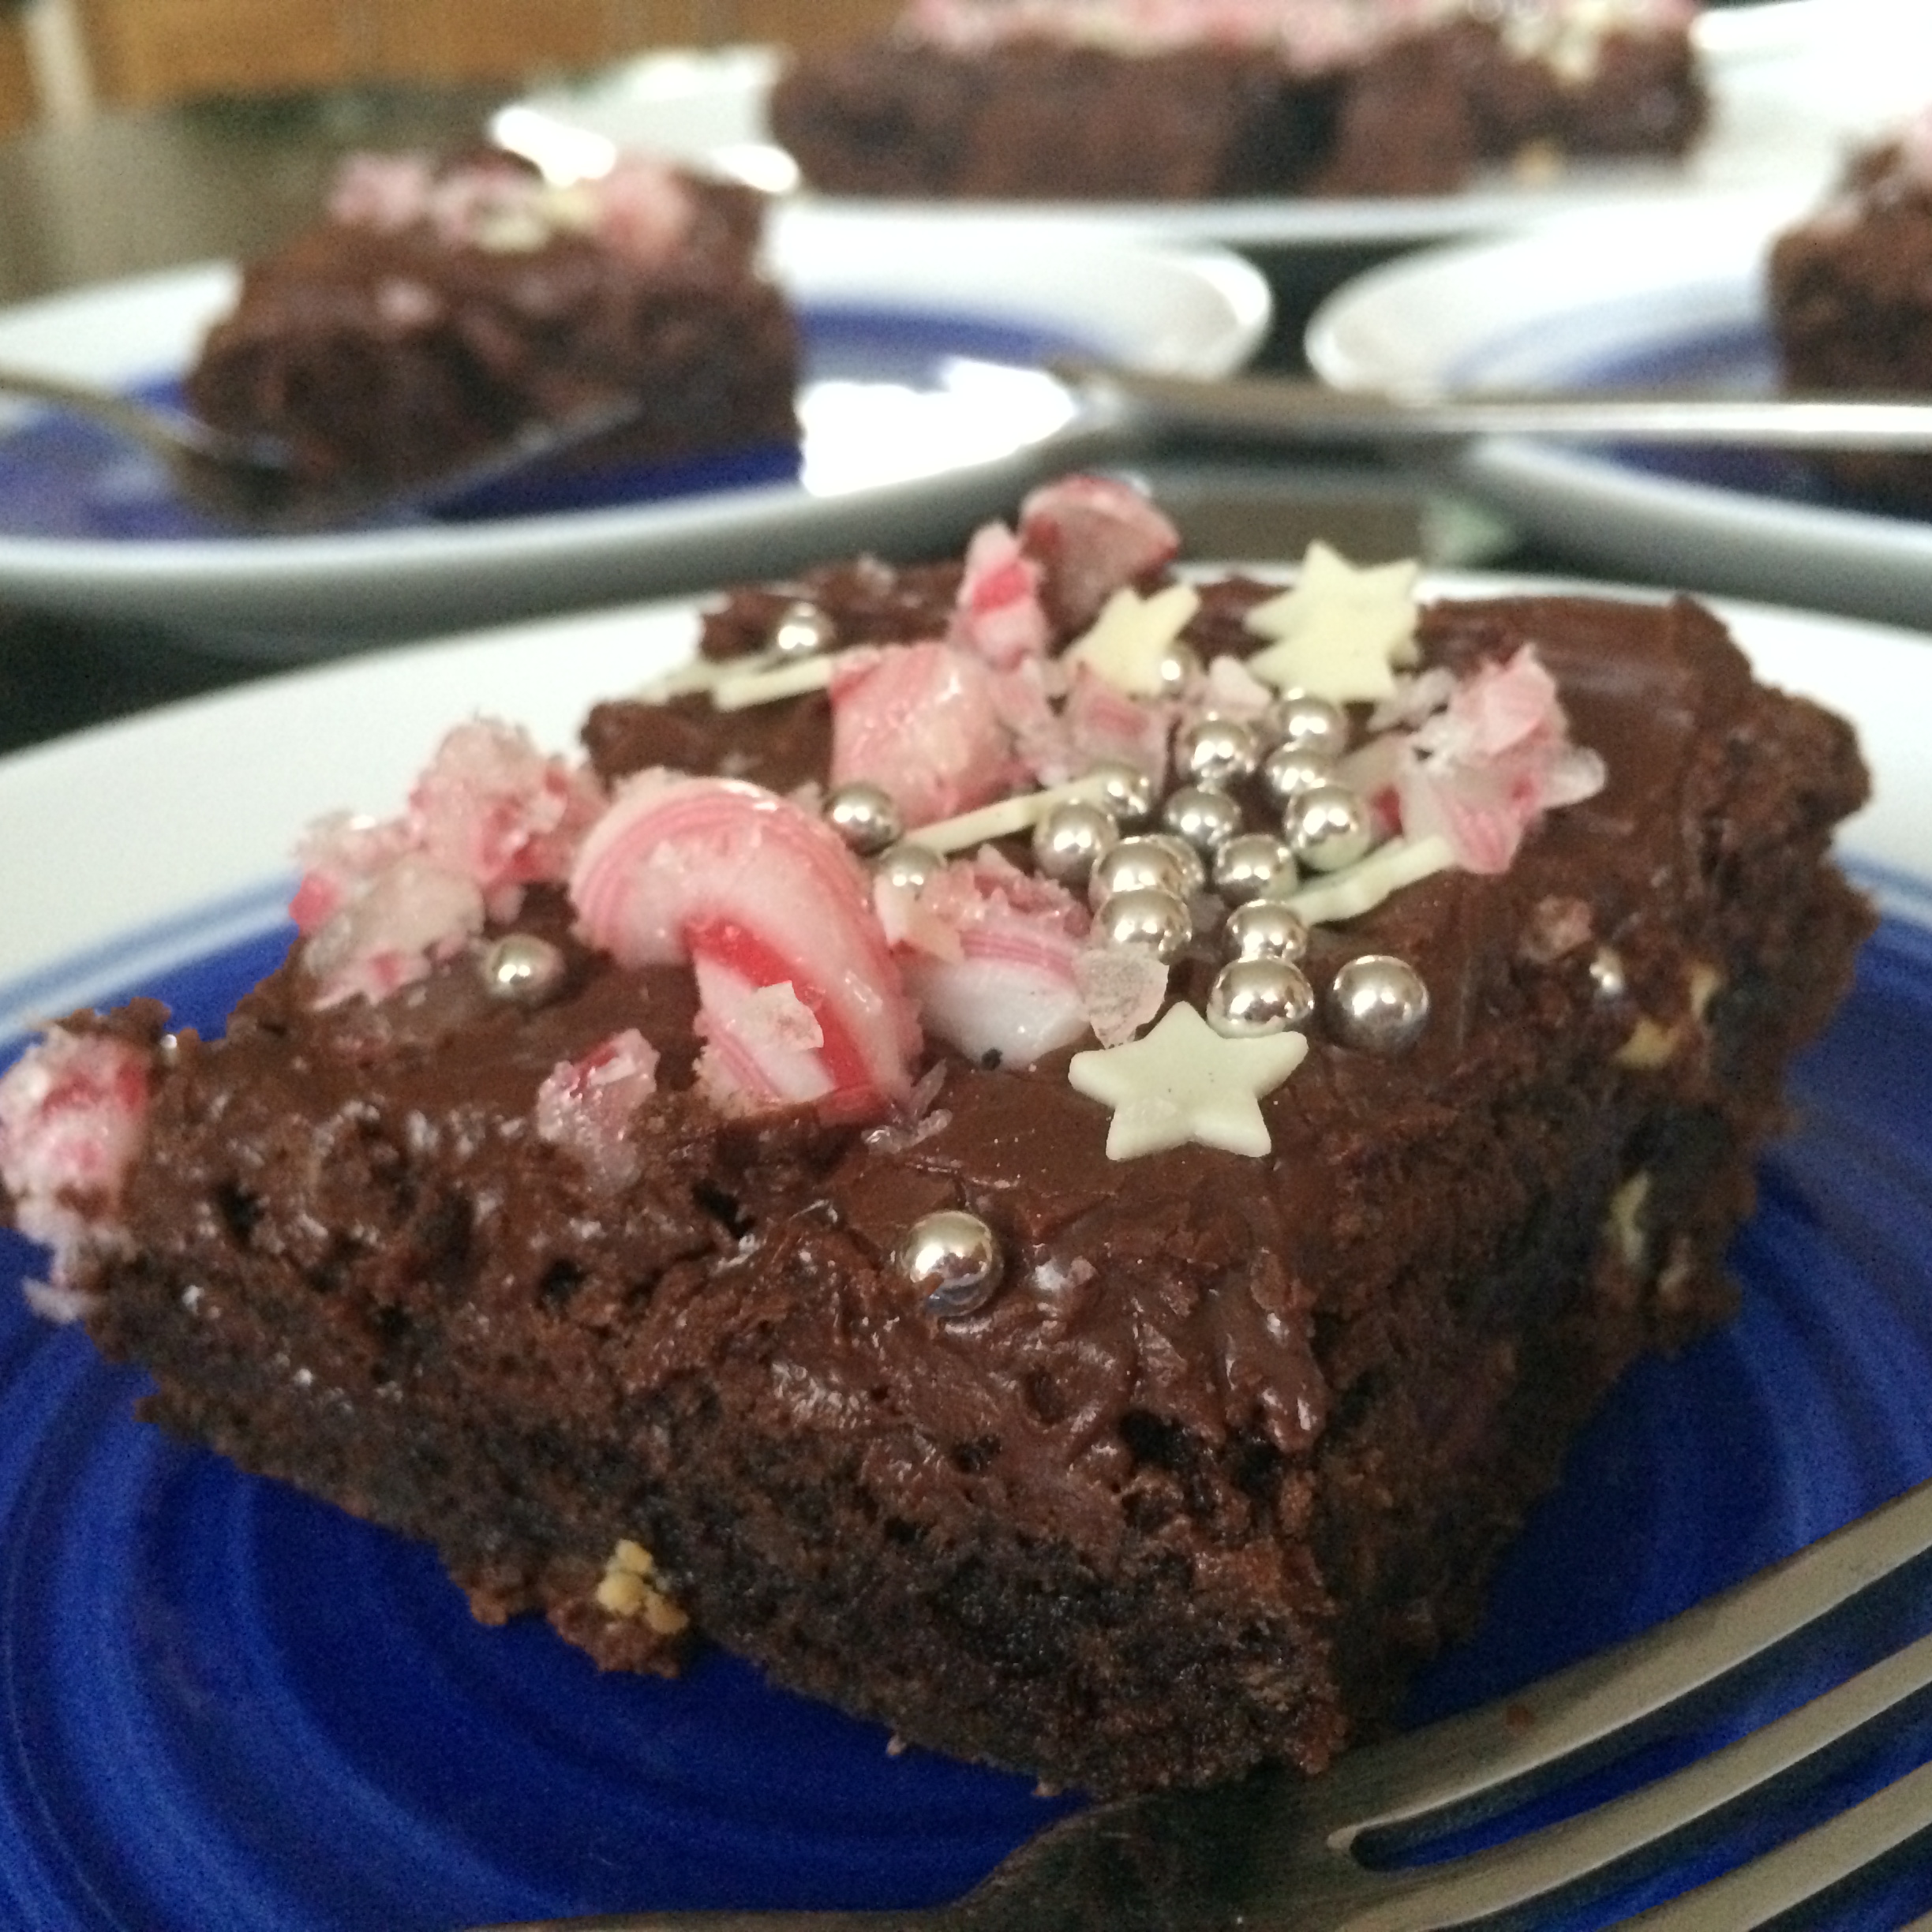
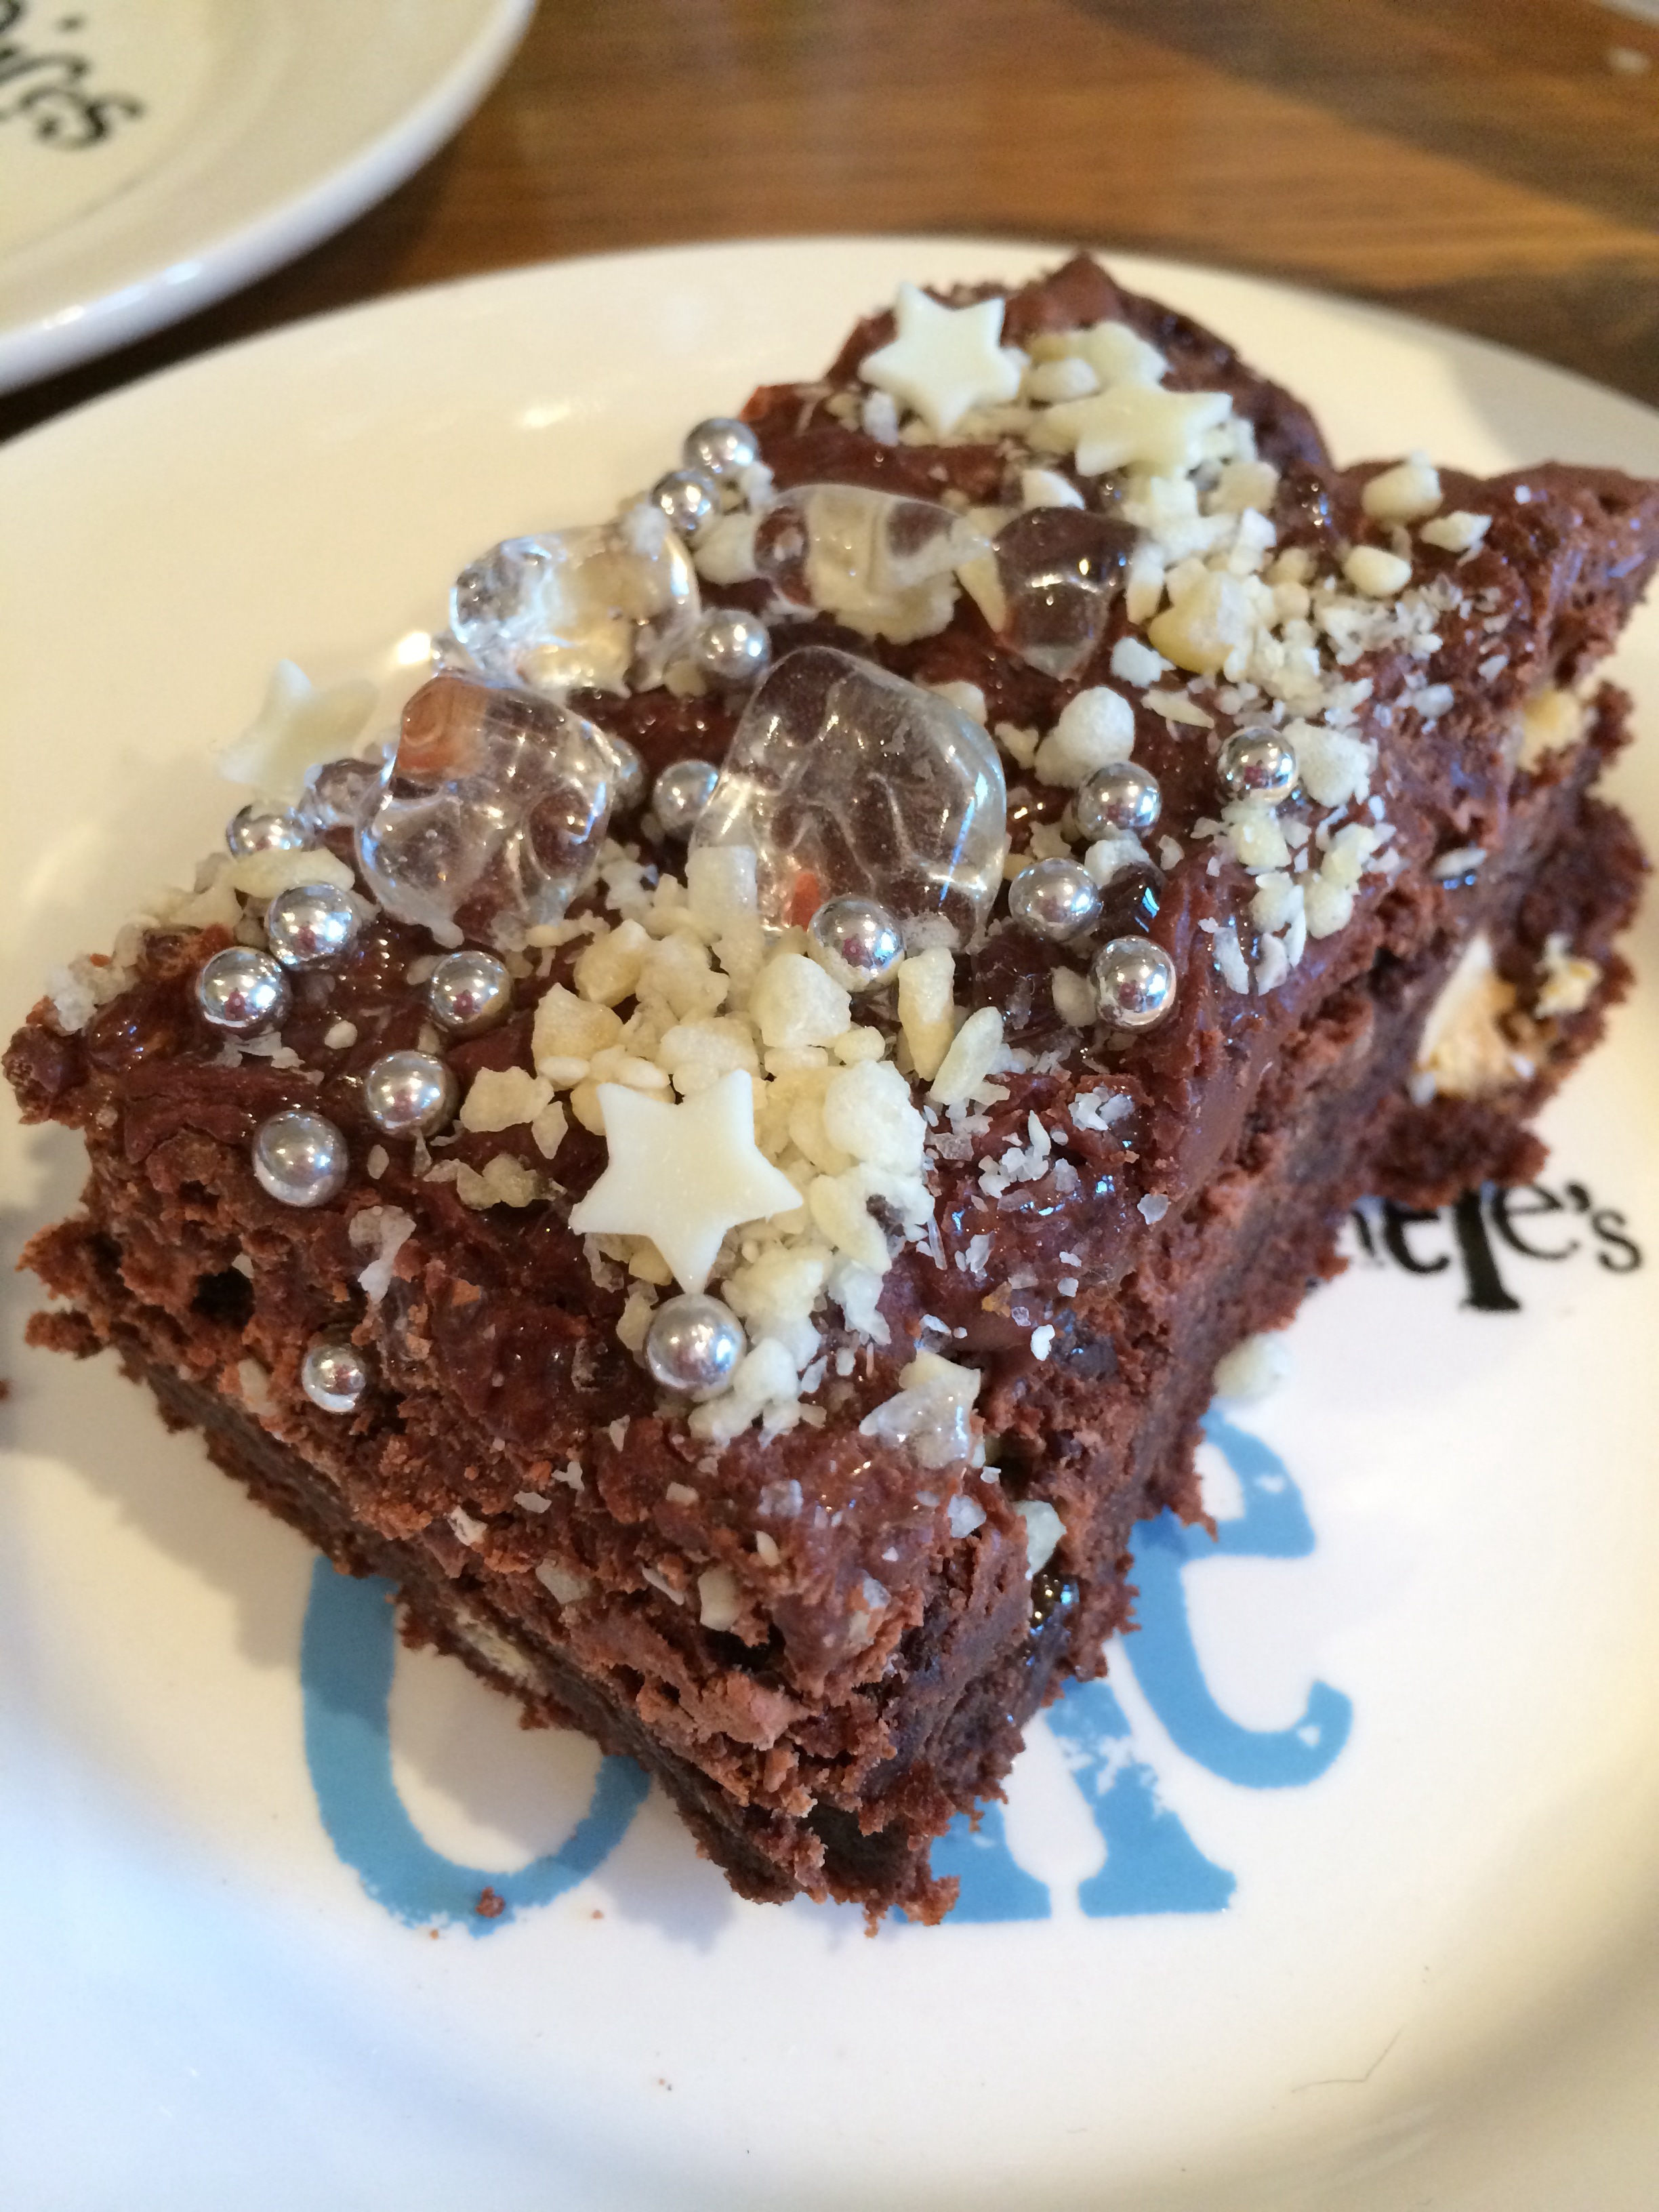
Silver balls to decorate
Preheat the oven to 170C and grease a 20 x 20cm square baking pan with parchment paper.
Toast the almonds in a dry frying pan until they just start to turn brown. To make them even crunchier I let them cool to room temperature then chopped them and toast again briefly. Pop to one side until later.
Mix the ground almonds, flour, cacao powder, sugar, salt and bicarbonate of soda together in a large mixing bowl. In a separate bowl soak the chia seeds in the water. Once the chia seeds have absorbed all the water add them to the mix along with the orange extract, and oil. Whisk together using a hand mixer until well mixed. It should be thick and glossy when mixed.
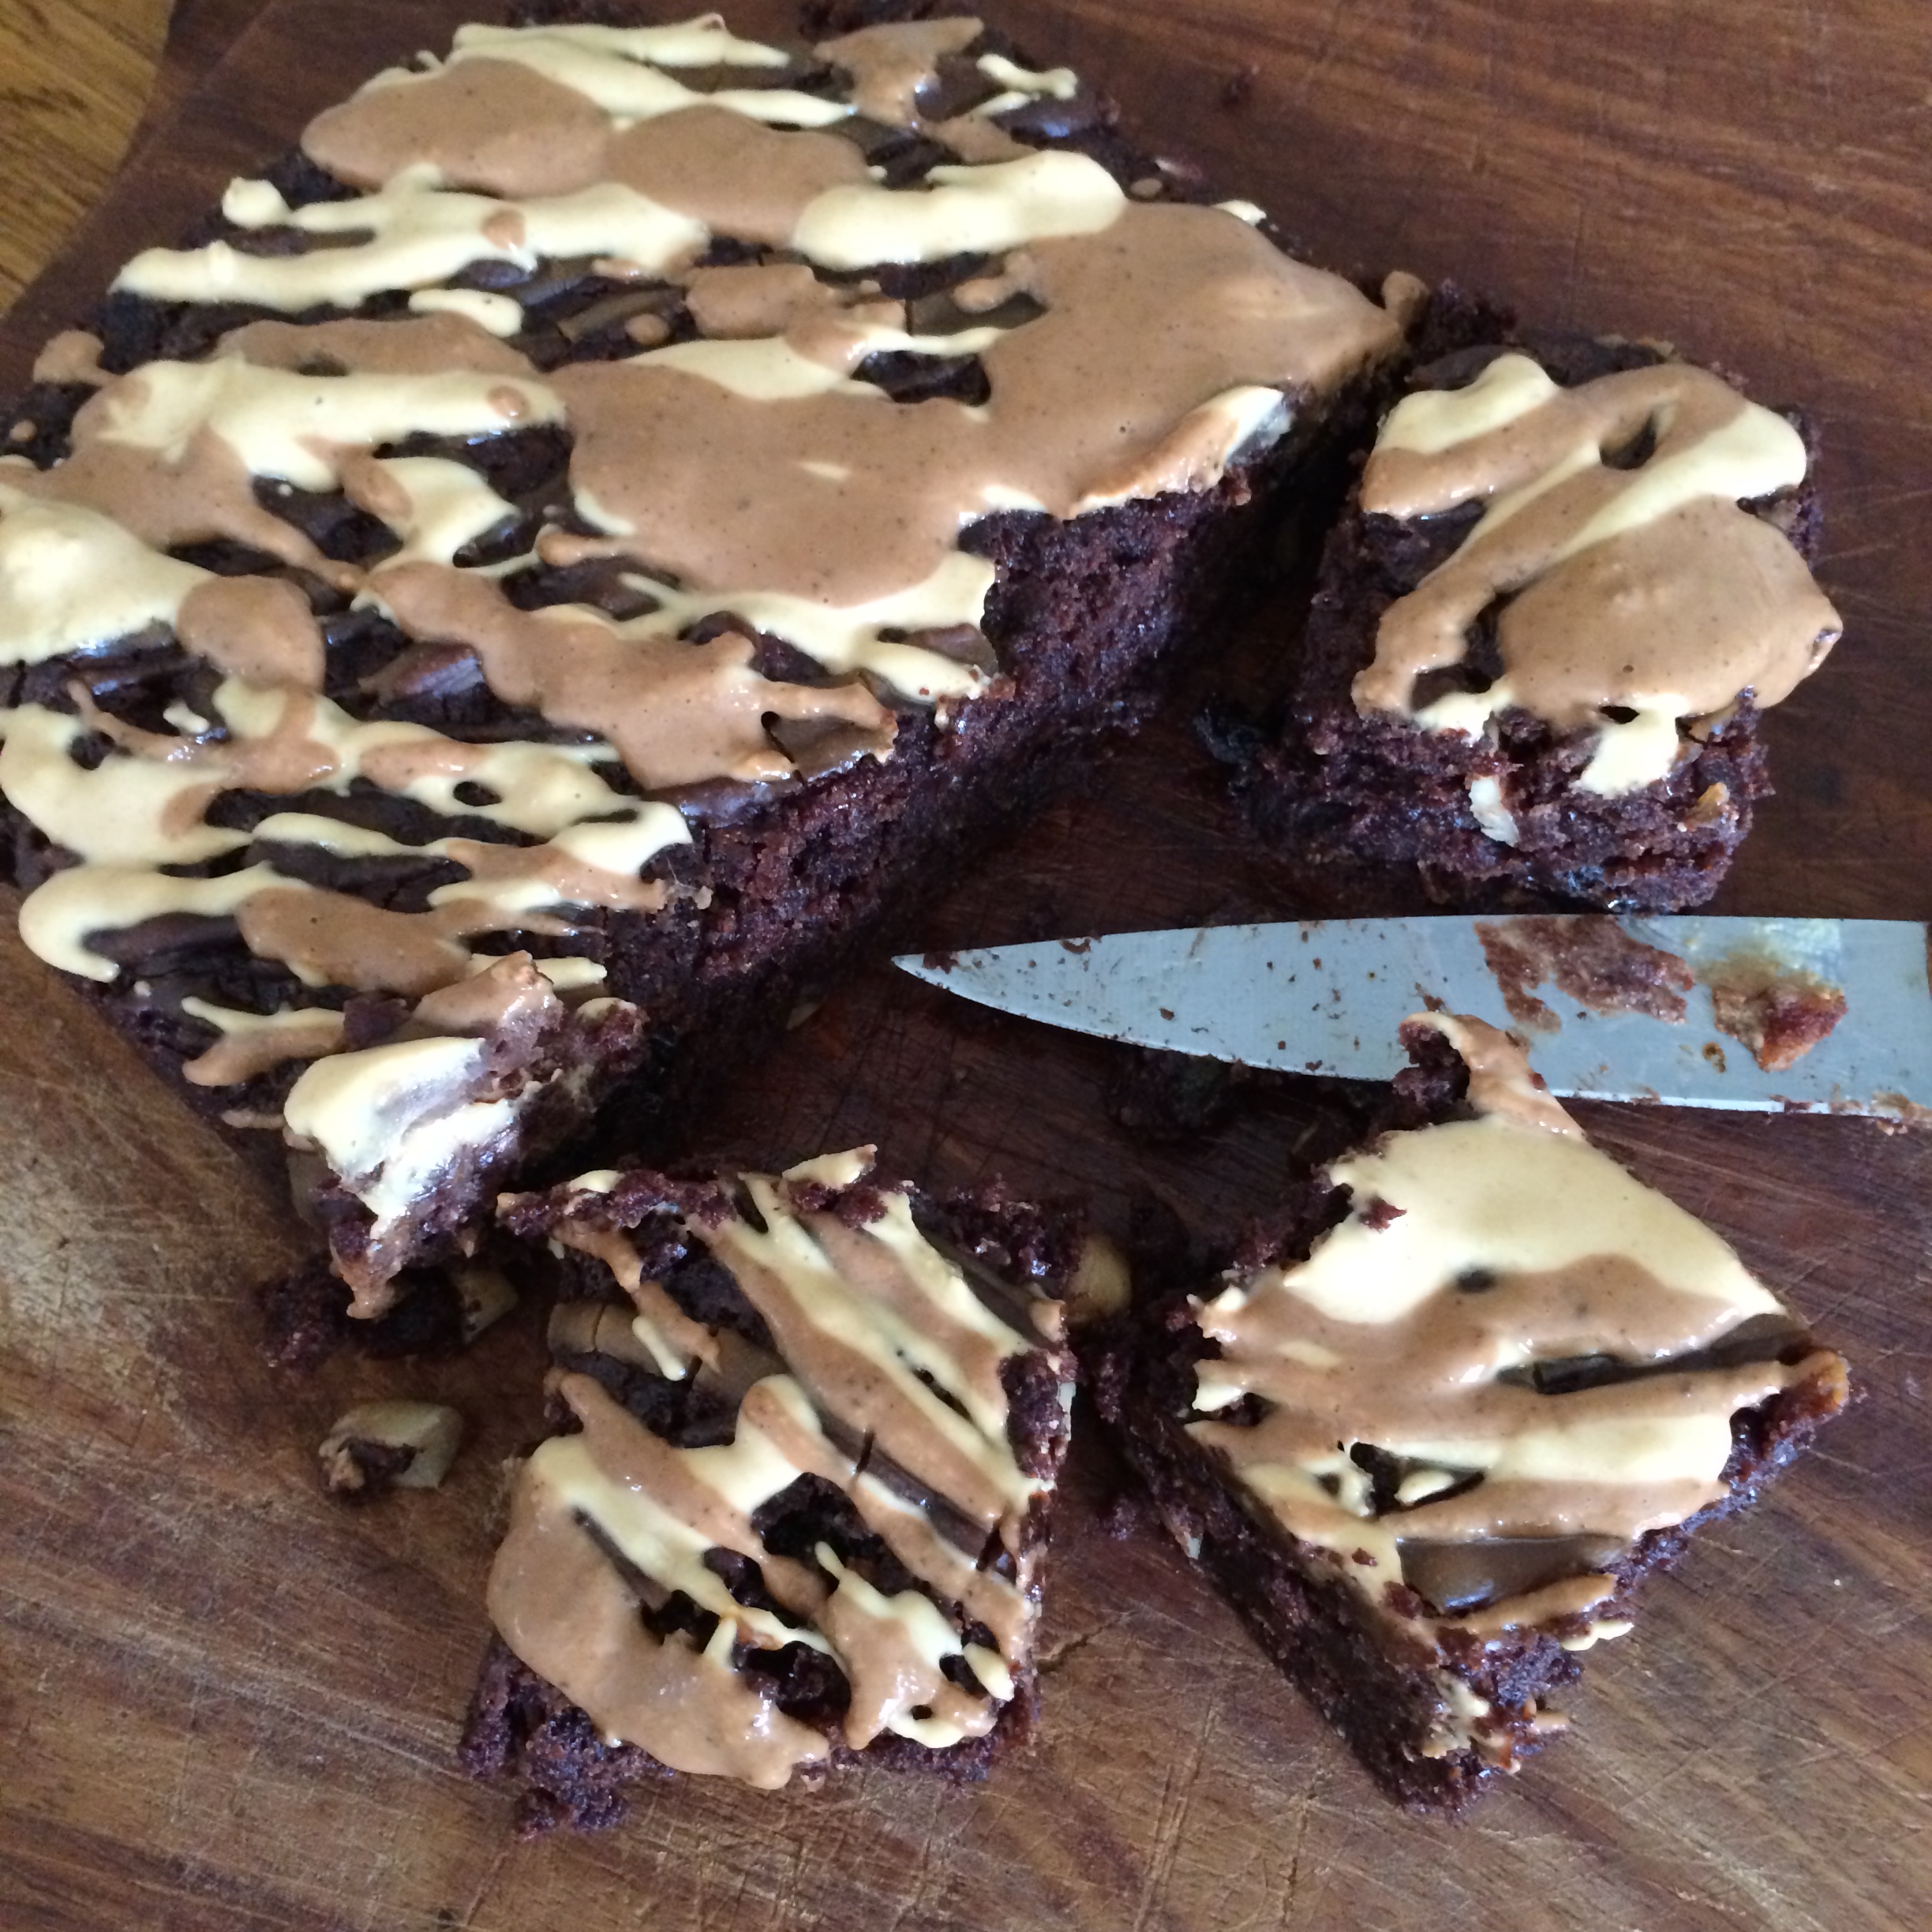
Stir in the chocolate and almonds. Pour in to the baking tin and place in the oven for 25 – 30 mins until a skewer inserted in the middle comes out clean.
Cool on a wire rack
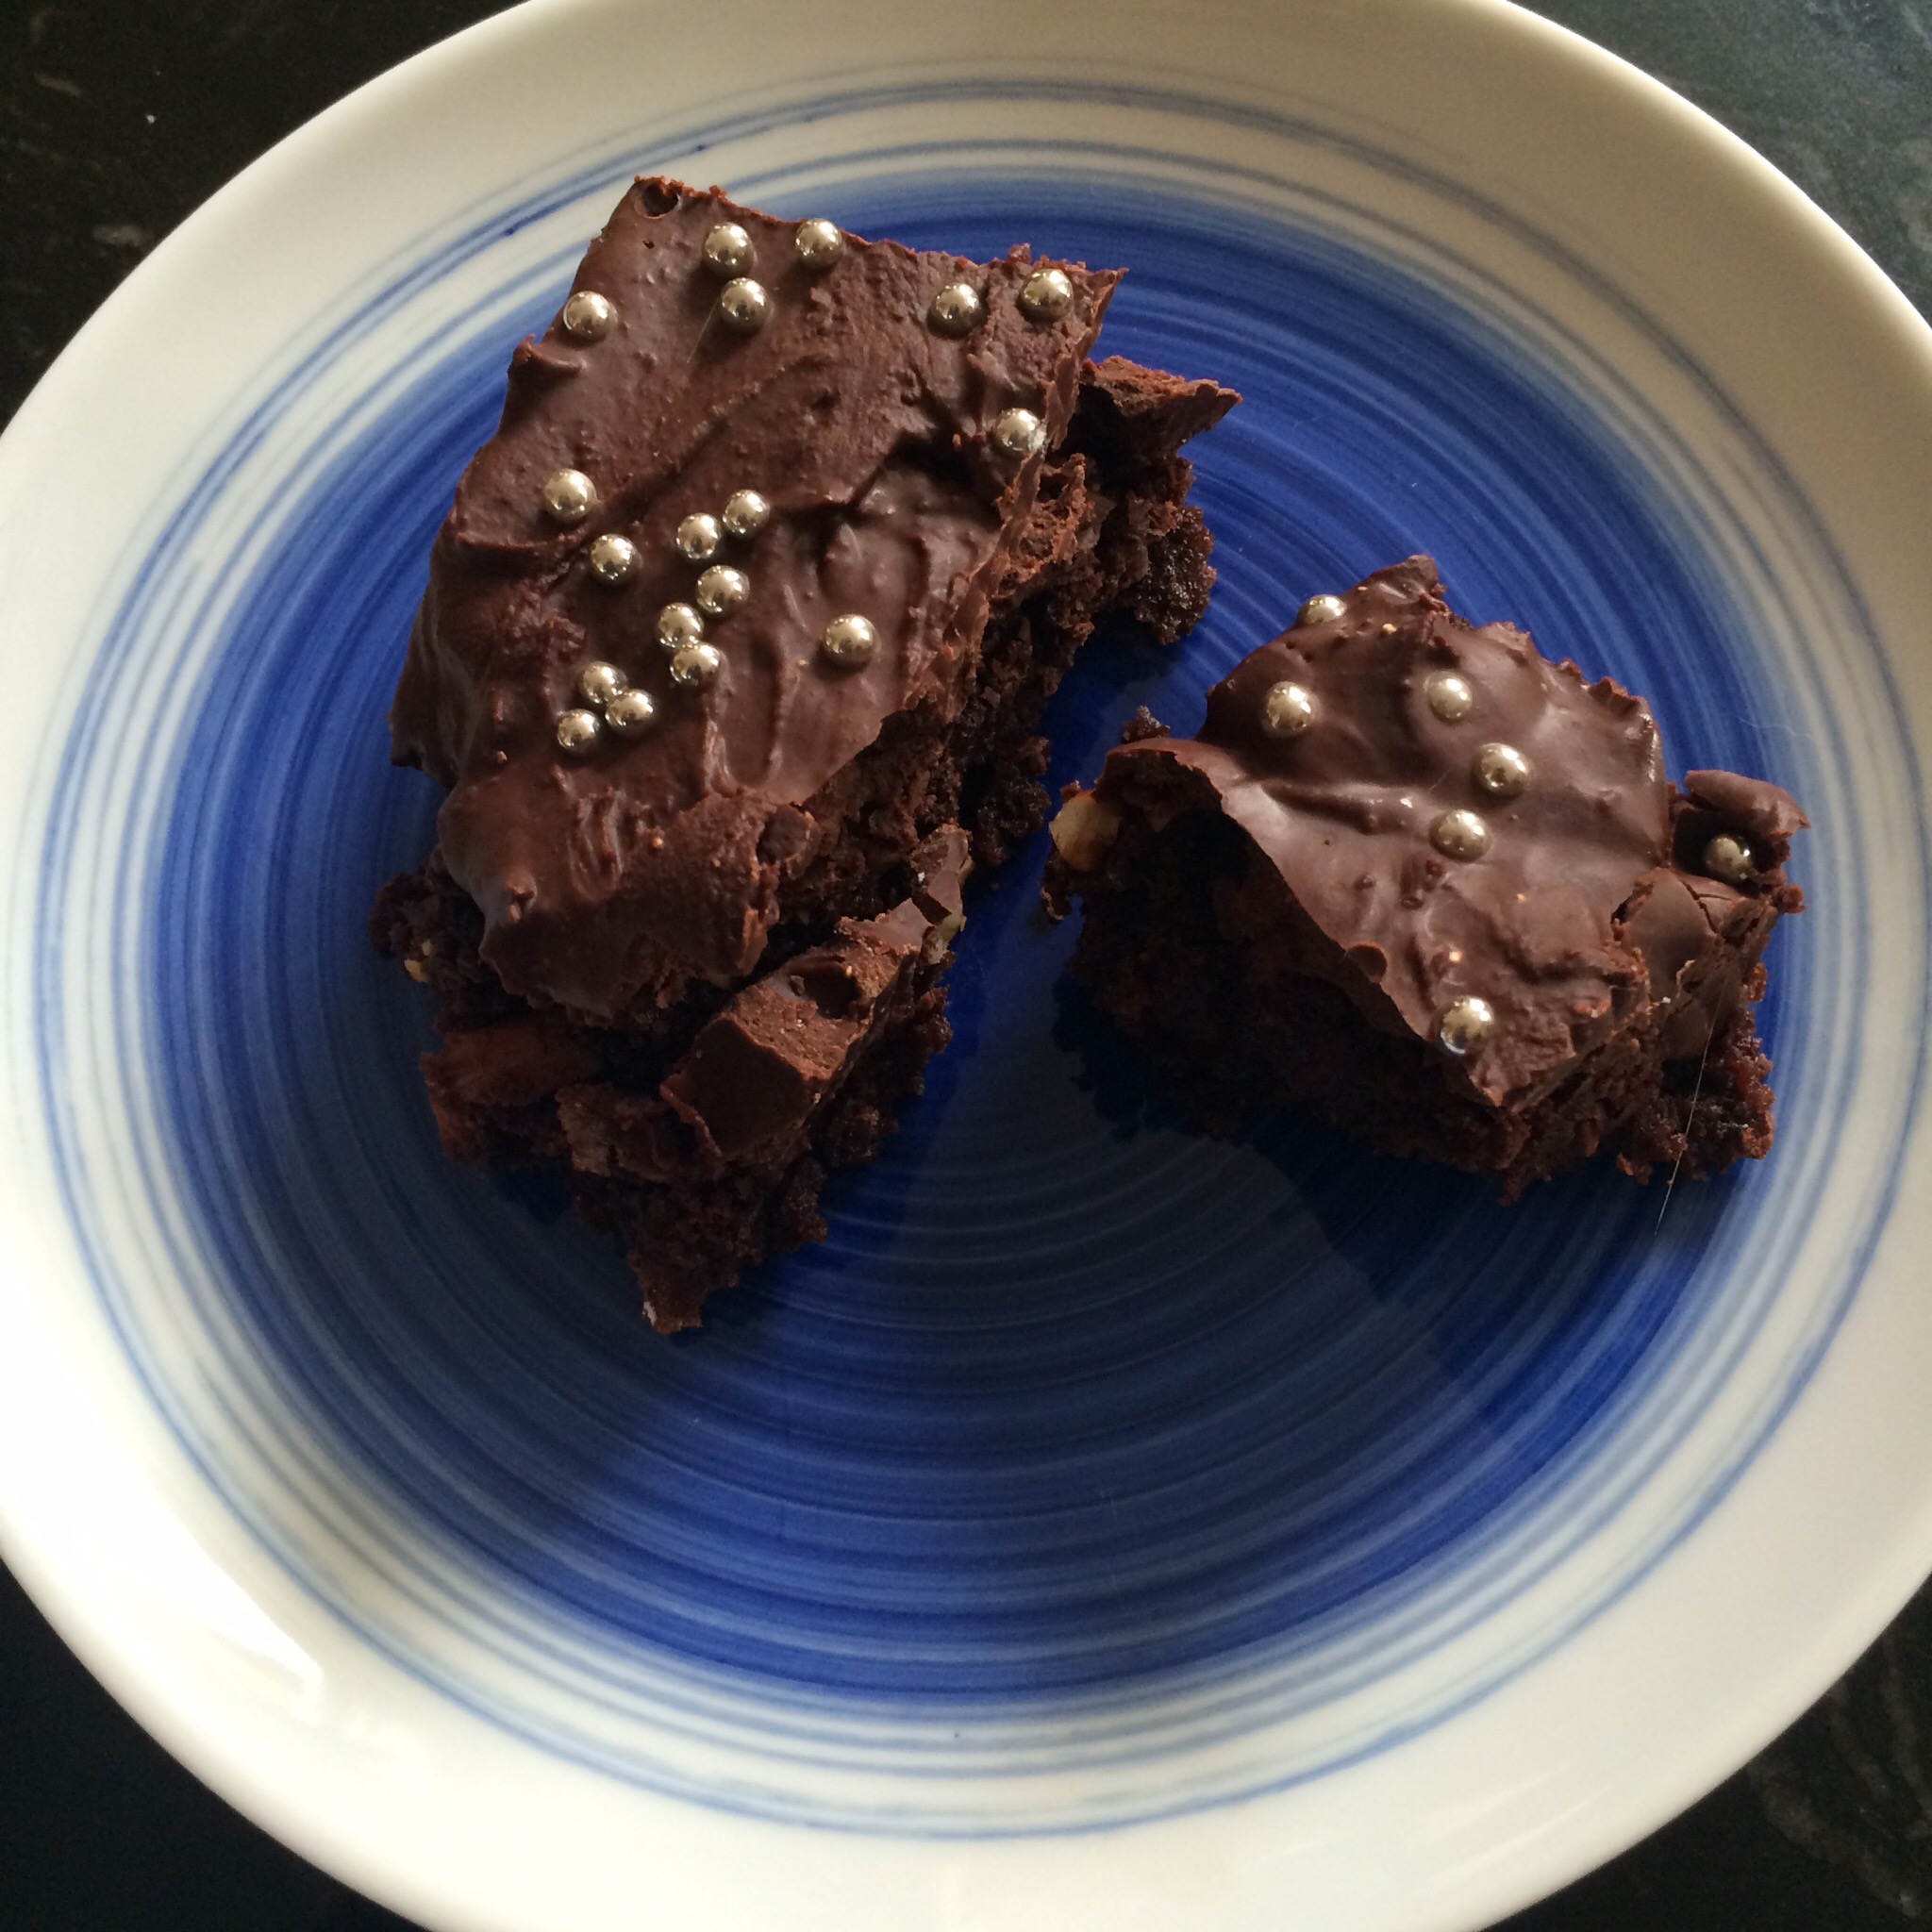
Then prepare the icing. Melt the chocolate and then stir in the icing sugar a little at a time until you get the consistency you want. Spread quickly on to the brownies and sprinkle the silver balls and any other decorations you want to use on to the top!
Enjoy!