Christmas Hats! Black Pepper, Coconut Cream and Strawberry Festive Fun!


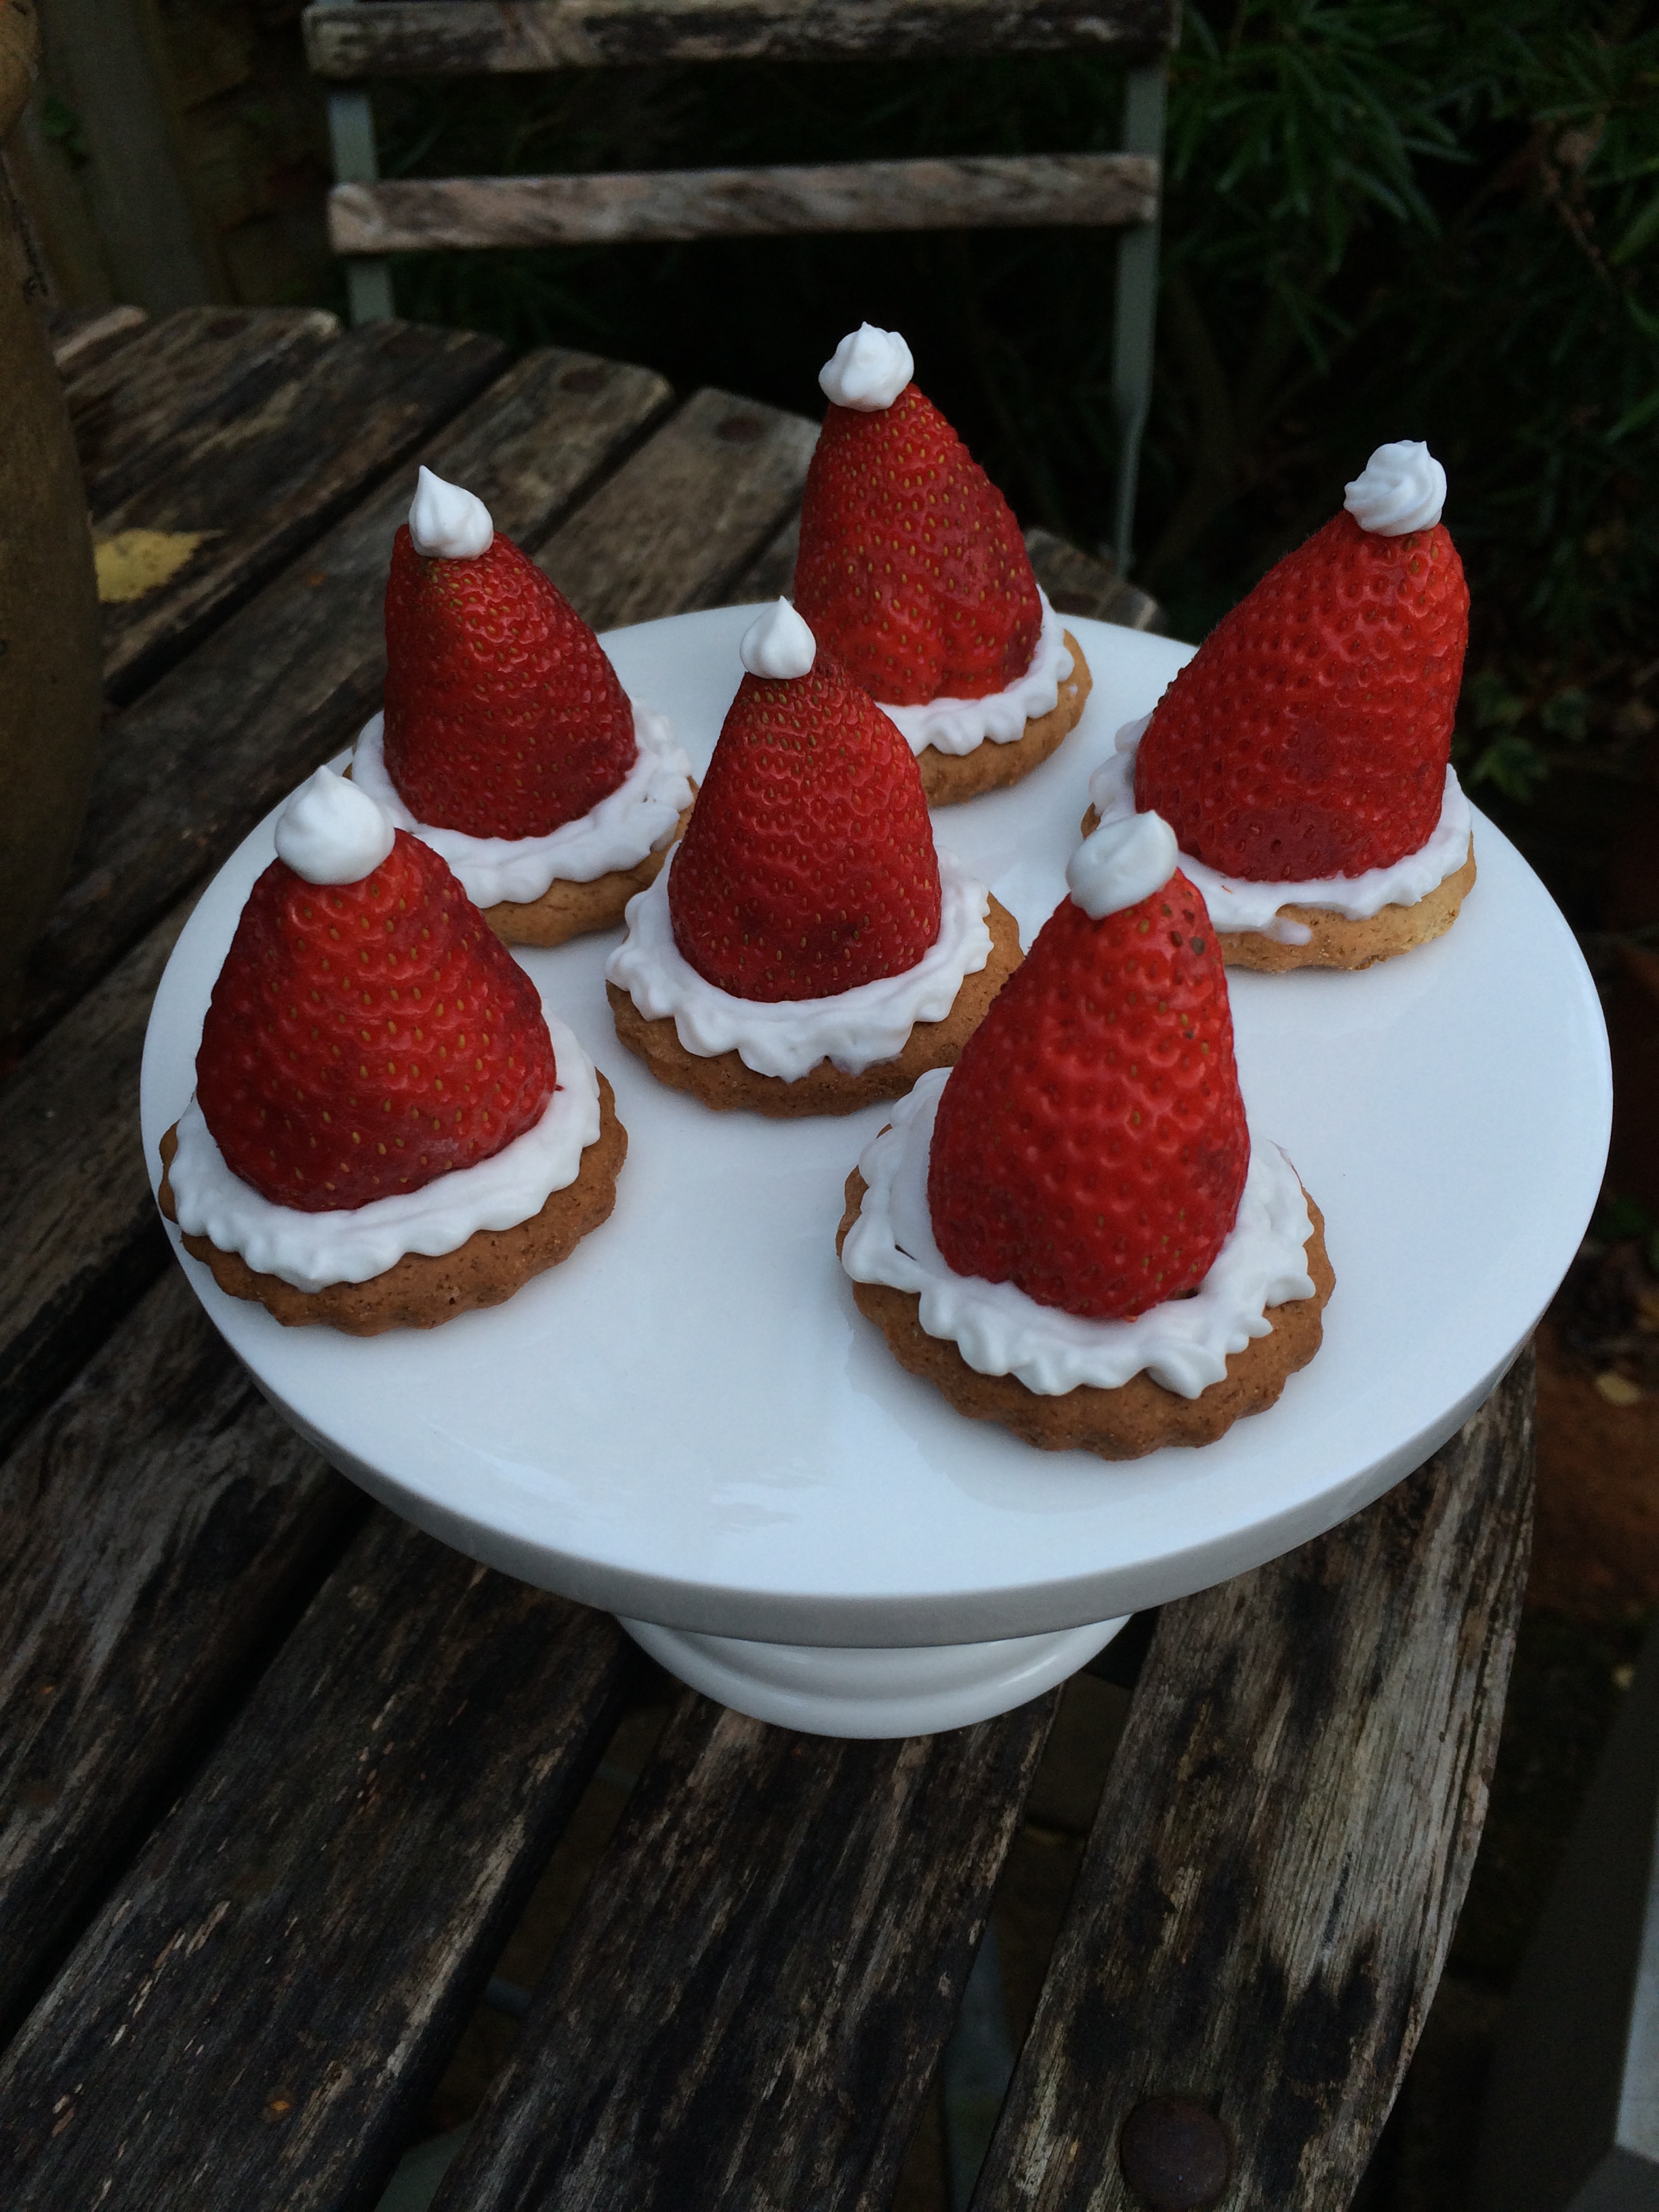
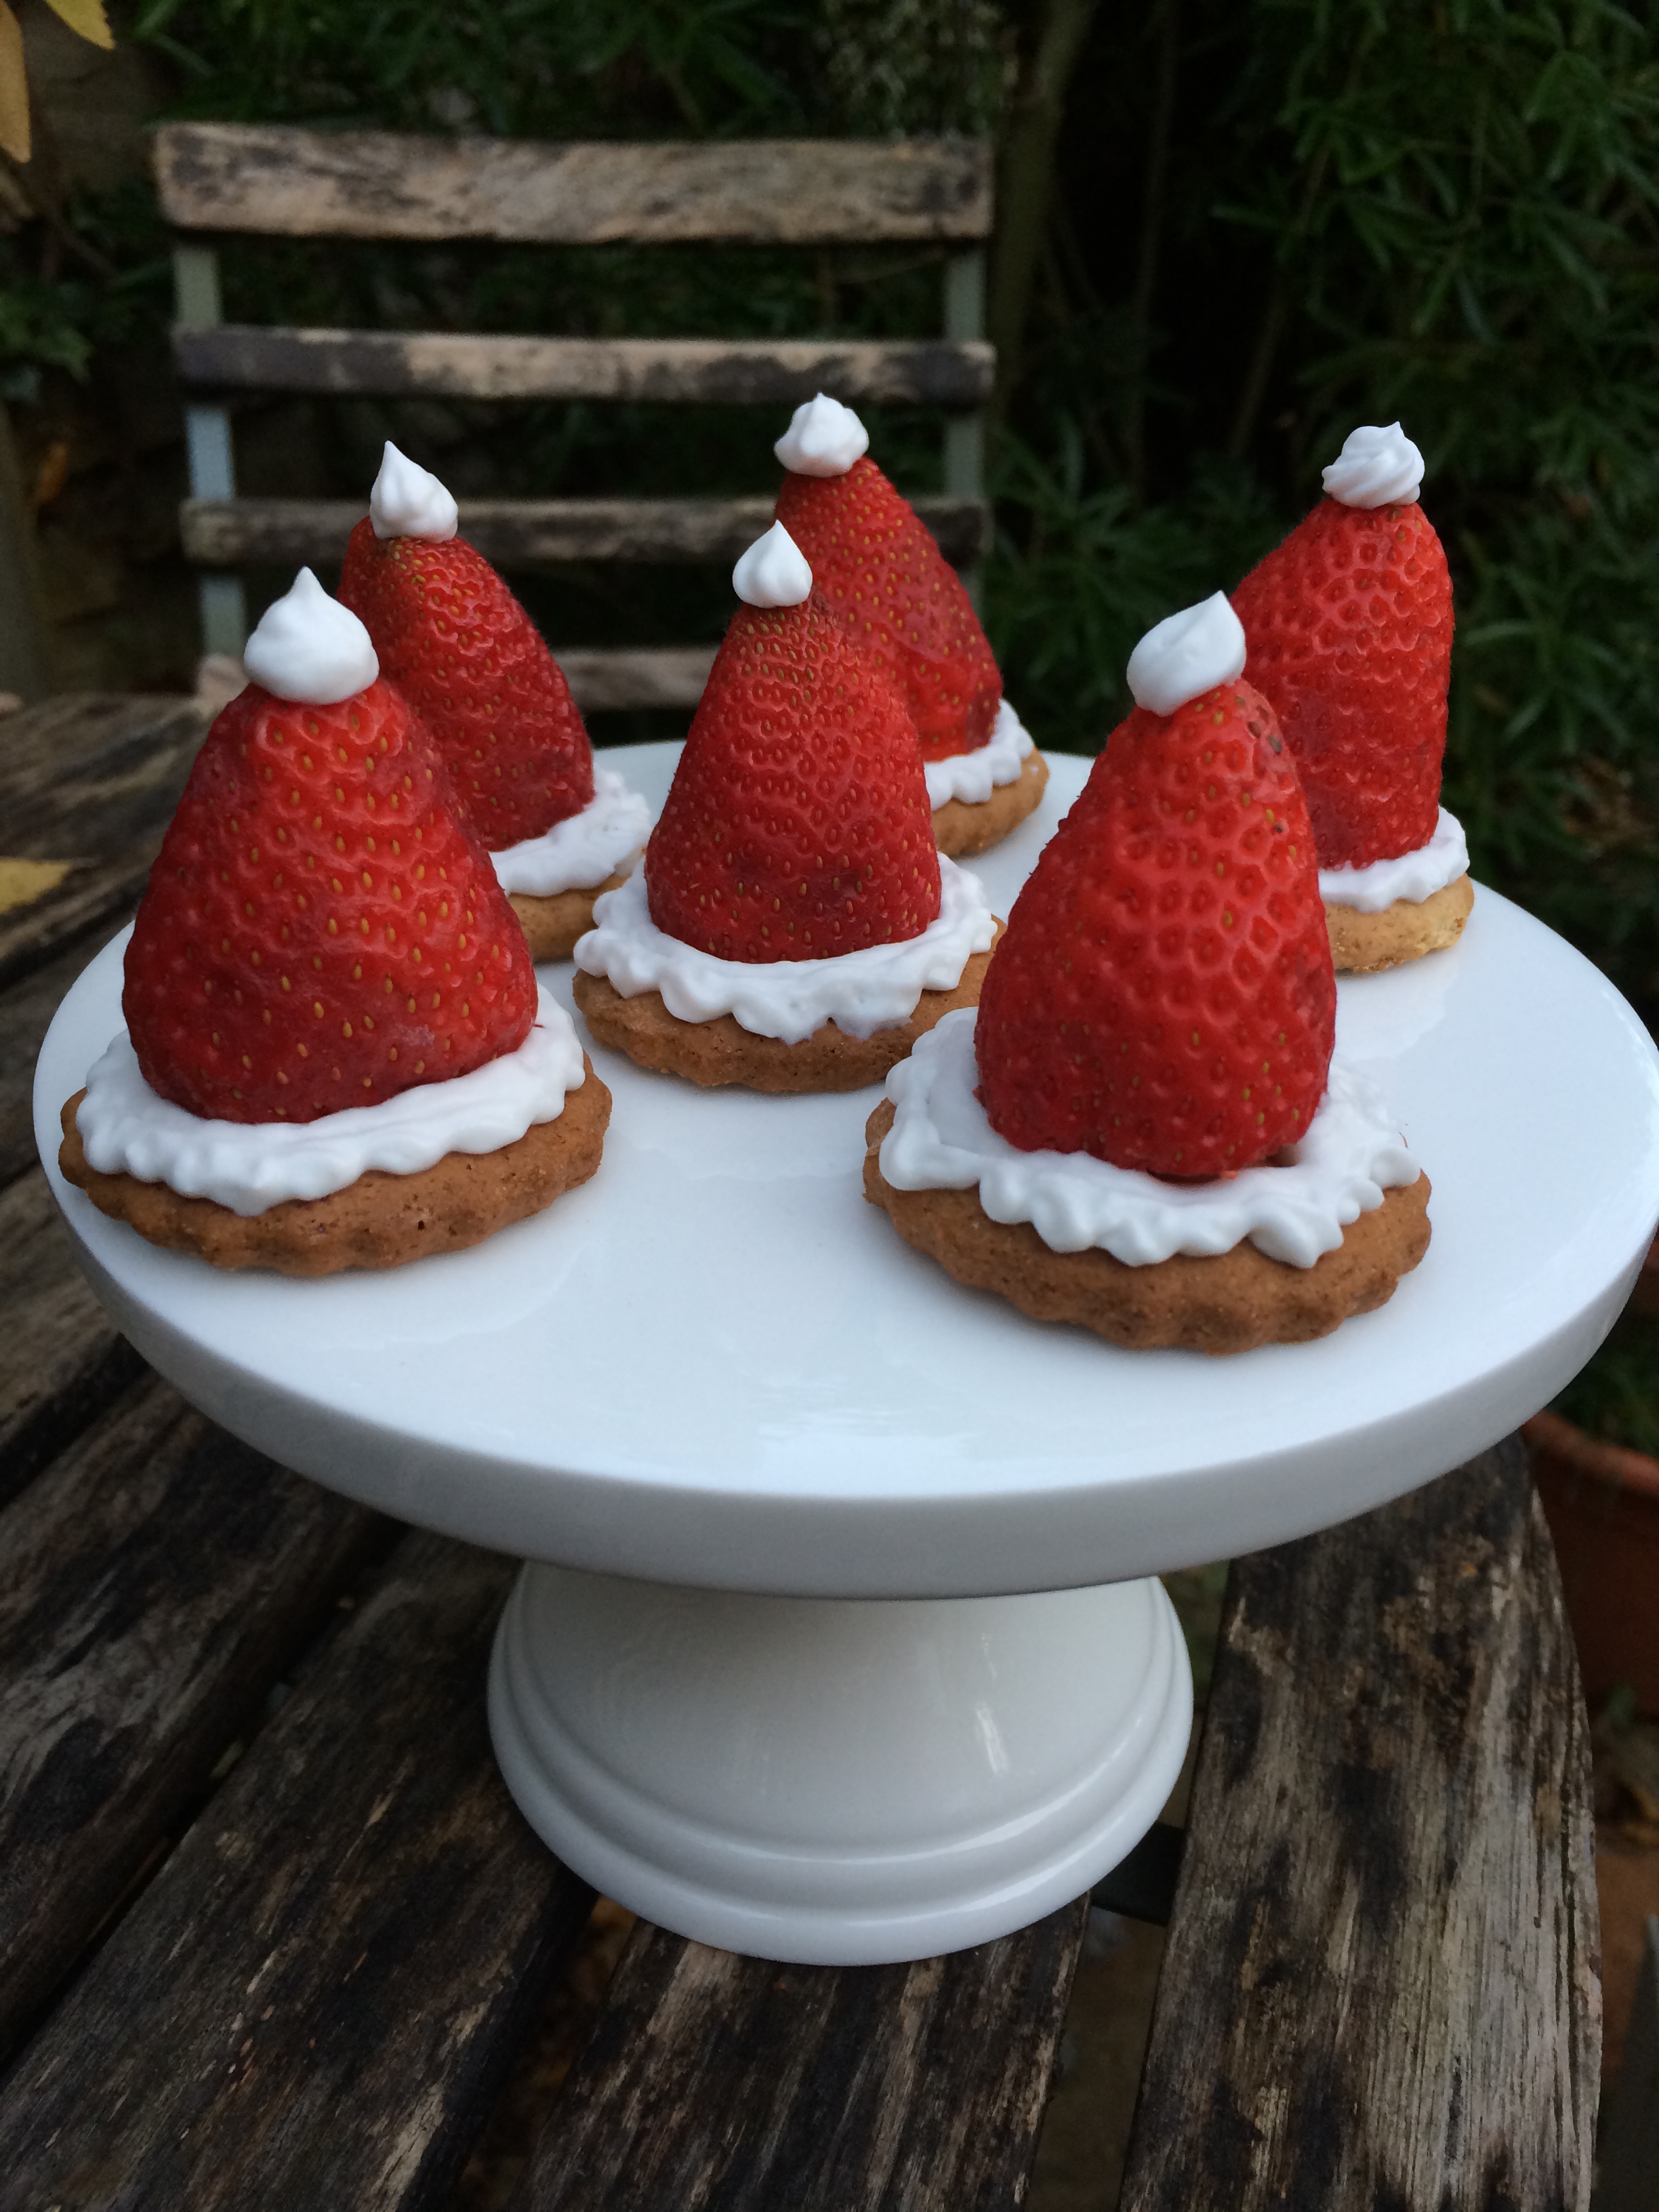
I love dressing up (as my friends well know…) .. so much in fact that even my bakes are getting in the act this year….. 🙂

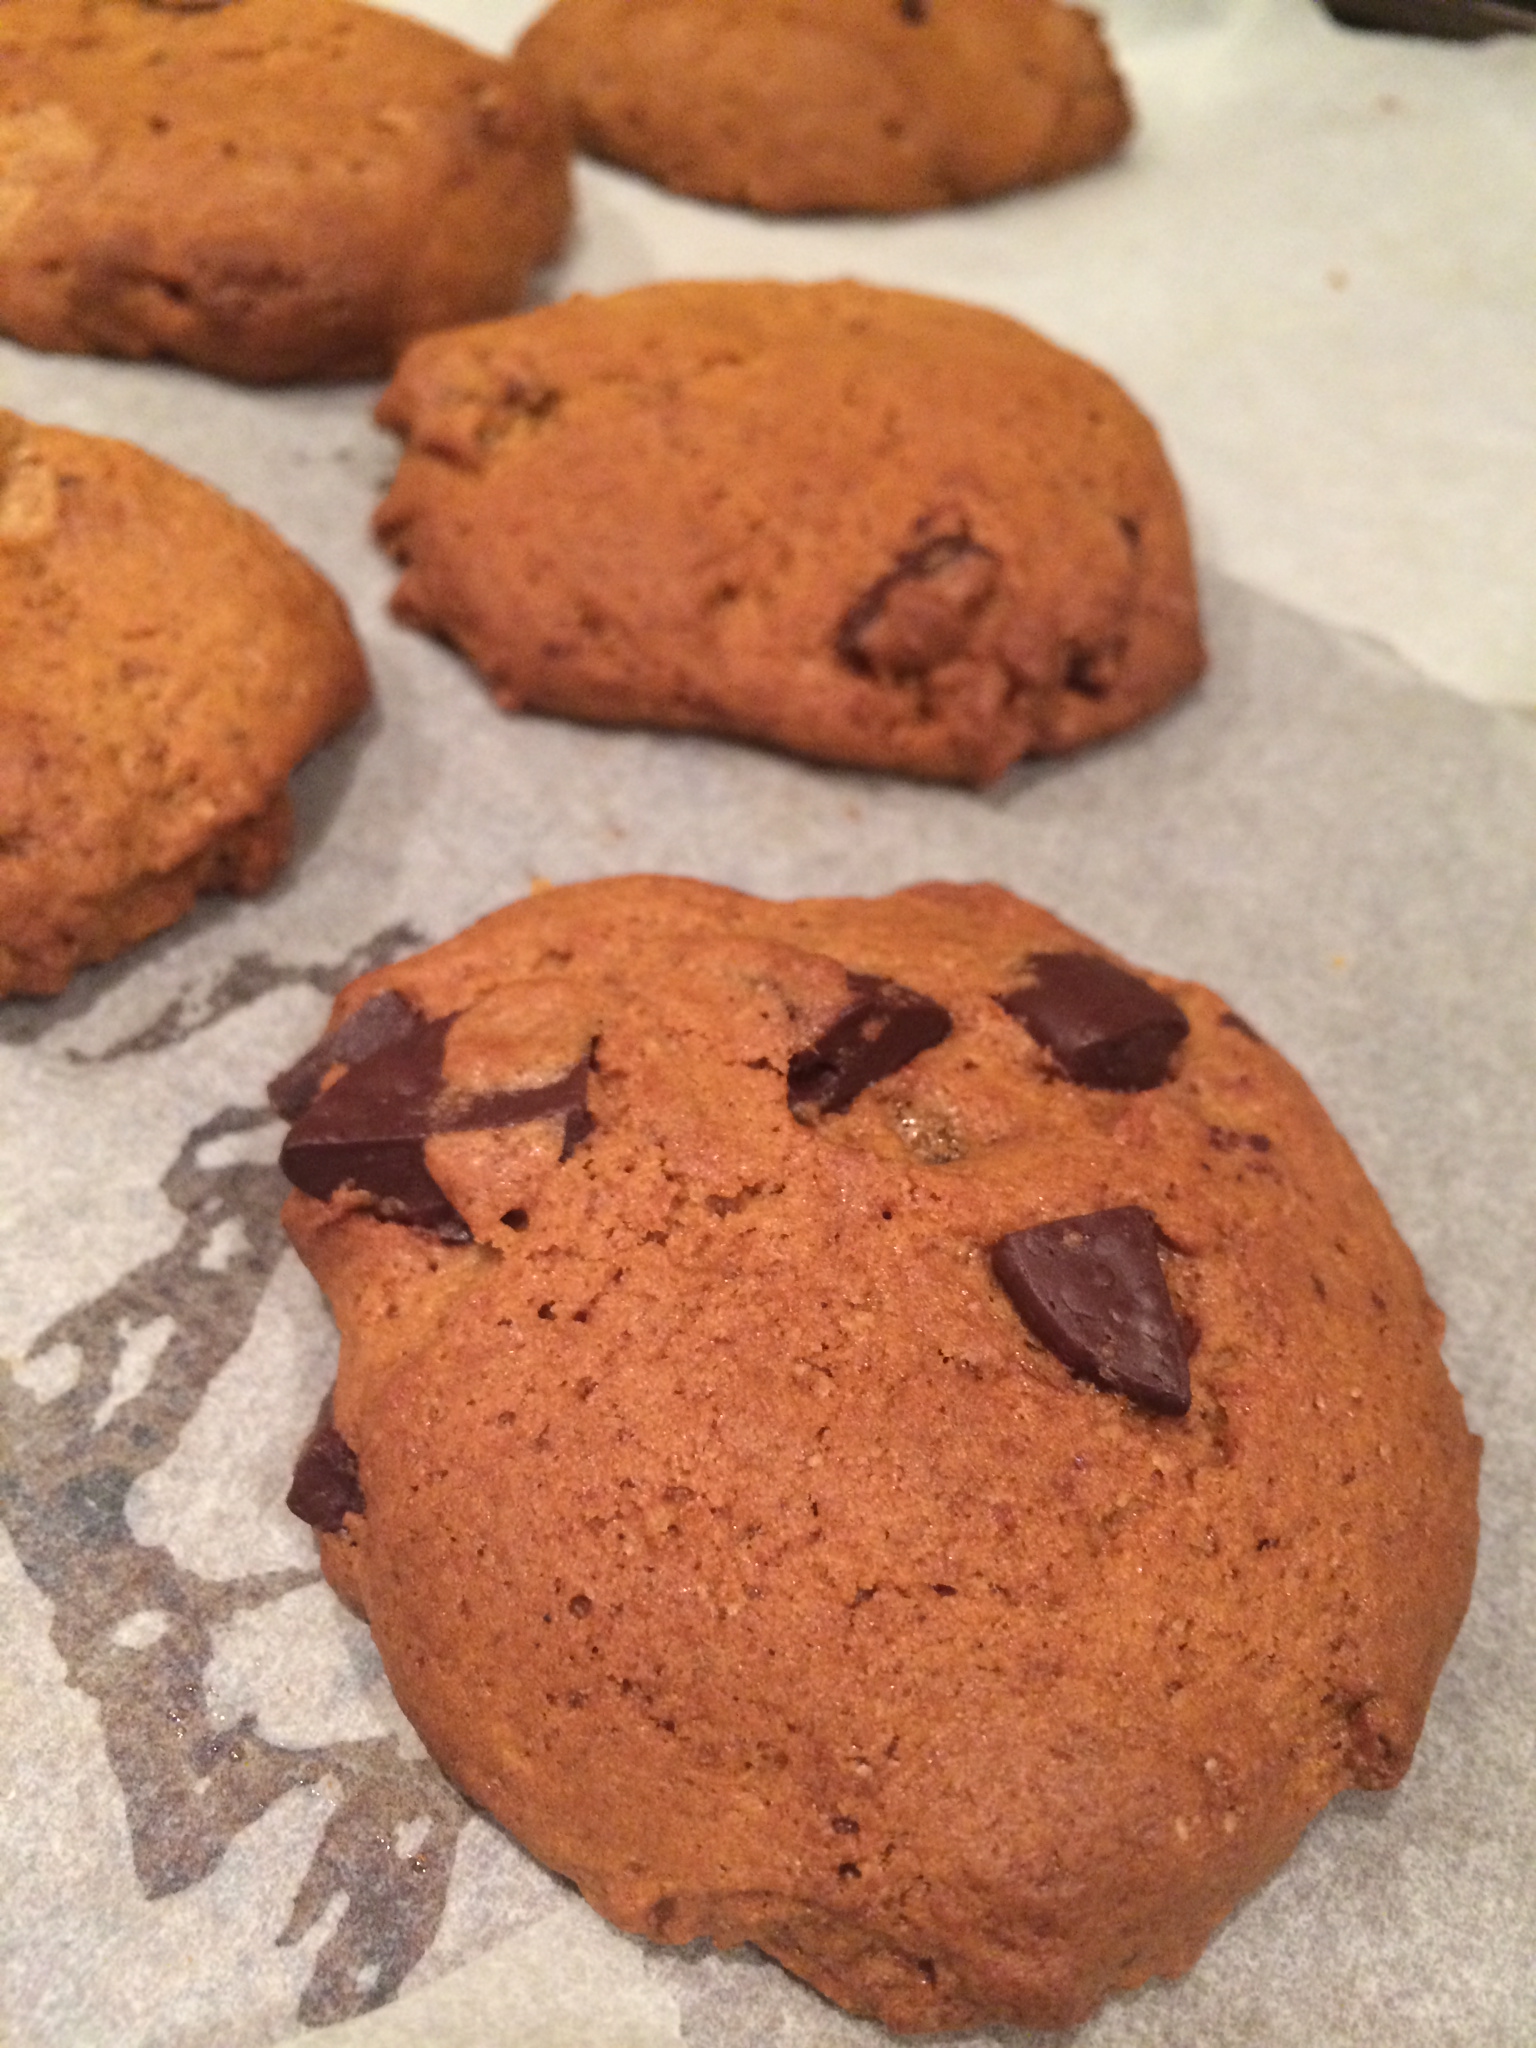
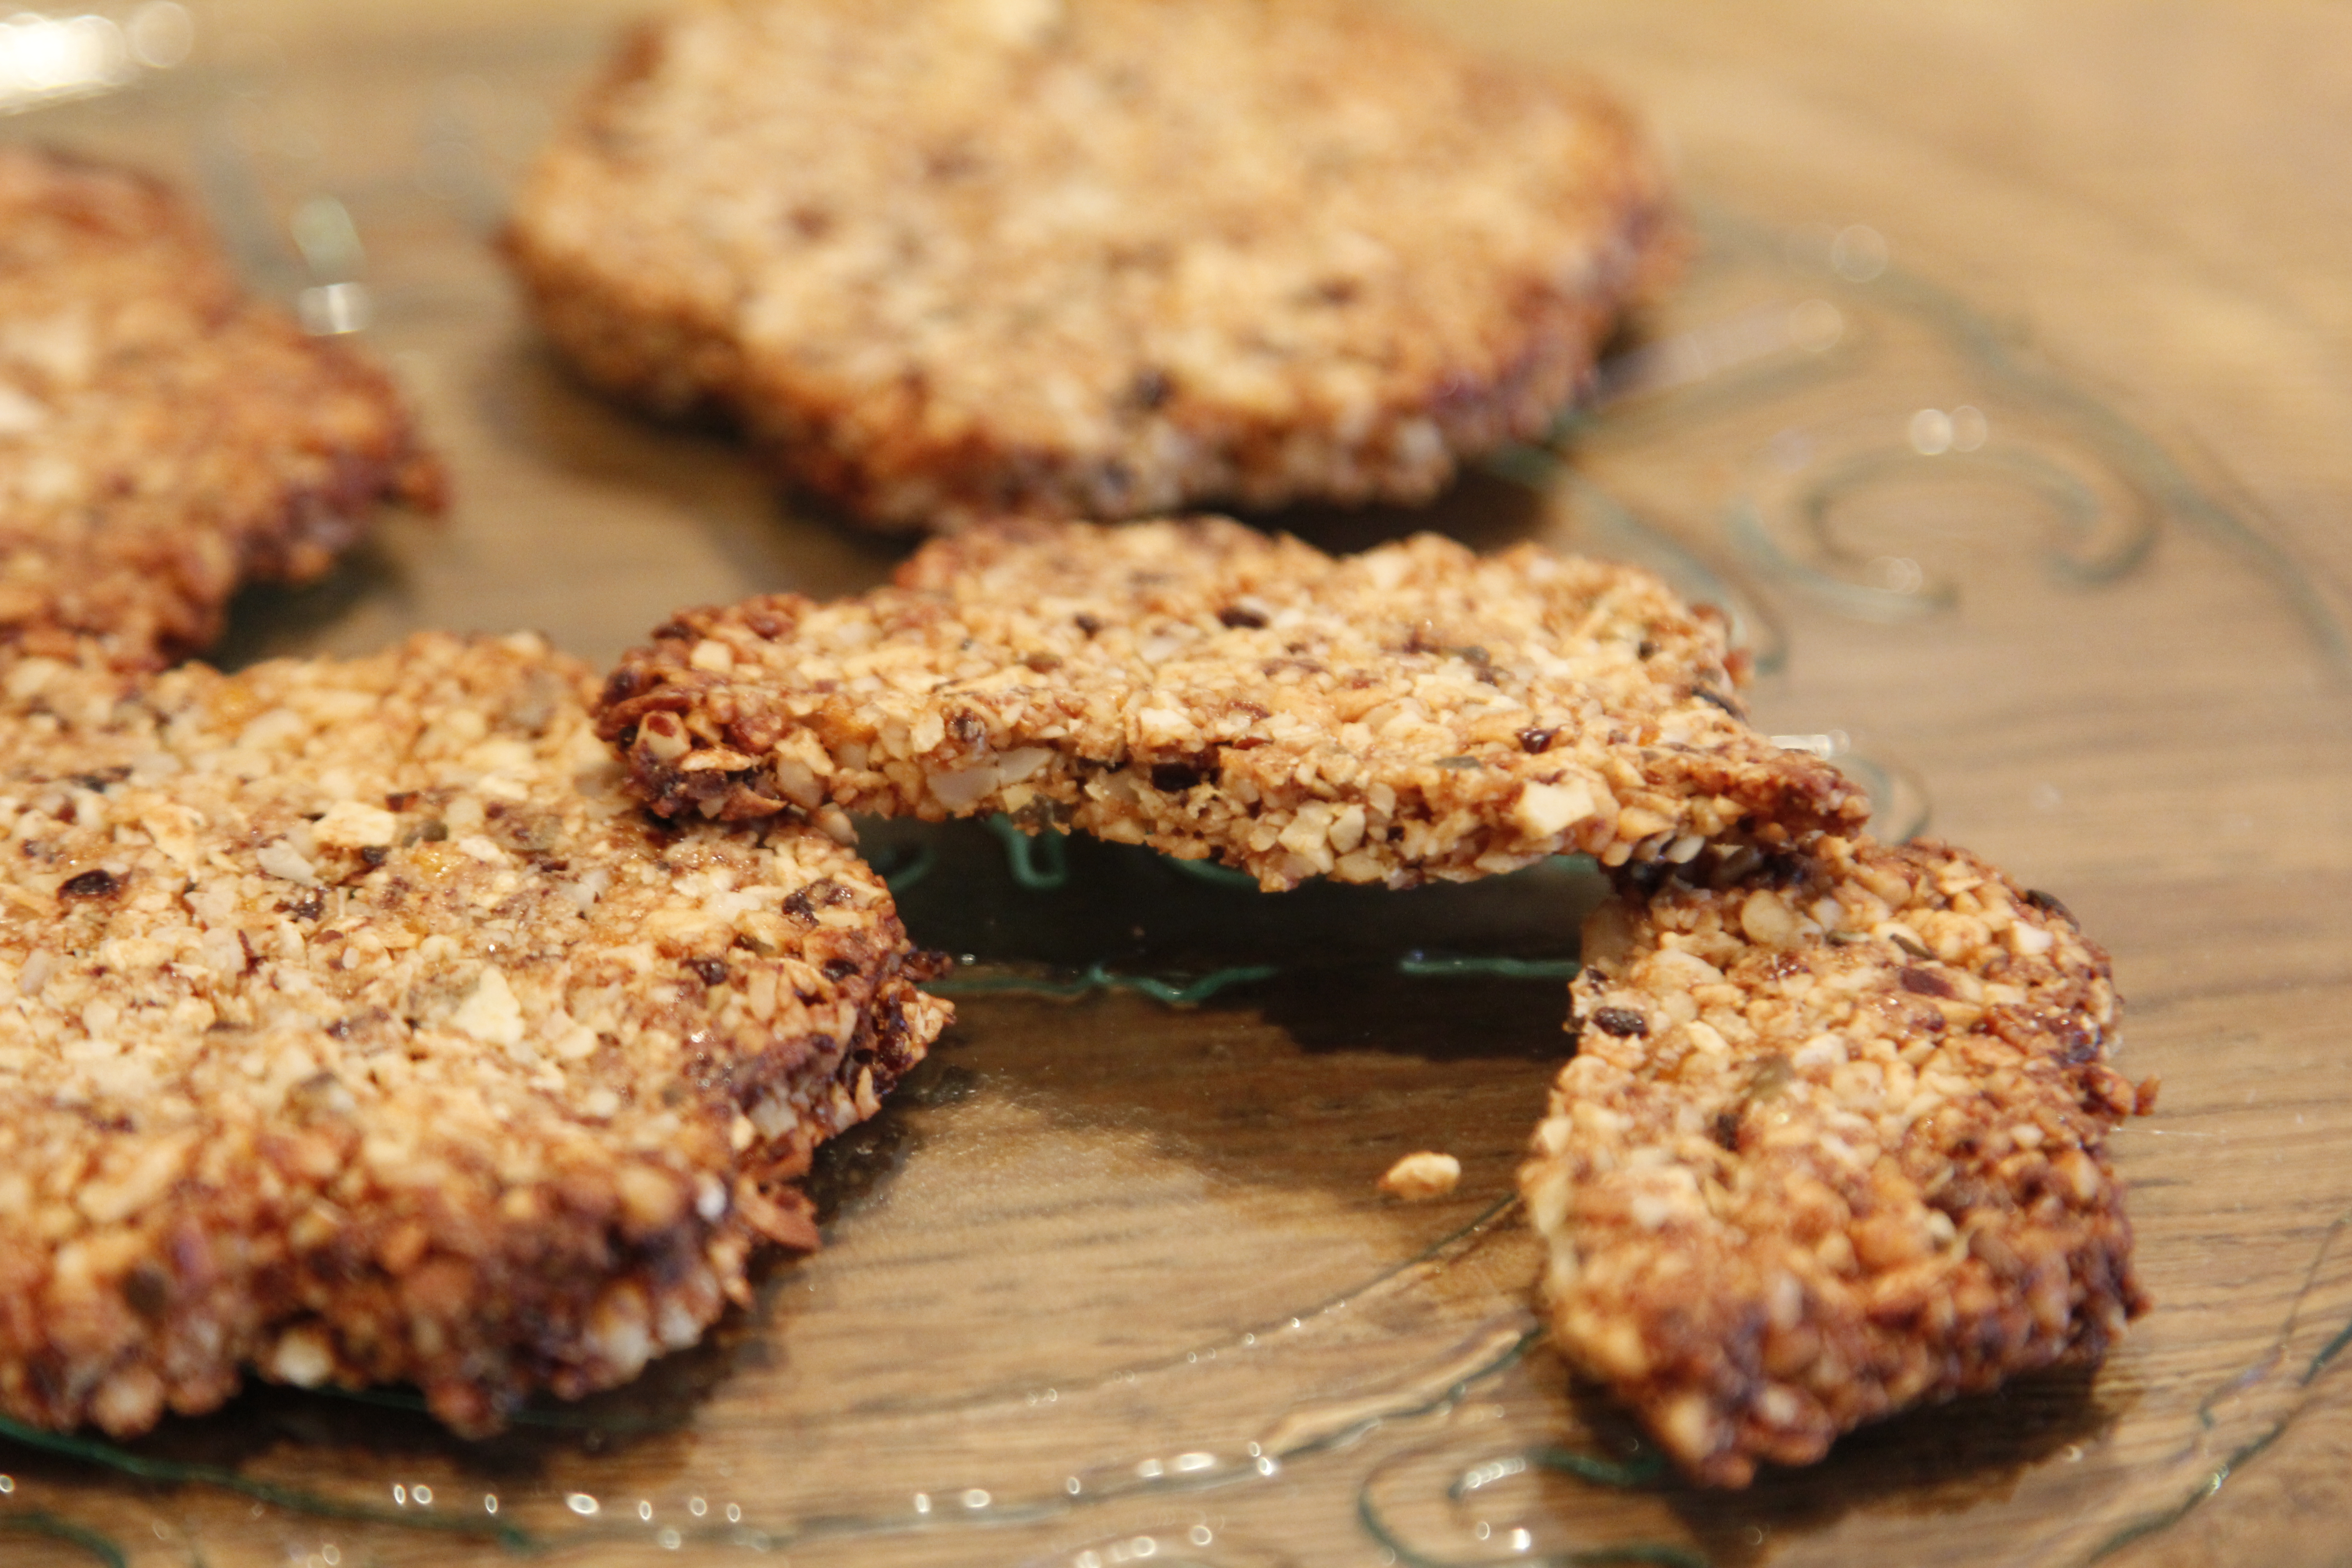
These are a fun little festive treat to make for parties over the Christmas season. The biscuits themselves are very light, and not too sweet and so they go nicely with the sweetness of the strawberry and the rich coconut cream – the pepper adds a bite and make these a perfect bit of adult fun. If you want something a bit sweeter for the kids you can use my basic biscuit recipe for the bases instead – recipe here

2464

You will need:

150g Spelt, rice or gluten-free flour blend

50g Dairy free margarine

50g raw Coconut sugar / unrefined dark sugar

1 egg (if you want to go egg-free then use a little oil instead – 1/4 cup olive or almond oil but add less of the mixture in (see below)

2 tbsp Maple syrup (or agave or rice syrup, or honey)

1/2 tsp baking powder

1/2 tsp ground Cinnamon

1/2 tsp fresh ground Black Pepper

1/8 tsp ground Cloves

1/8 tsp ground Nutmeg

A punnet strawberries

1 can of Coconut cream (milk – the canned milk, not the carton) (65 – 70% coconut extract – see below)

a little unrefined icing sugar (optional)

2435


A few hours before you make these (or a day if you can) you need to set the coconut milk. I use this variety.

Pop the can in the fridge for a few hours or overnight and try not to move it. The coconut fat solidifies and separates at the top, leaving clear liquid at the bottom. When you are ready to make the cake remove the can carefully from the fridge and turn the can upside down in one move (i.e. no shaking!). Then open the can at the bottom – yes – trust me, open the bottom! You should find that the fat has solidified and you will see a few cm’s of clear liquid. Pour this off (don’t throw it away – you can pop it in a smoothie!) and then you are left with the coconut cream to use! 🙂

To make the biscuits:

Preheat the oven to 170 C.

Pop the flour, baking powder, spices and sugar in a food processor and blend briefly. Add the margarine and mix again for a minute or so.

While this is mixing break the egg in to a bowl and whisk the maple syrup in to it to form combine. Trickle a little of this mixture in to the processor bowl while it is running slowly. Keep adding until the mixture forms a firm dough (you may not need all of it).

Once it forms a dough use your hands to combine it and remove from the processor. Roll out the dough on a lightly floured surface until it’s about 3 – 5 mm thick and use a small round cutter to cut shapes. You will probably have more dough than you need but it can be wrapped in cling film and frozen for later 🙂

Pop the biscuits on to a lined baking sheet and bake in the oven for 12 – 15 minutes or until they start to brown. Remove and allow to cool.

Coconut cream:

Take the solidified coconut cream and using electric or a hand whisk beat until fluffy. If you want a little sweetness add a little unrefined icing sugar in as you whip it.

Strawberries:

Remove the stem of the strawberries and cut the top off each to give a flat base.

Now you can assemble your biccies!

Pop the whipped coconut cream in to a piping bag. If you don’t have one (I don’t!) then put it in a plastic ziplock bag and just snip the corner of the bag off to use as a nozzle. Pipe a small amount of cream on to the centre of each biscuit. Pop a strawberry on top and then pipe around the base of the strawberry and add a little dot of cream to the top (for the bobble on the hat!). You could dust with a little icing sugar and a grind of black pepper if you wanted to. Serve as soon as possible. They will last overnight but the biscuits will go softer so wait to assemble until as close to serving time as possible. Any extra biscuits can be stored in an airtight container for a few days and they will stay crispy.

Have fun! 🙂

2437


Advertisement

Chocolate, Nut and Chia Cookies – dairy and gluten free


Do you love chocolate? I do! rather too much sadly! So I’m always on the look out for chocolate goodies that will hit the chocolate spot but are a little bit better for me! These cookies are awesome – they’re chocolatey, they’re healthy and they’re full of omega-3’s and good protein and fat. They’re also dairy, gluten and unrefined sugar free! Whoop!

photo 1

You will need:

1/2 cup Buckwheat flour (you can also use quinoa or rice flour)
1 cup Almonds
1 cup Hazelnuts
1/4 cup Medjool dates (approx 2 – 3 chopped)
1/3 cup Maple syrup
2 tbsp Coconut oil (melted)
3 tbsp Raw cacao powder
3 tbsp Chia seeds
1/4 cup Water
Cinnamon chocolate chilli sugar – for dusting

For the cinnamon chocolate chilli sugar you can buy pre-mixed sugar, but I prefer to make my own. It’s easy! Just mix 100g coconut sugar with 10g of cocoa powder, 2 tsp cinnamon and 1 tsp chilli powder (or more if you want it hotter!). Adjust the amounts depending how much you need but keep them in those ratios. Make up a batch and keep it in an airtight jar. Just shake before use as the sugar tends to sink to the bottom, leaving the lighter cocoa etc at the top.

Preheat the oven to 180 C.

First pop the nuts into a food processor and blend until they are really well ground (almost to a flour). Add in all the other ingredients and process again. It will form a sticky dough.

Take a tablespoon of the mixture and roll it into a ball. Then place on a lined baking tray and flatten until very thin.Sprinkle with the cinnamon chocolate chilli sugar and then pop in the oven. Bake for 12 – 15 mins until firm and starting to brown. Remove from the oven and allow to cool.

Then eat! 🙂

photo 5

Chewy, Crispy Pumpkin Cookies – Dairy and Gluten Free


This is the last of my pumpkin-based goodies (for now!). It may be the last but it’s certainly not the least! This was my second attempt to make the elusive crispy pumpkin cookies and this time I think it worked! My first attempt was delicious but turned out more like a gingerbread-texture cakey cookie  (the recipe for the cinnamon glazed pumpkin cookie cakes is here). These ones however are just as I intended  – crispy on the outside and chewy and soft in the middle. They need to be eaten the day they’re cooked if you want them to stay crispy (trust me you’ll have no trouble wolfing them all down on day one!), but you can always pop them back in a low oven for a few mins to re-crisp them up if you want to 🙂

The best thing to do is split the dough and freeze half if you don’t want to eat them all at once. It freezes really well and will keep for several weeks in the freezer.

01063cd5976121762cd986de8a2693c4df2fb0cb07

The secret to these is the use of the pumpkin butter (recipe is here). So the first thing you need to do is make a batch of pumpkin butter! 🙂

01346fc48130aaa2b95b70c12d06a1ab28672eb736

For the cookies you will need:

1 cup Dairy-free margarine

1 1/4 cups raw Coconut sugar or other unrefined raw sugar

1 cup Pumpkin butter (recipe here)

1 Egg (or 1/4 cup pureed apple)

2 tsp Vanilla extract

2 1/2 cups Gluten-free flour mix or Spelt flour

1 tsp Bicarbonate of soda

1 tsp ground Cinnamon

1/2 tsp ground Cloves

1/2 tsp ground Nutmeg

1/4 tsp ground Ginger

1 tsp Himalayan rock salt

Zest of 1 orange

1 cup dairy free Chocolate chunks (I used Willie’s Chef’s drops)

Preheat the oven to 170 C.

Place the margarine and sugar in a bowl and cream together using a hand mixer. Add in the egg (or apple), vanilla extract and pumpkin butter and mix well together.

Place all the dry ingredients in a separate bowl mix really well. Add the wet ingredients to the dry and stir until combined. It will form a sticky dough. Stir in the orange zest and the chocolate and then wrap in clingfilm and pop in the fridge for 30 mins to rest.

Take small chunks of dough (about a tbsp in size) and flatten on to a lined baking tray. The cookies won’t spread so make sure you spread them out on the tray a little. If they are too thick they will still be delicious but will be a bit more “cakey”.

01886186a6569eddb79a9be0c2b50bca8ab9200281

Pop in the oven for 15 – 20 mins until starting to change colour and slightly crispy. They will harden further as they cool. Allow to cool on the tray for 5 mins then transfer to a wire rack.

Enjoy!

01d164000df1f1b5a5538569cc74ddfdd45e574264


Cinnamon Glazed Pumpkin Cookie Cake Gingerbread Yumminess! Gluten and Dairy Free


Sometimes the best bakes are created by accident! This is one of those bakes!

Ok, so these did not turn out in any way like I intended! However, I absolutely LOVE what I’ve created! I don’t know what to call it – is it a cake? is it a biscuit? is it a pumpkin gingerbread? who knows! All I know is that it is scrummy! It’s moist on the inside and so full of flavour and you would never know there was pumpkin in there 🙂

01cc2d99bad18909266a96645859bdf7ccc9c6c566

I set out to make a cookie-type of biscuit using pumpkin. These have come out less like a cookie and more like cake or soft gingerbread in texture – a failure? No – not in any way shape or form! They are simply divine – especially with the cinnamon glaze!

018d72e15fb9ff60eadd6436e486c70ae8fd2779f8

This will make around 24 – 30 cookie-cakes.

You will need:

2 cups Rice flour or Spelt flour (spelt is an option if you don’t need gluten-free but want to go for a low-gluten option, or you could also use a gluten free flour blend)

1/4 tsp Xanthan gum (unless you choose to use a ready-mixed gluten free flour blend which has it in – check the ingredients!)

1 tsp Bicarbonate of soda

1 1/2 tsp ground Cinnamon

1/2 tsp ground Nutmeg

1/2 cup Coconut oil

1 cup unrefined Coconut or other raw sugar

1/4 cup Molasses

1 Egg (or this can be replaced with 1/4 cup of ripe mashed banana or 1/4 cup of puréed apple if you prefer)

1 cup Pumpkin purée (recipe here)

1/3 cup Coconut, almond or soya milk

1 tsp Vanilla extract


For the glaze:

1 cup unrefined Icing sugar

1 tbsp Coconut, almond or soya milk

1 tsp Vanilla extract

1/4 tsp ground Cinnamon (or more – just add to taste)


Preheat the oven to 180 C.

Put the flour, xanthan gum, bicarbonate of soda, and spices into a large mixing bowl. Combine well (using a whisk or fork works well for this).

Put the oil and sugar in a separate bowl and mix together. Add the molasses, egg (or egg substitute), pumpkin, milk and vanilla and use a hand mixer (or whisk) to blend together.

Add the flour mix to the wet ingredients and stir well until completely combined. Place generous heaped teaspoons of the mixture on to a greased and lined baking tray and place in the oven for 10 – 13 minutes (until they are slightly crispy on the outside and are starting to turn colour – it’s hard to see as they’re dark but you will see a change).

Place the icing sugar and other glaze ingredients in a bowl and mix together well.

01e4064aa487bafe398b0ceb641c239e95bbc709de

Once the cookie-cakes are done, remove from the oven and let them cool for a couple of minutes. Then spoon the glaze over them whilst they are still warm.

Then enjoy with a cup of tea! 🙂


Crunchy Granola Bars


I’ve been needing a mid-afternoon pick me up lately and as I’m off the ‘Willies’ (chocolate, that is! :)) I thought I’d have a go at creating a crunchy, granola snack bar. My first attempt ended up as a chewy breakfast kinda bar (and although I don’t like it as much I will post the recipe as some of my tasters loved it even if I didn’t!). So I went back to the baking tray and came up with this little beauty 🙂 Totally detox friendly! 🙂

_MG_7771

500g Spelt porridge oats (the whole ones, not flakes) or Jumbo porridge oats

350g mixed nuts of your choice (I used almonds, pistachios and cashews)

100g Pumpkin seeds

100g Sunflower seeds

50g Chia seeds

50g Linseeds

200g dried fruit (I used blueberries, cranberries and banana chips this time)

1 tso cinnamon

250 – 350g Sweet Freedom (light or dark)

Preheat the oven to 150 C. Start by placing the spelt flakes in a baking tray and put in the oven to toast for approx 20 mins, until brown. Place the nuts in a dry frying pan and toast over a medium heat until they start to turn brown. Once the spelt and nuts are toasted add to a large bowl. Add in all the other ingredients, except the sweet freedom. Mix well and then start to drizzle in the sweet freedom. Keep going until you have a sticky mixture. It needs to start to hold together, but be careful not to add too much. Keep stirring well.

Turn the oven up to 200 C. Spread the sticky mixture out on to a baking tray covered in baking parchment. Arrange the mixture to the thickness you want for your bars, 1 – 2cm works well. Compress it down as much as you can. Place in the oven for up to 10 mins until it goes a lovely golden brown. Keep an eye on it as it can burn. As you take it out use the back of a spoon to compress the mixture again and leave to start to cool. It will not hold together at this point so don’t try to cut it! Keep an eye on it as it cools, once it starts to hold together you can divide it in to bars. It should be cool enough to snap. Peel it away from the baking parchment and put it upside down on a wire rack to cool. Keep an eye on it and move the pieces regularly or they will stick! Once totally cool it should be hard and crunchy. Pop it in an airtight tin and it will keep for ages! 🙂


Fruit and Nut Cookies – gluten, dairy, fat and sugar free! omg!


I’m now mid week in to the first week of this amazing detox from Pure Form Fitness. I’ve done this programme before and I just love the energy it gives me and the results it achieves without leaving me feeling deprived or hungry. I also love the way it inspires me to create detox-friendly things to keep any rogue cravings at bay! These liitle cookies just sum up all of that! Fun and easy to make, delicious to eat and 100% detox friendly – just perfect with my afternoon cup of rooibos tea 🙂

_MG_7660-2

You can use any nuts and fruits you like but these are the ones I had in my cupboard and they seem to work well. If you substitute the fruit go for large, juice dried fruits like figs and dates, not things like blueberries etc.

_MG_7671-2

125g Almonds

75g Brazil nuts

40g Dried coconut flakes

85g Dried Prunes (or dates)

45g Dried apricots

20g Pumpkin seeds

15g Sunflower seeds

zest of 1/2 Lemon

1 tbsp freshly pressed Apple juice (or prune juice)

Preheat the oven to 150 C and line a baking tray with baking parchment.

Place everything in a food processor and pulse until the nuts and fruit are finely chopped and the mixture starts to come together. Add a little more juice if you find it’s too dry. You can either make small balls of the mixture and then flatten them on to a baking tray, or if you want pretty little shapes like my flower-shaped biccies then line a baking tray with baking parchment and tip the mixture in to it. Flatten the mixture down. I found the easiest way was to use a piece of baking parchment and then apply pressure with a palette knife or my hands. You want it to be about 5mm thick and well compressed. Use a biscuit cutter to cut out shapes and carefully transfer to another lined baking tray.

Bake in the oven for 15 minutes, or until firm, then cool on a wire rack. They will be a little pliable when removed, but as they cool they will harden.

Eat with a lovely cup of tea! 🙂

If you’re feeling decandent you can also add a layer of peanut butter and make a cookie sandwich! omg! 🙂

_MG_7687

Mini Christmas cake – gluten free, dairy free cake, marzipan and fondant icing!


A little while ago I posted a recipe for a gluten and dairy free christmas cake. I said I’d have a go at creating some marzipan and icing to go with it and I’ve managed it! Now, I know my icing skills are pretty poor so just over look that! I’m certain you guys can do a better job at laying the icing but this is my first attempt and I was going more for taste than looks….! 🙂

_MG_7471

I’ve used a rollable fondant icing and a royal icing for the decoration. Read the instructions for the fondant icing before you start as once the sugar is boiling you can’t really leave it to check the instructions! 🙂

The recipe for the cake is here.

For the marzipan (this will cover 4 small cakes – approx 3 inches cubed) – :

200g Ground Almonds
100g Raw icing Sugar
1 tbsp  Lemon Juice
2 tbsp Maple Syrup
1 tbsp Cold Water
1 tsp Almond extract

Put the ground almonds and icing sugar in a bowl and mix well. Make a well in the centre and add the liquid ingredients. Mix thoroughly. You should end up with a pastry-like dough. If it is too dry add a drop of lemon juice but be careful you don’t make it too moist. Wrap in clingfilm and put in the fridge for at least an hour.

For the fondant icing.

5 tbps water
1 tsp agar-agar powder or “gelatine” substitute (kosher gelatine is often non-animal based so can be used)
225g Raw icing sugar
1 tbsp glucose syrup
1 tsp glycerine (optional)

Put the agar-agar powder or gelatine substitute in a small bowl and add 1 tbsp of water and leave to soak. In a heavy-based saucepan, put the icing sugar, 4 tbsp water and the glucose syrup. Heat over a medium heat until sugar has dissolved, stirring gently all the time.

When the sugar mixture comes to the boil, boil for 2 to 3 minutes, or until the syrup has reached soft-ball stage. Now if you’re like me you don’t know what that means! It’s actually quite straight forward – it’s the point at which if you take a spoonful of the mixture and drop it in a bowl of very cold water that you can form a ball with the syrup using your fingers (once it’s in the water!). At this stage it will easily form a ball in the water and will flatten when you remove it. For me it was almost eactly 3 minutes of boiling so you could just go by that. If you happen to have a sugar thermometer it’s when it reaches 112 degrees C.

While the sugar is boiling warm the bowl that the the soaked agar-agar or “gelatine” is in (over a saucepan of simmering water is easiest) until it dissolves.

When the sugar has finished cooking, remove from heat and dip the saucepan’s base in cold water to stop it from cooking. Leave to cool for a few seconds and then add the agar-agar/”gelatine” and glycerine and mix well.

IF you have a marble slab or suitable work surface then grease it and pour the mixture out onto the marble slab, and begin turning and mixing with a palette knife until it becomes a paste and clay-like. If, like me, you don’t then you can leave the mixture in the saucepan and just keep turning and stirring it in the pan using a wooden spoon (you need to mix vigorously!).

At first, the fondant will be very fluid, but it will gradually harden. After 5 – 10 minutes of  mixing, the fondant will become very stiff, crumbly and hard to manipulate. At this point, lightly grease your hands, and knead the fondant into a ball. The fondant will begin to come together and become softer and smoother. Stop kneading when it is smooth.

Wrap in clingfilm and place in the fridge for at least an hour.

For the royal icing:

125g icing sugar
2 tsp soya milk (or other non-dairy milk)
1 tsp glucose syrup mixed with 1/2 tsp boiling water

Mix the icing sugar with the milk and stir until smooth. Add the glucose syrup and mix well. If it’s too runny add more icing sugar, if too dry add a little more milk.

Now to put it all together!

Roll out the marzipan on a greased board. Lay it over your cake. Roll out the fondant icing and lay that over the marzipan making sure you press it down firmly. Finally decorate using the royal icing. You can use a fork to create a “snow-like” appearance. Add silver balls, edible glitter or whatever you like to finish it off. Then place in the fridge to set! Enjoy! 🙂

_MG_7450


It’s CHRISTMAAAAAAASSS! :) Gingerbread christmas tree


Christmas is getting near so I thought I’d have a bit of fun this afternoon, radio on, baking utensils at the ready.. and the end result…… me and my kitchen are now covered in icing powder and glitter, but it was worth it!

Gingerbread Christmas Tree! (gluten and dairy free, of course!)

edited tree

Something fun to do with the kids, or on your own!

To make the gingerbread biscuits (this quantity makes LOADS – probably enough for a whole gingerbread house! so if you are only making a few then halve the recipe or even quarter it):

1/3 cup Olive oil

3/4 cup unrefined raw sugar (golden raw caster sugar, coconut palm sugar, or dark raw cane sugar)

1/4 cup molasses

1/4 cup soya milk

1 cup amaranth flour / quinoa flour

1 cup gluten free flour mix (make your own or you can use an organic pre-mixed one. If you want low gluten not gluten free then go for spelt flour instead of the amaranth and gluten free flours)

1/2 tsp ground nutmeg

1/2 tsp ground cloves

1/2 tsp ground cinnamon

1 and 1/2 tsp ground ginger

1/2 tsp bicarbonate of soda

1/2 tsp baking powder

1/2 tsp Himalayan rock salt salt

Whisk the oil and sugar together in a large bowl. Add the soya milk and the molasses and whisk all together. Sieve the flours, spices and baking powder, salt and bicarbonate of soda in to the wet ingredients and mix until it forms a dough. The dough may seem quite moist. You want it to be workable but not so sticky that you can’t lift it. Add a bit more flour if it is too wet. Wrap in cling film and leave in the fridge to chill for an hour (the dough can be left in the fridge for several days so you don’t have to use it all at once. It can also be frozen).

Preheat the oven to 175 C and line a baking tray with greaseproof paper. Roll the dough out on a floured surface. It’s worth trying small amounts of dough at a time and be generous with the flour. It will stick a bit but don’t worry. You want it to be rolled out fairly thin but not too thin – maybe 5mm thick or so.

To make the tree you need at least 3 star cutters of different sizes. If you don’t have them don’t fret. Draw some stars out on a piece of card and use them to draw around 🙂 If you want to make a massive tree then you could use more stars, I only had 3 sizes so 3 it was! You want at least 3 of each sized star. I used a tiny christmas tree shaped cutter for the very top, but you could use another star.

Cut out the biscuits and transfer to the baking tray. Bake for 8 minutes. Then remove from the oven and allow to cool on the tray for 3 minutes before transferring to a wire rack. They will seem soft when they come out the oven but as they cool they harden. If you want super crispy biscuits just pop them back in the oven for another few minutes.

IMG_9874

For the icing:

1/2 cup raw icing sugar

1 tsp soya milk (or any non dairy milk)

1 tsp liquid glucose (not essential)

Mix the icing sugar with the milk until it’s smooth. If you are using the liquid glucose add that and stir well. If the icing is too runny just add more icing sugar until you get the consistency you want. Transfer to a piping bag (if you don’t have one then use a plastic freezer bag and snip the corner off to pipe through).

Assemble the tree!

This is the fun bit 🙂

Start with your biggest star and place it on the plate. Add a glob of icing to the centre and stick the next star on top (arranged so the points don’t overlap). I found it easiest to decorate each layer as I went, so pipe icing on to the points of the bottom star and decorate with silver balls, gold balls, edible glitter etc. Then add a glob of icing to the top of the uppermost star and stick the next one one… continue, going down in size until you get to the top! I then added a glob of icing and popped the tree shaped biscuit on the top. If it won’t stand up then break a small piece of biscuit and just pop it behind it to keep it upright 🙂

Finally dust with icing sugar so it’s all snowy-looking!

yay! 🙂


Limited Edition Christmas Bakes! :)


I’m selling a limited number of my favourite Christmas bakes! 🙂

All gluten free, dairy free and suitable for vegetarians and vegans  (products do contain nuts though).

All orders must be placed by 14th December (orders will be posted by 18th December or available for pick up/delivered on 17th/18th) and numbers are limited, once they’re sold out they’re sold out so get your orders in quick 🙂

1. Mince Pies (pack of 6) – £3 (2 packs for £5)

IMG_9940

Generously filled, homemade mince pies. Cranberry and apple mincemeat and a buckwheat based pastry. Totally gluten and dairy free and only 164 kcals too! Deliciously sticky and full of flavour.

Delivery options – local pick up (free) (I can also do local delivery for free), 1st class post £2.70

2. Festive Tree Decoration Biscuits (pack of 6) –  £3 (2 packs for £5)

IMG_9933

Spicy and sweet christmas biccies. These biscuits are a great christmas treat and can even be hung on the tree. You could also get the kids involved and get them to ice them before they are hung up (or you could just eat them!). Totally gluten free and dairy free.

Delivery options – local pick up or delivery (free), 1st class post £2.70

3. Ginger Biscuits (pack of 6) – £2 (2 packs for £3.50)

IMG_9916

Crunchy, spicy ginger biscuits. Perfect for dunking in a cup of tea while you wrap the christmas pressies or put up the tree! 🙂 Totally gluten and dairy free.

Delivery options – local pick up or delivery (free), 1st class post £2.70

How to order:

  • Email me at pureandsimplebakes@gmail.com and I will send you a paypal invoice
  • OR if you are local to me then cash is fine
  • For orders of more than 1 pack I can combine postage 🙂

You can also order via these links:

Mince Pies: paypal cart button

Festive Decorations Biscuits:  paypal cart button

Ginger Biscuits: paypal cart button

Baking-tastic! :)


This is how I will be spending most of tonight…


IMG_9869

To create these! 🙂

IMG_9864 IMG_9874 IMG_9876