Plum and Almond Cake – Gluten-Free and Dairy-Free


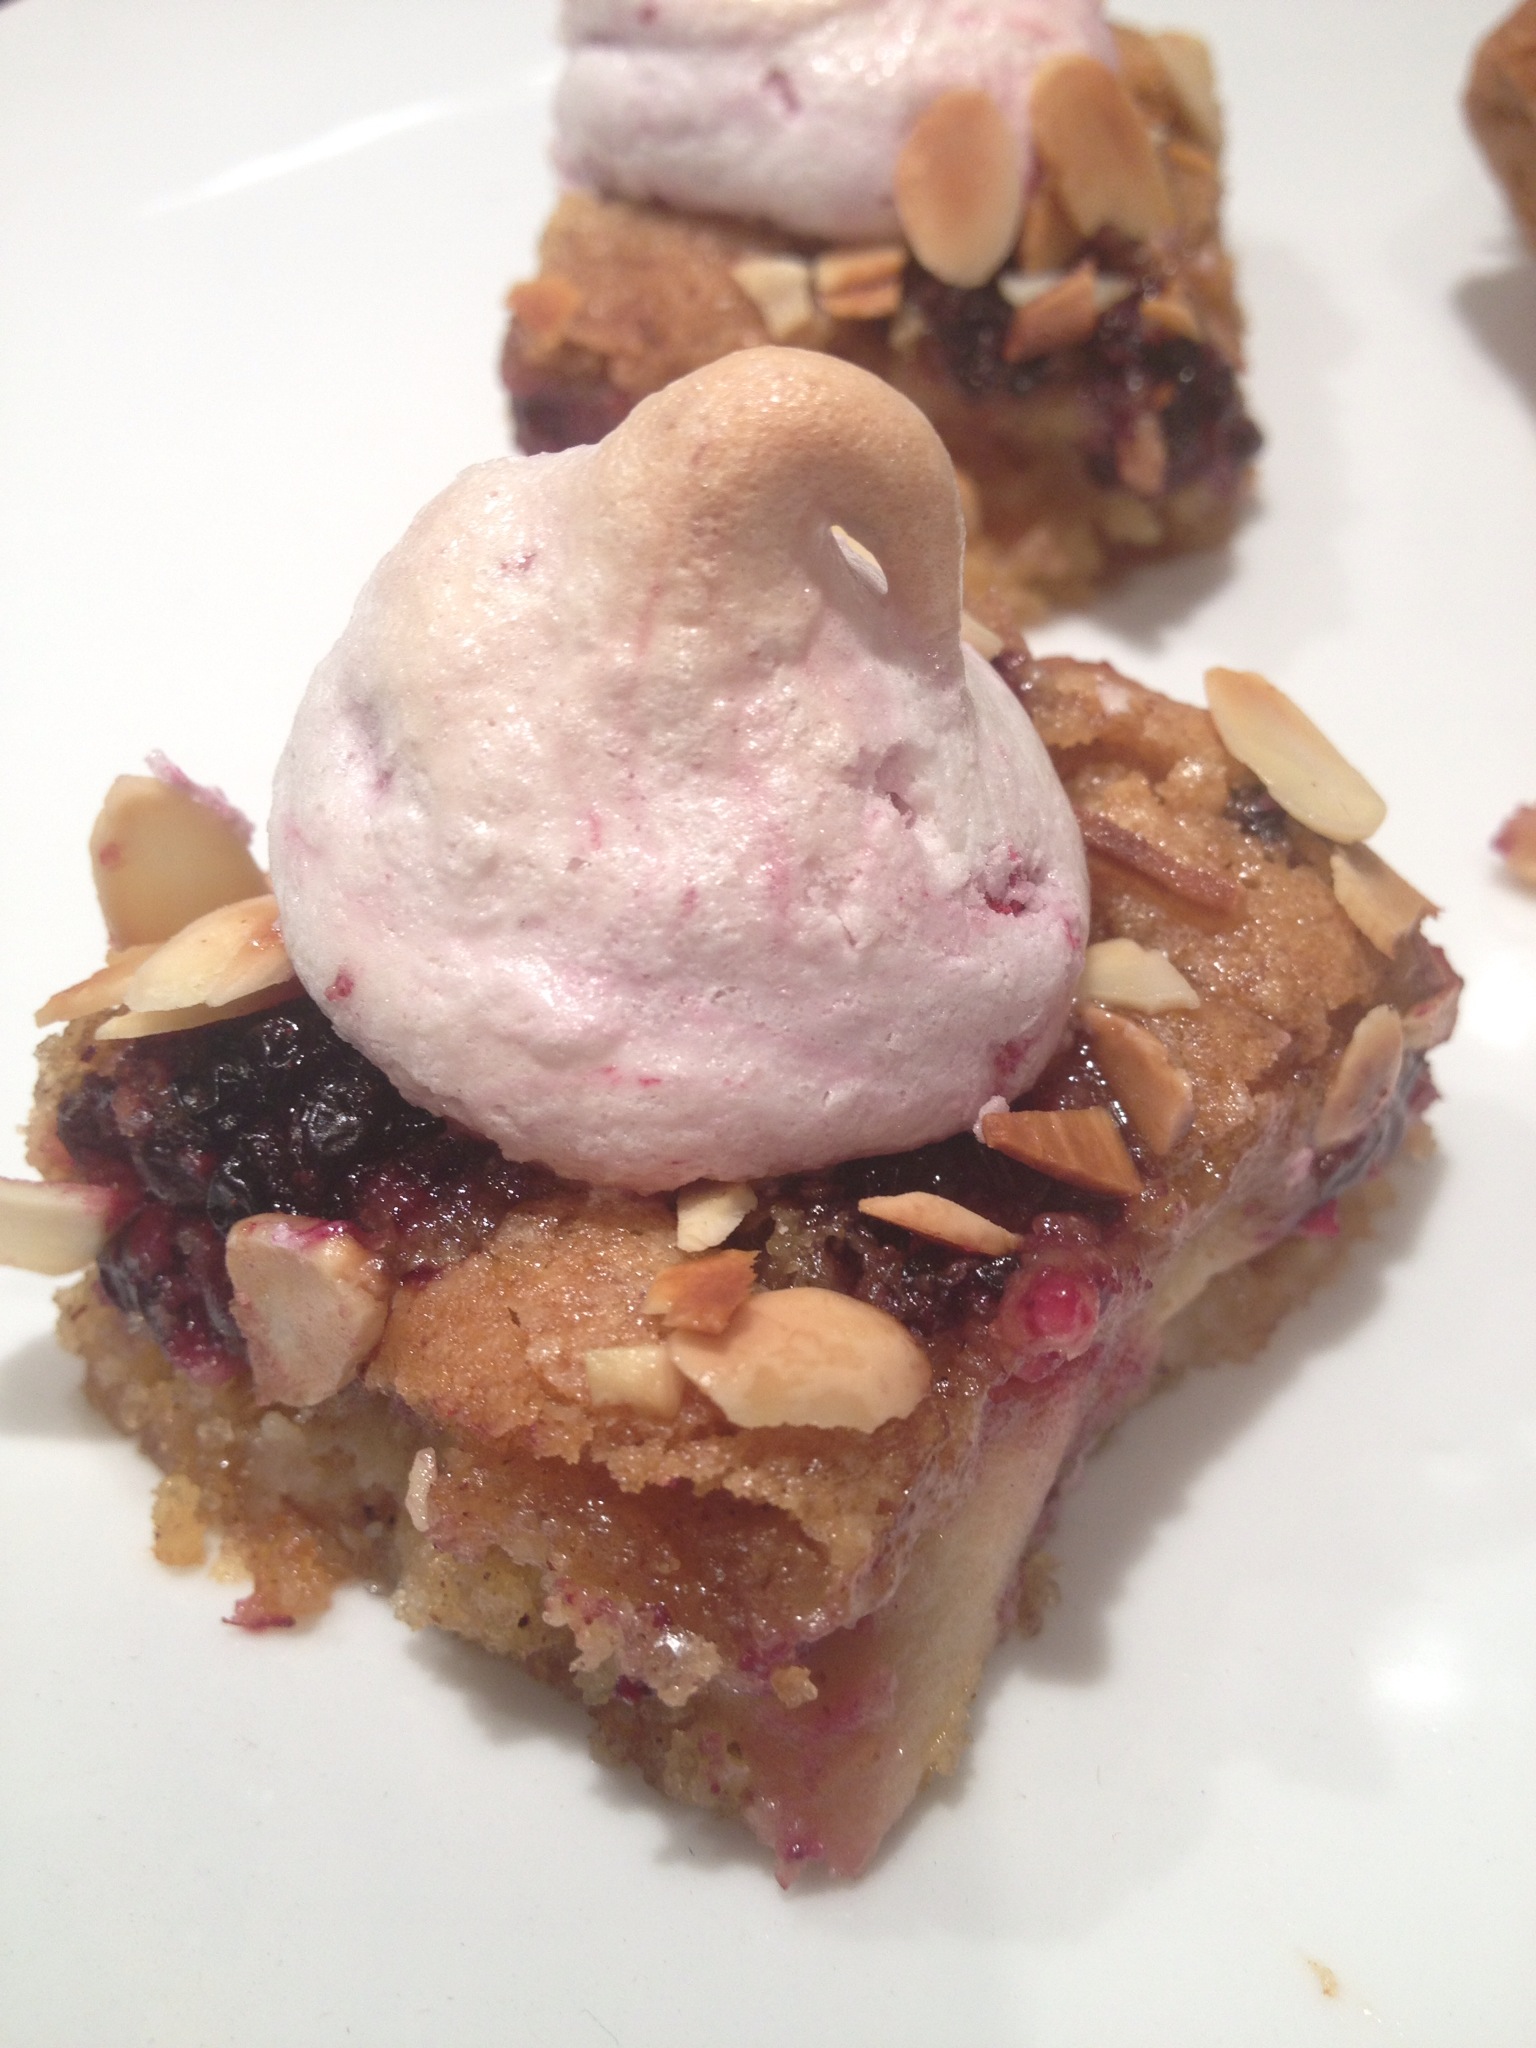
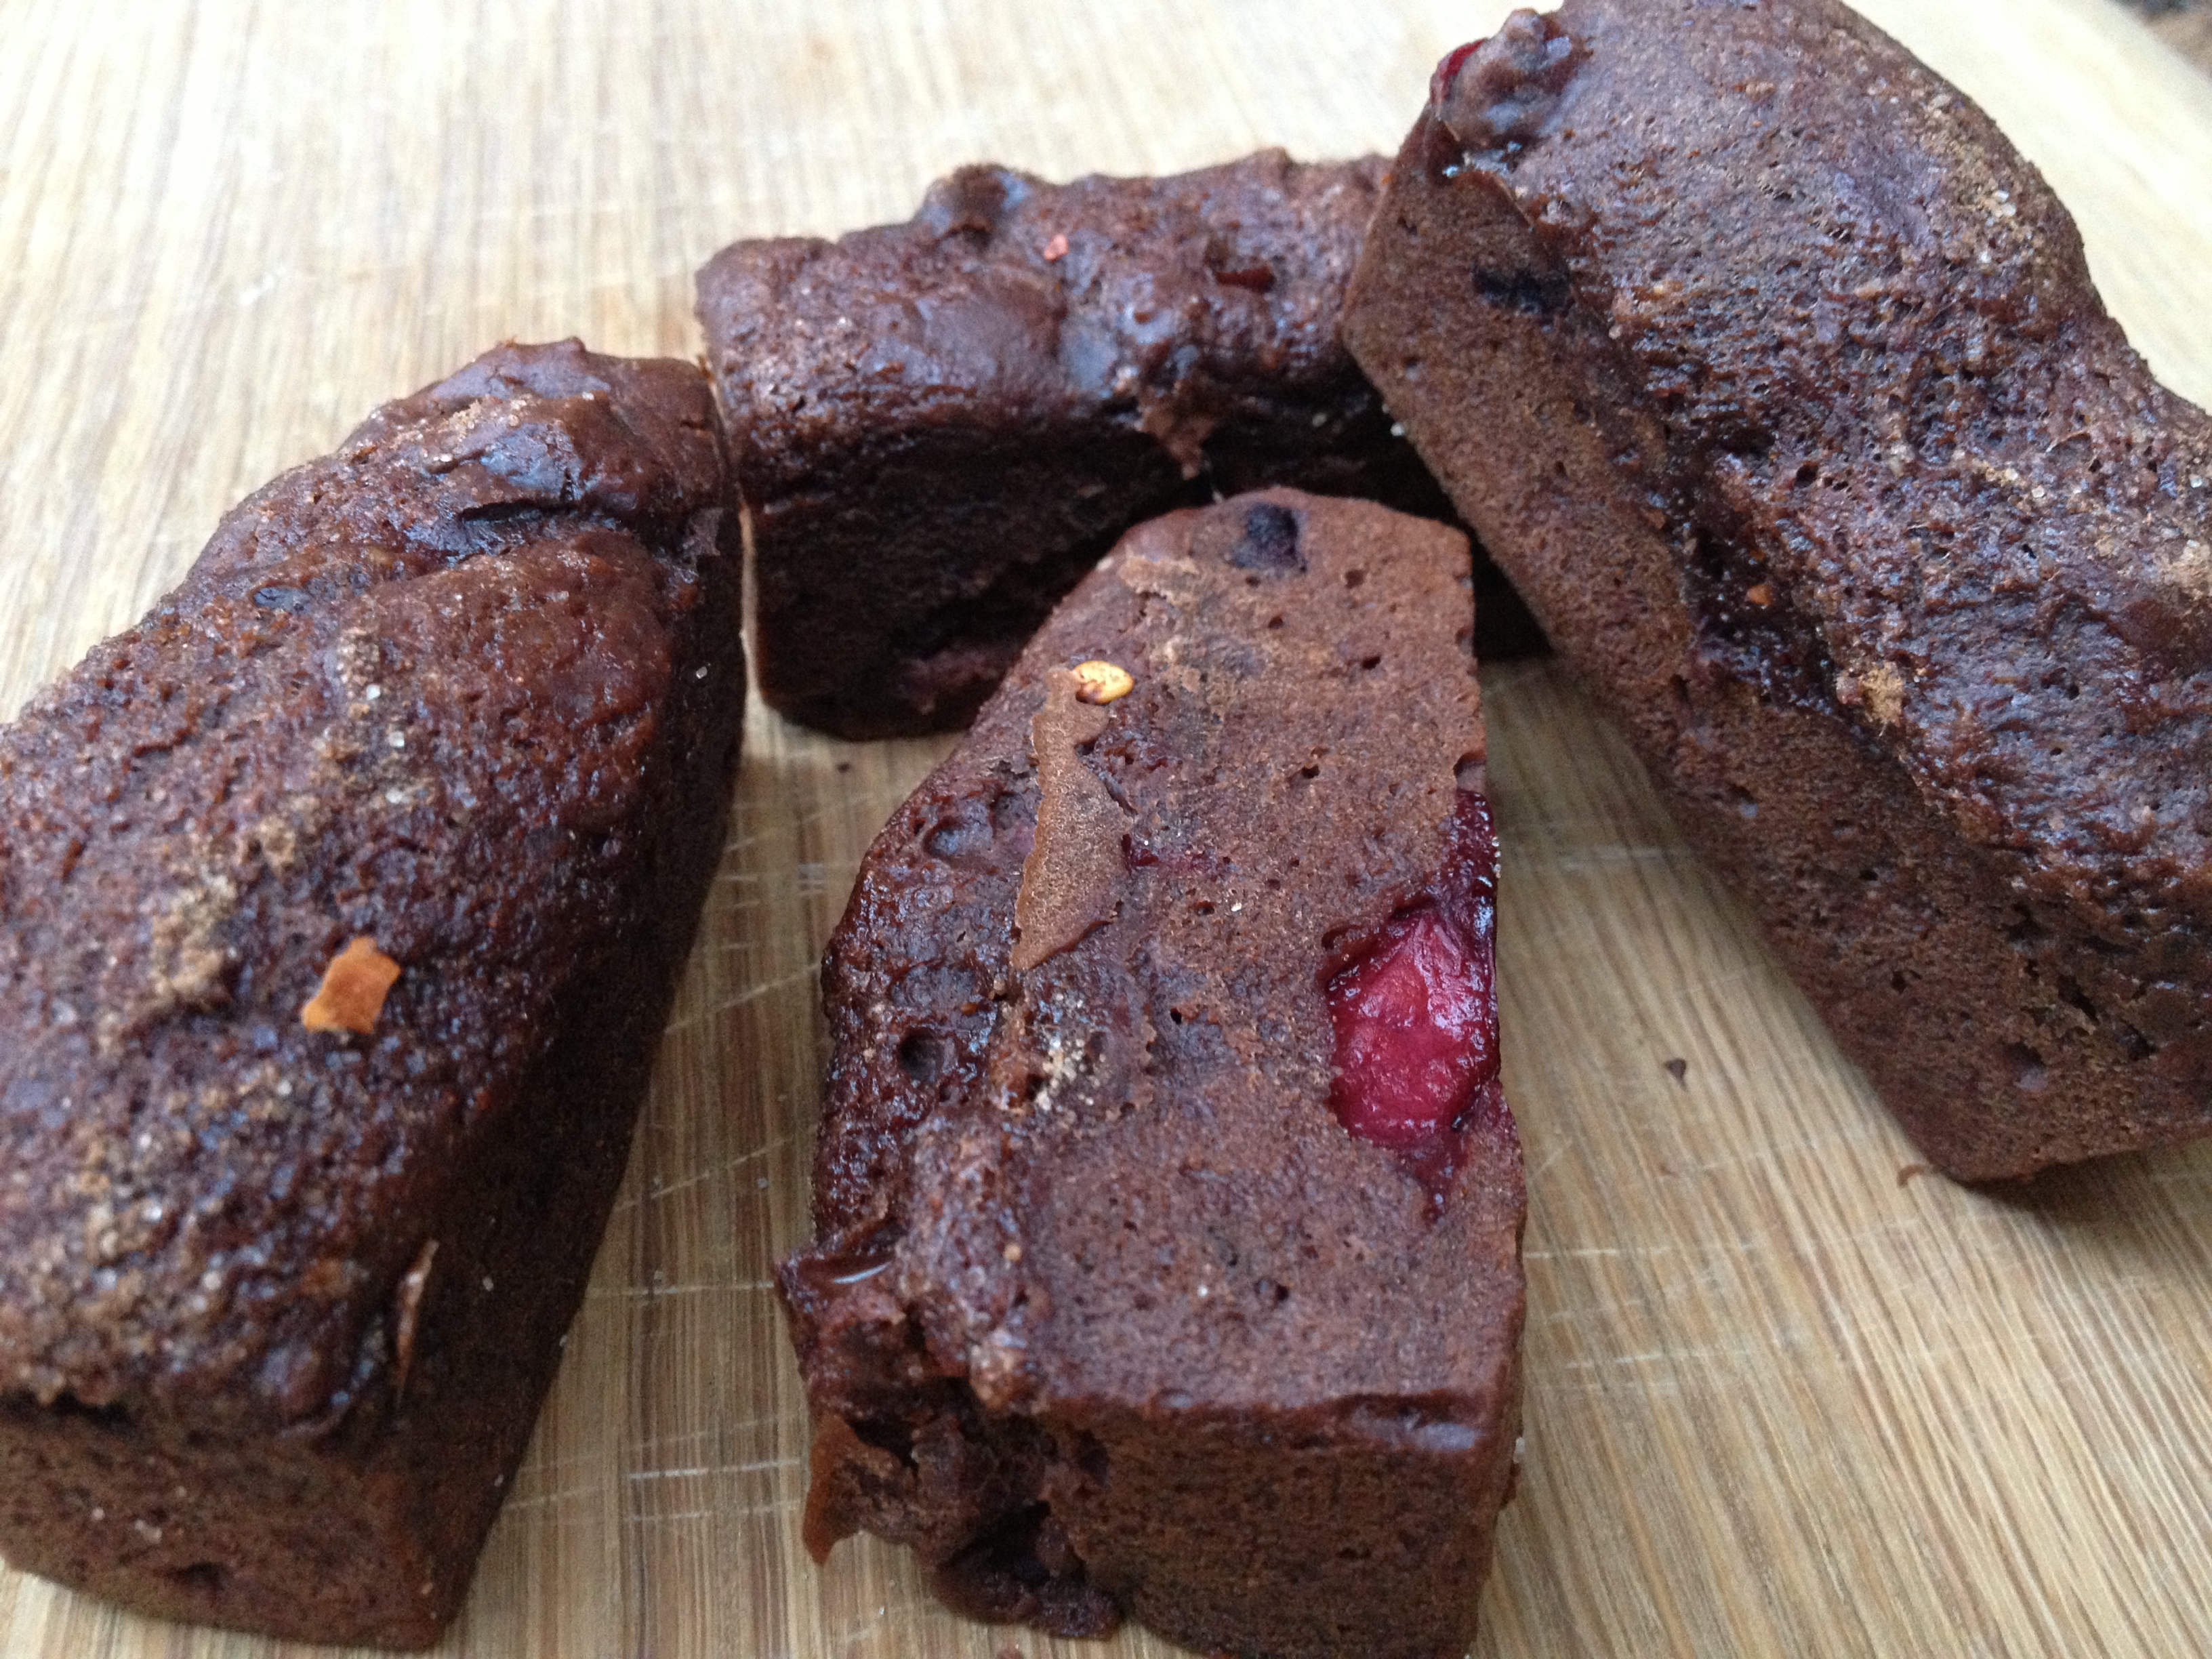
English plums are in season right now so it’s an ideal time to use them for something yummy! This cake definitely qualifies! I was really unsure how this would turn out but it’s actually amazing! If you are a fan of almond macaroons or frangipanes you will absolutely love this. I had the pleasure of getting some English plums from Riverford Organic so I thought I’d better put them to good use!

IMG_0237

This went down really well with my husband and even George the cat was curious about it 😉 so it must be a winner!

IMG_0229

This is gluten and dairy free but does contain eggs. I’ve got an egg-free plum cake coming up soon so never fear!

If you are using the small English plums you will probably only need 6 – 8, if using larger ones you will need no more than 4 at the most.

IMG_0276

You will need:

125g unrefined Raw sugar or Coconut palm sugar

200g Ground almonds

2 Eggs

100 ml Almond oil (you can use mild Olive oil if you prefer

1/4 tsp Vanilla extract

1/8 tsp Almond extract (if you have it)

Plums 4 -8 depending on size

Ground cinnamon (for dusting)

Pre-heat the oven to 180 C and line and grease a 20cm cake tin – if you have a springform tin then use that as it makes it easier to get it out without it breaking. If not a loose bottom tin is the best option.

Add the oil and sugar to a bowl and use a hand mixer to beat together (you can do it by hand with a fork if not). Beat in the eggs one at a time. Then add in the extracts and mix well. Fold in the ground almonds with a metal spoon. Once mixed pour in to the tin.

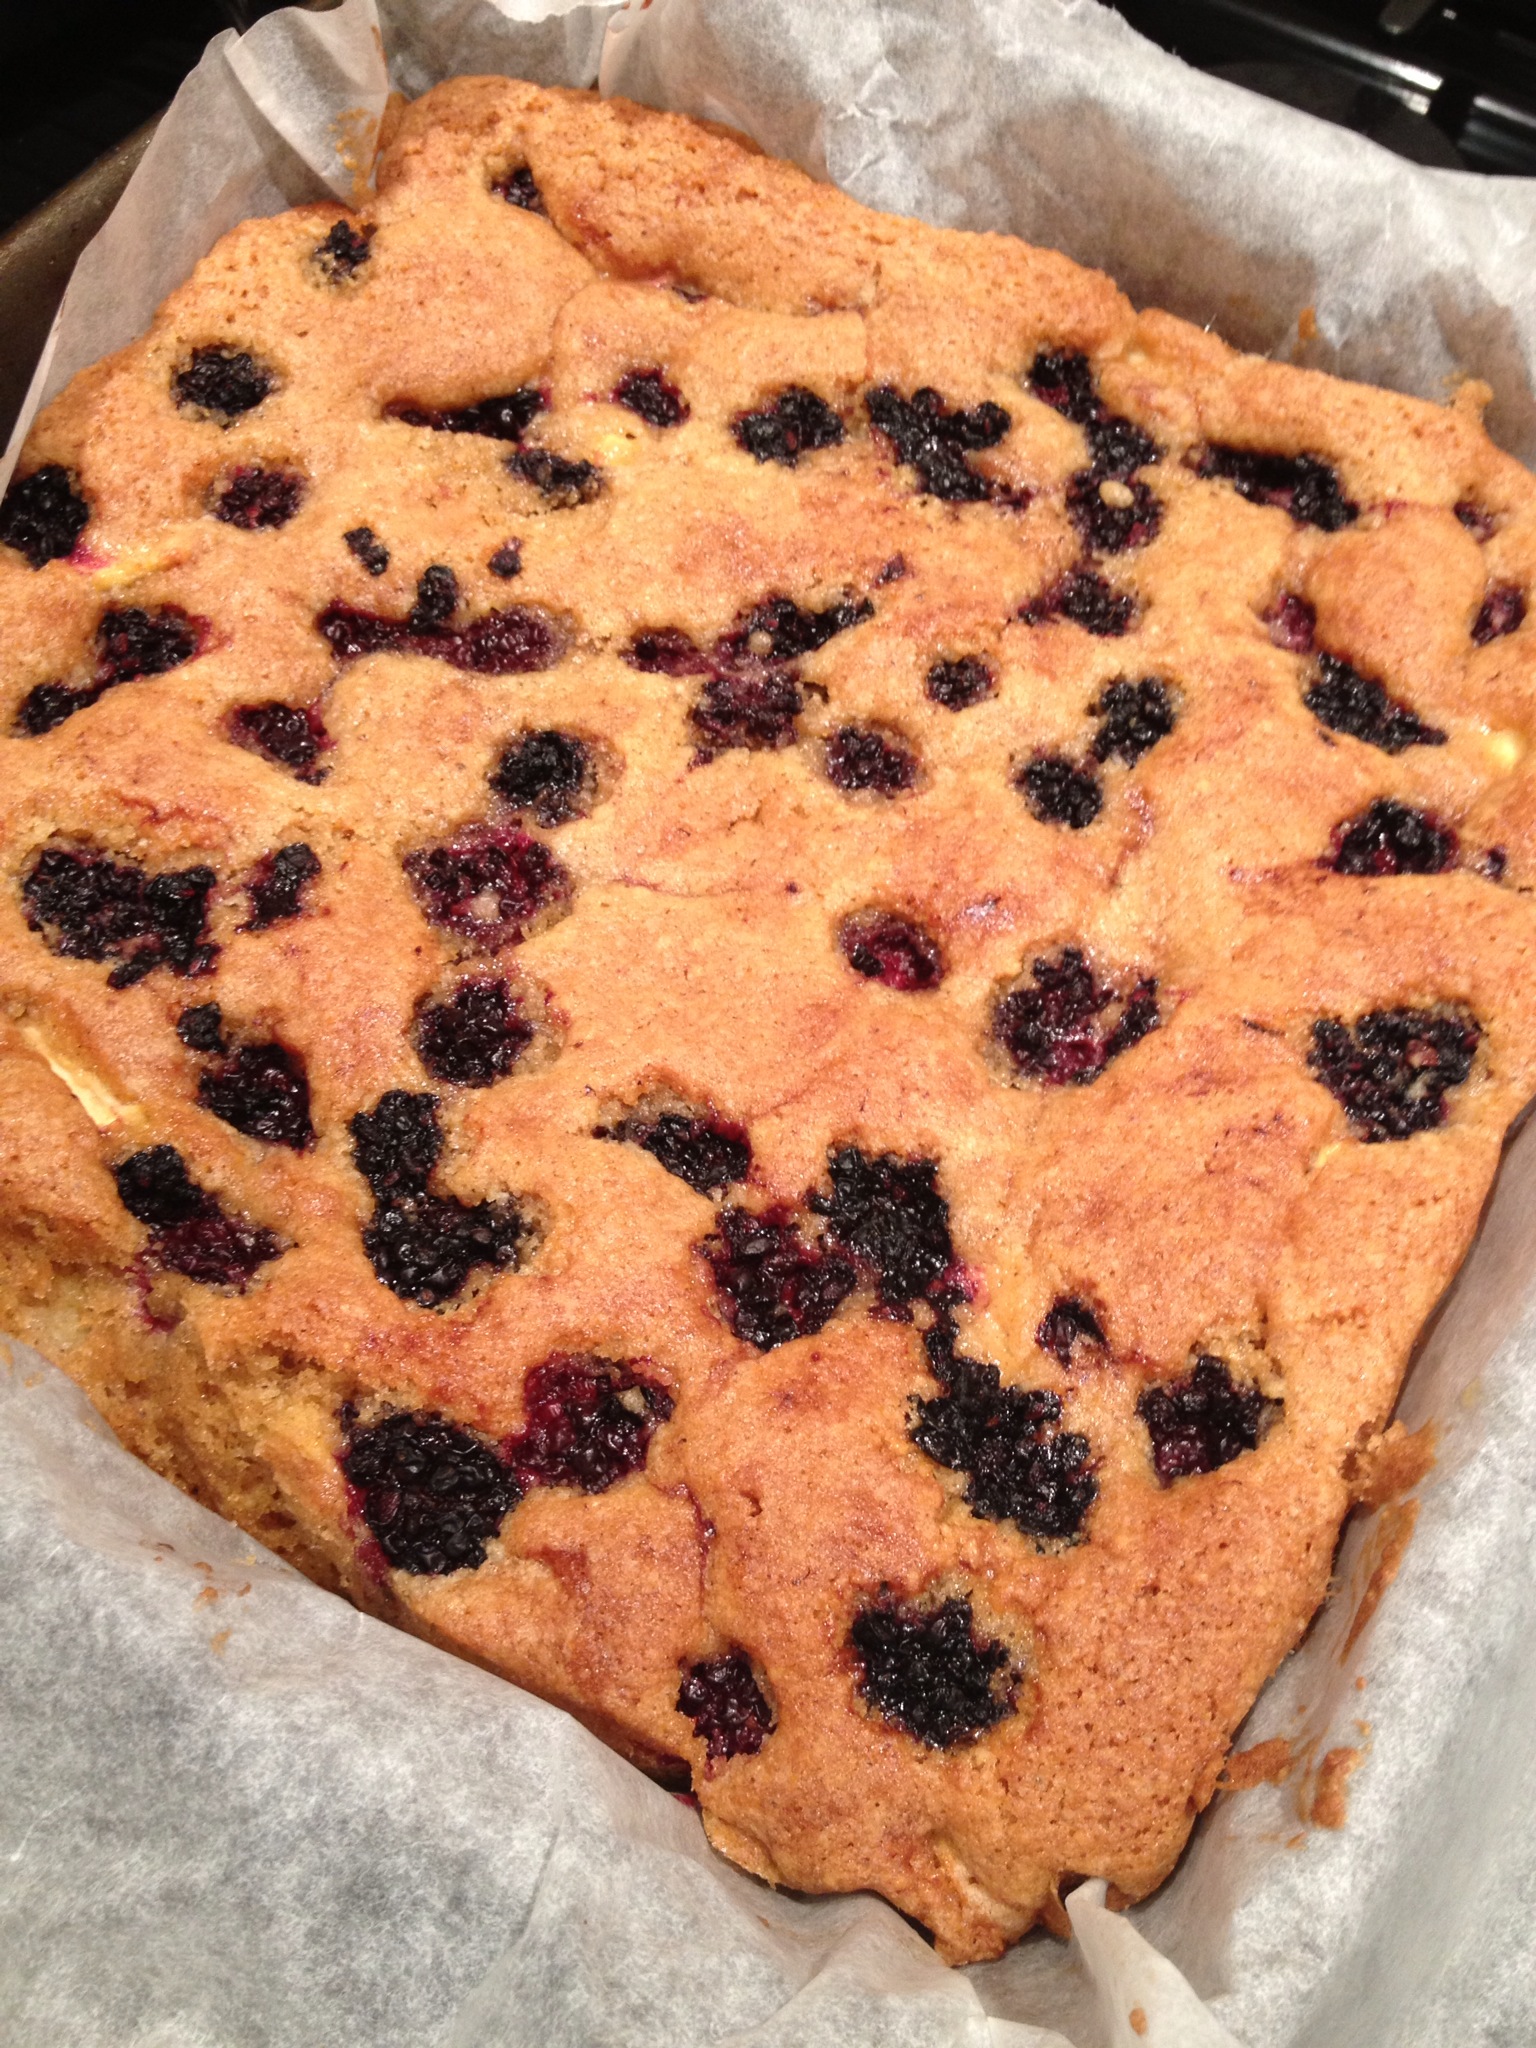
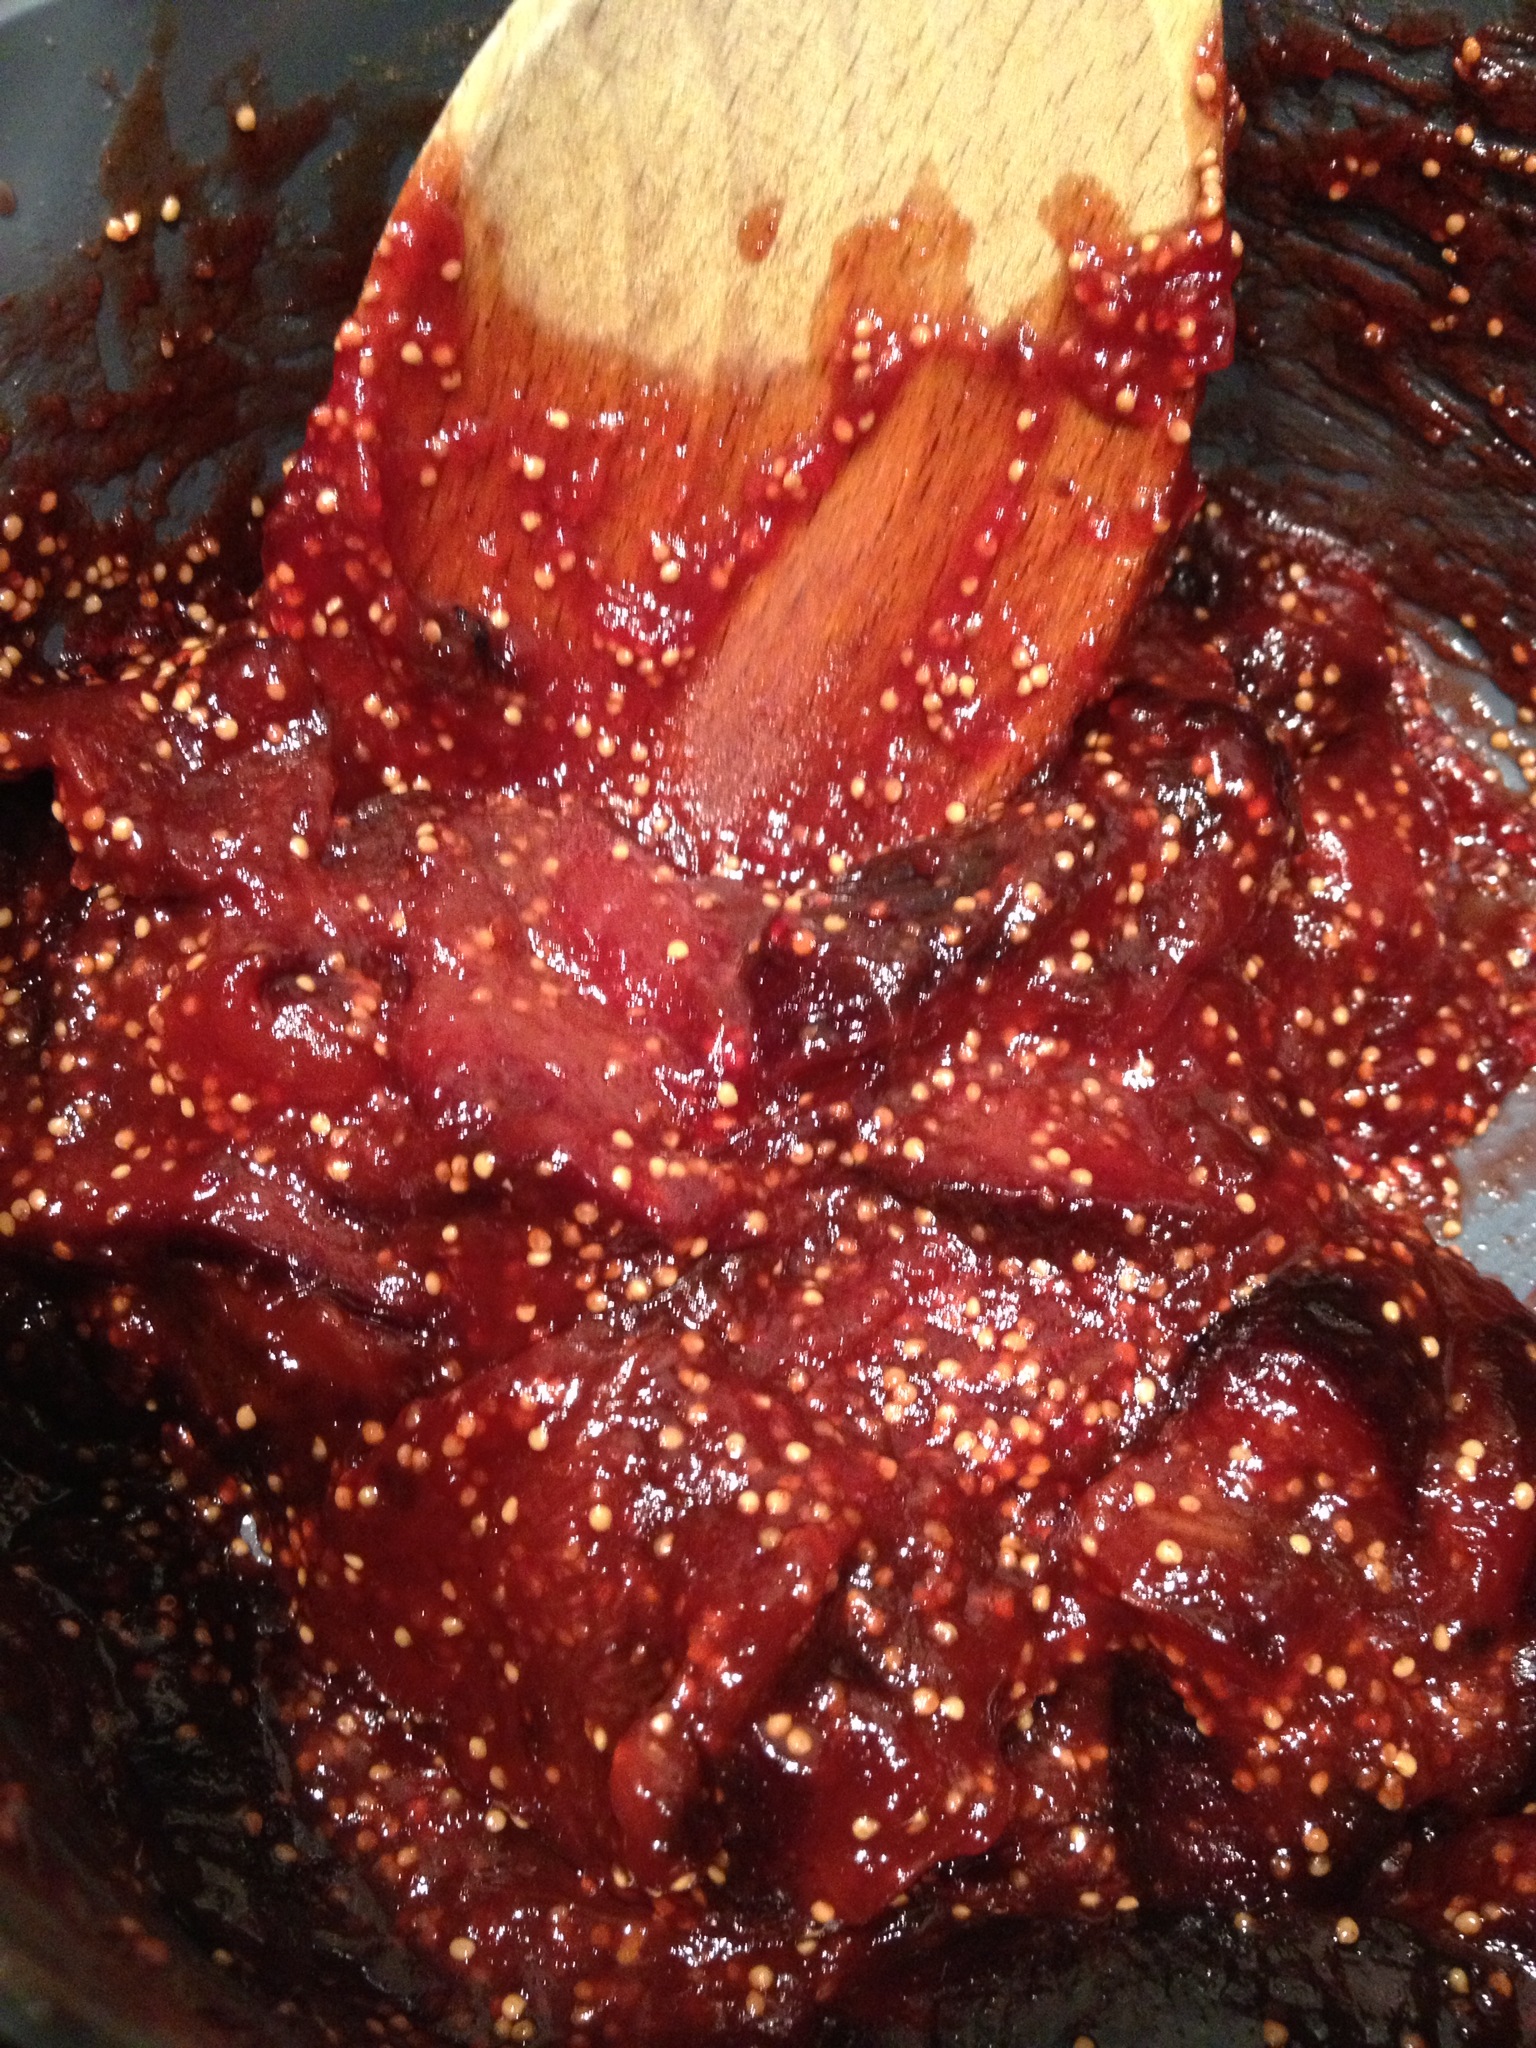
Half (or quarter if they’re big) the plums, remove the stone, and place in to the batter. Push them down a little bit so they’re well bedded in there. Sprinkle the top with ground cinnamon.

IMG_0188

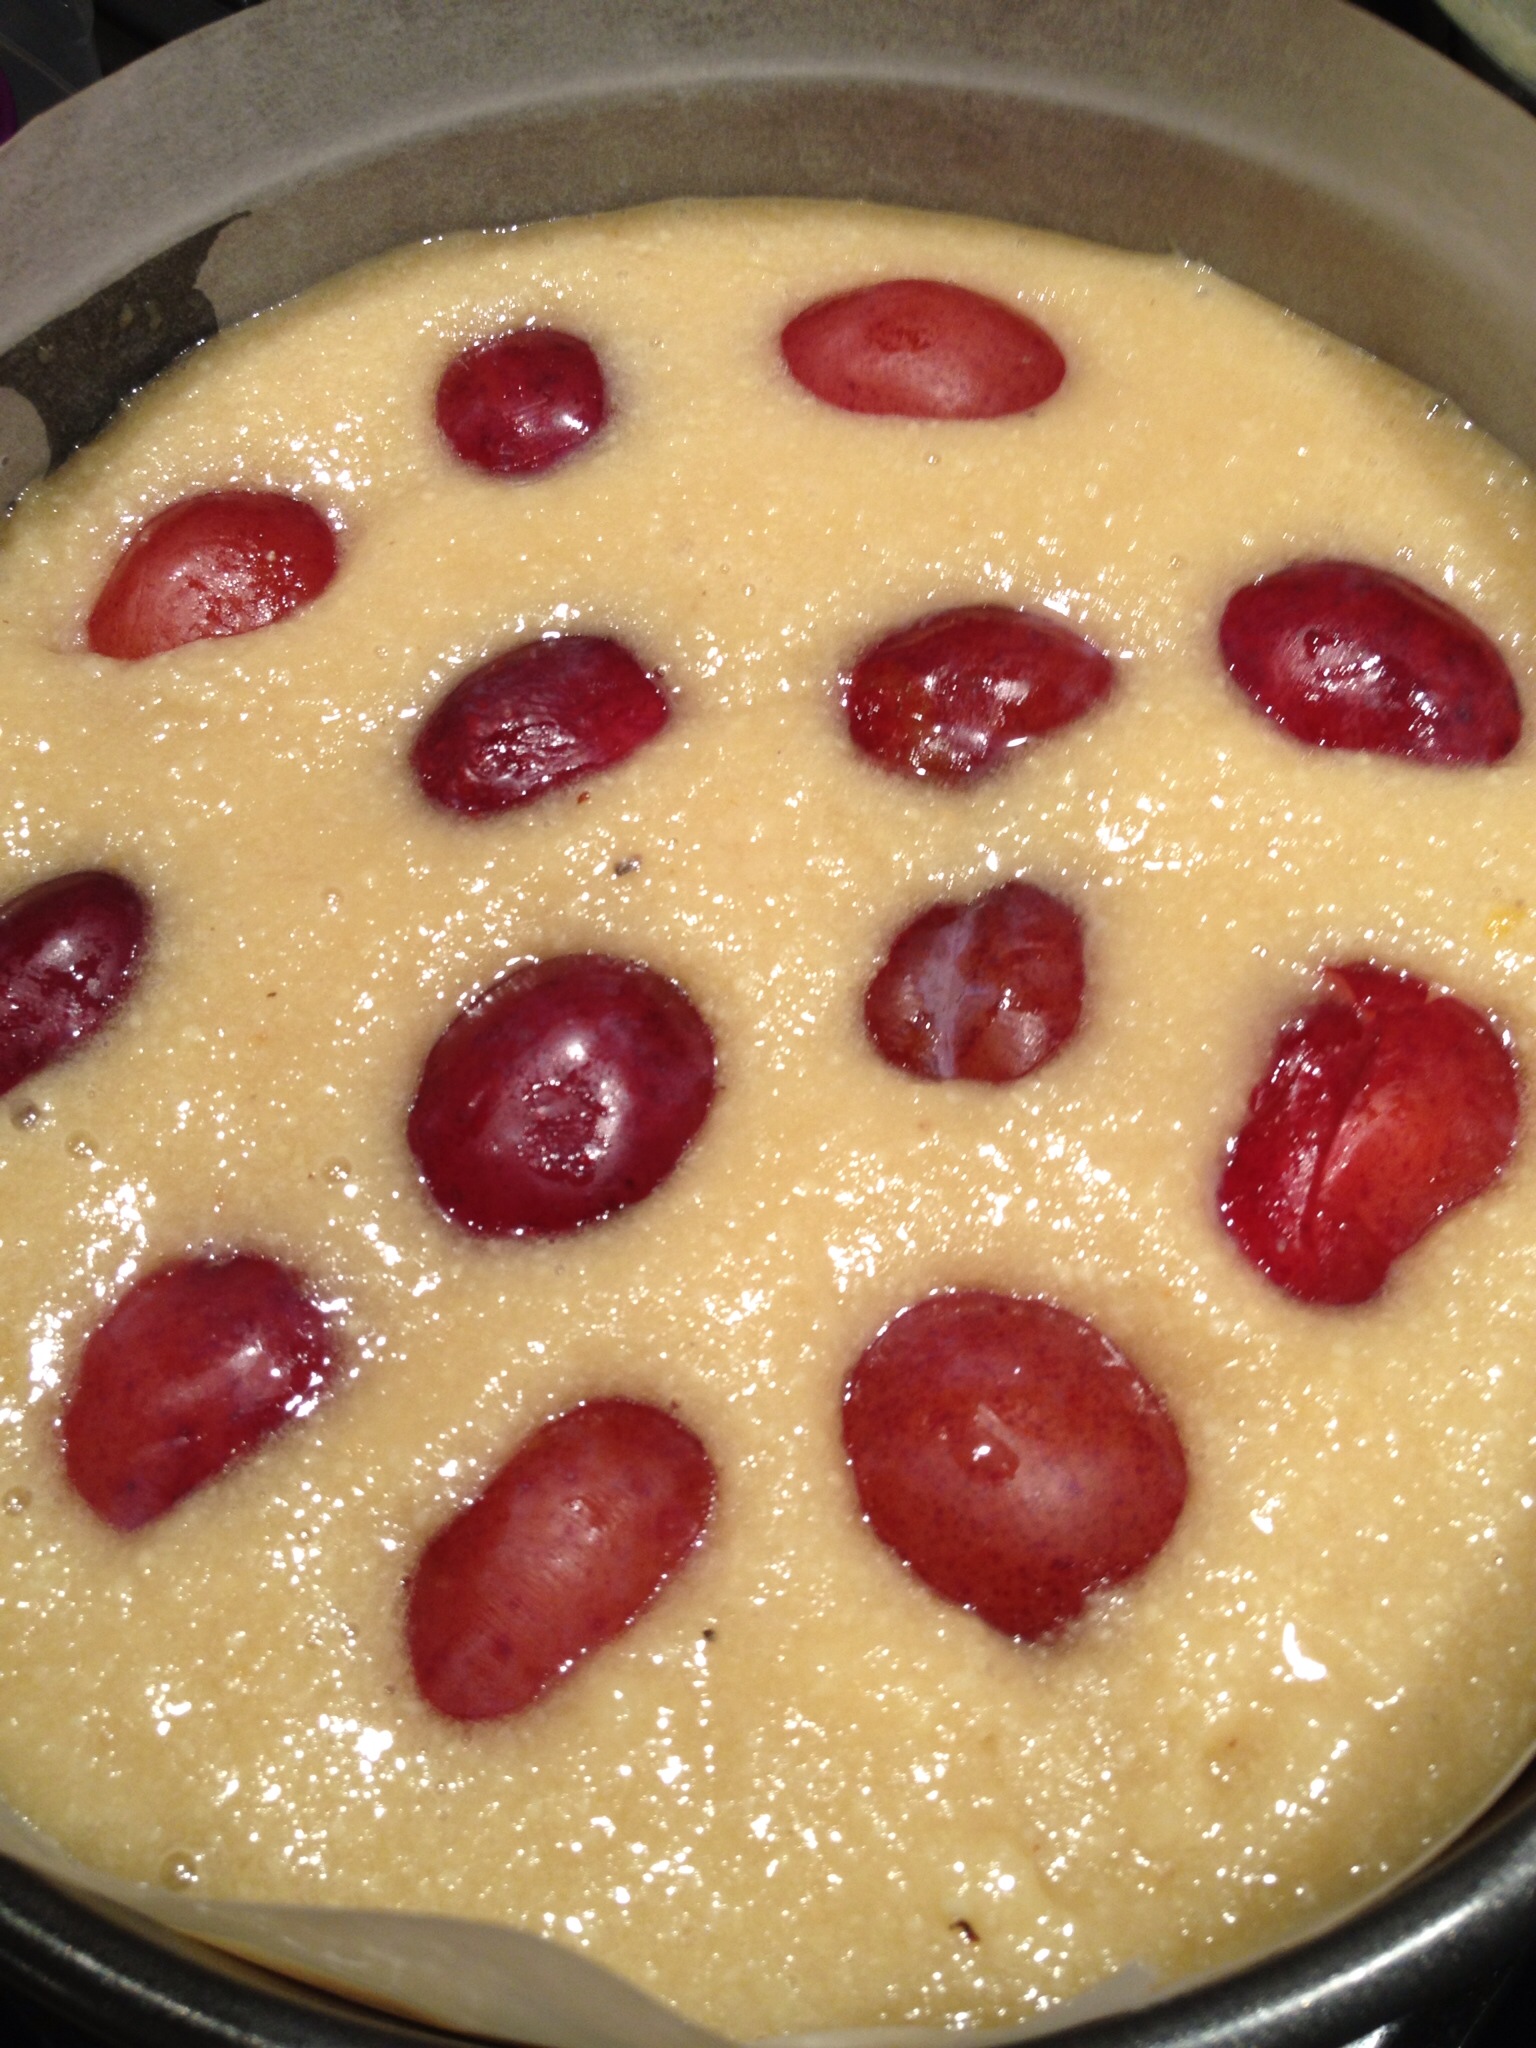
Pop in the oven for 25 – 30 minutes. It is worth starting to check it at about 20 minutes. Once a skewer comes out clean then it’s done.

IMG_0193

Let it cool for 10 minutes in the tin and then carefully remove it and allow it to cool on a wire rack. Slice and enjoy! 🙂

Blackberry and Apple Tray Bake!


Now obviously with all those yummy blackberries I had to make something cake-based too… so I had a go at a blackberry and apple tray bake. It’s topped with meringue so isn’t egg-free, though it is dairy-free. For the cake itself you can either use eggs or an egg replacement (see below). This is super sweet and super moist and siuper yummy! It’s a perfect Autumn afternoon snack.

IMG_0094

You will need:

140g dairy-free Margarine

140g Coconut sugar

1 egg and 2 egg yolks beaten together (or 3 tbsp Chia seeds soakes in 9 Tbsps water)

1/2 tsp Vanilla extract

100g white Spelt flour and 1 tsp Baking powder (OR 100g self-raising gluten-free flour mix)

100g ground Almonds

1 tsp Baking powder

1/2 tsp ground Nutmeg

1/2 tsp ground Cinnamon

pinch of Himalayan rock salt

1 large Bramley Apple, sliced (approx 140g once peeled and cored)

125g Blackberries

For the Meringue topping:

25g Blackberries

100g unrefined Golden caster sugar

2 Egg whites

1 tsp Lemon juice

pinch of Himalayan rock salt

2 tbsp toasted Almond flakes

Pre-heat oven to 160 C or 140 C (fan oven) and grease and line a square tin (approx 23cm).

Beat the margarine and coconut sugar together until pale and creamy. Then beat in the egg and yolks (or chia seeds), and the vanilla. If you are using a self-raising gluten-free flour mix then sieve that in together with the baking powder and spices and salt. If you are using spelt flour sieve the baking powder (both measures of baking powder) and spices in to the spelt flour and then sieve it in to the butter mix. Next add in the ground almonds and fold it all together to form a thick batter.

IMG_0081Chop the apple up in to small chunks or slices (whatever you prefer) and fold in to the mix. Pour the batter in to the tin and then scatter with the blackberries. Poke the blackberries down a bit so they are well bedded in to the batter.

IMG_0084Pop in the oven and bake for 40 – 45 mins until a skewer comes out clean. Once you remove the cake leave the oven on.

IMG_0085While it is baking you can prepare the blackberry sauce for the meringue. If you are not using meringue this sauce can be drizzled over the cake 🙂

Put the remaining blackberries and 1 tsp sugar in a bowl and cover with cling film. Pop in the microwave for 30 secs and then mash until saucy! 🙂 You can also do this in a saucepan over a low heat. Set aside to cool.

Take the 2 egg whites and whisk with the lemon juice and a pinch of salt until they form stiff peaks – and if you’re brave do the whole “holding the bowl upside down above your head” test to see if they’re stiff enough! Add the sugar 1 tbsp at a time and whisk in well. Add the blackberry sauce and ripple through with spoon. Then spoon the mixture in to a piping bag or in to a plastic freezer bag and snip off the corner.

Pipe the meringue on to the cake – I aimed for one meringue per piece so it was about 16 little meringues but you can do whatever pattern you like! Scatter the almonds over the top and place the cake back in the oven for 10 – 12 minutes until the meringues are set.

IMG_0090

Then remove and allow to cool in the tin for 30 mins. Cut in to little squares and enjoy!

IMG_0099

For we all like Figgy Jam……. Fig and Ginger Jam!


This is so easy and so delicious! I’ve been trying to add a bit more ginger in to my diet lately as it’s so good for your stomach and helps with the digestion of other nutrients. It’s also a fab anti-inflammatory so is brilliant for muscle and joint aches. Apparently it has aphrodisiac properties as well!!!

Figs are also brilliant for you – they’re full of fibre and are a great source of potassium and calcium and they taste yummy! 🙂 So this jam is perfect! It’s really easy to make and tastes divine.

IMG_0042

You will need (makes one small jar):

250g fresh, ripe Figs

2 tbsp Maple syrup (or your liquid sweetener of choice – agave, honey, rice syrup etc)

1.5 tbsp Lemon juice

zest of 1/2 Lemon

3/4 tsp ground Ginger

1/4 tsp ground Cinnamon

Cut the figs in to quarters (or smaller if they are very large) and pop in a saucepan. Add the other ingredients and then bring to a simmer over a medium heat, stirring all the time.

IMG_0031

Don’t let the mixture boil but keep it simmering for about 30 – 40 minutes or until the fig has started to break down and it takes on a jammy consistency! Taste (carefully – it will be hot!) and adjust the sweetner if required.

IMG_0034

Take a clean glass jar and rinse with warm soapy water (or pop through the dishwasher). Dry it well and then place it in to the oven at about 180 C for approx 20 minutes. Remove carefully and then add the jam to the jars while they are both still hot. Pop a lid on and once cool place in the fridge. This should keep for a few weeks at least.

Enjoy your jam spread on some yummy rye toast with a nice cup of tea 🙂

Ninjabread men! Chocolate, cherry and ginger dairy free biscuits


Gosh it’s been a long time since i’ve had time to bake – sorry! Real life has got in the way (in good and bad ways!), but oh how i’ve missed it!

20130709-202434.jpg

Thankfully I had an excuse to bake again 🙂 yippee! I wanted to make something yummy to celebrate (or rather commiserate) the last body combat class with a very special friend of mine. What better way to mark the occasion than by baking some funky little Ninjabread men! I used ginger, dark chocolate and dried cherries in mine but you could flavour the biscuits any way you like 🙂

For the biscuits you need:

2 cups Spelt flour or gluten-free flour mix

1 cups Unrefined Icing sugar

6 oz Dairy-free margarine (get the best quality you can)

2 tsp ground Ginger

handful of chopped dried Cherries

handful of dairy free chocolate (I used Willie’s chef’s drops)

Ninja cutters (available online) or just use normal ginger bread man cutters 🙂

Pre-heat the oven to 180 C. Put the margarine in a large mixing bowl, sieve the flour, icing sugar and ground ginger in and cream it together. Try not to over mix but make sure the margarine is properly mixed with the dry ingredients. Add the cherries and chocolate and combine well. Once it’s formed a dough wrap in cling film and chill for 30 mins. If you find the dough is too sticky then add some more flour.

Once chilled, roll out and use the biscuit cutter to cut out your little ninjas. Use a palate knife to transfer them carefully to a greased baking tray. Sprinkle with a little raw sugar if you like and bake for 8 – 10 mins, or until golden. Remove from the oven and allow to cool on the tray.

20130709-202620.jpg

Decoration

Once the biscuits are cool you can have some fun! I used a variety of ninja designs. For the dark icing you can get black food colouring or use melted dark chocolate. Unleash your best ninja using skills!! 🙂

20130709-201914.jpg

20130709-201957.jpg

20130709-202032.jpg

Healthy, sugar-free ice lollies


Now that the sun is finally shining here I fancied something cold and yummy, so I thought I’d make these up again 🙂 The original recipe was one I posted on Colette’s fitness kitchen, but here it is again 🙂

Cool off with one of these delicious lollies

In the hot weather everyone fancies an ice cream so why not whip up one of these delicious, healthy versions to get you through those warm afternoons.

Pineapple Bliss Lolly

3 Bananas
1/3 Pineapple
1 Apple (or an equivalent amount of fresh apple juice)
Coconut milk (adjust quantity to suit taste and consistency)
Handful of fresh Mint leaves

Put all the ingredients in a blender apart from the mint. Blend until smooth. Chop the mint leaves and add to the mix. Stir well then put into lolly moulds and freeze. The coconut milk adds a lovely creaminess to this, but if you want something even more ice cream like then add in a scoop of vanilla Pure Protein Powder – divine!

Berrytastic Lolly

1 Banana
1 Apple (or equivalent amount of juice)
Handful of Grapes (8 – 10)
4 – 6 Strawberries
4 – 6 Blackberries
4 – 6 Raspberries
20 – 30 Blackcurrants

Put all the ingredients in a blender (you can add whatever fruits you have to this) and blend until smooth. If you want something a bit creamier add some coconut milk or vanilla Pure Protein Powder, and for an added health boost add in the contents of 1 – 3 Acai Berry Plus capsules and some Organic Green Power Powder – yum!

Pour into lolly moulds and freeze! Then go and enjoy the sunshine 🙂

An array of Easter Biscuits!


I couldn’t let the day pass without whipping up some tasty treats! These are fun spicy Easter and spring biccies that are great fun to make, and eat! Perfect holiday activity for the kids too!

20130331-160723.jpg

The icing is flavoured with either lemon, fresh raspberry or fresh blueberries.

For the biscuits you need:

2 cups gluten free or spelt flour

1 cup raw Icing sugar

6 oz Dairy free spread

2 tsp Cinnamon

1/2 tsp Nutmeg

1/2 tsp Cloves

For decoration:

Raw coconut palm sugar

Cinnamon and chilli sugar (see here)

Currants

Raw Icing sugar

Lemon juice, raspberries and blueberries

Sugar balls etc

Preheat the oven to 175 C. Mix all the biscuit ingredients together in a bowl – ensuring the spread is well combined with the flour an sugar. Once it forms a dough pop it in the fridge for 30 mins if you have time. Remove and roll out. Use whatever shaped cutters you like to it your biscuit shapes and transfer to a baking tray.

If you are using currants for bunny eyes and noses then add those now. Sprinkle with raw coconut sugar and cinnamon and chilli sugar. Place in the oven and cook for 8 – 12 mins or until golden. Remove and allow to cool on a wire rack.

Once cool you can ice the biscuits. Mix up your icing powder with lemon juice or fresh raspberries or blueberries and then spread on the biscuits. Add sugar decorations if you like. Allow to set and then eat!

20130331-161202.jpg

20130331-161251.jpg

20130331-161326.jpg

Better buns! Hot cross fun :)


With Easter fast approaching I thought I would re-post my hot cross bun recipes from last year. One is gluten-free, the other is the same recipe but using spelt flour.

The first recipe I posted for these buns last year was for both dairy-free, gluten free hot cross buns. The taste was spot on but they were a little dense for my liking so I had a go at a second recipe with spelt flour and wow, what an improvement! They’re not gluten-free, but they are low gluten and spelt flour is often tolerated much better by people with gluten intolerance than normal flour so they’re not awful 🙂 .

The original recipe is below and for the “tweaked” version, I just used white spelt flour, instead of the rice flour, corn flour and xanthan gum and upped the yeast a bit…and….. we have… yummy buns! 🙂 woohoo! 🙂

If you want to stick to gluten free though – the original recipe isn’t half bad! 🙂

If you like it you can use candied peel instead of the orange and lemon zest (I’m not a candied peel fan myself which is why I haven’t used it). These are a little dense but being a little dense isn’t too much of a bad thing – I still manage to devour loads of them in one sitting! 🙂

150g Cornflour

100g Rice flour

1.5 tsp Dried yeast

0.5 tsp Xanthan gum

2.5 tbsp Coconut palm sugar / unrefined raw sugar

0.5 tsp Himalayan rock salt

1 tsp Mixed spice

0.25 tsp Ground cinnamon

Zest of 1 lemon

Zest of 1 orange

50g  Olive oil

225 ml Warm water

100g Raisins / currants

For the Cross (optional)

4 tbsps Rice flour

1.5 tsps Cornflour

pinch of Xanthan gum

1.5 tbsps Coconut palm sugar/ unrefined raw sugar

enough water to make a pipeable paste

For the glaze: 3-4 tbsps Golden syrup

Preheat the oven to 180 C. Put the flours, yeast, xantham gum, spices, sugar, salt and orange and lemon zest into a bowl and mix well. Next add the oil and then start to add the water gradually, mixing as you go using a wooden spoon. The mix will have the consistency of a cake batter. Beat until all the lumps are gone. Finally stir in the raisons/currants. Scrape the mixture into the centre of the bowl and cover with clingfilm and leave to rise in a warm place for approximately 10 mins. It won’t rise dramatically but it will bulk up a bit.

The proof is in the pudding…. or the hot cross bun dough!

While you wait you can make the dough for the cross. Put the flours, sugar and xantham gum into a small bowl and add enough water and mix to make a pipeable paste. Put this mixture into a piping bag, or if like me you don’t have one just pop it in a small plastic sandwich bag and then cut off the corner to pipe through.

After the dough has sat for 10 mins spoon it out onto a baking tray. Try to give your buns as much height as possible when you put the dough out. Pipe the white cross over them. Cover the tray loosely with clingfilm and leave to prove in a warm place for another 5 mins.

Place then in the oven for 10 – 15 mins. Check them regularly – the tops should start to brown and they should sound hollow when tapped on the base! Once done remove from the oven and allow to cool. If you want to glaze them then gently warm the golden syrup and then paint over the top while the buns are cooling (warning it makes them deliciously sticky!).  Allow to cool.

These are definitely best eaten warmed or toasted with some lovely home-made jam! 🙂

Chunky Chilli Chocolate Cherry mini fingers and loaves


I thought I’d mix things up a bit with a modified version of my yummy chunky cherry loaves. These have a delicious hit of chilli and a sneaky bit of cinnamon too. I happened to get a new mini mini loaf tin so made some chunky chilli chocolate cherry fingers as well as loaves!

1582

I used some chilli and chocolate infused sugar for this recipe. You can buy this ready mixed or you could easily make it yourself  – it’s simply a mix of sugar, cocoa powder, chilli powder and cinnamon. Mix 100g sugar with 10g of cocoa powder, 2 tsp cinnamon and 1 tsp chilli powder (or more if you want it hotter!). Adjust the amounts depending how much you need but keep them in those ratios 🙂

For the loaves/fingers you will need:

1/2 cup Apple puree

1/4 cup Almond butter

1/3 cup Cocoa powder

1/3 cup Almond milk/soya milk/any non-dairy milk

1/3 cup + 2 tbsp boiling water

3/4 cup Chilli and chocolate infused sugar (plus extra to sprinkle on the top)

1 tsp Vanilla extract

1 tsp Chocolate extract (if you don’t have this then use another tsp vanilla extract)

1/8 tsp Almond extract

1 1/2 cups Gluten-free flour mix (or spelt flour if you’re not worried about gluten-free)

3/4 tsp Bicarbonate soda

3/4 tsp Himalayan rock salt

1 tsp chilli flakes (adjust to taste)

4 oz Chocolate chopped into chunks (I used Willie’s chocolate for this)

1 cup chopped Sweet cherries

1570

Preheat oven to 175 C and boil the kettle (no, not for tea – though that wouldn’t hurt!).

Put the apple, almond butter, milk and cocoa powder in a mixing bowl. Add 1/3 cup boiling water and mix quickly with a fork to make a thick chocolate sauce. Add the sugar and extracts and mix well. Sieve half the flour, bicarbonate soda and salt into the mix and mix gently. Add 1 tbsp boiling water and mix again. Add the rest of the flour mixture and another tbsp boiling water and stir until smooth. Go gently – don’t over mix. Add the chilli flakes and adjust to taste – if you want it with a bit more of a hit add more! Finally add the chocolate chunks and cherries and fold in to the mixture.

Pour into the tins  (this recipe will give approx 8 – 9 tins) or if you have a mini mini loaf/finger tin then use that. Put in the oven for 10 – 25 mins (if making fingers you will need to start checking them after 10 mins as they’re so much smaller).

Check they’re done by sticking a skewer in the centre, if it comes out clean they’re done (bear in mind you may hit a cherry or chocolate when you do this so you’re looking for a lack of cake dough on the skewer – chocolate or cherry juice is fine!). Allow to cool in the tins for 10 mins then take out of the tins and cool on a wire rack. They really need to be eaten warm so the chocolate is all melty! :) Yum Yum Yum! :) 1567

Dark chocolate cherry cookies (dairy and gluten free! :) )


You’d think I’d be bored of biscuits by now …but no, I just keep thinking of new scrummy flavour combos! Today it’s dark choc and cherry – a winning combination. The tartness of the cherries works so well with the rich, dark chocolate 🙂

20130315-184707.jpg

These use the same basic ingredients as my choc and ginger biccies but just replace the ginger with a handful of dried cherries! Simple! 🙂

20130315-184759.jpg

Yummy mummy! Dark choc and ginger cookies (low gluten and dairy free!)


You may have noticed a certain penchant for cookies and biscuits lately? what can i say? I just love this simple recipe and how easy it is to customise it with whatever flavours you like 🙂

20130310-094729.jpg

20130310-094807.jpg

So this weekend Mother’s Day and the return of my lovely friend from holiday inspired me to bake some more biscuits for both of them 🙂 Both are fans of the combo of ginger and dark chocolate and they work brilliantly with these cookies. I also had some fun with a cool set of letter cutters (I’m such a child!).

20130310-095335.jpg

20130310-095345.jpg

You will need:

2 cups Spelt flour or gluten-free flour mix

1 cup Unrefined Icing sugar

6 oz Dairy-free margarine (get the best quality you can)

A handful of crystallised ginger

A handful of dairy free chocolate (I used Willie’s chef’s drops)

20130310-093326.jpg

Pre-heat the oven to 180 C. Put the margarine in a large mixing bowl, sieve the flour and icing sugar in and cream it together. Try not to over mix but make sure the margarine is properly mixed with the dry ingredients. Chop the ginger and chocolate into small pieces and add to the mix. Once it’s formed a dough wrap in cling film and chill for 30 mins (optional). If you find the dough is too sticky then add some more flour.

Roll the dough out and use cutters to cut your biscuit shapes and transfer to a greased baking tray. I found that this dough worked best as a thick biscuit (about half a cm). If you don’t want to roll it then take small balls and flatten on to the baking tray. Bake in the oven for 10 – 12 mins or until as brown as you like them (I like my biscuits bordering on burnt so I kept them in a little longer! 🙂 ).

If you have some letter cutters (or you’re handy with a knife and can freehand them) then you can have fun spelling stuff in biscuit form! 😉

20130310-095722.jpg