Blackberry and Apple Tray Bake!


Now obviously with all those yummy blackberries I had to make something cake-based too… so I had a go at a blackberry and apple tray bake. It’s topped with meringue so isn’t egg-free, though it is dairy-free. For the cake itself you can either use eggs or an egg replacement (see below). This is super sweet and super moist and siuper yummy! It’s a perfect Autumn afternoon snack.

IMG_0094

You will need:

140g dairy-free Margarine

140g Coconut sugar

1 egg and 2 egg yolks beaten together (or 3 tbsp Chia seeds soakes in 9 Tbsps water)

1/2 tsp Vanilla extract

100g white Spelt flour and 1 tsp Baking powder (OR 100g self-raising gluten-free flour mix)

100g ground Almonds

1 tsp Baking powder

1/2 tsp ground Nutmeg

1/2 tsp ground Cinnamon

pinch of Himalayan rock salt

1 large Bramley Apple, sliced (approx 140g once peeled and cored)

125g Blackberries

For the Meringue topping:

25g Blackberries

100g unrefined Golden caster sugar

2 Egg whites

1 tsp Lemon juice

pinch of Himalayan rock salt

2 tbsp toasted Almond flakes

Pre-heat oven to 160 C or 140 C (fan oven) and grease and line a square tin (approx 23cm).

Beat the margarine and coconut sugar together until pale and creamy. Then beat in the egg and yolks (or chia seeds), and the vanilla. If you are using a self-raising gluten-free flour mix then sieve that in together with the baking powder and spices and salt. If you are using spelt flour sieve the baking powder (both measures of baking powder) and spices in to the spelt flour and then sieve it in to the butter mix. Next add in the ground almonds and fold it all together to form a thick batter.

IMG_0081
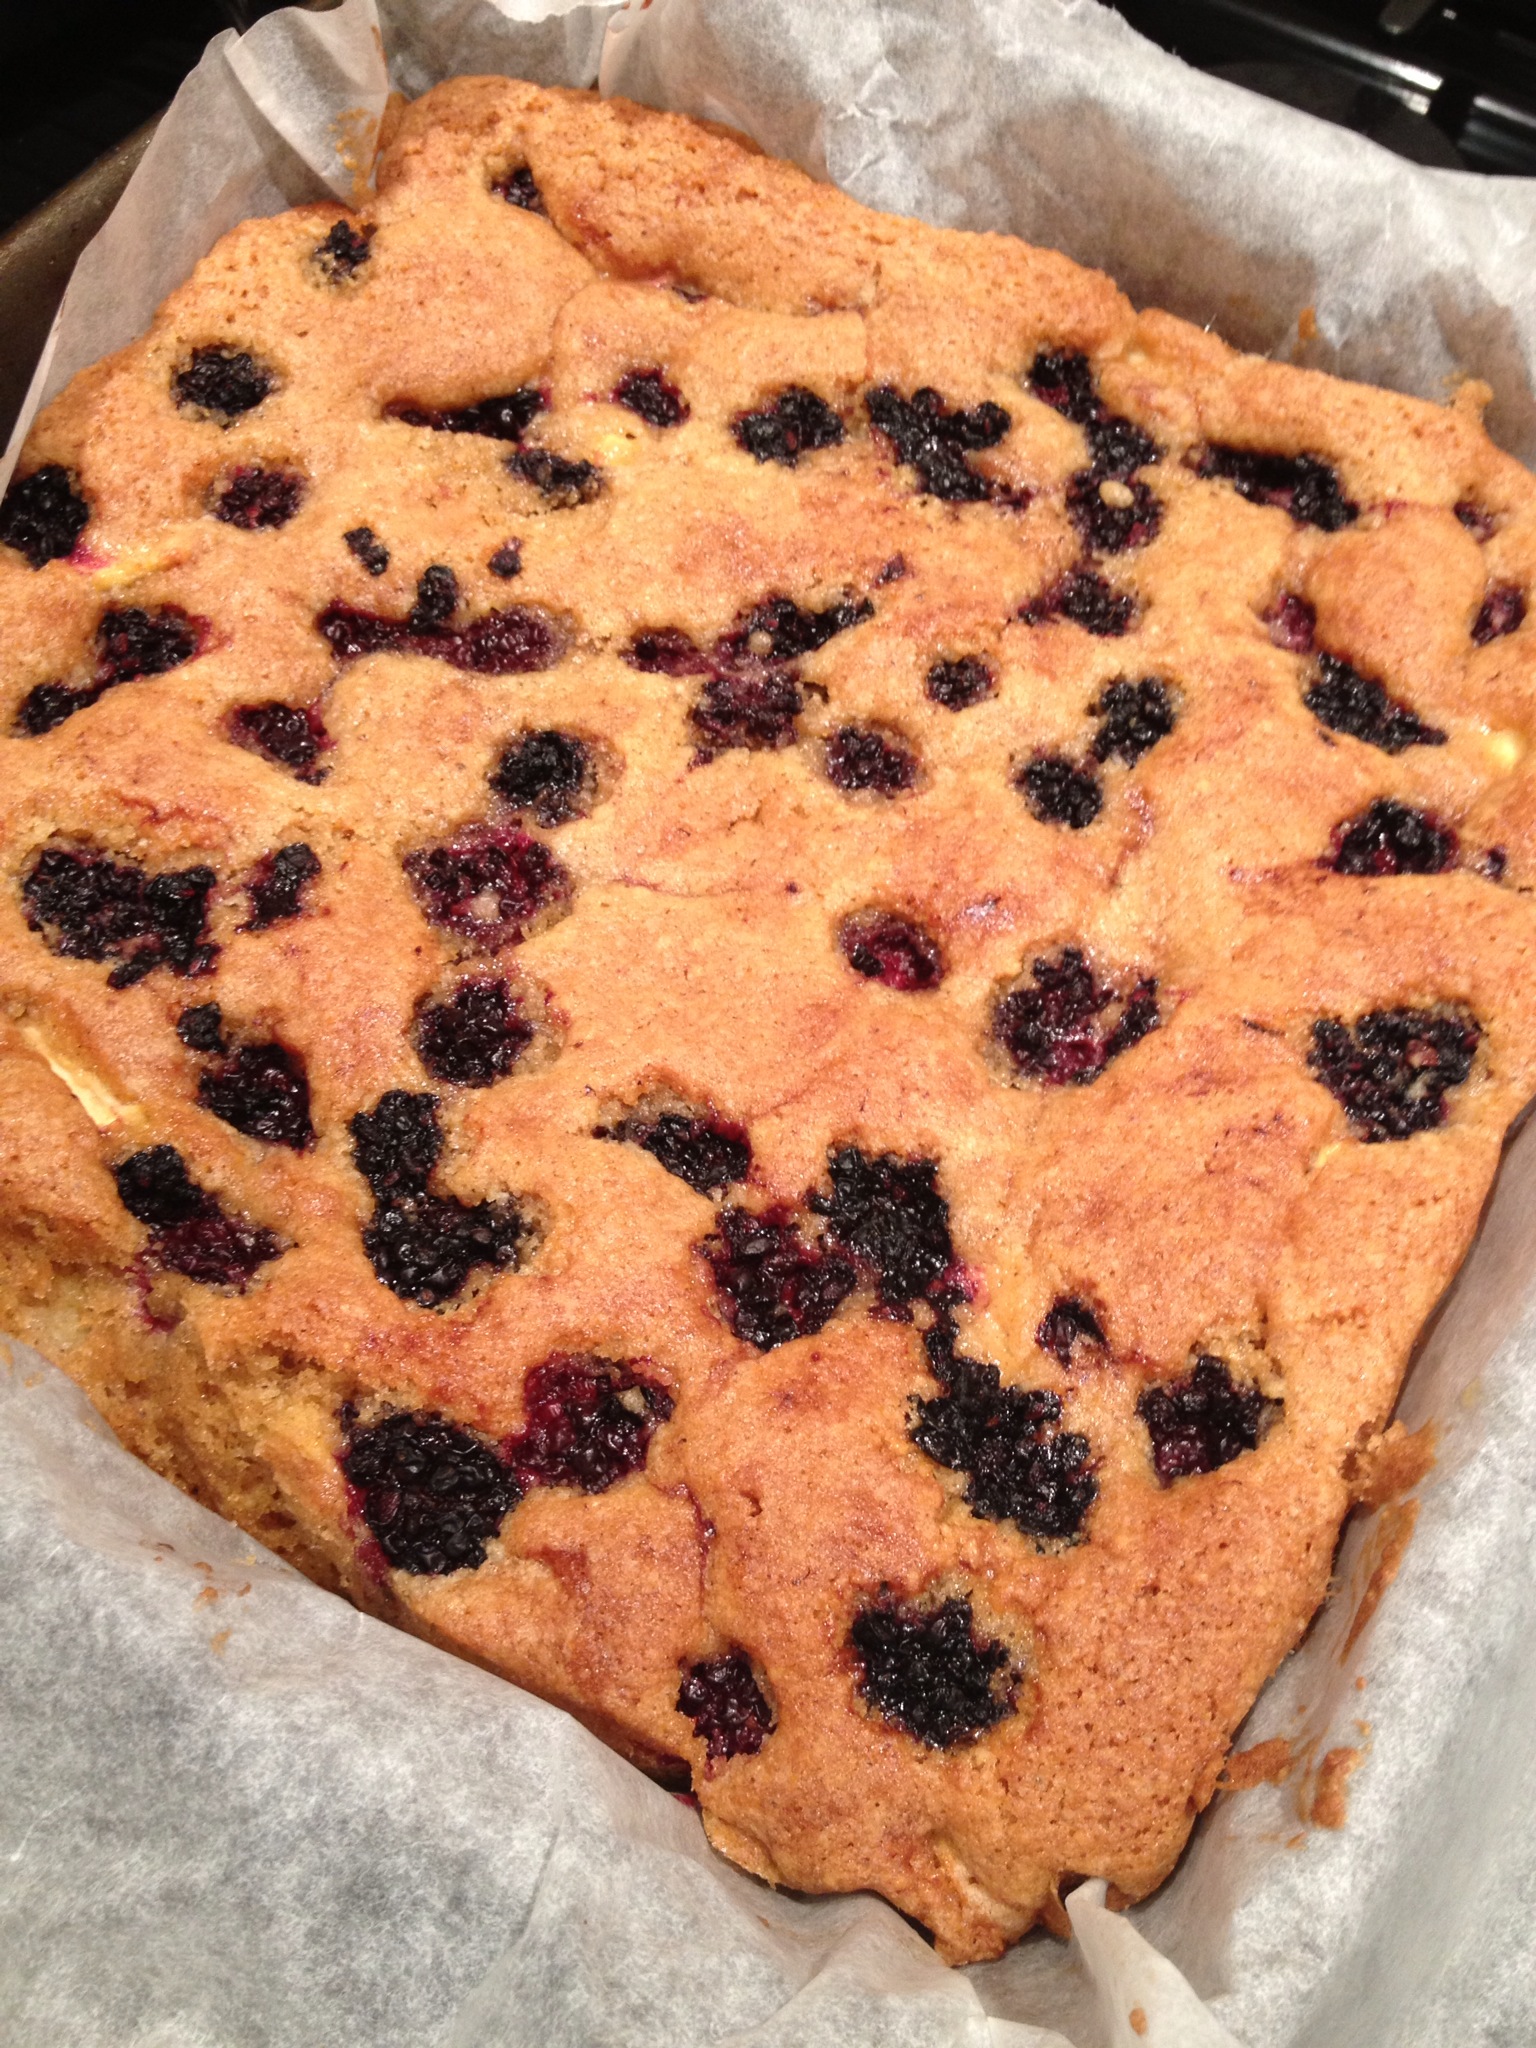
Chop the apple up in to small chunks or slices (whatever you prefer) and fold in to the mix. Pour the batter in to the tin and then scatter with the blackberries. Poke the blackberries down a bit so they are well bedded in to the batter.

IMG_0084Pop in the oven and bake for 40 – 45 mins until a skewer comes out clean. Once you remove the cake leave the oven on.

IMG_0085While it is baking you can prepare the blackberry sauce for the meringue. If you are not using meringue this sauce can be drizzled over the cake 🙂

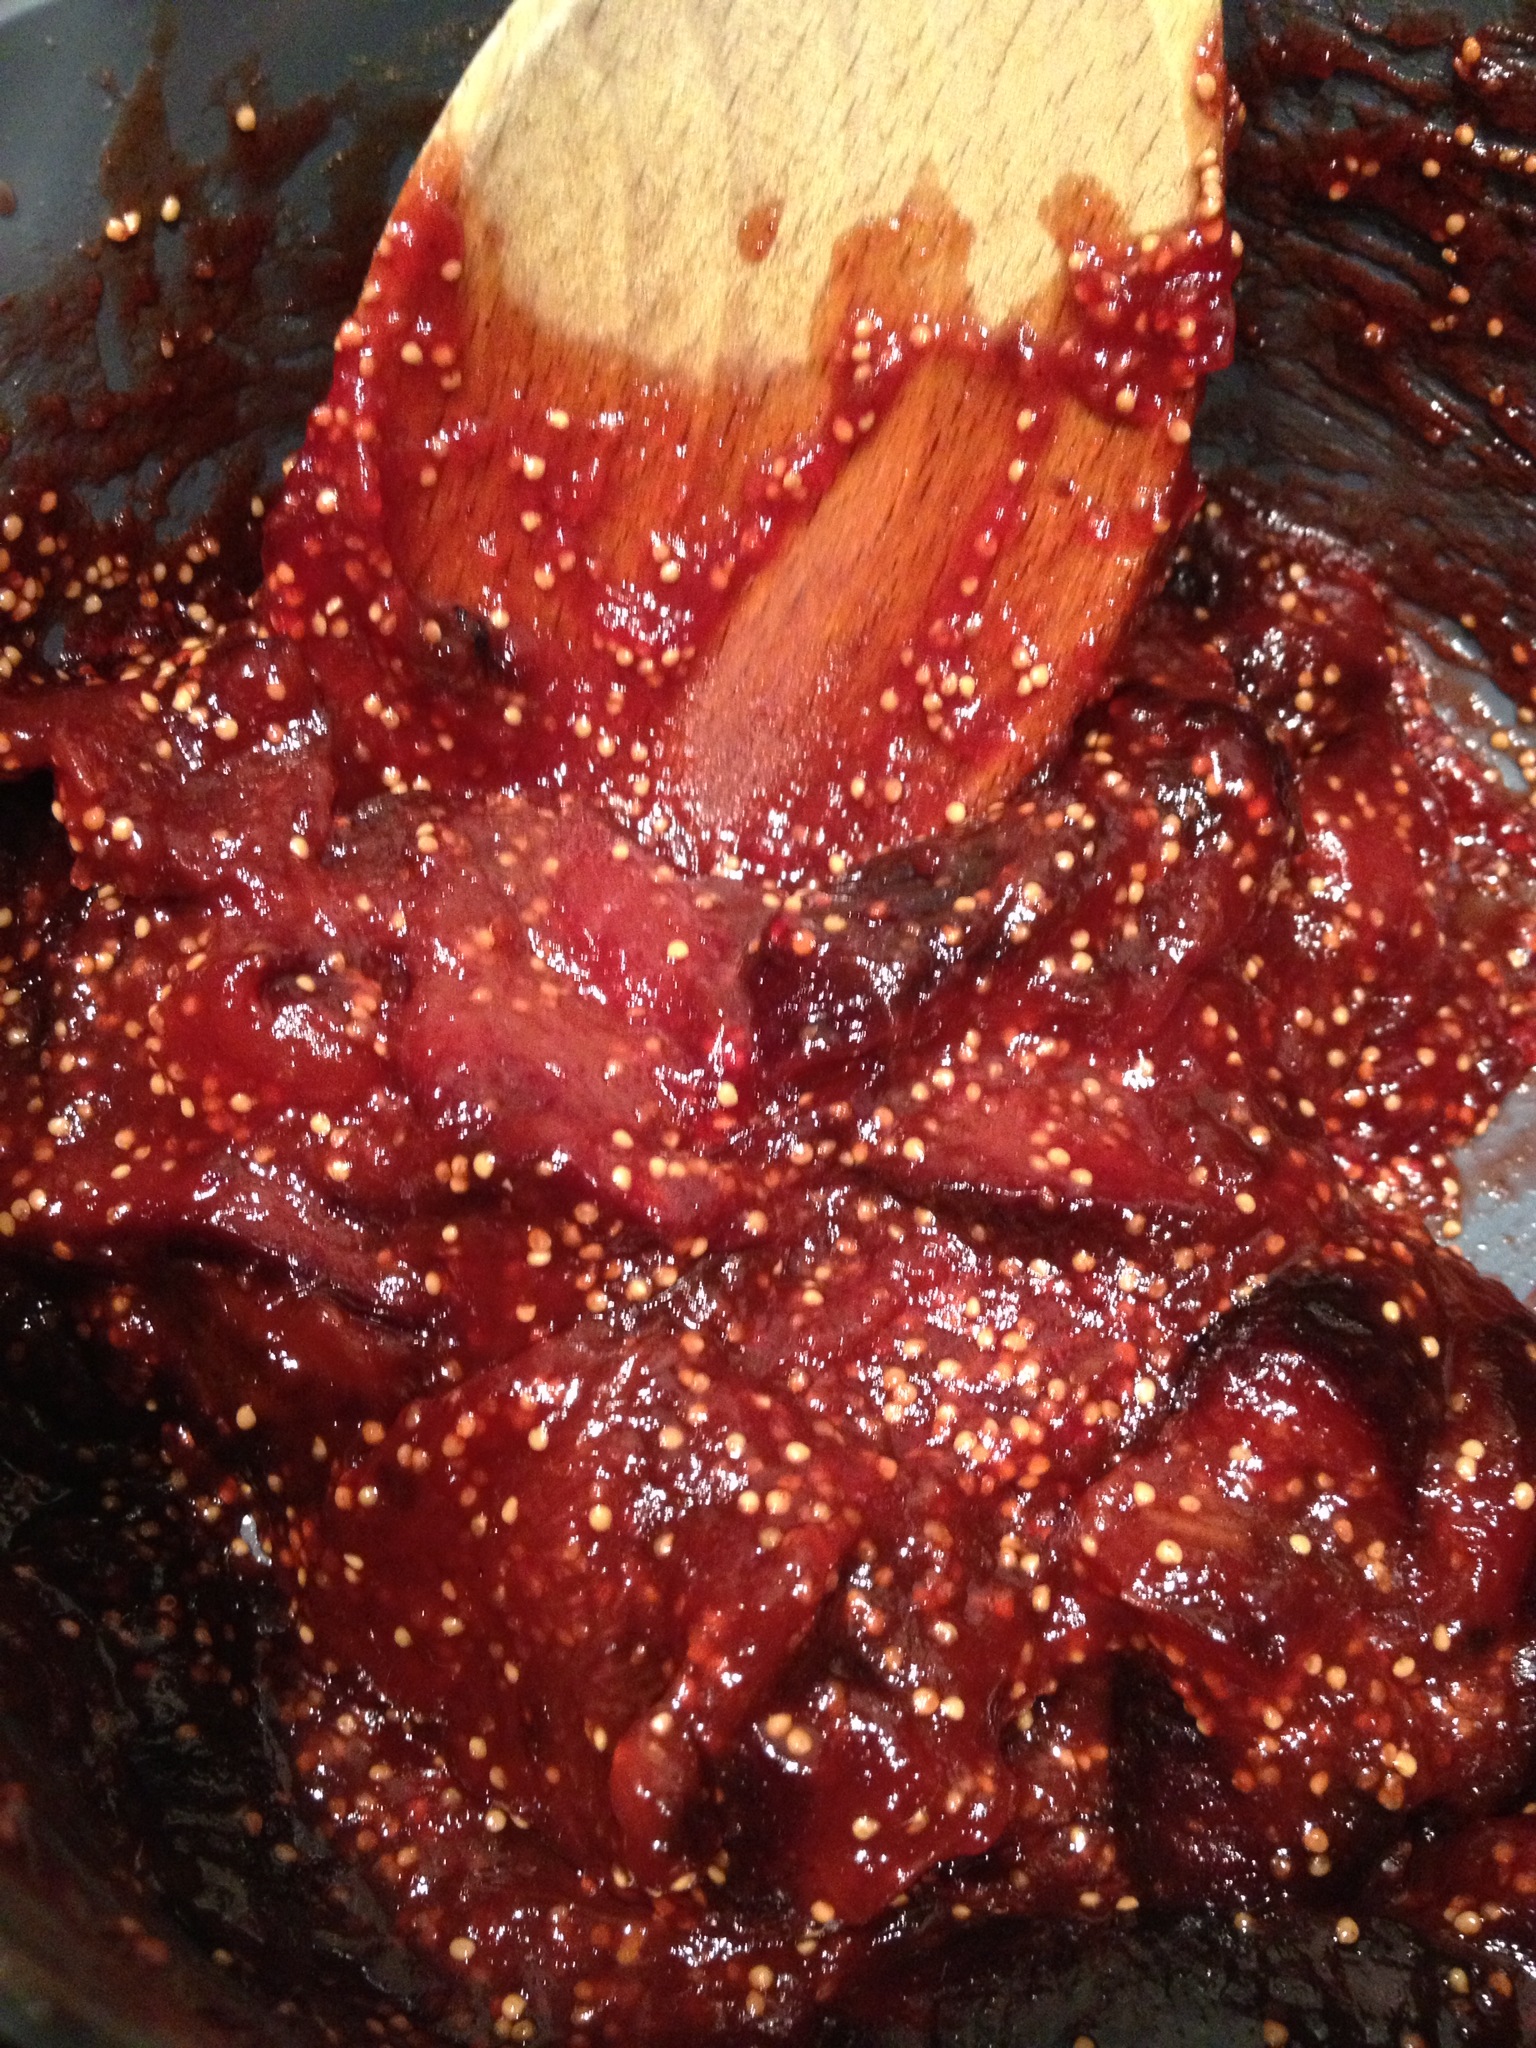
Put the remaining blackberries and 1 tsp sugar in a bowl and cover with cling film. Pop in the microwave for 30 secs and then mash until saucy! 🙂 You can also do this in a saucepan over a low heat. Set aside to cool.

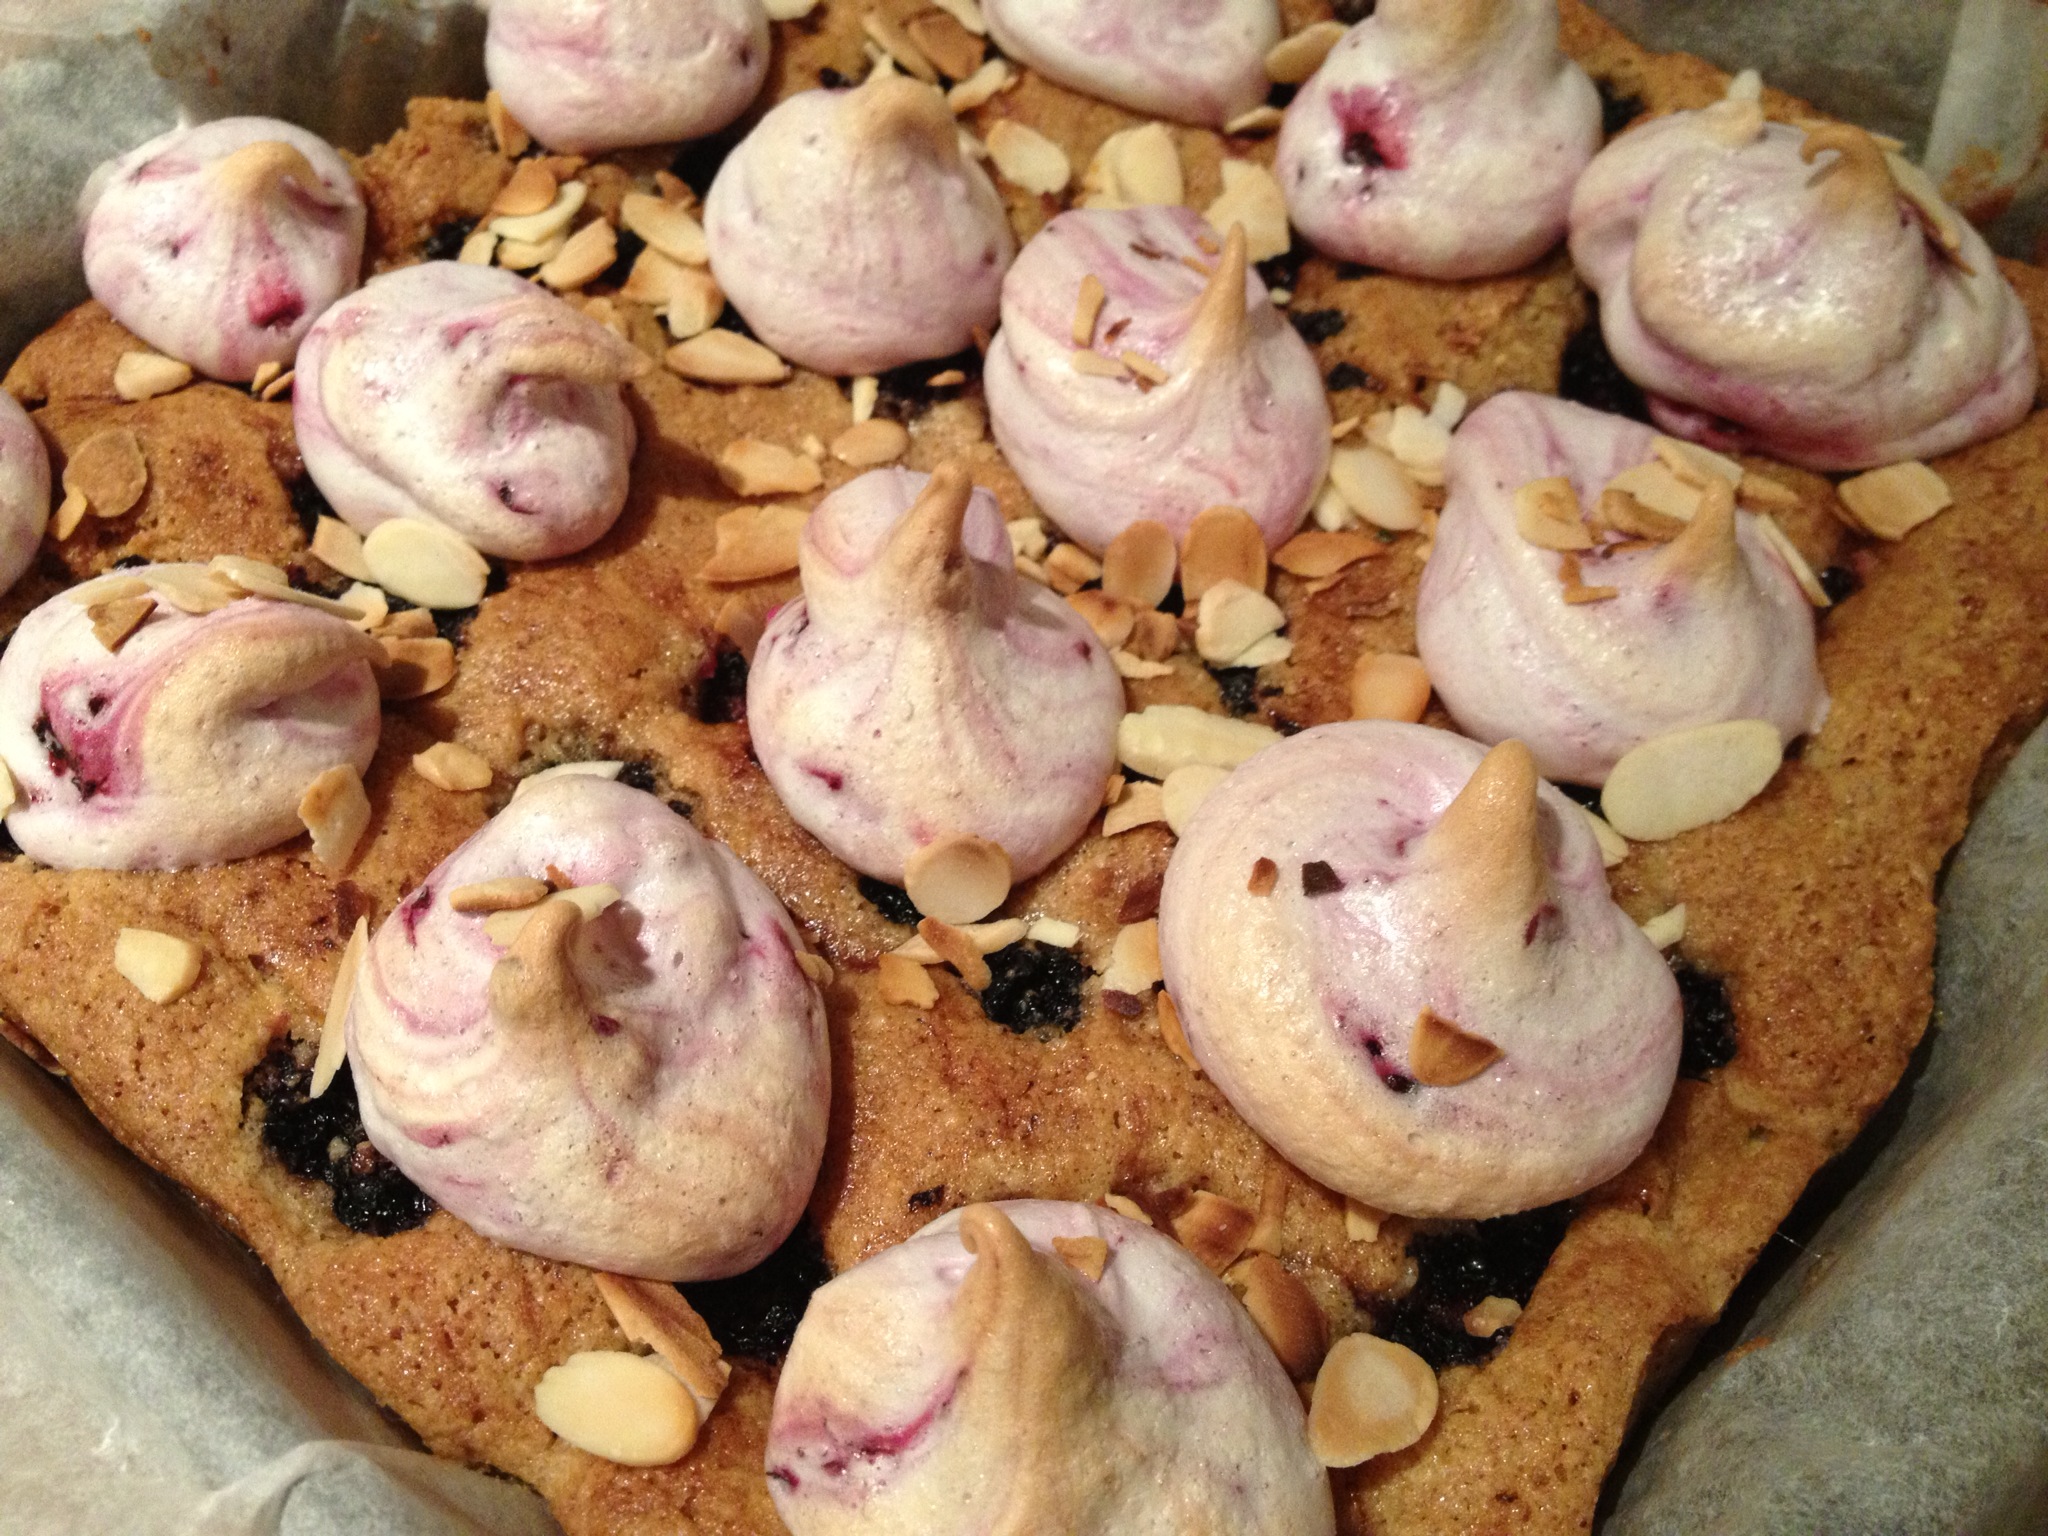
Take the 2 egg whites and whisk with the lemon juice and a pinch of salt until they form stiff peaks – and if you’re brave do the whole “holding the bowl upside down above your head” test to see if they’re stiff enough! Add the sugar 1 tbsp at a time and whisk in well. Add the blackberry sauce and ripple through with spoon. Then spoon the mixture in to a piping bag or in to a plastic freezer bag and snip off the corner.

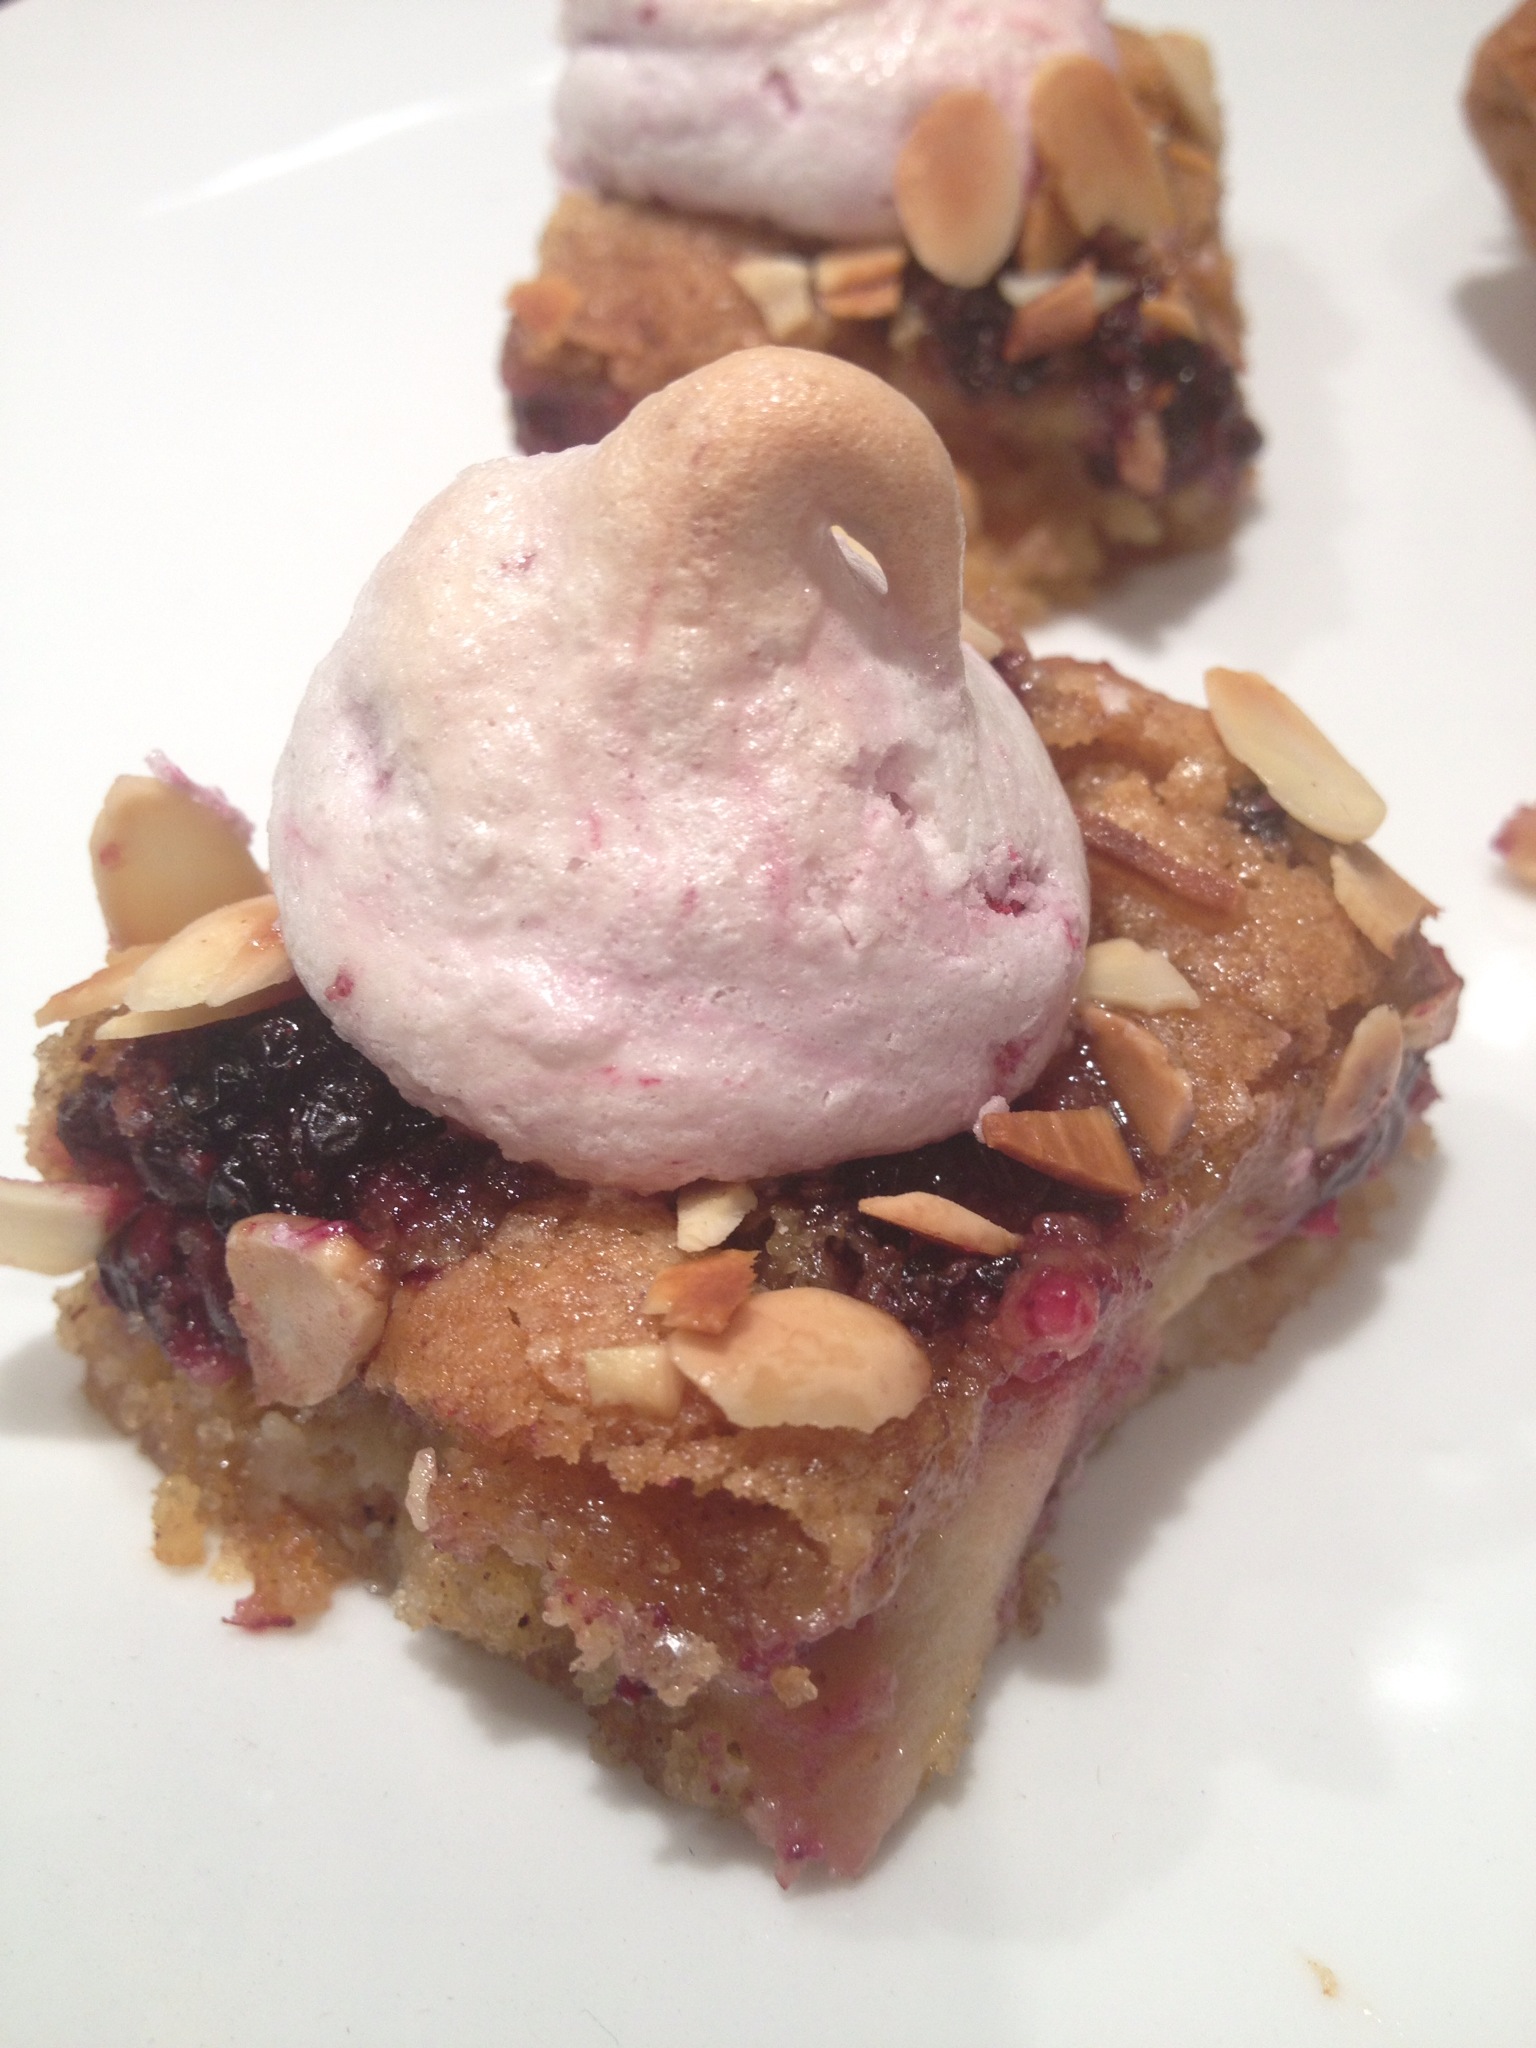
Pipe the meringue on to the cake – I aimed for one meringue per piece so it was about 16 little meringues but you can do whatever pattern you like! Scatter the almonds over the top and place the cake back in the oven for 10 – 12 minutes until the meringues are set.

IMG_0090

Then remove and allow to cool in the tin for 30 mins. Cut in to little squares and enjoy!

IMG_0099

For we all like Figgy Jam……. Fig and Ginger Jam!


This is so easy and so delicious! I’ve been trying to add a bit more ginger in to my diet lately as it’s so good for your stomach and helps with the digestion of other nutrients. It’s also a fab anti-inflammatory so is brilliant for muscle and joint aches. Apparently it has aphrodisiac properties as well!!!

Figs are also brilliant for you – they’re full of fibre and are a great source of potassium and calcium and they taste yummy! 🙂 So this jam is perfect! It’s really easy to make and tastes divine.

IMG_0042

You will need (makes one small jar):

250g fresh, ripe Figs

2 tbsp Maple syrup (or your liquid sweetener of choice – agave, honey, rice syrup etc)

1.5 tbsp Lemon juice

zest of 1/2 Lemon

3/4 tsp ground Ginger

1/4 tsp ground Cinnamon

Cut the figs in to quarters (or smaller if they are very large) and pop in a saucepan. Add the other ingredients and then bring to a simmer over a medium heat, stirring all the time.

IMG_0031

Don’t let the mixture boil but keep it simmering for about 30 – 40 minutes or until the fig has started to break down and it takes on a jammy consistency! Taste (carefully – it will be hot!) and adjust the sweetner if required.

IMG_0034

Take a clean glass jar and rinse with warm soapy water (or pop through the dishwasher). Dry it well and then place it in to the oven at about 180 C for approx 20 minutes. Remove carefully and then add the jam to the jars while they are both still hot. Pop a lid on and once cool place in the fridge. This should keep for a few weeks at least.

Enjoy your jam spread on some yummy rye toast with a nice cup of tea 🙂

Spice up your summer! Chocolate chilli cookies (dairy free, low/no gluten)


Chocolate and chilli – what better combination can there be?

I recently baked up another batch of these to welcome home a lovely friend from a trip away and they seemed to go down well so I thought I’d share! They were inspired by a chocolate cookie recipe I found years ago and modified but I can’t now find the original link – when I do I’ll add it! They’re quick and easy to make and taste divine! Oh, and a warning, they smell so good when cooking that it’s pretty hard not to eat them all right there and then!

Makes about 20 (depending how big you make them!)

You will need:

1 and 2/3 cups of white Spelt flour or a gluten-free blend
1/2 raw Cacao powder
1/2 cup Almond oil
1 cup Raw coconut sugar or other raw sugar
1/4 cup Maple syrup (the best quality you can get)
3 tbsp Almond milk (you could use soya or coconut milk too)
1 tsp Bicarbonate of soda
1/4 tsp hot Chilli powder (I used dried chillies, ground up – and they are hot!)
1/2 tsp ground Cinnamon
1/2 tsp Cayenne pepper
1/4 tsp Himalayan rock salt
1 tsp Vanilla extract
1 tsp Chocolate extract (optional – available from whole food stores, online, or Waitrose for those in the UK)

You will also need some cinnamon chocolate chilli sugar to coat them in 🙂 You can buy pre-mixed sugar, but I prefer to make my own. It’s easy! Just mix 100g sugar with 10g of cocoa powder, 2 tsp cinnamon and 1 tsp chilli powder (or more if you want it hotter!). Adjust the amounts depending how much you need but keep them in those ratios. Make up a batch and keep it in an airtight jar. Just shake before use as the sugar tends to sink to the bottom, leaving the lighter cocoa etc at the top.

Preheat the oven to 350 F and grease and line a baking tray (or 2!).

Put the oil, sugar, maple syrup and milk in a bowl and mix together using a fork. Add in the vanilla extract and mix well. Mix the rest of the ingredients in a large bowl and sieve in to the wet ingredients. Mix until you have a dough. The dough will be quite moist and sticky.

Put the cinnamon chocolate chilli sugar on a plate. Take small, walnut sized, balls of the dough and pat into the topping sugar to make discs about 2 inches across. Make sure they are well covered in sugar. Put them on to the baking tray with the sugar facing up. Cook for 10 – 12 minutes until they are crackly on the top and have spread a little. Allow to cool on the baking tray for 5 mins then transfer to a wire rack to cool.

Enjoy! :)

Scrummy Cinnamon Quinoa Porridge Recipe – Comfort brekkie :)


I fancied something a bit different for brekkie this morning as I’ve been slightly overdosing on the homemade granola lately! I’ve had a real hankering for quinoa too so I thought I’d sort out both issues in one fell swoop and make some yummy quinoa porridge. It’s very simple and very delicious! If you don’t like cinnamon just leave it out 🙂

_MG_7852

1/2 cup Quinoa

1 cup coconut/almond/soya milk (I used coconut milk today because I happened to have it!)

1/2 tsp coconut oil (not essential but adds a nice smoothness)

1 tbsp nut butter (again, not essential but adds flavour and smoothness) – I used almond butter today

1 tso Cinnamon

Toppings of your choice (I used nuts, dried fruit, coconut and apple compote)

Drizzle of date syrup / sweet freedom if desired

_MG_7860

Put the quinoa and milk into a saucepan and bring to the boil. Add in the cinnamon and put a lid on it and simmer gently for 10 – 15 minutes (until the quinoa has absorbed the liquid and is tender – add more milk if necessary). Half way through stir in the coconut oil and nut butter. Once the quinoa is tender spoon into a bowl. This amount will do one large portion or two small ones. It keeps in the fridge for a few days so you can save some if you want ( I confess, I ate it all!).

Add your desired toppings. I added a dollop of apple compote, toasted almonds and pistachios, dessicated coconut and some dried mixed berries (goji, blueberry, cranberry and golden raisins). Finally add a drizzle of date syrup if you like. Then enjoy! 🙂 This will definitely set you up for the day! Healthy and filling and absolutely scrummy 🙂

_MG_7856

Oh So Simple Apple Compote Recipe


I confess, I have a problem. I am utterly addicted to apple compote. I have it with my homemade granola for brekkie, I have it with co yo for a lovely comforting dessert and I have it cold out the fridge for a mid-arvo snack!  I have posted this before when I posted my mincemeat and apple festive compote but I thought it was worth a post in it’s own right!

Never, ever, buy a store bought compote unless you can help it. They’re so simple to make and unless you’re careful about what you buy you are basically just buying pure unrefined sugar!

The apple compote is super simple! Just peel and core some bramley apples (as many as you want to eat!), chop small and put in a saucepan with a tablespoon of water. Gently bring to the boil, add a lid and simmer on a low heat until the apple is all mushy! I like it just like this, but if you want it sweeter then add some raw sugar while you cook them. Stir occasionally to stop the apple sticking and make sure it doesn’t boil dry (just add a little more water if it does). Once cooled transfer to a jar and store in the fridge for up to a week (mine never lasts that long!). You can also freeze it in batches too :)

_MG_7417

Crunchy Granola Bars


I’ve been needing a mid-afternoon pick me up lately and as I’m off the ‘Willies’ (chocolate, that is! :)) I thought I’d have a go at creating a crunchy, granola snack bar. My first attempt ended up as a chewy breakfast kinda bar (and although I don’t like it as much I will post the recipe as some of my tasters loved it even if I didn’t!). So I went back to the baking tray and came up with this little beauty 🙂 Totally detox friendly! 🙂

_MG_7771

500g Spelt porridge oats (the whole ones, not flakes) or Jumbo porridge oats

350g mixed nuts of your choice (I used almonds, pistachios and cashews)

100g Pumpkin seeds

100g Sunflower seeds

50g Chia seeds

50g Linseeds

200g dried fruit (I used blueberries, cranberries and banana chips this time)

1 tso cinnamon

250 – 350g Sweet Freedom (light or dark)

Preheat the oven to 150 C. Start by placing the spelt flakes in a baking tray and put in the oven to toast for approx 20 mins, until brown. Place the nuts in a dry frying pan and toast over a medium heat until they start to turn brown. Once the spelt and nuts are toasted add to a large bowl. Add in all the other ingredients, except the sweet freedom. Mix well and then start to drizzle in the sweet freedom. Keep going until you have a sticky mixture. It needs to start to hold together, but be careful not to add too much. Keep stirring well.

Turn the oven up to 200 C. Spread the sticky mixture out on to a baking tray covered in baking parchment. Arrange the mixture to the thickness you want for your bars, 1 – 2cm works well. Compress it down as much as you can. Place in the oven for up to 10 mins until it goes a lovely golden brown. Keep an eye on it as it can burn. As you take it out use the back of a spoon to compress the mixture again and leave to start to cool. It will not hold together at this point so don’t try to cut it! Keep an eye on it as it cools, once it starts to hold together you can divide it in to bars. It should be cool enough to snap. Peel it away from the baking parchment and put it upside down on a wire rack to cool. Keep an eye on it and move the pieces regularly or they will stick! Once totally cool it should be hard and crunchy. Pop it in an airtight tin and it will keep for ages! 🙂


Fruit and Nut Cookies – gluten, dairy, fat and sugar free! omg!


I’m now mid week in to the first week of this amazing detox from Pure Form Fitness. I’ve done this programme before and I just love the energy it gives me and the results it achieves without leaving me feeling deprived or hungry. I also love the way it inspires me to create detox-friendly things to keep any rogue cravings at bay! These liitle cookies just sum up all of that! Fun and easy to make, delicious to eat and 100% detox friendly – just perfect with my afternoon cup of rooibos tea 🙂

_MG_7660-2

You can use any nuts and fruits you like but these are the ones I had in my cupboard and they seem to work well. If you substitute the fruit go for large, juice dried fruits like figs and dates, not things like blueberries etc.

_MG_7671-2

125g Almonds

75g Brazil nuts

40g Dried coconut flakes

85g Dried Prunes (or dates)

45g Dried apricots

20g Pumpkin seeds

15g Sunflower seeds

zest of 1/2 Lemon

1 tbsp freshly pressed Apple juice (or prune juice)

Preheat the oven to 150 C and line a baking tray with baking parchment.

Place everything in a food processor and pulse until the nuts and fruit are finely chopped and the mixture starts to come together. Add a little more juice if you find it’s too dry. You can either make small balls of the mixture and then flatten them on to a baking tray, or if you want pretty little shapes like my flower-shaped biccies then line a baking tray with baking parchment and tip the mixture in to it. Flatten the mixture down. I found the easiest way was to use a piece of baking parchment and then apply pressure with a palette knife or my hands. You want it to be about 5mm thick and well compressed. Use a biscuit cutter to cut out shapes and carefully transfer to another lined baking tray.

Bake in the oven for 15 minutes, or until firm, then cool on a wire rack. They will be a little pliable when removed, but as they cool they will harden.

Eat with a lovely cup of tea! 🙂

If you’re feeling decandent you can also add a layer of peanut butter and make a cookie sandwich! omg! 🙂

_MG_7687

Cranberry and Apple Meringue pie! oh my!


Hands up if you love Lemon Meringue Pie! I do! And yes I know, meringue contains eggs, so I’m very sorry to my vegan friends (although you can use a commercial egg replacer for meringue so all is not lost!), but this festive meringue pie is gluten and dairy free 🙂 It’s a nice change to the usual festive fair!

_MG_6748

Pastry

100g Ground almonds
100g Flaked almonds
75g Spelt or Rice flour(or other gluten free flour)
25g Golden raw Caster sugar
50ml Almond oil
3 -4 tbsp cold almond or other non dairy milk
Pinch of Himalayan rock salt

Filling

4-5 Bramley apples, peeled, cored and thickly sliced
250g frozen or fresh Cranberries
juice of 1 clementine
75g Dried cranberries
1 tablespoon Corn flour
Raw unrefined sugar (if required)

Meringue

3 Large egg whites (or egg replacer)
150g Golden raw Caster sugar

Preheat the oven to 180 C. Put the ground and almonds into a bowl with the flour and salt and stir to combine. Keep stirring and add in the olive oil gradually. Add 2 tablespoons of almond milk and keep stirring. The mixture should hold together when pressed, if it doesn’t then add some more almond milk, stirring all the time, until it does. At this point have a taste. If you want a sweeter pastry then add some more sugar until you get the desired flavour. Press it into a 20 cm pie or fluted flan dish. Bake in the oven for 15 minutes or until set and barely golden.
Remove from the oven and brush the almond pastry with a little almond oil and return to the oven for a few minutes to set then set aside to cool.

Now for the filling! First you need to cook the cranberries. Place the frozen or fresh cranberries in a pan with the juice of 1 clementine (or half an orange if that’s easier!). Cook for 5 mins until the cranberries start to soften and burst. Taste – if too tart for you then add a little raw sugar. Put the apples, cooked cranberries and dried cranberries in a saucepan with 75ml water and bring to the boil. Simmer, partially covered, for 10 minutes.

Mix the corn flour with a tbsp of cold water till smooth then stir into fruit mixture. Boil for 1 minute then pour into the pastry case.

If using them then whisk the egg whites until stiff, then beat in the sugar, a third at a time, to form a thick meringue. Spoon over the fruit and bake 20-25 minutes until golden.
Leave to cool for a few minutes then transfer to a plate to cool.

_MG_6755

Festive comfort pudding (or breakfast!) Apple and mincemeat compote


I love a hot, comforting pudding on a cold night and one of my favourites is apple compote with nuts and yoghurt. I’m also a massive mincemeat fan soI thought I’d combine the two!

The apple compote is so simple to make it’s embarrassing! Just peel and core some bramley apples (as many as you want to eat!), chop small and put in a saucepan with a tablespoon of water. Gently bring to the boil and simmer on a low heat until the apple is all mushy! I like it just like this, but if you want it sweeter then add some raw sugar while you cook them. Once cooled transfer to a jar and store in the fridge for up to a week (in fact mine never lasts that long!). You can also freeze it in batches too 🙂

_MG_7417

For the mincemeat I use my favourite home made mincemeat recipe which I use for my mincepies. It was originally featured on the Pure form fitness kitchen – here.

Once done simply combine the two! I heat mine in the microwave for a few mins then serve with some delicious Co Yo yoghurt and toasted almonds – yummo! 🙂

_MG_7478

IT’s CHRISTTTTTMAAAAASSSS! :) A rich tasting christmas cake that’s gluten and fat free!


Well I had a special request to see if I could come up with a gluten free christmas cake. The big challenge was not only making it gluten free but also dairy free without turning to processed soya margarine… so I had little play around this week and I think I’ve got a winner here.  At first I wasn’t too sure about it, I was worried it was more of a bread pudding or tea loaf than a christmas cake. It’s now been tested by a good friend and christmas cake connoisseur and she gave it the thumbs up so I think it’s ready to be posted here!

IMG_9854

Gluten free flour blend:
65g Gram flour and 105g Rice flour
3/4 tsp Xantham gum
1 tsp Baking powder

or 170g White spelt flour for a low gluten option

For the rest of the cake:

85g Raw coconut sugar (or dark muscovado)
85g Currants
85g Sultanas
70g Raisins
25g Dried cherries– chopped
25g Dried cranberries
140ml Soya milk (or oat milk, rice milk, or coconut milk)
85g Ground linseed (just pop whole linseeds in a coffee grinder and whizz until powdery)
enough water to cover well.
Grated rind of 1/2 – 1 lemon
1/2 tsp Bicarbonate soda
1/2 tsp Cinnamon
1/8 tsp Nutmeg
1/8 tsp Ground cloves
1/2 tsp Mixed spice
pinch Himalayan rock salt
45ml Brandy (optional)

Sieve the gluten free flour blend (gram and rice flour, xantham gum and baking powder) (or spelt flour) together with the salt, cinnamon, nutmeg, cloves and mixed spice in to a large mixing bowl. Put the ground linseed into a small bowl and cover with water. Allow the linseed to soak up the water, then add a bit more, you want a gelatinous consistency. Stir it in to the flour mix. It will be quite hard to mix, add a little water if necessary, but not too much.

Stir in the sugar and dried fruit. Add the lemon rind and give it a good but gentle stir. Then add all but 2 tbsp of the soya milk and mix gently again. Gently warm the 2 tbsp of soya milk in a microwave or on the hob – don’t let it boil, just warm it (you should be able to put your finger in it without it burning!). Add the bicarbonate of soda to the warm milk and then add to the cake mixture amd stir gently until combined.

Pour the mixture into a lined 7 inch cake tin.  Smooth the top and make a small hollow in the centre. Bake at 180 C for one hour, then turn the oven down to 160 C and bake for a further 30 – 45 mins (or until a skewer insered in the middle comes out clean). Keep an eye on it while it’s baking.

Before you bake it you can add blanched almonds to the top. If you do this then make sure you check the cake regularly and when they start to brown cover the cake with foil for the rest of the baking time.

Once the cake is cooked remove from the oven and allow to cool for 5 minutes before removing from the cake tin. Allow to cool.

IMG_9843

If you are going to use the brandy then once the cake is cool prick it with a cocktail stick or a small skewer  and feed with a third of the brandy. Then wrap the cake in greaseproof paper and store in an airtight container. You can pour the rest of the brandy over the cake at weekly intervals. With the Brandy in it it will keep for up to a year (apparently!), without it will last 4 weeks if stored properly.

Obviously you can then add marzipan and royal icing to this. I am going to have a go at creating some dairy and gluten free marzipan and royal icing so watch this space!

IMG_9852