Blackberry Chia Jam


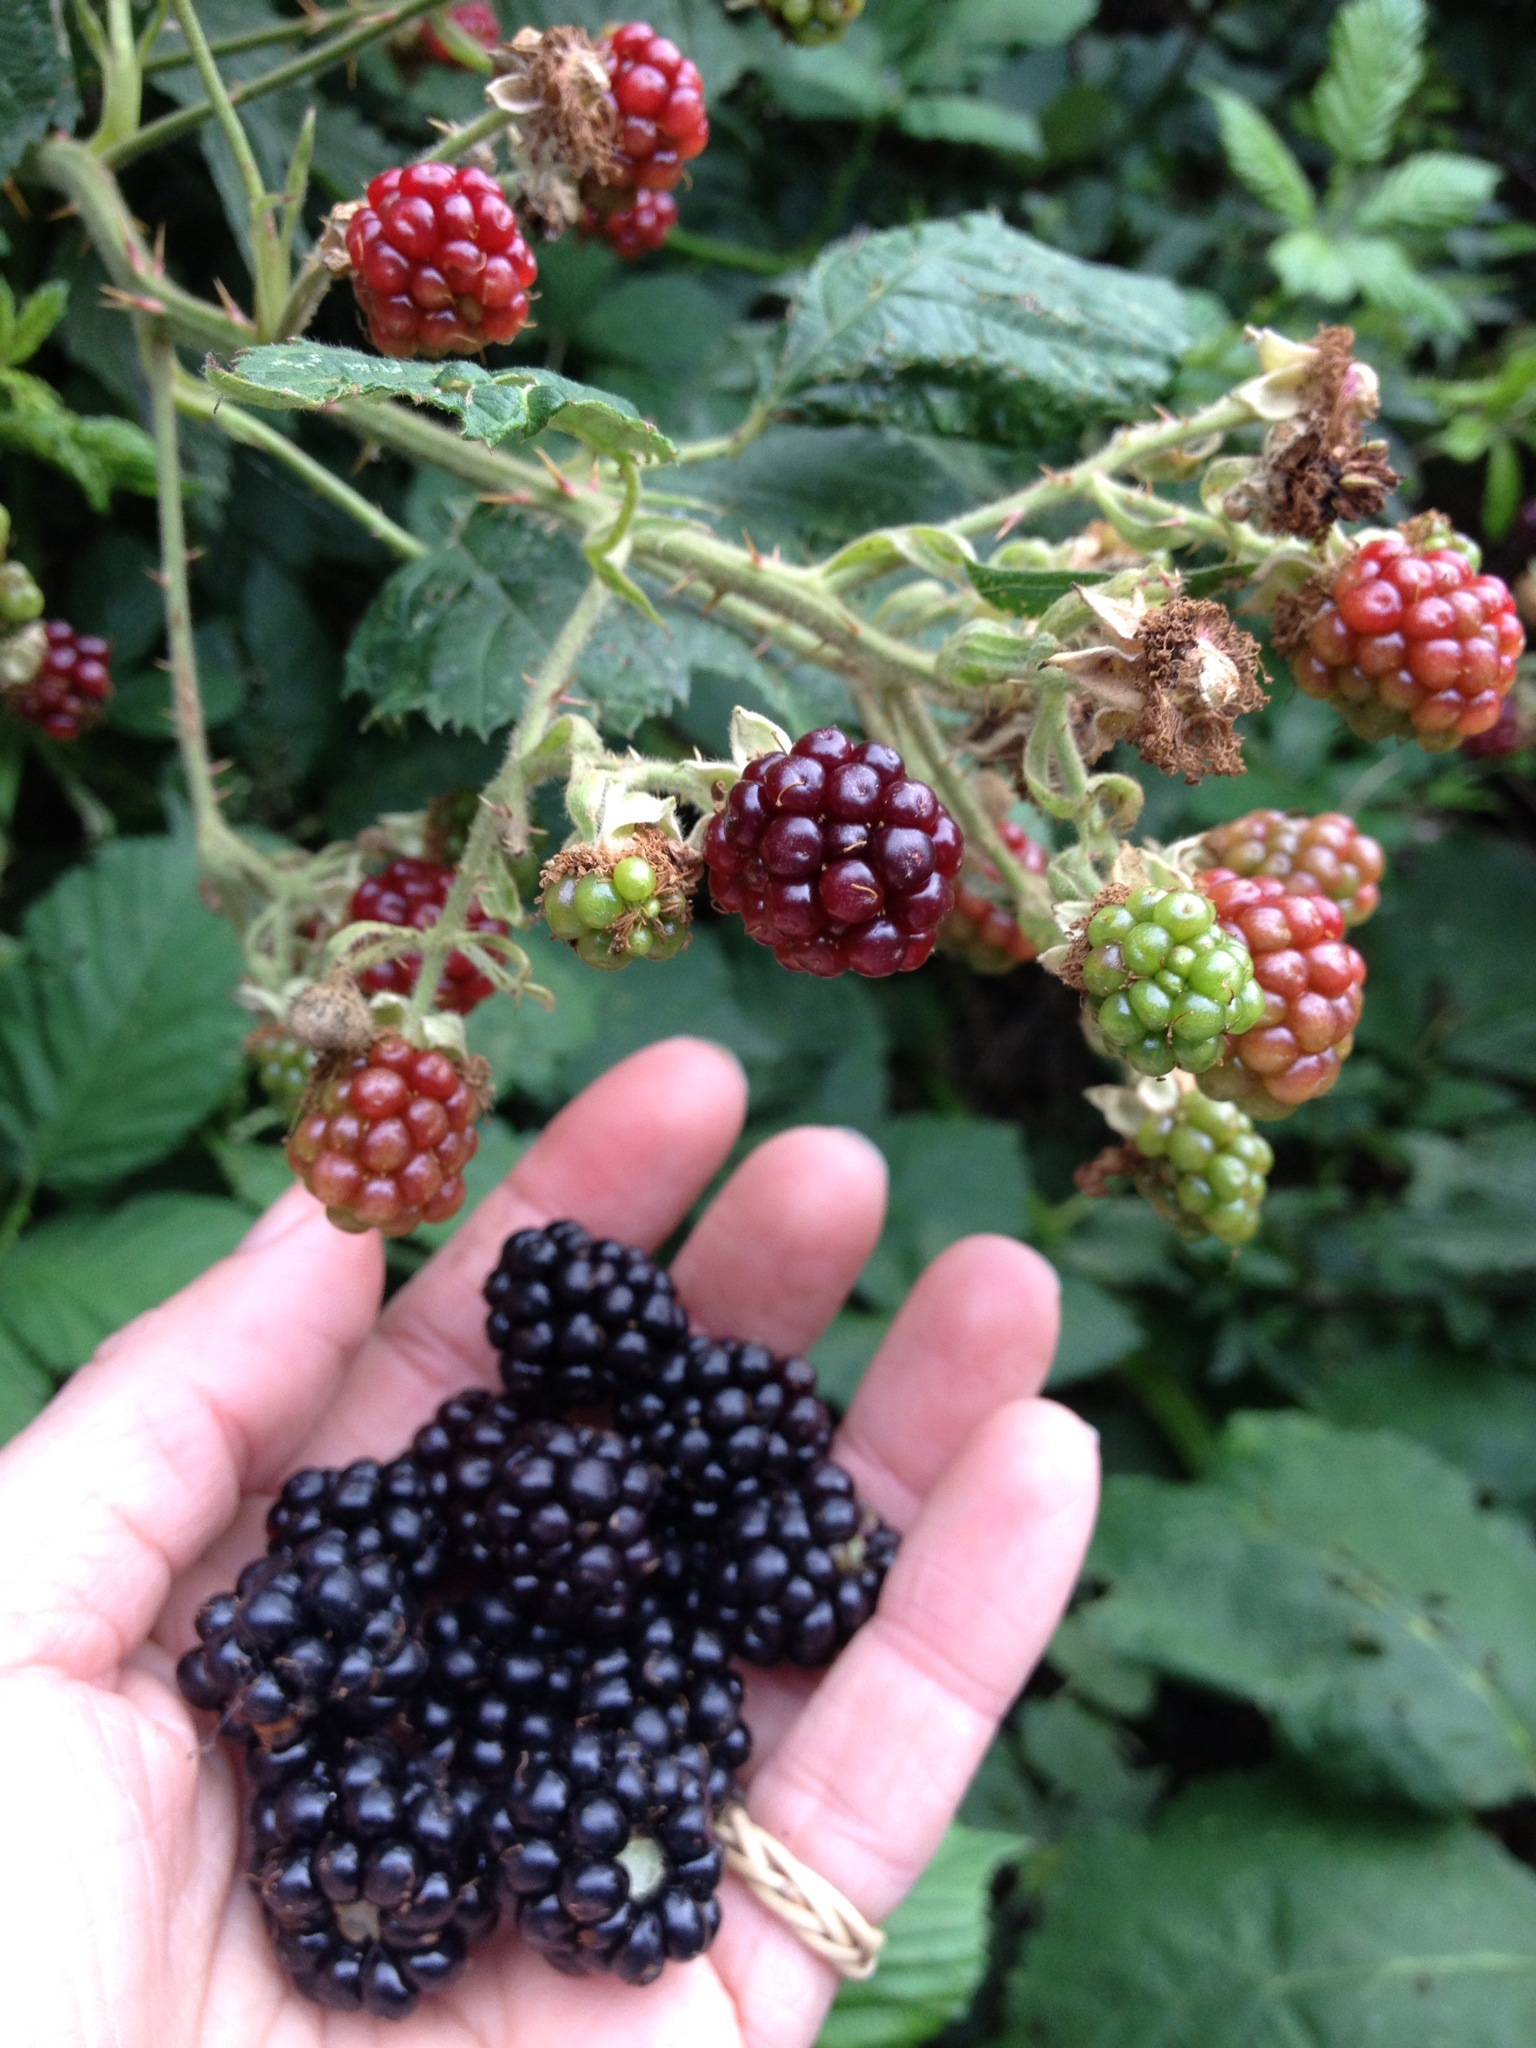
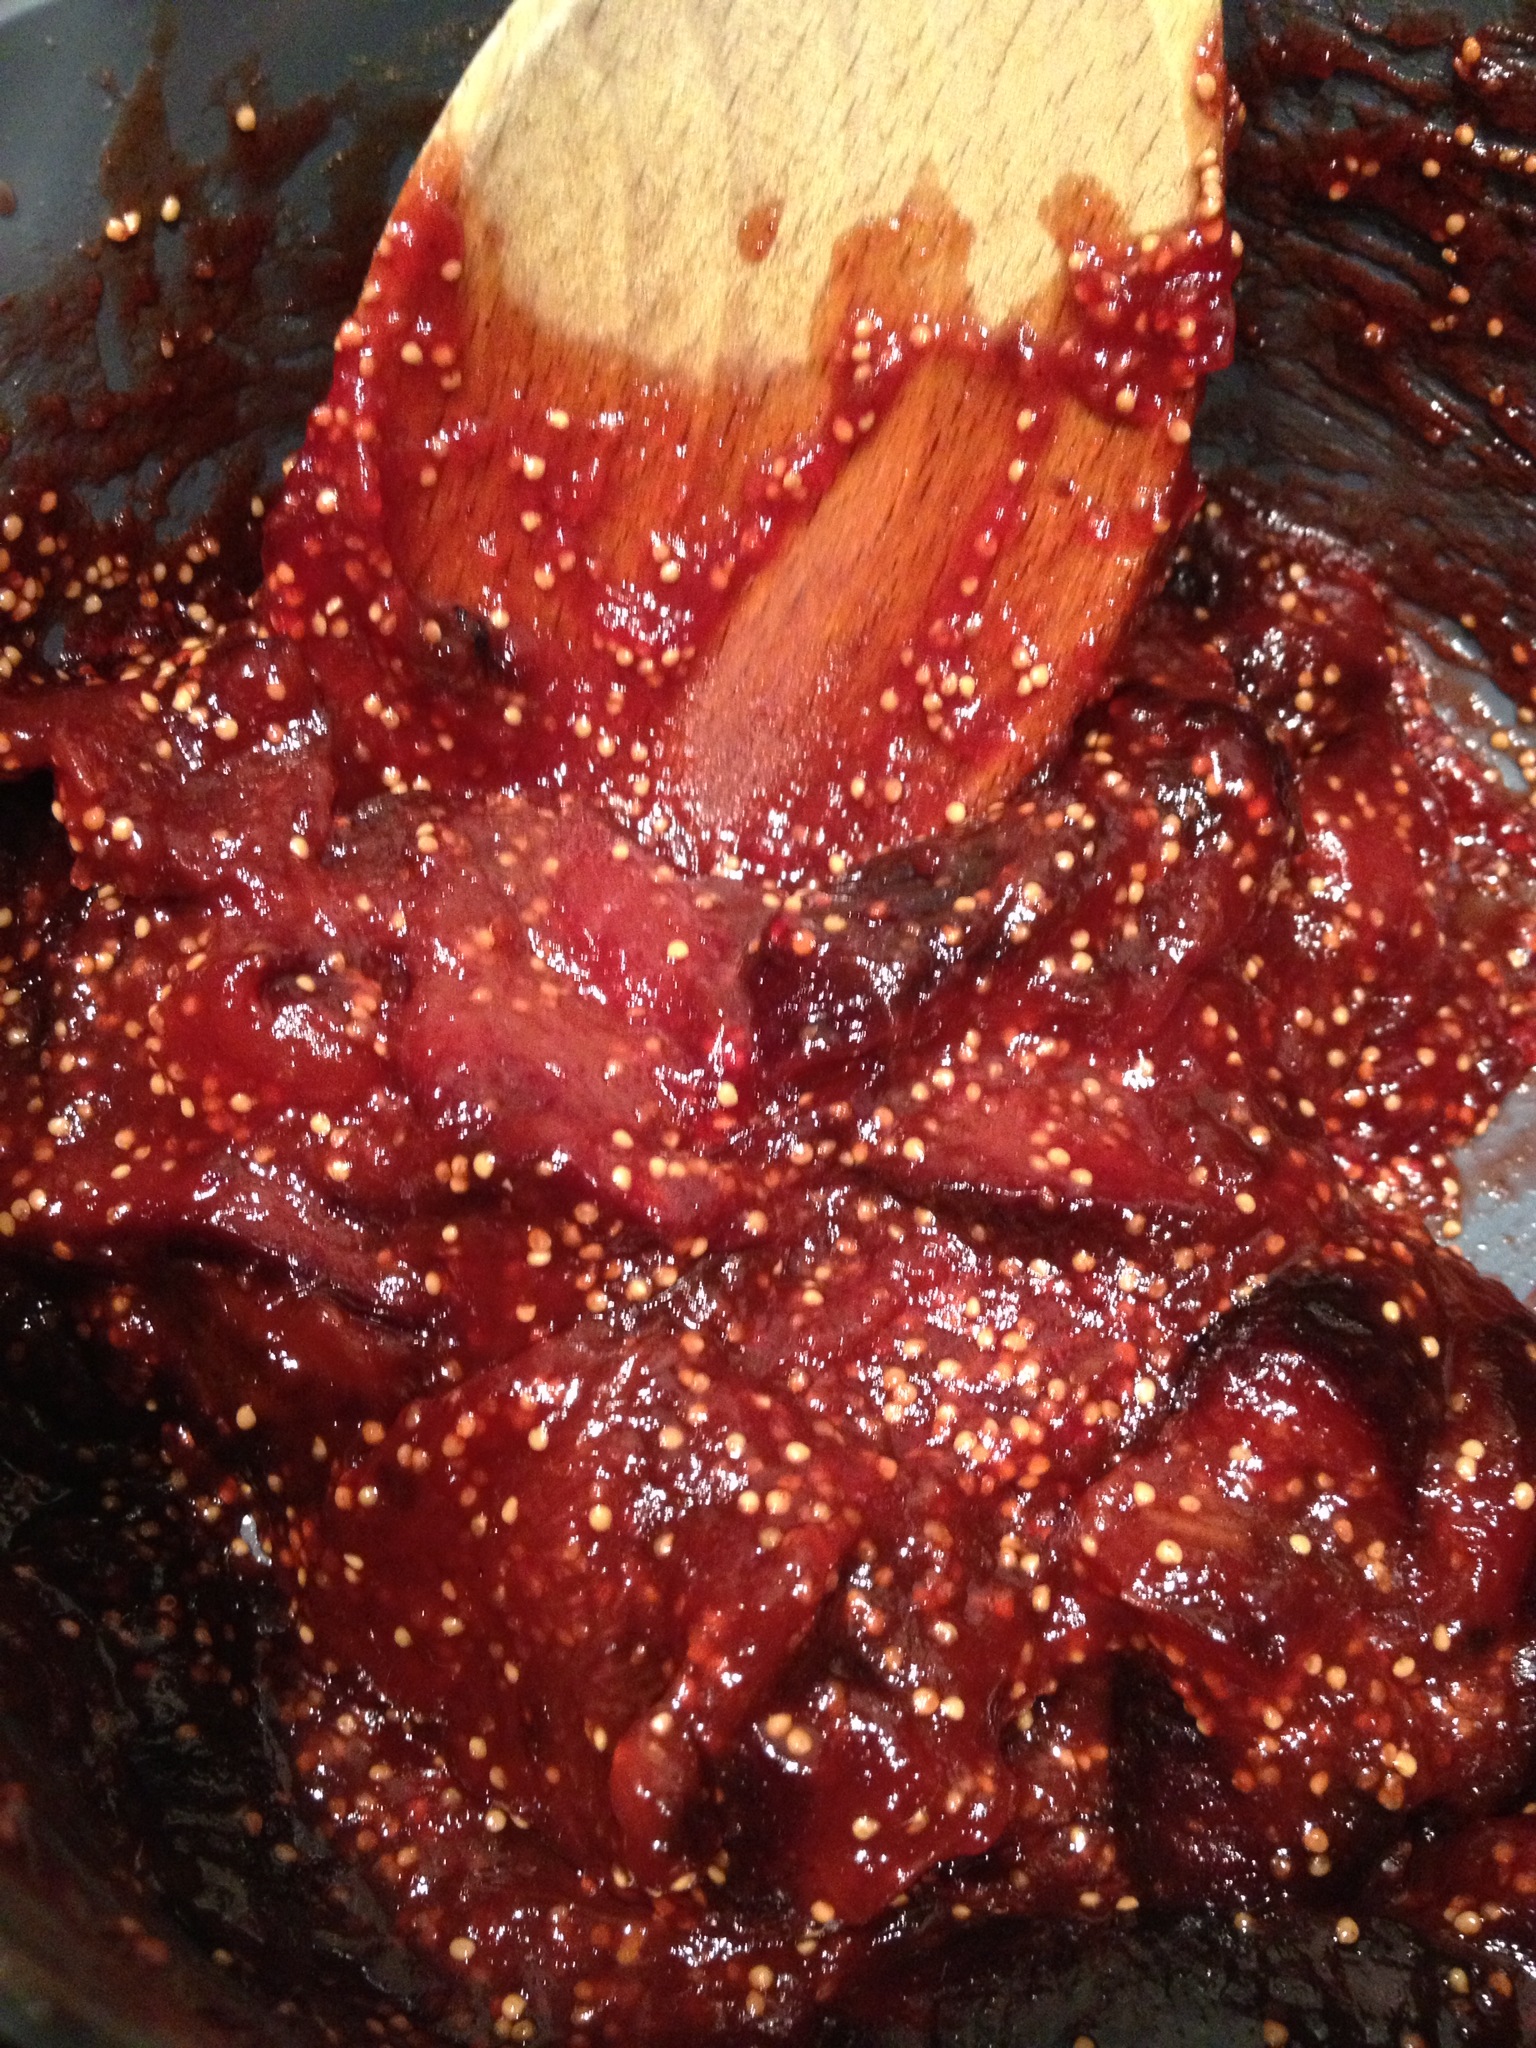
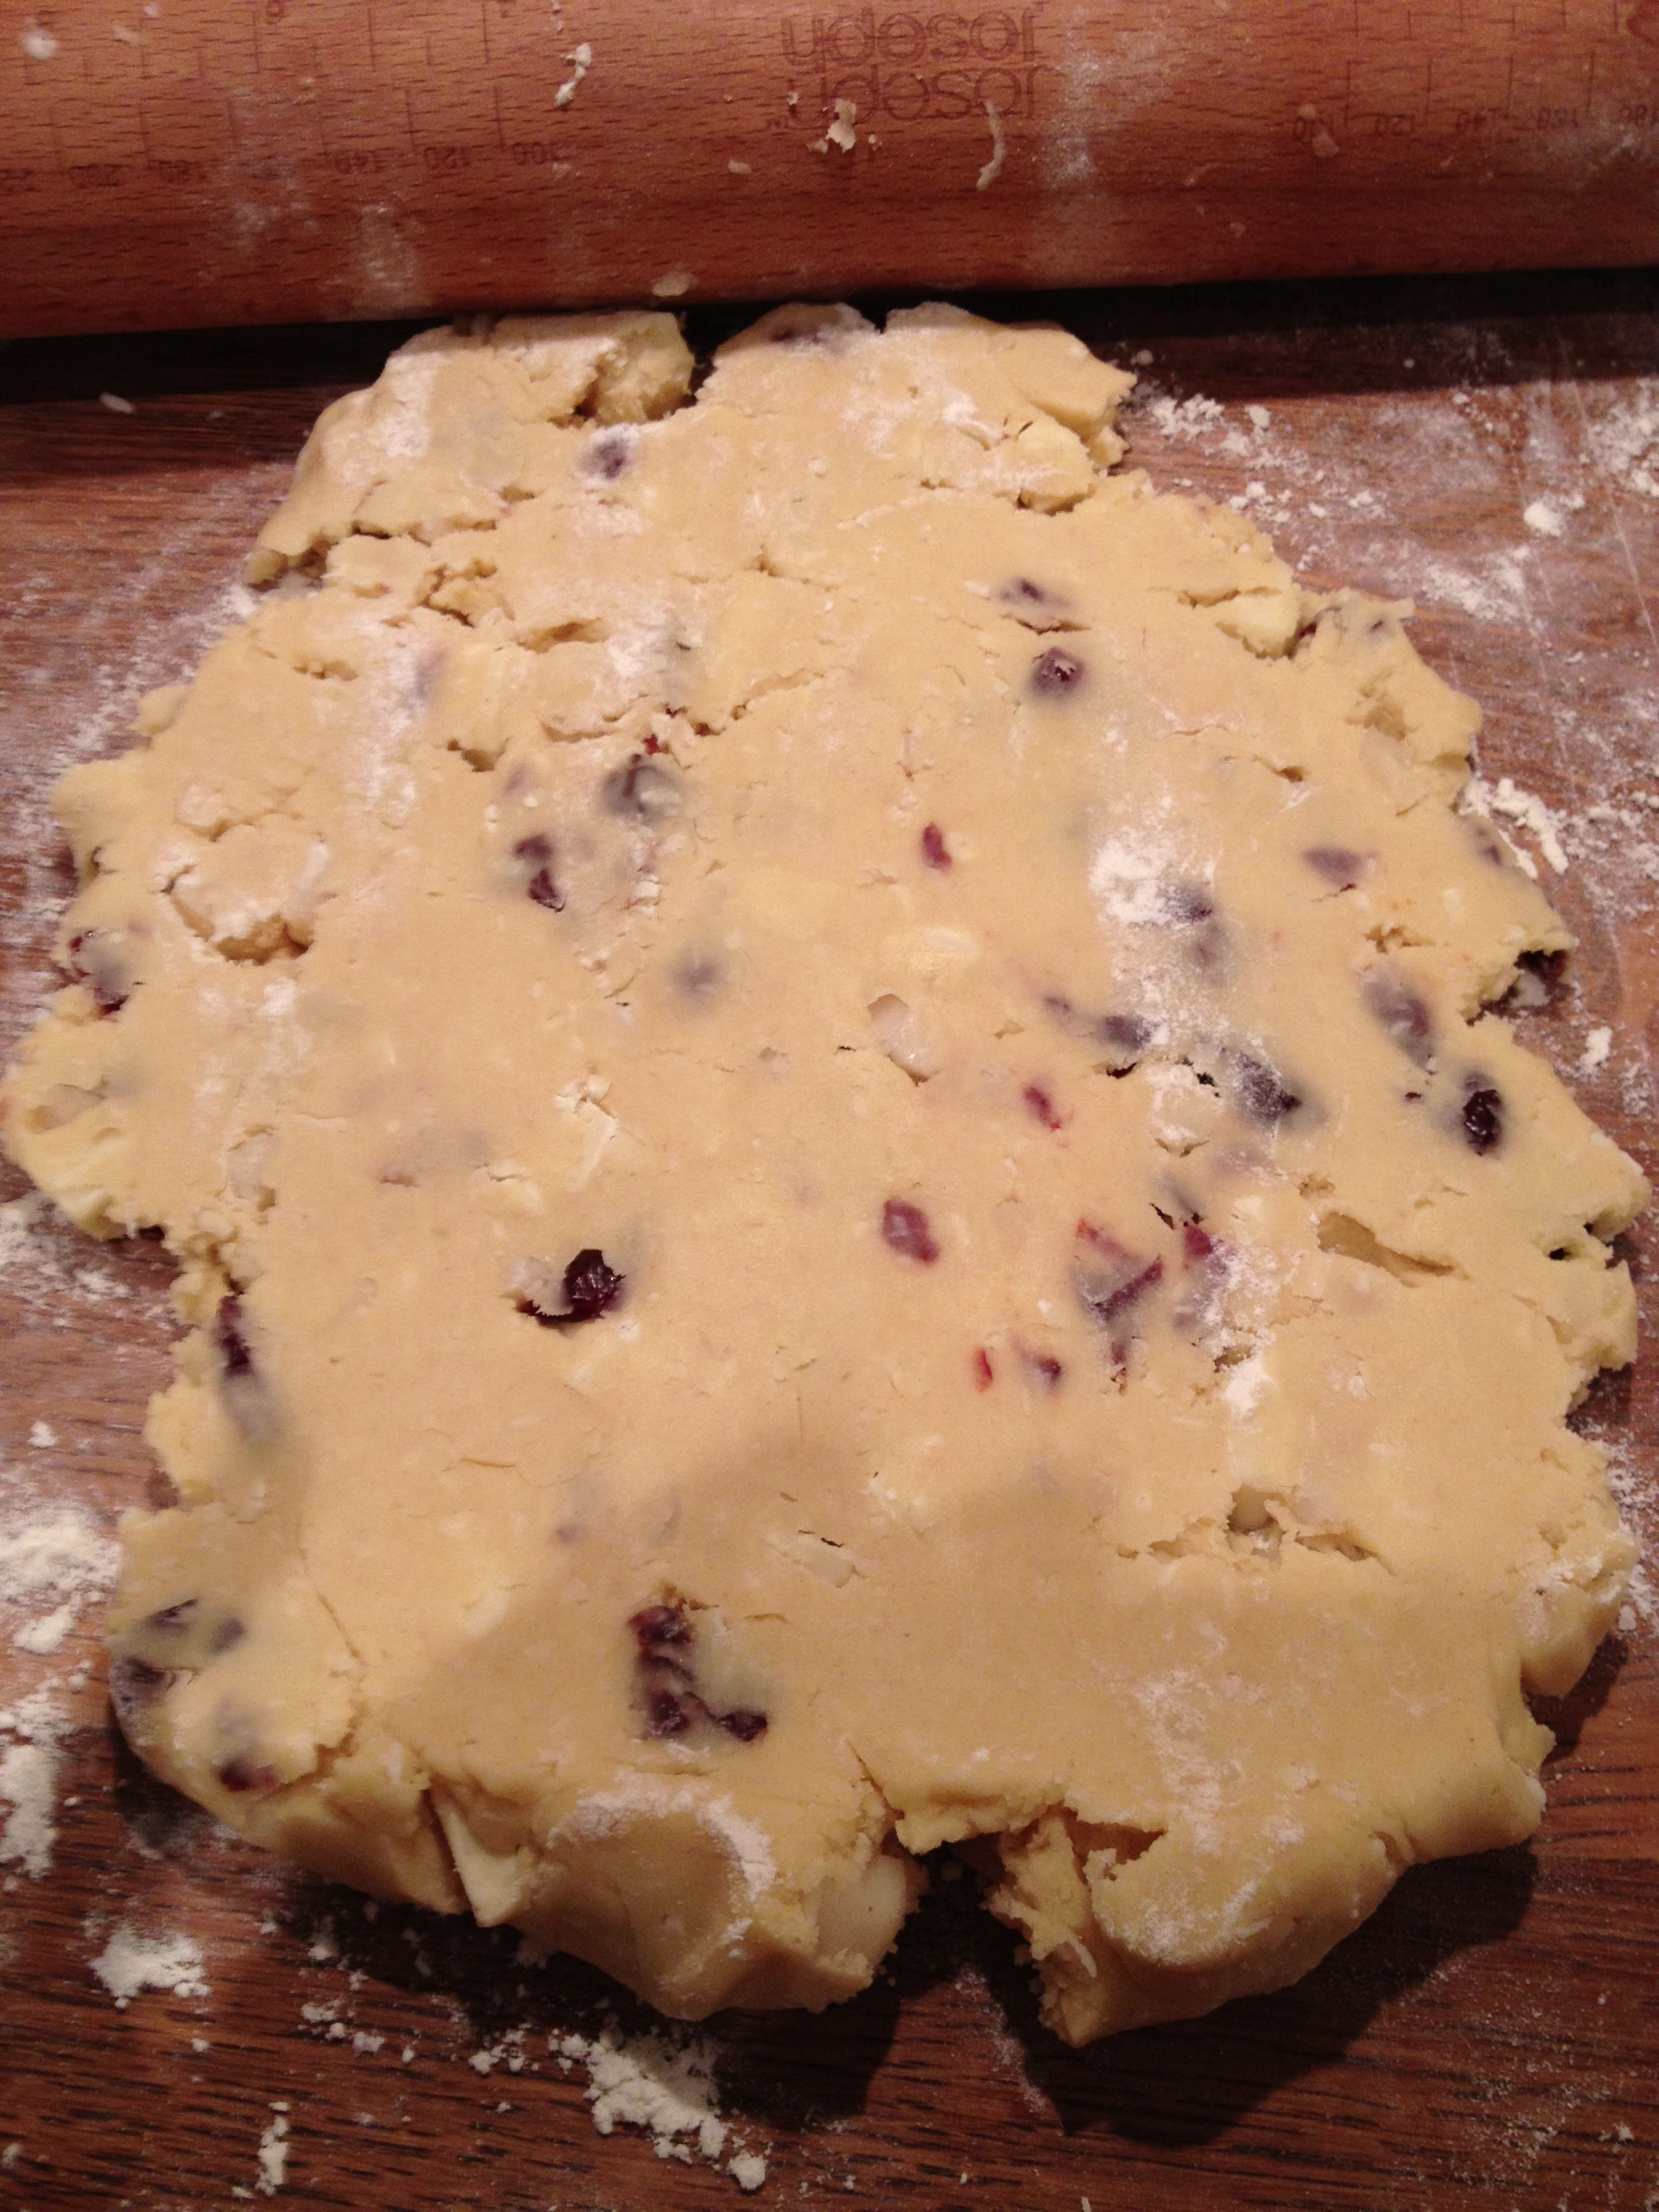
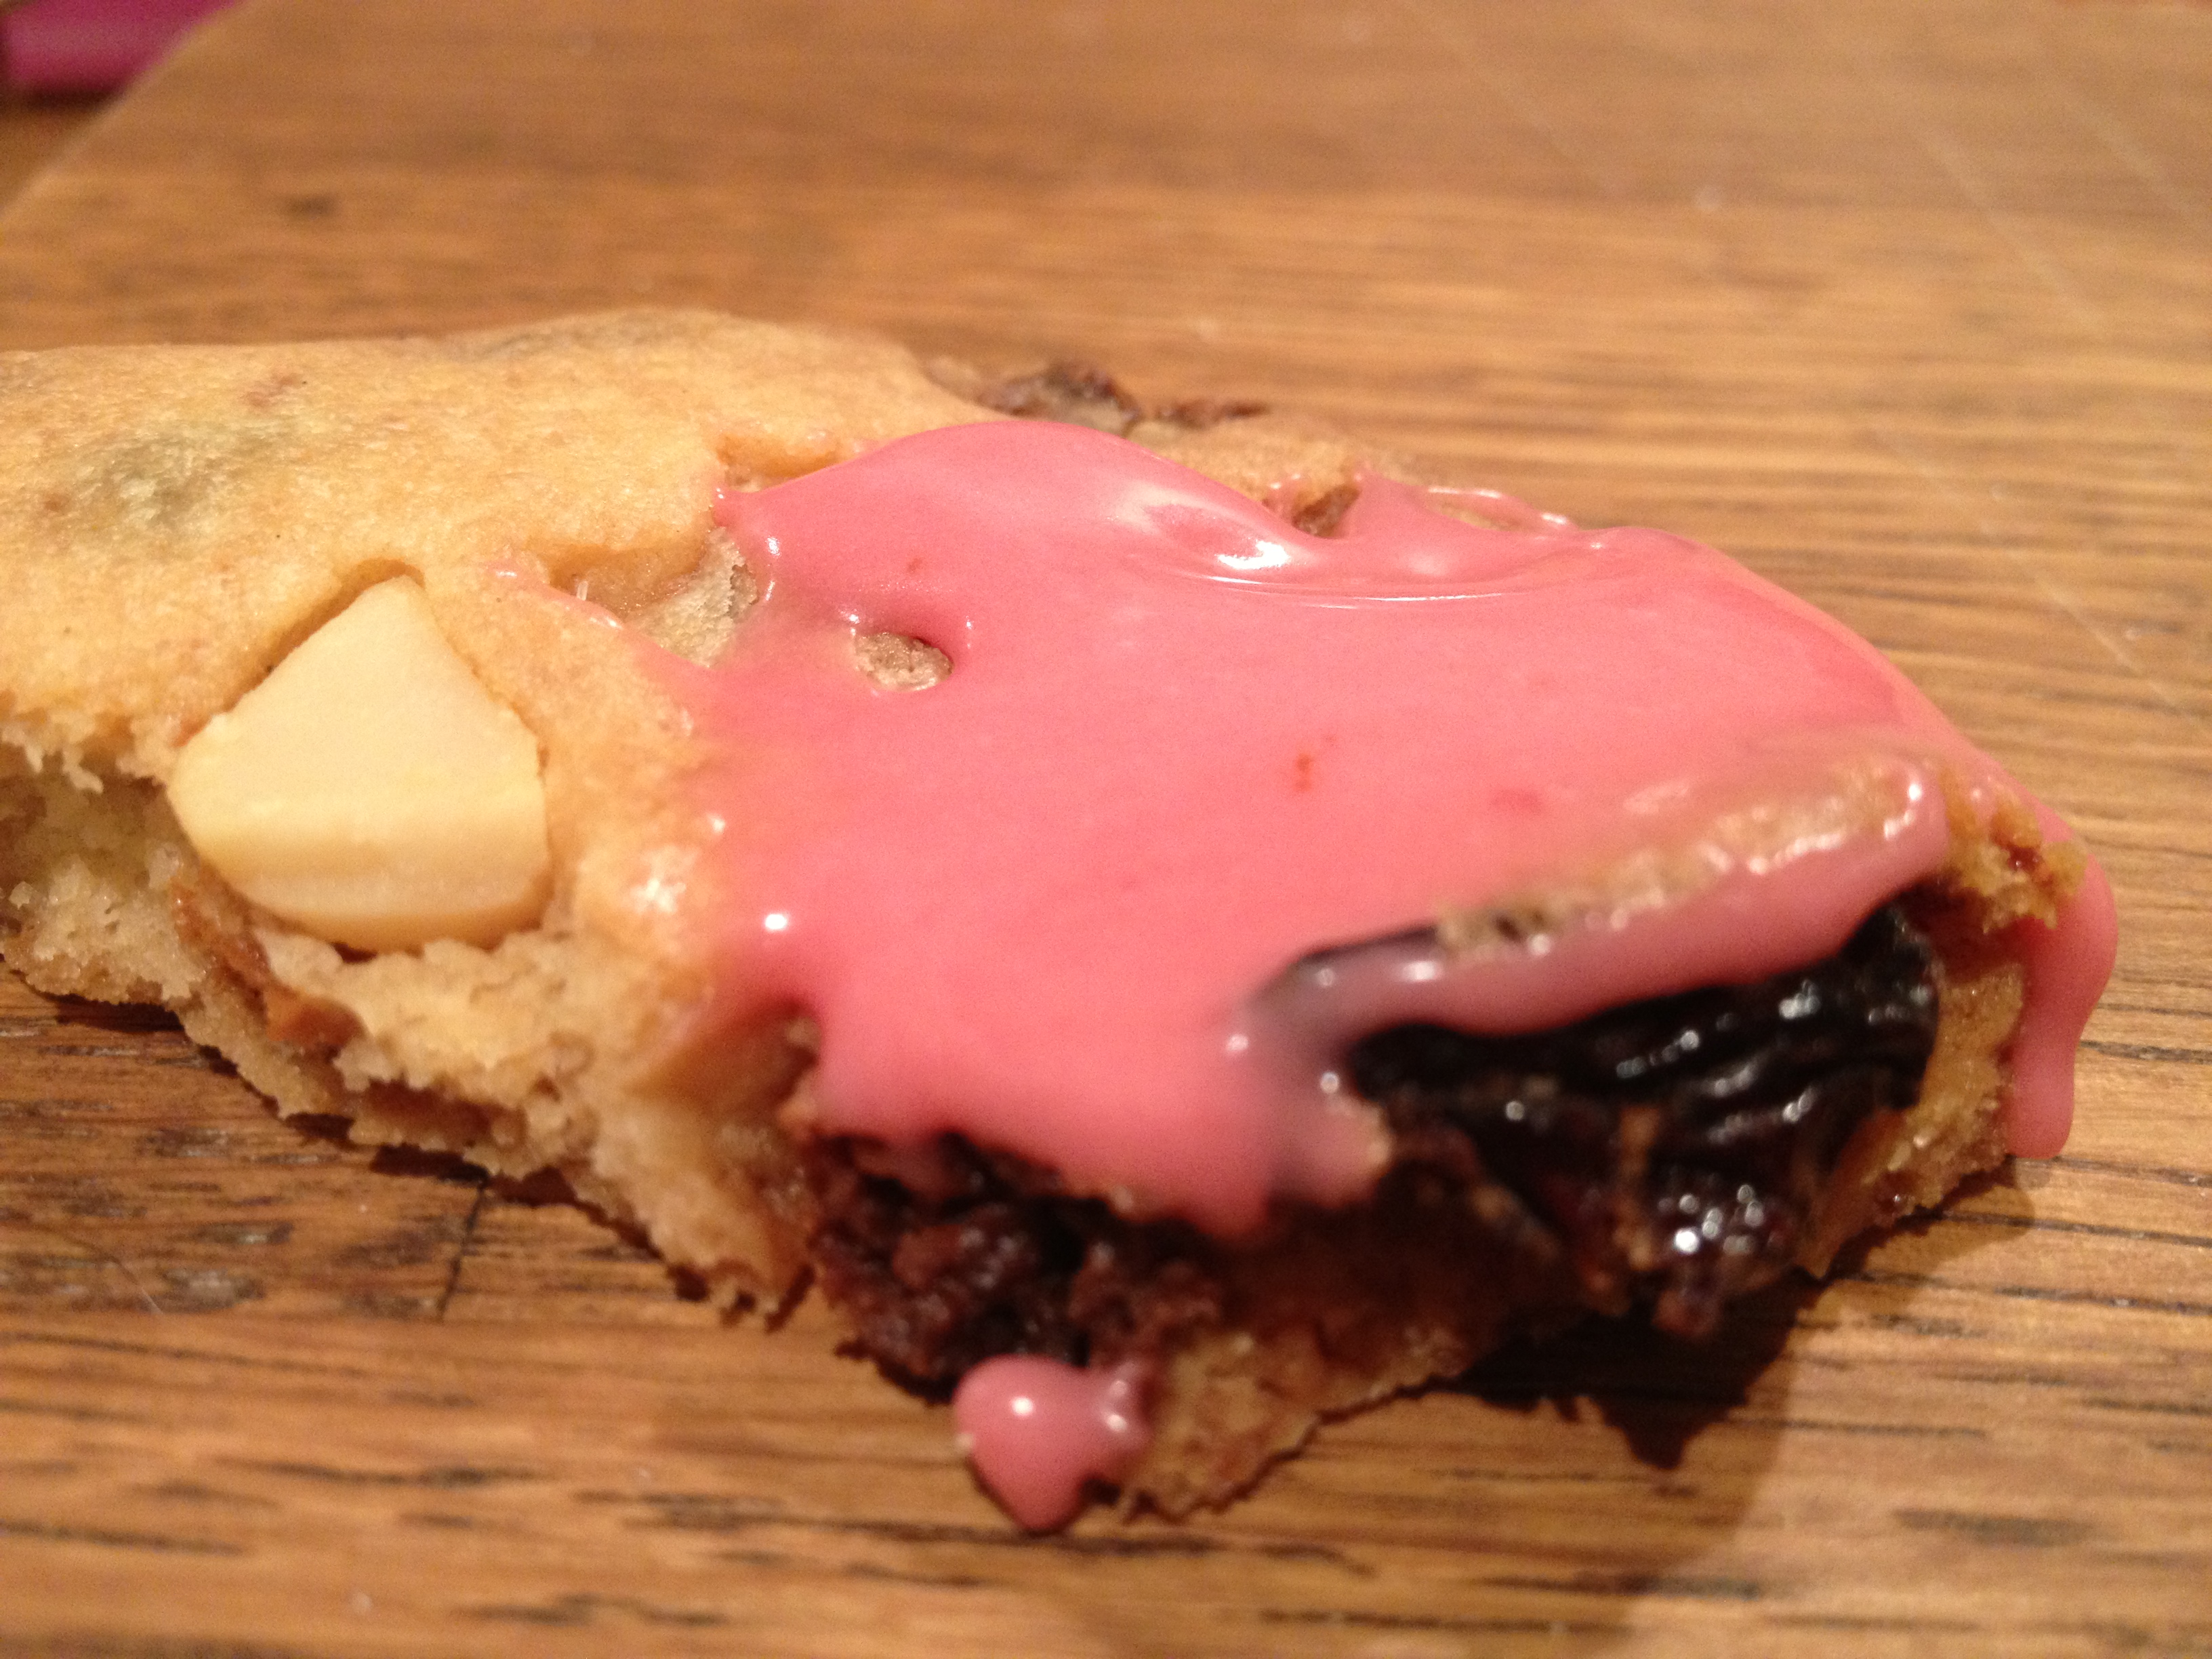
I have spent a few lovely hours for the past couple of weekends foraging for wild blackberries in the local parks near me. I’ve had the pleasure of thinking up ways to use them (some of which will follow!), but the first and (in my humble opinion) most exciting thing I did was make up a lovely batch of chia jam! This recipe is also up on Colette’s Fitness Kitchen 🙂

IMG_0174

IMG_0176

This stuff is lovely, it’s easy to make and totally raw so doesn’t require any cooking or setting or anything difficult. It will last for about a week in the fridge but could also be frozen too. The beauty of this is not only is it delicious but it is a great way to boost your omega-3 and fibre intake 🙂

You will need:

1 1/2 cups Blackberries (or any soft fruit)

3 Tbsp Chia seeds

1/4 – 1/2 cup Water

1 – 2 Tbsp Maple syrup (or other liquid sweetener) – if required (personally I like my blackberries tart so didn’t add any!)

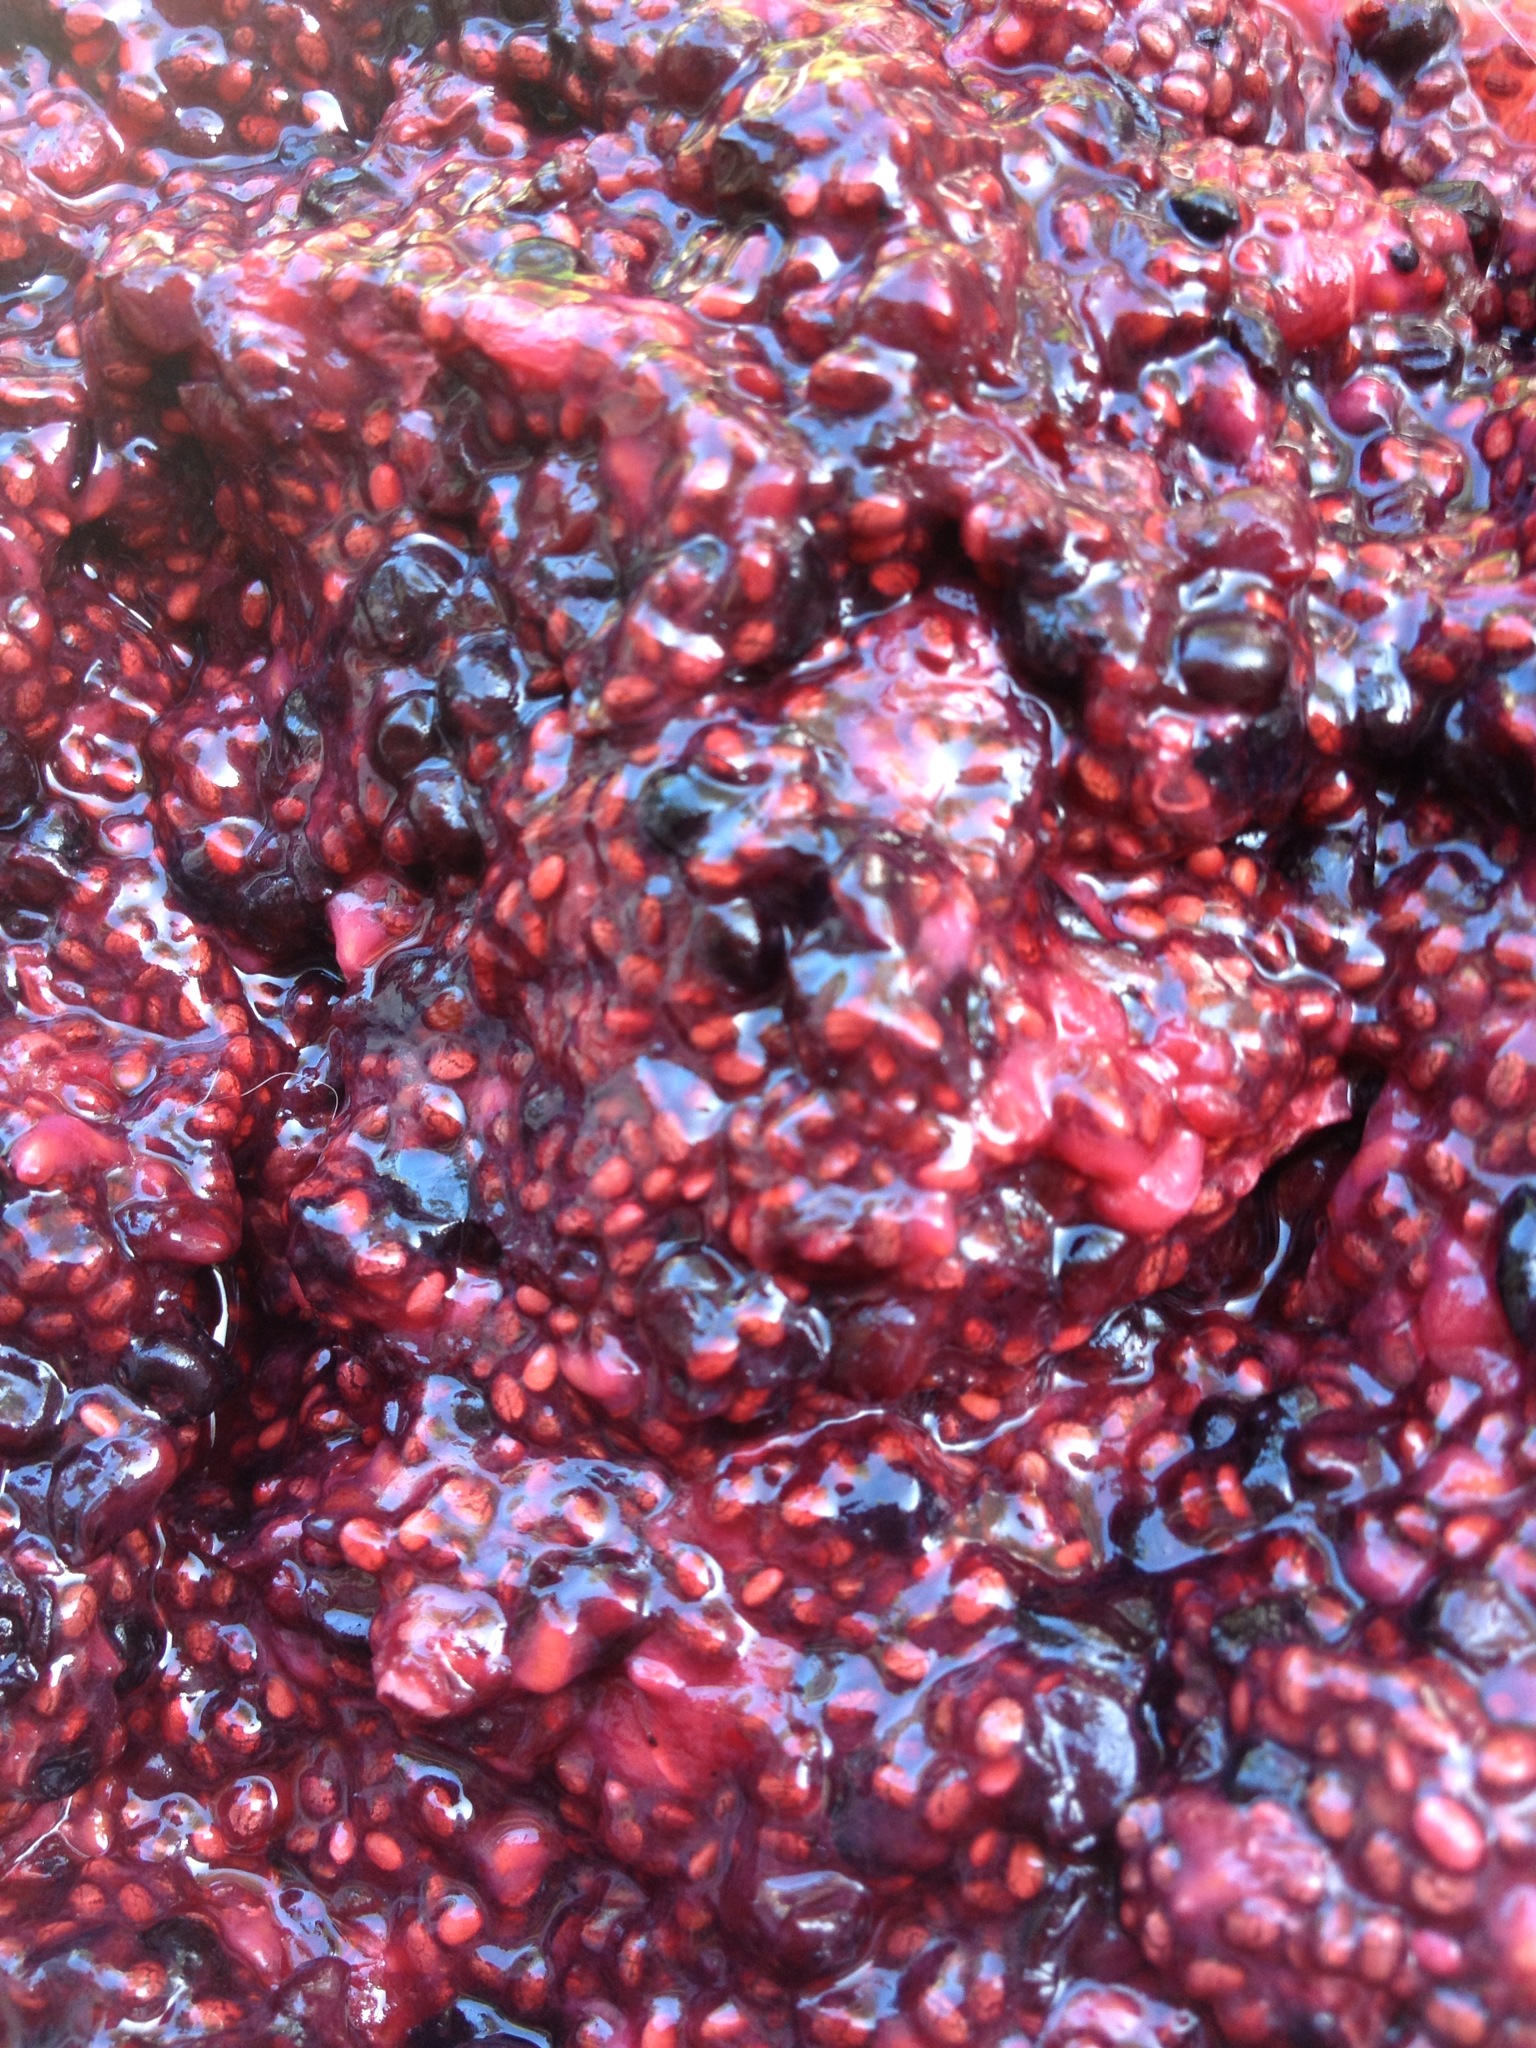
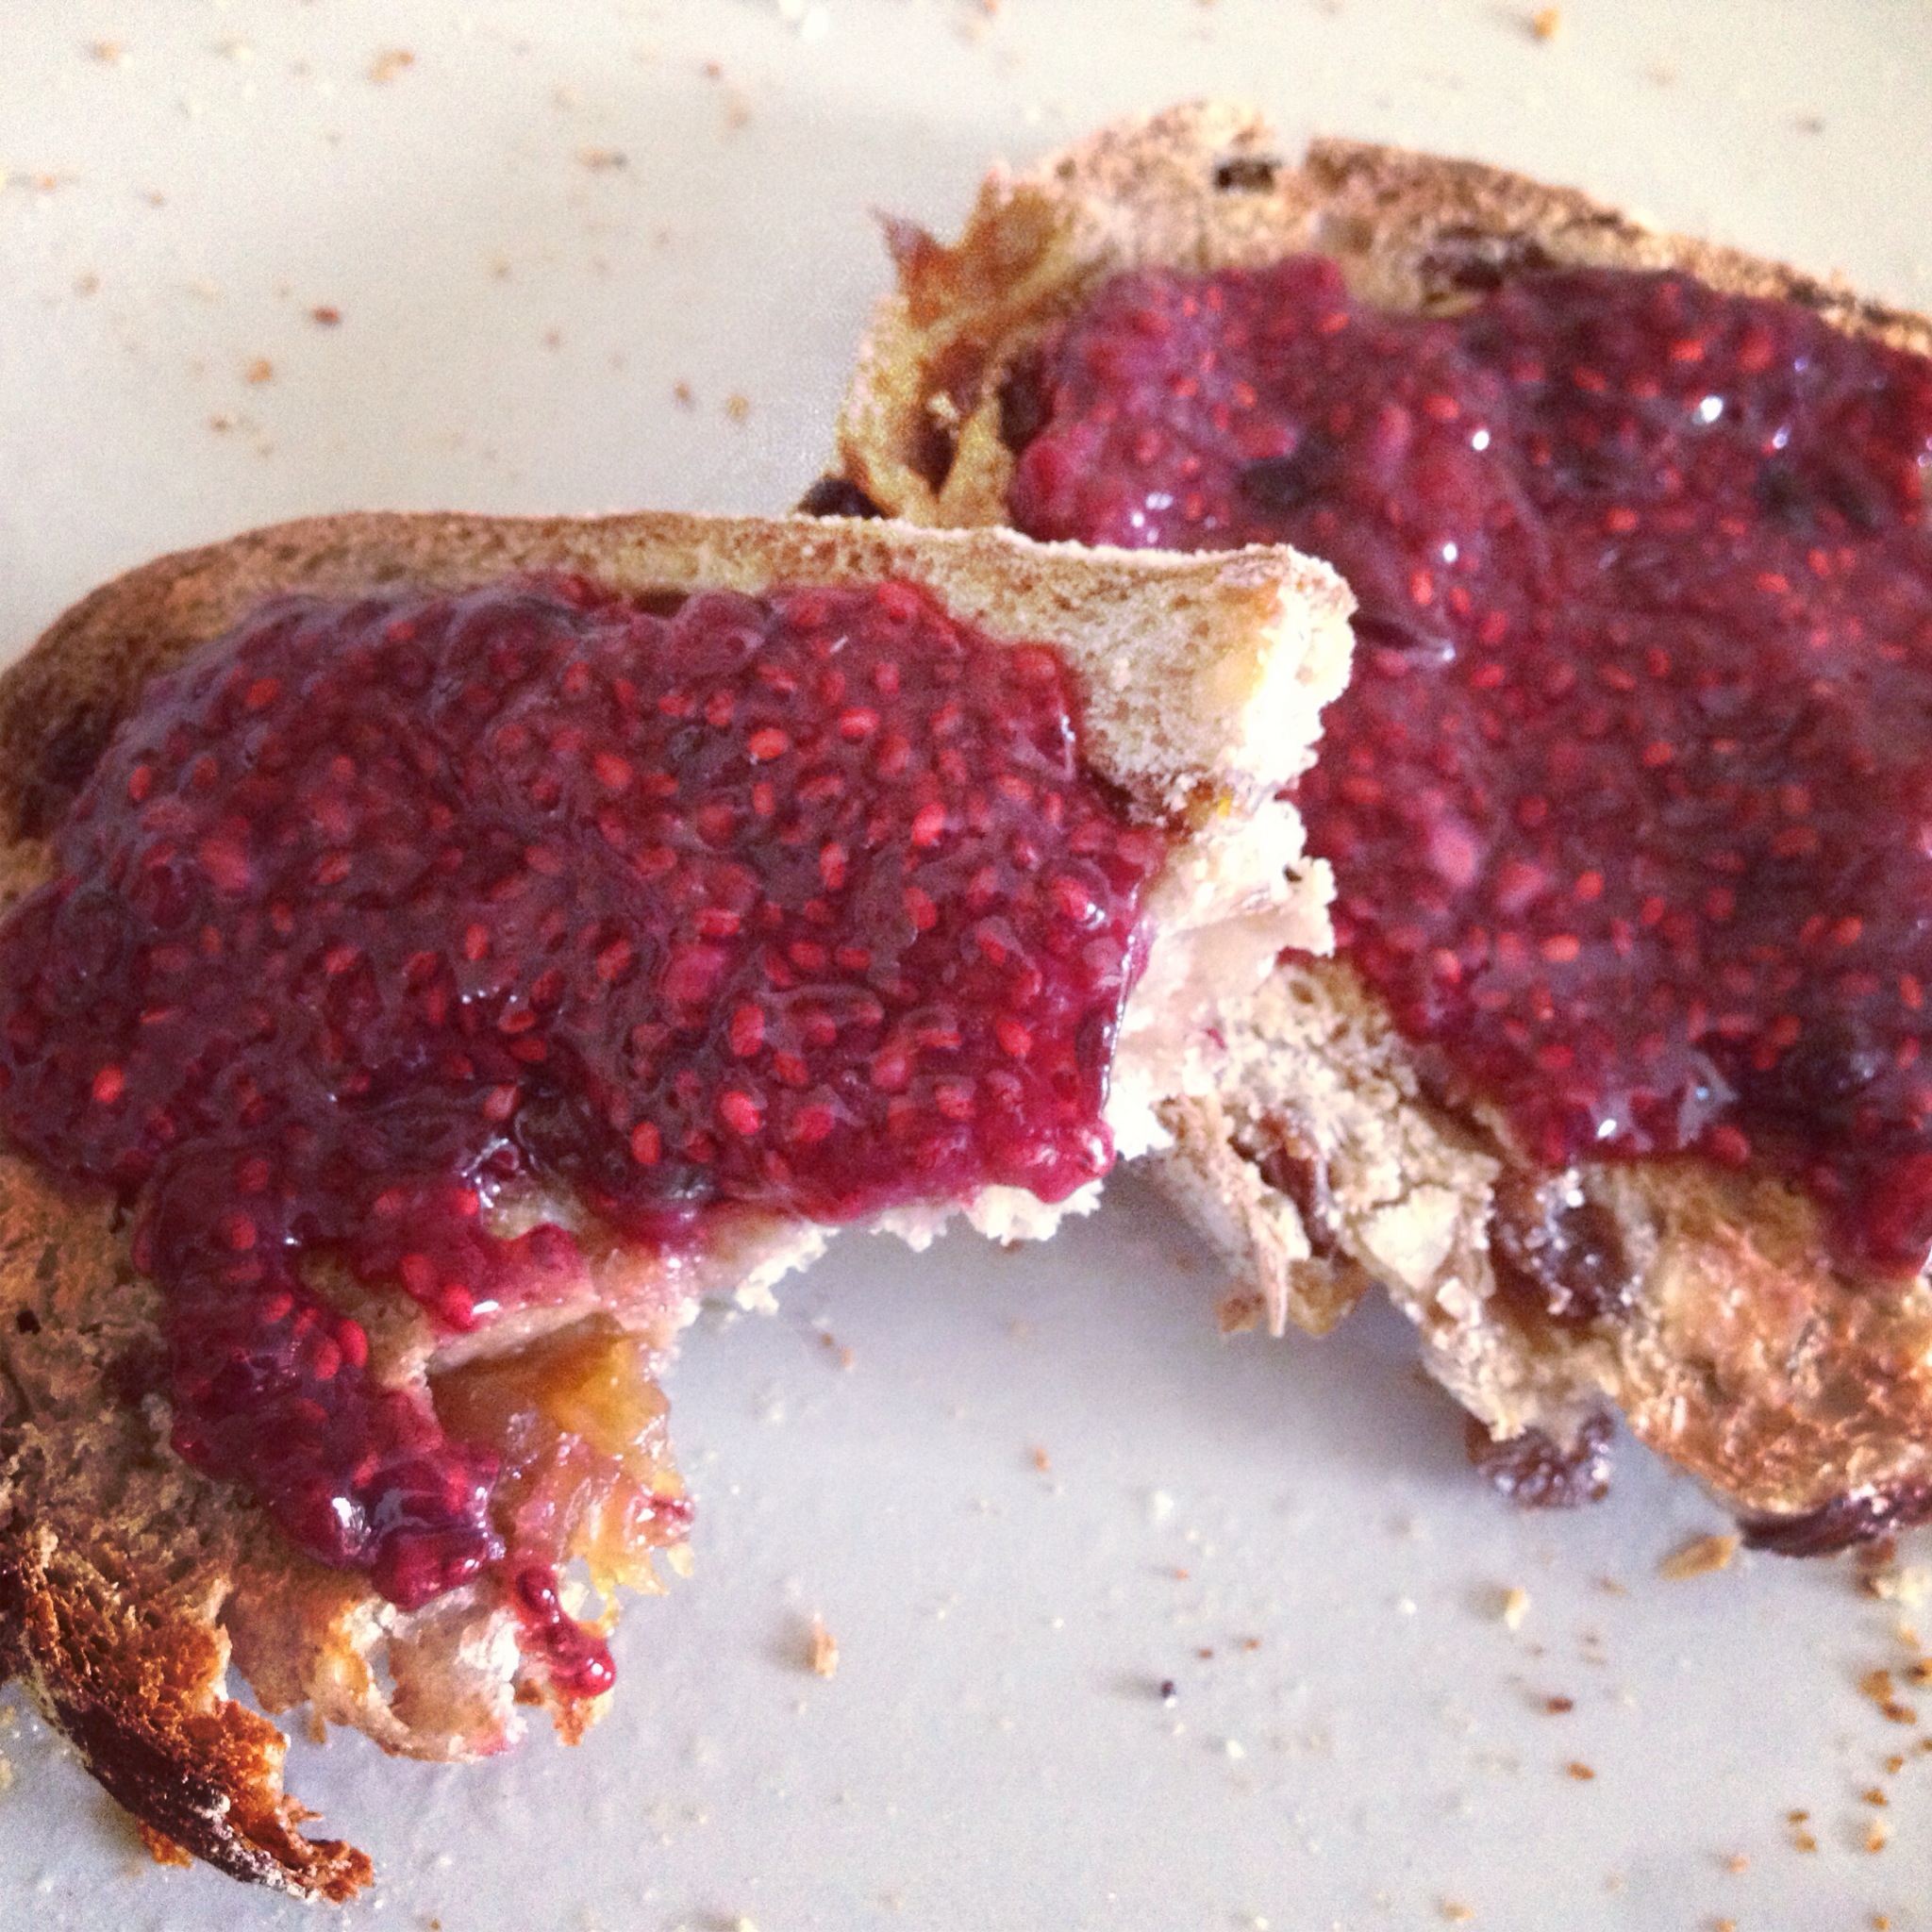
Place the blackberries or other fruit in a bowl and mash with a fork until smooshed up but not completely liquid. If you need sweetener then add it to taste and then add the chia seeds and mix well. Depending how juicy your fruit is you may need to add more or less water but start with half a cup and add more if required. The chia seeds take time to soak up the water, so once you have added it allow it to stand for 30 mins to an hour before seeing if you need to add more. If the chia seeds are still crunchy add more (unless you like them crunchy, in which case don’t!). The longer you can leave the jam the better – ideally overnight, but at least for an hour or so. Enjoy it spread on toast, dolloped on top of yoghurt or just eaten straight off the spoon!

IMG_0023 IMG_0186

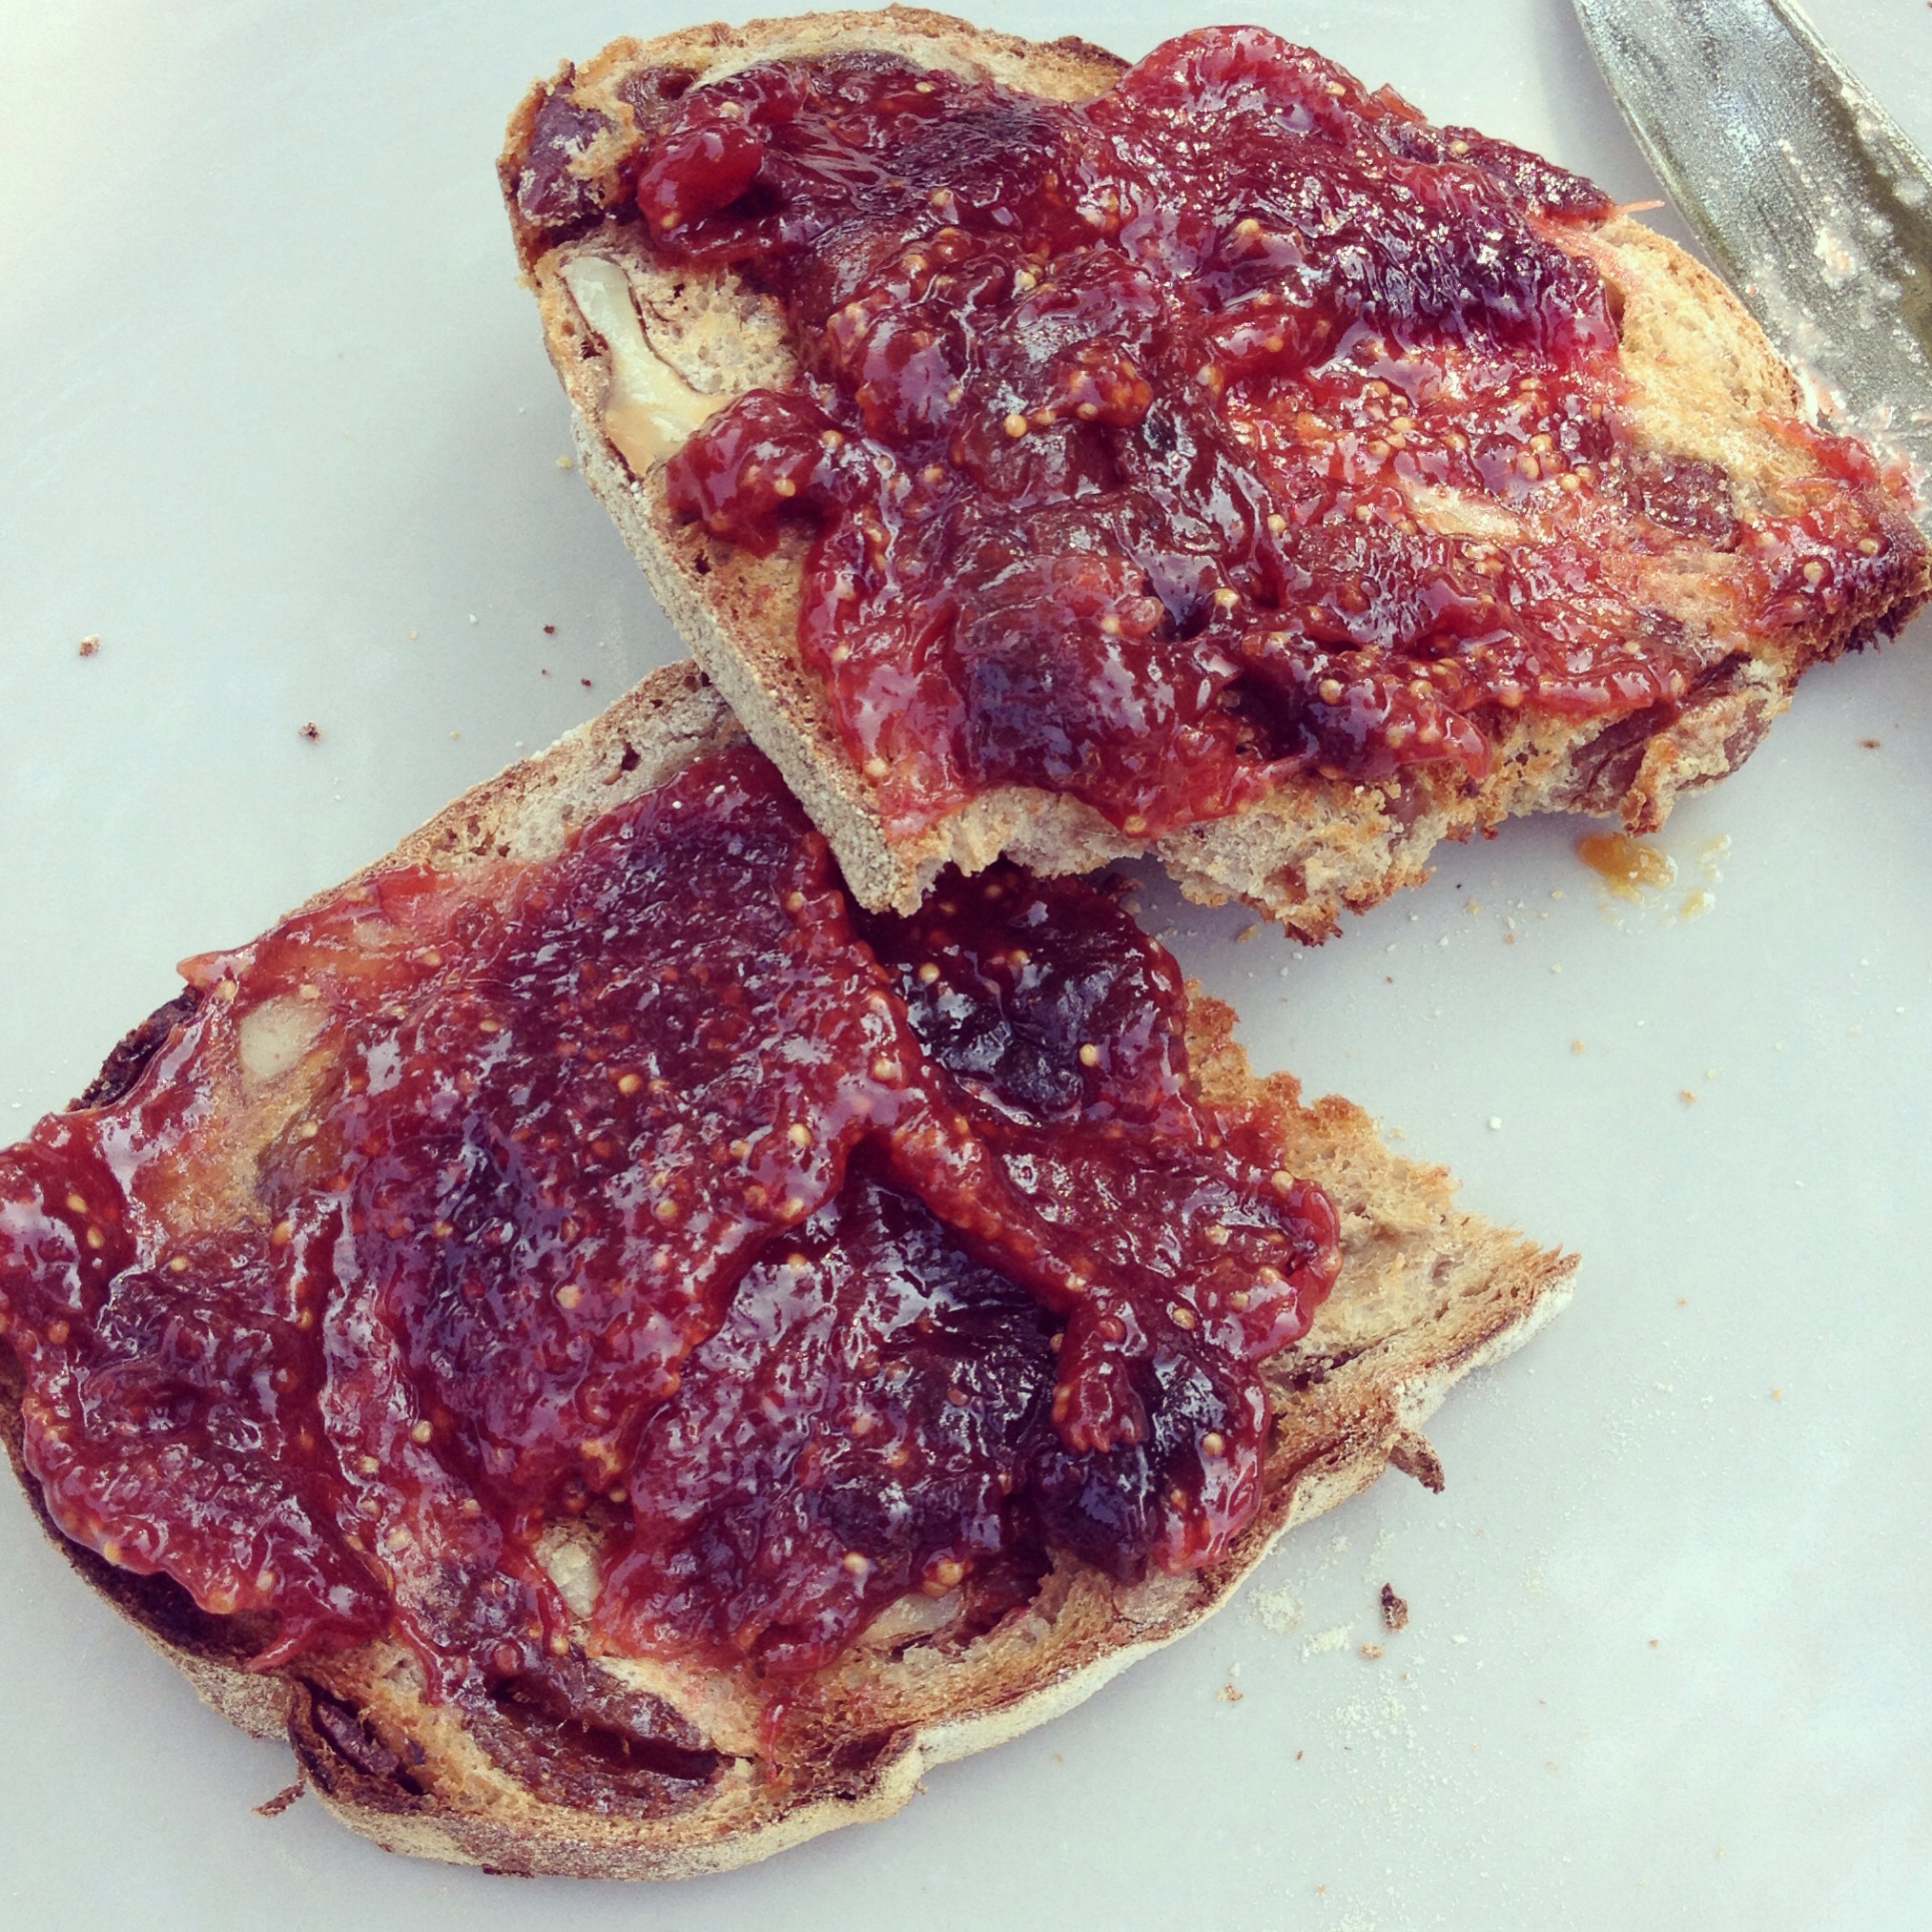
Experiment with different fruits depending on what is in season. Raspberries also work well and I was lucky enough to pick up some discounted, very ripe nectarines in the market which made a delicious change.

IMG_0182

For we all like Figgy Jam……. Fig and Ginger Jam!


This is so easy and so delicious! I’ve been trying to add a bit more ginger in to my diet lately as it’s so good for your stomach and helps with the digestion of other nutrients. It’s also a fab anti-inflammatory so is brilliant for muscle and joint aches. Apparently it has aphrodisiac properties as well!!!

Figs are also brilliant for you – they’re full of fibre and are a great source of potassium and calcium and they taste yummy! 🙂 So this jam is perfect! It’s really easy to make and tastes divine.

IMG_0042

You will need (makes one small jar):

250g fresh, ripe Figs

2 tbsp Maple syrup (or your liquid sweetener of choice – agave, honey, rice syrup etc)

1.5 tbsp Lemon juice

zest of 1/2 Lemon

3/4 tsp ground Ginger

1/4 tsp ground Cinnamon

Cut the figs in to quarters (or smaller if they are very large) and pop in a saucepan. Add the other ingredients and then bring to a simmer over a medium heat, stirring all the time.

IMG_0031

Don’t let the mixture boil but keep it simmering for about 30 – 40 minutes or until the fig has started to break down and it takes on a jammy consistency! Taste (carefully – it will be hot!) and adjust the sweetner if required.

IMG_0034

Take a clean glass jar and rinse with warm soapy water (or pop through the dishwasher). Dry it well and then place it in to the oven at about 180 C for approx 20 minutes. Remove carefully and then add the jam to the jars while they are both still hot. Pop a lid on and once cool place in the fridge. This should keep for a few weeks at least.

Enjoy your jam spread on some yummy rye toast with a nice cup of tea 🙂

Spice up your summer! Chocolate chilli cookies (dairy free, low/no gluten)


Chocolate and chilli – what better combination can there be?

I recently baked up another batch of these to welcome home a lovely friend from a trip away and they seemed to go down well so I thought I’d share! They were inspired by a chocolate cookie recipe I found years ago and modified but I can’t now find the original link – when I do I’ll add it! They’re quick and easy to make and taste divine! Oh, and a warning, they smell so good when cooking that it’s pretty hard not to eat them all right there and then!

Makes about 20 (depending how big you make them!)

You will need:

1 and 2/3 cups of white Spelt flour or a gluten-free blend
1/2 raw Cacao powder
1/2 cup Almond oil
1 cup Raw coconut sugar or other raw sugar
1/4 cup Maple syrup (the best quality you can get)
3 tbsp Almond milk (you could use soya or coconut milk too)
1 tsp Bicarbonate of soda
1/4 tsp hot Chilli powder (I used dried chillies, ground up – and they are hot!)
1/2 tsp ground Cinnamon
1/2 tsp Cayenne pepper
1/4 tsp Himalayan rock salt
1 tsp Vanilla extract
1 tsp Chocolate extract (optional – available from whole food stores, online, or Waitrose for those in the UK)

You will also need some cinnamon chocolate chilli sugar to coat them in 🙂 You can buy pre-mixed sugar, but I prefer to make my own. It’s easy! Just mix 100g sugar with 10g of cocoa powder, 2 tsp cinnamon and 1 tsp chilli powder (or more if you want it hotter!). Adjust the amounts depending how much you need but keep them in those ratios. Make up a batch and keep it in an airtight jar. Just shake before use as the sugar tends to sink to the bottom, leaving the lighter cocoa etc at the top.

Preheat the oven to 350 F and grease and line a baking tray (or 2!).

Put the oil, sugar, maple syrup and milk in a bowl and mix together using a fork. Add in the vanilla extract and mix well. Mix the rest of the ingredients in a large bowl and sieve in to the wet ingredients. Mix until you have a dough. The dough will be quite moist and sticky.

Put the cinnamon chocolate chilli sugar on a plate. Take small, walnut sized, balls of the dough and pat into the topping sugar to make discs about 2 inches across. Make sure they are well covered in sugar. Put them on to the baking tray with the sugar facing up. Cook for 10 – 12 minutes until they are crackly on the top and have spread a little. Allow to cool on the baking tray for 5 mins then transfer to a wire rack to cool.

Enjoy! :)

A bit of savoury baking! Grain-free pizza! :)


I blogged this over at Colette’s Fitness Kitchen but wanted to share it with you all too 🙂 It’s divine! 🙂

Here’s the original post – Grain-free Pizza Recipe and I’ve copied the recipe for you below 🙂 This is a definite winner and I’m really pleased with how it turned out 🙂

I’m always on the look out for grain-free alternatives and had heard a lot about using cauliflower as a pizza base so I thought I would give it a go. I’m thrilled with the results – it’s absolutely delicious and really easy to make too! I whipped this up in about 30 mins! You can make this dairy free or vegan too if you want to (options below) 🙂

20130516-215530.jpg

For the base you will need:

1 large Cauliflower

a handful of fresh Basil leaves

a handful of fresh flat Parsley leaves

1/2 tsp dried Oregano

1/2 tsp Garlic salt

Himalayan rock salt and black pepper to taste

1 Egg OR 1 tbsp ground flax seeds/linseed soaked in 3 tbsp water

Optional – 1 cup of grated hard cheese (goat’s cheese, vegetarian parmesan, mozarella – whatever you like)

For the pizza topping you will need:

Pasata or tomato purée

Toppings of your choice – I used mixed peppers, onions, mushrooms, baby plum tomatoes and feta cheese

Preheat the oven to 220 C.

Remove the central stalk of the cauliflower and cut in to florets. Place in a food processor and pulse until it is chopped up nice and small. Pop it in to a bowl, cover with clingfilm and microwave on full power for 3 – 4 minutes (until tender). Allow to cool (unless you have asbestos fingers!) and then tip in to a clean tea towel. Wrap it up and then wring the life out of it! You want to get rid of as much water as possible. Place the wrung out cauliflower back in the bowl and add all the other base ingredients, with the egg or egg substitute going in last.

20130516-215710.jpg

Mix together well (hands work best). Once it’s all well mixed tip it out on to a lined, greased pizza tray (or baking tray) and press out in to a pizza shape. You want it to be well squished down and thin but not too thin – a couple of mm thick. Place in the oven and cook for 7 – 10 minutes until it just starts to colour.

20130516-220421.jpg

Remove and add your pasata or tomato purée and your pizza toppings. I like to pre-cook my peppers and onions in a frying pan before adding them as it means they are super tender. Once you’ve added all your toppings place it back in the oven for a further 7 – 10 mins. Remove, drizzle with some chilli-infused olive oil and serve with a side salad! 🙂

20130516-215556.jpg

20130516-215521.jpg

An array of Easter Biscuits!


I couldn’t let the day pass without whipping up some tasty treats! These are fun spicy Easter and spring biccies that are great fun to make, and eat! Perfect holiday activity for the kids too!

20130331-160723.jpg

The icing is flavoured with either lemon, fresh raspberry or fresh blueberries.

For the biscuits you need:

2 cups gluten free or spelt flour

1 cup raw Icing sugar

6 oz Dairy free spread

2 tsp Cinnamon

1/2 tsp Nutmeg

1/2 tsp Cloves

For decoration:

Raw coconut palm sugar

Cinnamon and chilli sugar (see here)

Currants

Raw Icing sugar

Lemon juice, raspberries and blueberries

Sugar balls etc

Preheat the oven to 175 C. Mix all the biscuit ingredients together in a bowl – ensuring the spread is well combined with the flour an sugar. Once it forms a dough pop it in the fridge for 30 mins if you have time. Remove and roll out. Use whatever shaped cutters you like to it your biscuit shapes and transfer to a baking tray.

If you are using currants for bunny eyes and noses then add those now. Sprinkle with raw coconut sugar and cinnamon and chilli sugar. Place in the oven and cook for 8 – 12 mins or until golden. Remove and allow to cool on a wire rack.

Once cool you can ice the biscuits. Mix up your icing powder with lemon juice or fresh raspberries or blueberries and then spread on the biscuits. Add sugar decorations if you like. Allow to set and then eat!

20130331-161202.jpg

20130331-161251.jpg

20130331-161326.jpg

Better buns! Hot cross fun :)


With Easter fast approaching I thought I would re-post my hot cross bun recipes from last year. One is gluten-free, the other is the same recipe but using spelt flour.

The first recipe I posted for these buns last year was for both dairy-free, gluten free hot cross buns. The taste was spot on but they were a little dense for my liking so I had a go at a second recipe with spelt flour and wow, what an improvement! They’re not gluten-free, but they are low gluten and spelt flour is often tolerated much better by people with gluten intolerance than normal flour so they’re not awful 🙂 .

The original recipe is below and for the “tweaked” version, I just used white spelt flour, instead of the rice flour, corn flour and xanthan gum and upped the yeast a bit…and….. we have… yummy buns! 🙂 woohoo! 🙂

If you want to stick to gluten free though – the original recipe isn’t half bad! 🙂

If you like it you can use candied peel instead of the orange and lemon zest (I’m not a candied peel fan myself which is why I haven’t used it). These are a little dense but being a little dense isn’t too much of a bad thing – I still manage to devour loads of them in one sitting! 🙂

150g Cornflour

100g Rice flour

1.5 tsp Dried yeast

0.5 tsp Xanthan gum

2.5 tbsp Coconut palm sugar / unrefined raw sugar

0.5 tsp Himalayan rock salt

1 tsp Mixed spice

0.25 tsp Ground cinnamon

Zest of 1 lemon

Zest of 1 orange

50g  Olive oil

225 ml Warm water

100g Raisins / currants

For the Cross (optional)

4 tbsps Rice flour

1.5 tsps Cornflour

pinch of Xanthan gum

1.5 tbsps Coconut palm sugar/ unrefined raw sugar

enough water to make a pipeable paste

For the glaze: 3-4 tbsps Golden syrup

Preheat the oven to 180 C. Put the flours, yeast, xantham gum, spices, sugar, salt and orange and lemon zest into a bowl and mix well. Next add the oil and then start to add the water gradually, mixing as you go using a wooden spoon. The mix will have the consistency of a cake batter. Beat until all the lumps are gone. Finally stir in the raisons/currants. Scrape the mixture into the centre of the bowl and cover with clingfilm and leave to rise in a warm place for approximately 10 mins. It won’t rise dramatically but it will bulk up a bit.

The proof is in the pudding…. or the hot cross bun dough!

While you wait you can make the dough for the cross. Put the flours, sugar and xantham gum into a small bowl and add enough water and mix to make a pipeable paste. Put this mixture into a piping bag, or if like me you don’t have one just pop it in a small plastic sandwich bag and then cut off the corner to pipe through.

After the dough has sat for 10 mins spoon it out onto a baking tray. Try to give your buns as much height as possible when you put the dough out. Pipe the white cross over them. Cover the tray loosely with clingfilm and leave to prove in a warm place for another 5 mins.

Place then in the oven for 10 – 15 mins. Check them regularly – the tops should start to brown and they should sound hollow when tapped on the base! Once done remove from the oven and allow to cool. If you want to glaze them then gently warm the golden syrup and then paint over the top while the buns are cooling (warning it makes them deliciously sticky!).  Allow to cool.

These are definitely best eaten warmed or toasted with some lovely home-made jam! 🙂

Chunky Chilli Chocolate Cherry mini fingers and loaves


I thought I’d mix things up a bit with a modified version of my yummy chunky cherry loaves. These have a delicious hit of chilli and a sneaky bit of cinnamon too. I happened to get a new mini mini loaf tin so made some chunky chilli chocolate cherry fingers as well as loaves!

1582

I used some chilli and chocolate infused sugar for this recipe. You can buy this ready mixed or you could easily make it yourself  – it’s simply a mix of sugar, cocoa powder, chilli powder and cinnamon. Mix 100g sugar with 10g of cocoa powder, 2 tsp cinnamon and 1 tsp chilli powder (or more if you want it hotter!). Adjust the amounts depending how much you need but keep them in those ratios 🙂

For the loaves/fingers you will need:

1/2 cup Apple puree

1/4 cup Almond butter

1/3 cup Cocoa powder

1/3 cup Almond milk/soya milk/any non-dairy milk

1/3 cup + 2 tbsp boiling water

3/4 cup Chilli and chocolate infused sugar (plus extra to sprinkle on the top)

1 tsp Vanilla extract

1 tsp Chocolate extract (if you don’t have this then use another tsp vanilla extract)

1/8 tsp Almond extract

1 1/2 cups Gluten-free flour mix (or spelt flour if you’re not worried about gluten-free)

3/4 tsp Bicarbonate soda

3/4 tsp Himalayan rock salt

1 tsp chilli flakes (adjust to taste)

4 oz Chocolate chopped into chunks (I used Willie’s chocolate for this)

1 cup chopped Sweet cherries

1570

Preheat oven to 175 C and boil the kettle (no, not for tea – though that wouldn’t hurt!).

Put the apple, almond butter, milk and cocoa powder in a mixing bowl. Add 1/3 cup boiling water and mix quickly with a fork to make a thick chocolate sauce. Add the sugar and extracts and mix well. Sieve half the flour, bicarbonate soda and salt into the mix and mix gently. Add 1 tbsp boiling water and mix again. Add the rest of the flour mixture and another tbsp boiling water and stir until smooth. Go gently – don’t over mix. Add the chilli flakes and adjust to taste – if you want it with a bit more of a hit add more! Finally add the chocolate chunks and cherries and fold in to the mixture.

Pour into the tins  (this recipe will give approx 8 – 9 tins) or if you have a mini mini loaf/finger tin then use that. Put in the oven for 10 – 25 mins (if making fingers you will need to start checking them after 10 mins as they’re so much smaller).

Check they’re done by sticking a skewer in the centre, if it comes out clean they’re done (bear in mind you may hit a cherry or chocolate when you do this so you’re looking for a lack of cake dough on the skewer – chocolate or cherry juice is fine!). Allow to cool in the tins for 10 mins then take out of the tins and cool on a wire rack. They really need to be eaten warm so the chocolate is all melty! :) Yum Yum Yum! :) 1567

Cherry, macadamia, coconut and white chocolate shortbread biscuit recipe :)


Ok, I think I need new friends, or maybe I need ones that don’t have such great ideas…. Once again I find myself in my kitchen, baking biscuits at nearly 11pm….Definitely worth it though (thank you my lovely friend Colette from Colette’s Fitness Kitchen for planting yet another seed in my head for some scrummy biscuits!).

IMG_0382

So it’s the same biscuit recipe as before but this time I’ve added in:

approximately 100g Dried cherries

approximately 75g Macadamia nuts

100g of good quality white chocolate (omit this if you want it dairy free – or better yet replace with dairy free dark chocolate! yummo!)

a handful of dessicated coconut!

IMG_0380

Chop the cherries, nuts and chocolate fairly small and then add all of the ingredients in to the dough at the end and ensure they’re mixed well throughout. You can just make little round dollops of these, or you can roll them out (gently!) and use a cutter as I’ve done.

IMG_0377

They will be bit thicker so may need longer in the oven. Enjoy! 🙂

Oh and I should say… they are also yummy with the raspberry icing on…! 🙂

IMG_0379

Give the gift of yumminess this valentine’s day – quick gift idea!


These valentine’s biccies would make a fab present for the one you love 🙂 Whip up a batch of normal or coconut biccies, with or without icing and pop a load in a cellophane bag. Tie with a pretty ribbon and voila! One lovely home made gift of love! IF you can bear to give them away! 🙂

20130212-135211.jpg

20130212-135345.jpg

Coconut Dairy-free Valentine’s day shortbread biccies! :)


Apparently I’m very suggestable… which is why I found myself in my kitchen at 11pm on a Monday night making more biscuits! What, I hear you cry? has she not made enough biscuits already! Well no, apparently not! A very dear friend, who shall remain nameless (though her name begins with a C, has an o, two l’s and a couple of e’s and t’s in it…….) suggested to me this evening that those valentine biscuits would be even better with some dessicated coconut in them… now I’m a massive coconut fan and though it pains me to admit when she’s right… she was right, in fact she was damn right!

IMG_0352[1]

I went straight home and whipped up a batch! (well after a trip to the local shops for some ingredients!)…. and wow are they good! Seriously you need to try this! I think they’ll work brilliantly with the raspberry icing too – I just ran out of icing sugar so couldn’t ice them tonight!

IMG_0356[1]

So it’s the same recipe as before  ( i halved it this time) with some dessicated coconut added

2 cups Spelt flour or gluten-free flour mix

1 cups Unrefined Icing sugar

6 oz Dairy-free margarine (get the best quality you can)

Approx 1/2 cup (to be honest I just shook a load in from the tub but just try a little at a time and keep working it in until it’s evenly spread throughout the dough!)

Pre-heat the oven to 180 C. Put the margarine in a large mixing bowl, sieve the flour and icing sugar in and cream it together. Try not to over mix but make sure the margarine is properly mixed with the dry ingredients. Add the dessicated coconut as the dough starts to come together and ensure it’s evenly distributed throughout. Once it’s formed a dough wrap in cling film and chill for 30 mins. If you find the dough is too sticky then add some more flour.  Once chilled, roll out and use a biscuit cutter to cut whatever shape you have. Sprinkle with a little raw sugar if you like and place on a greased baking tray and bake for 8 – 10 mins, or until golden. Remove from the oven and allow to cool on the tray.

IMG_0354[1]