Pumpkin Breakfast Muffin Loaf – Gluten and Dairy Free


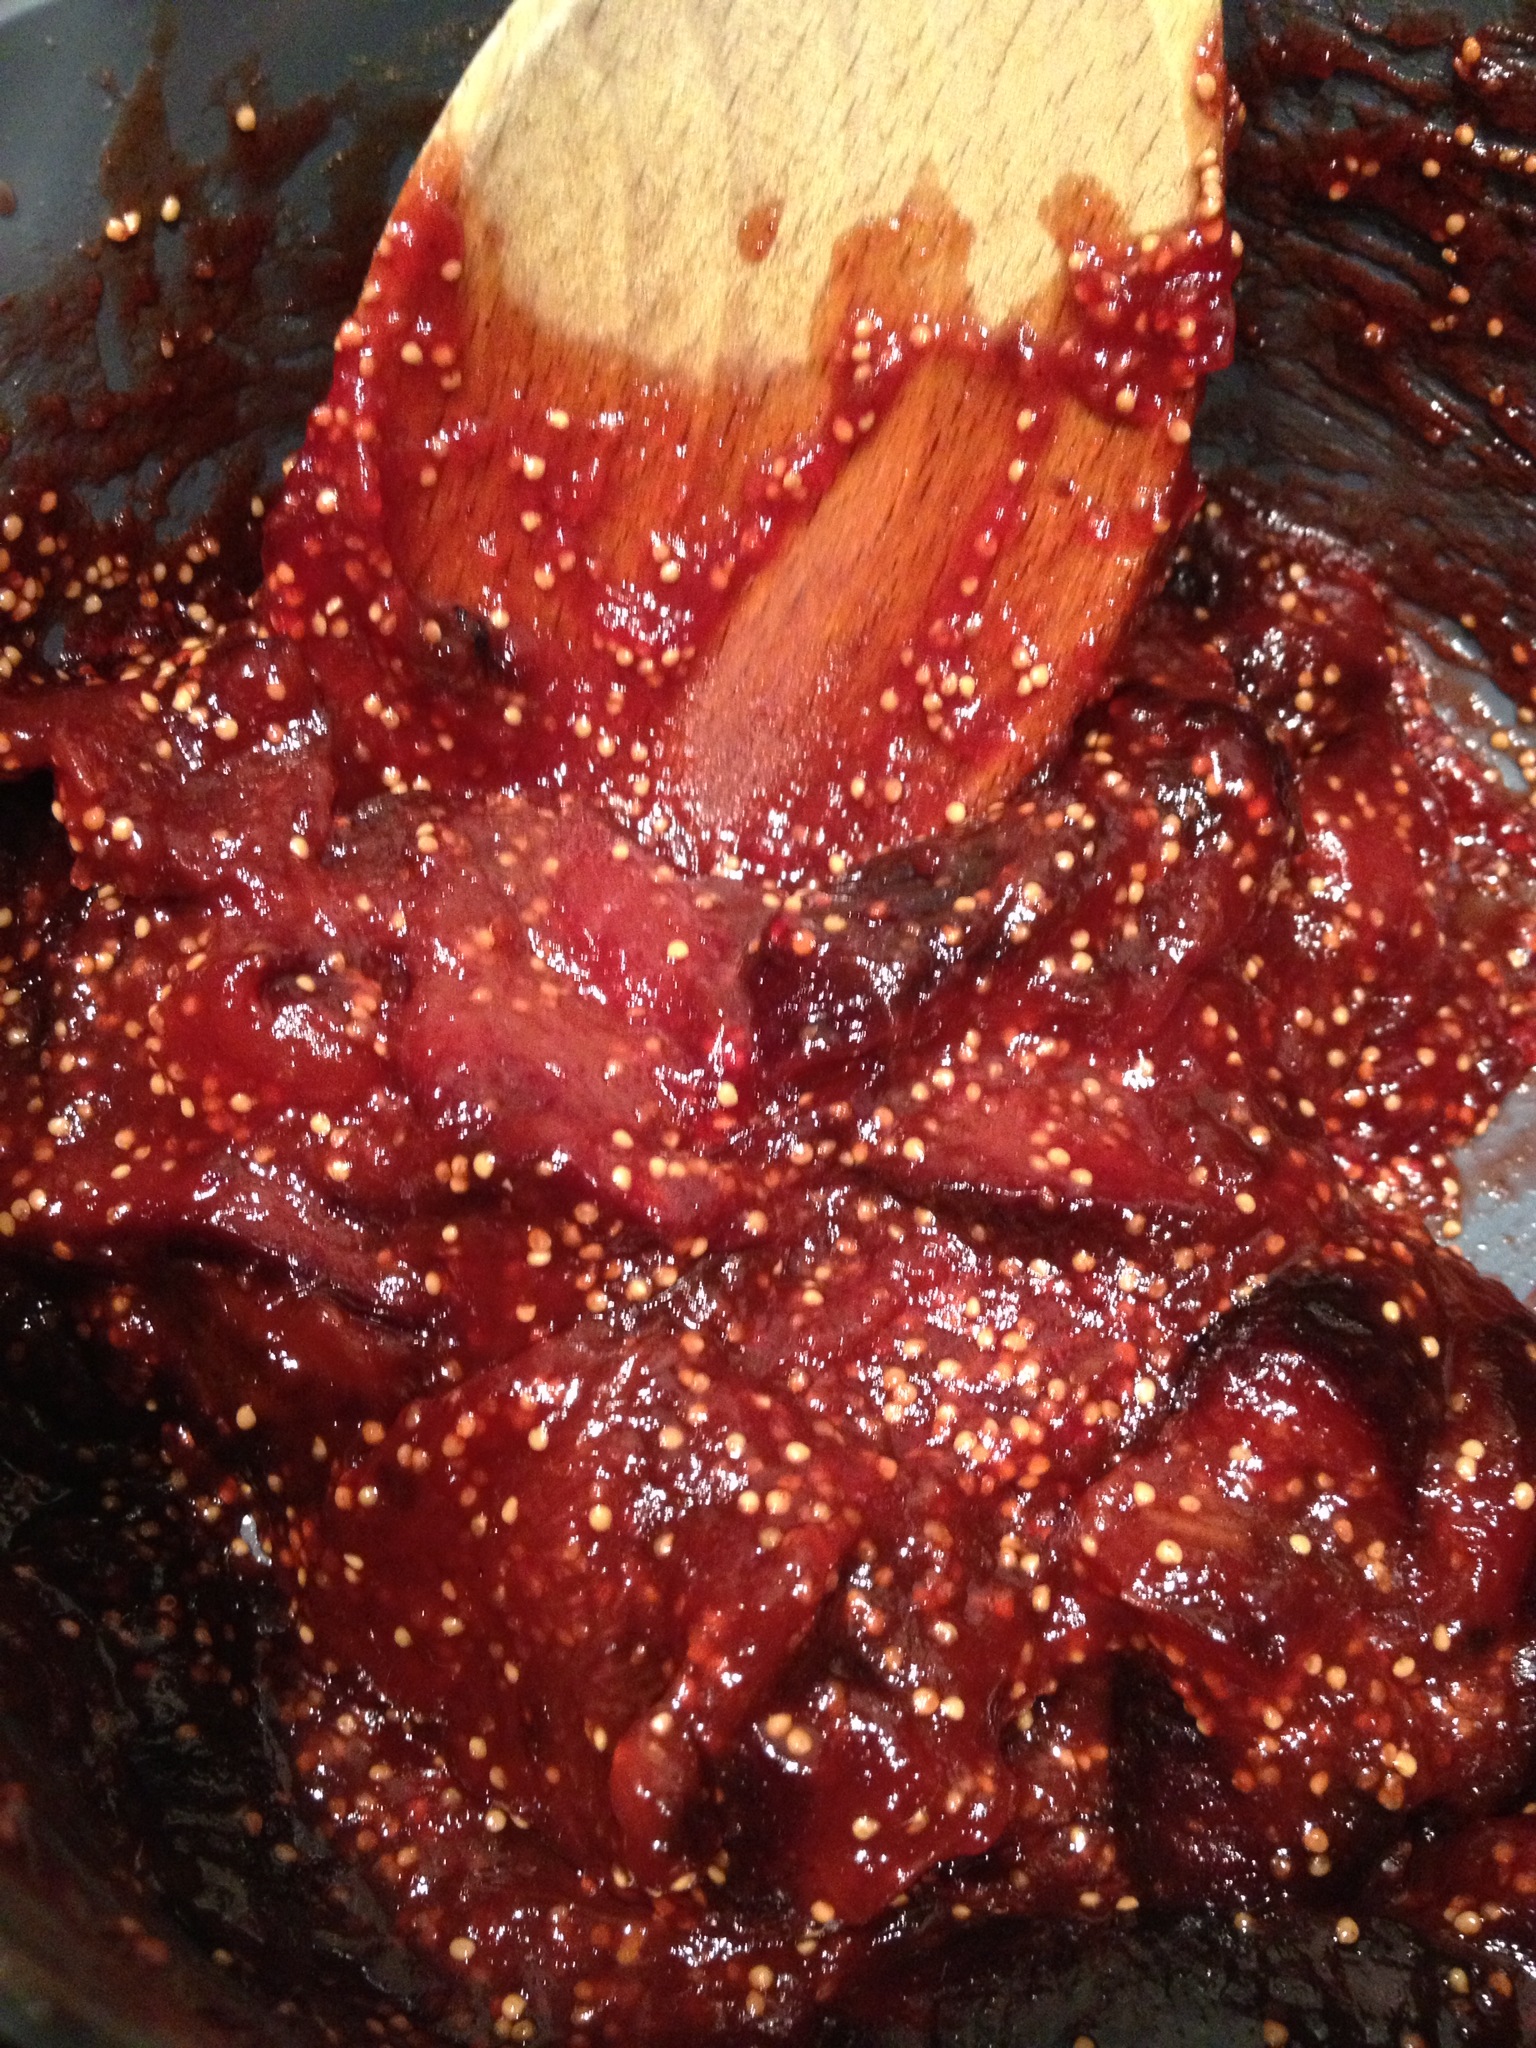
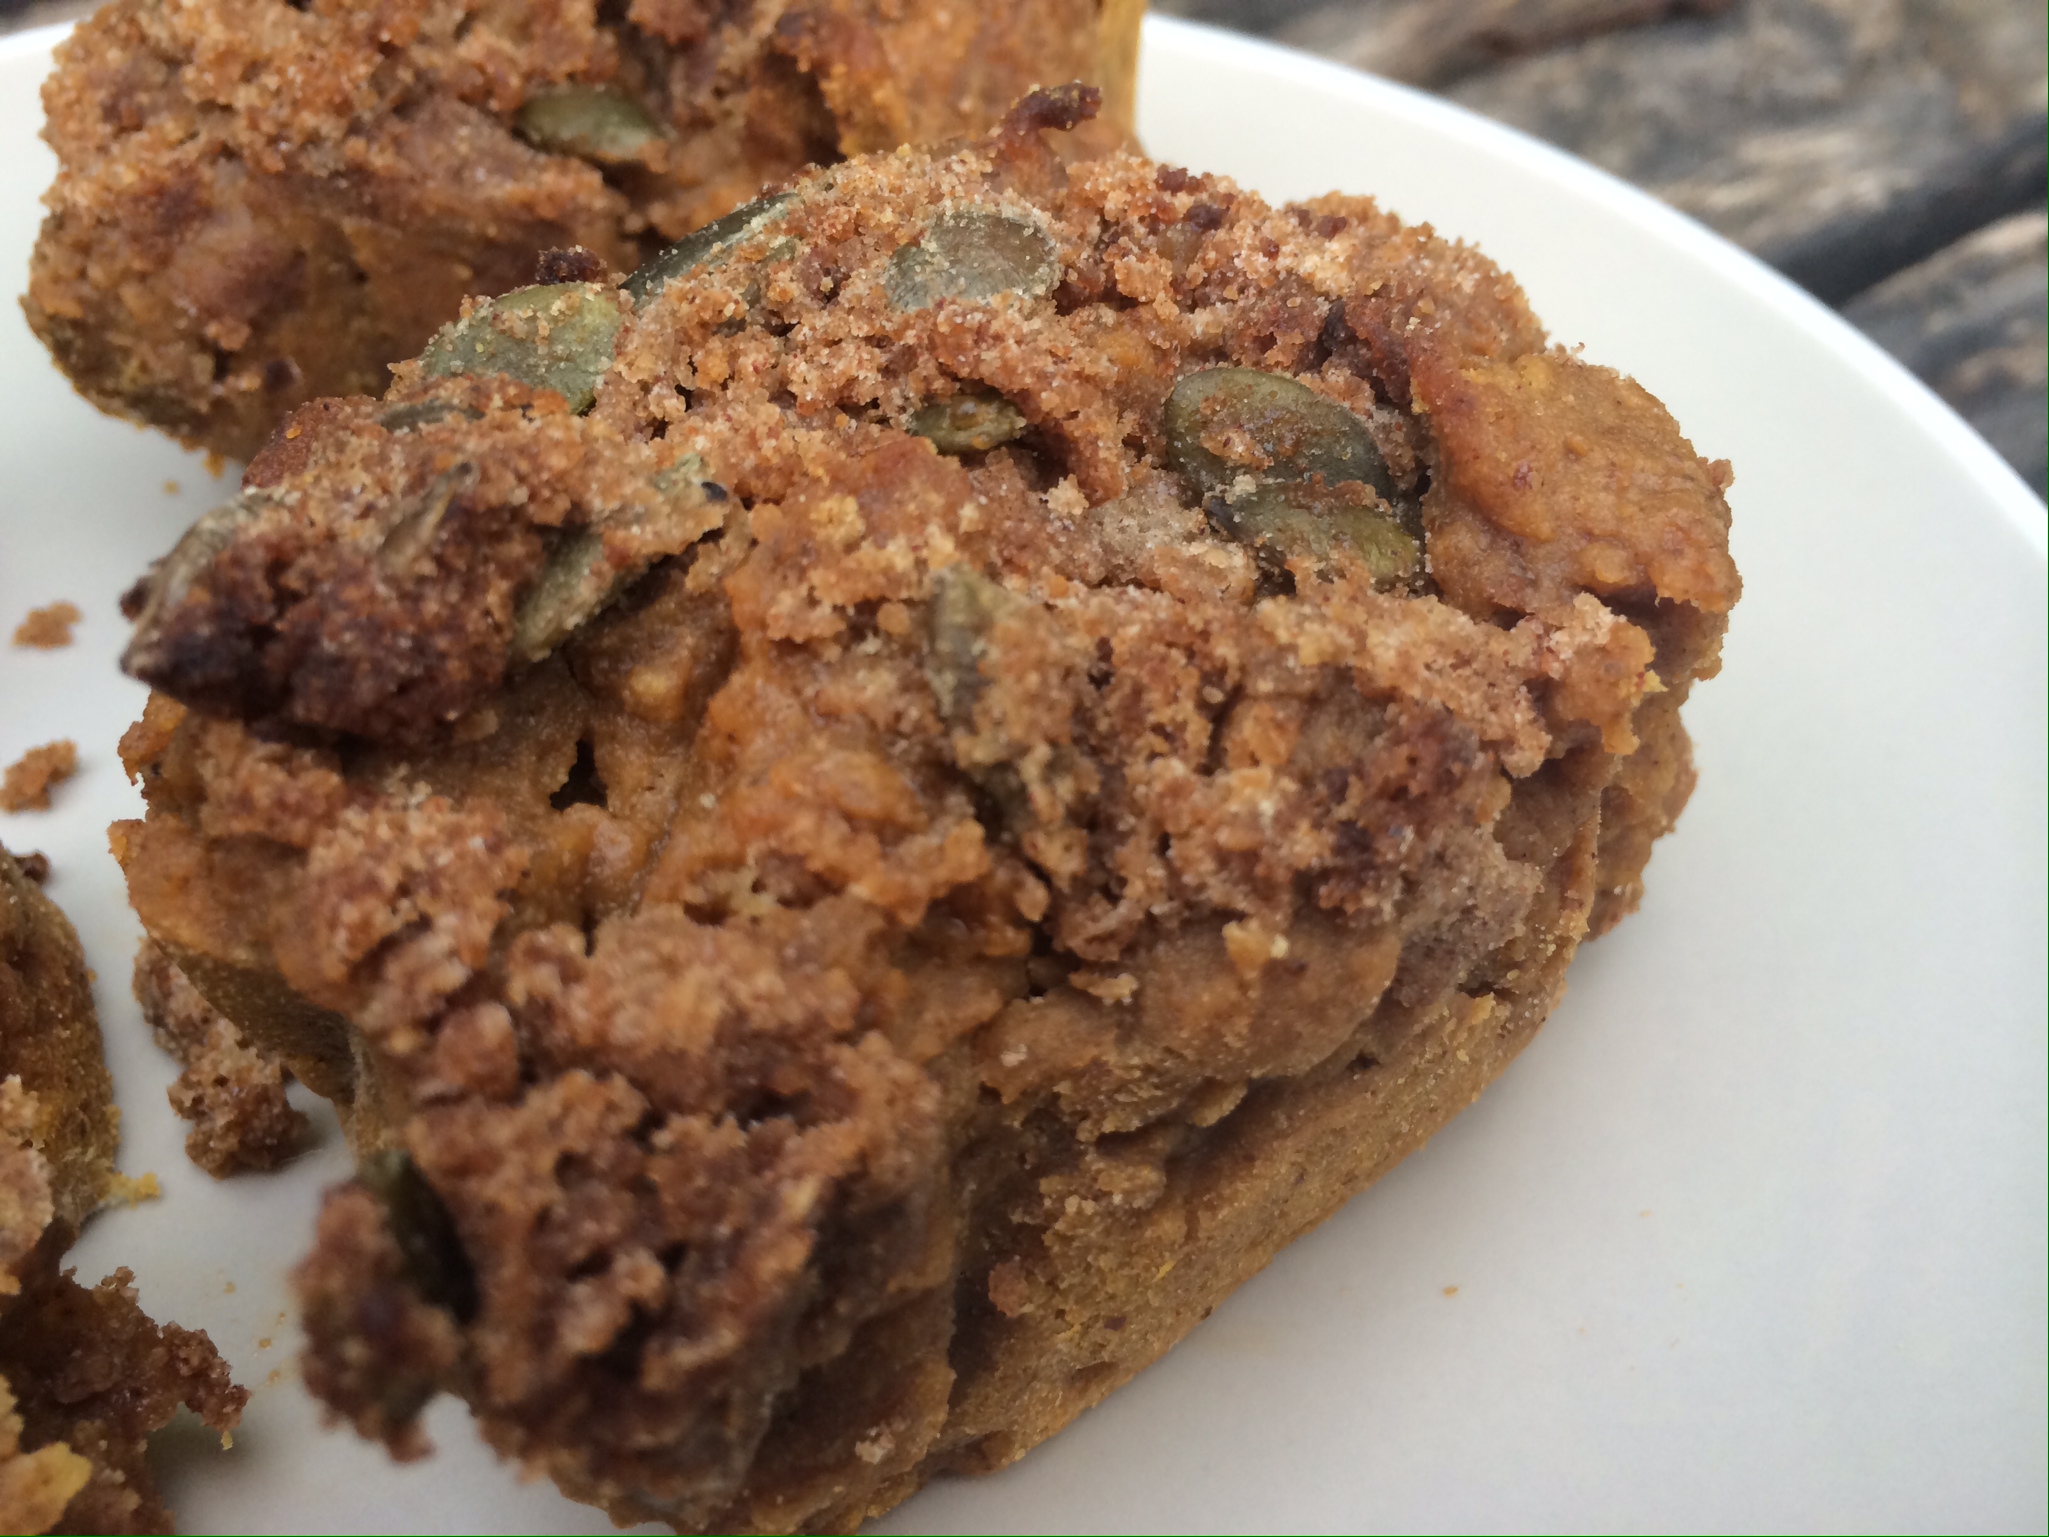
This little beauty really packs a punch – it’s strong on the spices and will satisfy you for the day ahead. It is quite a dense little loaf and is more like a tea-loaf than a muffin and it’s lovely smothered in the pumpkin butter (recipe here)

01a3b9043ea7839fd0ca69d671cad29982d6140cc8

You will need:

1 cups Rice flour (or gluten-free flour of choice!)

1 1/2 tsp Baking powder

1/2 tsp Himalayan rock salt

2/3 cups Coconut sugar

2 tsp ground Cinnamon

1/2 tsp Ground ginger

1/4 tsp ground Cloves

1 tsp Vanilla extract

2 tbsp ground Flax (linseed)

4 tbsp Water

1 cup Pumpkin purée

1 ripe Banana

1/4 cup Coconut oil

2 tbsp Maple syrup

For the topping:

4 tbsp Rice flour

2 tbsp Coconut oil

1 tsp ground Cinnamon

2 tsp Raw pumpkin seeds

Mix together the flax seed and water in a small bowl. Whisk it with a fork and then pop in the fridge for 15 mins or so.

Preheat the oven to 200 C.

Add all the ingredients in to a large bowl (except the topping ingredients). Mix well together and then add the flax seed mix. Depending how ripe your banana is you may find the batter is a bit too thick so add some warm water until it forms a thick but spoonable batter.

Add the batter to muffin trays or mini loaf tins.

Combine the topping ingredients in another bowl and then sprinkle on the top of each loaf. Press the topping into the batter a little bit.

01f9ad3b375fa0f112e555dfac2754fb66957a3b47_00001

Bake for 15 – 20 mins, or until a skewer comes out clean. Allow to cool and then eat!

01b0d22578584e9525dbf734b17a9bdc41cba9ed19

Cinnamon Glazed Pumpkin Cookie Cake Gingerbread Yumminess! Gluten and Dairy Free


Sometimes the best bakes are created by accident! This is one of those bakes!

Ok, so these did not turn out in any way like I intended! However, I absolutely LOVE what I’ve created! I don’t know what to call it – is it a cake? is it a biscuit? is it a pumpkin gingerbread? who knows! All I know is that it is scrummy! It’s moist on the inside and so full of flavour and you would never know there was pumpkin in there 🙂

01cc2d99bad18909266a96645859bdf7ccc9c6c566

I set out to make a cookie-type of biscuit using pumpkin. These have come out less like a cookie and more like cake or soft gingerbread in texture – a failure? No – not in any way shape or form! They are simply divine – especially with the cinnamon glaze!

018d72e15fb9ff60eadd6436e486c70ae8fd2779f8

This will make around 24 – 30 cookie-cakes.

You will need:

2 cups Rice flour or Spelt flour (spelt is an option if you don’t need gluten-free but want to go for a low-gluten option, or you could also use a gluten free flour blend)

1/4 tsp Xanthan gum (unless you choose to use a ready-mixed gluten free flour blend which has it in – check the ingredients!)

1 tsp Bicarbonate of soda

1 1/2 tsp ground Cinnamon

1/2 tsp ground Nutmeg

1/2 cup Coconut oil

1 cup unrefined Coconut or other raw sugar

1/4 cup Molasses

1 Egg (or this can be replaced with 1/4 cup of ripe mashed banana or 1/4 cup of puréed apple if you prefer)

1 cup Pumpkin purée (recipe here)

1/3 cup Coconut, almond or soya milk

1 tsp Vanilla extract


For the glaze:

1 cup unrefined Icing sugar

1 tbsp Coconut, almond or soya milk

1 tsp Vanilla extract

1/4 tsp ground Cinnamon (or more – just add to taste)


Preheat the oven to 180 C.

Put the flour, xanthan gum, bicarbonate of soda, and spices into a large mixing bowl. Combine well (using a whisk or fork works well for this).

Put the oil and sugar in a separate bowl and mix together. Add the molasses, egg (or egg substitute), pumpkin, milk and vanilla and use a hand mixer (or whisk) to blend together.

Add the flour mix to the wet ingredients and stir well until completely combined. Place generous heaped teaspoons of the mixture on to a greased and lined baking tray and place in the oven for 10 – 13 minutes (until they are slightly crispy on the outside and are starting to turn colour – it’s hard to see as they’re dark but you will see a change).

Place the icing sugar and other glaze ingredients in a bowl and mix together well.

01e4064aa487bafe398b0ceb641c239e95bbc709de

Once the cookie-cakes are done, remove from the oven and let them cool for a couple of minutes. Then spoon the glaze over them whilst they are still warm.

Then enjoy with a cup of tea! 🙂


Goodness, gracious, great balls of…. biscuit!


I love a good biscuit with a cup of tea and am always searching for gluten and dairy free recipes for biscuits / cookies that actually work! I’ve tried so many and so often they end up too soft or too crumbly or too much effort to make! But I think with these little beauties I’ve found the perfect biscuit! It’s so easy to make and so quick – you can whip up a batch in 20 minutes!

photo 1 (5)

To make about 24 small biscuit balls you will need:

260g Ground almonds

60g Cacao nibs

5 tablespoons Coconut oil (melted)

1/2 tsp Baking powder

1/2 tsp Himalayan rock salt

2 tsp Vanilla extract

4 tbsp Maple syrup (or other liquid sweetener such as agave or honey)

Preheat the oven to 170 C.

Put the dry ingredients in to a mixing bowl and combine thoroughly. Add the coconut oil, maple syrup and vanilla extract and mix together. You should find the mixture will stick together when you squeeze it between your fingers.

Take tablespoon sized portions of the mixture and form in to a ball. Pop on a greased baking tray and flatten a little. Place in the oven for 10 – 15 minutes (start checking at 10 minutes). Remove when they are starting to brown. They will feel very soft when you take them from the oven but just leave them to cool on the tray and they will harden.

Enjoy with a nice cuppa! 🙂

photo 2 (5)


Plum cake – gluten, dairy and egg free!


When I posted my recipe for my plum and almond cake I promised I would post a recipe for plum cake that was also egg free, so here it is! 🙂

photo 3 (3)

This cake uses fine cornmeal or polenta and so does have a little bit of a nutty texture to it around the edges but it is moist and soft in the middle.
It also uses coconut milk but not the kind you get in a carton – the canned kind, often called coconut cream. For this to work you need one with a high coconut fat content so you’re looking for one with 65 – 70% coconut extract. You will need to prep the coconut cream the day before.

This one works well:

coconut creamPop the can in the fridge overnight and try not to move it. The coconut fat solidifies and separates at the top, leaving clear liquid at the bottom. When you are ready to make the cake remove the can carefully from the fridge and turn the can upside down in one move (i.e. no shaking!). Then open the can at the bottom – yes – trust me, open the bottom! You should find that the fat has solidified and you will see a few cm’s of clear liquid. Pour this off (don’t throw it away – you can pop it in a smoothie!) and then you are left with the coconut cream to use! 🙂

So for the cake you will need:

1/2 cup fine Polenta

1/2 cup Rice flour

1/2 cup Raw coconut sugar

1 tsp Baking powder

1 cup minus 1 tbsp of the coconut milk/cream

1/2 cup of apple puree (recipe here)

6 – 8 English plums (less if you’re using the bigger imported plums!)

Preheat the oven to 180 C and line and grease a 20 x 20 cm baking pan.

Put all the dry ingredients in to a bowl and mix well. Add the coconut cream and apple puree and mix together well. Allow this to rest for 15 minutes so the polenta can start to absorb the moisture.

photo 2 (2)

Cut the plums in to halves (or quarters if large). Pour the batter in to the baking pan and use a spatula or the back of a spoon to smooth it out evenly. Then place the plum halves into the top of the batter, spacing them evenly across (I managed to get 3 rows of 4 in mine!). Press in lightly.

photo 3 (2)

Then place in the oven and bake for 25 – 30 mins. Start checking it at 25 mins and remove when the top is golden and a skewer comes out clean.

photo 5 (2)

Remove from the oven and allow to cool on a wire rack for at least an hour. Then cut in to squares and serve!

photo 2 (4)

Apple and almond cake – gluten free and dairy free


This is an apple version of the plum and almond cake I posted recently. It’s such an obvious combination and a very special friend put in a request for apple so it had to be done! 🙂

IMG_0334

You will need:

125g unrefined Raw sugar or Coconut palm sugar

200g Ground almonds

2 Eggs

100 ml Almond oil (you can use mild Olive oil if you prefer

1/4 tsp Vanilla extract

1/8 tsp Almond extract (if you have it)

Bramley apple (1 large)

Ground cinnamon (for dusting)

Pre-heat the oven to 180 C and line and grease a 20cm cake tin – if you have a springform tin then use that as it makes it easier to get it out without it breaking. If not a loose bottom tin is the best option.

Add the oil and sugar to a bowl and use a hand mixer to beat together (you can do it by hand with a fork if not). Beat in the eggs one at a time. Then add in the extracts and mix well. Fold in the ground almonds with a metal spoon. Once mixed pour in to the tin.

Peel and core the apple and cut into slices, and place in to the batter. Push them down a little bit so they’re well bedded in there. Sprinkle the top with ground cinnamon.

IMG_0326Pop in the oven for 25 – 30 minutes. It is worth starting to check it at about 20 minutes. Once a skewer comes out clean then it’s done.

Let it cool for 10 minutes in the tin and then carefully remove it and allow it to cool on a wire rack. Slice and enjoy! 🙂

IMG_0328

Plum and Almond Cake – Gluten-Free and Dairy-Free


English plums are in season right now so it’s an ideal time to use them for something yummy! This cake definitely qualifies! I was really unsure how this would turn out but it’s actually amazing! If you are a fan of almond macaroons or frangipanes you will absolutely love this. I had the pleasure of getting some English plums from Riverford Organic so I thought I’d better put them to good use!

IMG_0237

This went down really well with my husband and even George the cat was curious about it 😉 so it must be a winner!

IMG_0229

This is gluten and dairy free but does contain eggs. I’ve got an egg-free plum cake coming up soon so never fear!

If you are using the small English plums you will probably only need 6 – 8, if using larger ones you will need no more than 4 at the most.

IMG_0276

You will need:

125g unrefined Raw sugar or Coconut palm sugar

200g Ground almonds

2 Eggs

100 ml Almond oil (you can use mild Olive oil if you prefer

1/4 tsp Vanilla extract

1/8 tsp Almond extract (if you have it)

Plums 4 -8 depending on size

Ground cinnamon (for dusting)

Pre-heat the oven to 180 C and line and grease a 20cm cake tin – if you have a springform tin then use that as it makes it easier to get it out without it breaking. If not a loose bottom tin is the best option.

Add the oil and sugar to a bowl and use a hand mixer to beat together (you can do it by hand with a fork if not). Beat in the eggs one at a time. Then add in the extracts and mix well. Fold in the ground almonds with a metal spoon. Once mixed pour in to the tin.

Half (or quarter if they’re big) the plums, remove the stone, and place in to the batter. Push them down a little bit so they’re well bedded in there. Sprinkle the top with ground cinnamon.

IMG_0188

Pop in the oven for 25 – 30 minutes. It is worth starting to check it at about 20 minutes. Once a skewer comes out clean then it’s done.

IMG_0193

Let it cool for 10 minutes in the tin and then carefully remove it and allow it to cool on a wire rack. Slice and enjoy! 🙂

Blackberry and Apple Tray Bake!


Now obviously with all those yummy blackberries I had to make something cake-based too… so I had a go at a blackberry and apple tray bake. It’s topped with meringue so isn’t egg-free, though it is dairy-free. For the cake itself you can either use eggs or an egg replacement (see below). This is super sweet and super moist and siuper yummy! It’s a perfect Autumn afternoon snack.

IMG_0094

You will need:

140g dairy-free Margarine

140g Coconut sugar

1 egg and 2 egg yolks beaten together (or 3 tbsp Chia seeds soakes in 9 Tbsps water)

1/2 tsp Vanilla extract

100g white Spelt flour and 1 tsp Baking powder (OR 100g self-raising gluten-free flour mix)

100g ground Almonds

1 tsp Baking powder

1/2 tsp ground Nutmeg

1/2 tsp ground Cinnamon

pinch of Himalayan rock salt

1 large Bramley Apple, sliced (approx 140g once peeled and cored)

125g Blackberries

For the Meringue topping:

25g Blackberries

100g unrefined Golden caster sugar

2 Egg whites

1 tsp Lemon juice

pinch of Himalayan rock salt

2 tbsp toasted Almond flakes

Pre-heat oven to 160 C or 140 C (fan oven) and grease and line a square tin (approx 23cm).

Beat the margarine and coconut sugar together until pale and creamy. Then beat in the egg and yolks (or chia seeds), and the vanilla. If you are using a self-raising gluten-free flour mix then sieve that in together with the baking powder and spices and salt. If you are using spelt flour sieve the baking powder (both measures of baking powder) and spices in to the spelt flour and then sieve it in to the butter mix. Next add in the ground almonds and fold it all together to form a thick batter.

IMG_0081Chop the apple up in to small chunks or slices (whatever you prefer) and fold in to the mix. Pour the batter in to the tin and then scatter with the blackberries. Poke the blackberries down a bit so they are well bedded in to the batter.

IMG_0084Pop in the oven and bake for 40 – 45 mins until a skewer comes out clean. Once you remove the cake leave the oven on.

IMG_0085While it is baking you can prepare the blackberry sauce for the meringue. If you are not using meringue this sauce can be drizzled over the cake 🙂

Put the remaining blackberries and 1 tsp sugar in a bowl and cover with cling film. Pop in the microwave for 30 secs and then mash until saucy! 🙂 You can also do this in a saucepan over a low heat. Set aside to cool.

Take the 2 egg whites and whisk with the lemon juice and a pinch of salt until they form stiff peaks – and if you’re brave do the whole “holding the bowl upside down above your head” test to see if they’re stiff enough! Add the sugar 1 tbsp at a time and whisk in well. Add the blackberry sauce and ripple through with spoon. Then spoon the mixture in to a piping bag or in to a plastic freezer bag and snip off the corner.

Pipe the meringue on to the cake – I aimed for one meringue per piece so it was about 16 little meringues but you can do whatever pattern you like! Scatter the almonds over the top and place the cake back in the oven for 10 – 12 minutes until the meringues are set.

IMG_0090

Then remove and allow to cool in the tin for 30 mins. Cut in to little squares and enjoy!

IMG_0099

Blackberry Chia Jam


I have spent a few lovely hours for the past couple of weekends foraging for wild blackberries in the local parks near me. I’ve had the pleasure of thinking up ways to use them (some of which will follow!), but the first and (in my humble opinion) most exciting thing I did was make up a lovely batch of chia jam! This recipe is also up on Colette’s Fitness Kitchen 🙂

IMG_0174

IMG_0176

This stuff is lovely, it’s easy to make and totally raw so doesn’t require any cooking or setting or anything difficult. It will last for about a week in the fridge but could also be frozen too. The beauty of this is not only is it delicious but it is a great way to boost your omega-3 and fibre intake 🙂

You will need:

1 1/2 cups Blackberries (or any soft fruit)

3 Tbsp Chia seeds

1/4 – 1/2 cup Water

1 – 2 Tbsp Maple syrup (or other liquid sweetener) – if required (personally I like my blackberries tart so didn’t add any!)

Place the blackberries or other fruit in a bowl and mash with a fork until smooshed up but not completely liquid. If you need sweetener then add it to taste and then add the chia seeds and mix well. Depending how juicy your fruit is you may need to add more or less water but start with half a cup and add more if required. The chia seeds take time to soak up the water, so once you have added it allow it to stand for 30 mins to an hour before seeing if you need to add more. If the chia seeds are still crunchy add more (unless you like them crunchy, in which case don’t!). The longer you can leave the jam the better – ideally overnight, but at least for an hour or so. Enjoy it spread on toast, dolloped on top of yoghurt or just eaten straight off the spoon!

IMG_0023 IMG_0186

Experiment with different fruits depending on what is in season. Raspberries also work well and I was lucky enough to pick up some discounted, very ripe nectarines in the market which made a delicious change.

IMG_0182

For we all like Figgy Jam……. Fig and Ginger Jam!


This is so easy and so delicious! I’ve been trying to add a bit more ginger in to my diet lately as it’s so good for your stomach and helps with the digestion of other nutrients. It’s also a fab anti-inflammatory so is brilliant for muscle and joint aches. Apparently it has aphrodisiac properties as well!!!

Figs are also brilliant for you – they’re full of fibre and are a great source of potassium and calcium and they taste yummy! 🙂 So this jam is perfect! It’s really easy to make and tastes divine.

IMG_0042

You will need (makes one small jar):

250g fresh, ripe Figs

2 tbsp Maple syrup (or your liquid sweetener of choice – agave, honey, rice syrup etc)

1.5 tbsp Lemon juice

zest of 1/2 Lemon

3/4 tsp ground Ginger

1/4 tsp ground Cinnamon

Cut the figs in to quarters (or smaller if they are very large) and pop in a saucepan. Add the other ingredients and then bring to a simmer over a medium heat, stirring all the time.

IMG_0031

Don’t let the mixture boil but keep it simmering for about 30 – 40 minutes or until the fig has started to break down and it takes on a jammy consistency! Taste (carefully – it will be hot!) and adjust the sweetner if required.

IMG_0034

Take a clean glass jar and rinse with warm soapy water (or pop through the dishwasher). Dry it well and then place it in to the oven at about 180 C for approx 20 minutes. Remove carefully and then add the jam to the jars while they are both still hot. Pop a lid on and once cool place in the fridge. This should keep for a few weeks at least.

Enjoy your jam spread on some yummy rye toast with a nice cup of tea 🙂

Spice up your summer! Chocolate chilli cookies (dairy free, low/no gluten)


Chocolate and chilli – what better combination can there be?

I recently baked up another batch of these to welcome home a lovely friend from a trip away and they seemed to go down well so I thought I’d share! They were inspired by a chocolate cookie recipe I found years ago and modified but I can’t now find the original link – when I do I’ll add it! They’re quick and easy to make and taste divine! Oh, and a warning, they smell so good when cooking that it’s pretty hard not to eat them all right there and then!

Makes about 20 (depending how big you make them!)

You will need:

1 and 2/3 cups of white Spelt flour or a gluten-free blend
1/2 raw Cacao powder
1/2 cup Almond oil
1 cup Raw coconut sugar or other raw sugar
1/4 cup Maple syrup (the best quality you can get)
3 tbsp Almond milk (you could use soya or coconut milk too)
1 tsp Bicarbonate of soda
1/4 tsp hot Chilli powder (I used dried chillies, ground up – and they are hot!)
1/2 tsp ground Cinnamon
1/2 tsp Cayenne pepper
1/4 tsp Himalayan rock salt
1 tsp Vanilla extract
1 tsp Chocolate extract (optional – available from whole food stores, online, or Waitrose for those in the UK)

You will also need some cinnamon chocolate chilli sugar to coat them in 🙂 You can buy pre-mixed sugar, but I prefer to make my own. It’s easy! Just mix 100g sugar with 10g of cocoa powder, 2 tsp cinnamon and 1 tsp chilli powder (or more if you want it hotter!). Adjust the amounts depending how much you need but keep them in those ratios. Make up a batch and keep it in an airtight jar. Just shake before use as the sugar tends to sink to the bottom, leaving the lighter cocoa etc at the top.

Preheat the oven to 350 F and grease and line a baking tray (or 2!).

Put the oil, sugar, maple syrup and milk in a bowl and mix together using a fork. Add in the vanilla extract and mix well. Mix the rest of the ingredients in a large bowl and sieve in to the wet ingredients. Mix until you have a dough. The dough will be quite moist and sticky.

Put the cinnamon chocolate chilli sugar on a plate. Take small, walnut sized, balls of the dough and pat into the topping sugar to make discs about 2 inches across. Make sure they are well covered in sugar. Put them on to the baking tray with the sugar facing up. Cook for 10 – 12 minutes until they are crackly on the top and have spread a little. Allow to cool on the baking tray for 5 mins then transfer to a wire rack to cool.

Enjoy! :)