I blogged this over at Colette’s Fitness Kitchen but wanted to share it with you all too 🙂 It’s divine! 🙂
Here’s the original post – Grain-free Pizza Recipe and I’ve copied the recipe for you below 🙂 This is a definite winner and I’m really pleased with how it turned out 🙂
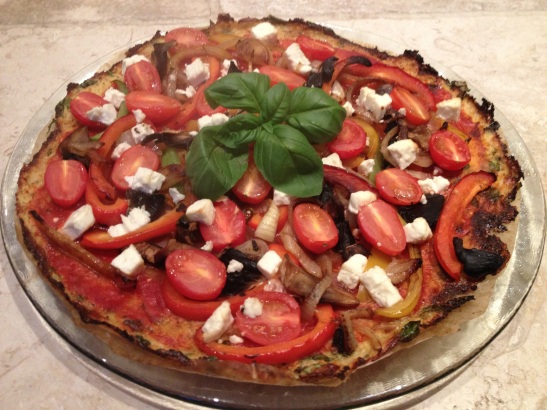
I’m always on the look out for grain-free alternatives and had heard a lot about using cauliflower as a pizza base so I thought I would give it a go. I’m thrilled with the results – it’s absolutely delicious and really easy to make too! I whipped this up in about 30 mins! You can make this dairy free or vegan too if you want to (options below) 🙂
For the base you will need:
1 large Cauliflower
a handful of fresh Basil leaves
a handful of fresh flat Parsley leaves
1/2 tsp dried Oregano
1/2 tsp Garlic salt
Himalayan rock salt and black pepper to taste
1 Egg OR 1 tbsp ground flax seeds/linseed soaked in 3 tbsp water
Optional – 1 cup of grated hard cheese (goat’s cheese, vegetarian parmesan, mozarella – whatever you like)
For the pizza topping you will need:
Pasata or tomato purée
Toppings of your choice – I used mixed peppers, onions, mushrooms, baby plum tomatoes and feta cheese
Preheat the oven to 220 C.
Remove the central stalk of the cauliflower and cut in to florets. Place in a food processor and pulse until it is chopped up nice and small. Pop it in to a bowl, cover with clingfilm and microwave on full power for 3 – 4 minutes (until tender). Allow to cool (unless you have asbestos fingers!) and then tip in to a clean tea towel. Wrap it up and then wring the life out of it! You want to get rid of as much water as possible. Place the wrung out cauliflower back in the bowl and add all the other base ingredients, with the egg or egg substitute going in last.

Mix together well (hands work best). Once it’s all well mixed tip it out on to a lined, greased pizza tray (or baking tray) and press out in to a pizza shape. You want it to be well squished down and thin but not too thin – a couple of mm thick. Place in the oven and cook for 7 – 10 minutes until it just starts to colour.

Remove and add your pasata or tomato purée and your pizza toppings. I like to pre-cook my peppers and onions in a frying pan before adding them as it means they are super tender. Once you’ve added all your toppings place it back in the oven for a further 7 – 10 mins. Remove, drizzle with some chilli-infused olive oil and serve with a side salad! 🙂


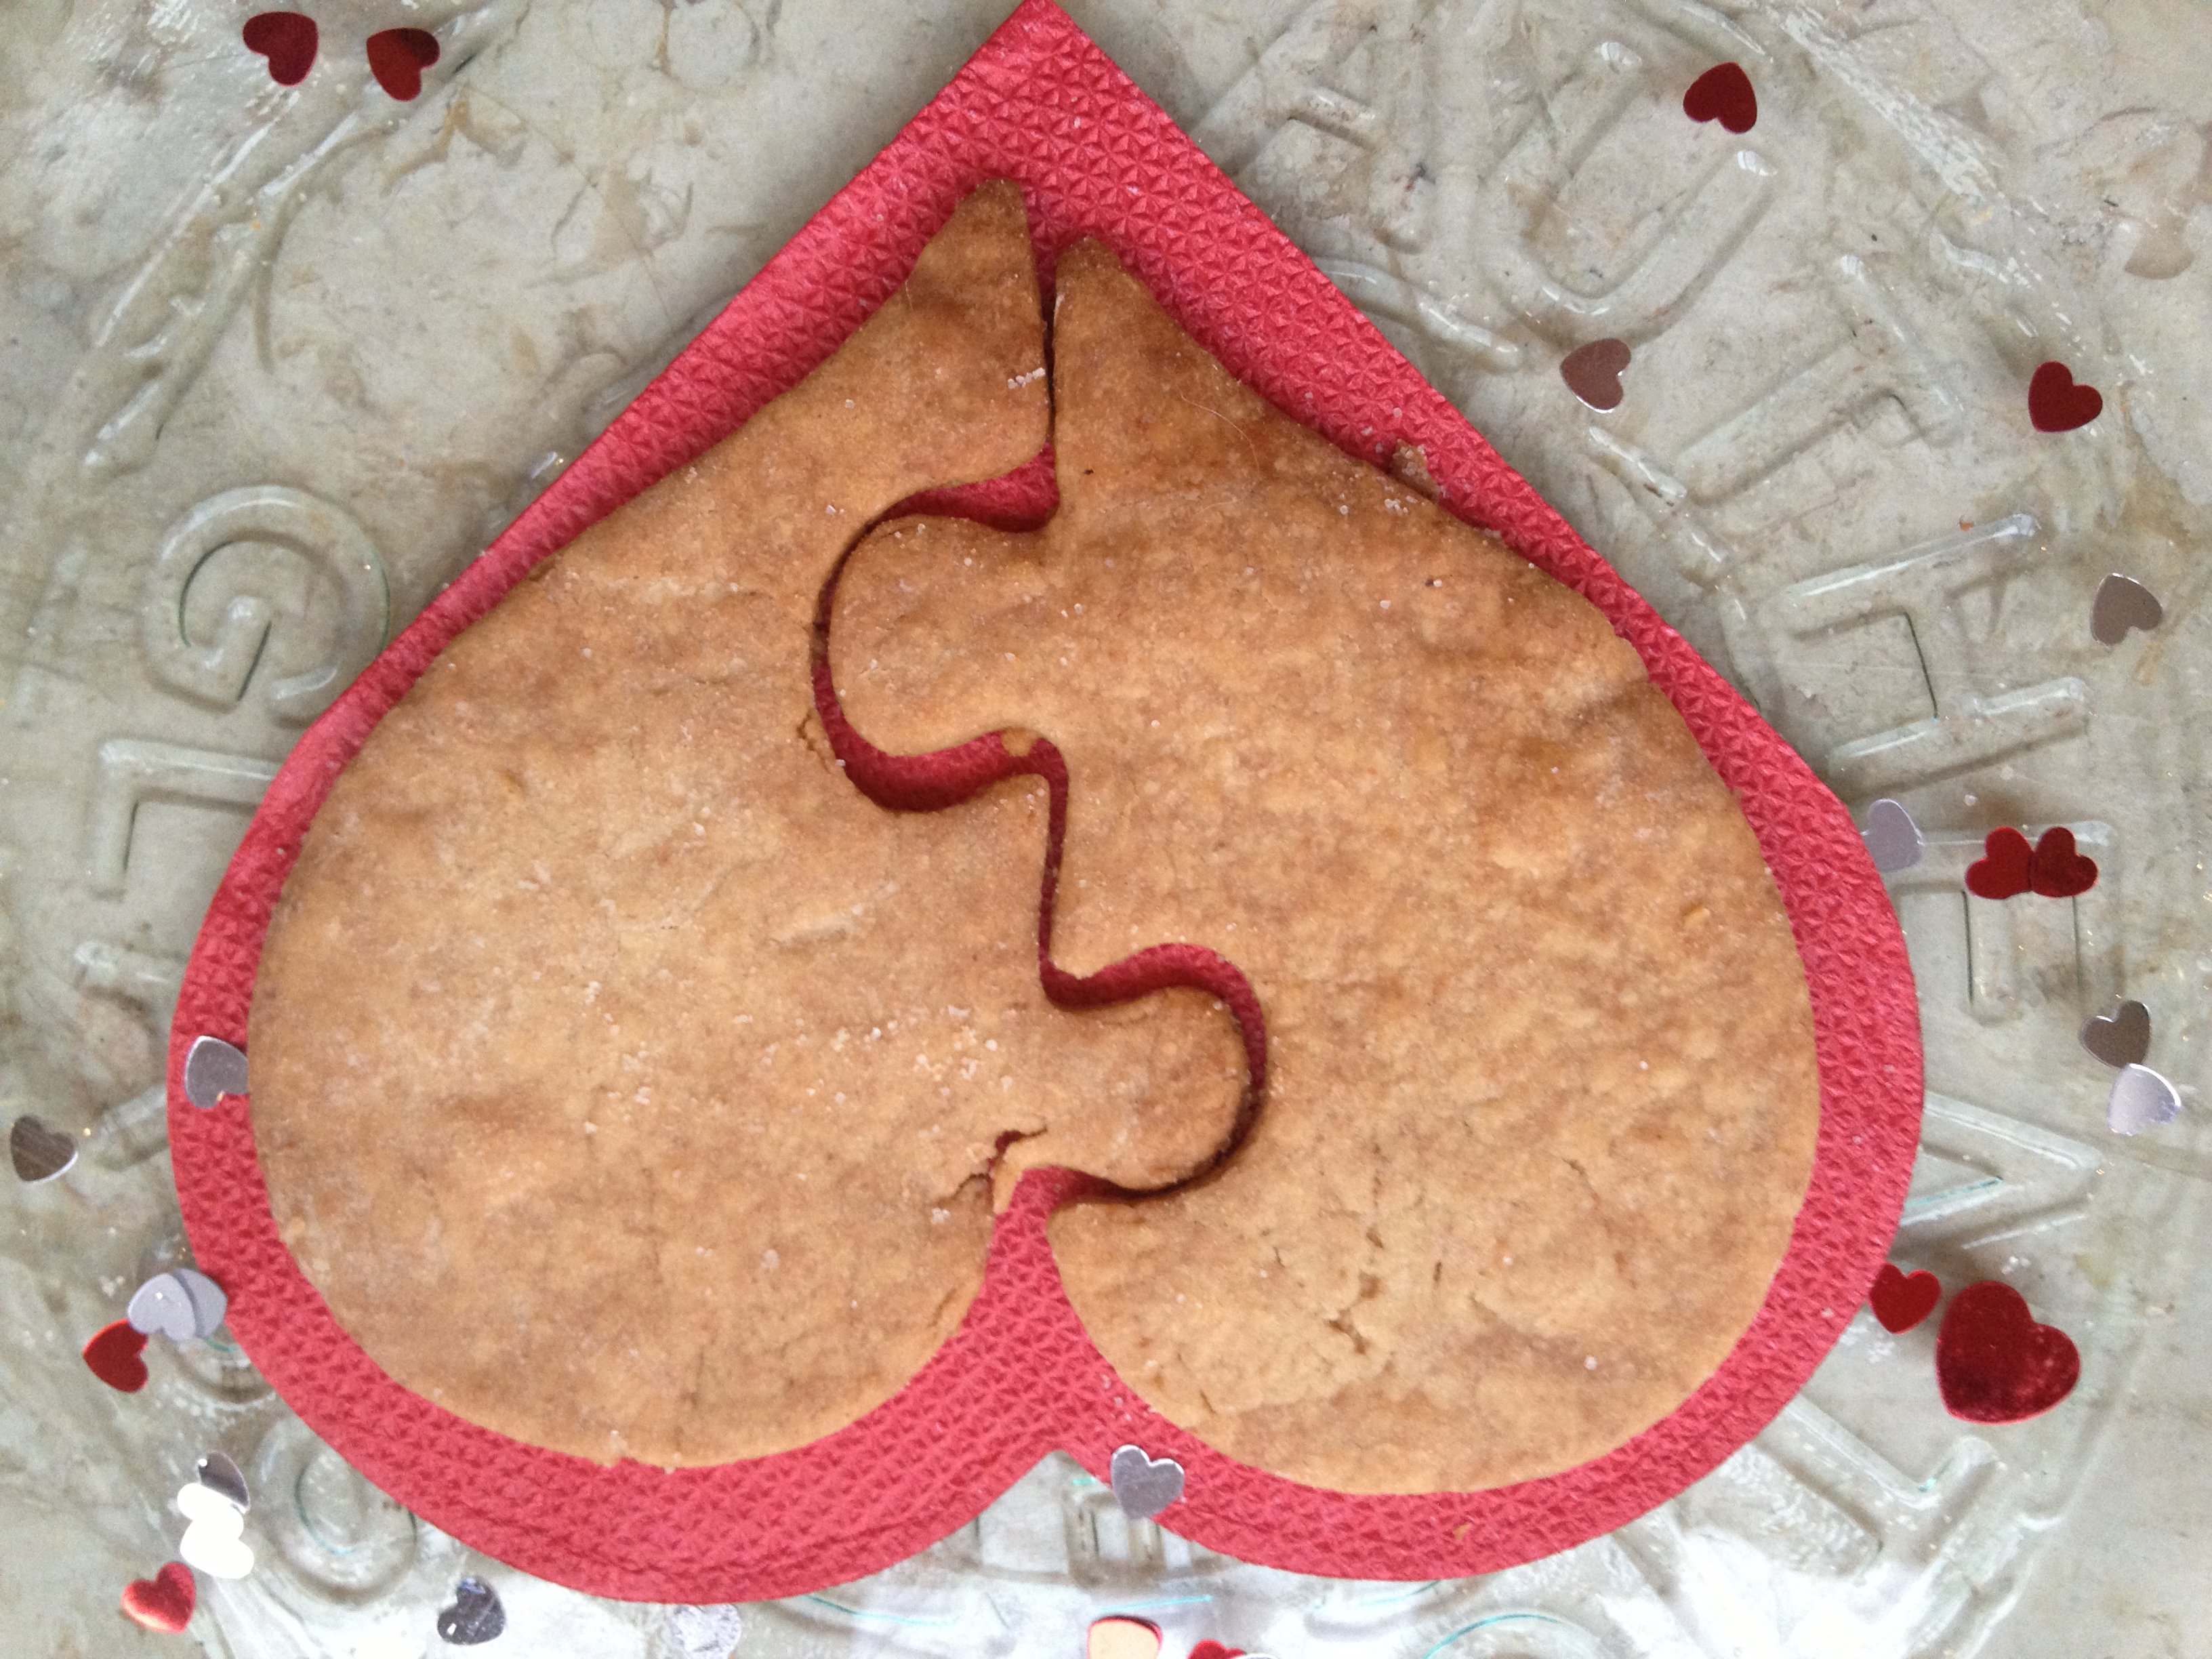
![IMG_0352[1]](https://pureandsimplebakes.com/wp-content/uploads/2013/02/img_03521.jpg)
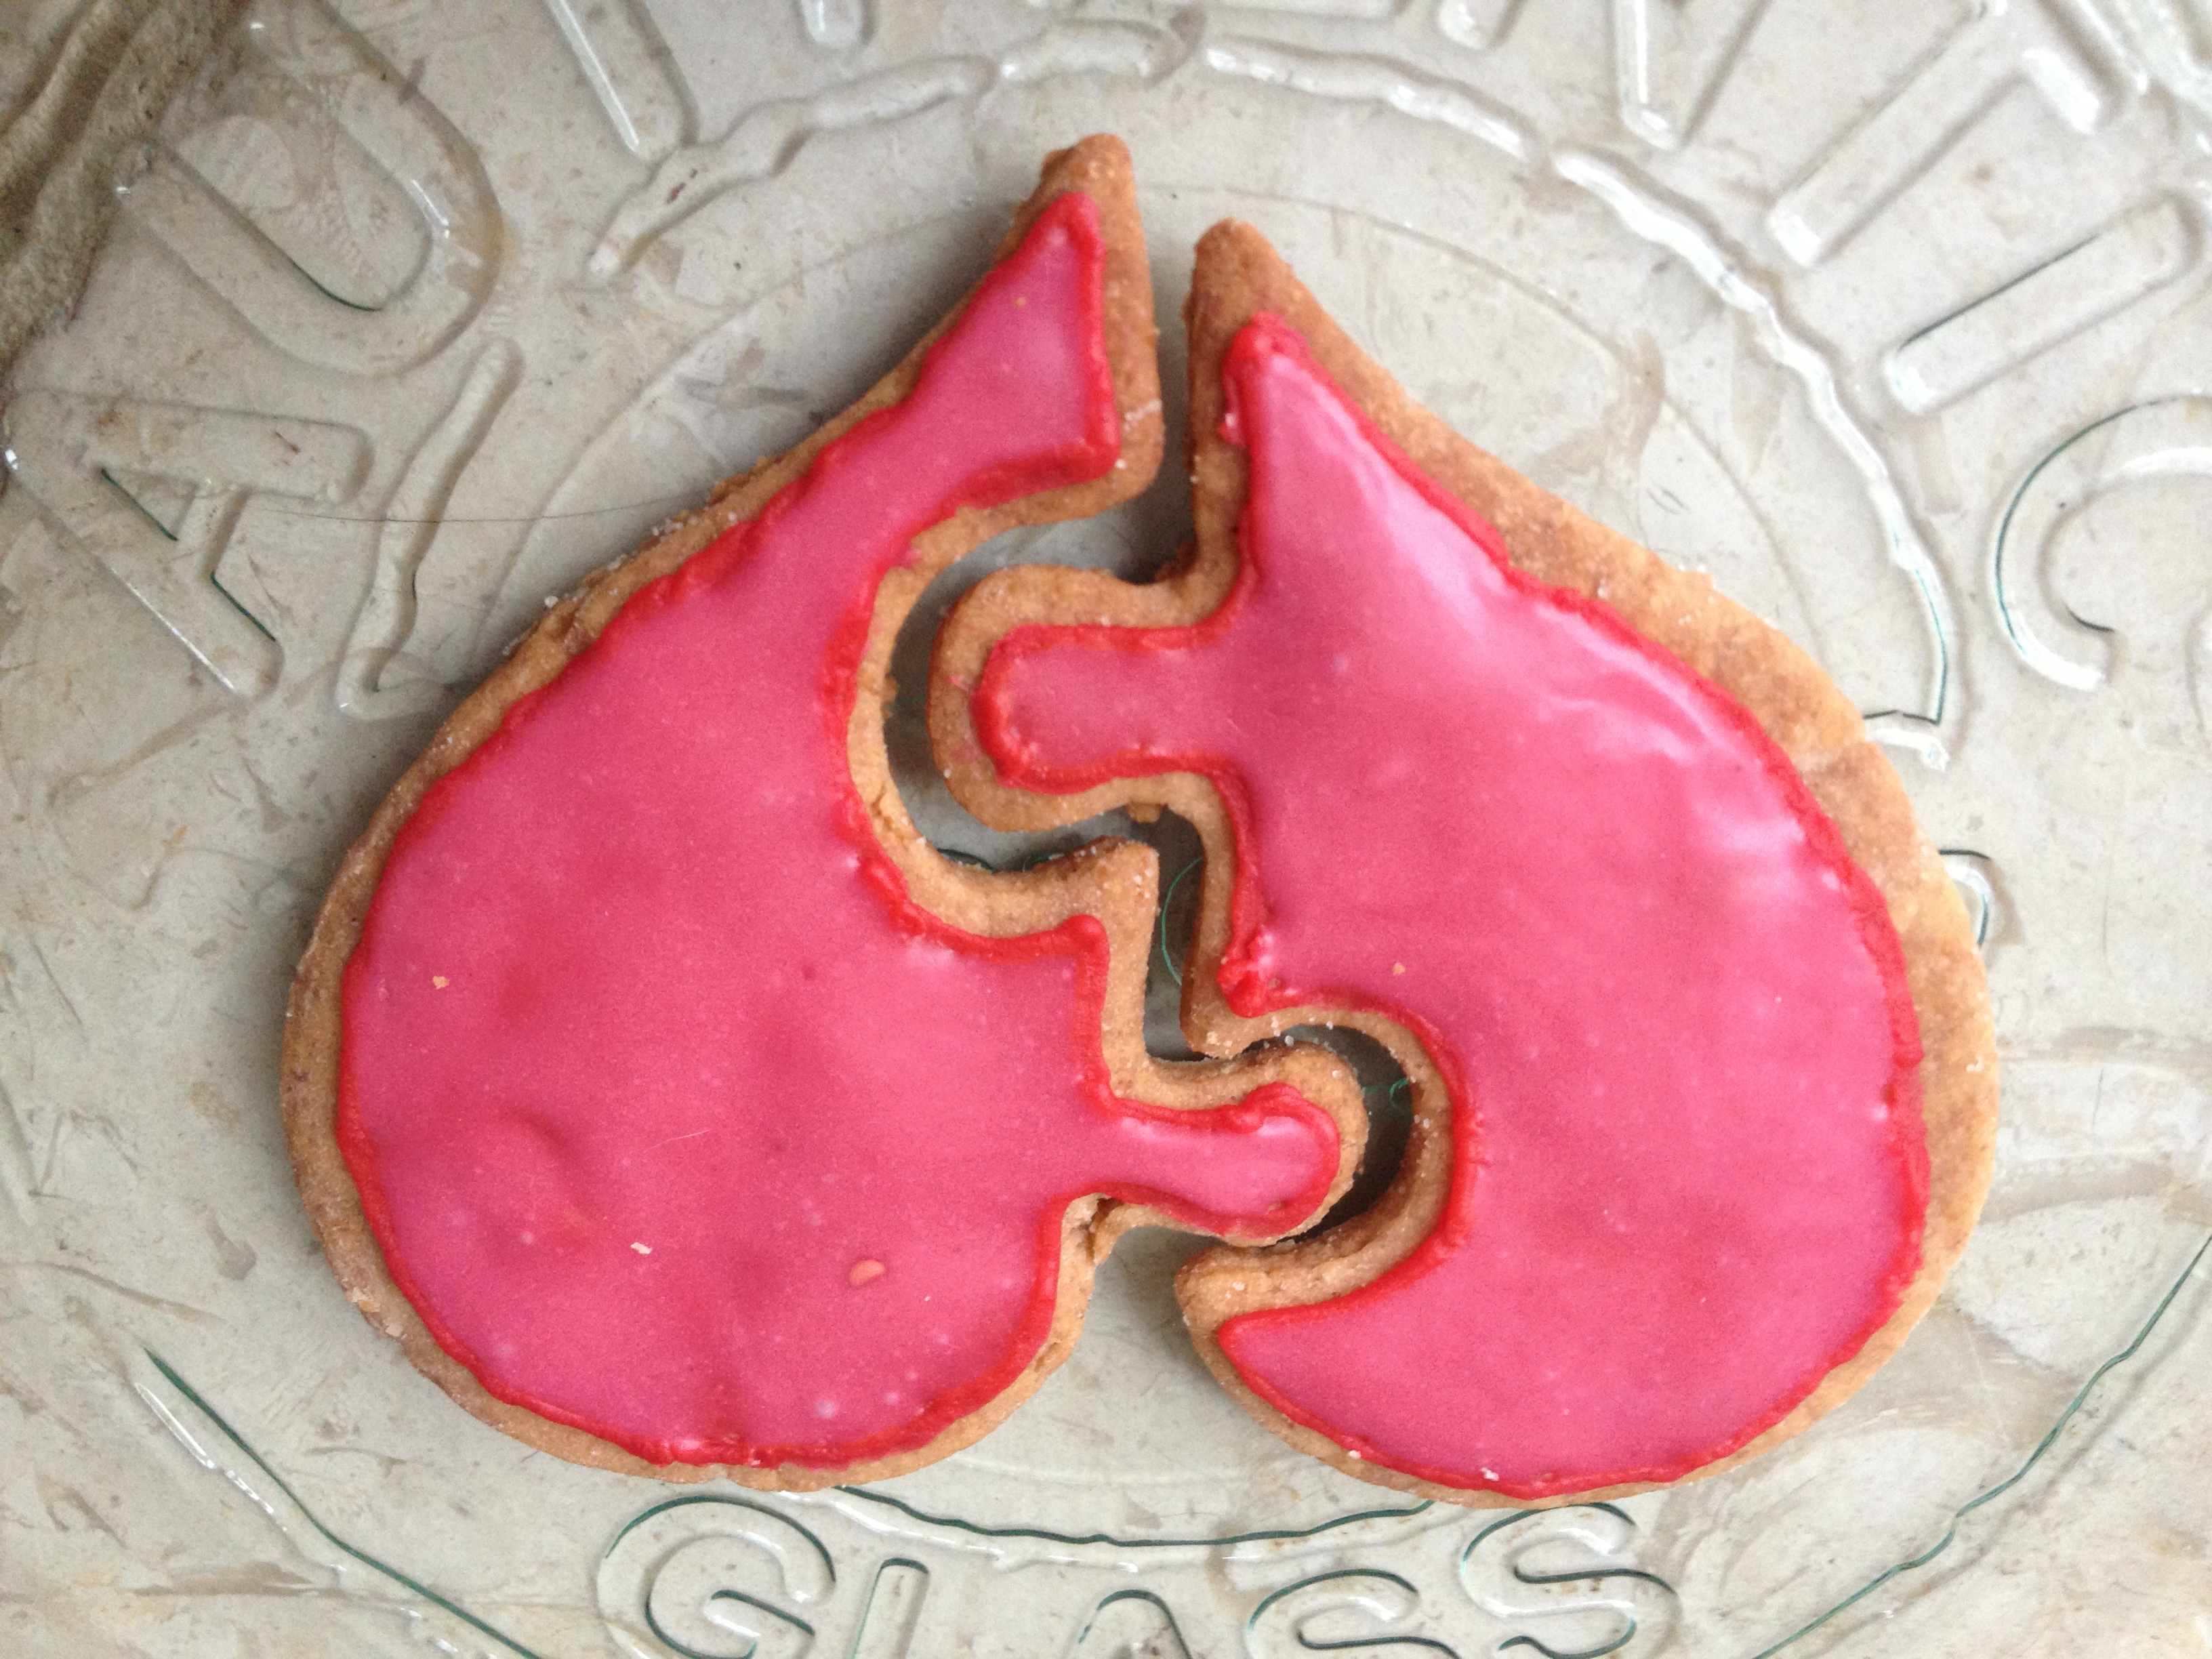
![IMG_0356[1]](https://pureandsimplebakes.com/wp-content/uploads/2013/02/img_03561.jpg)
![IMG_0354[1]](https://pureandsimplebakes.com/wp-content/uploads/2013/02/img_03541.jpg)