Raspberry and vanilla heart biscuitsย 


I thought I’d have a go at some cute valentine’s biscuits this year. These can be gluten free or not depending on what flour you use. They’re dairy free but do contain eggs. They look fab and are a lot simpler to make than they look!


Give them a go this Valentine’s ๐Ÿ™‚

You will need:

300g plain flour (or plain gluten free flour)

200g dairy free margarine 

120g golden caster sugar

2 egg yolks

30g freeze-dried raspberries

2 tsp vanilla extract

Put the flour and margarine (chopped or in small bits) in a food processor and pulse until it forms a crumb-like texture. Add the egg yolks and sugar and then pulse again until it forms a dough. 

Take 1/3 of the dough and put in a separate bowl. Add the vanilla extract to the remaining 2/3 and pulse again to combine. Then remove that dough and leave it in the fridge to chill. 

Put freeze dried raspberries into the processor and whizz until a fine dust. Add the 1/3 of the dough you removed to the raspberries. Pulse to combine.  Put the dough in the fridge to chill for at least an hour. 

Once chilled roll out the raspberry dough and cut out small heart shapes (I used a small 3cm heart cutter). It doesn’t matter exactly how thick they are as you will take all the cut out hearts and stack them together. Press them carefully together, ensuring you maintain the heart shape. Wrap in cling film and pop in the freezer for a couple of hours (you can do all this but one day and leave it overnight too).

When you’re ready to make the biscuits take the heart-roll out the freezer and the vanilla dough out of the fridge. Make three cylinders of the vanilla dough that are the length of the heart-roll. Stick them on to the heart-roll and carefully press them around it until you have completely covered the hearts in a circle. 


Wrap and pop in the freezer for 20 mins or so, then remove and cut into 1cm slices. 


Place them on a baking tray and pop them into a preheated oven at 170 C for 20 – 25 mins or until the edges start to turn golden. Allow them to cool on the tray for ten mins and then transfer to a wire rack.


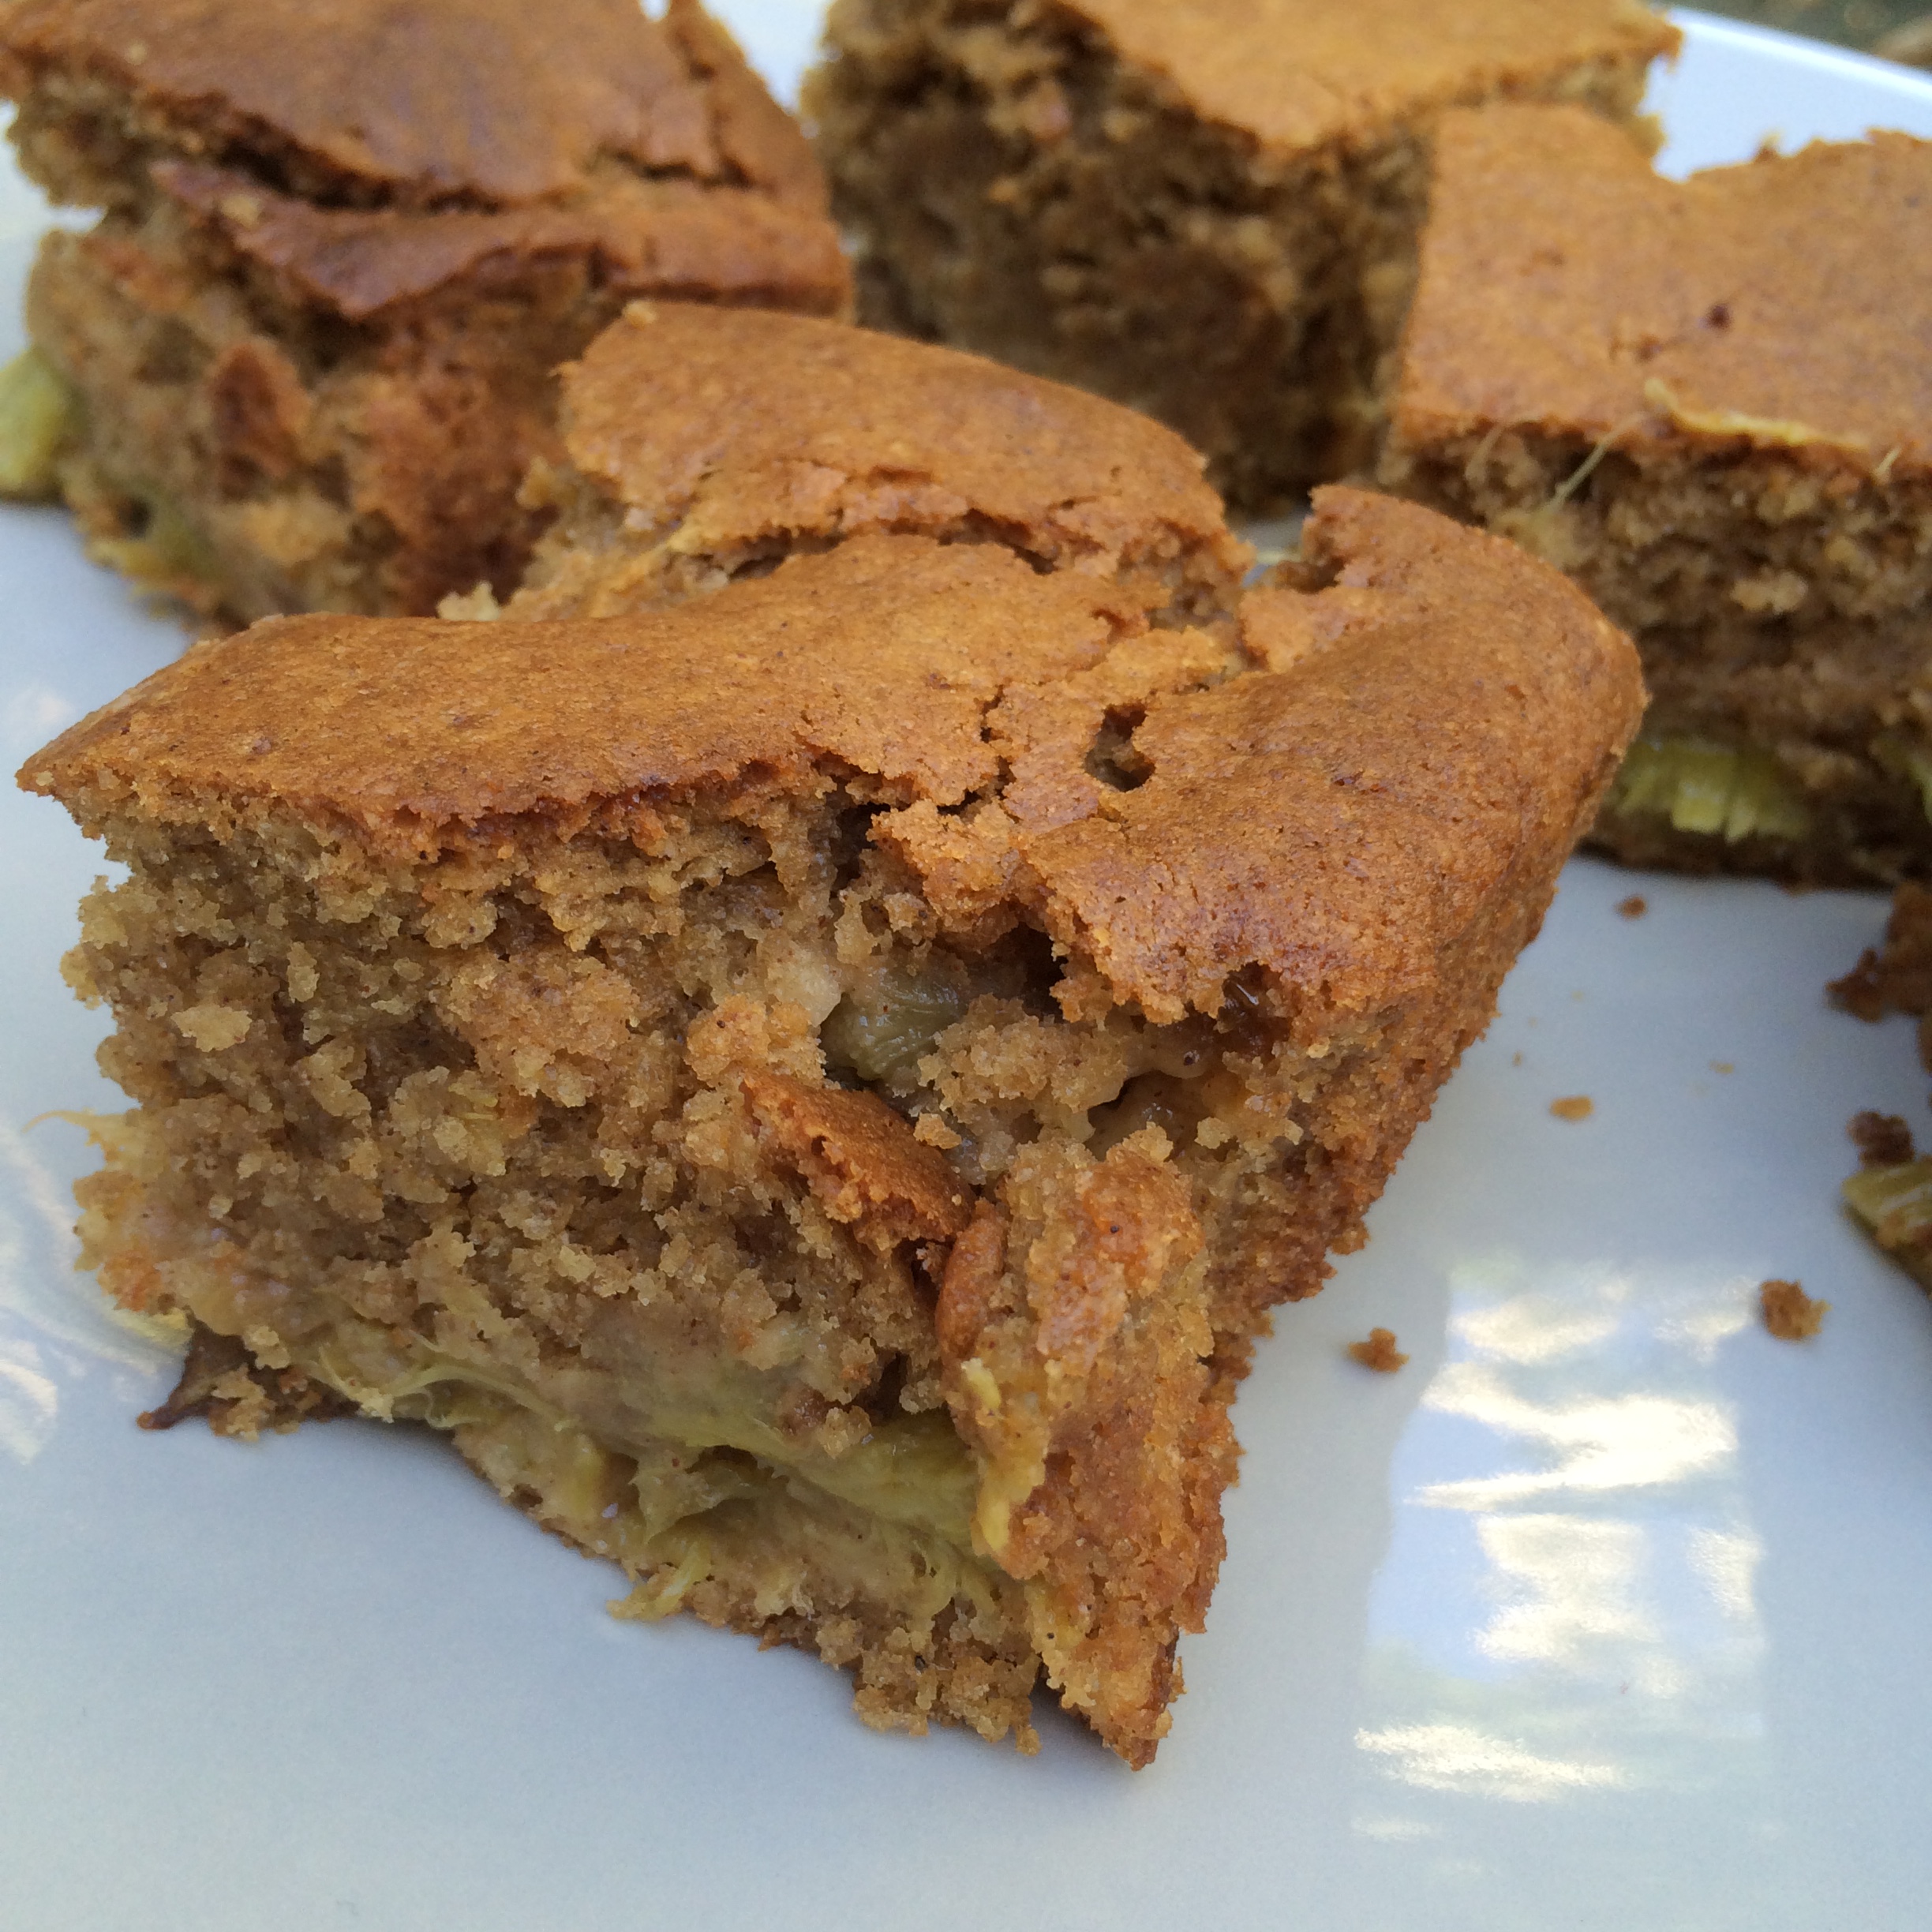
They’re crumbly and yummy! Enjoy with a cup of tea or give them to someone you love!

Coconut Apple Bites – a delicious alternative to apple pie!


These are absolutely delicious – quick and easy to make and so much better than a slice of apple pie – but taste just as good – if not better!

IMG_1774

Depending on how large your apples are you may need more or less of the crust – you may just have to adjust. Don’t worry about having to buy oat flour – you can make your own – just pop some porridge oats in to a blender and blend until fine.

Here’s a video showing you exactly how to make them ๐Ÿ™‚

https://youtu.be/KRhNqgsC3f0

You will need:

1 cup Oat flour

2 tsp Cinnamon

1 tsp Nutmeg

1/2 cup Desiccated coconut

4 tbsp Coconut syrup (I use Bali Nutra)

1 – 2 Apples (depending on size. I used Bramley’s)

Warm water – up to 4 tbsp

IMG_1775

Pre-heat the oven to 175 C.

Peel, core and dice your apples – you want chunks about an inch square. If you don’t want them to go brown you can pop them in cold water with some lemon/lime juice in. I don’t really mind if they go a little brown so I don’t bother.

Pop the oats and coconut in a bowl, mix the spices in and stir together. Add the coconut syrup and mix to form a dough. You need a workable but sticky dough so you may find you need to add a little water. I prefer not to add more coconut syrup as it gets too sweet but it’s up to you.

IMG_1776

Take a spoonful of the crust mixture and flatten in your hand. Pop a piece of apple in the middle and cover it in the crust dough.

IMG_1766

Pop on a lined baking tray. Once all the apples are covered pop in the oven for 10 – 15 mins – turning once. You want them to crisp up and go golden brown.

IMG_1778

Eat warm or allow to cool and store in an airtight container for later.

IMG_1770

Wild blackberry Banana N’ice cream


That time of year has come around again – wild blackberry foraging time! ย We went for a lovely walk yesterday and got a huge box full so I thought I’d better start using them.

The sun was shining earlier and that obviously put me in the mood for ice cream so I whipped up a quick batch of wild blackberry n’ice cream.

Super easy as always – you just need ย 3 – 4 frozen bananas (peeled and chopped before freezing) and a good handful of blackberries. Pop the bananas in the blender (a high speed one) and blitz until they start to form a creamy mixture. Throw the blackberries in and blitz again. I like to leave some of the blackberries as pieces so I don’t blitz fully but it’t up to you.

Delicious as it is, or even better sprinkled with my cinnamon spiced coconut caramelised nuts (recipe here). Enjoy!

Cinnamon spiced coconut caramelised nuts


This is a super easy, super quick snack that can be eaten on it’s own or sprinkled on top of your porridge, yoghurt or how about on some n’ice cream (recipe here)!
ย Check out my video here:

https://youtu.be/wr4DXzLaves

You will need:

1 tsp Coconut Oil

A good handful of mixed Nuts (I used almonds, pecans and cashews)

A good handful of Coconut flakes

1 tsp Cinnamon

2 tsp Coconut Syrup (I use the Bali Nutra syrup)

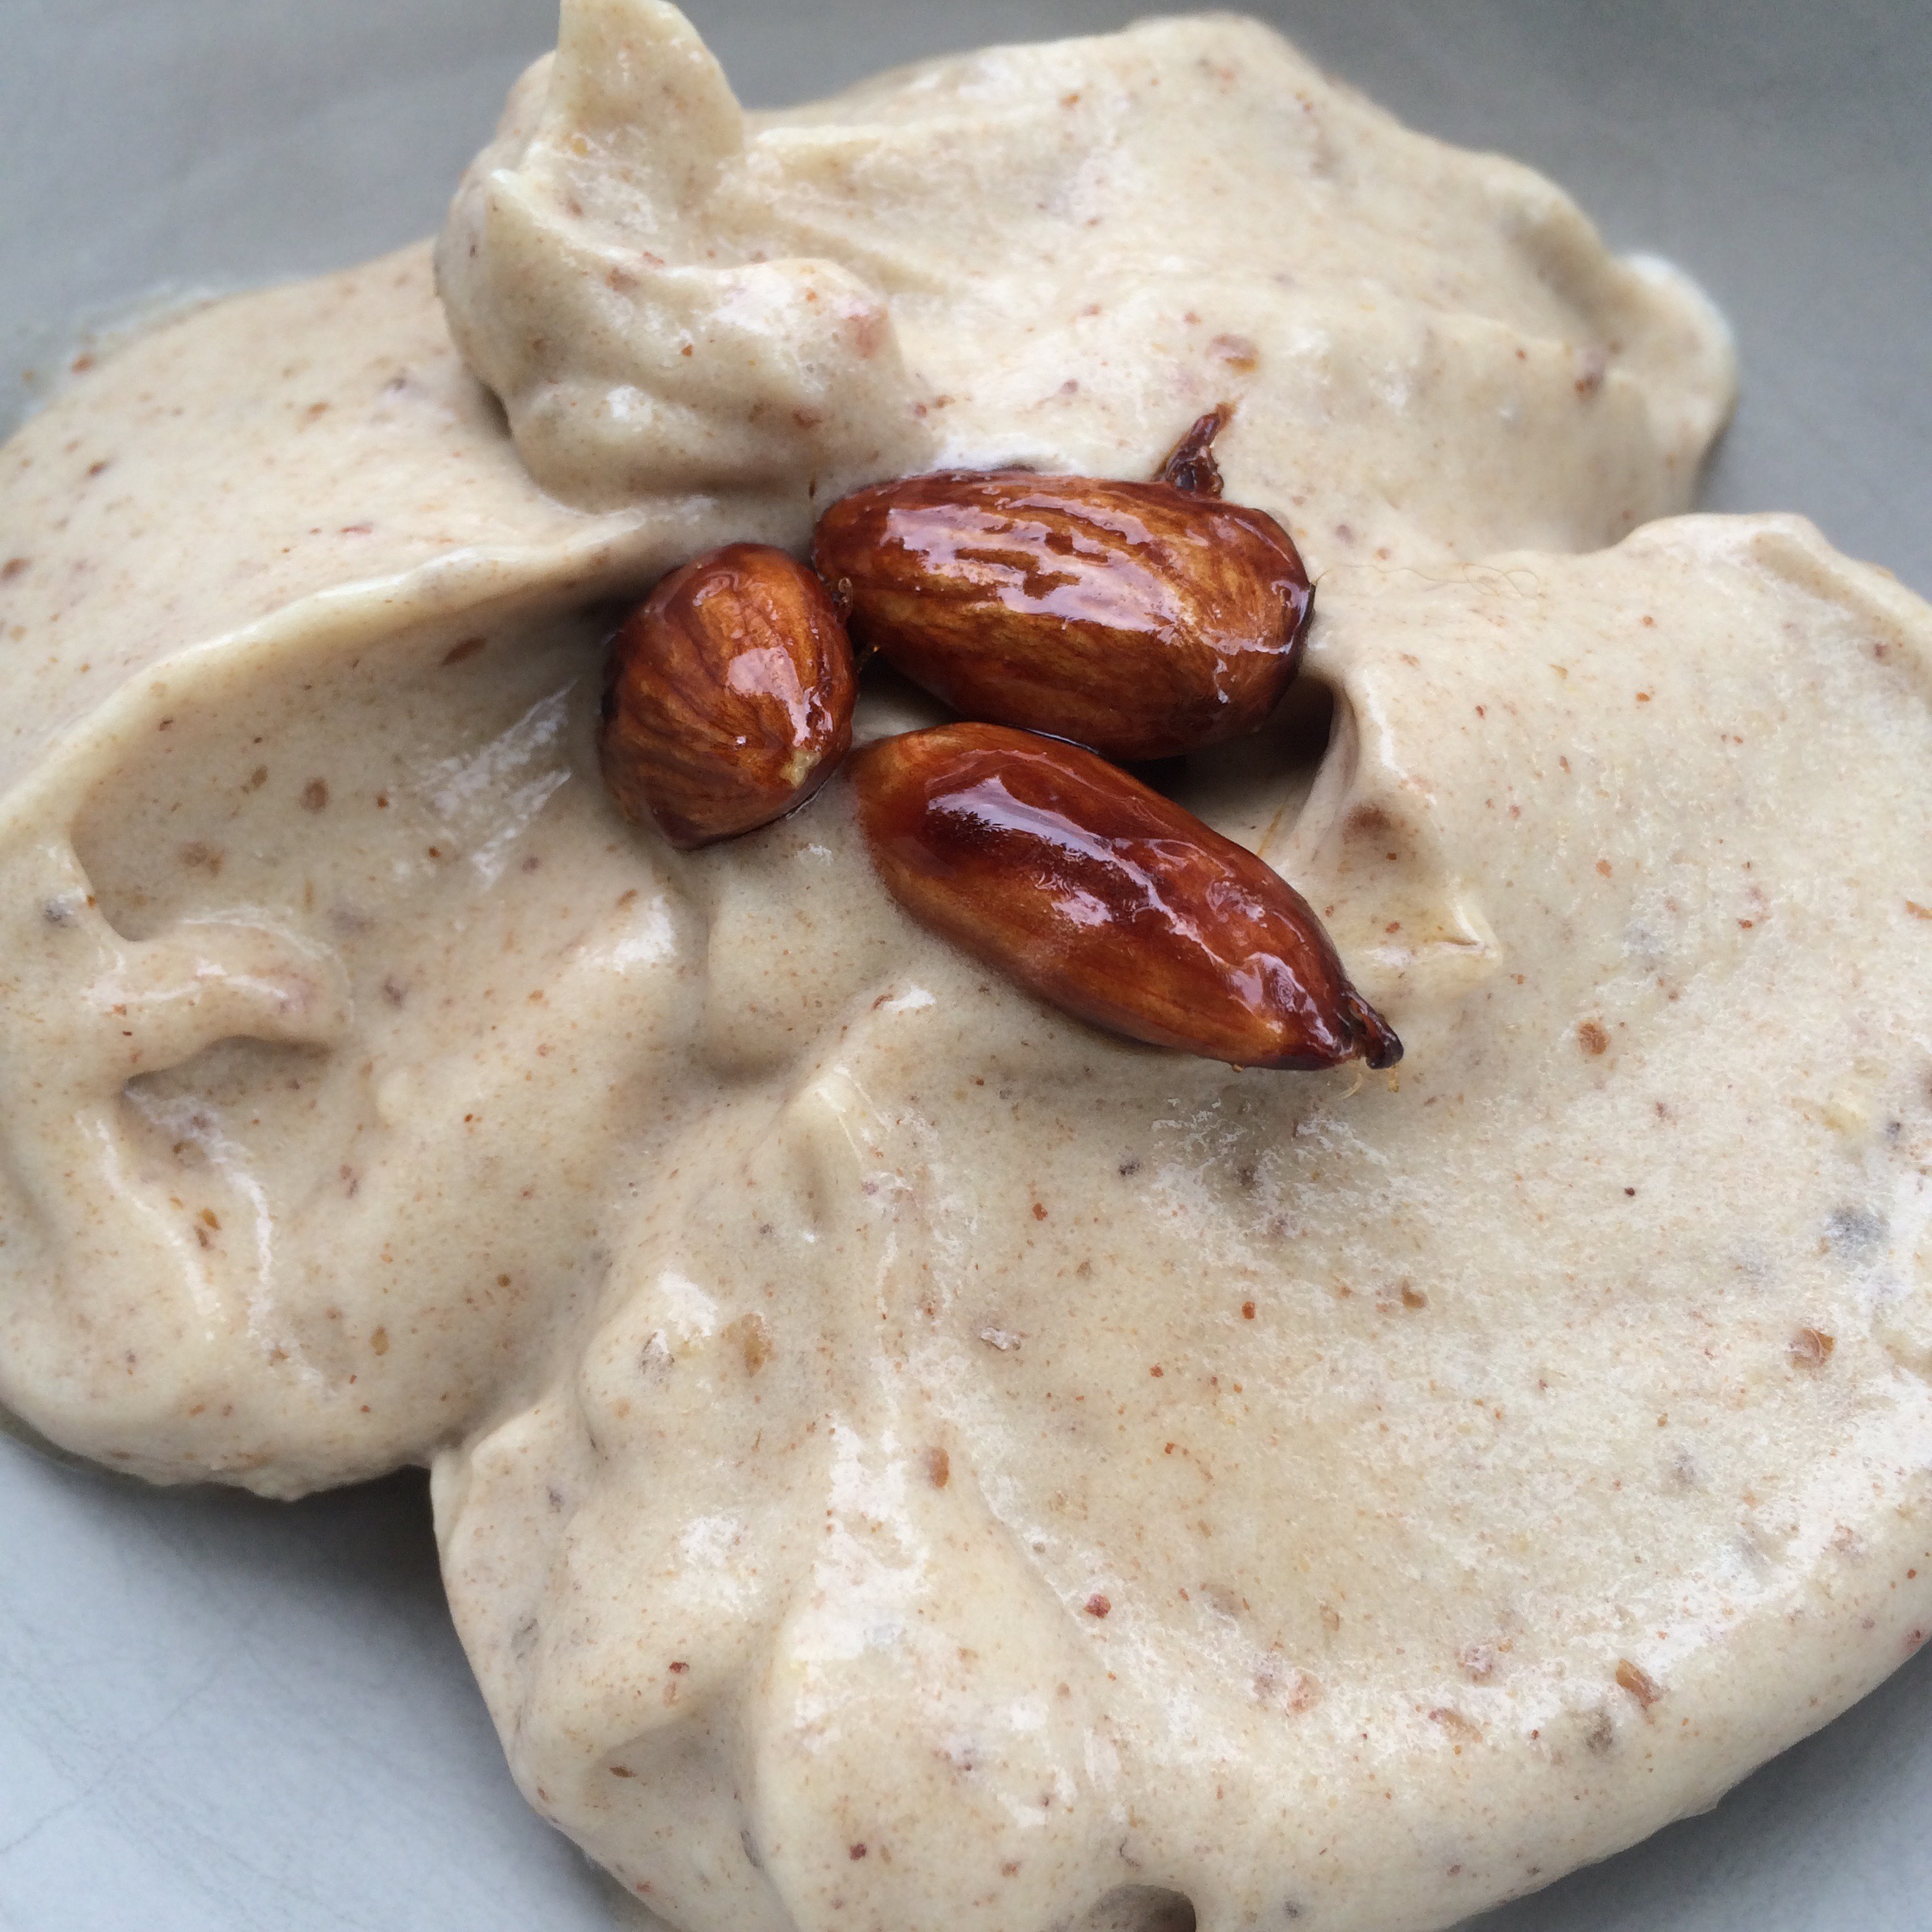
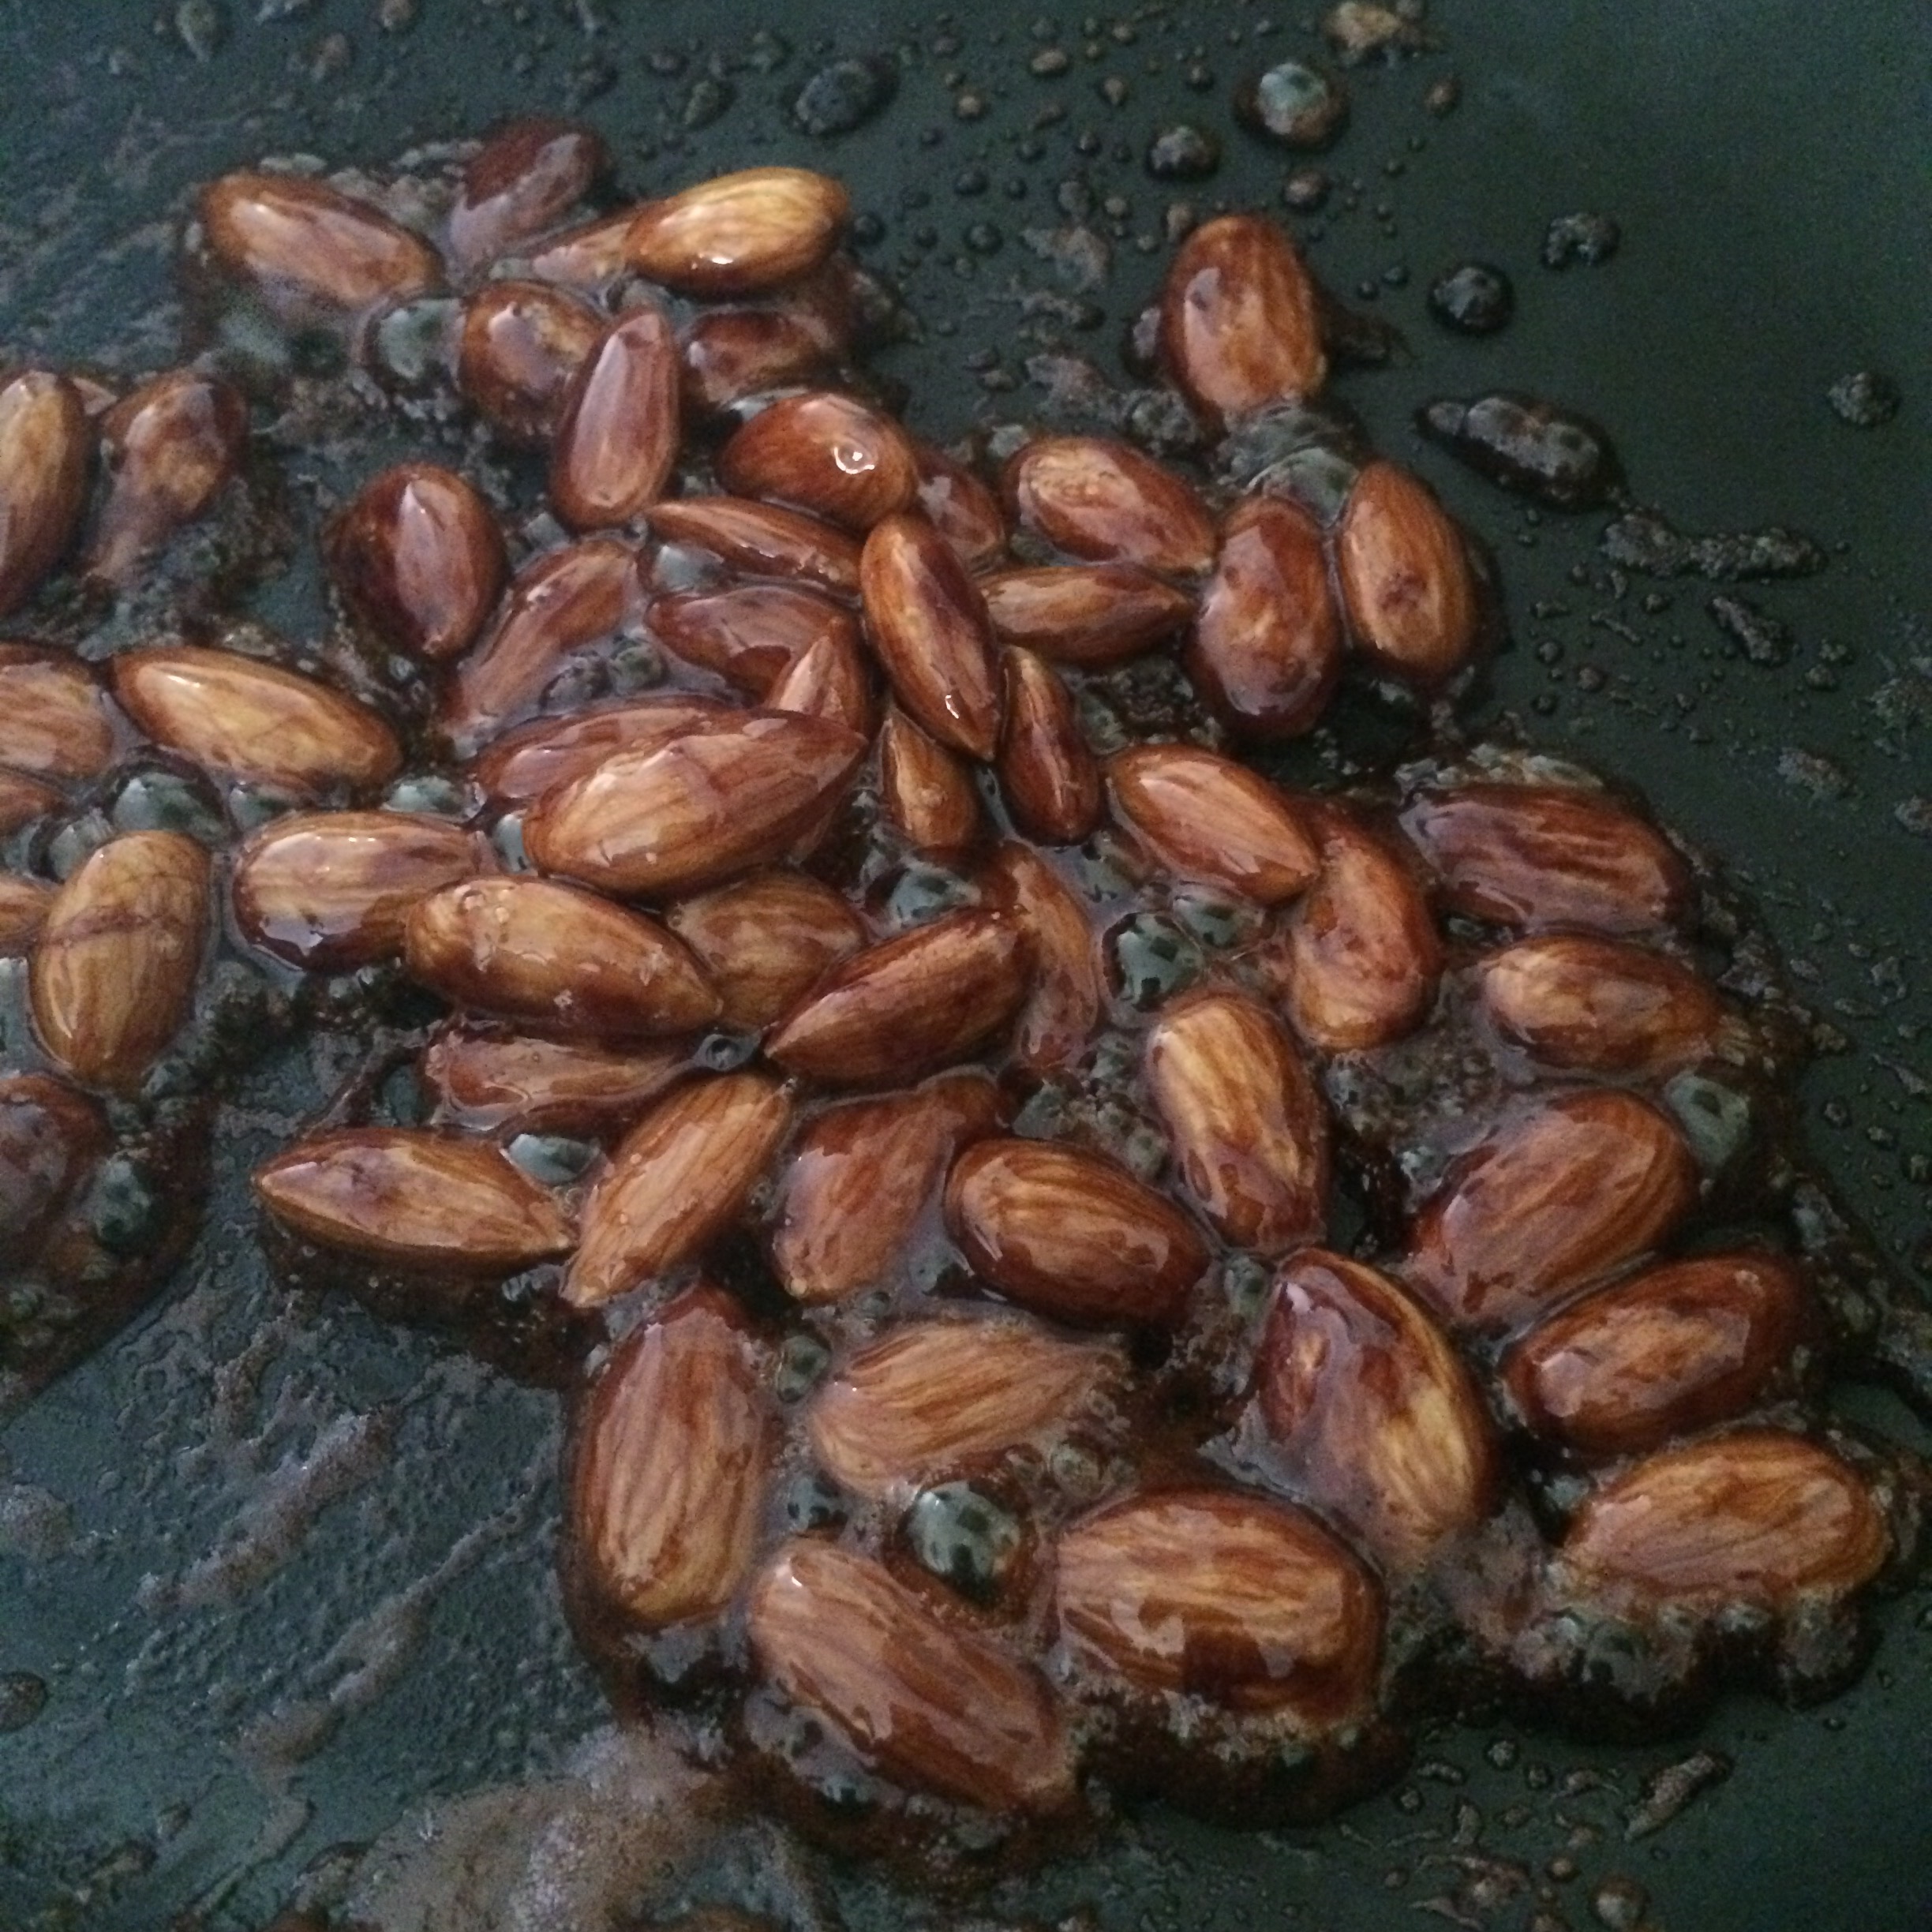
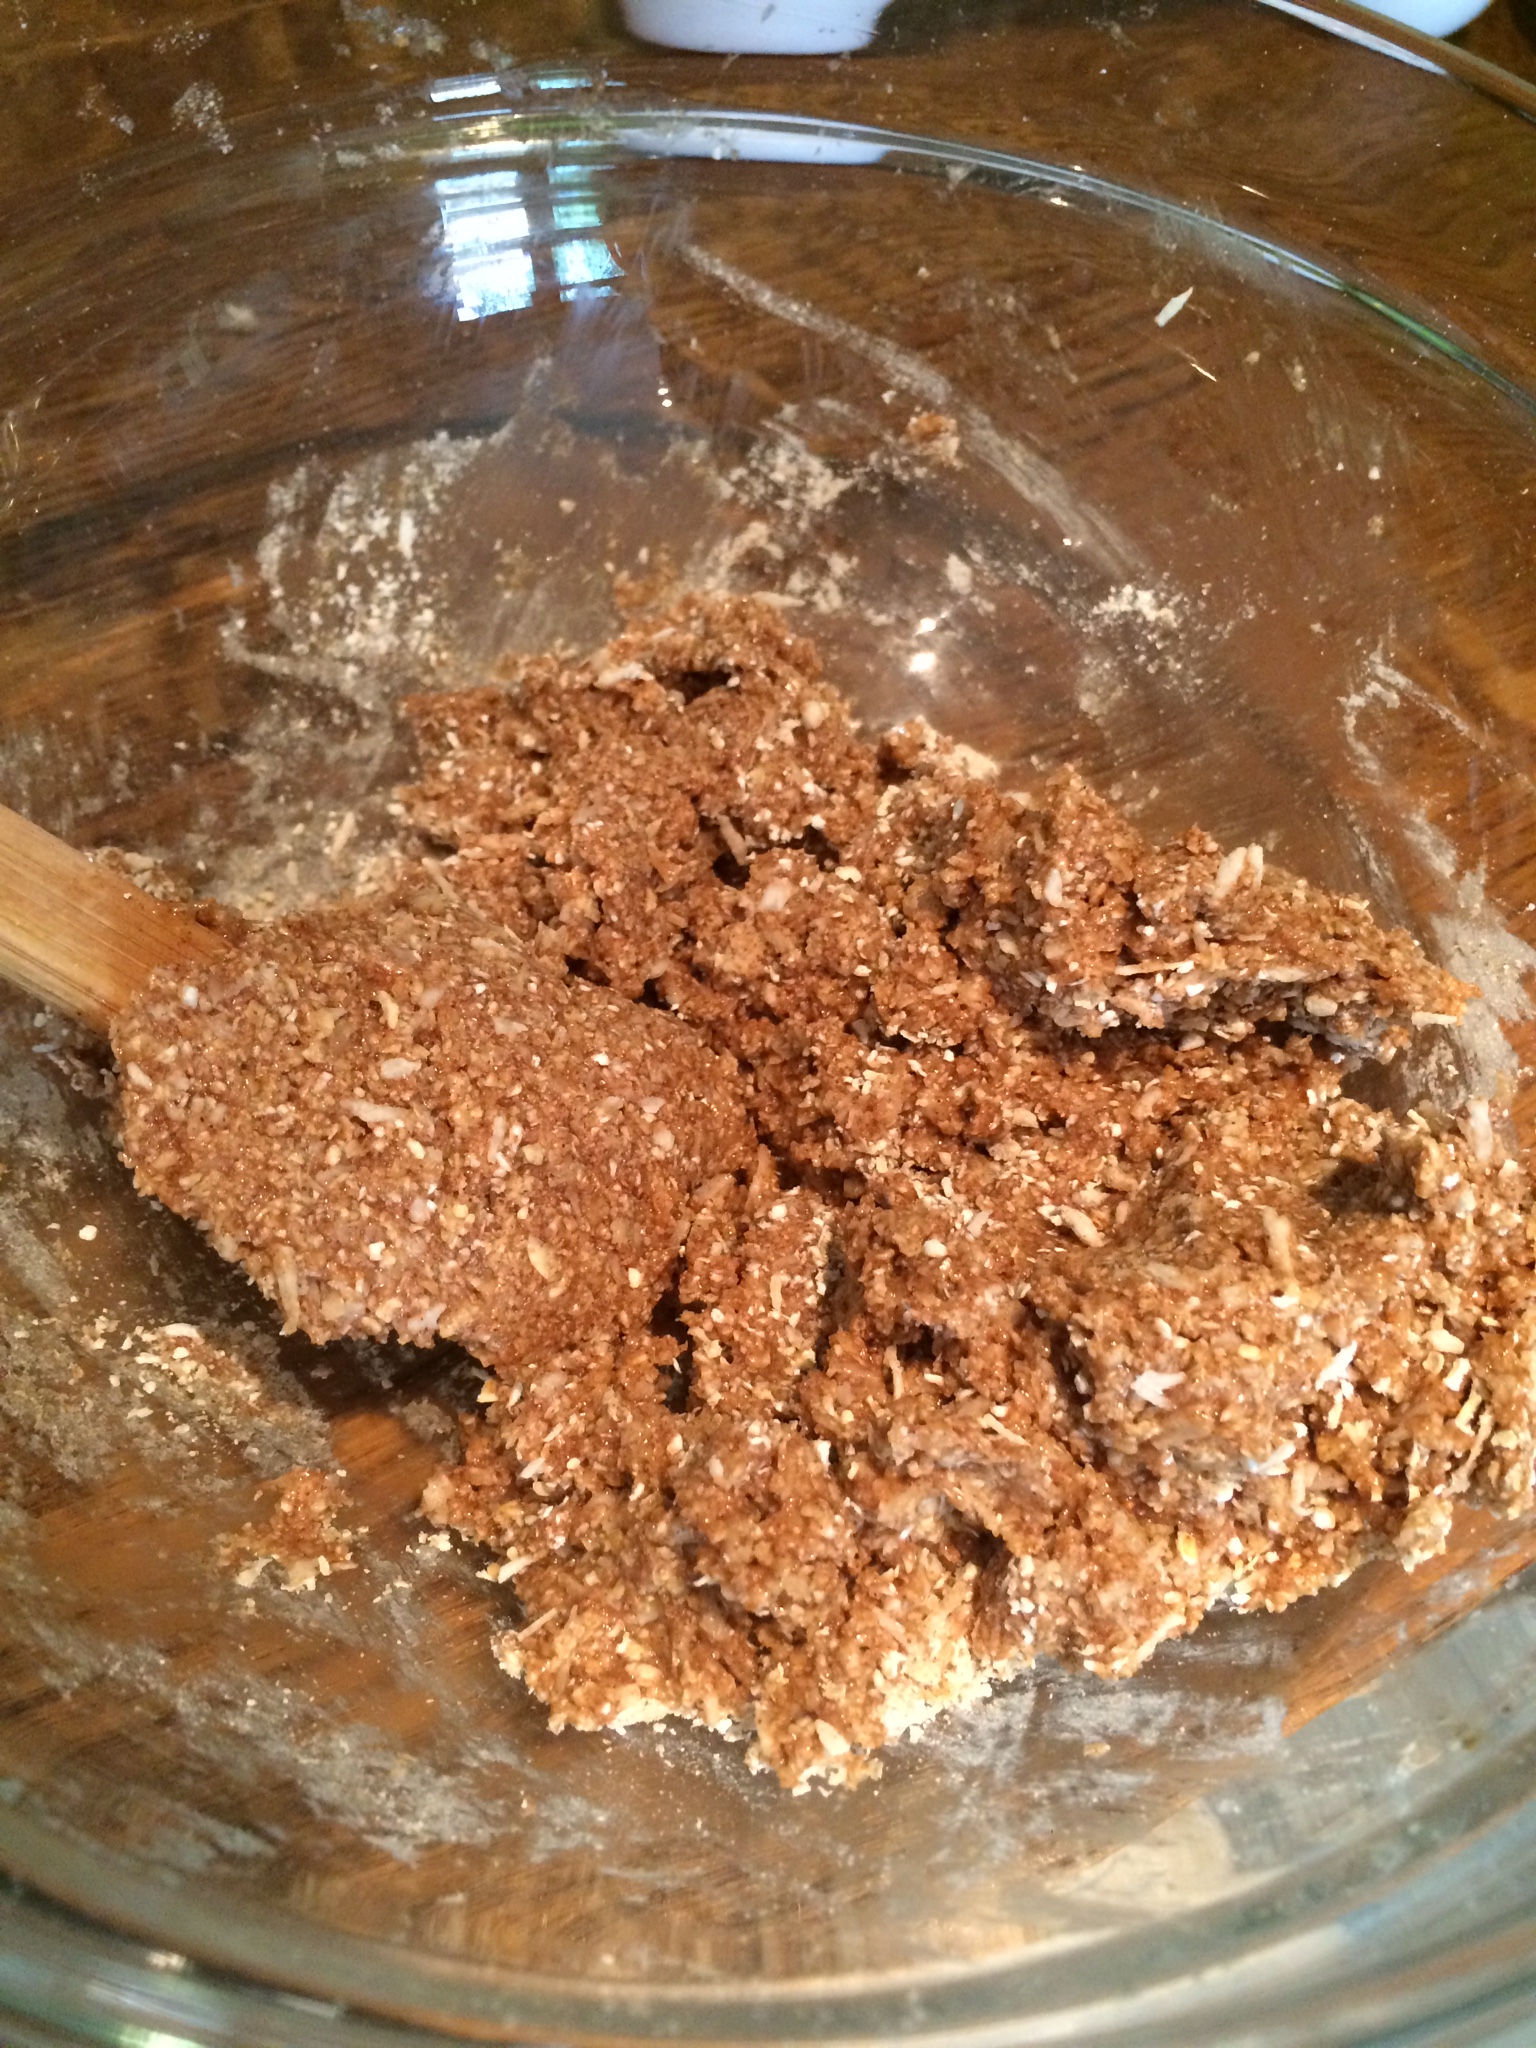
Pop the oil in a pan over a medium heat and allow to melt. Throw the cinnamon in and stir. Heat it until you start to smell the aromas of the cinnamon then add the nuts. Sautรฉ for about 2 – 3 mins being careful not to let them burn. Add the coconut flakes and stir – keep an eye on these as they tend to burn fast. Drizzle in the sweetener and allow to sizzle for a minute or so.

Pour on to baking paper and leave to cool.ย Then enjoy just as it is, or use as a topping.

Almond Caramel N’ice Cream – quick, healthy and delicious


You can never have too much n’ice cream! Dairy, gluten and added sugar free – this is guilt free loveliness. I think this may be my favourite flavour yet! This is reallyย scrummy and tastes divine. It doesn’t need any extra sugar as the bananas and date caramel give it tonnes of rich sweetness and creaminess. It’s also pretty quick to make. I usually make up a big batch of the date caramel so I can use it for other stuff (or just eat it by the spoonful!).


You will need:

8 – 10 Medjool dates (this will create extra caramel so reduce if you don’t want any spare)

1 tbsp Almond butter

1 tbsp hot Water

4 frozen bananas

Handful almonds

Drizzle of coconut, maple or date syrup

It’s best if you peel and slice your bananas for freezing as it makes it easier for the blender to handle so make sure your bananas are well frozen first.

First caramelise the almonds. Pop the almonds into a dry frying pan, add a good drizzle of maple, coconut or date syrup and heat. You need to keep an eye on this – you want it to start to bubble and thicken but not burn. Keep stirring so they don’t catch. Once the syrup is reduced down and they’re well coated tip them out in to some baking paper and allow to cool. You can break them apart once cool.

ย ย 

Then make the caramel. Chop the dates and pop in to a high speed blender together with the almond butter. Depending on how dry your dates are you may not need all the water so start with half. Process well, adding the rest of the water if necessary, until you have a smooth caramel. Remove this from the blender (don’t worry about getting every last bit out and there’s no need to clean the blender).

Pop your frozen bananas in to the blender and pulse to blend the banana. Once it’s almost smooth add a tablespoon or so of the caramel back in to the blender with the bananas (add as much as you want – to taste). Blend well and then serve with the almonds sprinkled in top. If you want to serve it later freeze in small portions (plastic food bags or ice cube trays work best) and reblend briefly before serving to remove any large ice crystals.


Coconut and Apple Cake – gluten and dairy free


This is a wonderful combination of squidgy, moist and dry and crumbly cake which makes it super moreish. It’s also full of goodness and, if you add the protein, is also full of extra protein too. It can be made completely vegan if you want it to be (see below), or you can use eggs if you’re not fussed.

IMG_9677

This is especially good if served with the topping I’ve whipped up too and even better with a big dollop of Soya yoghurt or ice cream ๐Ÿ™‚

I’ve used the Bali Nutra Coconut Syrup in this recipe which I absolutely love – it’s so tasty!

IMG_9641


I’ve recorded a little video of this recipe here too :

IMG_9643

You will need:

1ย cup of flour – you can use any flour you like here – spelt, almond, coconut. I used Almond flour

1/2 cup Ground Almonds

1/2 ย cup Vanilla Protein Powder (I use this one) – or if not then just add more flour

1/2 cup Desiccated Coconut

1 cup Coconut Syrup (from Bali Nutra)

1/2 cup Coconut Oil (melted)

3 eggs (or 3 tbsp Chia seeds soaked in 9 tbsp water)

2 heaped tsp Cinnamon

1/2 tsp ground Cardamom (or 1 drop of cardamom extract)

1/2 tsp Bicarbonate of Soda

1 – 2 Bramley apples (depends how big they are!) (plus lemon juice to squeeze over them once cut if you want)

Optional – if your batter is too dry (it will depend on the flour you use) then you may need to add a small amount of any non-dairy milk (I splashed a bit of coconutย milk in mine)

A sprinkle of coconut sugar and some coconut flakes to decorate.

I also madeย a little topping to go with it for this you will need:

4 tbsp Coconut milk (use the 65 – 70% extract milk and see here for instructions on how to get the thick creamy part)

2 tbsp Coconut oil (melted)

2 – 3 tbsp Coconut syrup (adjust to taste)

2 tsp ground Cinnamon (adjust to taste)

IMG_9685

Preheat the oven to 180 C and grease and line a baking tin (I used a large loaf tin and three small ones as I had some extra batter but you could any tin you like – a 20 – 25cm round tin would work).

Put all the dry ingredients (flours, protein powder, spices etc) into a large mixing bowl and stir well. Peel and dice the apples. Set the apples aside and if you don’t want them to go brown add a squeeze of lemon juice while you wait to add them. Put all the wet ingredients in another bowl and mix well. Add the wet to the dry and combine. The batter will be thick but if you have used coconut flour and the chia seeds then you may find your batter is far too dry. In which case add a little milk to loosen it up. Fold in the apple.

IMG_9652

Spoon the batter in to your tin, sprinkle a little coconut sugar and coconut flakes over the top for decoration if you fancy, and pop in the oven. If like me you have too much batter then make some small cakes too! Depending on the size of your tin it will take 25 – 40 mins to cook but just keep checking it and when a skewer comes out clean it’s done! As it cooks you may find the top starts to brown too much so just pop some foil over it if so.

IMG_9670

This is best eaten warm with a dollop of the topping – combine the topping ingredients together and serve!

IMG_9689

Peanut butter and blueberry n’ice cream


Nothing beats a nice cold, creamy ice cream on a warm afternoon and this combo works so well together. If you’ve got bananas already frozen this only takes a few minutes to make! ๐Ÿ™‚

Freeze your bananas ready diced – it makes blending them easier. Freeze for a few hours, ideally overnight if you can. They will stick together so give them a bash before you blend. If your blender can’t handle them then tryย blitzing in short pulses or add a very small amount of non-dairy milk, ย but the juice from the blueberries will help anyway ๐Ÿ™‚

You will need:

4 or so frozen bananas

1 cup blueberries or berries of your choice

1 – 2 tbsp peanut butter

Take half the bananas and pop in to a high speed blender / vitamix with the blueberries and blitz until smooth. It will melt fast so pop in freezer once done while you make the peanut butter one.

Take the other half of the bananas and 1 tbsp peanut butter and blitz. This will be thicker so you may need a small dash of milk. Once blended have a taste and add more peanut butter if you want. Blitz.

Serve together ๐Ÿ™‚

If you want to keep it for later pop in the freezer – ideally in ice cube trays then pop out and re-blend briefly to eat (this breaks up the ice crystals that may have formed).

Super quick chocolate n’ice creamย 


The weather is finally warm! Woohoo!

That makes me want ice cream so I thought I’d whip up a quick batch of chocolate ice cream. It took minutes to make and has all the taste of lovely creamy ice cream with none of the bad stuff!

Only two ingredients: Frozen bananas and raw cocoa powder!

I used about two bananas which I chopped and froze yesterday but they don’t take long to freeze so whack some in now and you can make it in a couple of hours! I popped these into my Vitamix (any high speed blender will work) and added 2 tbsp of cocoa powder – whizzed it all together and voila! You can add a little more or less cocoa according to taste if you want.

IMG_7044

You could eat straight away or pop in to ice lolly moulds for later ๐Ÿ™‚

Mint Chocolate Mousse and N’ice cream layered dessert – dairy and gluten free


Does anyone else remember those mint chocolate swirled mousse/ice cream dessert things we used to have as children? They came in a little pot, they were mostly sugar and air but they tasted amazing! I’m such a massive mint choc fan and was feeling a little nostalgic so thought I’d see if I could recreate something similar but a little more classy.

FullSizeRender

This would make a great dinner party pud – it looks fab and tastes amazing. You can prepare the mousse and the n’ice cream in advance and then put it together in a few mins. It’s also a great healthy, high protein treat for you or the kids on summer evenings.

IMG_6551

This also gave me a chance to use the yummy choc shot I was sent my the lovely people over at sweet freedom for something other than pouring liberally over my porridge and soya yoghurt ๐Ÿ™‚ ย The mousse recipe is based on Colette’s recipe from The Pure Form Fitness Kitchenย and the n’ice cream is my recipe from the other day (here) which I’ll re-post below for ease.

IMG_6550

This will make approx 2 large layered desserts.

For the mousse you will need:

1 packet of Silken tofu

2 tbsp Cocoa powder

2 tbsp sweet freedom Choc Shot (you may want to add a little extra if you want it sweeter)

Natural peppermint extract (to taste)

Pop all the ingredients except the peppermint extract in to your blender/processor and mix well until combined. Have a little taste and add a little more choc shot if you feel you need it. Then add the peppermint extract to taste and mix. Store the mousse in the fridge until you’re ready to prepare the dessert (it will last up to a week – it may separate a little but just stir it before you use it).

For the n’ice cream you will need:

Frozen bananas โ€“ I used 4 medium bananas

Handful of spinach (adjust according to how green you want it!)

Couple of tbsp Cacao nibs (or you can use any dark chocolate โ€“ sugar free or not โ€“ your choice)

Natural peppermint extract (to taste) (or fresh mint leaves if you happen to have some)

Pop the bananas in to a high speed blender โ€“ I use my trusty vitamix but any blender that can handle ice will do, and blitz it to start to break up the bananas. Once they start to smoosh up (technical term ๐Ÿ˜‰ ) add the spinach a little at a time. Then add a few drops of peppermint extract โ€“ the amount will depend on how minty you like it! You donโ€™t want it tasting like mouthwash though so go easy to start with! Keep blitzing it and stirring it in until the spinach is combined and the colour you want. Remove from the blender and stir the cacao nibs/chopped chocolate through it.

It melts fast so if you’re making it just before you serve it then that’s fab, but if not then you canย refreeze it โ€“ ideally refreeze in ice cube trays (or small portions) and then when are ready to put the dessert togetherย pop the cubes in to the blender and give it a very quick blitz!

Assemble the pud

Add a layer of mousse, then a layer of n’ice cream and top with another layer of mousse in a glass, sundae dish or bowl. Top with a sprig of fresh mint and enjoy!

IMG_6544

Rhubarb and Cinnamon Cake – Dairy and Gluten free


After very kindly being given some freshly grown rhubarb (thank you Des and Lisa ๐Ÿ™‚ ) I thought I would try to do something different with it, rather than the classic crumble and came up with this little beauty! This is a moist but light cake and the tartness of the rhubarb goes so well with the warmth of the cinnamon. I choose to poach the rhubarb lightly first as I find it ensures it isย non-stringy andย deliciously soft.

IMG_5761

You will need:

Approx 350g Rhubarb, cut into 2cm pieces

3 tbsp Apple juice and 1 tbsp Coconut sugar (for poaching)

1 1/4 cups of Gluten free self-raising flour (or you can make your own using plain gluten free or spelt flour plus 1 3/4 tsp baking powder and 1/2 tsp salt)

1/2 cup Ground Almonds

1 tsp Bicarbonate of Soda

1/3ย cup of Golden caster sugar (or other unrefined fine sugar)

1/3 cup Coconut sugar (or other unrefined sugar)

3/4 cup Almond (or light Olive) oil

Up to 1 1/4 cup of Almond milk or Soya milk (or any other non-dairy milk)

2 tbspย Cider vinegar

2 heaped tsp ground Cinnamon

Preheat the oven to 160 C.

First you need to poach the rhubarb. Pop it in to a roasting tin (so it’s only one layer thick) and add the apple juice and 1 tbsp sugar. Cover with foil and bake for approx 15 mins (or until the rhubarb is a little soft – the time will vary depending on how thick your stalks are). Remove from oven, strain and set aside (keeping the juice – we need that later). Leave the oven on but increase it to 170 C.

IMG_5739 IMG_5740

Place the flour, sugar, cinnamon and ground almonds in to a bowl and mix together.

Pour the juice from the poached rhubarb into a measuring jug (if there isn’t much don’t worry – use it anyway) and then add enough milk to give 1 1/4 cups in total of liquid. Add the vinegar and stir. Then add the bicarbonate of soda and mix (it will fizz!). Add this to the dry ingredients, and then add the oil. Stir it well and finally fold in the rhubarb.

IMG_5749

Pour in to a tin (I used a 20 x 20 cm tin) lined with greaseproof paper and pop in the oven for 35 – 45 mins (or until a skewer comes out clean). Allow to cool in the tin for 10 mins, then place on a wire rack. Cut and serve! ๐Ÿ™‚

IMG_5750 IMG_5758