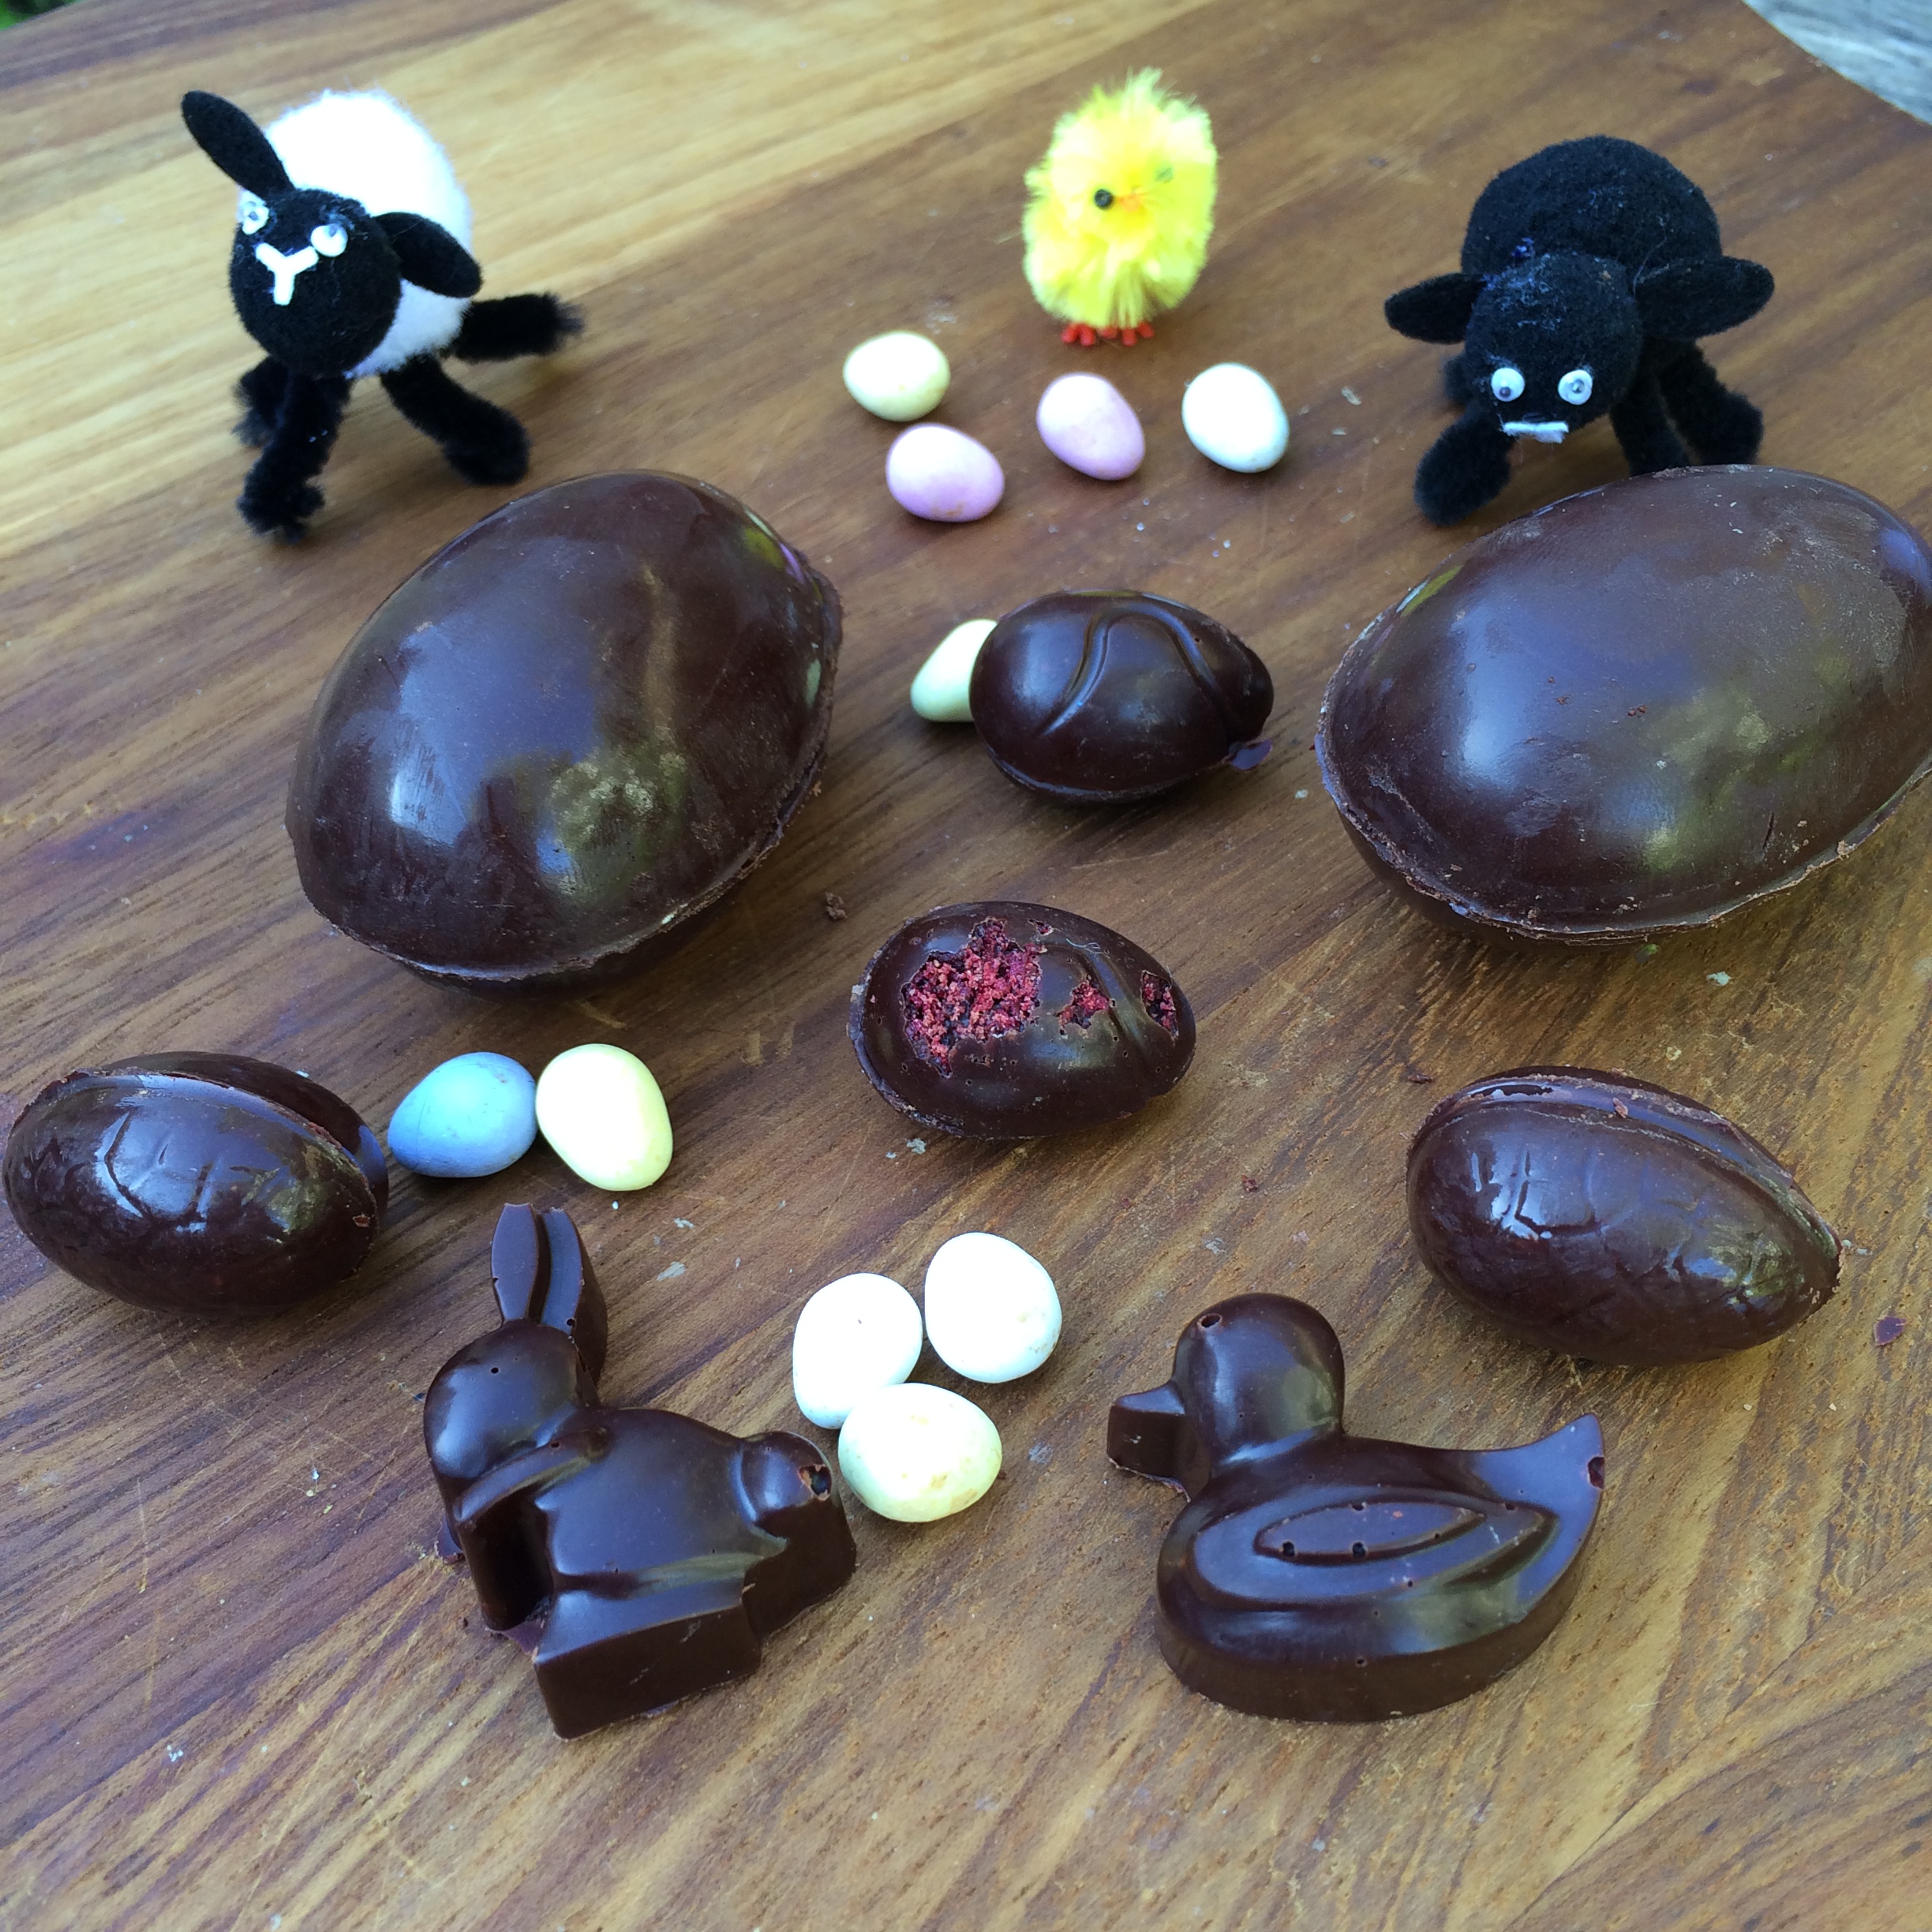
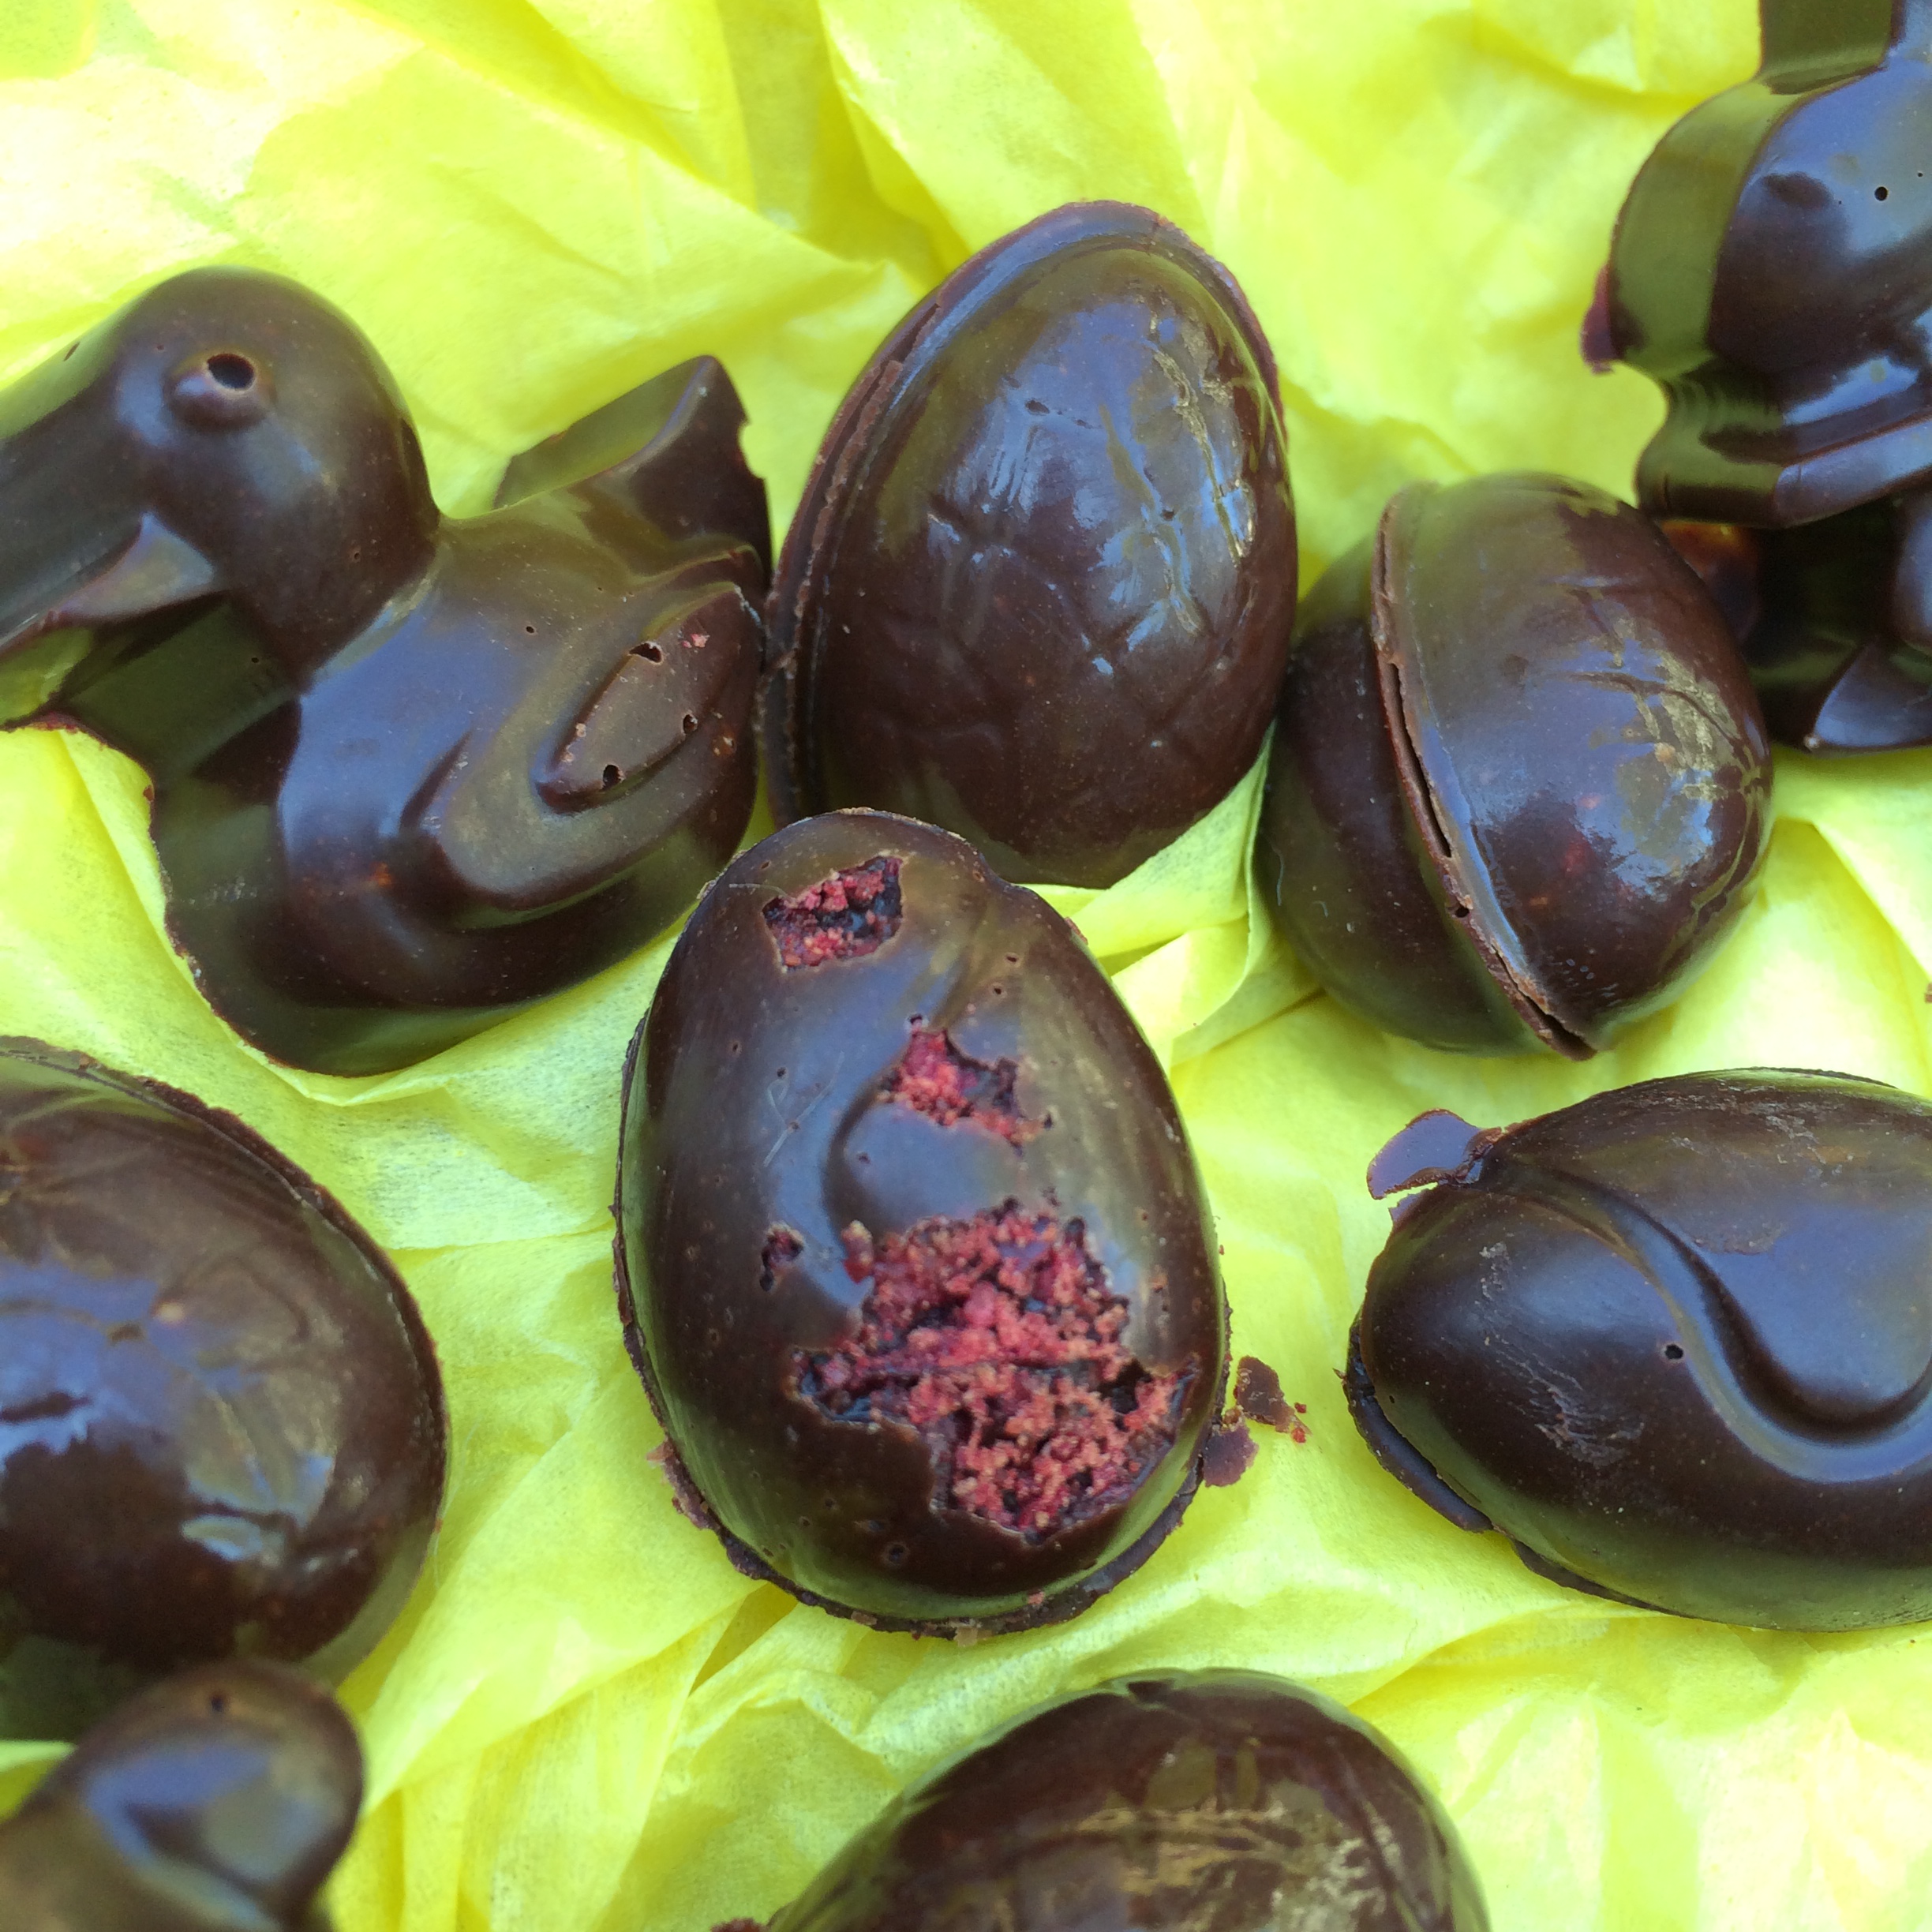
Well… it is Easter… and I happen to know someone who loves raw chocolate so it gave me the perfect excuse to whip up a batch of raw chocolate eggs.


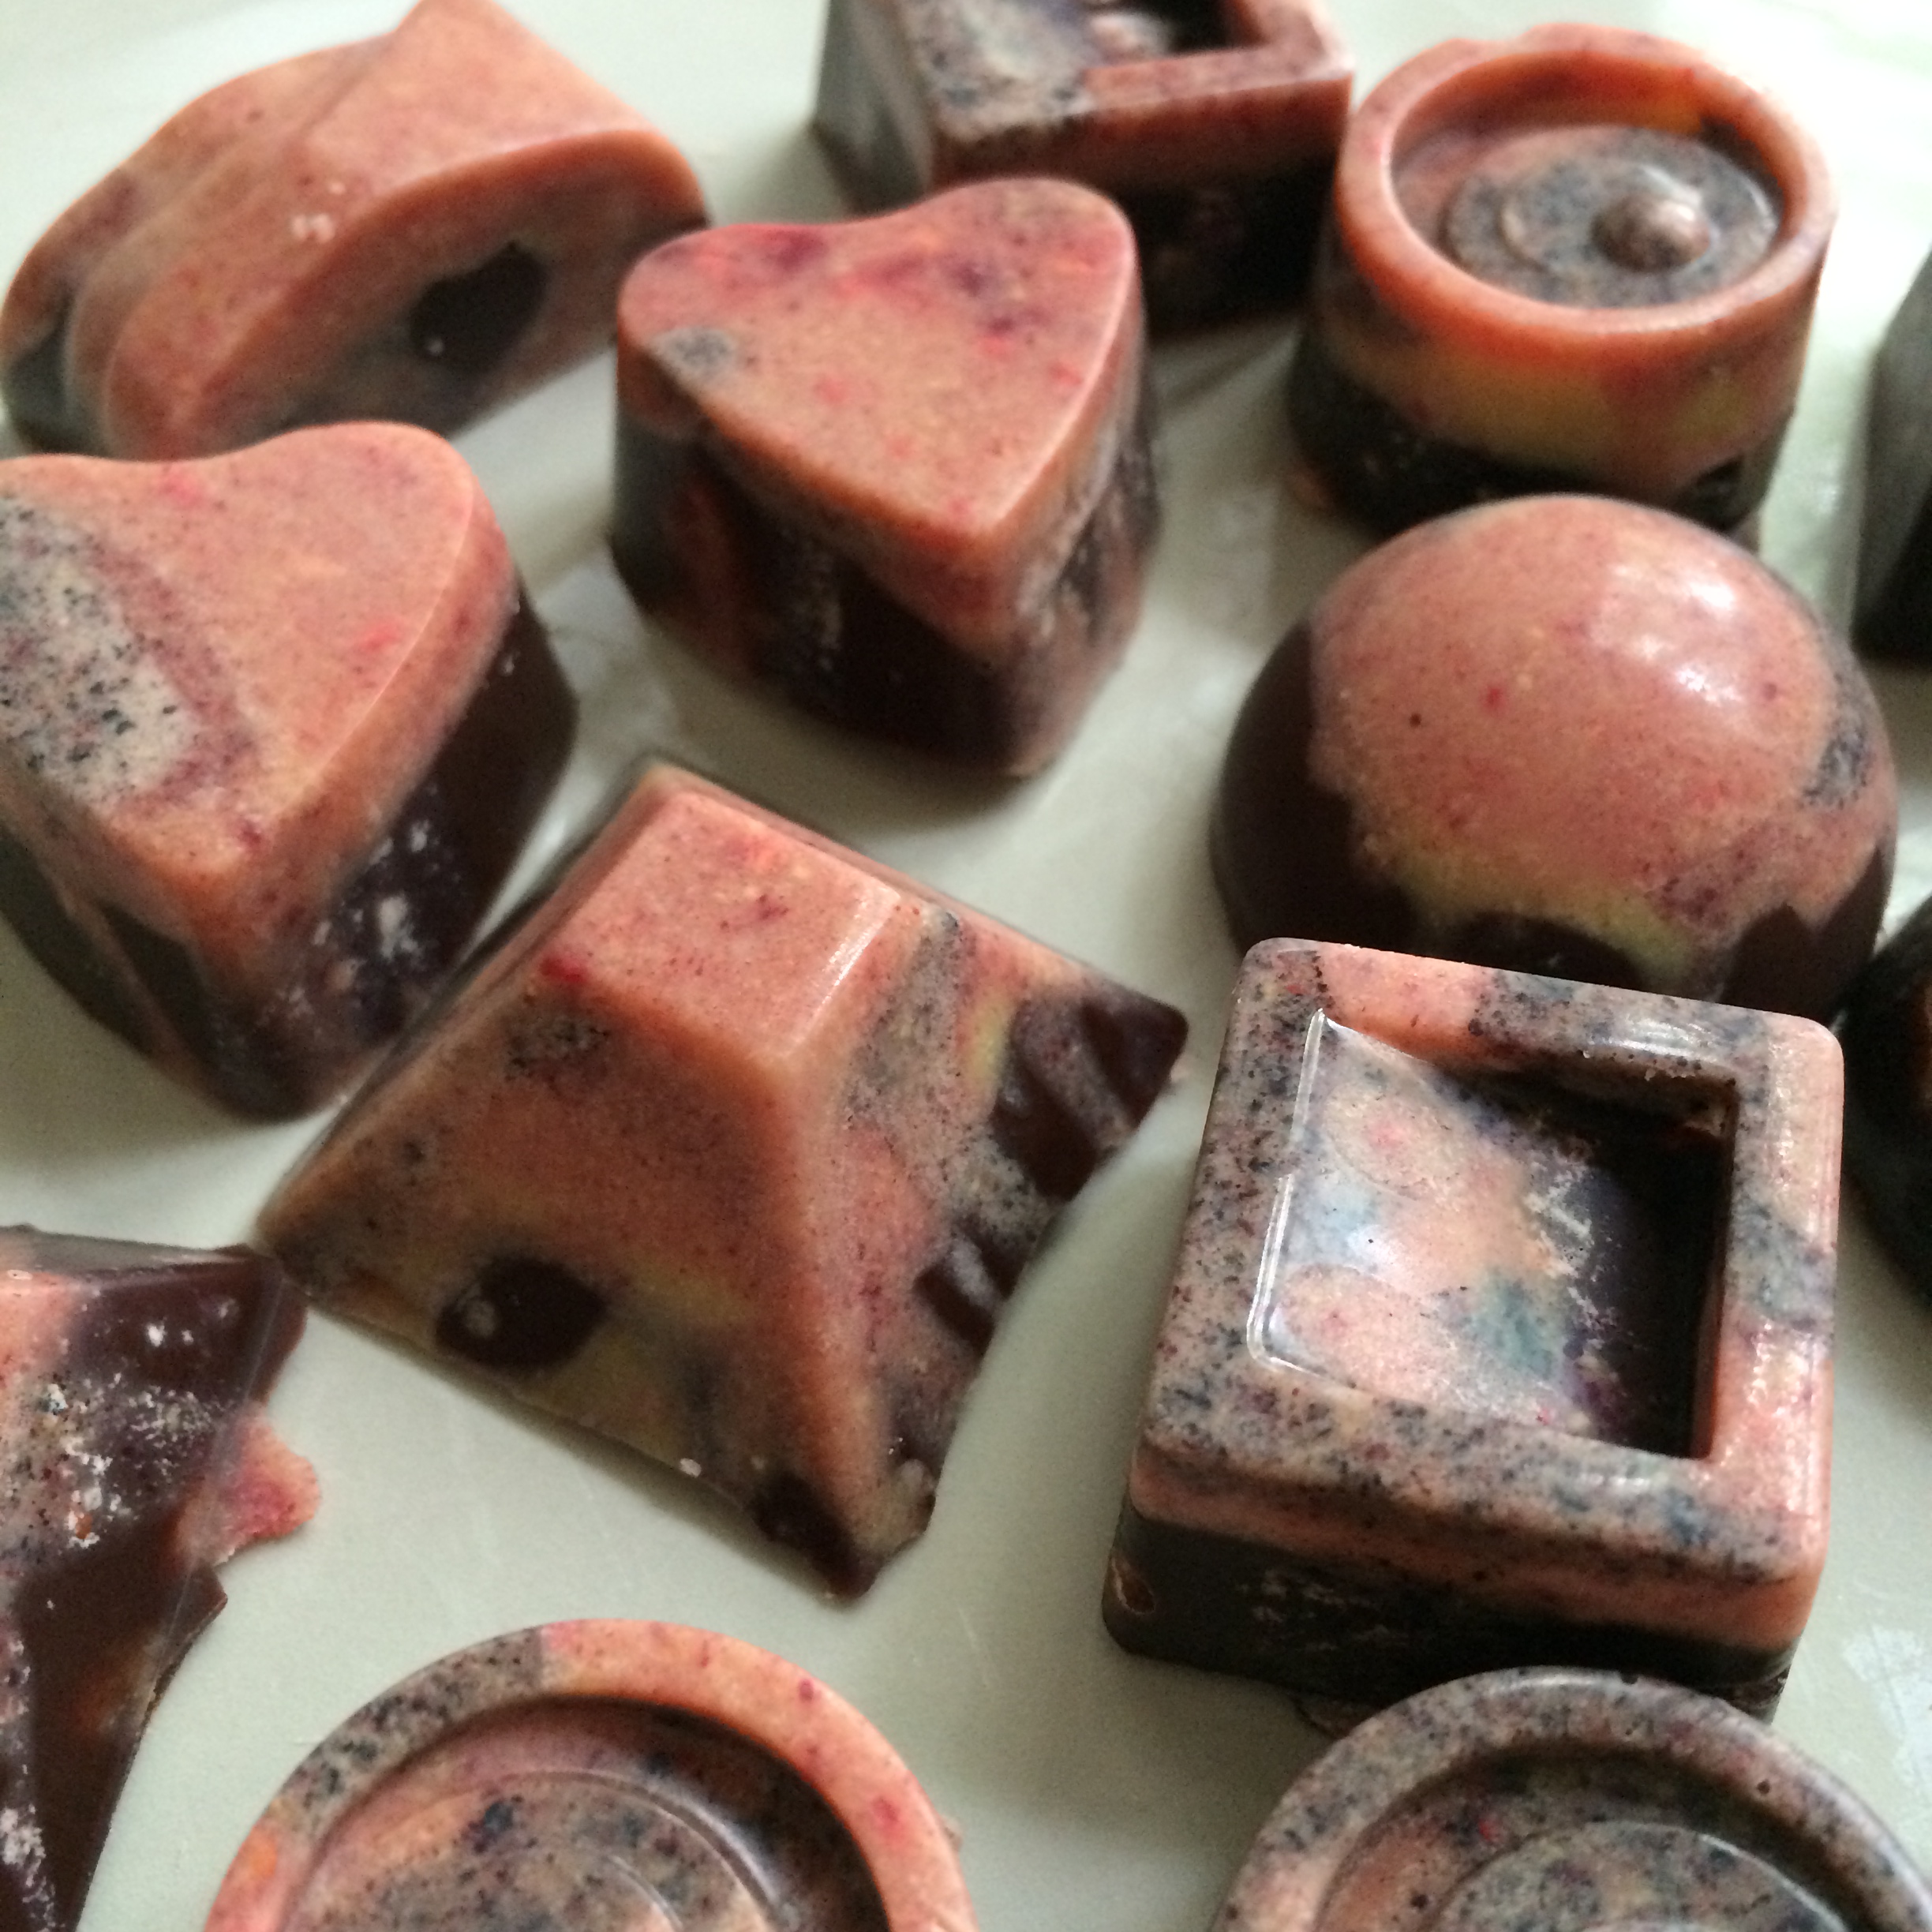
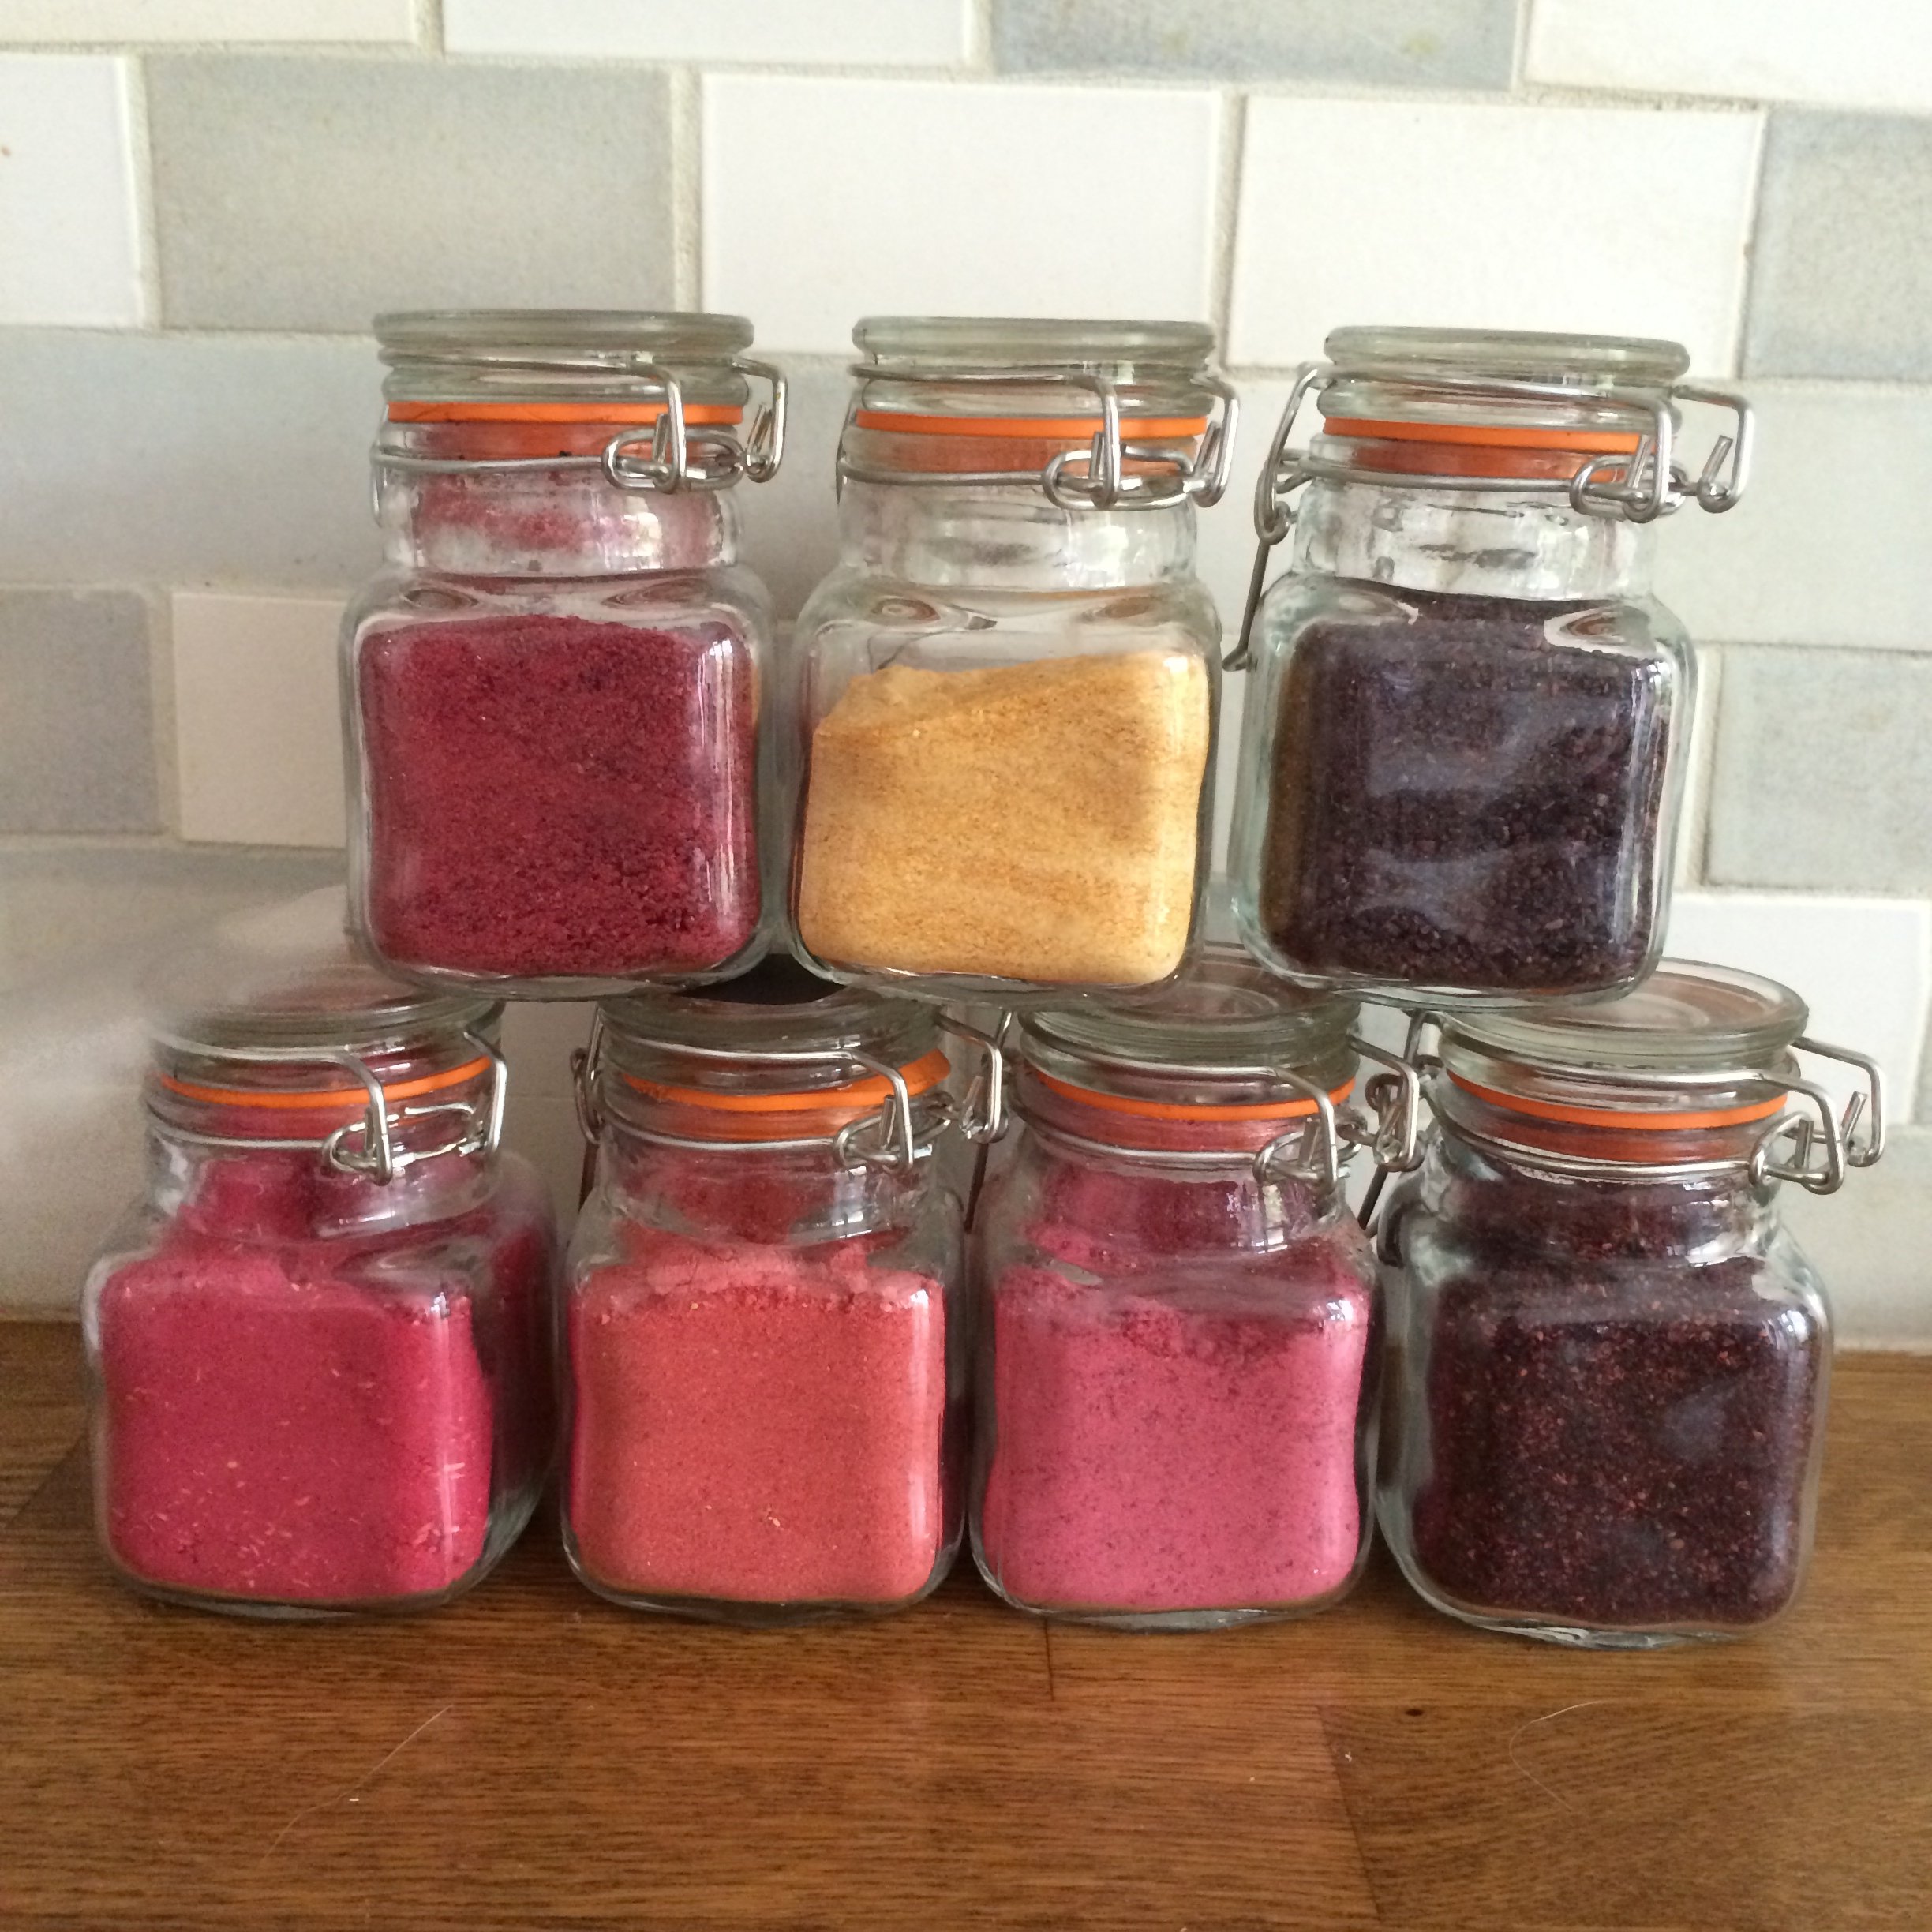
I fancied having a bit of a play with all the exciting things in my cupboard – peanut butter, pecan butter, coconut butter, freeze dried passion fruit powder, freeze dried cherry powder, freeze dried cherries, freeze dried raspberries so decided I’d make a batch of medium filled eggs and some little mini fruity eggs!

You will need:
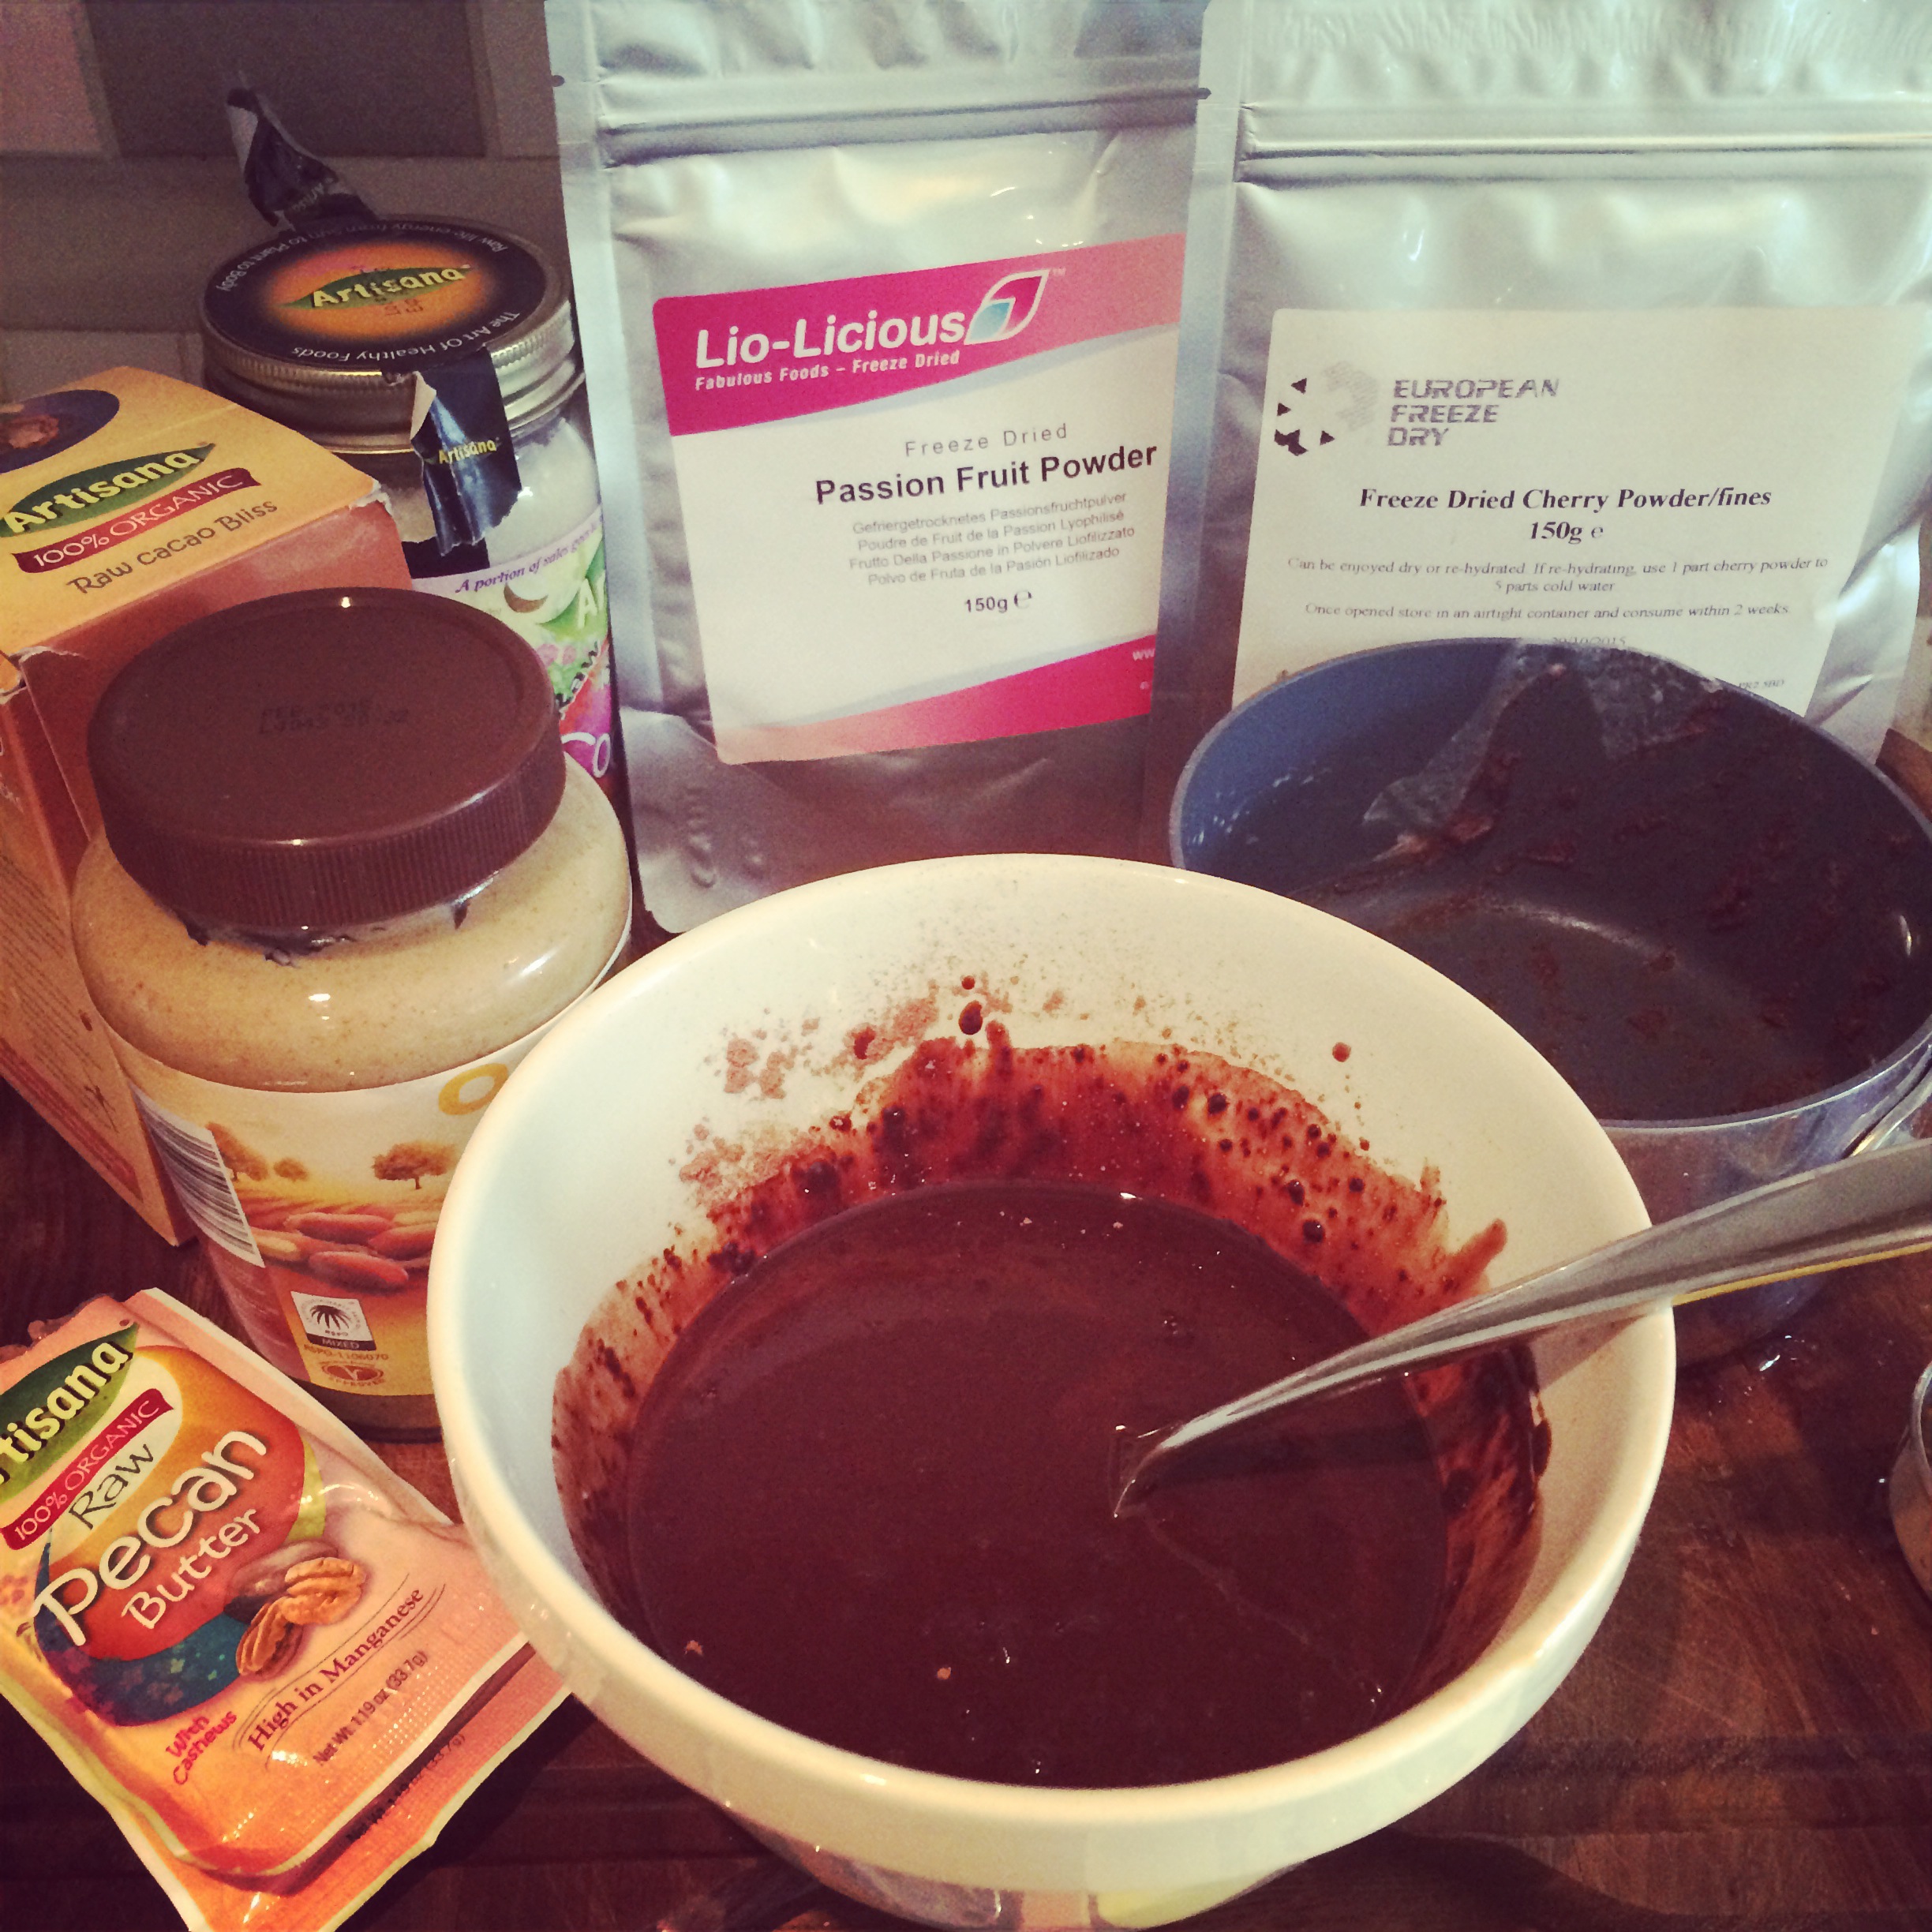
1 cup Cacao butter (melted)
1 cup Raw Cocoa powder
1/3 Cup Maple syrup (or other liquid sweetner)
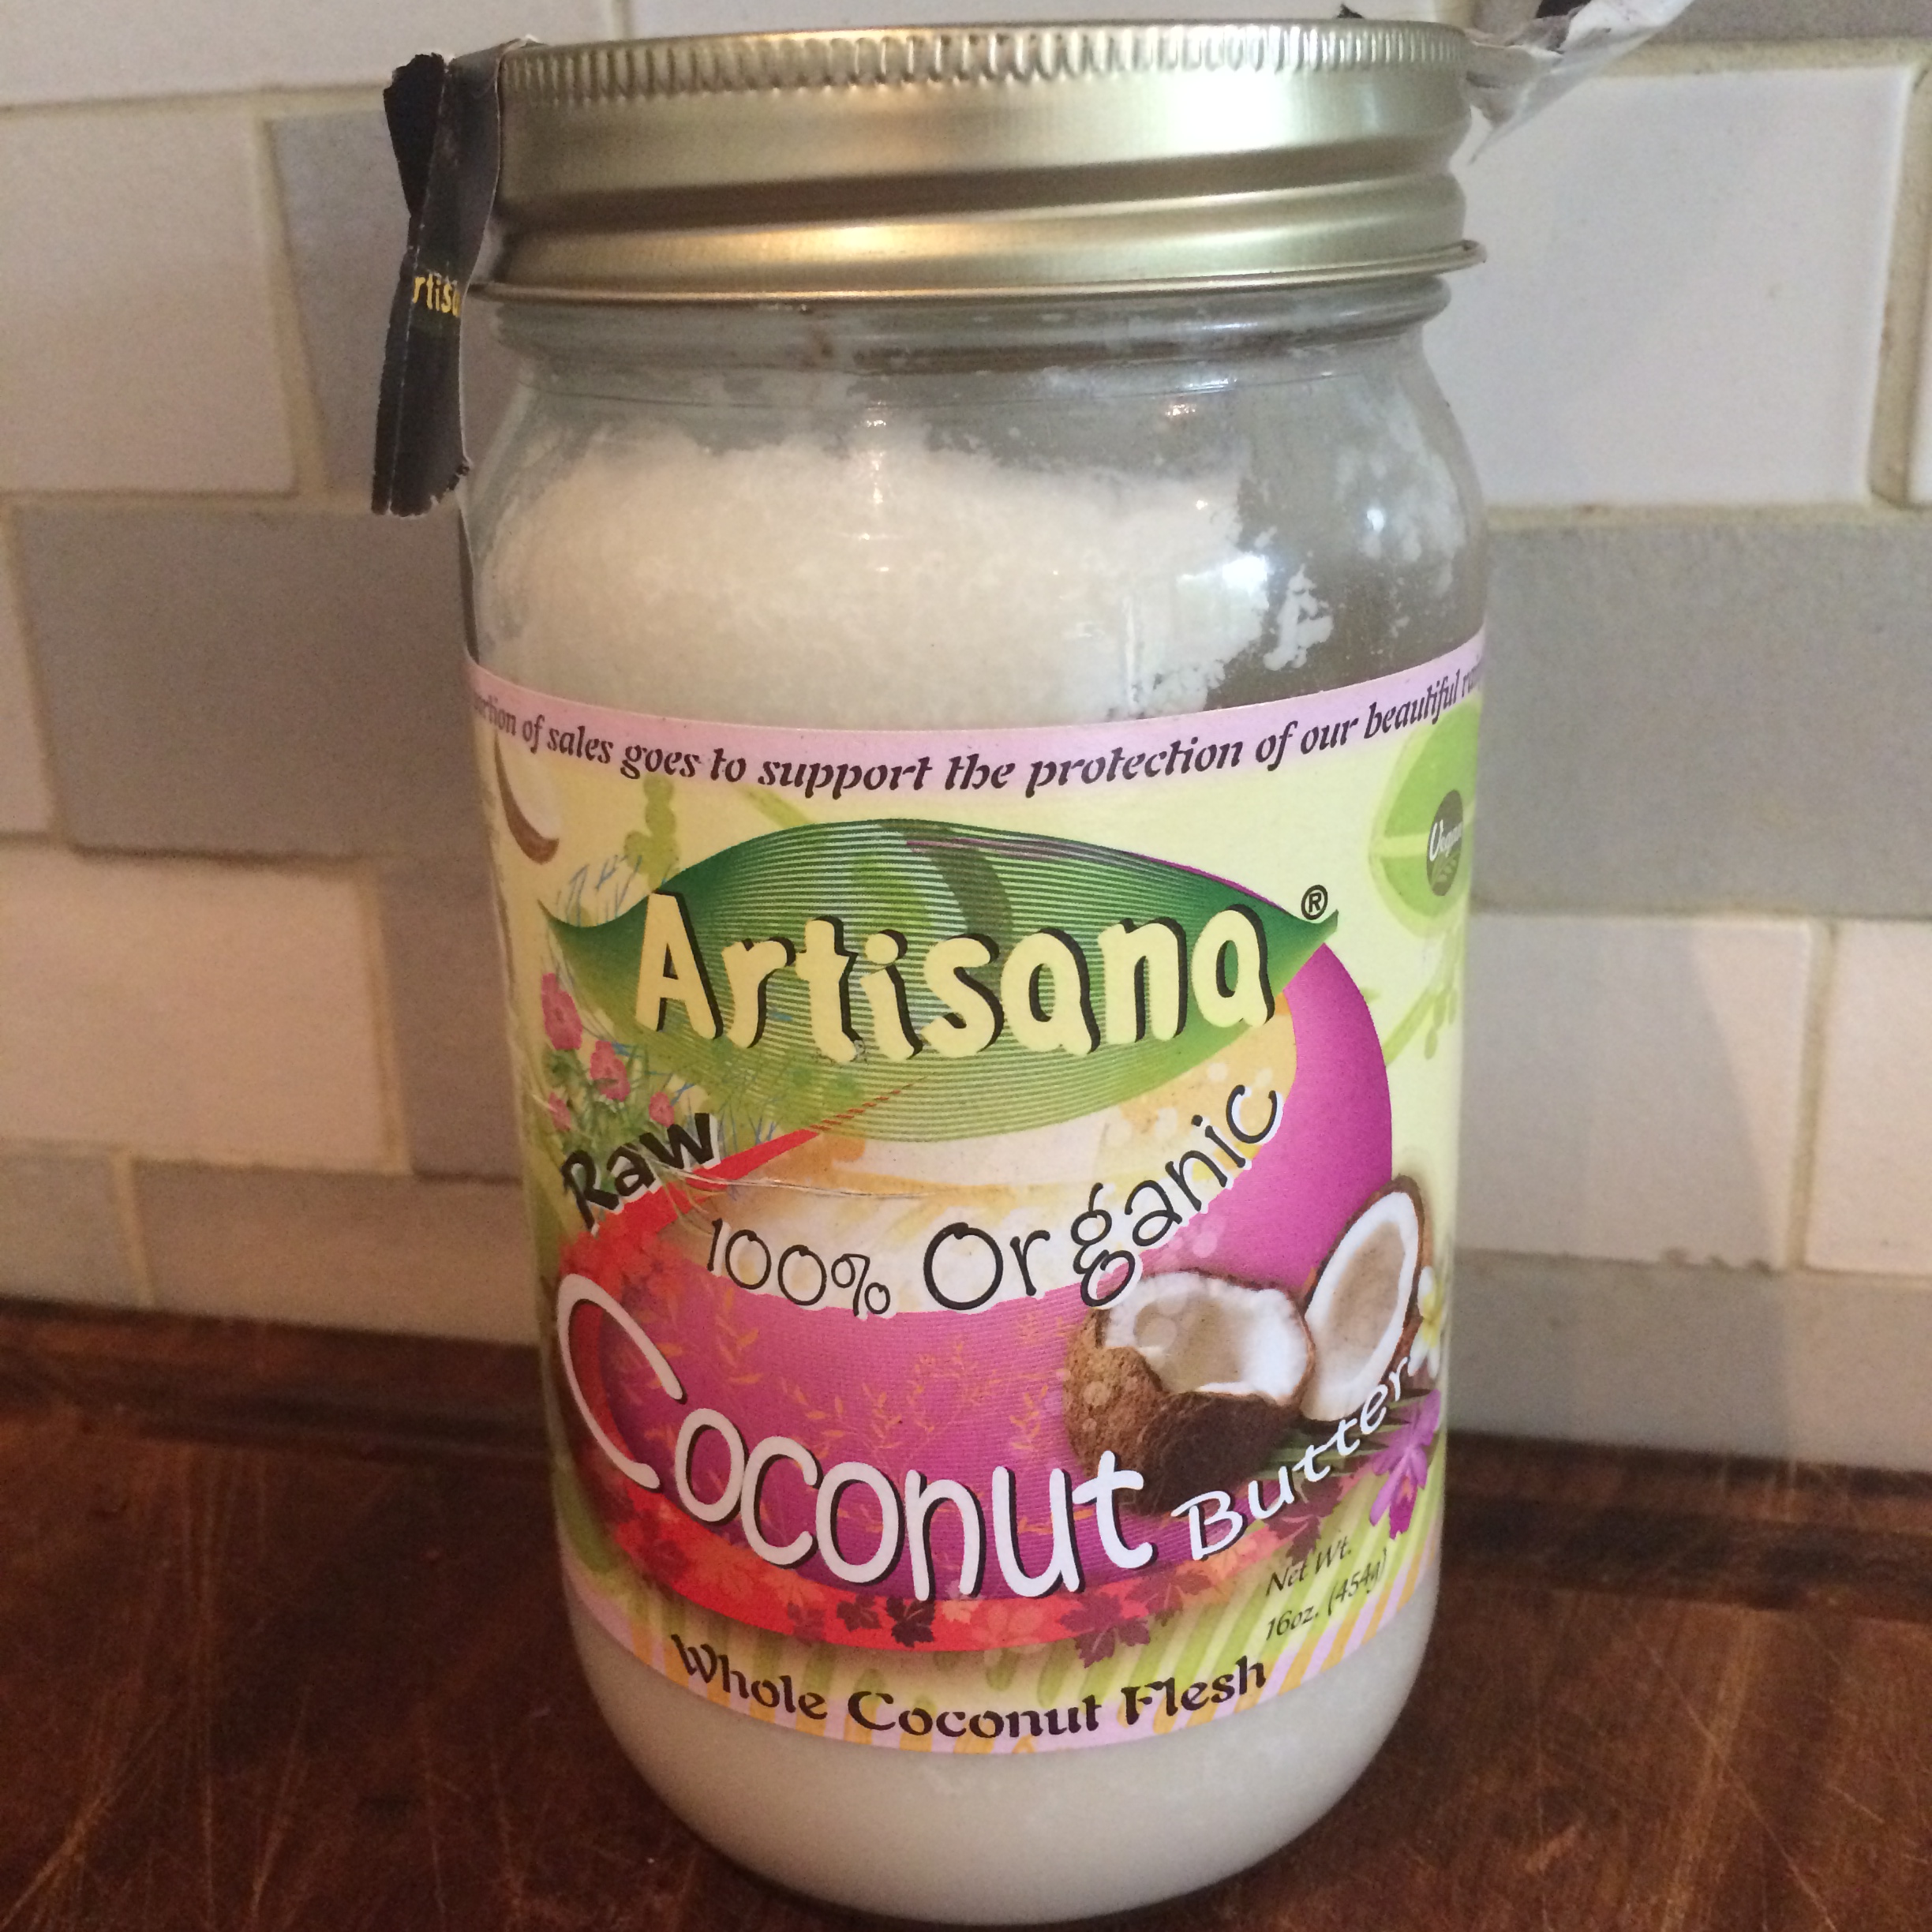
A selection of fun things to fill or flavour them with! Your choice – nut butters, coconut butter (this isn’t the same as coconut oil – I use the Artisana brand – available online), freeze dried fruits etc.
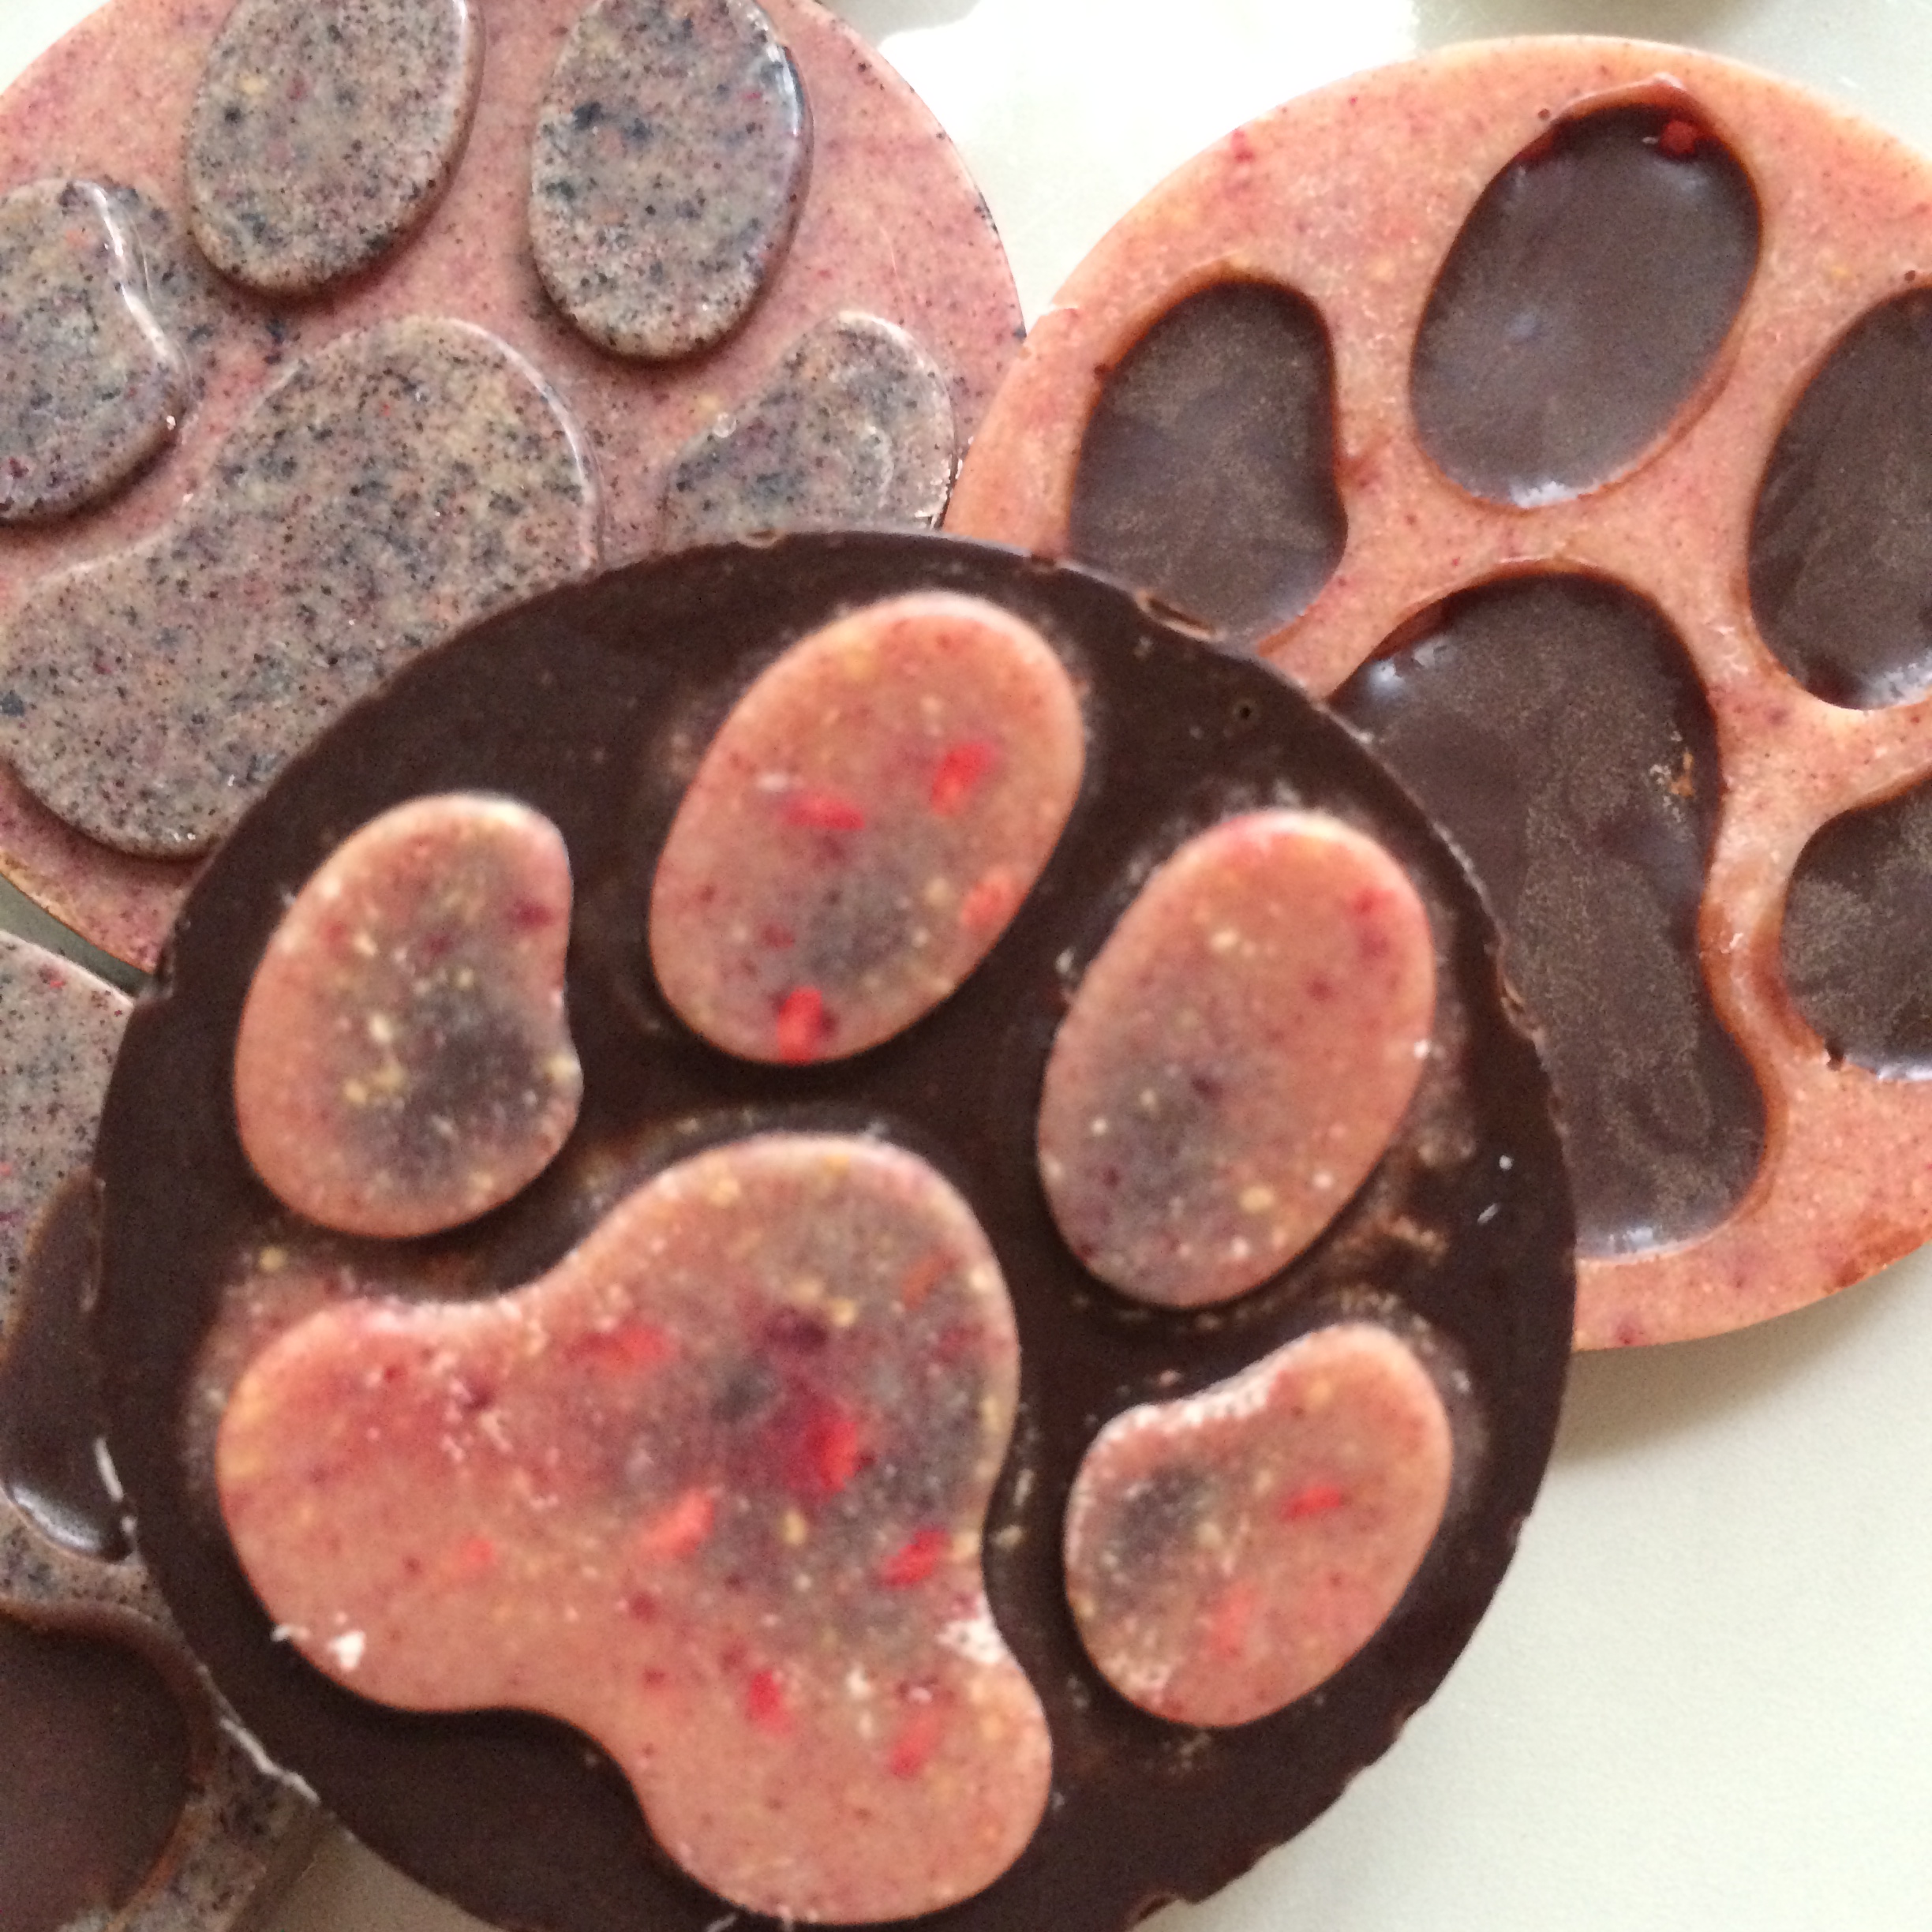
Egg moulds (or any other shape!)
Filled eggs
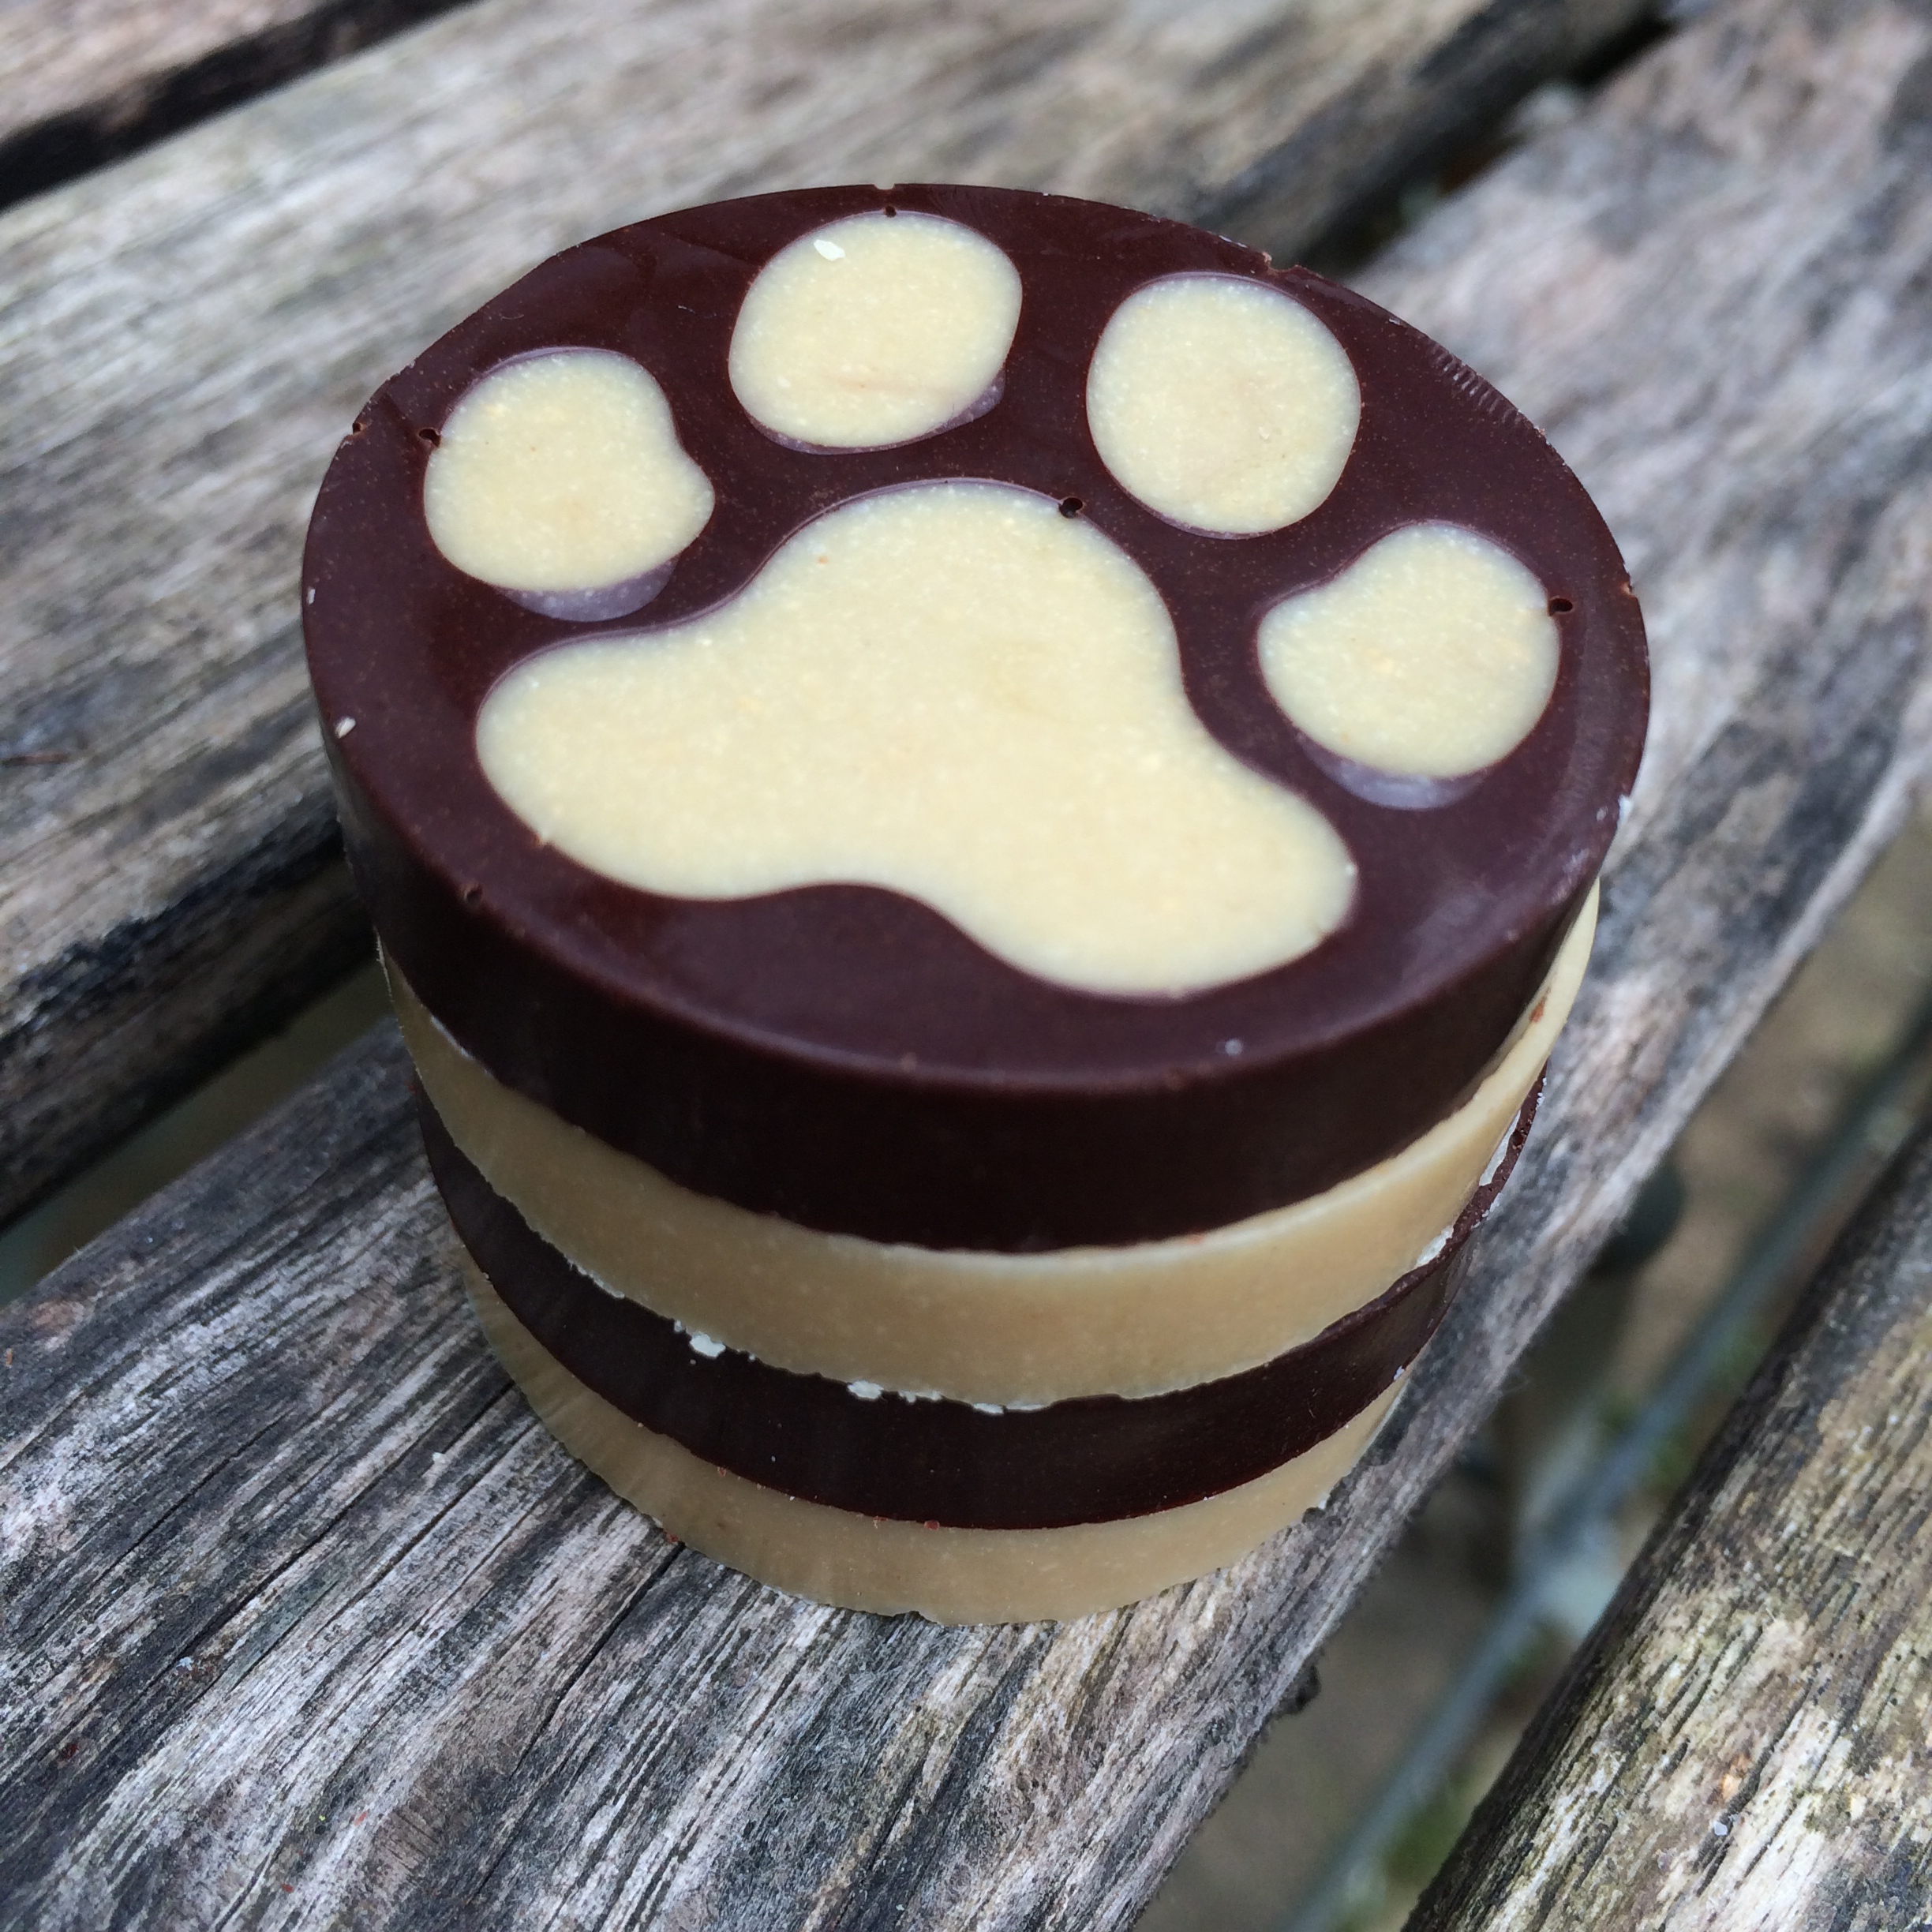
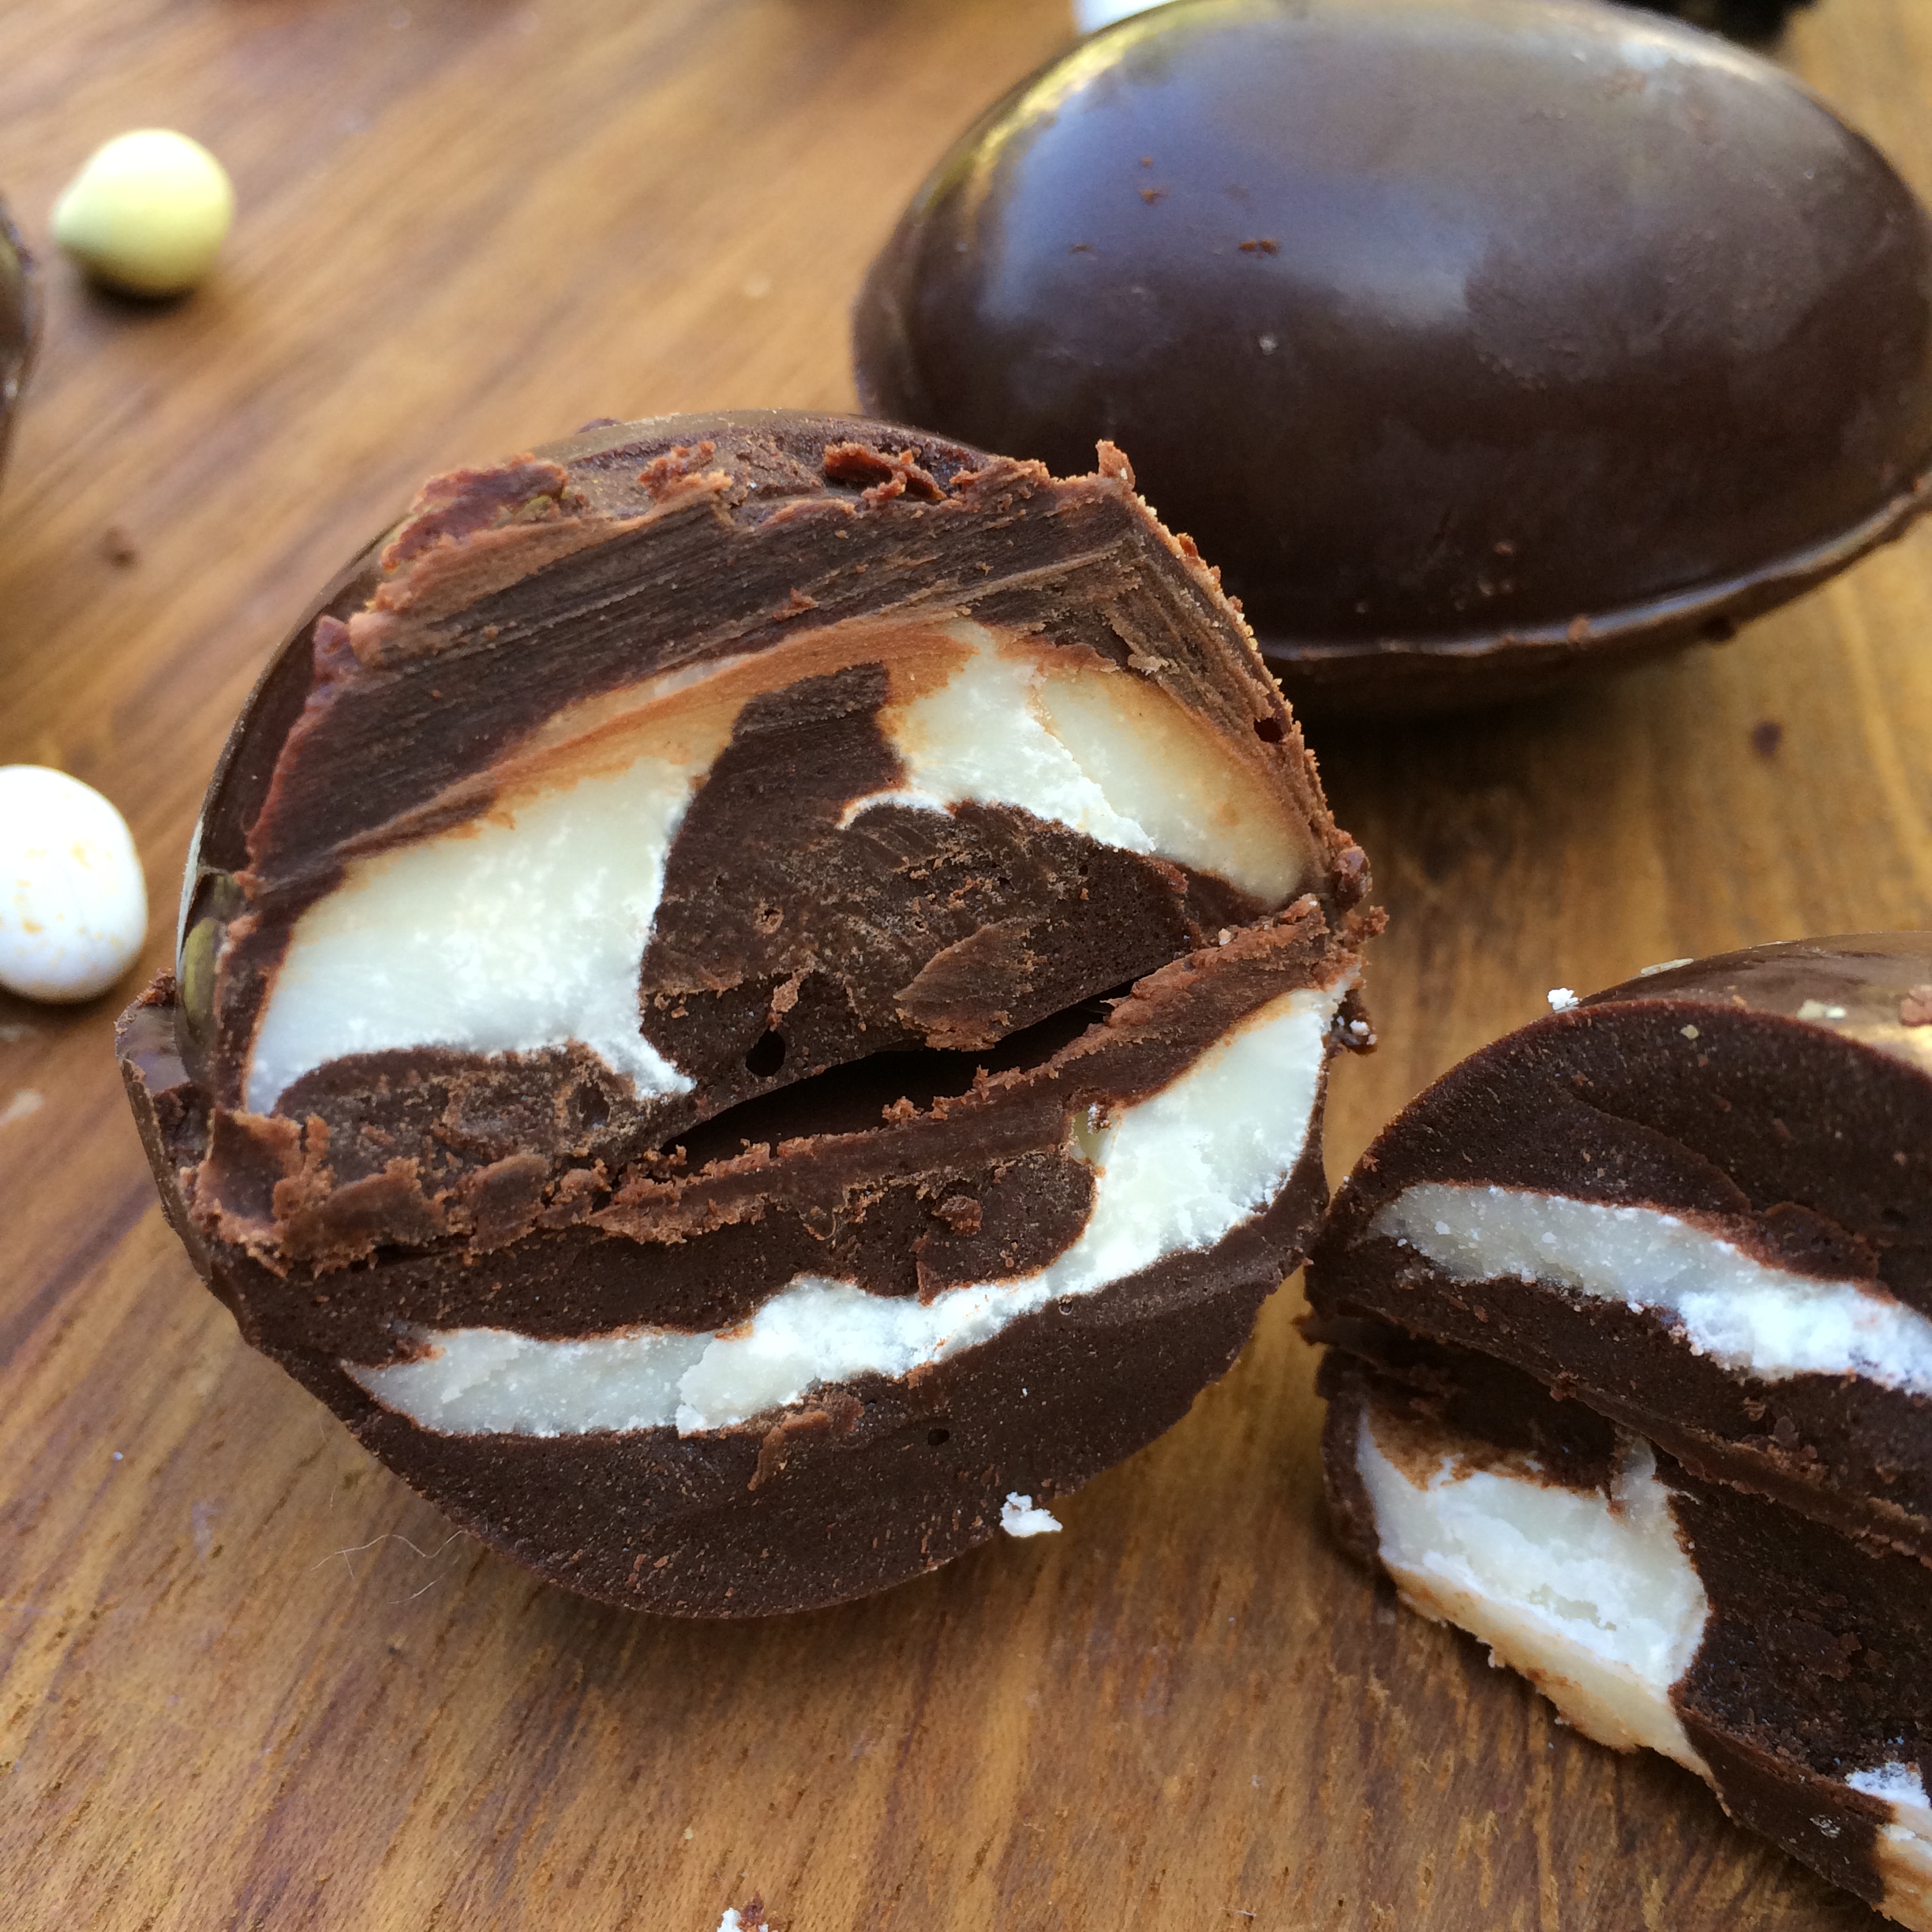
Mix the cacao butter, cocoa and maple syrup together and ensure there are no lumps. Pour a small amount in to the egg mould – you are filling your eggs so don’t fill the mould – probably aim for a third of the mould. You will probably find that it settles at the bottom leaving the sides with only a very thing layer. This is ok – just pop it in the fridge for now. After about 5 mins check it and as it’s beginning to solidify just swirl the mould around so the chocolate coats the sides too. Place back in the fridge until set hard (15 mins should do it).
Add your filling
If you’re using nut butter then add a tsp or two and you can then sprinkle in some freeze dried fruit if you fancy it (raspberries work well with peanut butter). Remember to do an even number of each filling (unless you want eggs half one flavour, half another).
If you’re using the coconut butter use a whole coconut flesh butter, rather than coconut oil. I used the Artisana brand.

It’s easier to work with if you melt it very gently in a pan – just until it’s runny and then just pour it in to the eggs and pop straight in to the fridge.

Once the filling has set, cover with a layer of chocolate. You don’t have to do this but it makes it much easier to join halves later in a relatively neat way!
Allow to set in the fridge until really well set (at least 15 mins).
Put your halves together!
Pop your eggs out the mould and then you can either use a small amount of melted raw chocolate to sandwich them together, or you can use a hair dryer on a low heat to very gently melt the back of the eggs (be super careful as raw choc has a very low melting point so handle the eggs as little as poss and be gentle with the hair dryer). Once melted press the halves together and pop back in the fridge!
Then eat!

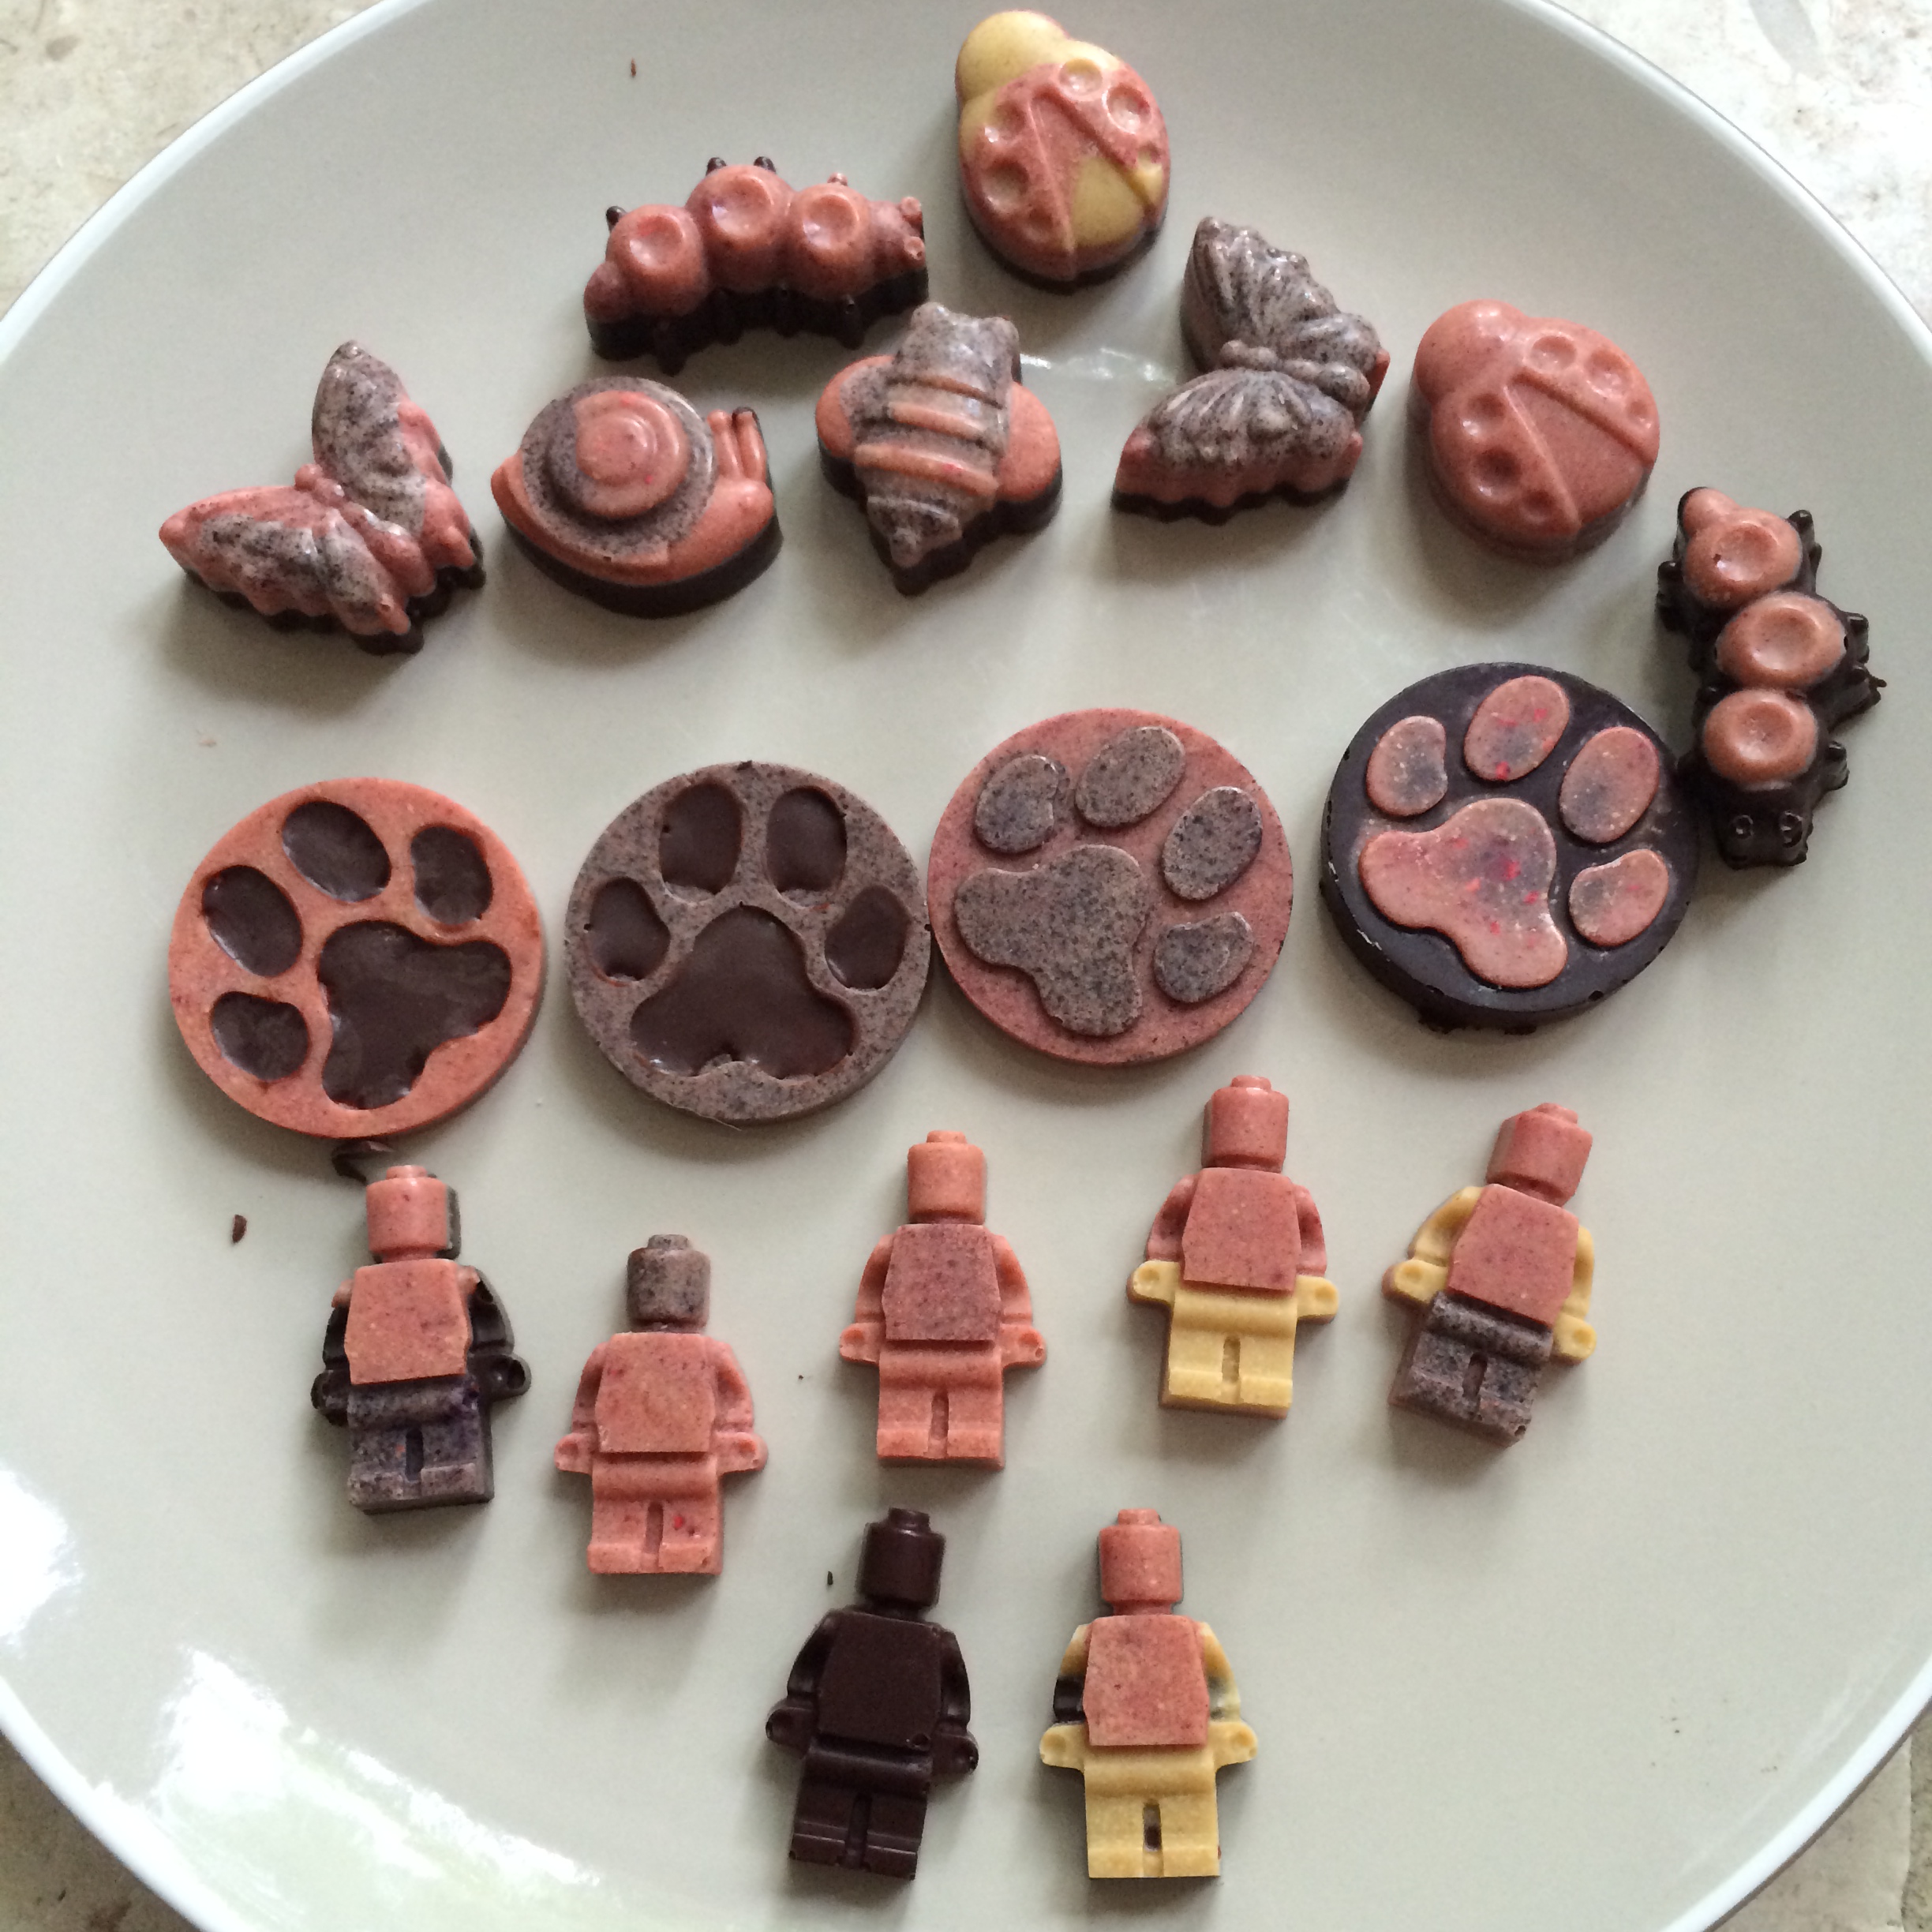
Fruity eggs
Take your raw choc mix and stir in to it your freeze dried fruit or fruit powder of choice. I split my mixture and in one half I added 1 tbsp freeze dried cherry powder and a handful of crushed freeze dried cherry slices. In the other half I added 1 tbsp freeze dried passion fruit powder and a handful of freeze dried mango pieces. Mix well and then pour in to your egg or whatever shape moulds.
If you want you can add a little powdered or crushed freeze dried fruit to the mould before you add the chocolate – it makes the eggs look pretty 🙂

Pop in the fridge for at least 15 mins. Remove and stick the halves together with a little melted raw choc or using a hair dryer to melt the backs a little as before.
Enjoy! 🙂