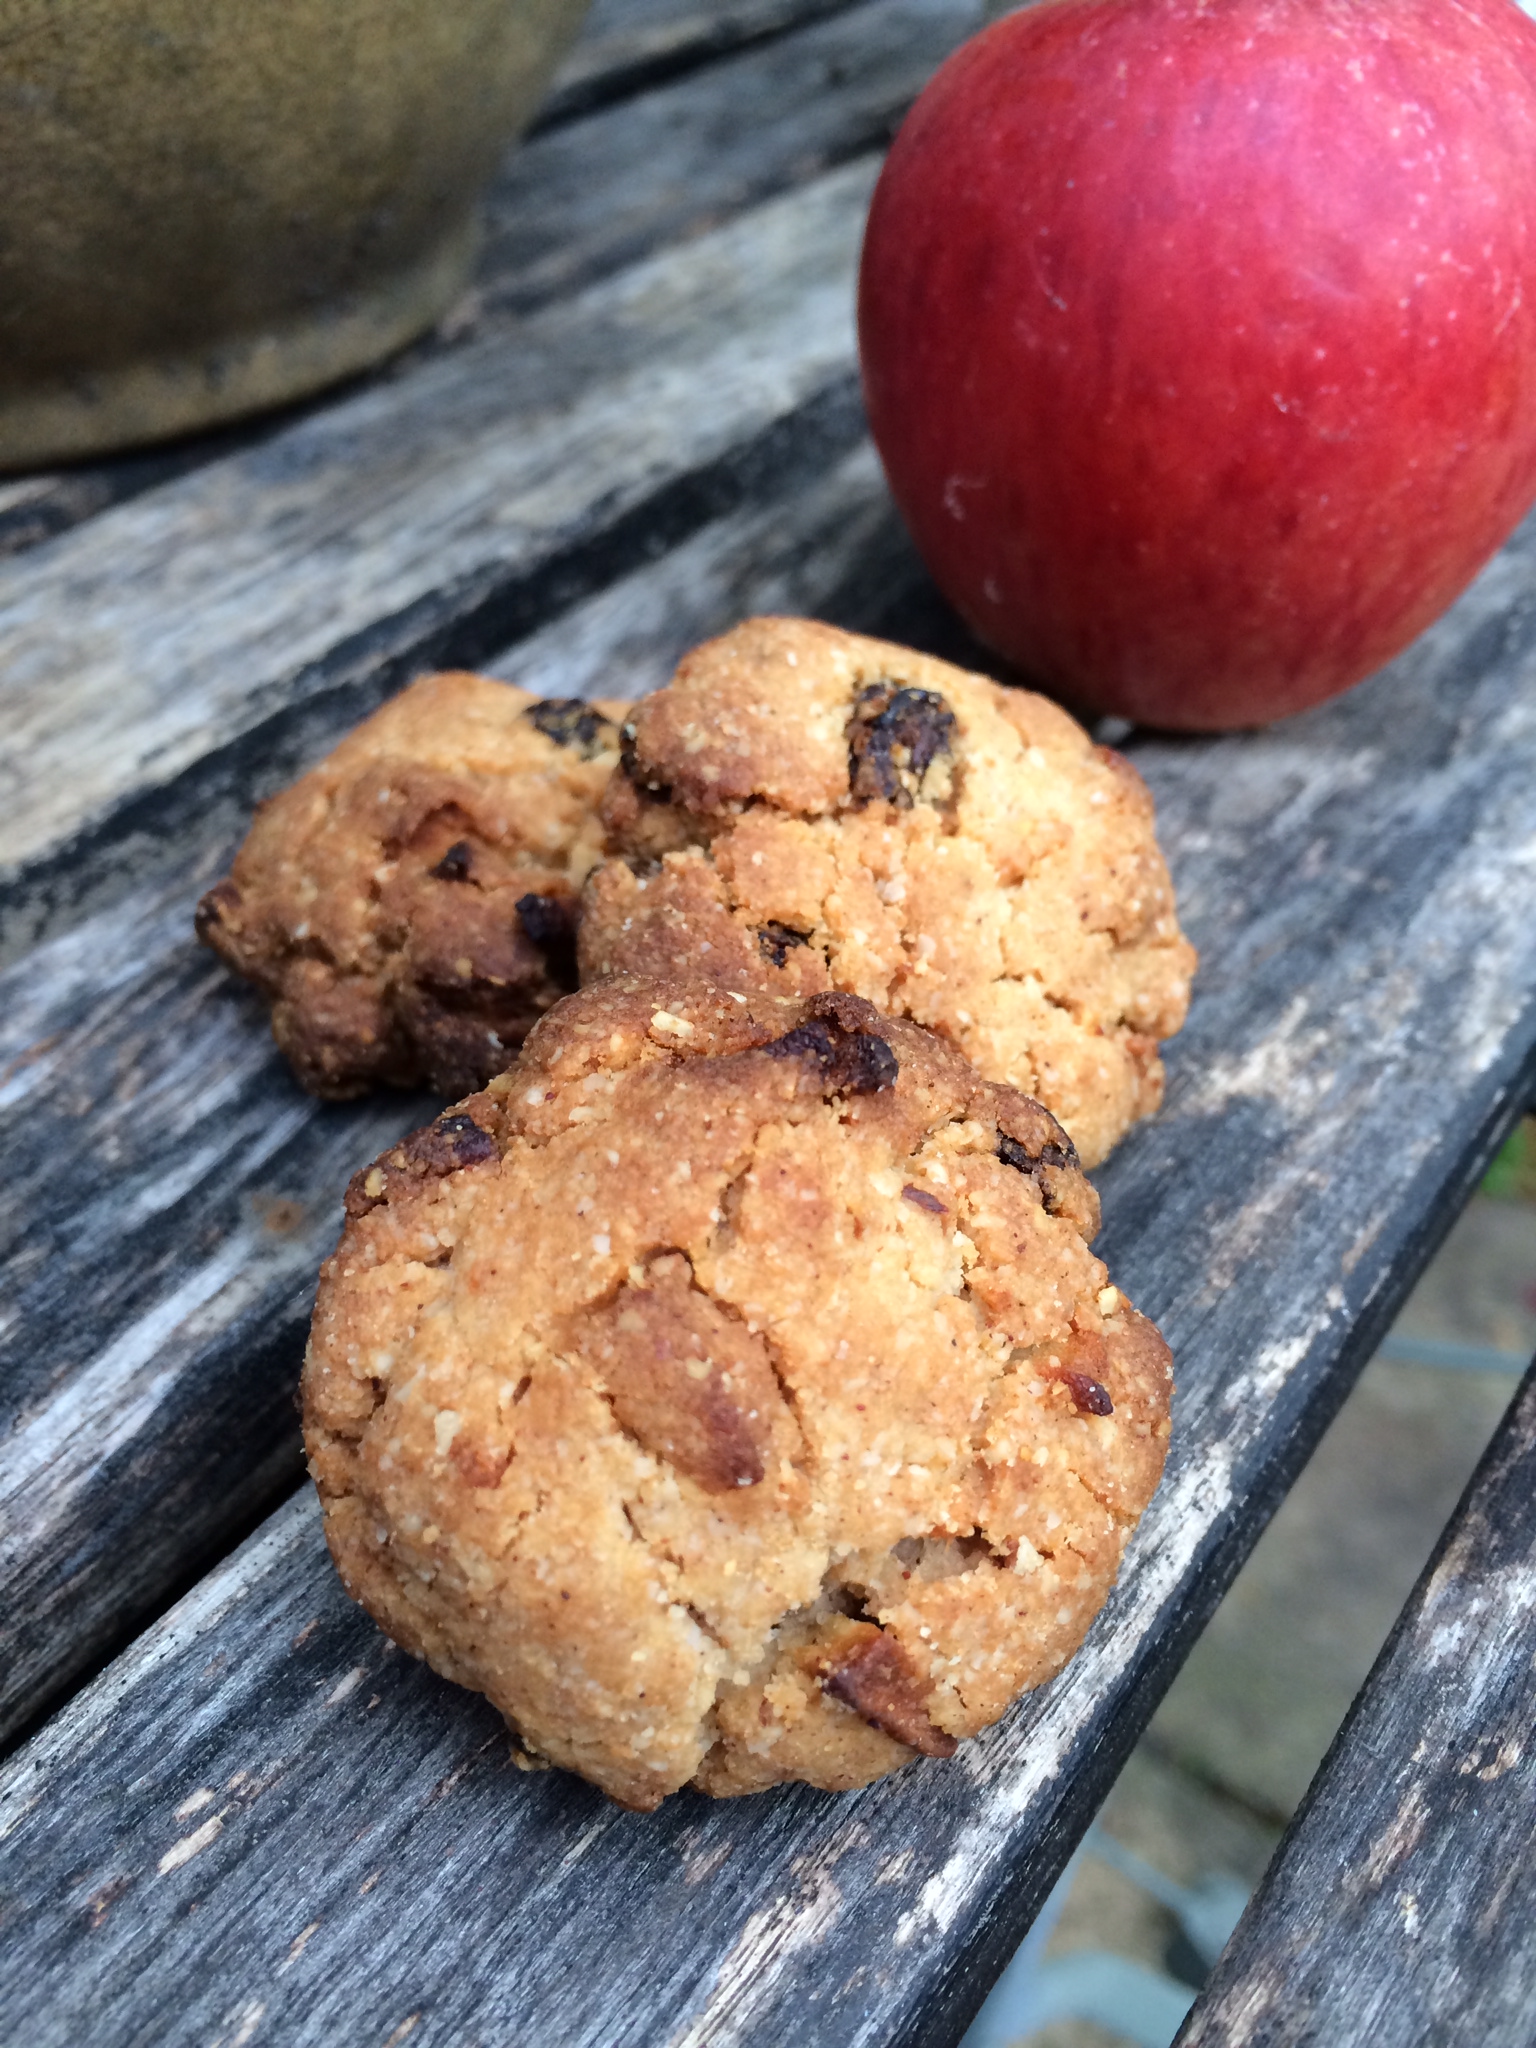
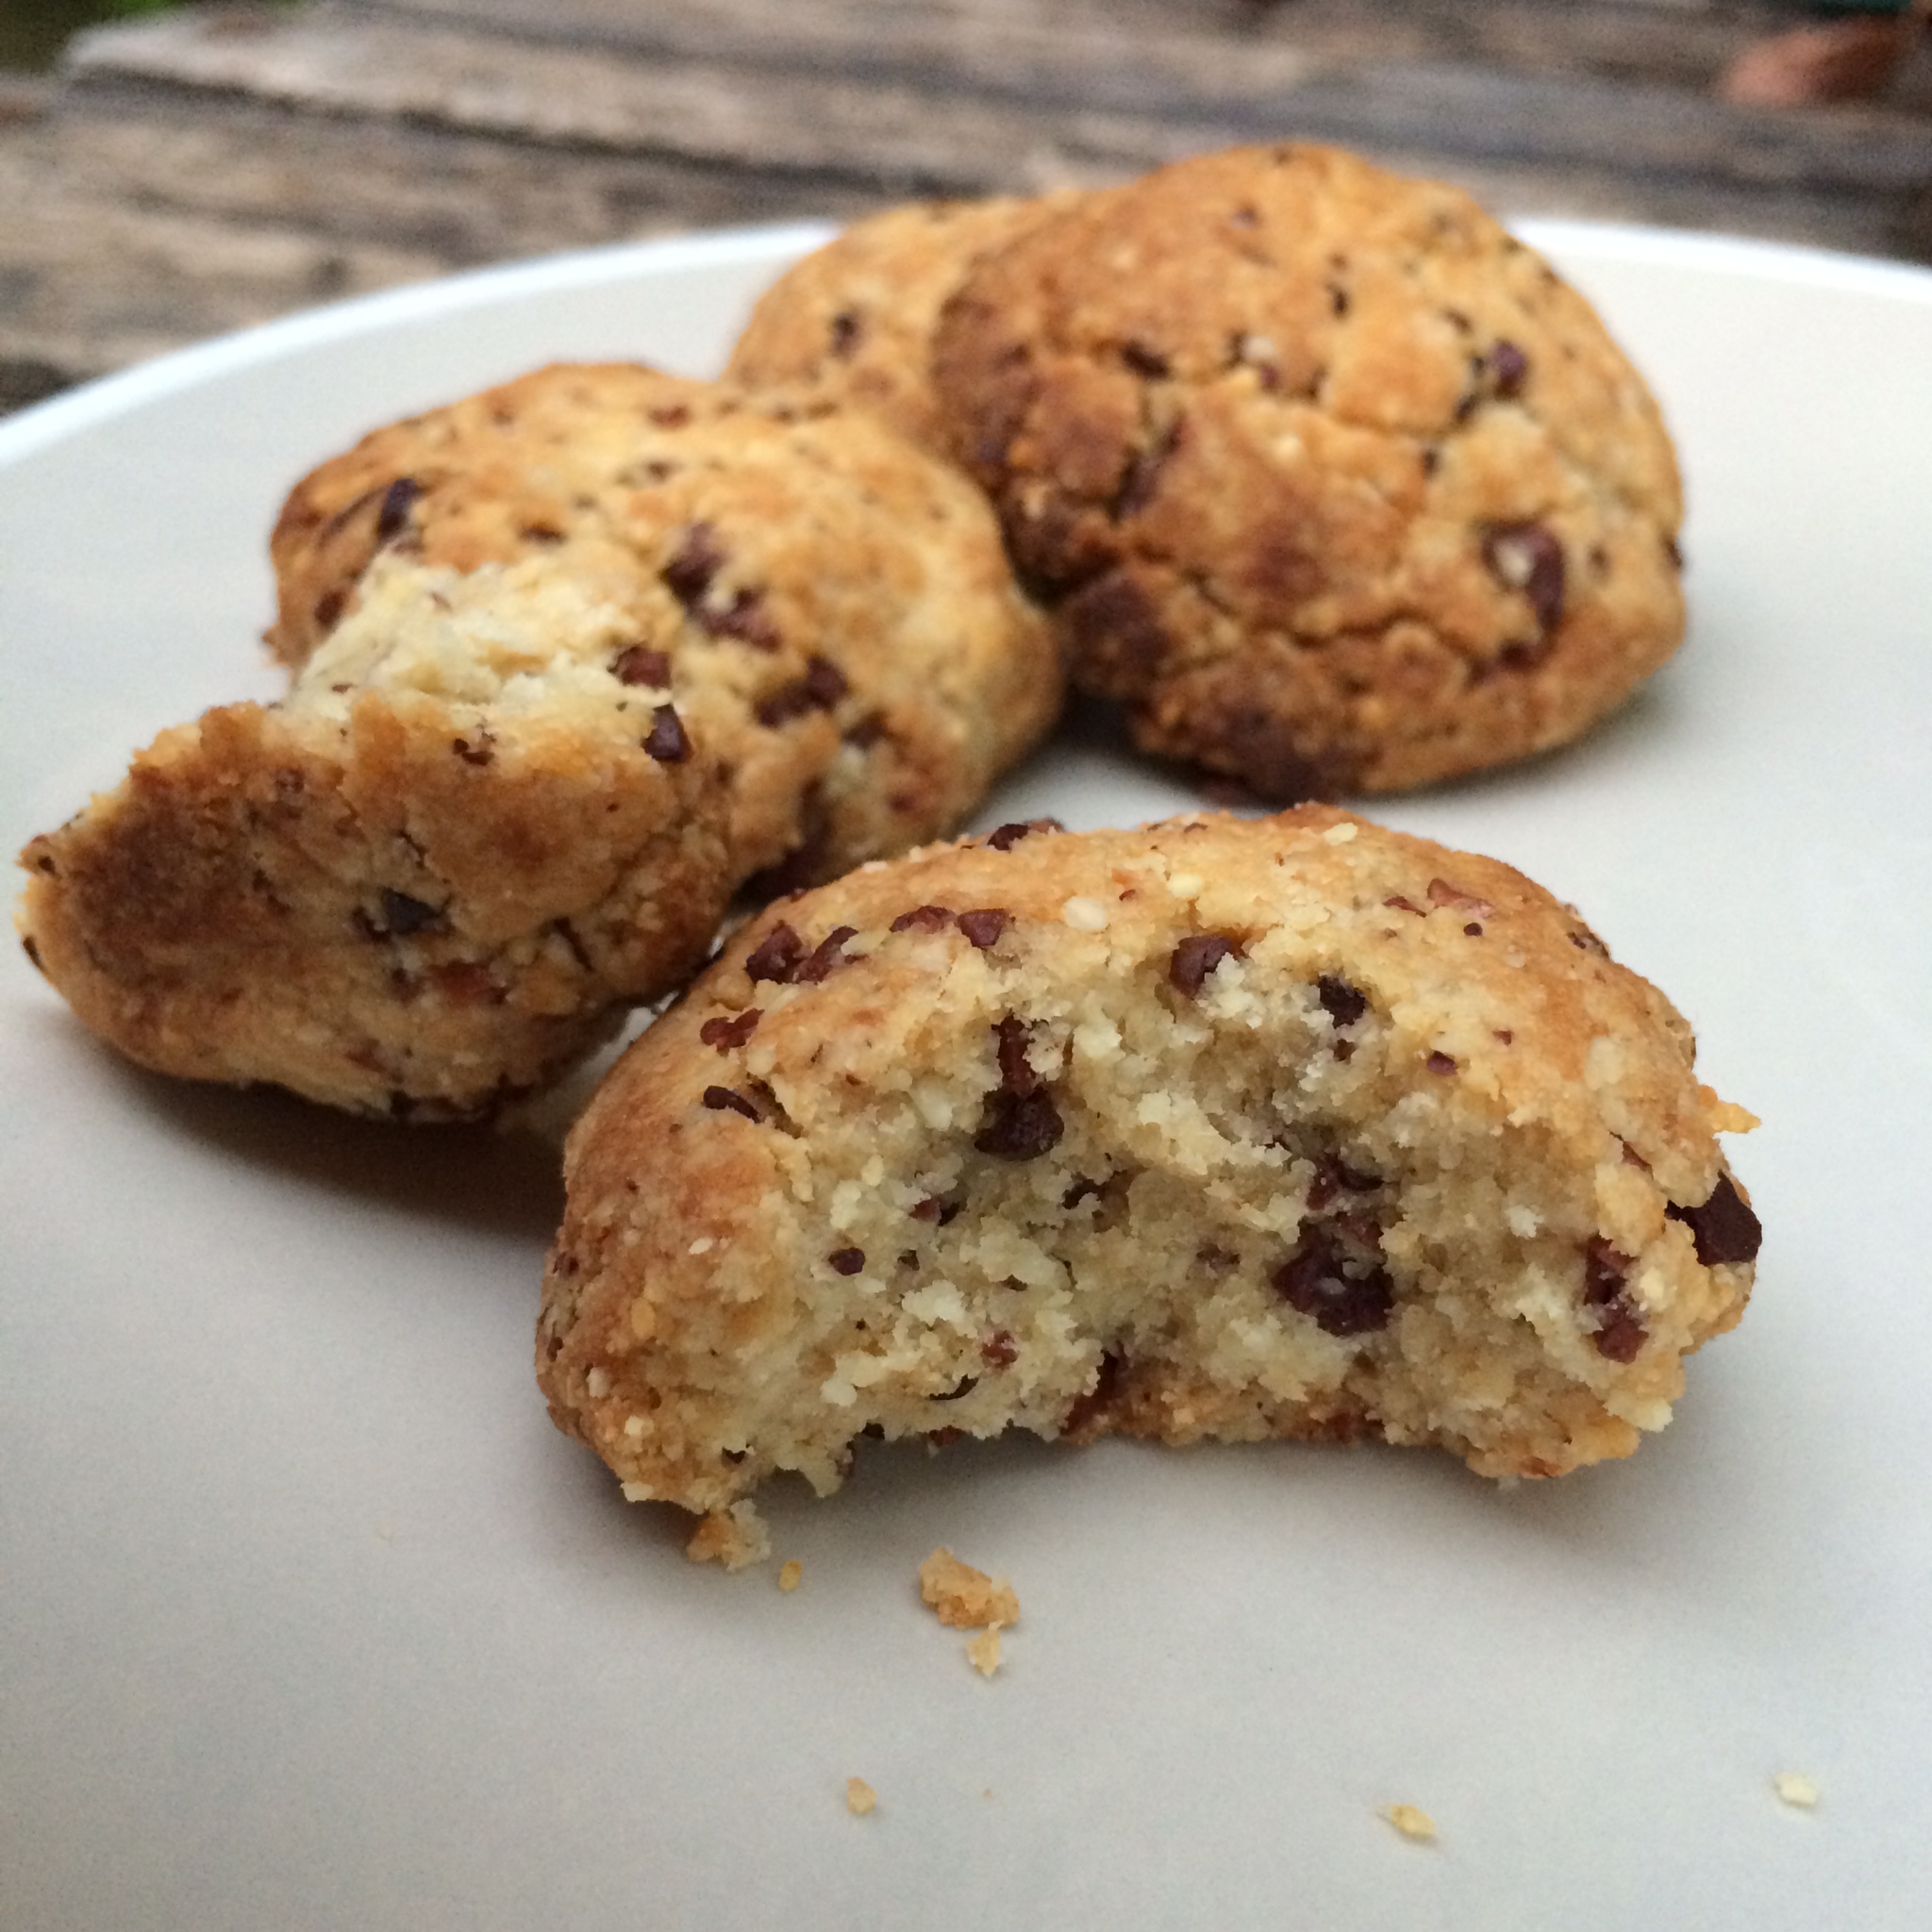
We all get a little grumpy sometimes don’t we? When I’m feeling the grump I usually reach for the chocolate (Willie’s Cacao is my chocolate of choice!) but I thought this week I’d try something a little different! It’s still chocolate but with a kick, and I guarantee this little beauties will cheer up even the biggest grump!

This a modified version of my great balls of biscuit recipe but I’ve made these bigger – cos you need a bit more biscuit to fight that grump 😉
To make about 16 biscuit balls you will need:
260g Ground almonds
4 tbsp Raw cacao powder (or cocoa powder)
30g Dark, dairy-free chocolate (I use the Willie’s Cacao Drops but any dark chocolate chopped up small will be fine)
30g Dried cherries
5 tablespoons Coconut oil (melted)
1/2 tsp Baking powder
1/2 tsp Himalayan rock salt
1/4 – 1/2 tsp Cayenne pepper (adjust to taste)
1/4 – 1/2 tsp hot chilli powder (adjust to taste)
1 tsp Vanilla extract
4 tbsp Maple syrup (or other liquid sweetener such as agave or honey)
Preheat the oven to 170 C.
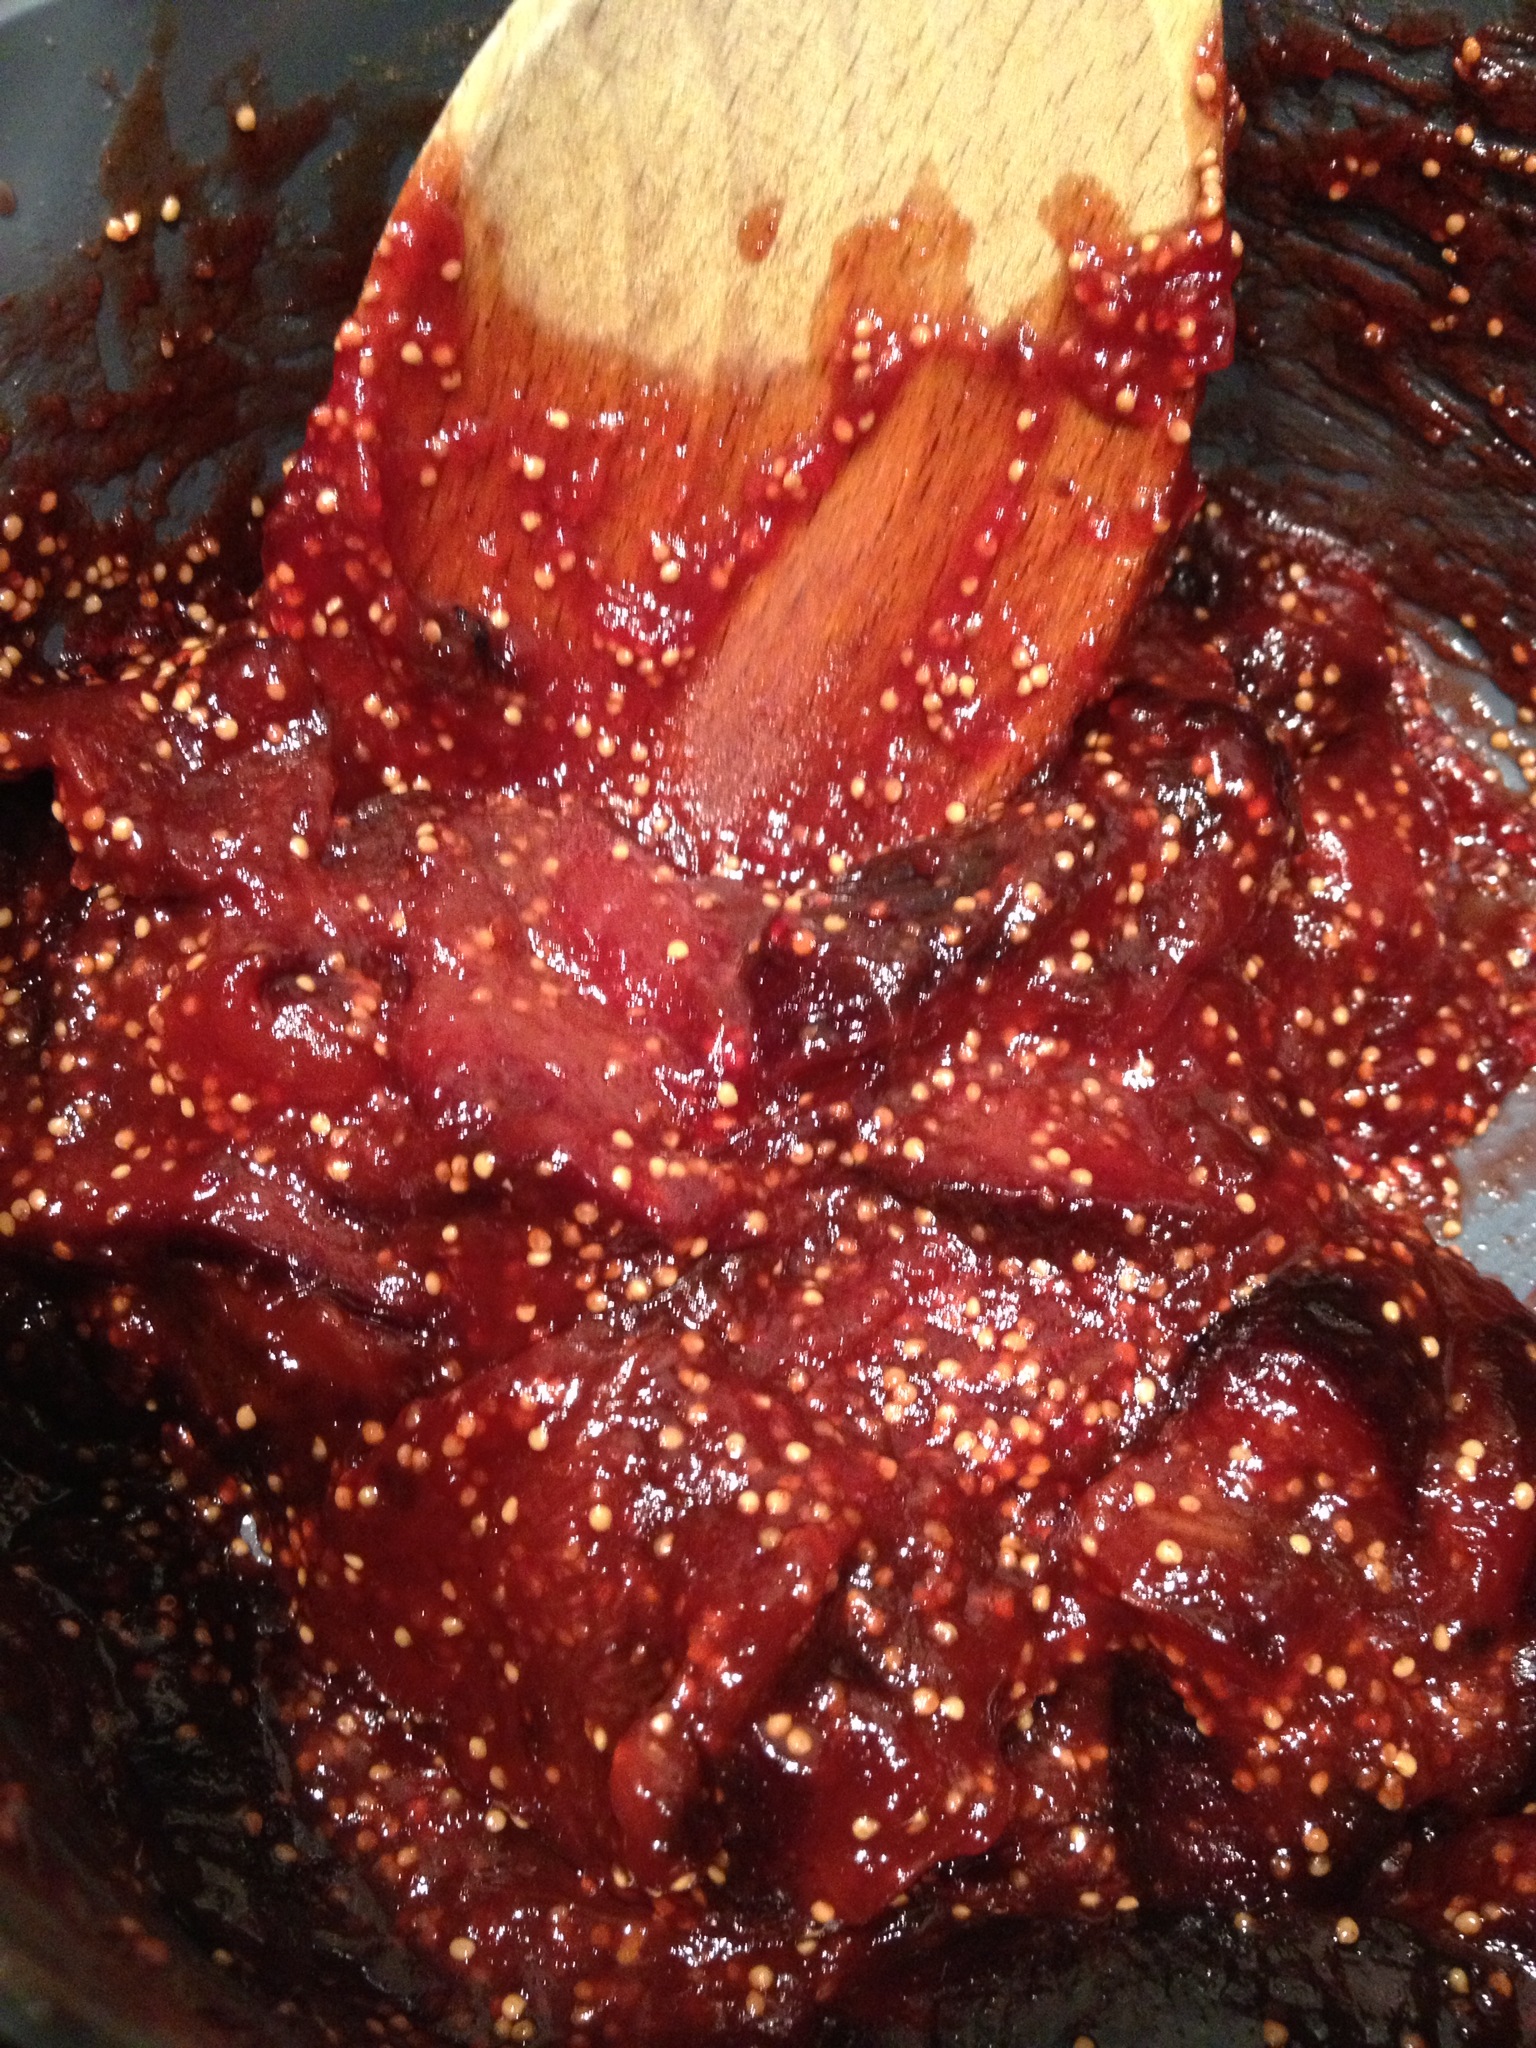
Put the dry ingredients in to a mixing bowl and combine thoroughly. Start with a small amount of cayenne and chilli powder at this stage (unless you are confident in how hot you want it 🙂 ). Then chop the chocolate and cherries into small pieces and add them in to the mixture. Add the coconut oil, maple syrup and vanilla extract and mix together. Have a little taste and add more of the cayenne and chilli is required. I like it pretty hot so I added quite a bit! Mix it in well if you’re adding more at this stage. You should find the mixture will stick together when you squeeze it between your fingers.
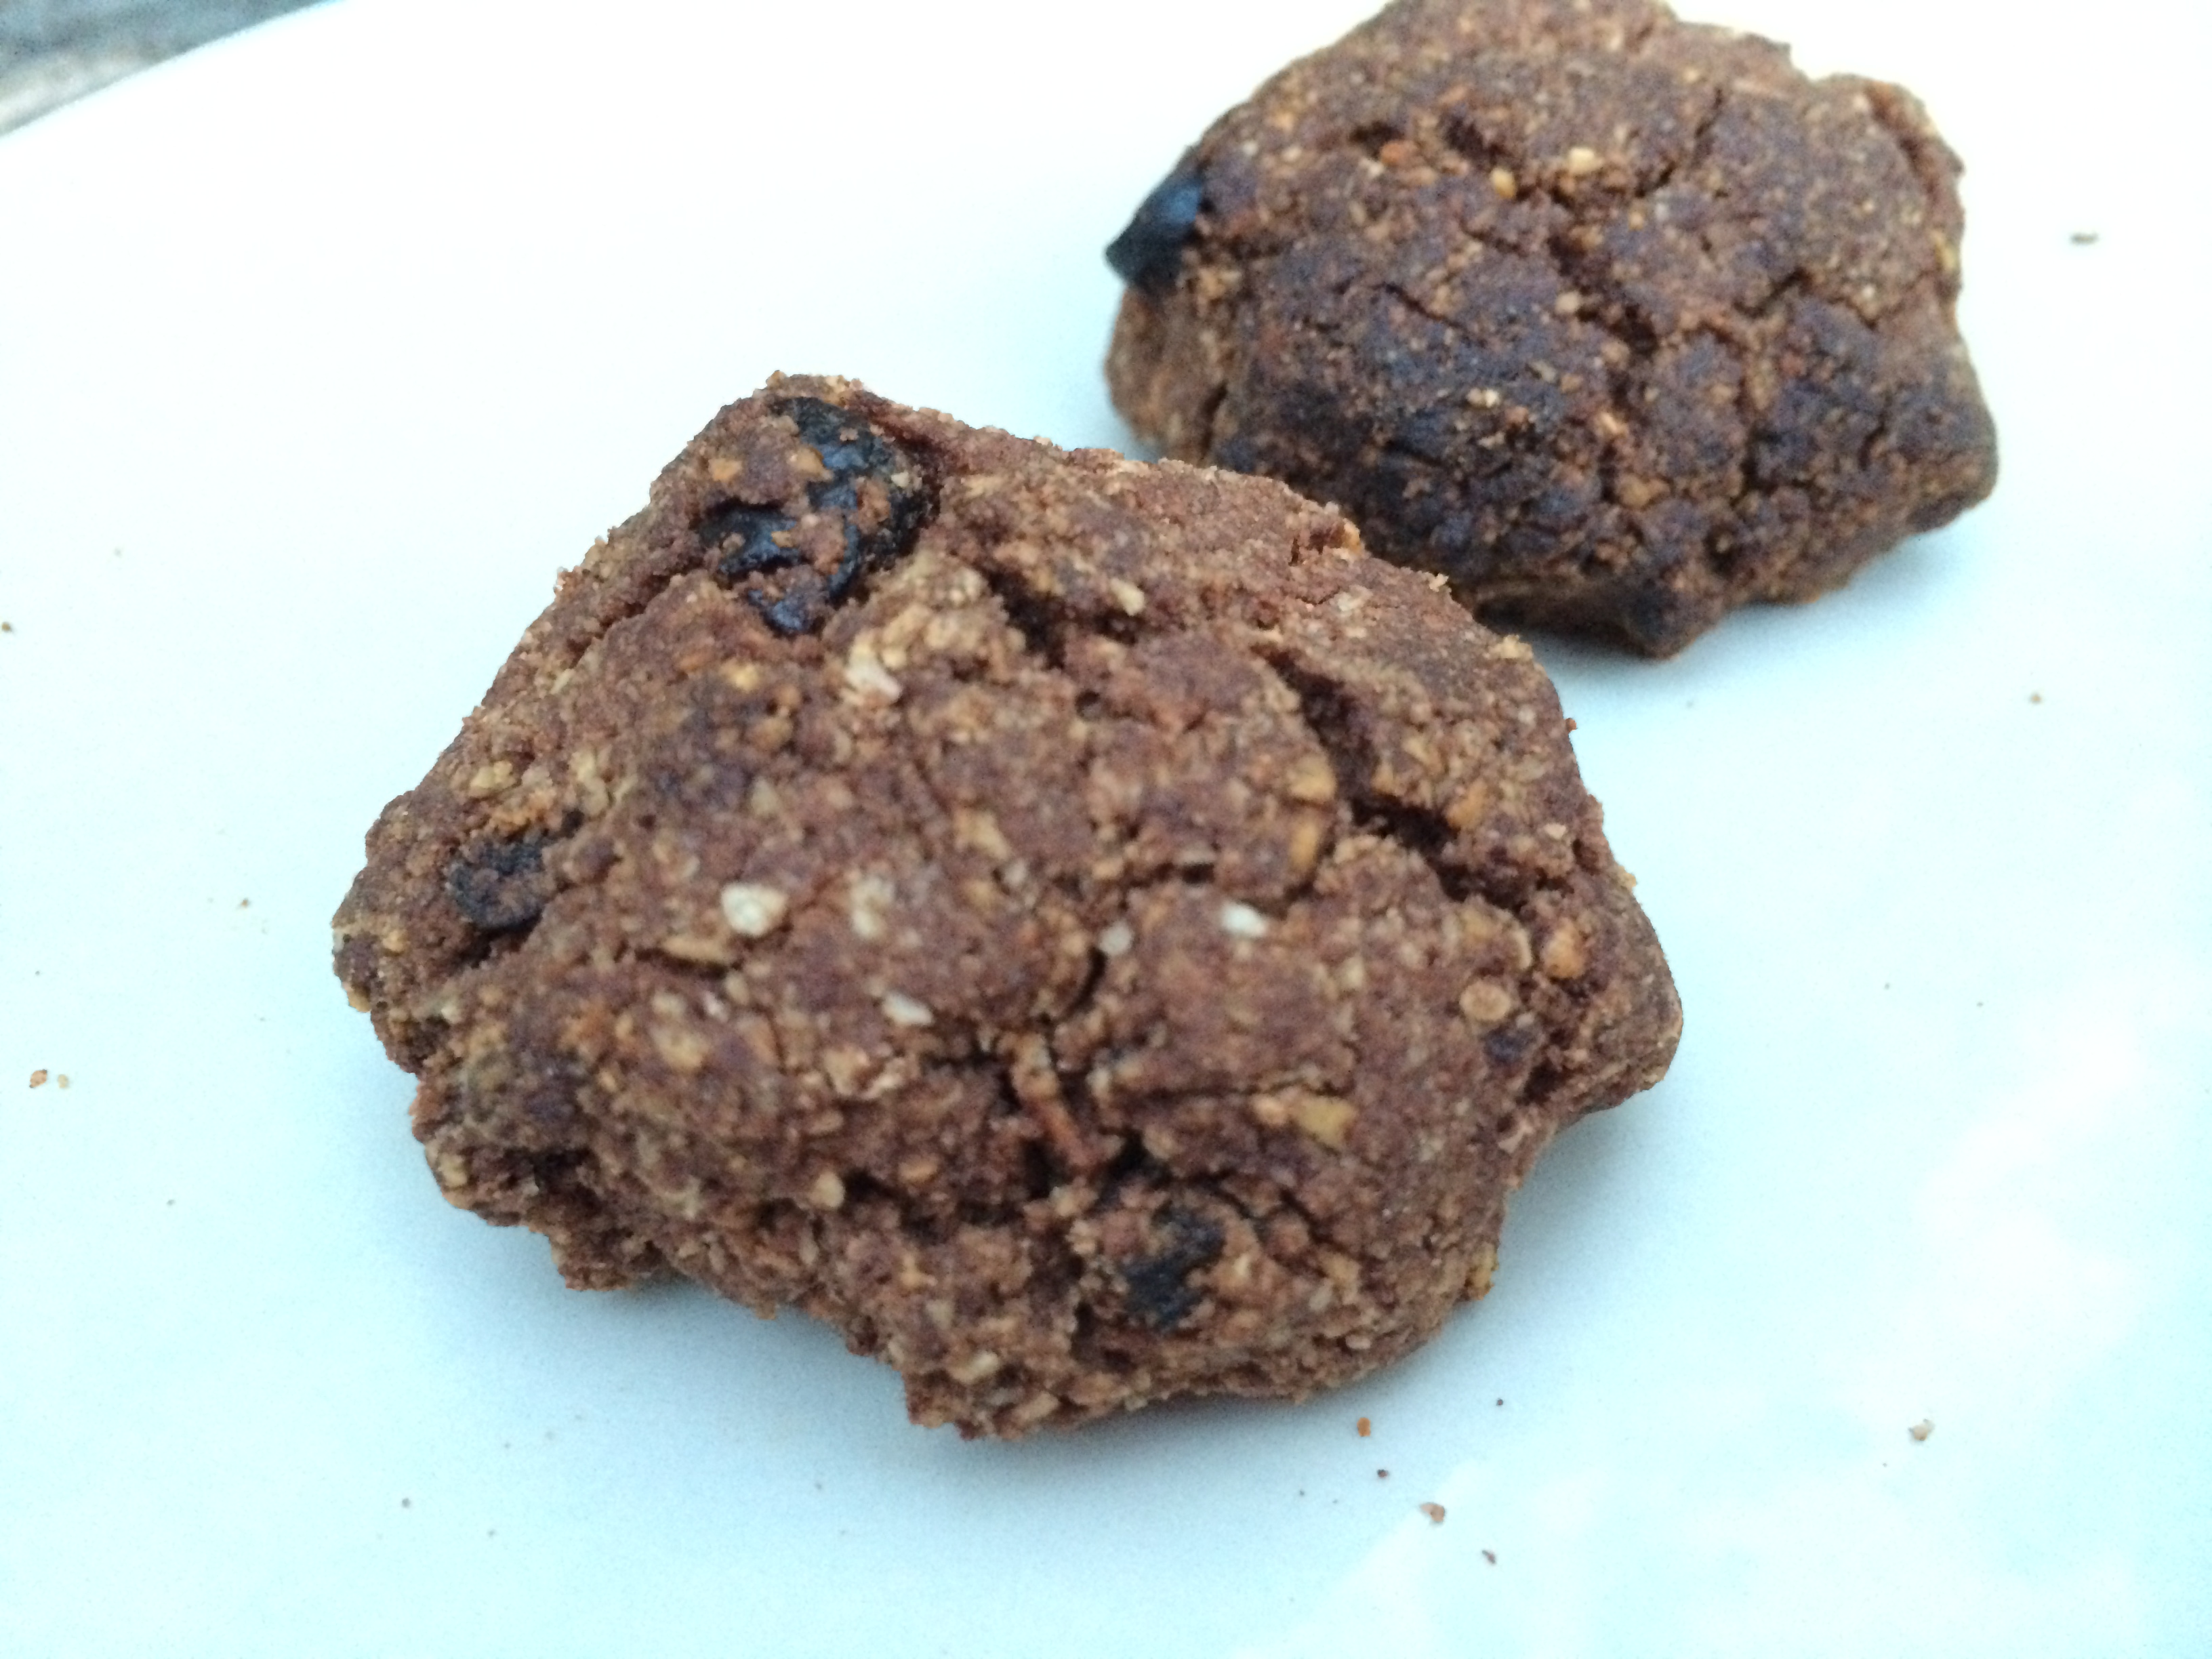
Take tablespoon sized portions of the mixture and form in to a ball. Pop on a greased baking tray and flatten a little. Place in the oven for 10 – 15 minutes (start checking at 10 minutes). Remove when they are starting to brown. They will feel very soft when you take them from the oven but just leave them to cool on the tray and they will harden.
Enjoy with a nice cuppa and feel that grump melt away! 🙂