Chocolate, Nut and Chia Cookies – dairy and gluten free


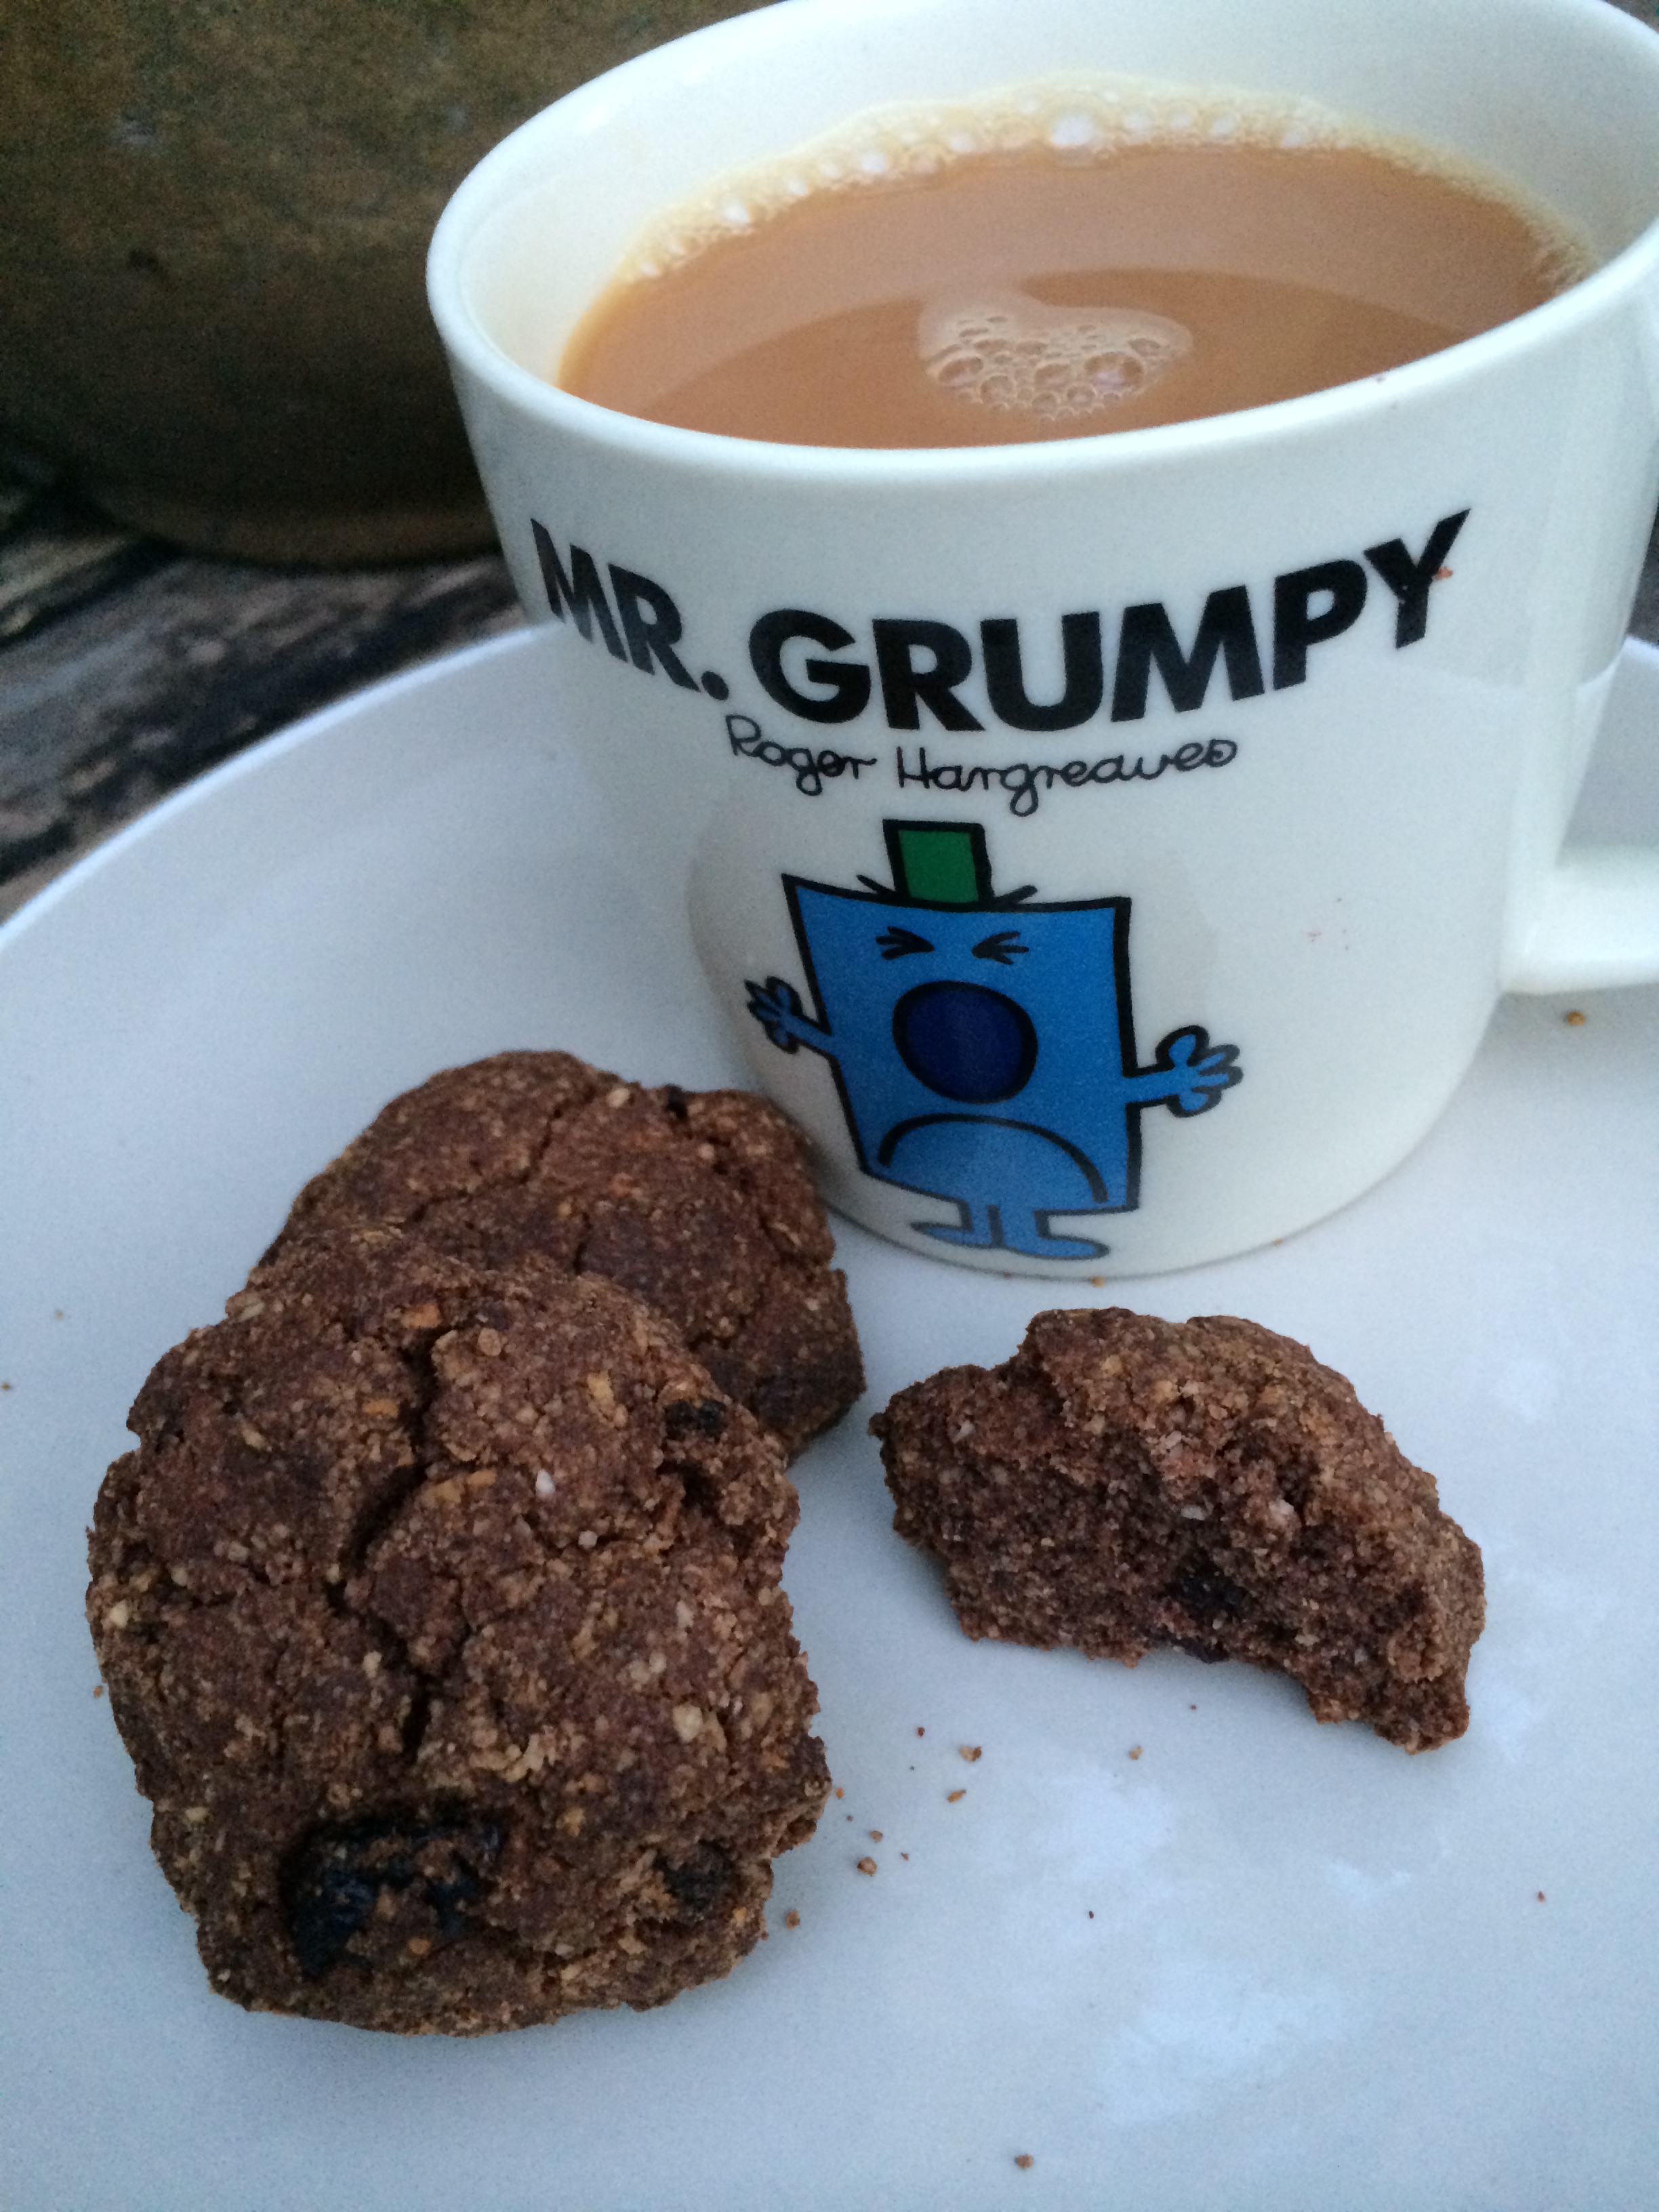
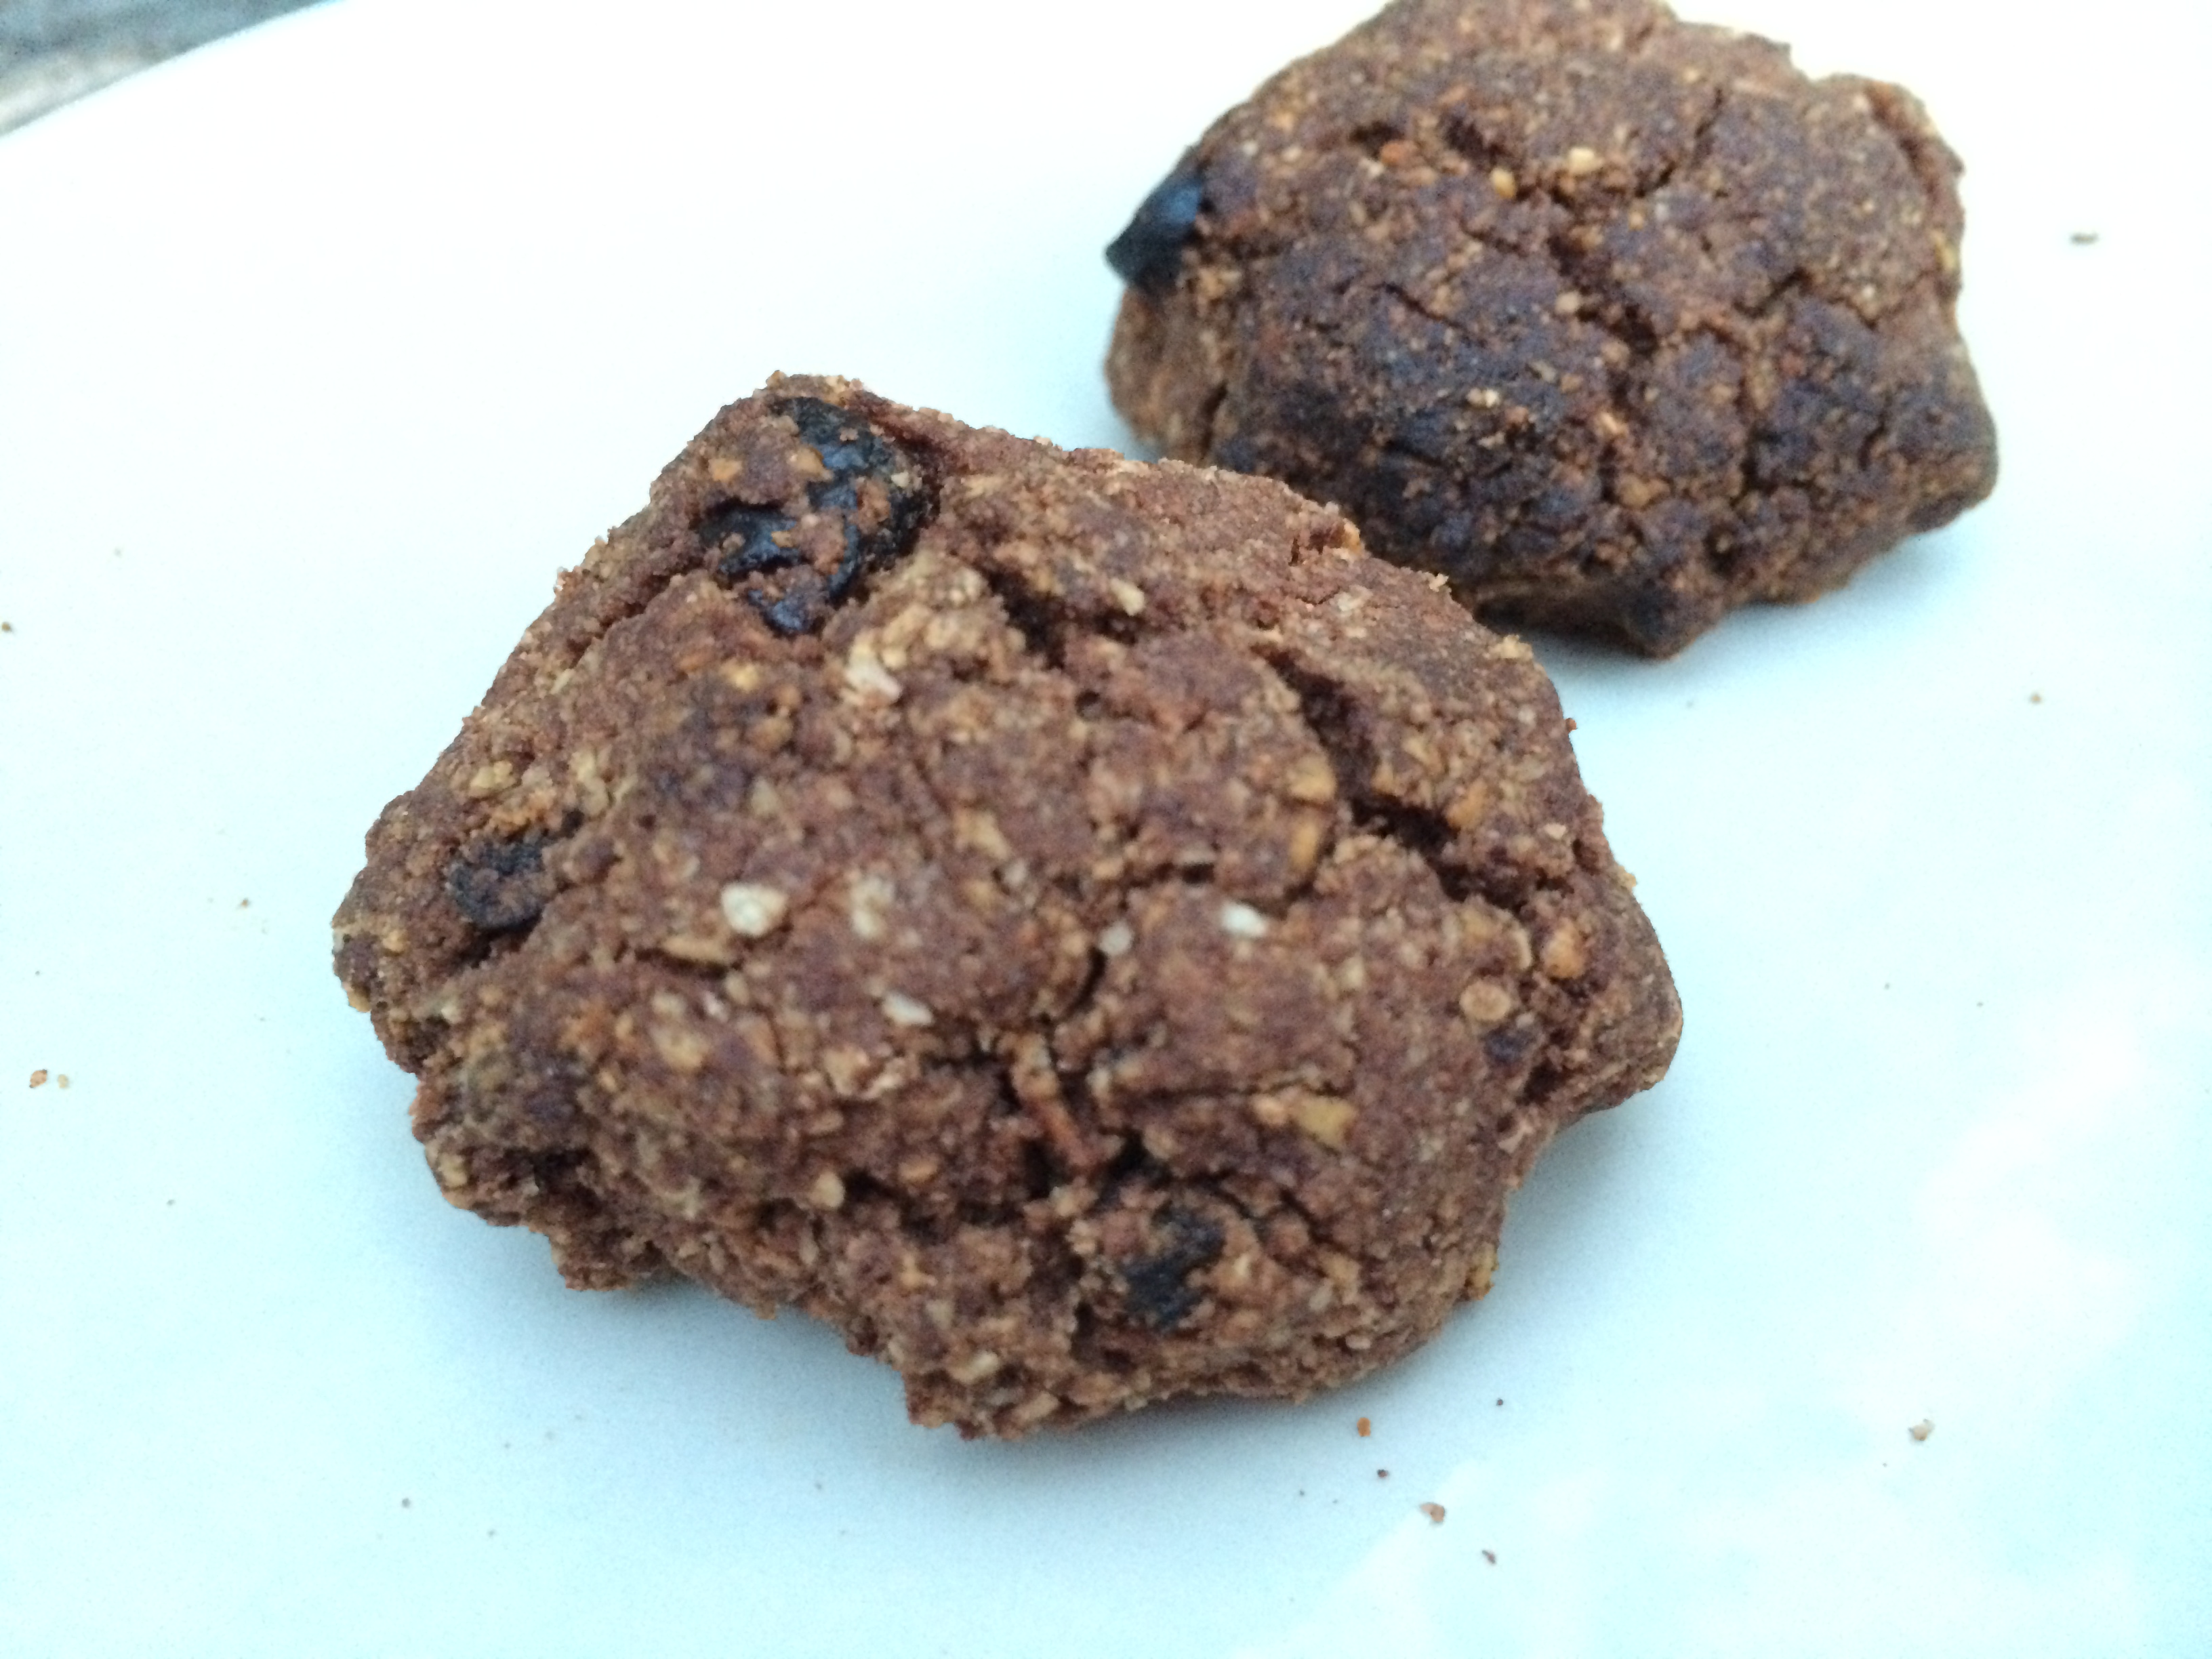
Do you love chocolate? I do! rather too much sadly! So I’m always on the look out for chocolate goodies that will hit the chocolate spot but are a little bit better for me! These cookies are awesome – they’re chocolatey, they’re healthy and they’re full of omega-3’s and good protein and fat. They’re also dairy, gluten and unrefined sugar free! Whoop!

photo 1

You will need:

1/2 cup Buckwheat flour (you can also use quinoa or rice flour)
1 cup Almonds
1 cup Hazelnuts
1/4 cup Medjool dates (approx 2 – 3 chopped)
1/3 cup Maple syrup
2 tbsp Coconut oil (melted)
3 tbsp Raw cacao powder
3 tbsp Chia seeds
1/4 cup Water
Cinnamon chocolate chilli sugar – for dusting

For the cinnamon chocolate chilli sugar you can buy pre-mixed sugar, but I prefer to make my own. It’s easy! Just mix 100g coconut sugar with 10g of cocoa powder, 2 tsp cinnamon and 1 tsp chilli powder (or more if you want it hotter!). Adjust the amounts depending how much you need but keep them in those ratios. Make up a batch and keep it in an airtight jar. Just shake before use as the sugar tends to sink to the bottom, leaving the lighter cocoa etc at the top.

Preheat the oven to 180 C.

First pop the nuts into a food processor and blend until they are really well ground (almost to a flour). Add in all the other ingredients and process again. It will form a sticky dough.

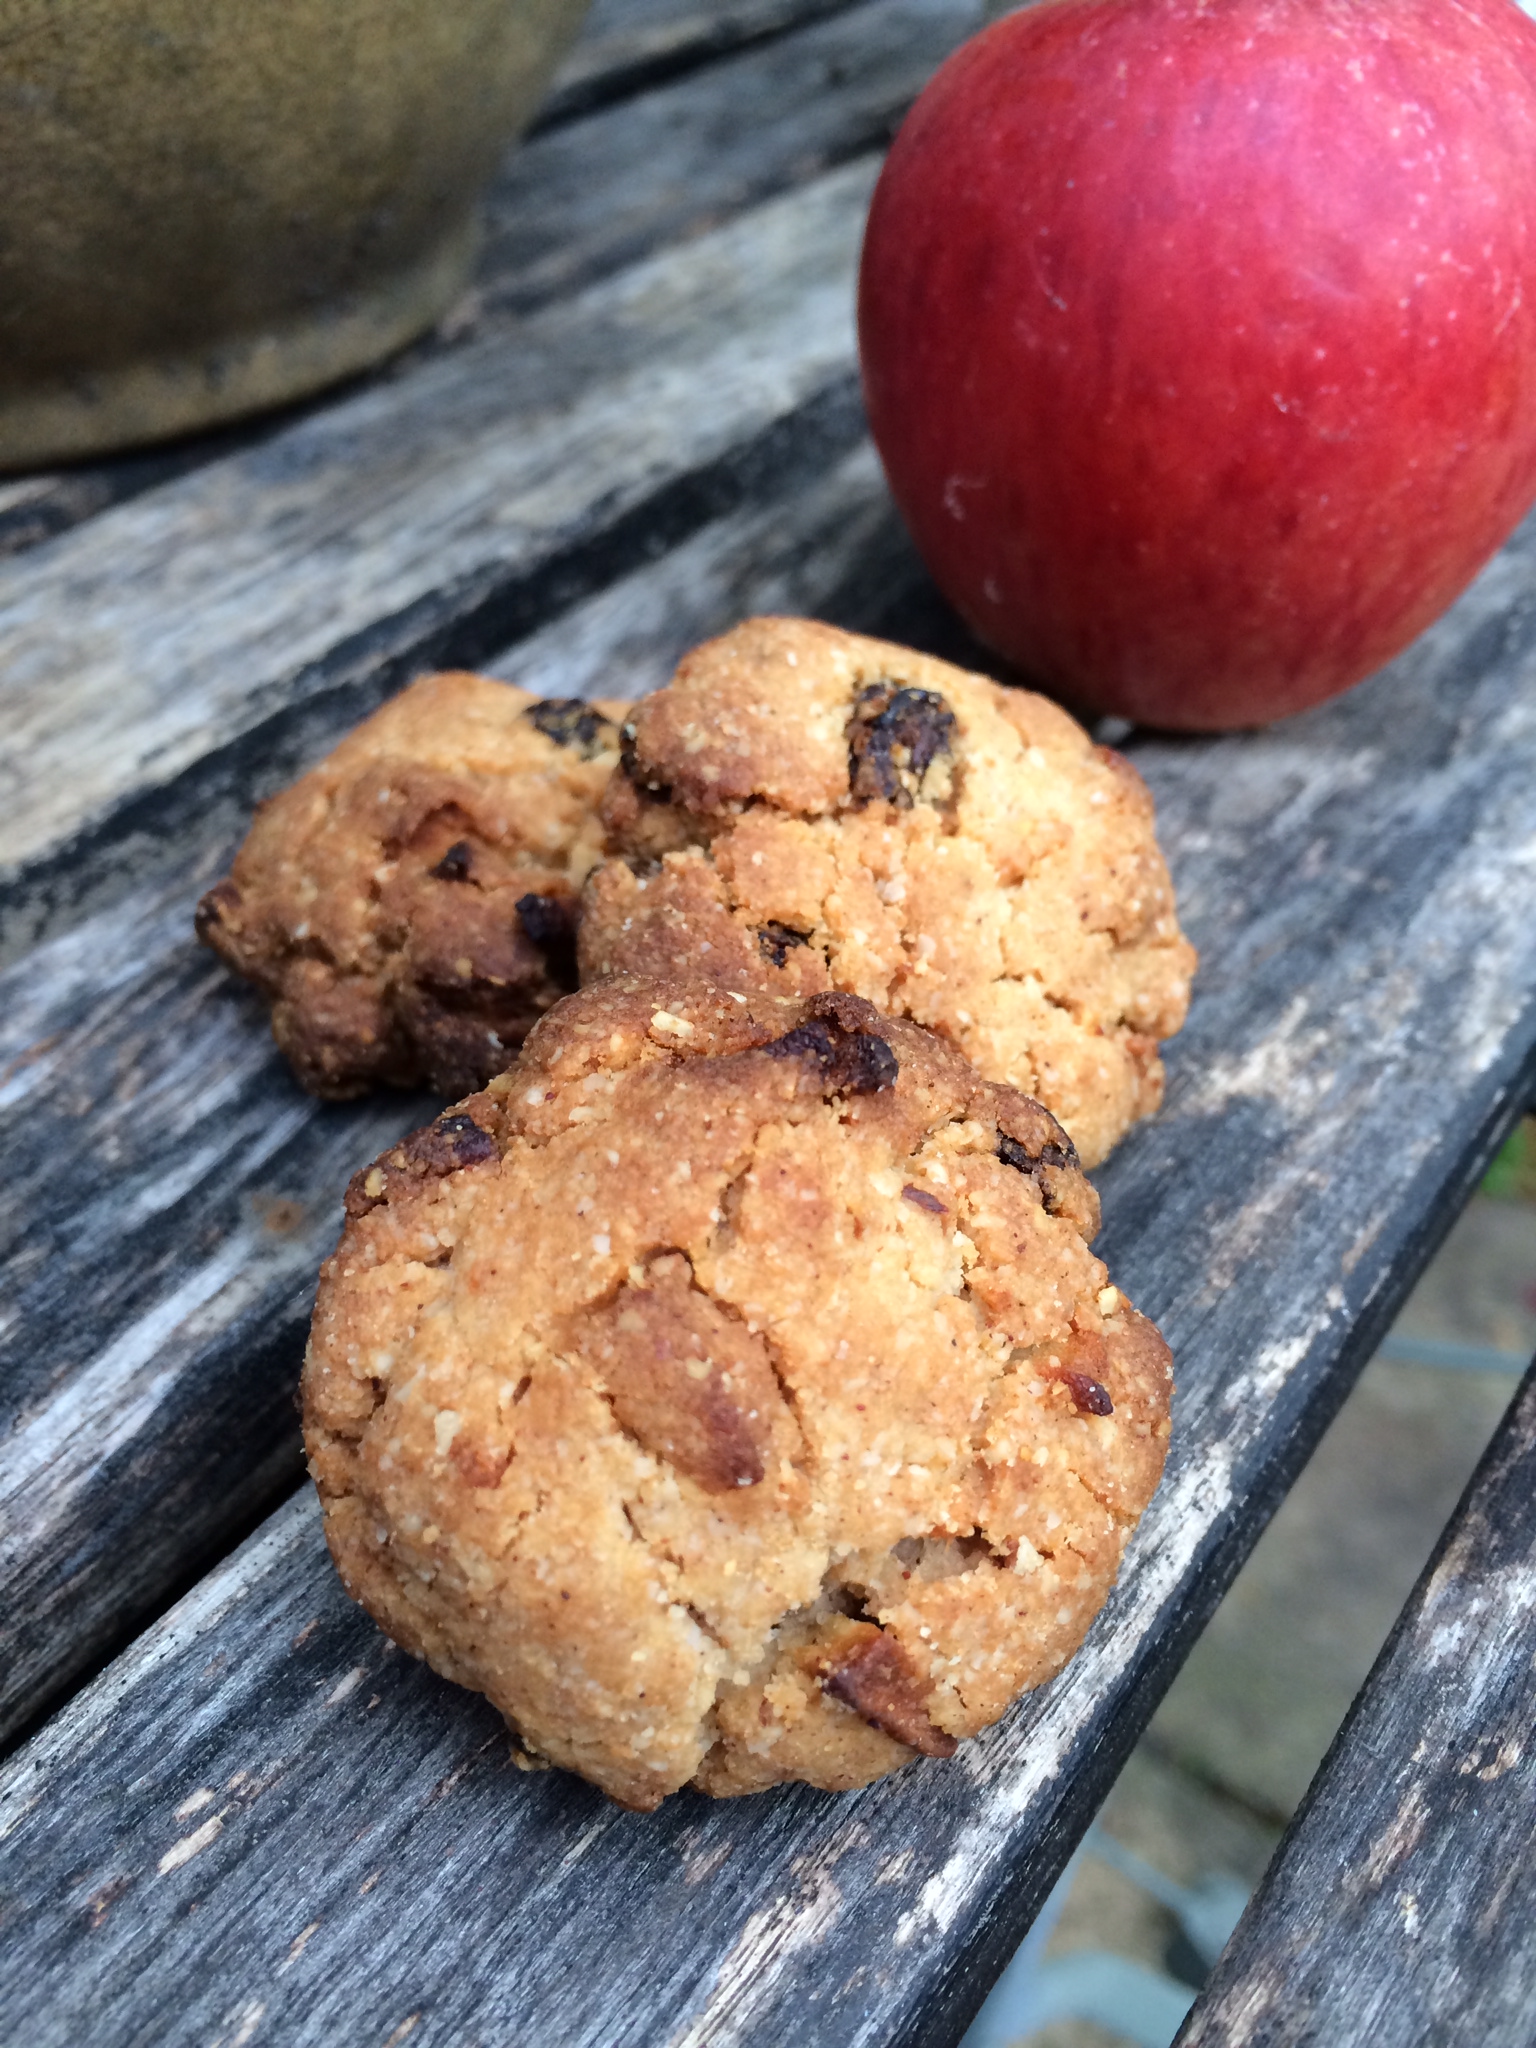
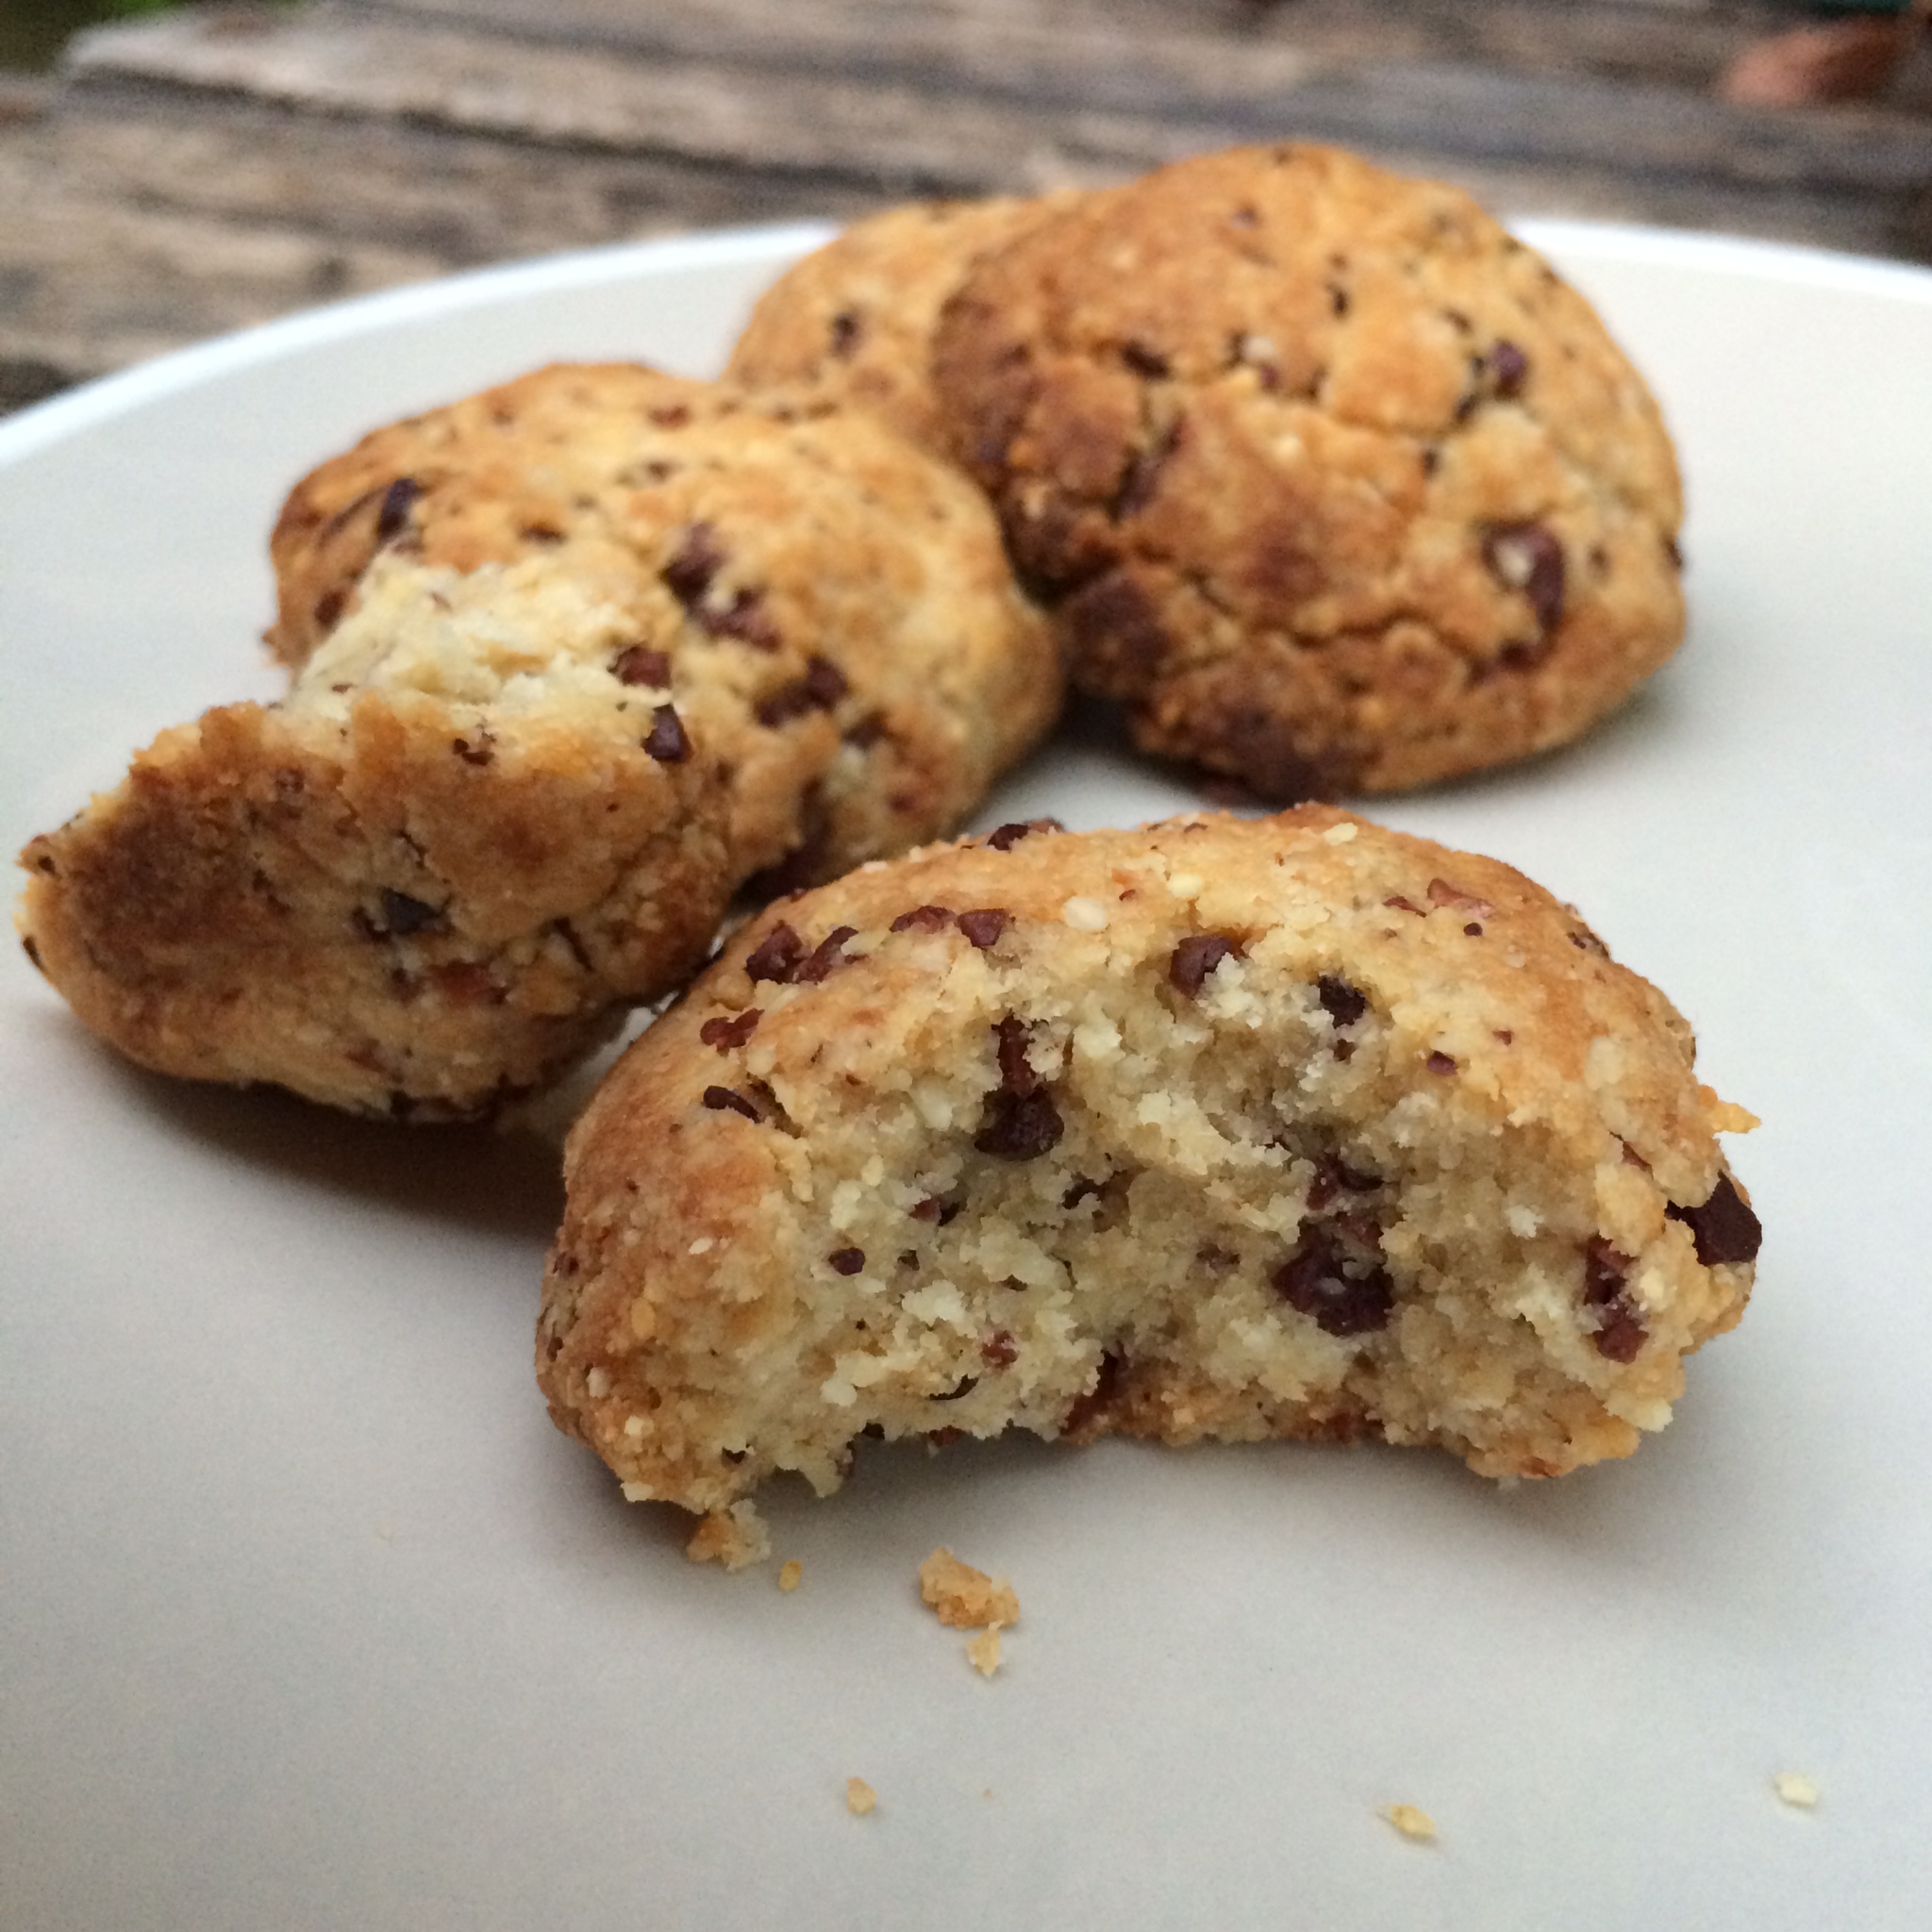
Take a tablespoon of the mixture and roll it into a ball. Then place on a lined baking tray and flatten until very thin.Sprinkle with the cinnamon chocolate chilli sugar and then pop in the oven. Bake for 12 – 15 mins until firm and starting to brown. Remove from the oven and allow to cool.

Then eat! 🙂

photo 5

Fight that grump! Chocolate, Cherry and Chilli Biscuit balls! Dairy and Gluten free


We all get a little grumpy sometimes don’t we? When I’m feeling the grump I usually reach for the chocolate (Willie’s Cacao is my chocolate of choice!) but I thought this week I’d try something a little different! It’s still chocolate but with a kick, and I guarantee this little beauties will cheer up even the biggest grump!

photo 2

This a modified version of my great balls of biscuit recipe but I’ve made these bigger – cos you need a bit more biscuit to fight that grump 😉

photo 5

To make about 16 biscuit balls you will need:

260g Ground almonds

4 tbsp Raw cacao powder (or cocoa powder)

30g Dark, dairy-free chocolate (I use the Willie’s Cacao Drops but any dark chocolate chopped up small will be fine)

30g Dried cherries

5 tablespoons Coconut oil (melted)

1/2 tsp Baking powder

1/2 tsp Himalayan rock salt

1/4 – 1/2 tsp Cayenne pepper (adjust to taste)

1/4 – 1/2 tsp hot chilli powder (adjust to taste)

1 tsp Vanilla extract

4 tbsp Maple syrup (or other liquid sweetener such as agave or honey)

Preheat the oven to 170 C.

Put the dry ingredients in to a mixing bowl and combine thoroughly. Start with a small amount of cayenne and chilli powder at this stage (unless you are confident in how hot you want it 🙂 ). Then chop the chocolate and cherries into small pieces and add them in to the mixture. Add the coconut oil, maple syrup and vanilla extract and mix together. Have a little taste and add more of the cayenne and chilli is required. I like it pretty hot so I added quite a bit! Mix it in well if you’re adding more at this stage. You should find the mixture will stick together when you squeeze it between your fingers.

Take tablespoon sized portions of the mixture and form in to a ball. Pop on a greased baking tray and flatten a little. Place in the oven for 10 – 15 minutes (start checking at 10 minutes). Remove when they are starting to brown. They will feel very soft when you take them from the oven but just leave them to cool on the tray and they will harden.

Enjoy with a nice cuppa and feel that grump melt away! 🙂

photo 3

Apple and Cherry Cinnamon Biscuit Balls


Tuesdays are long, tiring days for me so I have just whipped up a batch of these bad boys to get me through!

01cc62a41d73daa109cedff7bd94155a2d26147c40

To make about 24 small biscuit balls you will need:

260g Ground almonds

40g Dried apple

30g Dried cherries

5 tablespoons Coconut oil (melted)

1/2 tsp Baking powder

1/2 tsp Himalayan rock salt

1 tsp ground Cinnamon

1 tsp Vanilla extract

4 tbsp Maple syrup (or other liquid sweetener such as agave or honey)

Preheat the oven to 170 C.

Put the dry ingredients in to a mixing bowl and combine thoroughly. Then chop the apple and cherries finely and add them in to the mixture. Add the coconut oil, maple syrup and vanilla extract and mix together.  You should find the mixture will stick together when you squeeze it between your fingers.

Take tablespoon sized portions of the mixture and form in to a ball. Pop on a greased baking tray and flatten a little. Place in the oven for 10 – 15 minutes (start checking at 10 minutes). Remove when they are starting to brown. They will feel very soft when you take them from the oven but just leave them to cool on the tray and they will harden.

Enjoy with a nice cuppa!

014a52b312eb3bb6bdf30bc382c19b384b035bd0e2


Gingerdead men! Quick and Easy Spooky Biccies!


Happy Hallowe’en!

photo 1

I couldn’t resist whipping up a few little Hallowe’en biccies today!

photo 4 (3)

It’s been a bit of a challenge as my oven is broken (yes, broken – an absolute disaster!) but luckily I was able to get the little mini part of the oven working so can bake really really tiny batches of things! Phew!

So these are so easy and so fun! You can choose to keep them plain or add some spices. I have also iced them with a cinnamon icing but you could keep the icing plain or add any flavour you want. I had such fun finding some cool little hallowe’en cutters but obviously you could just use any shapes! For the gingerdead man I used a normal gingerbread man cutter and then iced on the bones.

photo 1 (2)

You will need:

2 cups of Spelt flour (or gluten free flour mix)

1 cup unrefined Icing sugar

6 oz Dairy free margarine

Optional: 2 tsp ground Ginger or 2 tsp ground Cinnamon

For the icing:

1 cup unrefined Icing sugar

1 tbsp Soya, almond or coconut milk

Optional: 1 tsp ground Cinnamon

Preheat the oven to 180 C. Put the margarine in a large mixing bowl, sieve the flour, icing sugar and spices (if using) and cream it together using your hands. Try not to over mix but make sure the margarine is properly mixed with the dry ingredients.  Once it’s formed a dough wrap in cling film and chill for 30 mins. If you find the dough is too sticky then add some more flour.

Once chilled, roll out and use biscuit cutters to cut out the shapes of your choice. Use a palate knife to transfer them carefully to a greased baking tray. Sprinkle with a little raw sugar if you like and bake for 8 – 10 mins, or until golden. Remove from the oven and allow to cool on the tray.

photo 4

Mix the icing ingredients together and then pipe the icing on to the biccies. Enjoy!

These won’t last long!

photo 5 (2)


Spiced Toffee Apples!


Before I start with my glut of hallowe’en inspired pumpkin bakes I thought I’d quickly get this one in! Nothing says autumn, Hallowe’en and fireworks night like toffee apples! I’m always so disappointed with the ones you buy in the shops so I thought I’d make my own this year!

018e7de4931c9abcef4ce7ba4a70db28c17c2b9eae

These are easy to make but you just have to have a little faith and let that sugar boil! They’re great fun to make for the kids, though I certainly wouldn’t let the kids make them themselves – children and boiling sugar aren’t a great combo!

If you have a sugar thermometer for the toffee then that’s brill! I don’t, but luckily my mum does, so I borrowed hers! If you don’t have a handy mum to borrow one from then never fear, you can still make this by using a bowl of cold water to test when the toffee is ready (see below).

You will need:

300g Golden granulated sugar

100g Unrefined brown sugar

1 Star anise

1 large Cinnamon stick

2 Tbsp Maple syrup

100ml Water

75g Pecans crushed/chopped finely

6 Apples (Braeburns work well, as do Granny Smiths – you want an apple with a bit of tartness to combat the sweet toffee)

6 wooden sticks or lolly sticks

Put the granulated and brown sugar in to a large pan. Add the water and stir over a low heat until the sugar had dissolved. Add the vinegar and maple syrup and then bring to the boil.

0107477ca44f8fc0020ee4ee52924bda8a11f39604

Once boiling allow it to boil rapidly without stirring until the toffee reaches 150 C on a sugar thermometer (or the “hard crack” level). If you don’t have a thermometer you can test when the toffee is ready by spooning a little in to a bowl of cold water. It should harden immediately and be easy to snap. Now it will take a while to get to this stage so don’t be afraid to leave that sugar bubbling away!

018df063c2ae61fcb24c974af7522a4fd1548d3f03

Once it reaches “hard crack” remove from the heat and stir in the pecans.

Place a stick (I used lolly sticks) in to the core of each apple. Dip the apples in the toffee while it is nice and hot and then place on a baking sheet to cool. You need to work quite quickly. If the toffee gets too hard you can gently re-warm it (but be very careful not to overheat it).

0189e8744c50c93097d8939ea8ea957d8fe15f7a01 01ede5e8033820c3b6ddc521d1452eea3afd857537

Once the toffee has cooled and set then you can tuck in! They’re definitely best eaten the day they’re made but can be kept somewhere dry and cool and enjoyed over the next few days too.

01db2aaab2d10422d4dc8ff88e9c698c9267d1a339


Plum and Apple Chutney


Believe it or not after making my plum and almond cake and egg-less plum cake, I still had some plums left! I also had the very good fortune to be given a massive bag of apples from my friend Zena’s garden (how lucky am I! 🙂 ), so I decided I’d have a go at my first ever batch of chutney! I am a massive fan of chutney but have never tried making it myself – mainly because my mum, and my very good friend Colette from Colette’s fitness kitchen, make THE best chutney and have kept me in good supply! But with this glut of autumn fruit I thought it was about time I repaid the favour!

photo 4 (3)

You will need:

1 kg Apples (bramleys will work best but I used the apples I was given which were some sort of eating apple, and then I added a few extra bramleys in)

1 kg Plums

2 large Onions

1 whole Garlic bulb

1 inch of Root ginger (or a piece approximately the size of your thumb!)

500ml Cider vinegar

450g Golden unrefined caster sugar

1 Cinnamon stick

1 tsp Cumin seeds

3 star Anise (you can substitute with 1 1/2 tsp of chinese five spice)

1 tbsp Himalayan rock salt

Prepare all the ingredients to start with. Peel the garlic and cut in to fine slices. Peel and grate the ginger, and thinly slice the onions. Peel, core and chop the apples.

Pop the onions, garlic and ginger into a large pan or stock pot. Add the apples and all the spices and vinegar. Bring the pan to the boil gently, stir well and then turn the heat down and allow to simmer for 30 mins with a lid on until the apples are soft.

While the apples are cooking slice the plums in to quarters (or eighths if they’re large) and add them once the apples are soft. Add the sugar and stir well. Leave it simmering with the lid uncovered for at least 40 minutes or until the plums are cooked and the chutney has thickened. You will know when it’s ready as if you drag a wooden spoon through it to reveal the base of the pan and takes it time returning then you know it’s done. Trust me this could take a while – it will depend how much juice comes out of the apples and plums. Just stick with it and keep stirring while it simmers down.

photo 1

Pop some jars in to the oven to sterilise (20 mins at about 180 C will do it), remove the star anise and cinnamon stick and ladle the chutney in to the jars. Seal and label the jars. It’s best to let the chutney mature for a month if possible before you eat it. It will keep for up to a year, but once opened it’s best to keep it in the fridge and eat within a month.

Makes a great gift or, just enjoy it yourself with some cashew cheese!

photo6

Goodness, gracious, great balls of…. biscuit!


I love a good biscuit with a cup of tea and am always searching for gluten and dairy free recipes for biscuits / cookies that actually work! I’ve tried so many and so often they end up too soft or too crumbly or too much effort to make! But I think with these little beauties I’ve found the perfect biscuit! It’s so easy to make and so quick – you can whip up a batch in 20 minutes!

photo 1 (5)

To make about 24 small biscuit balls you will need:

260g Ground almonds

60g Cacao nibs

5 tablespoons Coconut oil (melted)

1/2 tsp Baking powder

1/2 tsp Himalayan rock salt

2 tsp Vanilla extract

4 tbsp Maple syrup (or other liquid sweetener such as agave or honey)

Preheat the oven to 170 C.

Put the dry ingredients in to a mixing bowl and combine thoroughly. Add the coconut oil, maple syrup and vanilla extract and mix together. You should find the mixture will stick together when you squeeze it between your fingers.

Take tablespoon sized portions of the mixture and form in to a ball. Pop on a greased baking tray and flatten a little. Place in the oven for 10 – 15 minutes (start checking at 10 minutes). Remove when they are starting to brown. They will feel very soft when you take them from the oven but just leave them to cool on the tray and they will harden.

Enjoy with a nice cuppa! 🙂

photo 2 (5)


Plum cake – gluten, dairy and egg free!


When I posted my recipe for my plum and almond cake I promised I would post a recipe for plum cake that was also egg free, so here it is! 🙂

photo 3 (3)

This cake uses fine cornmeal or polenta and so does have a little bit of a nutty texture to it around the edges but it is moist and soft in the middle.
It also uses coconut milk but not the kind you get in a carton – the canned kind, often called coconut cream. For this to work you need one with a high coconut fat content so you’re looking for one with 65 – 70% coconut extract. You will need to prep the coconut cream the day before.

This one works well:

coconut creamPop the can in the fridge overnight and try not to move it. The coconut fat solidifies and separates at the top, leaving clear liquid at the bottom. When you are ready to make the cake remove the can carefully from the fridge and turn the can upside down in one move (i.e. no shaking!). Then open the can at the bottom – yes – trust me, open the bottom! You should find that the fat has solidified and you will see a few cm’s of clear liquid. Pour this off (don’t throw it away – you can pop it in a smoothie!) and then you are left with the coconut cream to use! 🙂

So for the cake you will need:

1/2 cup fine Polenta

1/2 cup Rice flour

1/2 cup Raw coconut sugar

1 tsp Baking powder

1 cup minus 1 tbsp of the coconut milk/cream

1/2 cup of apple puree (recipe here)

6 – 8 English plums (less if you’re using the bigger imported plums!)

Preheat the oven to 180 C and line and grease a 20 x 20 cm baking pan.

Put all the dry ingredients in to a bowl and mix well. Add the coconut cream and apple puree and mix together well. Allow this to rest for 15 minutes so the polenta can start to absorb the moisture.

photo 2 (2)

Cut the plums in to halves (or quarters if large). Pour the batter in to the baking pan and use a spatula or the back of a spoon to smooth it out evenly. Then place the plum halves into the top of the batter, spacing them evenly across (I managed to get 3 rows of 4 in mine!). Press in lightly.

photo 3 (2)

Then place in the oven and bake for 25 – 30 mins. Start checking it at 25 mins and remove when the top is golden and a skewer comes out clean.

photo 5 (2)

Remove from the oven and allow to cool on a wire rack for at least an hour. Then cut in to squares and serve!

photo 2 (4)

Plum and Almond Cake – Gluten-Free and Dairy-Free


English plums are in season right now so it’s an ideal time to use them for something yummy! This cake definitely qualifies! I was really unsure how this would turn out but it’s actually amazing! If you are a fan of almond macaroons or frangipanes you will absolutely love this. I had the pleasure of getting some English plums from Riverford Organic so I thought I’d better put them to good use!

IMG_0237

This went down really well with my husband and even George the cat was curious about it 😉 so it must be a winner!

IMG_0229

This is gluten and dairy free but does contain eggs. I’ve got an egg-free plum cake coming up soon so never fear!

If you are using the small English plums you will probably only need 6 – 8, if using larger ones you will need no more than 4 at the most.

IMG_0276

You will need:

125g unrefined Raw sugar or Coconut palm sugar

200g Ground almonds

2 Eggs

100 ml Almond oil (you can use mild Olive oil if you prefer

1/4 tsp Vanilla extract

1/8 tsp Almond extract (if you have it)

Plums 4 -8 depending on size

Ground cinnamon (for dusting)

Pre-heat the oven to 180 C and line and grease a 20cm cake tin – if you have a springform tin then use that as it makes it easier to get it out without it breaking. If not a loose bottom tin is the best option.

Add the oil and sugar to a bowl and use a hand mixer to beat together (you can do it by hand with a fork if not). Beat in the eggs one at a time. Then add in the extracts and mix well. Fold in the ground almonds with a metal spoon. Once mixed pour in to the tin.

Half (or quarter if they’re big) the plums, remove the stone, and place in to the batter. Push them down a little bit so they’re well bedded in there. Sprinkle the top with ground cinnamon.

IMG_0188

Pop in the oven for 25 – 30 minutes. It is worth starting to check it at about 20 minutes. Once a skewer comes out clean then it’s done.

IMG_0193

Let it cool for 10 minutes in the tin and then carefully remove it and allow it to cool on a wire rack. Slice and enjoy! 🙂

Blackberry and Apple Tray Bake!


Now obviously with all those yummy blackberries I had to make something cake-based too… so I had a go at a blackberry and apple tray bake. It’s topped with meringue so isn’t egg-free, though it is dairy-free. For the cake itself you can either use eggs or an egg replacement (see below). This is super sweet and super moist and siuper yummy! It’s a perfect Autumn afternoon snack.

IMG_0094

You will need:

140g dairy-free Margarine

140g Coconut sugar

1 egg and 2 egg yolks beaten together (or 3 tbsp Chia seeds soakes in 9 Tbsps water)

1/2 tsp Vanilla extract

100g white Spelt flour and 1 tsp Baking powder (OR 100g self-raising gluten-free flour mix)

100g ground Almonds

1 tsp Baking powder

1/2 tsp ground Nutmeg

1/2 tsp ground Cinnamon

pinch of Himalayan rock salt

1 large Bramley Apple, sliced (approx 140g once peeled and cored)

125g Blackberries

For the Meringue topping:

25g Blackberries

100g unrefined Golden caster sugar

2 Egg whites

1 tsp Lemon juice

pinch of Himalayan rock salt

2 tbsp toasted Almond flakes

Pre-heat oven to 160 C or 140 C (fan oven) and grease and line a square tin (approx 23cm).

Beat the margarine and coconut sugar together until pale and creamy. Then beat in the egg and yolks (or chia seeds), and the vanilla. If you are using a self-raising gluten-free flour mix then sieve that in together with the baking powder and spices and salt. If you are using spelt flour sieve the baking powder (both measures of baking powder) and spices in to the spelt flour and then sieve it in to the butter mix. Next add in the ground almonds and fold it all together to form a thick batter.

IMG_0081Chop the apple up in to small chunks or slices (whatever you prefer) and fold in to the mix. Pour the batter in to the tin and then scatter with the blackberries. Poke the blackberries down a bit so they are well bedded in to the batter.

IMG_0084Pop in the oven and bake for 40 – 45 mins until a skewer comes out clean. Once you remove the cake leave the oven on.

IMG_0085While it is baking you can prepare the blackberry sauce for the meringue. If you are not using meringue this sauce can be drizzled over the cake 🙂

Put the remaining blackberries and 1 tsp sugar in a bowl and cover with cling film. Pop in the microwave for 30 secs and then mash until saucy! 🙂 You can also do this in a saucepan over a low heat. Set aside to cool.

Take the 2 egg whites and whisk with the lemon juice and a pinch of salt until they form stiff peaks – and if you’re brave do the whole “holding the bowl upside down above your head” test to see if they’re stiff enough! Add the sugar 1 tbsp at a time and whisk in well. Add the blackberry sauce and ripple through with spoon. Then spoon the mixture in to a piping bag or in to a plastic freezer bag and snip off the corner.

Pipe the meringue on to the cake – I aimed for one meringue per piece so it was about 16 little meringues but you can do whatever pattern you like! Scatter the almonds over the top and place the cake back in the oven for 10 – 12 minutes until the meringues are set.

IMG_0090

Then remove and allow to cool in the tin for 30 mins. Cut in to little squares and enjoy!

IMG_0099