As we move from winter in to spring my thoughts turn to lighter bakes and lemon always features highly in my list of spring and summer baking yumminess!Once again this is the result of a little seed planted in my head by my good friend Colette (anyone would think she had a bit of a thing for these biscuit recipes… 😉 ).

This is super-easy and fun – perfect to make for the kids and can be done pretty quickly after school or on a sunday afternoon. Equally yummy for adults too though! 🙂

You will need:
2 cups Spelt flour or gluten-free flour mix
1 cup Unrefined Icing sugar
6 oz Dairy-free margarine (get the best quality you can)
zest of 2 small Lemons
1 tbsp fresh Lemon juice
Dairy- free (or non dairy free if you want!) Lemon curd – it will depend how much you use but less than half a jar should do it 🙂
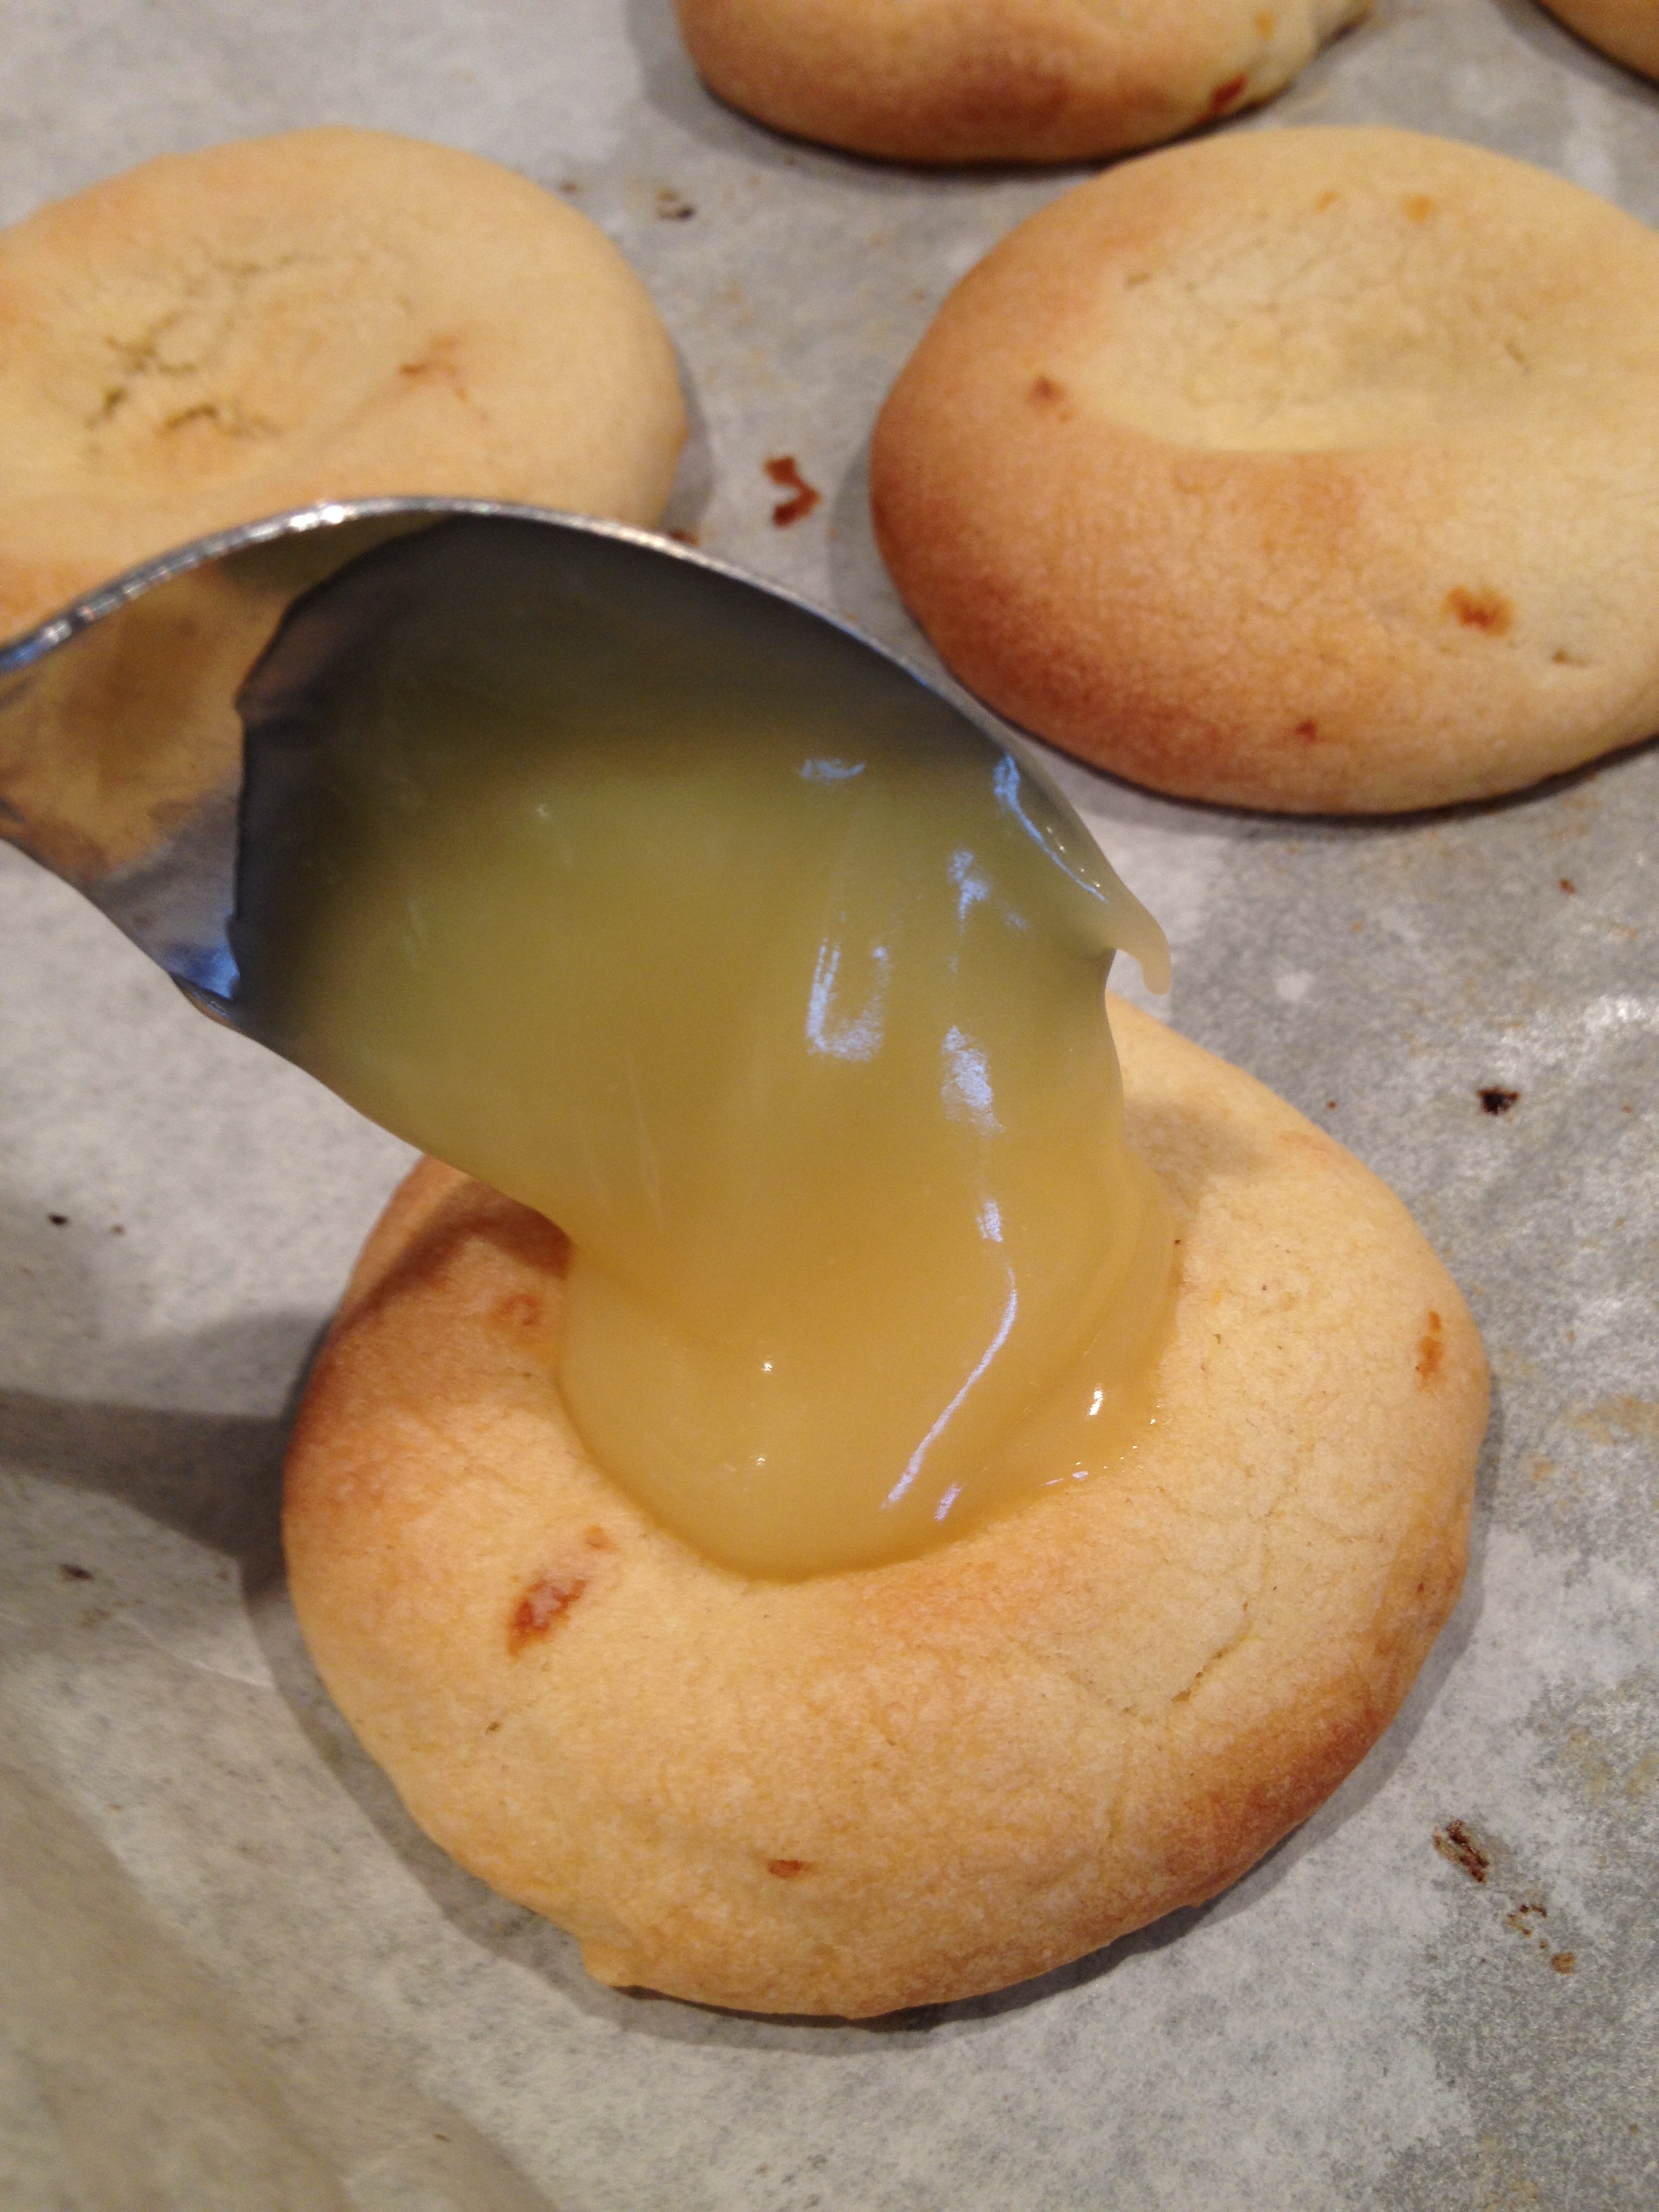
Pre-heat the oven to 180 C. Put the margarine in a large mixing bowl, sieve the flour and icing sugar in and cream it together. Try not to over mix but make sure the margarine is properly mixed with the dry ingredients. Add the zest and lemon juice and combine it well. Once it’s formed a dough wrap in cling film and chill for 30 mins (optional). If you find the dough is too sticky then add some more flour. Once chilled, make small balls of dough (approx 1 inch diameter) and pop them on a greased baking tray. Push them down to flatten them and use your thumb to create a deep hollow in the centre. Prick the bottom of the hollow with a fork.

Bake for 8 minutes. Then remove from the oven and spoon in a small amount of lemon curd in to each hollow.
Bake for a further 2 minutes or so, or until golden. Remove from the oven and allow to cool on the tray. Be very careful when you remove them from the oven as the curd will be molten! Avoid the temptation to eat them straight away (trust me on this one!), just allow them to cool a little before you tuck in! 🙂