ZooT energy and protein bars – a review


Those of you that know me know I’m always racing about between fitness classes etc and often I need something that’s quick and easy to munch on for a boost. I was very excited to discover these fab little bars from ZooTfoods. I was even more excited when they sent me some to review! woohoo!

IMG_7933

ZooT bars are fab little snack bars for anyone who wants to snack sensibly and have something healthy to grab on the go. They have 9 delicious flavours in 3 types and they’re all gluten free, and most are dairy free (except the banana choc chip and choc n’ orange) so there’s plenty of choice.

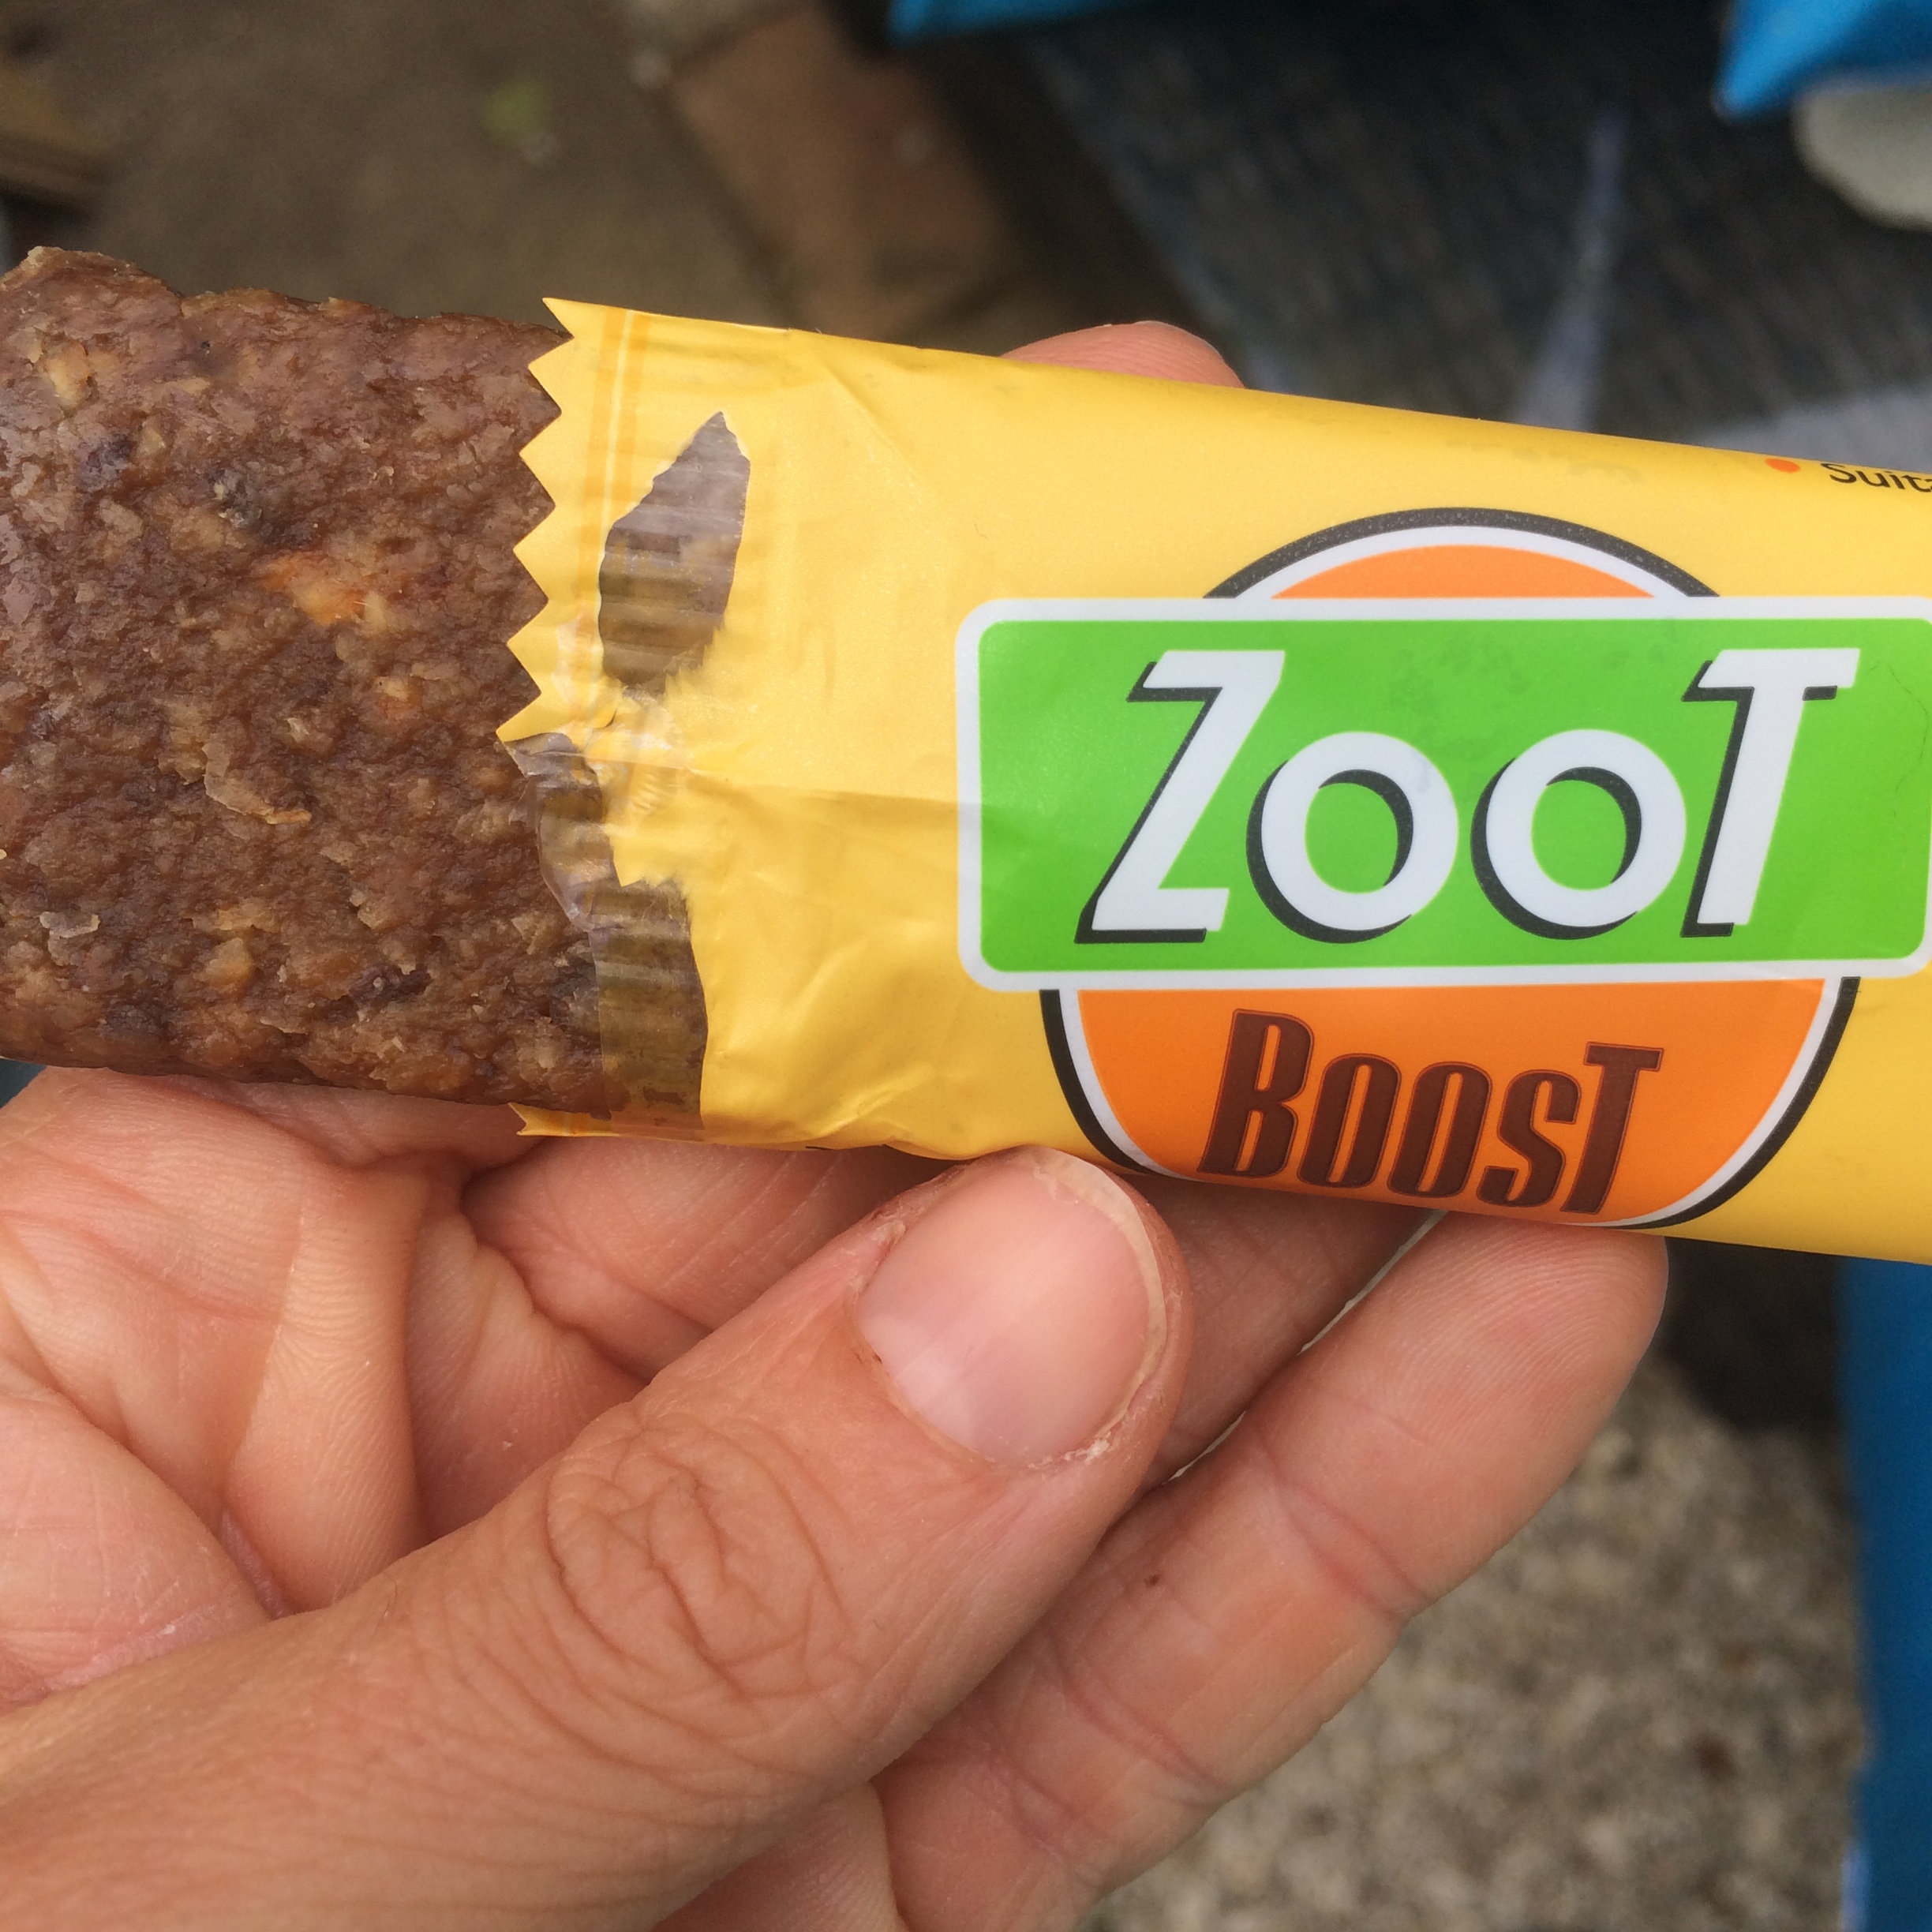
– ZooT BoosT – these are designed to give you an energy boost and include banana choc chip, choc ‘n’ orange and cranberry crush.

– ZooT EndurO – these are designed to give you longer lasting energy and so are packed with protein too. The flavours are brazil nut carnival, cashew supreme and roasty toasty hazelnut.

– ZooT FrooT – packed with 70% fruit, these are designed to give you one of your 5 a day, but also to be low calorie. The flavours are berry burst, pear ‘n’ ginger and tropical bliss

In fact all of the bars are under 200 cals so are a great option if you’re watching your calories too. 🙂

IMG_1680

I really loved these bars. The BoosT ones are absolutely perfect for me just before I teach a class – they’re light enough not to make you feel heavy or sick, low calorie and really do give you an energy boost. I love the fact that you they have the choice of banana and chocolate, chocolate orange and something fruity with the cranberry crush.

The banana choc one is great – not overly banana-y but yummy. Bananas are a classic food of choice for energy so there’s no surprise that it works well here, it’s also a great source of Vitamin B6. Choc orange is one of my favourite flavour combos soI  was very happy with this one. Sometimes fruit-based chocolate orange bars end up tasting really fake but not in this case, it has just the right balance of choc and natural tasting orange flavour.

The cranberry crush is delightfully tangy! Cranberries are a great fruit to eat – they contain phyto-nutrients and are also a great protection against inflammatory diseases and urinary tract infections – added bonus!

IMG_0201

All the BoosT bars also contain the quickly and easily digested carbohydrate, Maltodextrin. This helps the body to synthesise proteins which means post-workout they’re also great!

IMG_0200

The EndurO bars are a great option to add a bit more protein and I prefer to have these if I’m reaching for a mid afternoon or morning snack as it’s a more sustained energy release and leaves me feeling fuller. They’re still low cal which is fab. They’re all full of nuts and seeds which means they are packed with good fats and proteins. The hazelnut was my favourite but the others are really delicious too. I had the Brazil nut carnival one with a coffee yesterday afternoon and it was perfect for filling me up.

IMG_1740 The FrooT bars are fab! refreshing and light and nice and tangy. Even the pear and ginger – which to be honest I didn’t think I’d like, I really enjoyed! It has pineapple in it too which really rounds out the flavour and I think this is what does it for me. The berry burst is my favourite of this bunch as it’s really tart and sweet at the same time and packed with gojis and cranberries so a great vitamin C boost too. The tropical bliss is lovely – pineapple, mango and apple – what a combo! These make great snacks on a hot day. Both of these also contain gluten free oats to give an extra boost.

IMG_1675

I definitely recommend you get your paws on some of these and practice a bit of safe snacking! 🙂  I’m doing the Prudential Ride100 event in two weeks time and I’ll definitely have a couple of these packed in my bike bag to keep me going! You can buy these in local health food shops (those of you in my area of the UK in surrey can get them at the health food shop in Surbiton for example), in gym cafe’s and you can buy them directly from ZooT themselves (see here) or from Amazon.

Peanut butter and blueberry n’ice cream


Nothing beats a nice cold, creamy ice cream on a warm afternoon and this combo works so well together. If you’ve got bananas already frozen this only takes a few minutes to make! 🙂

Freeze your bananas ready diced – it makes blending them easier. Freeze for a few hours, ideally overnight if you can. They will stick together so give them a bash before you blend. If your blender can’t handle them then try blitzing in short pulses or add a very small amount of non-dairy milk,  but the juice from the blueberries will help anyway 🙂

You will need:

4 or so frozen bananas

1 cup blueberries or berries of your choice

1 – 2 tbsp peanut butter

Take half the bananas and pop in to a high speed blender / vitamix with the blueberries and blitz until smooth. It will melt fast so pop in freezer once done while you make the peanut butter one.

Take the other half of the bananas and 1 tbsp peanut butter and blitz. This will be thicker so you may need a small dash of milk. Once blended have a taste and add more peanut butter if you want. Blitz.

Serve together 🙂

If you want to keep it for later pop in the freezer – ideally in ice cube trays then pop out and re-blend briefly to eat (this breaks up the ice crystals that may have formed).

Homemade n’ice cream ‘Nobbly Bobbly’ – easy, healthy but super tasty!


I confess, I have a problem. I am addicted to Nobbly Bobblys. So to save myself from myself I’ve created my own version. These are divine! For me they hit that Nobbly Bobbly spot but with way less guilt! They’re dairy, gluten and sugar free (if you want them to be – with the exception of those little sugar balls on the outside which if you didn’t want to use you could substitute with desiccated coconut or chopped nuts or something instead :)). I didn’t use any sweetener in the chocolate coating as I find the sugar balls and natural sweetness of the n’ice cream is enough for me but its personal preference so if you want it a little sweeter then I’ve added the details below.


These are easy but take a little time. You are going to need quite a few frozen bananas and some lolly sticks. I got mine from Amazon but places like Lakeland or other baking stores will have them, and you may also find them in craft stores. If you have a lolly mould you can use this for the first layer too (I tried using a mould and moulding them without – both worked).

This amount made me 4 pretty large Nobbly Bobblys and I had some n’ice cream and chocolate to spare for a quick pud afterwards but it will depend how big you make them.


You will need:

For the chocolate layer 

4 frozen bananas

4 tbsp Cocoa powder

For the Strawberry layer 

4 frozen Bananas

4 large ripe Strawberries

6 – 10 Raspberries (you can use more strawberries instead, I just like the colour and flavour the raspberries give)

For the chocolate coating

1/2 cup Coconut oil (melted)

1/3 cup Cocoa powder

Optional – 1/4 cup Coconut syrup/ maple syrup/ rice malt syrup / any liquid sweetener

Sugar balls or dessicated coconut or nuts etc (if using sugar balls you’ll need at least a full pot, probably two if you’re as messy as me 😉 )

First clear some space in your freezer and find a suitable tray to lay the ice creams on. Cover it in baking paper and have your ice cream sticks handy.

Start with the chocolate layer. Pop the bananas and cocoa into a high speed blender (I use my vitamix) and blitz until you get a smooth consistency – you will need to do it in bursts and keep stirring in between. Remove from the blender and then as quickly as you can mould your first layer around the lolly sticks (Or in the mould if you’re using one). Place on the tray and in to the freezer. Leave for at least an hour. If they’re s bit messy don’t worry you can tidy them up with a knife before the next layer goes on.

IMG_7044 
 
Next make the strawberry layer. Pop the bananas, strawberries and raspberries into the blender. Blitz until smooth. You will need to work quickly now. Remove the frozen chocolate layer from the freezer (tidy them up if you want to) and using a spatula add a layer of the strawberry n’ice cream all over and then pop back on the tray and get them back in the freezer for another 40 mins or more.


Once they’re frozen you can coat them. Mix the coconut oil and cocoa powder together with a fork or whisk (add the sweetener if you want to). If the coconut oil is very hot allow it to cool a little – it will stay liquid for ages so there’s no rush. Place on one side and pour your sugar balls (or whatever you are using) into a tray or plate and have it handy.  It’s best to work with one lolly at a time as they melt so fast. Warning this may get messy 🙂


Take your lolly and spoon the chocolate over one side and immediately press in it the sugar balls (or pour them over the top). Repeat over the whole lolly then get it straight back in the freezer on the tray asap. Do this for all your lollies.


Allow to freeze initially for at least 20 – 30 mins on the tray and then you can transfer them to a Tupperware box to keep them in the freezer until you want to eat them! Then enjoy! 

Mint Chocolate Mousse and N’ice cream layered dessert – dairy and gluten free


Does anyone else remember those mint chocolate swirled mousse/ice cream dessert things we used to have as children? They came in a little pot, they were mostly sugar and air but they tasted amazing! I’m such a massive mint choc fan and was feeling a little nostalgic so thought I’d see if I could recreate something similar but a little more classy.

FullSizeRender

This would make a great dinner party pud – it looks fab and tastes amazing. You can prepare the mousse and the n’ice cream in advance and then put it together in a few mins. It’s also a great healthy, high protein treat for you or the kids on summer evenings.

IMG_6551

This also gave me a chance to use the yummy choc shot I was sent my the lovely people over at sweet freedom for something other than pouring liberally over my porridge and soya yoghurt 🙂  The mousse recipe is based on Colette’s recipe from The Pure Form Fitness Kitchen and the n’ice cream is my recipe from the other day (here) which I’ll re-post below for ease.

IMG_6550

This will make approx 2 large layered desserts.

For the mousse you will need:

1 packet of Silken tofu

2 tbsp Cocoa powder

2 tbsp sweet freedom Choc Shot (you may want to add a little extra if you want it sweeter)

Natural peppermint extract (to taste)

Pop all the ingredients except the peppermint extract in to your blender/processor and mix well until combined. Have a little taste and add a little more choc shot if you feel you need it. Then add the peppermint extract to taste and mix. Store the mousse in the fridge until you’re ready to prepare the dessert (it will last up to a week – it may separate a little but just stir it before you use it).

For the n’ice cream you will need:

Frozen bananas – I used 4 medium bananas

Handful of spinach (adjust according to how green you want it!)

Couple of tbsp Cacao nibs (or you can use any dark chocolate – sugar free or not – your choice)

Natural peppermint extract (to taste) (or fresh mint leaves if you happen to have some)

Pop the bananas in to a high speed blender – I use my trusty vitamix but any blender that can handle ice will do, and blitz it to start to break up the bananas. Once they start to smoosh up (technical term 😉 ) add the spinach a little at a time. Then add a few drops of peppermint extract – the amount will depend on how minty you like it! You don’t want it tasting like mouthwash though so go easy to start with! Keep blitzing it and stirring it in until the spinach is combined and the colour you want. Remove from the blender and stir the cacao nibs/chopped chocolate through it.

It melts fast so if you’re making it just before you serve it then that’s fab, but if not then you can refreeze it – ideally refreeze in ice cube trays (or small portions) and then when are ready to put the dessert together pop the cubes in to the blender and give it a very quick blitz!

Assemble the pud

Add a layer of mousse, then a layer of n’ice cream and top with another layer of mousse in a glass, sundae dish or bowl. Top with a sprig of fresh mint and enjoy!

IMG_6544

Mint choc chip N’ice cream – dairy, gluten and sugar-free!


Now it’s getting warmer I’m craving ice cream and I absolutely love mint choc chip ice cream so I thought I’d whip up a batch of a slightly less naughty version!

This is as good, if not better, than the traditional stuff and only has four ingredients!

The ingredients below made about 5-6 generous scoops but it will depend on the size of the bananas so you may need to adjust quantities a bit. Don’t be scared about the spinach – you really can’t taste it at all and it gives not only a great nutrient boost but a lovely green colour 🙂

I always have frozen bananas in my freezer for smoothies, banana bread etc. I don’t like over ripe bananas so if they ever start to get too ripe I chop them up and pop them in freezer bags. Then they’re ready to use any time! So first things first – freeze some bananas!

You will need:

Frozen bananas – I used 4 medium bananas

Handful of spinach (adjust according to how green you want it!)

Couple of tbsp Cacao nibs (or you can use any dark chocolate – sugar free or not – your choice)

Natural peppermint extract (to taste) (or fresh mint leaves if you happen to have some)

Pop the bananas in to a high speed blender – I use my trusty vitamix but any blender that can handle ice will do, and blitz it to start to break up the bananas. Once they start to smoosh up (technical term 😉 ) add the spinach a little at a time. Then add a few drops of peppermint extract – the amount will depend on how minty you like it! You don’t want it tasting like mouthwash though so go easy to start with! Keep blitzing it and stirring it in until the spinach is combined and the colour you want. Remove from the blender and stir the cacao nibs/chopped chocolate through it and serve!

It melts fast so get in quick! You can refreeze it – ideally refreeze in ice cube trays and then when you want to eat it pop the cubes in to the blender and give it a very quick blitz!

How easy was that? 🙂

Rhubarb and Cinnamon Cake – Dairy and Gluten free


After very kindly being given some freshly grown rhubarb (thank you Des and Lisa 🙂 ) I thought I would try to do something different with it, rather than the classic crumble and came up with this little beauty! This is a moist but light cake and the tartness of the rhubarb goes so well with the warmth of the cinnamon. I choose to poach the rhubarb lightly first as I find it ensures it is non-stringy and deliciously soft.

IMG_5761

You will need:

Approx 350g Rhubarb, cut into 2cm pieces

3 tbsp Apple juice and 1 tbsp Coconut sugar (for poaching)

1 1/4 cups of Gluten free self-raising flour (or you can make your own using plain gluten free or spelt flour plus 1 3/4 tsp baking powder and 1/2 tsp salt)

1/2 cup Ground Almonds

1 tsp Bicarbonate of Soda

1/3 cup of Golden caster sugar (or other unrefined fine sugar)

1/3 cup Coconut sugar (or other unrefined sugar)

3/4 cup Almond (or light Olive) oil

Up to 1 1/4 cup of Almond milk or Soya milk (or any other non-dairy milk)

2 tbsp Cider vinegar

2 heaped tsp ground Cinnamon

Preheat the oven to 160 C.

First you need to poach the rhubarb. Pop it in to a roasting tin (so it’s only one layer thick) and add the apple juice and 1 tbsp sugar. Cover with foil and bake for approx 15 mins (or until the rhubarb is a little soft – the time will vary depending on how thick your stalks are). Remove from oven, strain and set aside (keeping the juice – we need that later). Leave the oven on but increase it to 170 C.

IMG_5739 IMG_5740

Place the flour, sugar, cinnamon and ground almonds in to a bowl and mix together.

Pour the juice from the poached rhubarb into a measuring jug (if there isn’t much don’t worry – use it anyway) and then add enough milk to give 1 1/4 cups in total of liquid. Add the vinegar and stir. Then add the bicarbonate of soda and mix (it will fizz!). Add this to the dry ingredients, and then add the oil. Stir it well and finally fold in the rhubarb.

IMG_5749

Pour in to a tin (I used a 20 x 20 cm tin) lined with greaseproof paper and pop in the oven for 35 – 45 mins (or until a skewer comes out clean). Allow to cool in the tin for 10 mins, then place on a wire rack. Cut and serve! 🙂

IMG_5750 IMG_5758

Apple and Coconut Cinnamon Caramel Swirled Loaf – Dairy free, Gluten Free and Vegan


This may be my best loaf recipe yet… This was so good I had to make it twice, in two days.. and it didn’t last long!


I was sent a bottle of this fab Coconut Syrup, which I was already a big fan of, and I’m really enjoying playing around with date caramel at the moment, so I thought why not combine the two in an appley-caramely-coconutty-squidgy loaf! The coconut syrup adds a lovely richness to the loaf which is fab. The syrup is great for drizzling over yoghurt, sweetening smoothies or pouring over your finished slice of loaf too! You can find out more here – Bali Nutra Coconut Syrup.


I’ve even done a little video too! 🙂

https://youtu.be/XF7tjOi1yAU
You will need:

2 cups Gluten-free flour or spelt flour
1 cup coconut palm (or any unrefined) sugar (plus a little extra to sprinkle on top)
1/4 cup Coconut Syrup
1/4 cup and 2 tbsps almond oil or olive oil
3/4 cup apple purée (make your own – instructions here)
1/2 cup desiccated coconut (plus a little extra to sprinkle on the top)
1/2 cup date caramel (recipe here)
1 tbsp Cocoa powder
1 small apple – diced
1/4 cup soya milk mixed with 1 tsp apple cider vinegar
1/2 tsp baking soda
1 tsp vanilla extract
1 tsp cinnamon
1/4 tsp allspice
1/2 tsp himalayan rock salt

Preheat oven to 350 F / 175 C. Line and grease a small loaf tin (approximately 8 inches x 4 inches).

Mix the flour, baking soda, coconut, cinnamon, allspice and salt together in a large bowl. In a separate bowl mix the oil and sugar together until well combined. Add the apple purée and the soya milk (to which vinegar has been added), the coconut syrup and the vanilla extract. Add this mix to the flour mixture and stir well. Add the diced apple and stir well.

Remove about one cup of this batter and put it in a separate bowl. Stir the date caramel in to this mix. Add the cocoa powder and mix well – this adds a lovely richness to the batter and also darkens it to make the swirls more obvious, without giving a Chocolate flavour 🙂

Start by adding a layer of the plain batter in your loaf tin. Drop a few spoonfuls of the caramel batter and use a fork to marble it, then add another layer of plain batter. Continue to layer and marble the batters until you’ve used it up! Sprinkle with a little coconut sugar and desiccated coconut.


Place in the oven for an hour, or until a skewer inserted in the middle comes out clean. Once cooked remove from the oven and allow to cool in the tin for 5 mins then transfer to a wire rack to cool.


This is absolutely divine when warm and if you have any spare date caramel I highly recommend smearing some on top!

You can easily freeze this too – it keeps brilliantly.

A host of Easter Treats


With Easter upon us I thought I’d share a few of my favourite, slightly healthier but equally yummy Easter recipes.

So if chocolate is your thing then why not try some quick, raw chocolates like these chocolate coconut treats, or the raw chocolate filled eggs and fruit eggs, or if you fancy something with a little more kick – why not try the chilli chocs.

2014-04-18 19.27.21        2014-04-13 16.29.29

Or how about whipping up some quick, cute, marzipan bunnies!

2014-04-05 17.33.53

What about creating a quick batch of Easter spiced biscuits, or some fresh, light lemon and chia cookies to dunk in your afternoon tea on Easter Sunday.

If you’re feeling adventurous you could try my coffee and amaretto cupcakes (using any instant coffee you have to hand).

2014-04-05 17.37.59

And finally..it wouldn’t be Easter without some hot cross buns right? Try my better bun recipe for some hot cross fun! 🙂

Happy Easter! 🙂


Caramel Buckwheat Crispy Squares – Dairy and Gluten free


When I was at school I used to take a Kellogg’s Rice Krispie Marshmallow square with me every day for my breaktime snack. Does anyone else remember them? I was addicted! All gooey and sweet… and delicious…but so full of rubbish…..

So I thought I’d recreate a healthier version of them! So I’ve had a play and come up with  Caramel Buckwheat Crispy Squares. Super easy to make and really scrummy! You could use any puffs you like – buckwheat, spelt, quinoa, rice…. These are better than the originals I think and not half as bad for you 🙂

You will need:

10 -12 medjool dates

2 tbsp Cashew or almond butter

1 – 2 tbsp warm Water

1 – 2 cups of Buckwheat (or any) puffs

Optional Chocolate for decoration:

1/2 cup Coconut oil (melted)

1/3 cup Cacao/cocoa powder

1/4 cup Coconut syrup

Start by making your caramel. Pit and chop the dates and pop them in to your blender together with the nut butter. Add a little of the water and blitz. You want to nice smooth caramel which is thick enough to hold the puffs together, so you may need to add a little more water but not too much. I have to say, watching the caramel in the blender is very pleasing… look….

Once you have a smooth but sticky caramel remove it from the blender. You will probably have more caramel than you need but that’s ok as you can use it for some other yummy treats like my apple cinnamon smoothie or homemade toffee poppets.

Put your puffs in a bowl and add a few spoonfuls of caramel. Stir it through and keep adding caramel until you have a sticky mess! Line a tupperware pot or tray with some baking paper and press the caramel puff mess in to the tray and push down well.

Pop in the freezer for at least an hour to set. It won’t set firm – it will be all sticky and chewy 🙂

Once set remove from the freezer, slice and serve!

If you want to decorate with raw chocolate then combine the coconut oil, cacao powder and coconut syrup and whisk with a fork. Drizzle the chocolate over the bars and then pop back in the freezer briefly to set. Enjoy!

  IMG_3833

Homemade Toffee Poppets! Raw, dairy-free Chocolate Caramel Balls!


When I was little my grandma (Nannie 🙂 ) would come to pick me up on a Friday night from school and as a treat she’d take me across the road from our house to the newsagents to buy some sweets. I could have whatever I wanted… More often than not I went for a packet of Poppets – either mint, or the toffee ones (also known as Toffets). For those of you who haven’t had the pleasure – they were a little cardboard box full of nuggets of chocolate covered mint fondant or chewy caramel. I always associate them with those friday night treats and my Nannie and so they hold a special place in my heart 🙂

Poppets - Mint CreamsPoppets-toffeePAY-CHW-PPT

I’ve been having a bit of a caramel craving lately so I thought I’d better try to recreate those yummy little balls of goodness. (I’ll have a go at mint ones too at some point 🙂 ). As well as plain ones I also thought I’d try adding some coconut and nuts to the outside – you could coat yours in anything you like!

IMG_2749

You will need:

For the centres:

10 – 12 Medjool dates

3 tbsp Almond butter or Cashew butter if you don’t want the almond taste

(water as required)

For the chocolate:

1/2 cup Coconut oil (melted)

1/3 cup Cacao/cocoa powder

1/4 cup Coconut syrup

Desiccated coconut/chopped roasted nuts to decorate if desired

IMG_2752IMG_2751IMG_2750

Pop the dates and almond/cashew butter in a processor and pulse until blended and smooth. Add water if you want a softer texture. Take small spoonfuls and roll into balls with your hand – this is easier if you can chill it in the fridge for a while first. Pop the balls in the freezer for as long as you can wait!

To make the chocolate combine the coconut oil, cacao powder and coconut syrup and whisk with a fork.

Take the balls out the freezer and pop in to the chocolate to coat. Use a fork to move them around until coated and then pop on some greaseproof paper to set. Once set a little bit turn so the bottoms don’t stick.

IMG_2738 If you want to coat them in coconut or nuts then as soon as you’ve coated in them in chocolate roll in the coconut/nuts and then place on the greaseproof paper.

IMG_2736    IMG_2739

Then place in the freezer until ready to eat! All I need to do now is recreate the little cardboard box!

FullSizeRender