Better buns! Hot cross fun :)


With Easter fast approaching I thought I would re-post my hot cross bun recipes from last year. One is gluten-free, the other is the same recipe but using spelt flour.

The first recipe I posted for these buns last year was for both dairy-free, gluten free hot cross buns. The taste was spot on but they were a little dense for my liking so I had a go at a second recipe with spelt flour and wow, what an improvement! They’re not gluten-free, but they are low gluten and spelt flour is often tolerated much better by people with gluten intolerance than normal flour so they’re not awful 🙂 .

The original recipe is below and for the “tweaked” version, I just used white spelt flour, instead of the rice flour, corn flour and xanthan gum and upped the yeast a bit…and….. we have… yummy buns! 🙂 woohoo! 🙂

If you want to stick to gluten free though – the original recipe isn’t half bad! 🙂

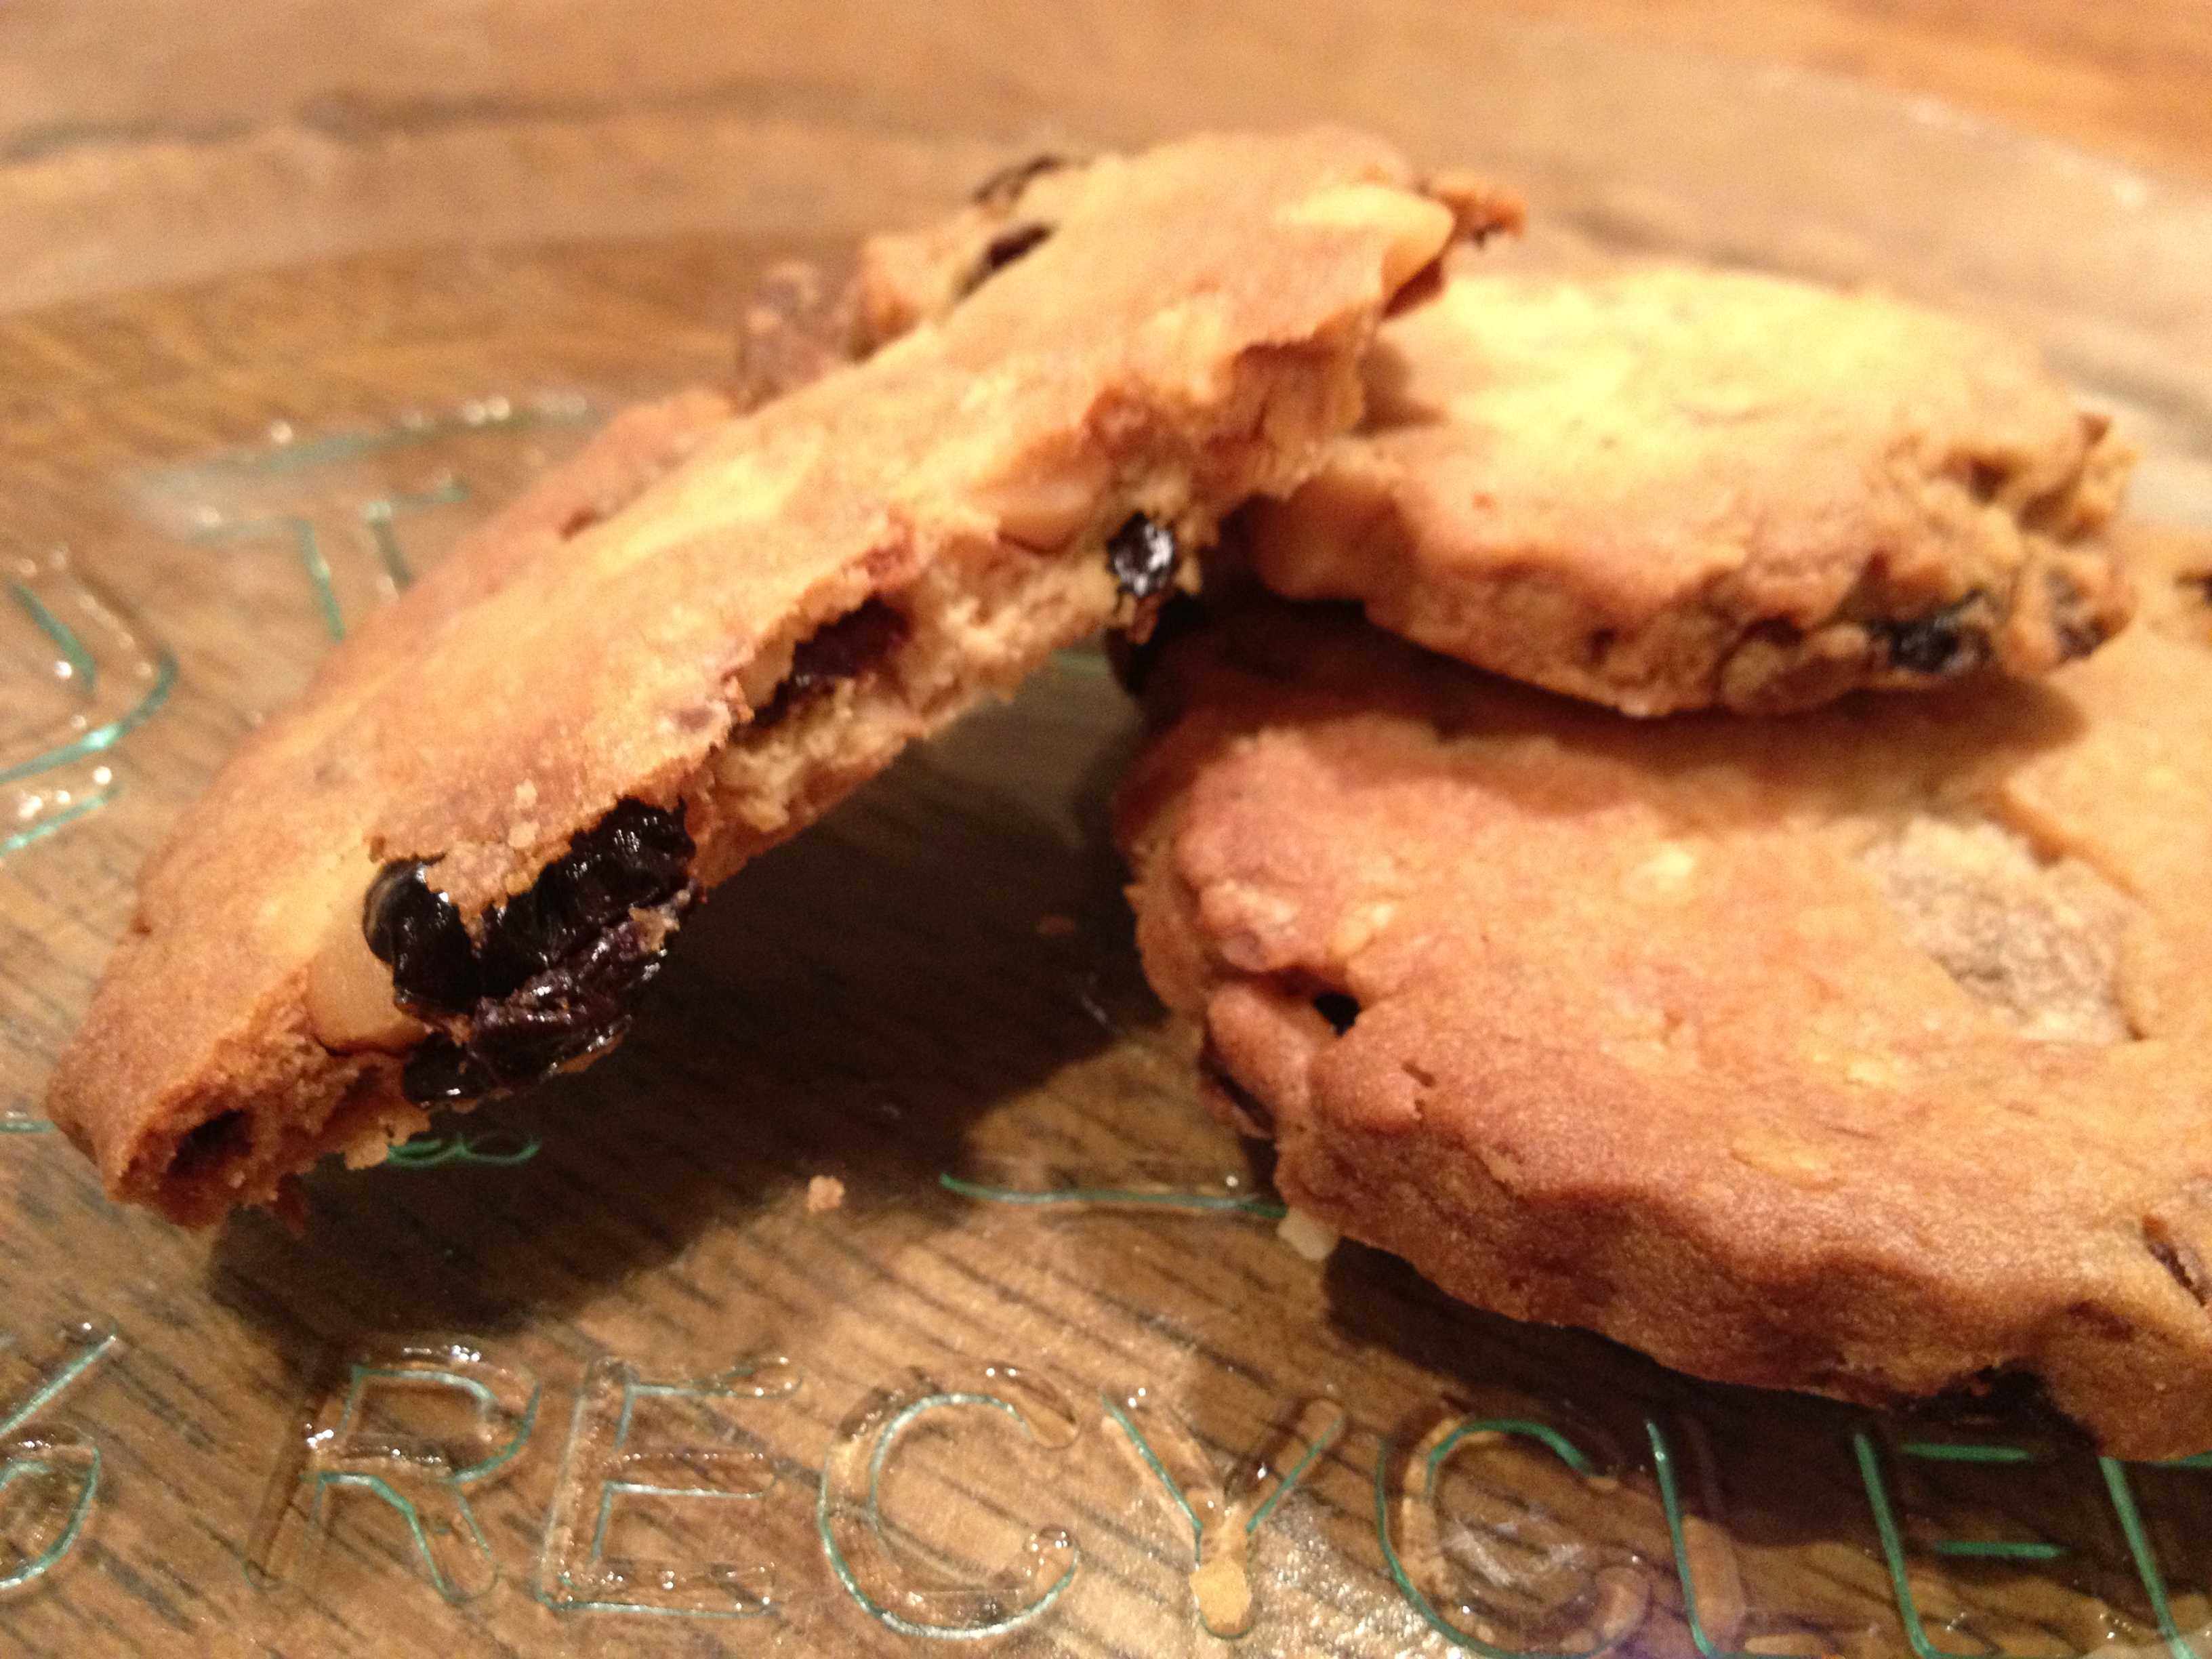
If you like it you can use candied peel instead of the orange and lemon zest (I’m not a candied peel fan myself which is why I haven’t used it). These are a little dense but being a little dense isn’t too much of a bad thing – I still manage to devour loads of them in one sitting! 🙂

150g Cornflour

100g Rice flour

1.5 tsp Dried yeast

0.5 tsp Xanthan gum

2.5 tbsp Coconut palm sugar / unrefined raw sugar

0.5 tsp Himalayan rock salt

1 tsp Mixed spice

0.25 tsp Ground cinnamon

Zest of 1 lemon

Zest of 1 orange

50g  Olive oil

225 ml Warm water

100g Raisins / currants

For the Cross (optional)

4 tbsps Rice flour

1.5 tsps Cornflour

pinch of Xanthan gum

1.5 tbsps Coconut palm sugar/ unrefined raw sugar

enough water to make a pipeable paste

For the glaze: 3-4 tbsps Golden syrup

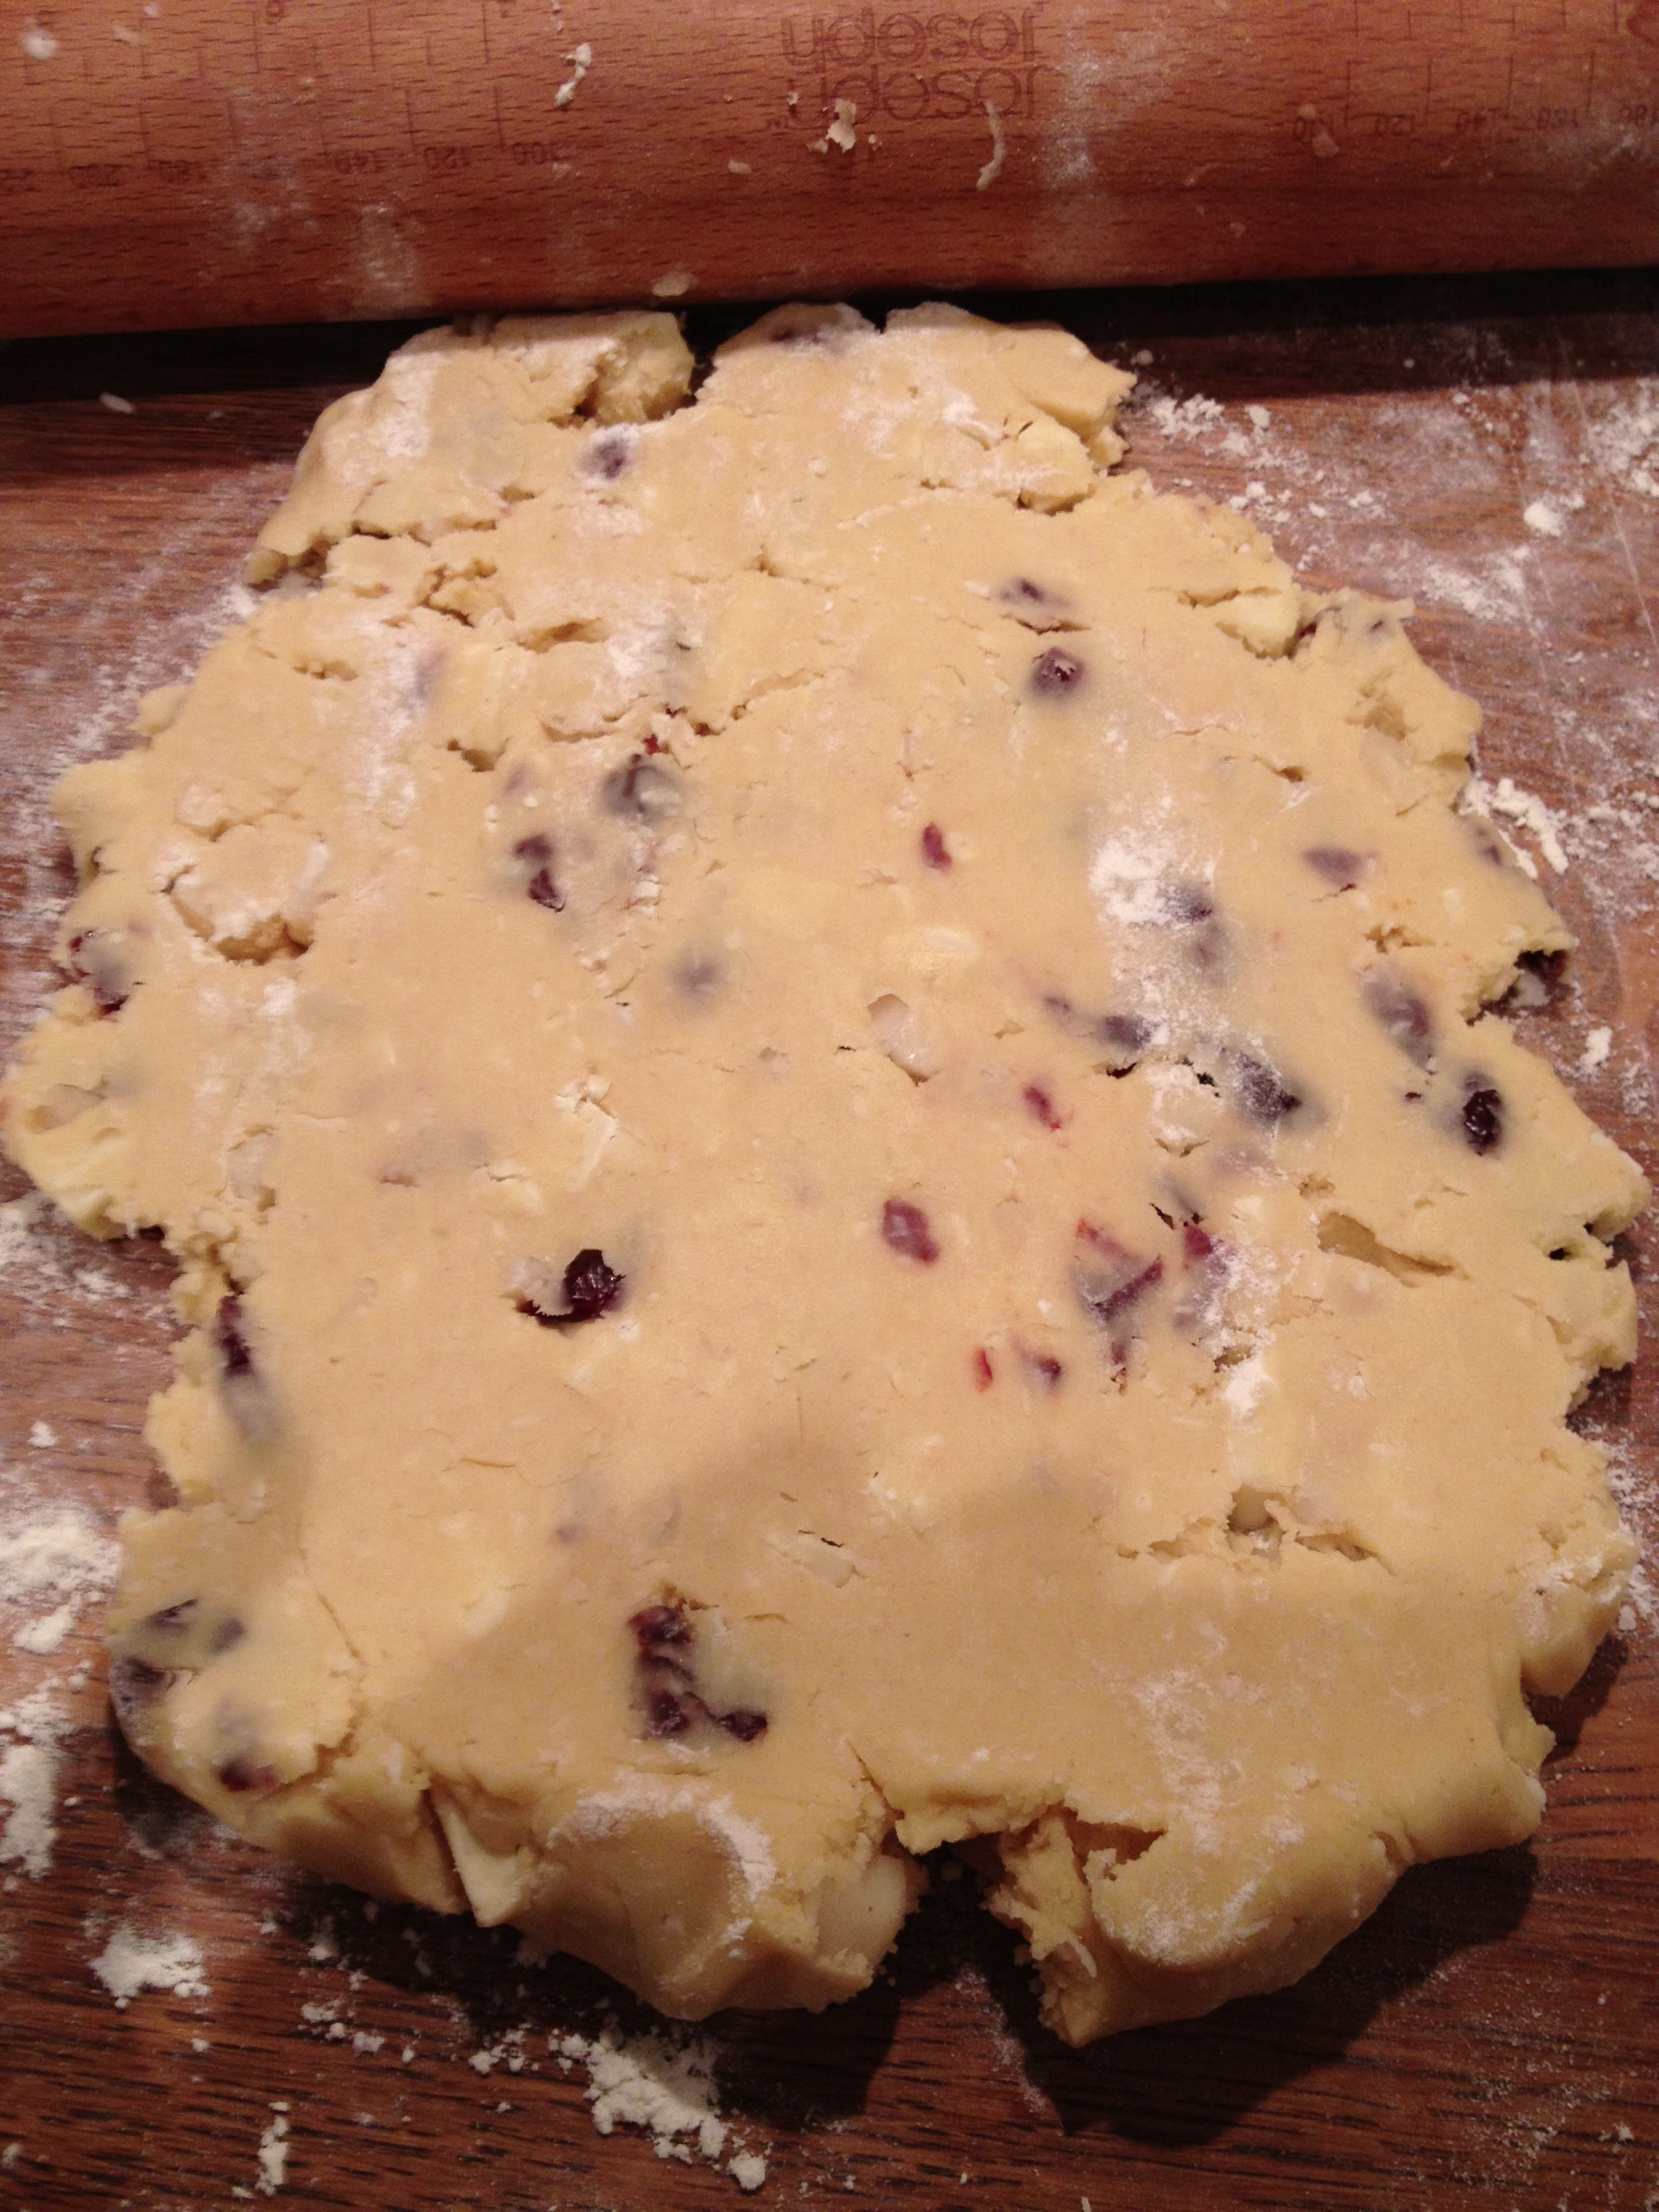
Preheat the oven to 180 C. Put the flours, yeast, xantham gum, spices, sugar, salt and orange and lemon zest into a bowl and mix well. Next add the oil and then start to add the water gradually, mixing as you go using a wooden spoon. The mix will have the consistency of a cake batter. Beat until all the lumps are gone. Finally stir in the raisons/currants. Scrape the mixture into the centre of the bowl and cover with clingfilm and leave to rise in a warm place for approximately 10 mins. It won’t rise dramatically but it will bulk up a bit.

The proof is in the pudding…. or the hot cross bun dough!

While you wait you can make the dough for the cross. Put the flours, sugar and xantham gum into a small bowl and add enough water and mix to make a pipeable paste. Put this mixture into a piping bag, or if like me you don’t have one just pop it in a small plastic sandwich bag and then cut off the corner to pipe through.

After the dough has sat for 10 mins spoon it out onto a baking tray. Try to give your buns as much height as possible when you put the dough out. Pipe the white cross over them. Cover the tray loosely with clingfilm and leave to prove in a warm place for another 5 mins.

Place then in the oven for 10 – 15 mins. Check them regularly – the tops should start to brown and they should sound hollow when tapped on the base! Once done remove from the oven and allow to cool. If you want to glaze them then gently warm the golden syrup and then paint over the top while the buns are cooling (warning it makes them deliciously sticky!).  Allow to cool.

These are definitely best eaten warmed or toasted with some lovely home-made jam! 🙂

Chunky Chilli Chocolate Cherry mini fingers and loaves


I thought I’d mix things up a bit with a modified version of my yummy chunky cherry loaves. These have a delicious hit of chilli and a sneaky bit of cinnamon too. I happened to get a new mini mini loaf tin so made some chunky chilli chocolate cherry fingers as well as loaves!

1582

I used some chilli and chocolate infused sugar for this recipe. You can buy this ready mixed or you could easily make it yourself  – it’s simply a mix of sugar, cocoa powder, chilli powder and cinnamon. Mix 100g sugar with 10g of cocoa powder, 2 tsp cinnamon and 1 tsp chilli powder (or more if you want it hotter!). Adjust the amounts depending how much you need but keep them in those ratios 🙂

For the loaves/fingers you will need:

1/2 cup Apple puree

1/4 cup Almond butter

1/3 cup Cocoa powder

1/3 cup Almond milk/soya milk/any non-dairy milk

1/3 cup + 2 tbsp boiling water

3/4 cup Chilli and chocolate infused sugar (plus extra to sprinkle on the top)

1 tsp Vanilla extract

1 tsp Chocolate extract (if you don’t have this then use another tsp vanilla extract)

1/8 tsp Almond extract

1 1/2 cups Gluten-free flour mix (or spelt flour if you’re not worried about gluten-free)

3/4 tsp Bicarbonate soda

3/4 tsp Himalayan rock salt

1 tsp chilli flakes (adjust to taste)

4 oz Chocolate chopped into chunks (I used Willie’s chocolate for this)

1 cup chopped Sweet cherries

1570

Preheat oven to 175 C and boil the kettle (no, not for tea – though that wouldn’t hurt!).

Put the apple, almond butter, milk and cocoa powder in a mixing bowl. Add 1/3 cup boiling water and mix quickly with a fork to make a thick chocolate sauce. Add the sugar and extracts and mix well. Sieve half the flour, bicarbonate soda and salt into the mix and mix gently. Add 1 tbsp boiling water and mix again. Add the rest of the flour mixture and another tbsp boiling water and stir until smooth. Go gently – don’t over mix. Add the chilli flakes and adjust to taste – if you want it with a bit more of a hit add more! Finally add the chocolate chunks and cherries and fold in to the mixture.

Pour into the tins  (this recipe will give approx 8 – 9 tins) or if you have a mini mini loaf/finger tin then use that. Put in the oven for 10 – 25 mins (if making fingers you will need to start checking them after 10 mins as they’re so much smaller).

Check they’re done by sticking a skewer in the centre, if it comes out clean they’re done (bear in mind you may hit a cherry or chocolate when you do this so you’re looking for a lack of cake dough on the skewer – chocolate or cherry juice is fine!). Allow to cool in the tins for 10 mins then take out of the tins and cool on a wire rack. They really need to be eaten warm so the chocolate is all melty! :) Yum Yum Yum! :) 1567

Cherry, macadamia, coconut and white chocolate shortbread biscuit recipe :)


Ok, I think I need new friends, or maybe I need ones that don’t have such great ideas…. Once again I find myself in my kitchen, baking biscuits at nearly 11pm….Definitely worth it though (thank you my lovely friend Colette from Colette’s Fitness Kitchen for planting yet another seed in my head for some scrummy biscuits!).

IMG_0382

So it’s the same biscuit recipe as before but this time I’ve added in:

approximately 100g Dried cherries

approximately 75g Macadamia nuts

100g of good quality white chocolate (omit this if you want it dairy free – or better yet replace with dairy free dark chocolate! yummo!)

a handful of dessicated coconut!

IMG_0380

Chop the cherries, nuts and chocolate fairly small and then add all of the ingredients in to the dough at the end and ensure they’re mixed well throughout. You can just make little round dollops of these, or you can roll them out (gently!) and use a cutter as I’ve done.

IMG_0377

They will be bit thicker so may need longer in the oven. Enjoy! 🙂

Oh and I should say… they are also yummy with the raspberry icing on…! 🙂

IMG_0379

Give the gift of yumminess this valentine’s day – quick gift idea!


These valentine’s biccies would make a fab present for the one you love 🙂 Whip up a batch of normal or coconut biccies, with or without icing and pop a load in a cellophane bag. Tie with a pretty ribbon and voila! One lovely home made gift of love! IF you can bear to give them away! 🙂

20130212-135211.jpg

20130212-135345.jpg

Coconut Dairy-free Valentine’s day shortbread biccies! :)


Apparently I’m very suggestable… which is why I found myself in my kitchen at 11pm on a Monday night making more biscuits! What, I hear you cry? has she not made enough biscuits already! Well no, apparently not! A very dear friend, who shall remain nameless (though her name begins with a C, has an o, two l’s and a couple of e’s and t’s in it…….) suggested to me this evening that those valentine biscuits would be even better with some dessicated coconut in them… now I’m a massive coconut fan and though it pains me to admit when she’s right… she was right, in fact she was damn right!

IMG_0352[1]

I went straight home and whipped up a batch! (well after a trip to the local shops for some ingredients!)…. and wow are they good! Seriously you need to try this! I think they’ll work brilliantly with the raspberry icing too – I just ran out of icing sugar so couldn’t ice them tonight!

IMG_0356[1]

So it’s the same recipe as before  ( i halved it this time) with some dessicated coconut added

2 cups Spelt flour or gluten-free flour mix

1 cups Unrefined Icing sugar

6 oz Dairy-free margarine (get the best quality you can)

Approx 1/2 cup (to be honest I just shook a load in from the tub but just try a little at a time and keep working it in until it’s evenly spread throughout the dough!)

Pre-heat the oven to 180 C. Put the margarine in a large mixing bowl, sieve the flour and icing sugar in and cream it together. Try not to over mix but make sure the margarine is properly mixed with the dry ingredients. Add the dessicated coconut as the dough starts to come together and ensure it’s evenly distributed throughout. Once it’s formed a dough wrap in cling film and chill for 30 mins. If you find the dough is too sticky then add some more flour.  Once chilled, roll out and use a biscuit cutter to cut whatever shape you have. Sprinkle with a little raw sugar if you like and place on a greased baking tray and bake for 8 – 10 mins, or until golden. Remove from the oven and allow to cool on the tray.

IMG_0354[1]

A host of Valentine’s treats! Dairy-free shortbread biccies with natural pink raspberry icing


I got a little over-excited in the biscuit-cutter section of the cake shop and end up with a loast of new valentine’s cutters! So here, for you, is a feast of valentine’s biccies for the one you love (in my case, that’s me! ha ha!) 🙂

IMG_0163

All the biscuits are based on the same biscuit recipe which I’ve posted before – here but here it is again for ease. This makes LOADS of biscuits so you may want to halve the amount to start with.

4 cups Spelt flour or gluten-free flour mix

2 cups Unrefined Icing sugar

12 oz Dairy-free margarine (get the best quality you can)

Pre-heat the oven to 180 C. Put the margarine in a large mixing bowl, sieve the flour and icing sugar in and cream it together. Try not to over mix but make sure the margarine is properly mixed with the dry ingredients. Once it’s formed a dough wrap in cling film and chill for 30 mins. If you find the dough is too sticky then add some more flour.  Once chilled, roll out and use a biscuit cutter to cut whatever shape you have. Sprinkle with a little raw sugar if you like and place on a greased baking tray and bake for 8 – 10 mins, or until golden. Remove from the oven and allow to cool on the tray.

Cutting and Decorating!

You can use any cutters you like but I had the pleasure of trying out all my new valentine’s ones! It was such fun! For most of the biccies I just sprinkled with raw sugar. I had a wonderful set of hearts that decrease in size so I had a lot of fun with those.

IMG_0179 _MG_8051

Then I also had some with lovely little messages stamped in them.

IMG_0191

Those were all plain, but for other’s however I made some pink icing using raw icing sugar and raspberries. Simply pop a handful of raspberries into a fine mesh sieve and using the back of a spoon crush them through the sieve. You will end up with a lovely raspberry puree. Don’t throw away the seeds and pulp left in the sieve, you can whack this in to your next smoothie! 🙂 Use this, instead of water, to make your icing. I simply used raw icing sugar (you can use normal icing sugar if you prefer) and the raspberry puree. I added a little at a time until I had the consistency I wanted. If you want it runnier, add a little water, if you want it less pink then add more icing sugar and water down the puree a little and just experiment!

For these adorable ‘his and hers’ jigsaw hearts I used a piping bag to pipe a thin line of slightly darker icing around the edges and then filled the middle! You could use white icing to pipe names on each half. Allow to set and then share with the one you love 🙂

IMG_0192 IMG_0248

I then had a go at just smothering the little hearts in icing – yum!

IMG_0567 IMG_0560

And finally (for the icing fun) I had a go at filling in the messages on the shortbreads. This was super fiddly but I think it looks fab! I used a cake skewer dipped in the icing to fill the letters!

IMG_0250 IMG_0263 IMG_0206

Valentine’s day wouldn’t be valentine’s day without a bit of chocolate! So I had a go with that too! I just melted some high quality, dairy free chocolate and filled the letters with it in the same way as the icing. This was messy and didn’t work out quite so well but I think with a bit of practice it will! 🙂

IMG_0259

Finally I made some little double hearts. Once again I piped an icing border around them and then I filled the centre with chocolate.

IMG_0568

Scrummy Cinnamon Quinoa Porridge Recipe – Comfort brekkie :)


I fancied something a bit different for brekkie this morning as I’ve been slightly overdosing on the homemade granola lately! I’ve had a real hankering for quinoa too so I thought I’d sort out both issues in one fell swoop and make some yummy quinoa porridge. It’s very simple and very delicious! If you don’t like cinnamon just leave it out 🙂

_MG_7852

1/2 cup Quinoa

1 cup coconut/almond/soya milk (I used coconut milk today because I happened to have it!)

1/2 tsp coconut oil (not essential but adds a nice smoothness)

1 tbsp nut butter (again, not essential but adds flavour and smoothness) – I used almond butter today

1 tso Cinnamon

Toppings of your choice (I used nuts, dried fruit, coconut and apple compote)

Drizzle of date syrup / sweet freedom if desired

_MG_7860

Put the quinoa and milk into a saucepan and bring to the boil. Add in the cinnamon and put a lid on it and simmer gently for 10 – 15 minutes (until the quinoa has absorbed the liquid and is tender – add more milk if necessary). Half way through stir in the coconut oil and nut butter. Once the quinoa is tender spoon into a bowl. This amount will do one large portion or two small ones. It keeps in the fridge for a few days so you can save some if you want ( I confess, I ate it all!).

Add your desired toppings. I added a dollop of apple compote, toasted almonds and pistachios, dessicated coconut and some dried mixed berries (goji, blueberry, cranberry and golden raisins). Finally add a drizzle of date syrup if you like. Then enjoy! 🙂 This will definitely set you up for the day! Healthy and filling and absolutely scrummy 🙂

_MG_7856

Bananarama! Banana bread recipes :)


A glut of over-ripe bananas led to a bit of banana bread making so I thought I would re-post these two recipes. I’ve had a bit of fun with banana bread recently and a very good friend and I have done a blind banana bread tasting – 4 banana breads (hers and mine) so I’ll be posting the results of that soon! In the meantime though here are my two recipes 🙂

The first recipe is a dairy free, low gluten (spelt) banana bread and the second one is a modification of my  friend Colette’s mum’s recipe (modified to replace butter with oil and a few other little additions of my own) which does contain eggs (but these could be substituted out for apple puree).  Either of these recipes could have nuts added to them – walnuts would work particularly well, and if you’re feeling naughty you could throw in some dark chocolate chunks too!

Dairy free Banana Bread:

2 cups wholemeal spelt flour
1 cup coconut palm (or any unrefined) sugar
1/4 cup and 2 tbsps almond oil or olive oil
3 ripe bananas, mashed
1/4 cup soya milk mixed with 1 tsp apple cider vinegar
1/2 tsp baking soda
1 tsp vanilla extract
1 tsp cinnamon
1/4 tsp allspice
1/2 tsp himalayan rock salt

Preheat oven to 350 F / 175 C. Line and grease a small loaf tin (approximately 8 inches x 4 inches).

Mix the flour, baking soda, cinnamon, allspice and salt together in a large bowl. In a separate bowl mix the oil and sugar together until well combined. Add the mashed bananas and the soya milk (to which vinegar has been added) and the vanilla extract. Add this mix to the flour mixture and stir well. Pour into the loaf tin and place in the oven for an hour, or until a skewer inserted in the middle comes out clean. Once cooked remove from the oven and allow to cool in the tin for 5 mins then transfer to a wire rack to cool.

Colette’s mum’s modified banana bread:

2 cups white spelt flour
1 cup coconut palm (or any unrefined) sugar
1/4 cup and 2 tbsps almond oil or olive oil
4 ripe bananas, mashed
2 large eggs
1 tsp baking soda                                                                                                                      1 tsp bicarbonate of soda
1/2 tsp vanilla extract
1/2 tsp cinnamon
1/4 tsp allspice
1 tsp himalayan rock salt

Preheat oven to 350 F / 175 C. Line and grease a small loaf tin (approximately 8 inches x 4 inches).

In a large bowl mix the oil and sugar together until well combined, then add the mashed bananas and vanila extract. In a separate bowl mix the flour, baking soda, cinnamon, allspice and salt together.  Add half of this mix to the wet ingredients and mix well. Then add one egg and mix until combined. Add the rest of the flour mixture, stir well and add the final egg. Mix until well combined. Mix the bicarbonate of soda in 1/4 cup of hot water and stir in to the mixture. Pour into the loaf tin, sprinkle some unrefined coconut sugar over the top and place in the oven for an hour, or until a skewer inserted in the middle comes out clean. Once cooked remove from the oven and allow to cool in the tin for 5 mins then transfer to a wire rack to cool.


Oh So Simple Apple Compote Recipe


I confess, I have a problem. I am utterly addicted to apple compote. I have it with my homemade granola for brekkie, I have it with co yo for a lovely comforting dessert and I have it cold out the fridge for a mid-arvo snack!  I have posted this before when I posted my mincemeat and apple festive compote but I thought it was worth a post in it’s own right!

Never, ever, buy a store bought compote unless you can help it. They’re so simple to make and unless you’re careful about what you buy you are basically just buying pure unrefined sugar!

The apple compote is super simple! Just peel and core some bramley apples (as many as you want to eat!), chop small and put in a saucepan with a tablespoon of water. Gently bring to the boil, add a lid and simmer on a low heat until the apple is all mushy! I like it just like this, but if you want it sweeter then add some raw sugar while you cook them. Stir occasionally to stop the apple sticking and make sure it doesn’t boil dry (just add a little more water if it does). Once cooled transfer to a jar and store in the fridge for up to a week (mine never lasts that long!). You can also freeze it in batches too :)

_MG_7417

Crunchy Granola Bars


I’ve been needing a mid-afternoon pick me up lately and as I’m off the ‘Willies’ (chocolate, that is! :)) I thought I’d have a go at creating a crunchy, granola snack bar. My first attempt ended up as a chewy breakfast kinda bar (and although I don’t like it as much I will post the recipe as some of my tasters loved it even if I didn’t!). So I went back to the baking tray and came up with this little beauty 🙂 Totally detox friendly! 🙂

_MG_7771

500g Spelt porridge oats (the whole ones, not flakes) or Jumbo porridge oats

350g mixed nuts of your choice (I used almonds, pistachios and cashews)

100g Pumpkin seeds

100g Sunflower seeds

50g Chia seeds

50g Linseeds

200g dried fruit (I used blueberries, cranberries and banana chips this time)

1 tso cinnamon

250 – 350g Sweet Freedom (light or dark)

Preheat the oven to 150 C. Start by placing the spelt flakes in a baking tray and put in the oven to toast for approx 20 mins, until brown. Place the nuts in a dry frying pan and toast over a medium heat until they start to turn brown. Once the spelt and nuts are toasted add to a large bowl. Add in all the other ingredients, except the sweet freedom. Mix well and then start to drizzle in the sweet freedom. Keep going until you have a sticky mixture. It needs to start to hold together, but be careful not to add too much. Keep stirring well.

Turn the oven up to 200 C. Spread the sticky mixture out on to a baking tray covered in baking parchment. Arrange the mixture to the thickness you want for your bars, 1 – 2cm works well. Compress it down as much as you can. Place in the oven for up to 10 mins until it goes a lovely golden brown. Keep an eye on it as it can burn. As you take it out use the back of a spoon to compress the mixture again and leave to start to cool. It will not hold together at this point so don’t try to cut it! Keep an eye on it as it cools, once it starts to hold together you can divide it in to bars. It should be cool enough to snap. Peel it away from the baking parchment and put it upside down on a wire rack to cool. Keep an eye on it and move the pieces regularly or they will stick! Once totally cool it should be hard and crunchy. Pop it in an airtight tin and it will keep for ages! 🙂