Apple and Coconut Cinnamon Caramel Swirled Loaf – Dairy free, Gluten Free and Vegan


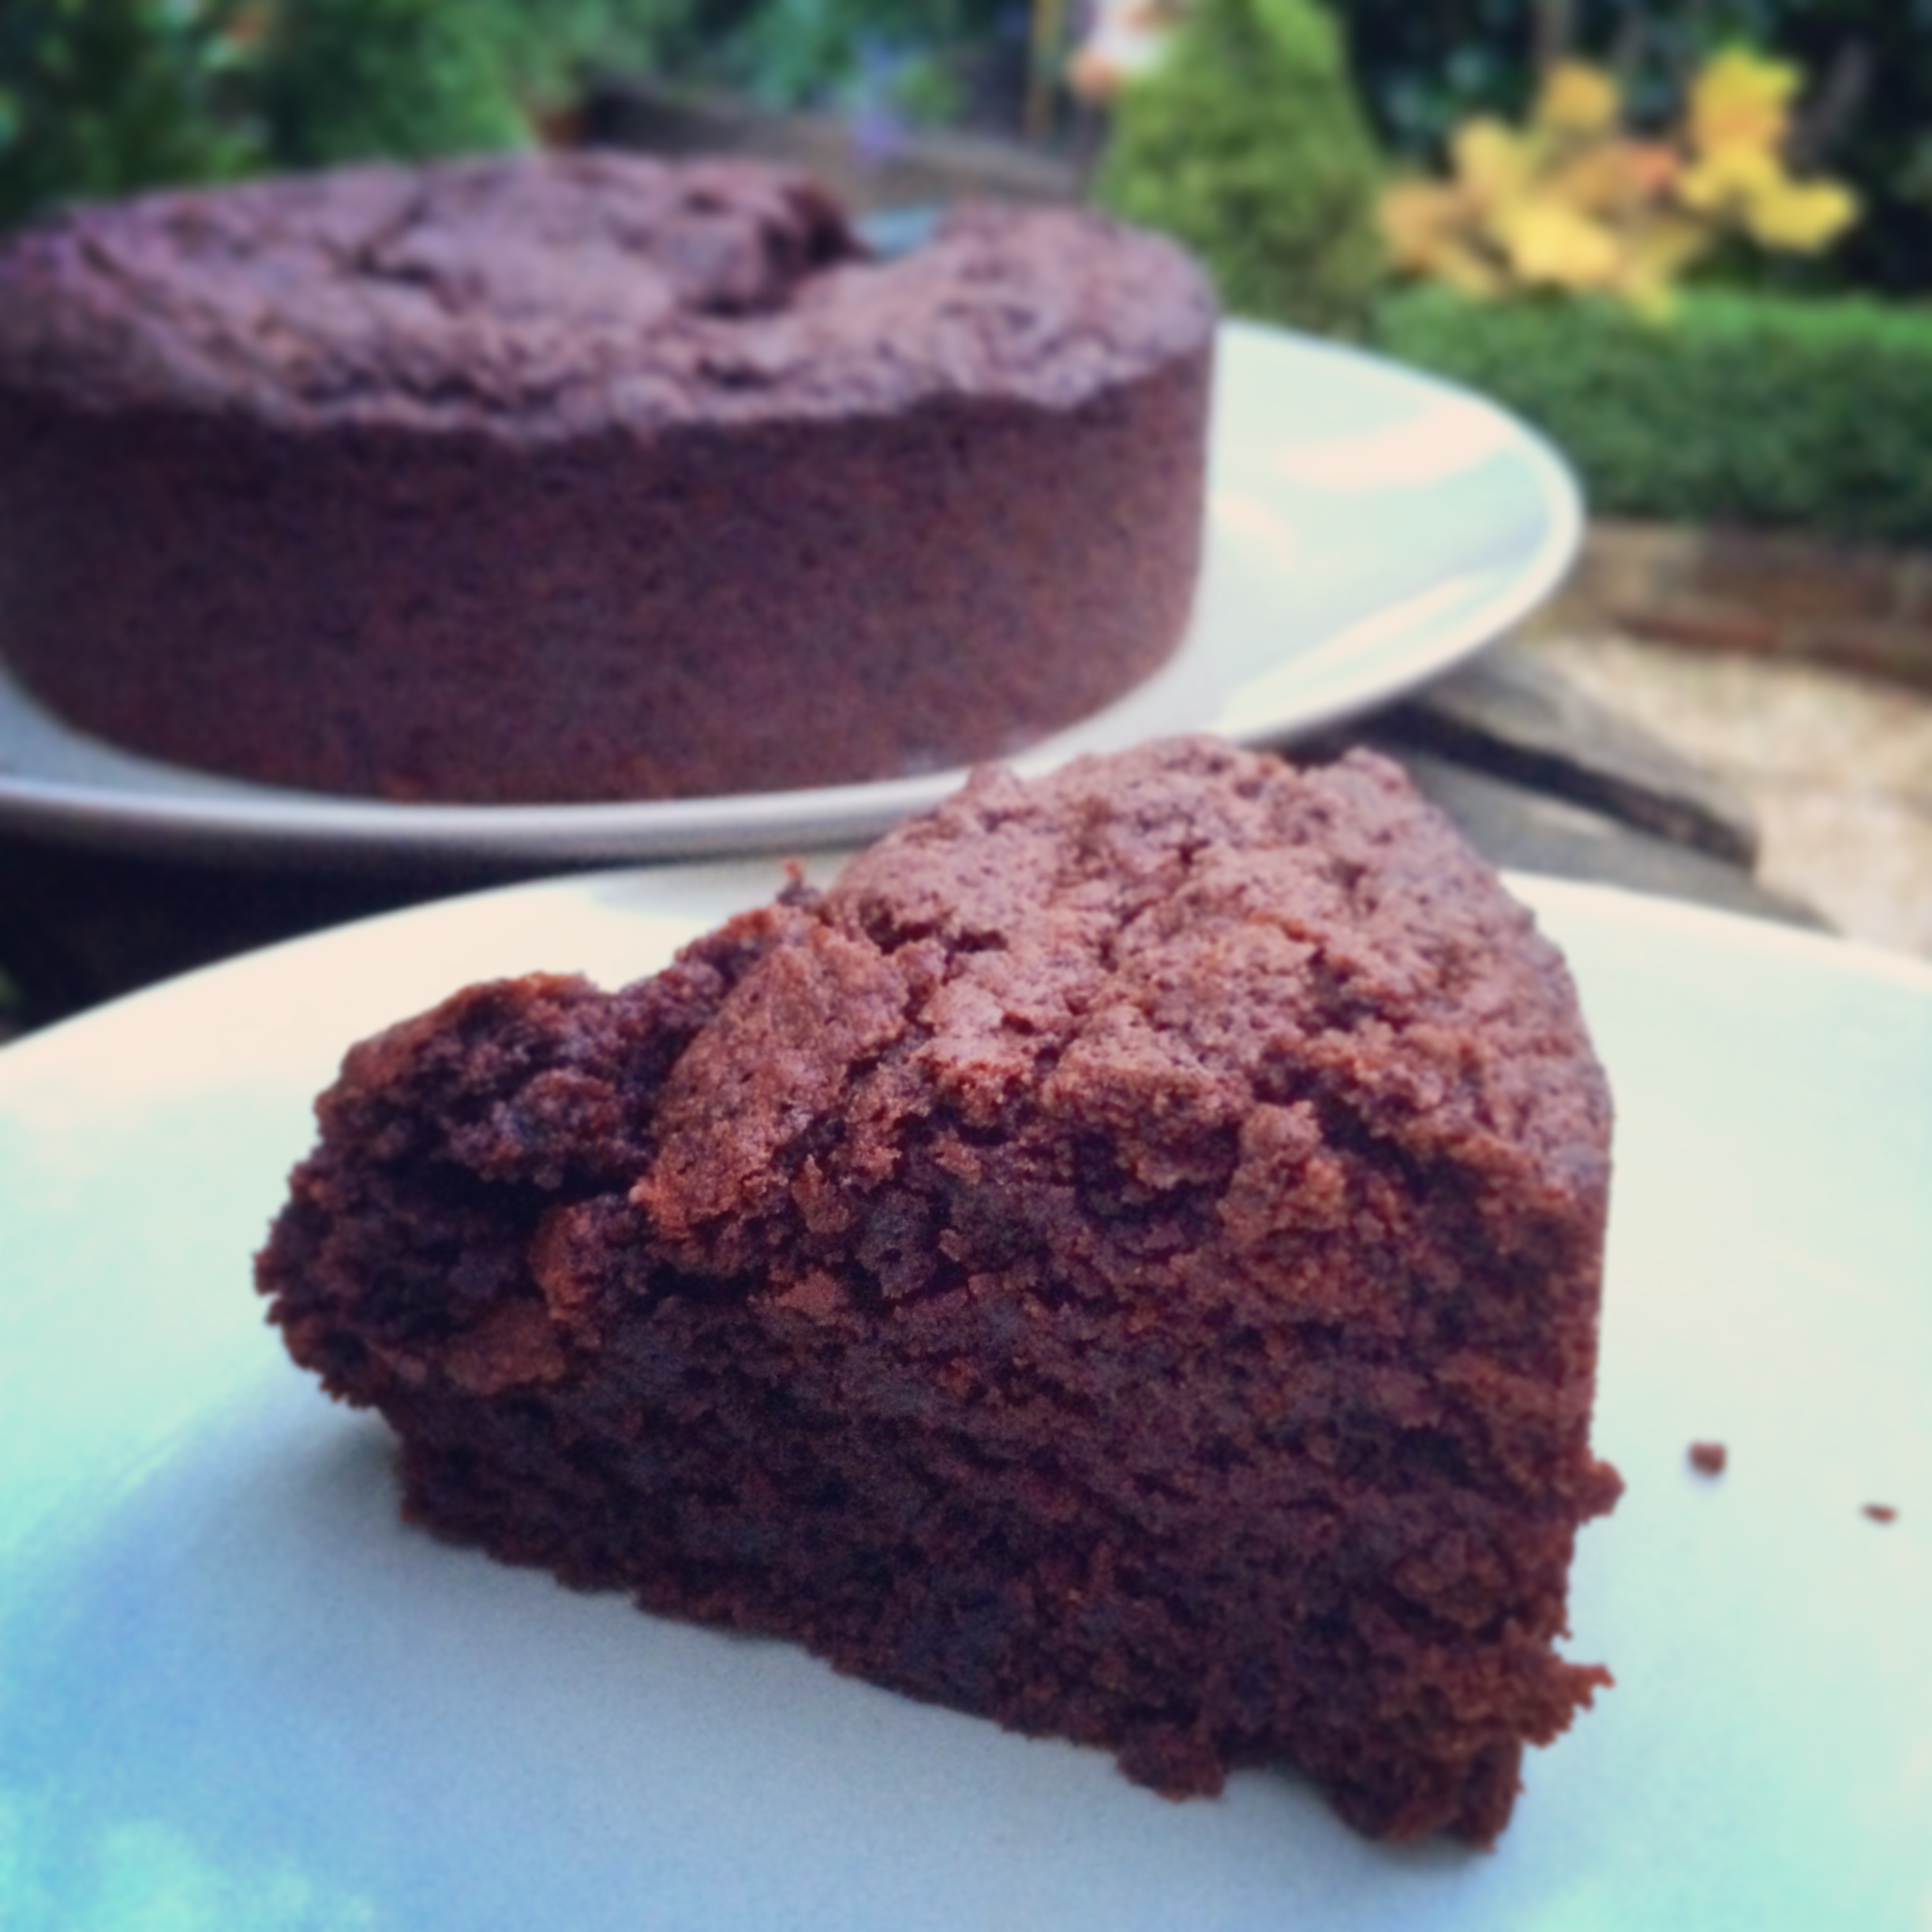
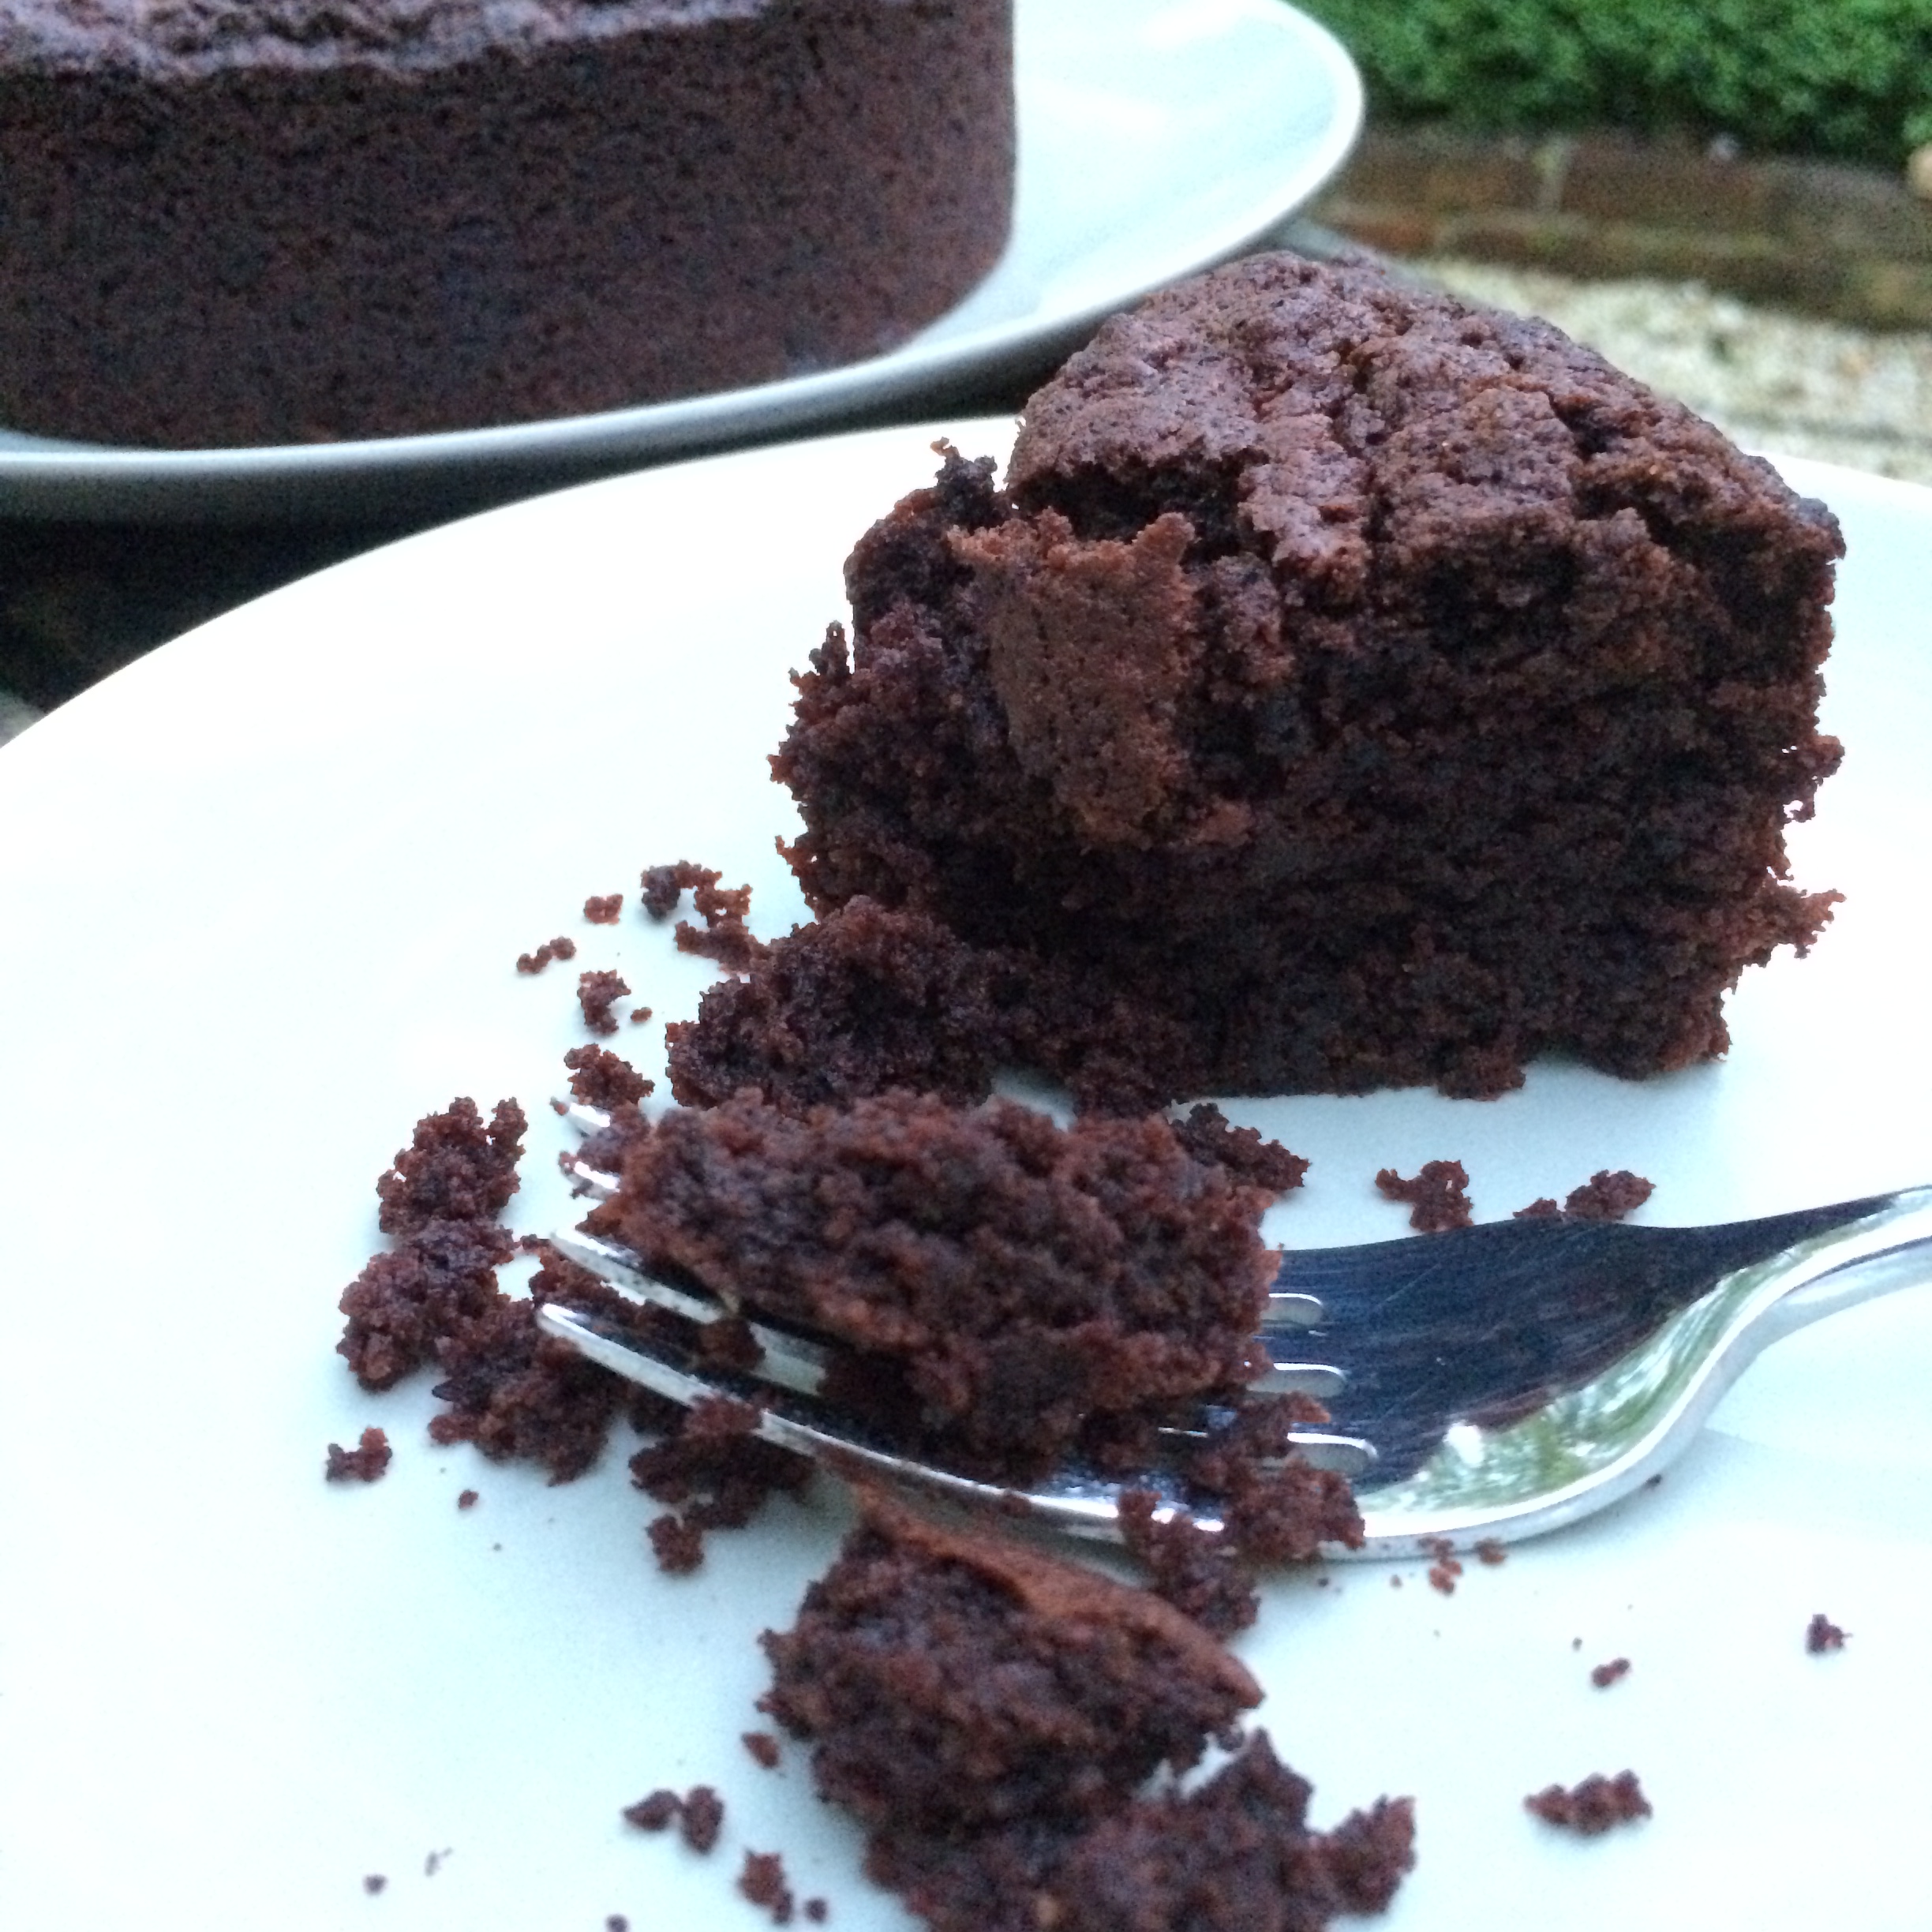
This may be my best loaf recipe yet… This was so good I had to make it twice, in two days.. and it didn’t last long!


I was sent a bottle of this fab Coconut Syrup, which I was already a big fan of, and I’m really enjoying playing around with date caramel at the moment, so I thought why not combine the two in an appley-caramely-coconutty-squidgy loaf! The coconut syrup adds a lovely richness to the loaf which is fab. The syrup is great for drizzling over yoghurt, sweetening smoothies or pouring over your finished slice of loaf too! You can find out more here – Bali Nutra Coconut Syrup.


I’ve even done a little video too! 🙂

https://youtu.be/XF7tjOi1yAU
You will need:

2 cups Gluten-free flour or spelt flour
1 cup coconut palm (or any unrefined) sugar (plus a little extra to sprinkle on top)
1/4 cup Coconut Syrup
1/4 cup and 2 tbsps almond oil or olive oil
3/4 cup apple purée (make your own – instructions here)
1/2 cup desiccated coconut (plus a little extra to sprinkle on the top)
1/2 cup date caramel (recipe here)
1 tbsp Cocoa powder
1 small apple – diced
1/4 cup soya milk mixed with 1 tsp apple cider vinegar
1/2 tsp baking soda
1 tsp vanilla extract
1 tsp cinnamon
1/4 tsp allspice
1/2 tsp himalayan rock salt

Preheat oven to 350 F / 175 C. Line and grease a small loaf tin (approximately 8 inches x 4 inches).

Mix the flour, baking soda, coconut, cinnamon, allspice and salt together in a large bowl. In a separate bowl mix the oil and sugar together until well combined. Add the apple purée and the soya milk (to which vinegar has been added), the coconut syrup and the vanilla extract. Add this mix to the flour mixture and stir well. Add the diced apple and stir well.

Remove about one cup of this batter and put it in a separate bowl. Stir the date caramel in to this mix. Add the cocoa powder and mix well – this adds a lovely richness to the batter and also darkens it to make the swirls more obvious, without giving a Chocolate flavour 🙂

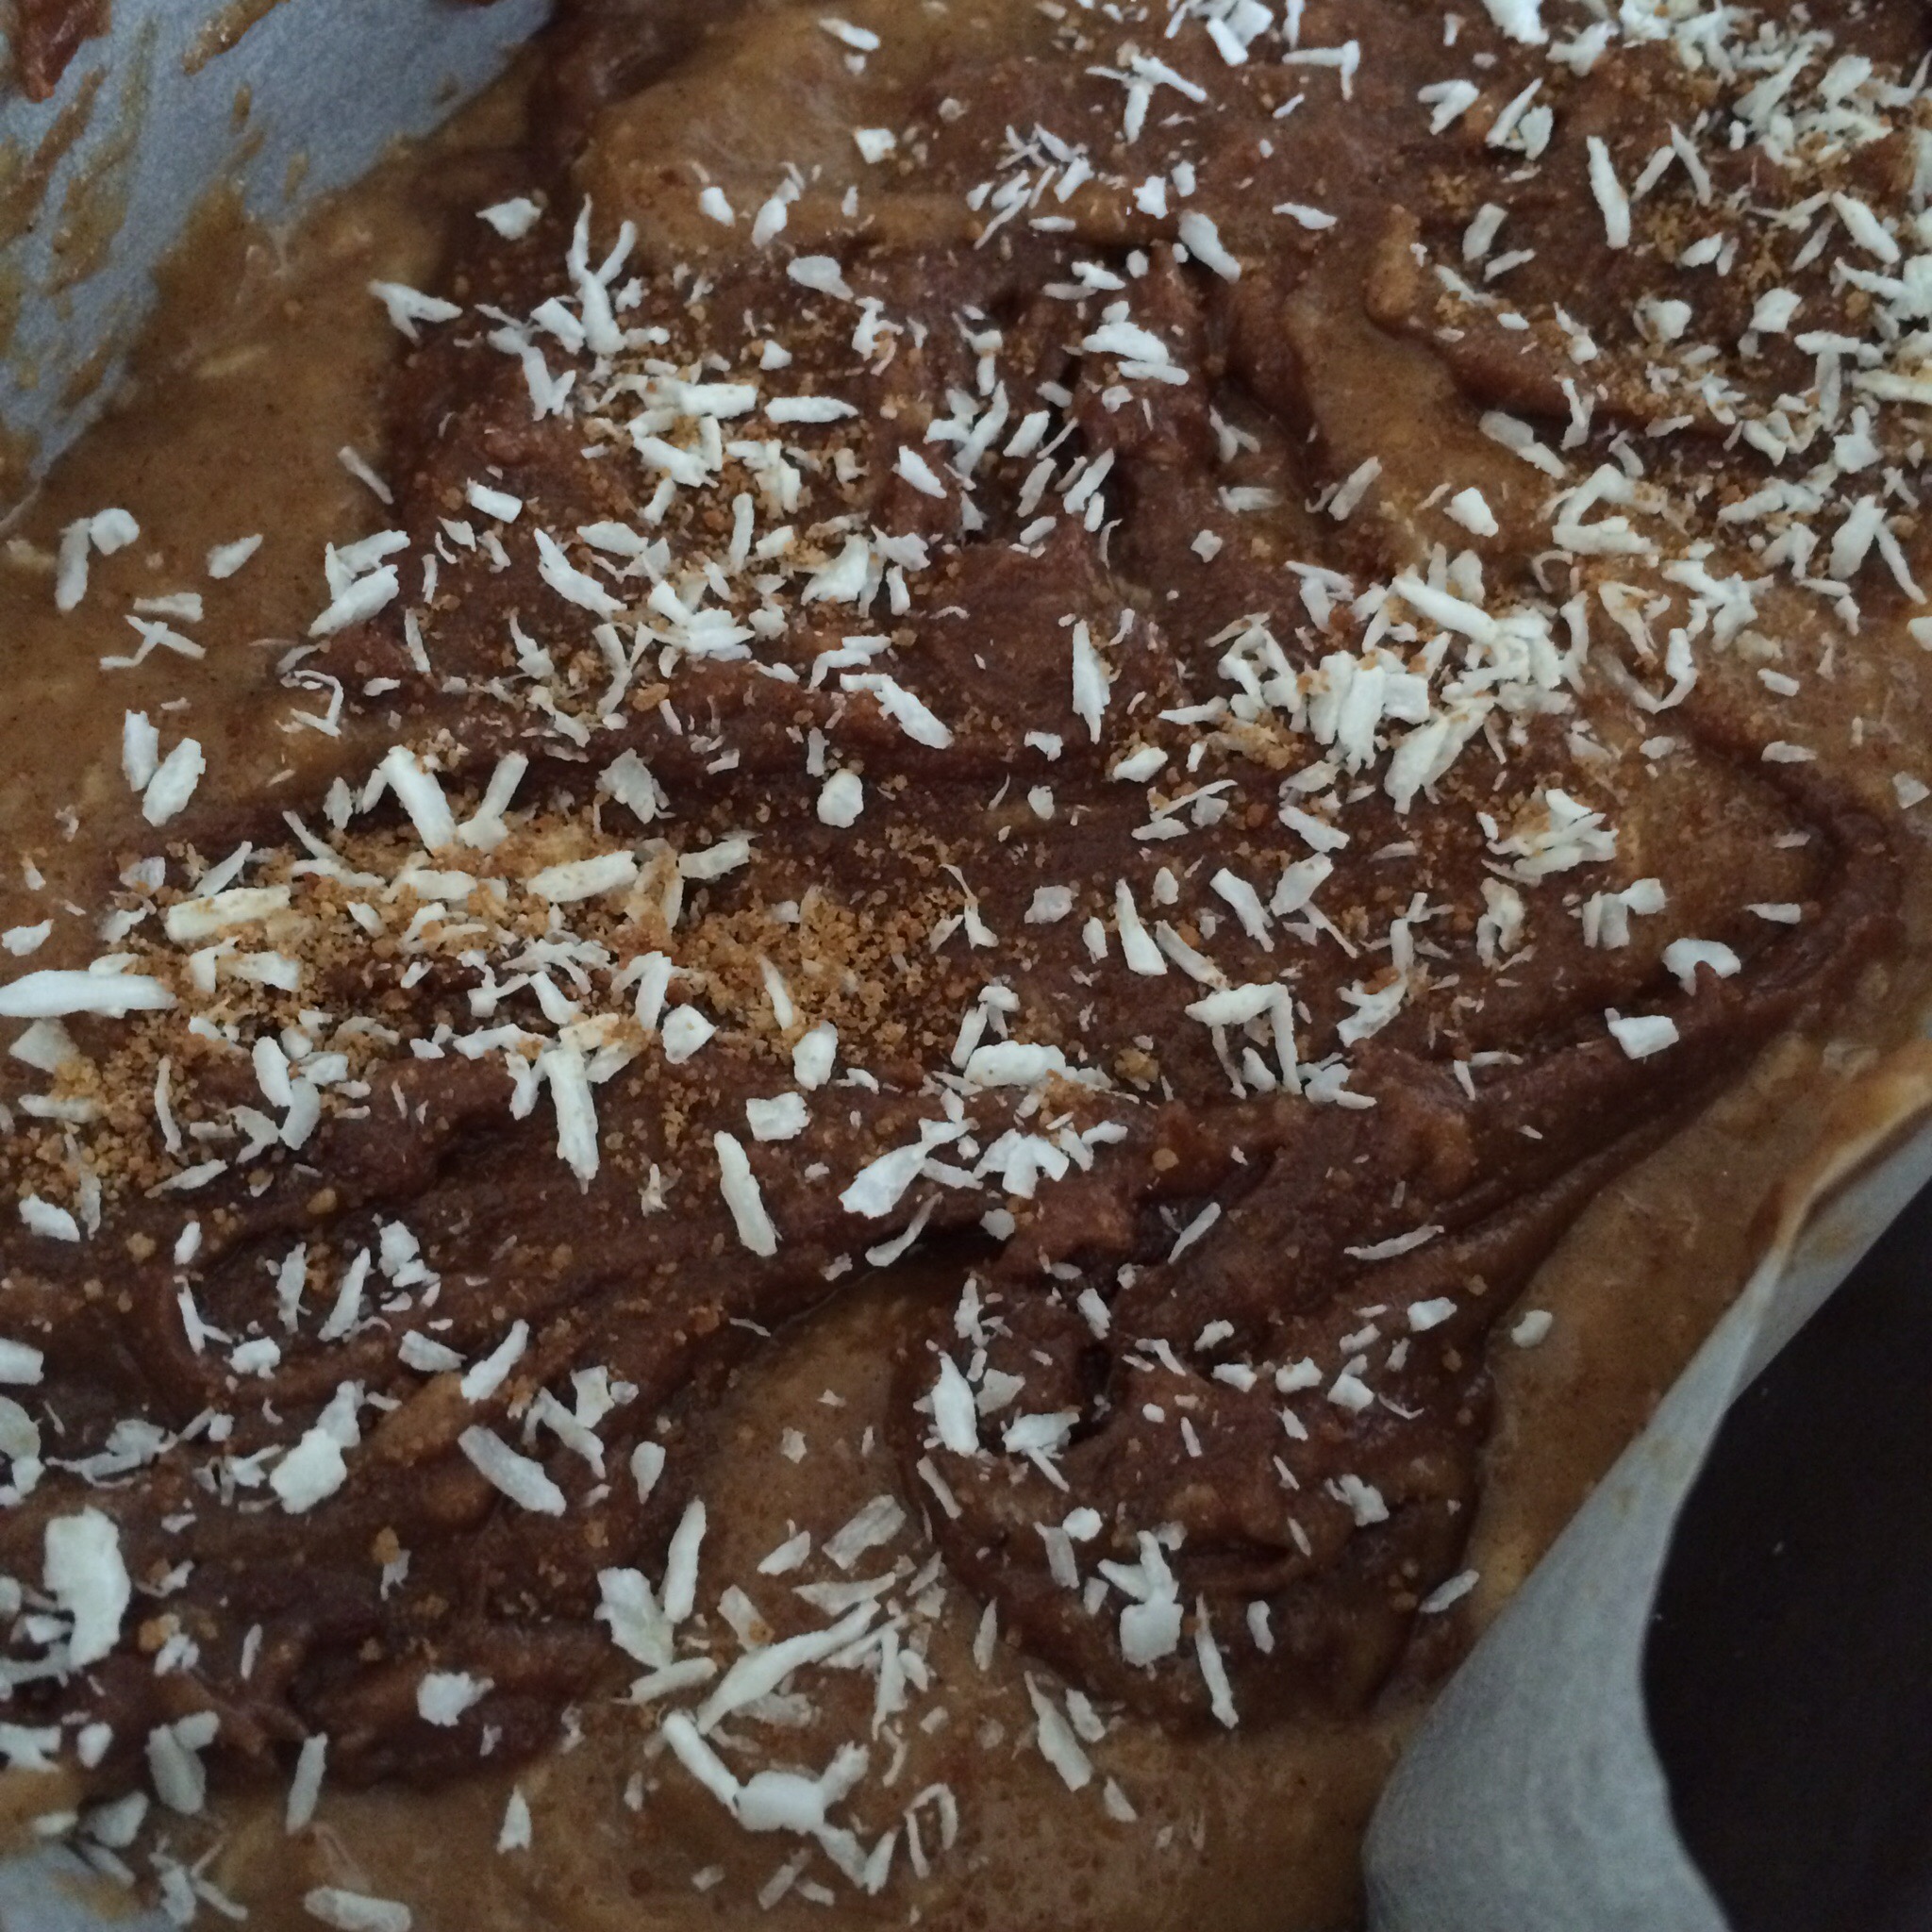
Start by adding a layer of the plain batter in your loaf tin. Drop a few spoonfuls of the caramel batter and use a fork to marble it, then add another layer of plain batter. Continue to layer and marble the batters until you’ve used it up! Sprinkle with a little coconut sugar and desiccated coconut.


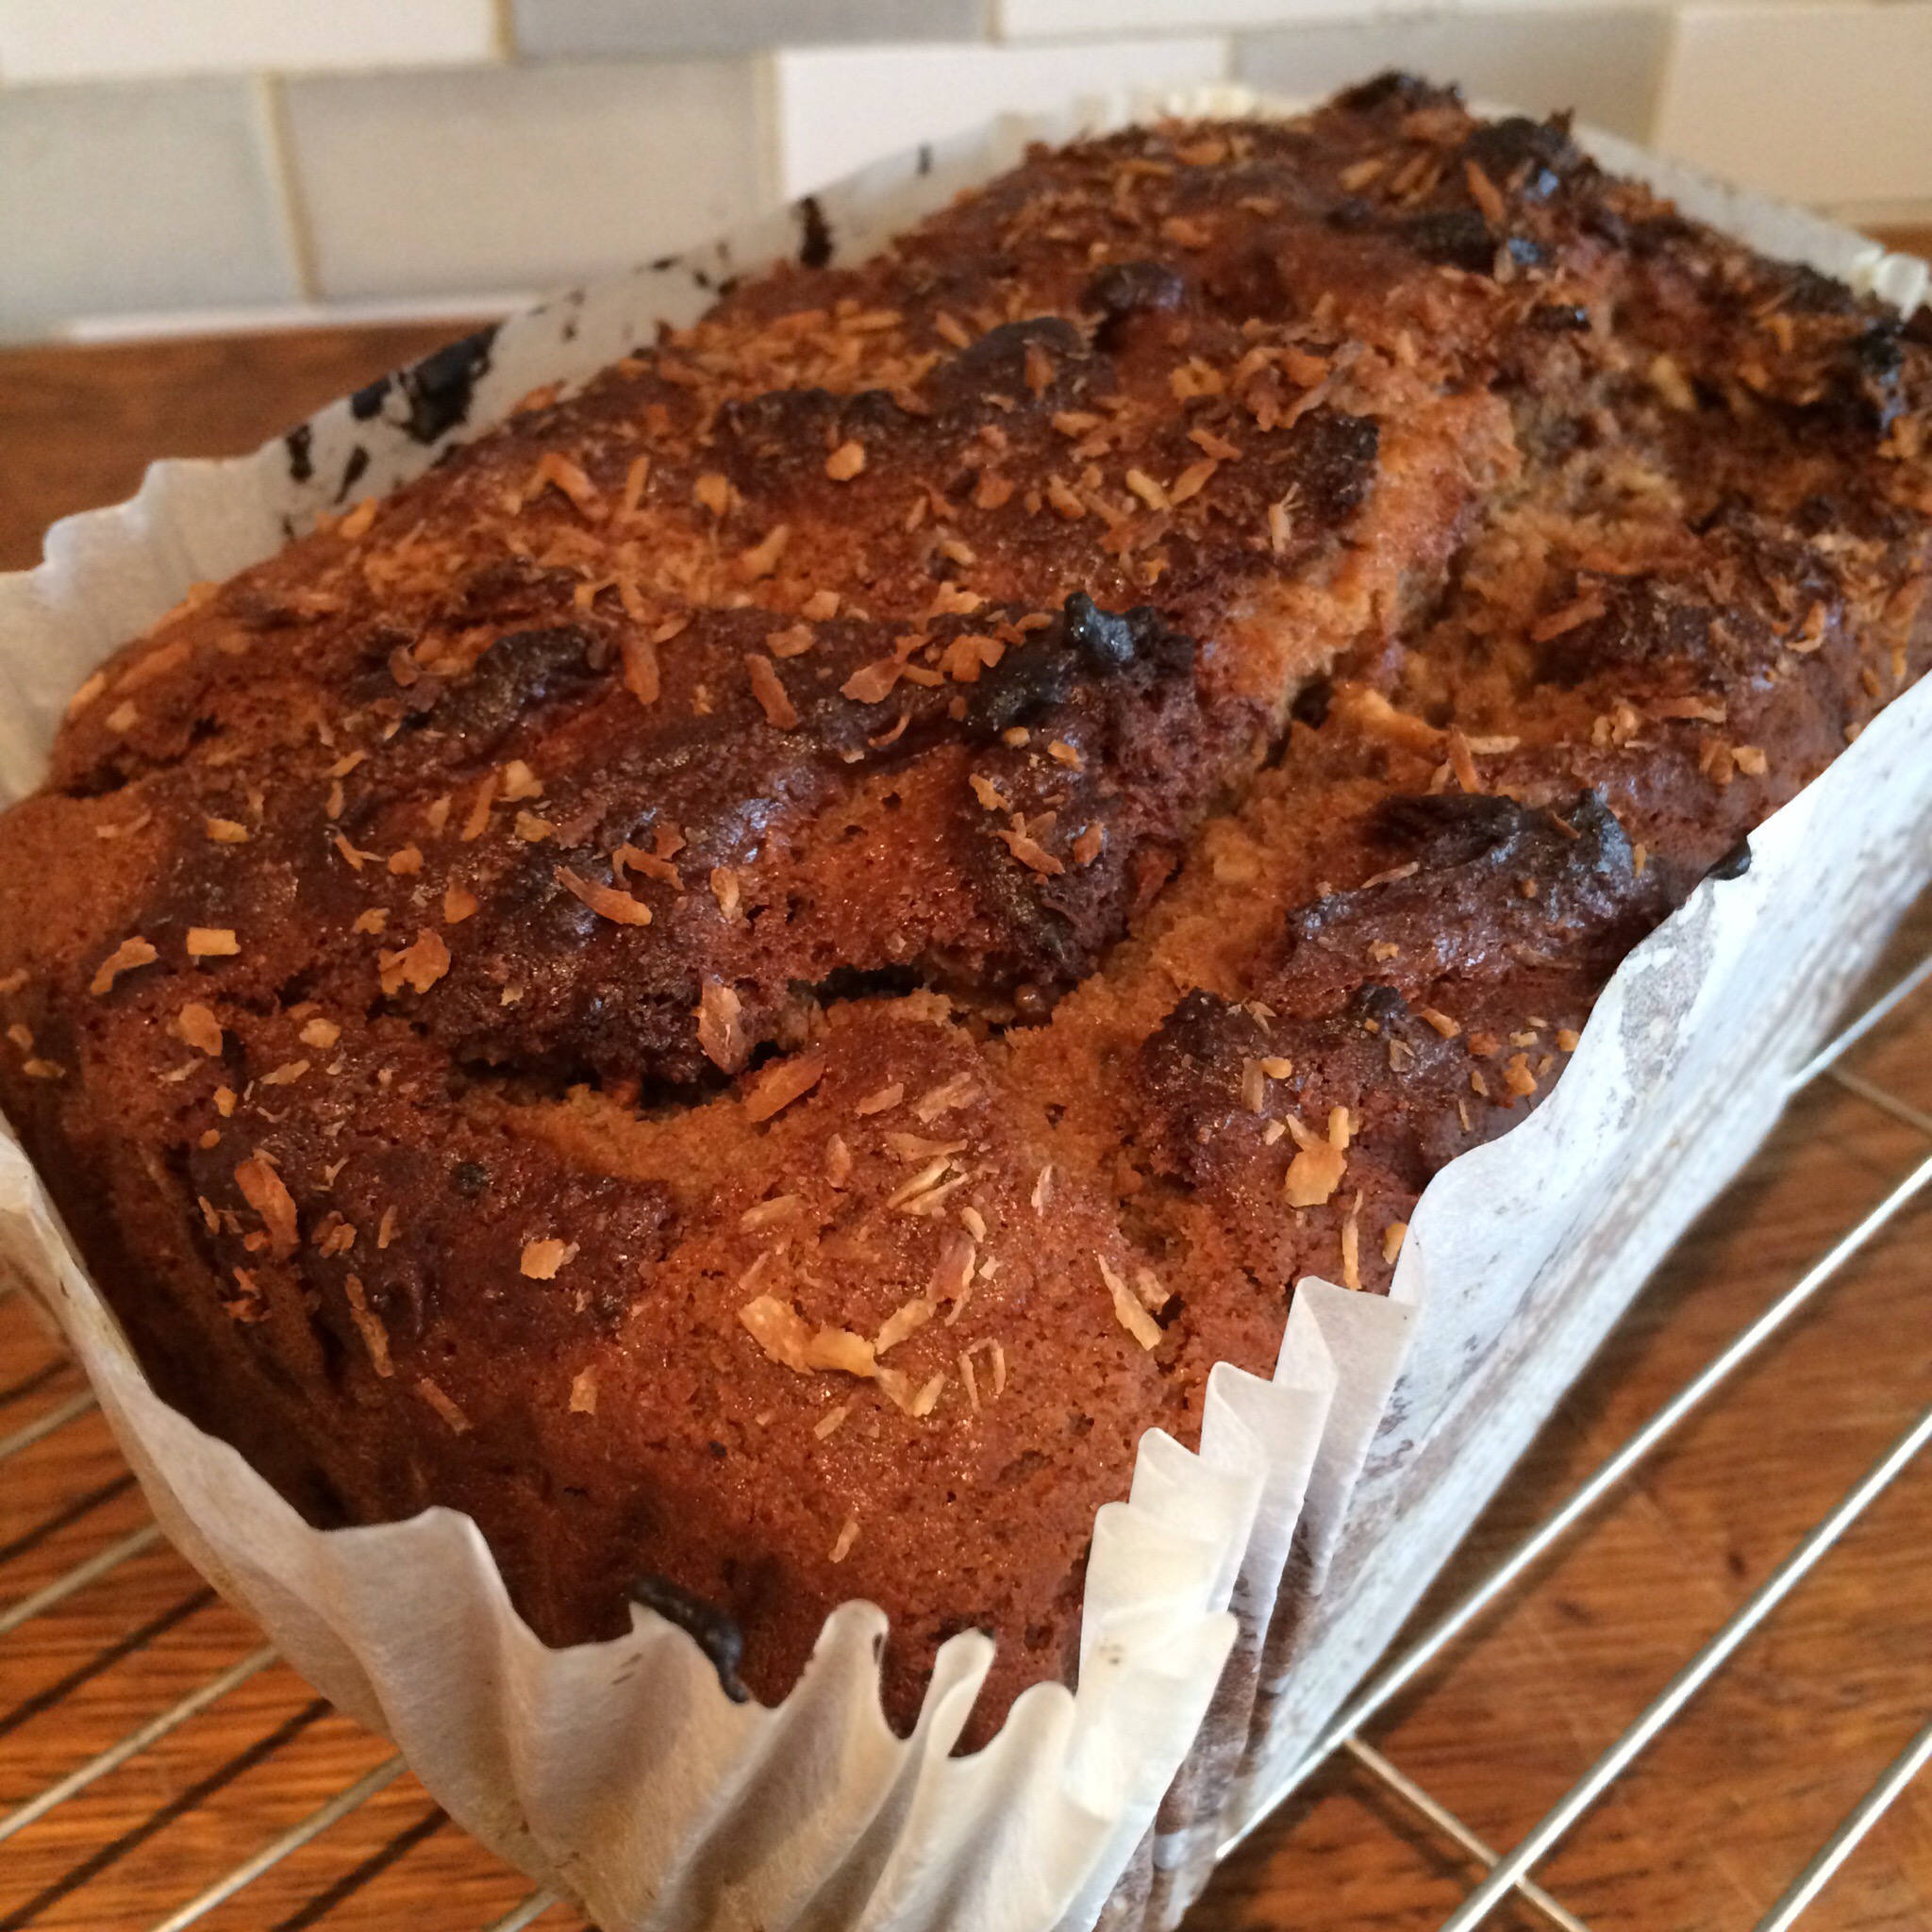
Place in the oven for an hour, or until a skewer inserted in the middle comes out clean. Once cooked remove from the oven and allow to cool in the tin for 5 mins then transfer to a wire rack to cool.


This is absolutely divine when warm and if you have any spare date caramel I highly recommend smearing some on top!

You can easily freeze this too – it keeps brilliantly.

Caramel Buckwheat Crispy Squares – Dairy and Gluten free


When I was at school I used to take a Kellogg’s Rice Krispie Marshmallow square with me every day for my breaktime snack. Does anyone else remember them? I was addicted! All gooey and sweet… and delicious…but so full of rubbish…..

So I thought I’d recreate a healthier version of them! So I’ve had a play and come up with  Caramel Buckwheat Crispy Squares. Super easy to make and really scrummy! You could use any puffs you like – buckwheat, spelt, quinoa, rice…. These are better than the originals I think and not half as bad for you 🙂

You will need:

10 -12 medjool dates

2 tbsp Cashew or almond butter

1 – 2 tbsp warm Water

1 – 2 cups of Buckwheat (or any) puffs

Optional Chocolate for decoration:

1/2 cup Coconut oil (melted)

1/3 cup Cacao/cocoa powder

1/4 cup Coconut syrup

Start by making your caramel. Pit and chop the dates and pop them in to your blender together with the nut butter. Add a little of the water and blitz. You want to nice smooth caramel which is thick enough to hold the puffs together, so you may need to add a little more water but not too much. I have to say, watching the caramel in the blender is very pleasing… look….

Once you have a smooth but sticky caramel remove it from the blender. You will probably have more caramel than you need but that’s ok as you can use it for some other yummy treats like my apple cinnamon smoothie or homemade toffee poppets.

Put your puffs in a bowl and add a few spoonfuls of caramel. Stir it through and keep adding caramel until you have a sticky mess! Line a tupperware pot or tray with some baking paper and press the caramel puff mess in to the tray and push down well.

Pop in the freezer for at least an hour to set. It won’t set firm – it will be all sticky and chewy 🙂

Once set remove from the freezer, slice and serve!

If you want to decorate with raw chocolate then combine the coconut oil, cacao powder and coconut syrup and whisk with a fork. Drizzle the chocolate over the bars and then pop back in the freezer briefly to set. Enjoy!

  IMG_3833

Homemade Toffee Poppets! Raw, dairy-free Chocolate Caramel Balls!


When I was little my grandma (Nannie 🙂 ) would come to pick me up on a Friday night from school and as a treat she’d take me across the road from our house to the newsagents to buy some sweets. I could have whatever I wanted… More often than not I went for a packet of Poppets – either mint, or the toffee ones (also known as Toffets). For those of you who haven’t had the pleasure – they were a little cardboard box full of nuggets of chocolate covered mint fondant or chewy caramel. I always associate them with those friday night treats and my Nannie and so they hold a special place in my heart 🙂

Poppets - Mint CreamsPoppets-toffeePAY-CHW-PPT

I’ve been having a bit of a caramel craving lately so I thought I’d better try to recreate those yummy little balls of goodness. (I’ll have a go at mint ones too at some point 🙂 ). As well as plain ones I also thought I’d try adding some coconut and nuts to the outside – you could coat yours in anything you like!

IMG_2749

You will need:

For the centres:

10 – 12 Medjool dates

3 tbsp Almond butter or Cashew butter if you don’t want the almond taste

(water as required)

For the chocolate:

1/2 cup Coconut oil (melted)

1/3 cup Cacao/cocoa powder

1/4 cup Coconut syrup

Desiccated coconut/chopped roasted nuts to decorate if desired

IMG_2752IMG_2751IMG_2750

Pop the dates and almond/cashew butter in a processor and pulse until blended and smooth. Add water if you want a softer texture. Take small spoonfuls and roll into balls with your hand – this is easier if you can chill it in the fridge for a while first. Pop the balls in the freezer for as long as you can wait!

To make the chocolate combine the coconut oil, cacao powder and coconut syrup and whisk with a fork.

Take the balls out the freezer and pop in to the chocolate to coat. Use a fork to move them around until coated and then pop on some greaseproof paper to set. Once set a little bit turn so the bottoms don’t stick.

IMG_2738 If you want to coat them in coconut or nuts then as soon as you’ve coated in them in chocolate roll in the coconut/nuts and then place on the greaseproof paper.

IMG_2736    IMG_2739

Then place in the freezer until ready to eat! All I need to do now is recreate the little cardboard box!

FullSizeRender

Raw Almond Caramel Chocolate Fingers


I’ve been dying to make something nutty and caramel-ly for ages and just haven’t got round to it  – finally the other weeked I got all my ingredients out and had a play and I’m very very pleased with the results! These are delish! They need to be kept in the freezer and are best eaten cold otherwise they get a bit squishy… although… that’s not such a bad thing!!

IMG_1411

You will need:

For the base:

1 cup Macadamia nuts

2 – 3 Tbsp Coconut syrup (or any liquid sweetener – agave, rice malt syrup etc)

1/2 tsp Vanilla powder or 1 tsp vanilla extract

1/4 tsp Almond extract

For the caramel:

12 – 14 Medjool dates

3 tbsp Almond butter

1/8 tsp Almond extract

pinch of salt

A little Water as needed (it depends how dry your dates are)

For the chocolate:

1/2 cup Coconut oil (melted) or Cacao butter (melted)

1/3 cup Raw cacao powder

1/4 cup Coconut syrup or maple syrup (or any liquid sweetener)

1/4 tsp Vanilla powder or 1/2 tsp Vanilla extract

First you need to make the base. Pop all the ingredients into a food processor and pulse until well blended and it forms a sticky dough. Line a small tray with baking paper and then press the base mixture in to the tray firmly.

IMG_1388    IMG_1390

Pop this in the freezer and then start on the caramel layer. I find it easier if you chop the dates up a bit first, so chop them and pop in to the processor together with the other ingredients, but not the water. Pulse until blended in to a paste. If it’s a little too dry then add some water (carefully so you don’t add to much). Once you have the consistency you want (sticky but spreadable) then take the base out the freezer and spread the caramel on top. You may have some caramel left over – this is no bad thing, I rolled it into balls which I coated in chocolate for some extra little caramel bites! 🙂

IMG_1391

Place this back in the freezer for as long as you can – an hour or more if possible.

Once you’re nearing the end of your the hour you can make up the chocolate (if you want to make it sooner you can, and you can just gently warm it to re-melt it). It’s best to use a large bowl for this so your caramel fingers will fit in (it makes it easier to coat them). Add the cacao, coconut syrup and vanilla to the melted coconut oil or cacao butter and mix well using a fork or a small hand whisk. Remove the caramel from the freezer and slice into fingers (or any shape you want).

IMG_1394

Then comes the fun bit! First of call place a wire rack over some baking parchment (or a board – or anything you don’t mind getting messy!). Make sure your chocolate is melted and combined well, then begin the dipping! Dunk the caramel fingers in the chocolate and ensure they’re coated. Then transfer to the wire rack and allow to set. They will stick to the rack, so before they’re set just move them slightly. If you’re anything like me you will probably end up with a bit of a mess on the bottom side, don’t worry, just wait til the top is set (it won’t take long) and turn them over and drizzle chocolate over them to tidy them up.

If you find the chocolate starts to thicken while you’re still coating them then just pop it in the microwave for a few seconds to re-melt (or even just place in a warm area – like on a radiator for a few moments – it melts so easily). Once they are all coated and lightly set (because the fingers are frozen it sets pretty quickly but will still be fragile) pop back in the freezer (I just popped them in a tupperware pot).

IMG_1395

Store in the freezer until you want to eat them.. then eat! They’re delicious as a quick pick me up.. and if you’re feeling really naughty they’re even better dipped in a tofu chocolate chili mousse (oh yes I did..!).

IMG_1400IMG_1408IMG_1414


Amazing Protein-Packed Flapjacks – dairy and gluten free


I get hungry, especially after a workout and I love a good flapjack or energy bar but I hate the fact that so many of the store bought ones are just full of sugar. Many of the ‘healthier’ versions I’ve bought are tasteless and unappetising so last Saturday, after a full on day, I thought I’d create some homemade protein flapjacks – full of good things!

image

I thought I’d do a little video to show you them in the flesh – so here goes:

and the finished product:

image

These don’t take long to put together and you can always substitute things if you don’t have them in the cupboard or don’t like them.

image

You will need:

300g rolled porridge oats (gluten-free or spelt if you want)

100g desiccated coconut

100g flaked almonds

100g Pumpkin seeds

215g dried, soft Prunes

315g dried dates

175g Almond butter (or your nut butter of choice)

100g Liquid sweetener (I used rice malt syrup but you can use agave, maple syrup, honey etc)

2 tbsp Coconut oil (measured when solid)

4 tbsp Vanilla protein powder (any brand you like – or you can also omit this)

4 tbsp Water

2 generous tsp Cinnamon

1/2 tsp Salt

Preheat the oven to 170 C.

Line a baking tin (I used a 20 x 20cm one) with baking paper. Mix the oats, almonds, pumpkin seeds and coconut together and pour into the baking tin. Place in the oven for 20 mins or until starting to brown. Make sure you turn regularly with a wooden spoon so the whole mixture gets toasted.

While that’s in the oven pop the dates and prunes into a blender or food processor and blitz to a paste. You may need to keep stopping to scrape the mixture back down in to the bowl. It doesn’t need to be completely smooth – a few lumpy bits are good!

Remove the oats from the oven and stir the protein powder through the mixture. Allow to cool.

Put the date mixture, nut butter, liquid sweetener, coconut oil, water, cinnamon and salt in to a large saucepan and heat very gently. Stir and allow the mixture to come together. Remove from the heat and pour the oats into the liquid mixture and mix really well.

Using a spatula scrape the mixture back into the lined baking tin and press down firmly. Then allow to cool and pop in the fridge. Do make sure you lick the saucepan (once it’s cool enough!!!) because the mixture is divine when warm! 🙂

Once it’s chilled you can cut in to slices. It makes the perfect post workout snack on the go and is great to pop in to lunchboxes too!

image

Chocolate Orange and Almond Brownies – dairy and gluten free


I think I’m in heaven. I’ve managed to combine three of my most favourite things – Willie’s Cacao Luscious Orange chocolate, roasted Almonds and my dairy and gluten free brownie! And wow – this is good! I’ve even managed to win over my orange chocolate hating friend! Win! 🙂

IMG_0026.JPG

You will need:

1/4 cup Rice flour

1/2 cup Ground almonds

1 cup unrefined Raw sugar (golden caster sugar, coconut sugar etc)

1/2 cup almond oil (or coconut oil)

1/4 cup raw Cacoa powder

2 tbsp chia seeds soaked in 6 tbsp water

1/2 tsp Himalayan rock salt

1/4 tsp Bicarbonate of soda

1 tsp Orange extract

Handful of Almonds

1 – 2 bars Willie’s Luscious Orange chocolate (chopped)

For Icing

1 – 2 bars Willie’s Luscious Orange chocolate

50 – 100g Unrefined icing sugar (adjust quantity to depending how runny you want it)

Silver balls to decorate

IMG_0476.JPG

Preheat the oven to 170C and grease a 20 x 20cm square baking pan with parchment paper.

Toast the almonds in a dry frying pan until they just start to turn brown. To make them even crunchier I let them cool to room temperature then chopped them and toast again briefly. Pop to one side until later.

Mix the ground almonds, flour, cacao powder, sugar, salt and bicarbonate of soda together in a large mixing bowl. In a separate bowl soak the chia seeds in the water. Once the chia seeds have absorbed all the water add them to the mix along with the orange extract, and oil. Whisk together using a hand mixer until well mixed. It should be thick and glossy when mixed.

Stir in the chocolate and almonds. Pour in to the baking tin and place in the oven for 25 – 30 mins until a skewer inserted in the middle comes out clean.

Cool on a wire rack

Then prepare the icing. Melt the chocolate and then stir in the icing sugar a little at a time until you get the consistency you want. Spread quickly on to the brownies and sprinkle the silver balls and any other decorations you want to use on to the top!

Enjoy!

IMG_0478-0.JPG

Peanut butter fruit and nut brownies – dairy and gluten free


Two very exciting things happened recently…Firstly I was given this beautiful pot full of scrummy raisins from my friend Dee 🙂 and secondly I finally found some PB2 powdered peanut butter!

photo (1)

The raisins… well that’s a long (somewhat amusing) story which I won’t go in to here, but needless to say they were very gratefully received :). Now PB2….What on earth is that and why would I be so excited to find it? Well for a start it’s a powdered peanut butter which means it’s a great way to get peanut butter in to your baking (if you want to.. which I do!). As an added bonus it has 85% less calories from fat compared to traditional peanut butter, but it isn’t full of rubbish. It’s all natural, slow roasted peanuts which are then pressed to remove the fat and oil. It comes as natural and chocolate (yum!) and you can either just add water to make it in to a butter to use as you would normal peanut butter…. or you can use it as a powder in bakes and shakes!

2014-09-06 18.04.13

So these two wonderful things were just crying out to be combined into something yummy…. and here it is! Peanut butter fruit and nut brownies! A great way to have a healthy treat with a little bit of a protein boost too!

2014-09-07 12.47.56

You can change the fruit and add different nuts if you like but I wanted to really give that peanut punch so I stuck with peanuts! You can also use peanut butter if you don’t have PB2 but it will change the consistency so I suggest you go a little lighter on the oil.

You will need:

1/4 cup Rice flour

1/2 cup Ground almonds

1 cup unrefined Raw sugar (golden caster sugar, coconut sugar etc)

1/2 cup almond oil (or coconut oil)

1/4 cup raw Cacoa powder

4 heaped tbsp PB2 (if you don’t have this you can use normal peanut butter – 2 – 3 tbsp)

2 tbsp chia seeds soaked in 6 tbsp water

1/2 tsp Himalayan rock salt

1/4 tsp Bicarbonate of soda

1 tsp Vanilla extract

100g dried Raisins

50g dried Cherries

Handful of natural roasted Peanuts (halved or chopped)

For topping

2 – 3 tbsp PB2 original

1 – 2 tbsp PB2 chocolate

a little Water

Preheat the oven to 170C and grease a 20 x 20cm square baking pan with parchment paper.

Mix the ground almonds, flour, cacao powder,PB2, sugar, salt and bicarbonate of soda together in a large mixing bowl. In a separate bowl soak the chia seeds in the water. Once the chia seeds have absorbed all the water add them to the mix along with the vanilla extract, and oil. Whisk together using a hand mixer until well mixed. It should be thick and glossy when mixed. Have a taste – if you want a bit more peanutty flavour you can add a little more PB2 now but mix it in really well.

Stir in the peanuts, raisins and cherries (cut them in half if they are large). Pour in to the baking tin and place in the oven for 25 – 30 mins until a skewer inserted in the middle comes out clean.

Cool on a wire rack

Then prepare the topping. In separate bowls mix the original PB2 and chocolate PB2 with water. Add a little water at a time – you want a runny consistency but not too runny.  Drizzle the original one over the brownie, then the chocolate one. Pop in the fridge to set  – or just eat straight away!

2014-09-07 12.46.56

2014-09-07 12.45.17

Blackberry and cinnamon cakes with blackberry and mint swirled cashew cream!


I managed to get a mahoosive haul of wild blackberries last weekend so decided I’d better find some ways to use them! I fancied a light, muffin/fairy cake kinda thing for tea so came up with this little beauty. They’re delicious on their own, but if you want something a bit special then serve them with this blackberry and mint swirled cashew cream for a bit of afternoon tea!

photo 2 (2)

For the cakes you will need:

1 cup of non-dairy Milk
1 tsp Cider apple vinegar
1 1/4 cups Gluten-free flour or Spelt flour
2 Tbsp Cornflour
3/4 cup Raw unrefined sugar/ coconut palm sugar
3/4 tsp Baking powder
1/2 tsp Bicarbonate of soda
1/2 tsp Himalayan rock salt
1/3 cup Olive oil
2 1/4 tsp Vanilla extract
1 tsp ground Cinnamon
Blackberries – couple of handfuls (depending how large they are!)

For the cashew cream you will need:

A cup of cashew nuts (or however many you want to use!)
Some water
maple syrup/agave syrup/rice malt syrup (optional – to taste)
handful of Blackberries
handful of fresh Mint leaves
A blender/ vitamix

Soak the cashews overnight in water (so that they are well covered).

To make the cakes:

Preheat oven to 350 F. Put the milk and vinegar together in bowl and whisk together, then leave to curdle for a few minutes. Add the milk mixture, oil, sugar and vanilla extract to a large bowl and mix together. Sieve the flour, cornflour, cinnamon, baking powder, bicarbonate of soda and salt into the liquid mixture and stir well until no large lumps remain. Gently stir the blackberries in to the mix. Pour into cupcake liners in a muffin pan – this should make approximately 15 cakes. Make sure the blackberries are covered with batter (you may need to just gently push them down).

photo 2

Place in the oven for 20 – 25 minutes until a skewer inserted in the middle comes out clean. Once done place on a wire rack to cool.

photo 3

To make the cashew cream

Drain and rinse the soaked cashews and then pop them in to the blender. Start by adding about half as much water as cashews to the blender and give it a blitz. Continue adding water until the cashews are smooth and you have the consistence of cream that you want – less water, thicker cream! If you want to add some sweetness add your choice of liquid sweetener to taste.

Smoosh the blackberries up a little bit with the back of a knife, and chop the mint finely. Stir it in to the cream and adjust quantities to taste.

photo 5

Serve your cakes with a big dollop of the cream and a sprig of mint!

photo 1 (2)

Chocolate Cherry Brownies – gluten and dairy free


My hubby and I had a rare evening out last night with some very good friends to go and watch “Dirty Dancing” at the open air cinema. Tasked with providing dessert I decided I’d go for some good old chocolately goodness and whip up a new version of my brownies for us to munch on whilst watching the film… They’re almost as tasty as Patrick Swayze 😉

The sweet-sour of the cherries works so well to balance out the rich chocolate in these and they’re brilliant served with berries and some cashew cream (recipe here) for a decadent (but not too bad for you) dessert.

photo 4

You will need:

1/4 cup Rice flour

1/2 cup Ground almonds

1 cup unrefined Raw sugar (golden caster sugar, coconut sugar etc)

1/2 cup almond oil (or coconut oil)

1/4 cup raw Cacoa powder

2 tbsp chia seeds soaked in 6 tbsp water

1/2 tsp Himalayan rock salt

1/4 tsp Bicarbonate of soda

1 tsp Vanilla extract

100g dried Cherries

Dairy free chocolate (I use Willie’s cacao drops) – about a handful (approx 100g)

For Icing

100g Dairy free chocolate (again I use Willie’s cacao drops)

100 – 200g Unrefined icing sugar (adjust quantity to depending how runny you want your icing)

Freeze dried Cherries to decorate

Preheat the oven to 170C and grease a 20 x 20cm square baking pan with parchment paper.

Mix the ground almonds, flour, cacao powder, sugar, salt and bicarbonate of soda together in a large mixing bowl. In a separate bowl soak the chia seeds in the water. Once the chia seeds have absorbed all the water add them to the mix along with the vanilla extract, and oil. Whisk together using a hand mixer until well mixed. It should be thick and glossy when mixed.

Stir in the chocolate and cherries (cut them in half if they are large). Pour in to the baking tin and place in the oven for 25 – 30 mins until a skewer inserted in the middle comes out clean.

Cool on a wire rack

Then prepare the icing. Melt the chocolate and then stir in the icing sugar a little at a time until you get the consistency you want. Spread quickly on to the brownies and sprinkle the freeze dried cherries and any other decorations you want to use on to the top!

photo 1

Then enjoy (preferably with a side helping of Patrick Swayze 😉 )

photo 3

Guilt-free Chocolate cake (with beetroot!)


You can’t beat a good chocolate cake and this is definitely a good chocolate cake! It’s totally vegan and totally yummy! This was inspired by a delicious cake my friend Vicky made so I thought I’d have a go at veganising and gluten-freeing it! 🙂

2014-06-07 21.18.06-1

You will need:

250g cooked Beetroot

250g unrefined Raw sugar (coconut palm sugar etc)

190g self-raising gluten free Flour

60g raw Cacao powder

1 tsp Bicarbonate of soda

3 tbsp Chia seeds soaked in 9 tbsp water

180 ml Almond oil (or other non flavoured oil)

1 tsp Vanilla extract

1 tsp Chocolate extract (or extra Vanilla if you don’t have this)

2014-06-07 21.18.34

Preheat the oven to 170 C. Lightly grease a 23 cm diameter cake tine.

In a large mixing bowl, sift together the flour, cacoa and bicarbonate of soda. Then stir in the sugar.  Pop the cooked beetroot in to a food processor and blend until smooth. Place this in to a sieve over another bowl and push out any juices with the back of a spoon. You don’t need the juice for this recipe but don’t bin it – you can throw it in to a smoothie 🙂

Put the beetroot pulp back in to the processor and then turn on the motor and add the soaked chia seeds, vanilla and chocolate extract (if using) and then slowly pour in the oil.

Mix until well blended. Make a well in the centre of the flour mix and add the beetroot mixture. Gently fold together with a large spoon. Pour the mixture in to the cake tin and place in the oven for 35 -40 mins (or until a skewer comes out clean). Remove from oven and allow to cool for 5 – 10 mins in the tin, then remove and place on a wire rack to cool.

Then enjoy with a cup of tea (and maybe a cat)! 🙂

2014-06-07 21.22.39