Chia Threesome! Chocolate, Vanilla Caramel Cinnamon and Berry Pud


I thought I would have a little fun with some chia puds yesterday and what better, given it’s nearly Valentine’s day, than a decadent looking and tasting, yet totally healthy threesome pud!

I can almost feel the love! 😉

IMG_1245

This is super easy to make. Of course you don’t have to make three flavours – you can make two, or one! whatever you like! If you don’t have lacuma you can leave this out of the chocolate pud, and for the caramel one you can use maca instead (though go easy and keep tasting to get the taste you want, or use vanilla instead).

IMG_1236

For the Chocolate chia pud you will need:

5 tbsp Chia seeds

1 1/2 cups of Almond or coconut milk (or soya milk if you prefer)

1 tsp liquid sweetener (to taste) – you can use coconut syrup, maple syrup, agave, rice malt syrup – your choice

1 tbsp Raw cacao powder

1 heaped tsp Lacuma


For the Vanilla caramel cinnamon pud you will need:

5 tbsp Chia seeds

1 1/2 cups Coconut or almond milk (or soya milk if you prefer)

1 heaped tsp Lacuma

1 tbsp Mequite powder

1 tsp Cinnamon (to taste)

2 tsp liquid sweetener (to taste)


For the Berry chia pud you will need:

4 tbsp Chia seeds

1 1/2 cups of berries – I used blackberries, blueberries and strawberries

1 cup Almond or Coconut milk (or soya)

1 heaped tsp of Vanilla powder (if you don’t have this then use 1/2 tsp vanilla extract)

Liquid sweetener – to taste (I didn’t bother using any as I like my berries tart 🙂 )

For each of the puds pop the chia seeds into a bowl (one bowl for each flavour), mix the dry ingredients in and then add the milk and liquid sweetener and mix really well with a fork. For the berry pud I pureed the fruits in a blender – blitzing them for a few seconds, then poured that straight over the seeds.

Make sure you mix really well and then cover and leave in the fridge to set for a few hours (at least). Check after an hour and give another stir. If you prefer a thicker texture add a little more chia at this point. If you want it a bit more liquid add a little milk.

Processed with Moldiv

Once set remove from the fridge and layer in to your bowl or jar. Sprinkle some desiccated coconut on top and a couple of berries to decorate and enjoy!

IMG_1243

IMG_1247

Pancakes! Super quick dairy and gluten free pancake recipe


I’d been having cravings for pancakes for weeks so the other weekend I whipped up a quick batch of these lovely gluten-free, dairy free fluffy pancakes!

IMG_1213

I used rice flour because it’s what I had in the cupboard but you could use buckwheat, coconut flour, spelt flour (if you’re not fussed about gluten) etc – just adjust the amount of milk if needed (with coconut flour you will need more).

You can serve these with anything you like – I went for berries, coconut syrup and banana ‘nice’ cream (frozen bananas blitzed in my vitamix). They’re also lovely with banana, chia jam and lemon curd – yum yum!

IMG_1218

You will need:

1 1/4 cup rice flour
1 tbsp Coconut sugar
1 1/2 tsp Baking powder
1/2 tsp Cinnamon (optional)
1 1/4 cup Soya/almond/coconut milk
1 1/2 tbsp Almond oil (or another light oil)
1/4 tsp Vanilla extract

Mix the dry ingredients together in one bowl.
Mix the wet ingredients in another and then add to the wet mixture. Stir well.
Heat a frying pan with a little oil – drop a good dollop of batter in, allow to cook, turning so both sides are done.

IMG_1222

Amazing Protein-Packed Flapjacks – dairy and gluten free


I get hungry, especially after a workout and I love a good flapjack or energy bar but I hate the fact that so many of the store bought ones are just full of sugar. Many of the ‘healthier’ versions I’ve bought are tasteless and unappetising so last Saturday, after a full on day, I thought I’d create some homemade protein flapjacks – full of good things!

image

I thought I’d do a little video to show you them in the flesh – so here goes:

and the finished product:

image

These don’t take long to put together and you can always substitute things if you don’t have them in the cupboard or don’t like them.

image

You will need:

300g rolled porridge oats (gluten-free or spelt if you want)

100g desiccated coconut

100g flaked almonds

100g Pumpkin seeds

215g dried, soft Prunes

315g dried dates

175g Almond butter (or your nut butter of choice)

100g Liquid sweetener (I used rice malt syrup but you can use agave, maple syrup, honey etc)

2 tbsp Coconut oil (measured when solid)

4 tbsp Vanilla protein powder (any brand you like – or you can also omit this)

4 tbsp Water

2 generous tsp Cinnamon

1/2 tsp Salt

Preheat the oven to 170 C.

Line a baking tin (I used a 20 x 20cm one) with baking paper. Mix the oats, almonds, pumpkin seeds and coconut together and pour into the baking tin. Place in the oven for 20 mins or until starting to brown. Make sure you turn regularly with a wooden spoon so the whole mixture gets toasted.

While that’s in the oven pop the dates and prunes into a blender or food processor and blitz to a paste. You may need to keep stopping to scrape the mixture back down in to the bowl. It doesn’t need to be completely smooth – a few lumpy bits are good!

Remove the oats from the oven and stir the protein powder through the mixture. Allow to cool.

Put the date mixture, nut butter, liquid sweetener, coconut oil, water, cinnamon and salt in to a large saucepan and heat very gently. Stir and allow the mixture to come together. Remove from the heat and pour the oats into the liquid mixture and mix really well.

Using a spatula scrape the mixture back into the lined baking tin and press down firmly. Then allow to cool and pop in the fridge. Do make sure you lick the saucepan (once it’s cool enough!!!) because the mixture is divine when warm! 🙂

Once it’s chilled you can cut in to slices. It makes the perfect post workout snack on the go and is great to pop in to lunchboxes too!

image

Spicy Hallowe’en biscuits


I couldn’t resist whipping up a batch of my favourite biccies for Hallowe’en. These are so super easy! And I had these fun spooky icing eyes I’ve been wanting to use so I just had to make some.

IMG_7614.JPG

The original recipe is here (click here) but I’ll quickly run over it here.

You just need:

2 cups Spelt or gluten-free flour

1 cup unrefined Icing sugar

6oz dairy-free spread

Spices to taste – in this version I used

1 tsp cinnamon

1/4 tsp ground cloves

Pinch nutmeg

Preheat oven to 180 C. Mix the flour, icing sugar and spices together and then cream the spread in. Mix well until it forms a dough but try not to over mix. Pop in the fridge to chill for as long as you can wait! Then remove, sprinkle a little flour down on a clean surface and roll out to your desired thickness. Use biscuits cutters to cut in to shapes and then pop in the oven for 5 – 7 mins or until golden brown. Do keep an eye on them – especially if they’re thin!

Allow them to cool and then if you want to you can ice them – just mix icing sugar with a little water or non-dairy milk and then have some fun!

Enjoy Hallowe’en!

IMG_7644.JPG

Almost raw gooey lemon cheesecake pudding – dairy and gluten free


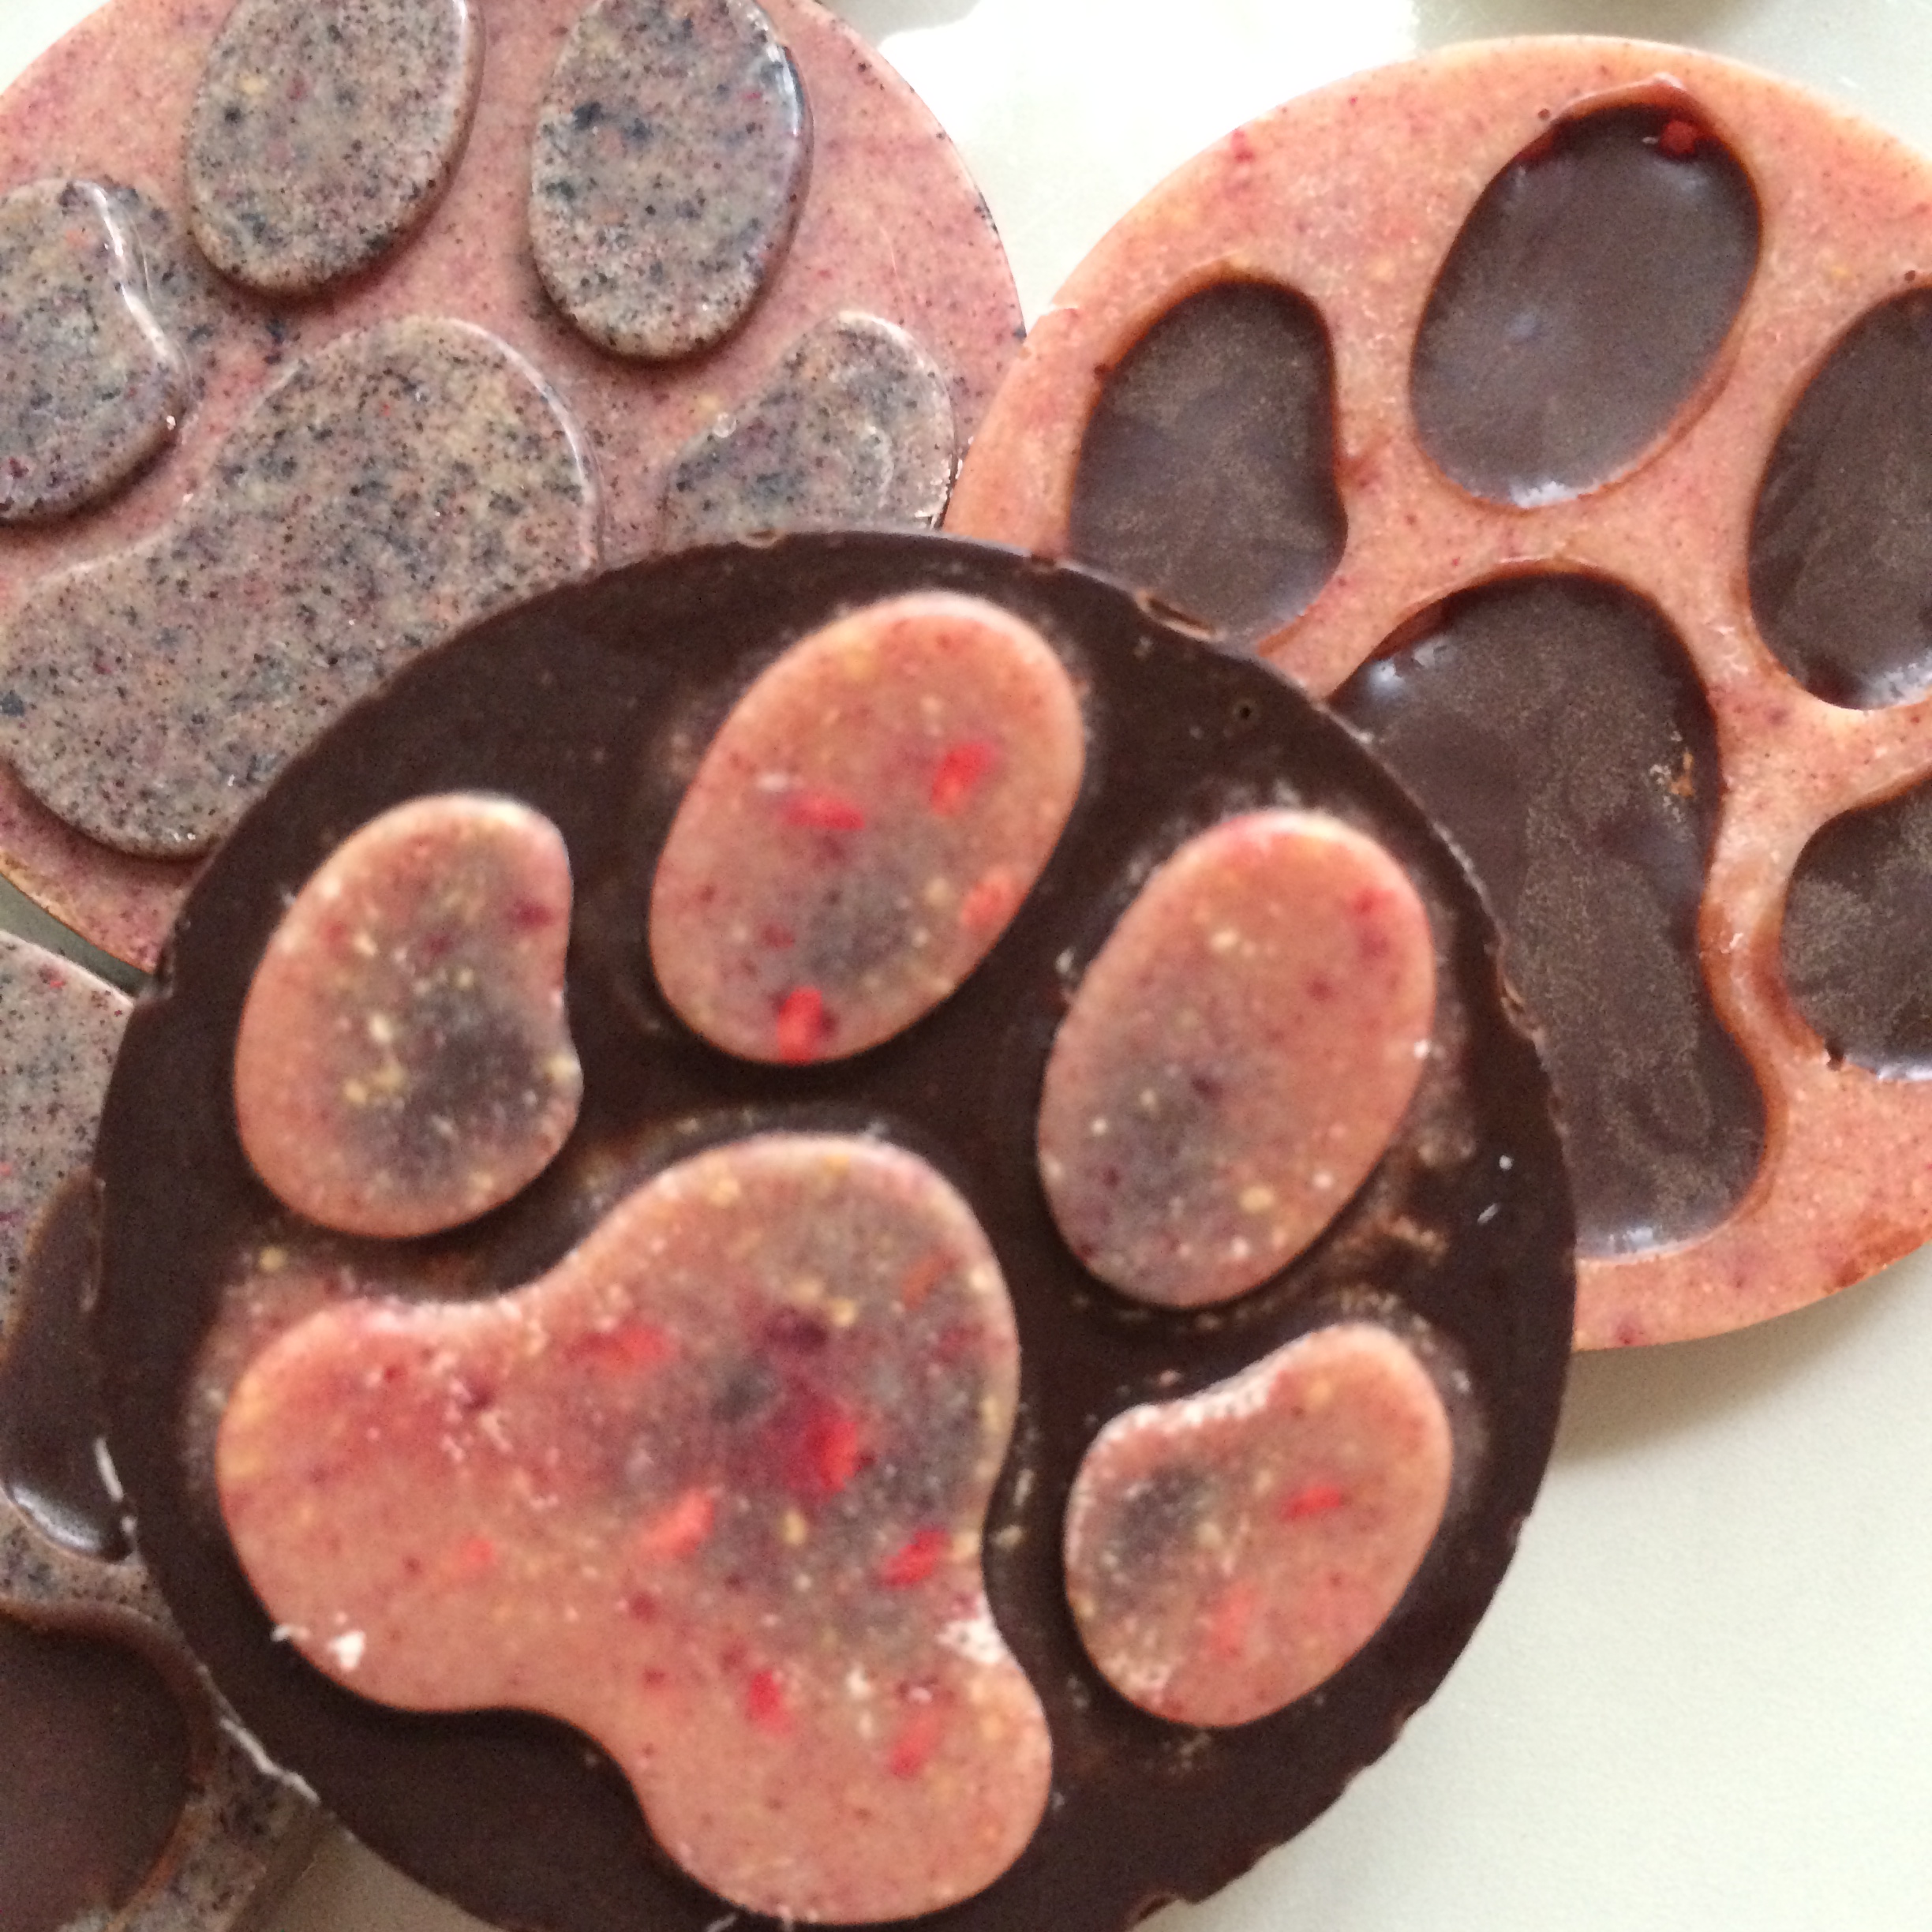
I’ve been dying to create something new with my lemon curd for a while now. I’m a massive fan of lemon meringue pie so I was thinking along the lines of a healthy meringue pie but wanted something more “puddingy”.  So I decided to create a cheesecake-inspired layered pud instead and lo and behold this squishy, goey, sweet, lemony jar of goodness was created!

Not only do these taste heavenly but they’re full of goodness and I think they look pretty cool too! They’d make fab individual desserts for a dinner or lunch party.

IMG_0932.JPG

It passed the test of my chief taster and lemon curd fiend Colette and even managed to please my friend Dee who’s a self-confessed full fat, full sugar cheesecake addict!

Here’s the proof – Colette savouring the lemony goodness 😉

 IMG_0430IMG_0427-0IMG_0463

There are three parts to this pud: the base, the filling and the topping. It does require a little preparation in advance (for the filling and topping) but it’s super quick to put together after that.

Now depending how much you want to make you can adjust the quantities below. I tend to make big batches of all 3 components and then put together a few puds but also eat the various components on their own too! It will also depend how large your pud containers are. All of these components can be made in advance – the curd will last several weeks in the fridge, the base will be fine for 1-2 weeks and the topping will last a week in the fridge. So you can always prepare all the bits a few days in advance and then pop it all together on the day! The puds themselves will last a good few days in the fridge (if you can resist eating them!).

IMG_0931.JPG

For the topping:

You will be making a cashew cream (basic recipe here) – for this one though I leave out the sweetener. So you will need:

1-2 cups raw Cashews (depends how much you want to make)

Water (enough to cover them and then another cup or so)

(You will also need a few tbsp of lemon curd for the final construction)

First things first soak the cashews overnight (or for as long as you can) in water (so that they are well covered).

Drain and rinse them and then pop them in to the blender. Start by adding about half as much water as cashews to the blender and give it a blitz. Continue adding water until the cashews are smooth and you have the consistence of cream that you want – less water, thicker cream! You want it quite thick for this recipe. At this point you can pop it in the fridge while you do other bits.

For the filling:
You will need to make a batch of curd for the filling! I always have a jar in my fridge (I get palpitations when I start to run low 😉 ) so this is always on standby for me. The recipe has been posted before (here) but here it is again for ease.

You will need:

1 1/4 cups of Lemon juice (I used 6 very large lemons)

Zest of half of the lemons used (freeze the rest of the zest for use later)

1/2 cup of Cold water

1 3/4 cups unrefined raw Sugar (adjust to taste)

5 tbsp Cornflour (corn starch)

2 tbsp non-dairy margarine

6 tbsp Almond milk (you could also use soya or coconut milk)

Juice and zest your lemons. You only need the zest from half of the lemons but it’s worth zesting them all and keeping the remaining zest in the freezer to use in other recipes later.

Place the lemon juice and water in a cold saucepan. Add the cornstarch and whisk to dissolve. Add the sugar and turn on the heat. Continue to whisk as you bring the mixture to a boil slowly. Once boiling allow it to boil gently for one minute without stirring.

Add the rest of the ingredients, whisking the whole time, and cook for 3 minutes.  Have a little taste – if it’s not sweet enough for you then stir in some more sugar. Remove from the heat, pour into a bowl or jars and allow to cool. Place in the fridge once cooled.

For the base:

You can adjust the quantities and types of fruit and nut to taste or depending on what you have to hand. You want to end up with a sticky consistency though so the dates are important. I used:

1/2 cup raw Cashews

1/2 cup raw Almonds

1/4 cup of Pecans

1/4 cup Raisins

1/3 cup of dates (if using dried dates then soak in warm water for 5-10 mins, keep the water to one side once soaked)

A good pinch or two of Lemon zest

Pop all of this lot into a food processor and pulse until blended and well combined. It will come together to form a sticky dough. If it’s not sticky enough add some more fruit and a little of the water from the dates. If it’s too sticky you can add some more nuts. Adjust the amount of lemon zest to taste.

IMG_0926.JPG

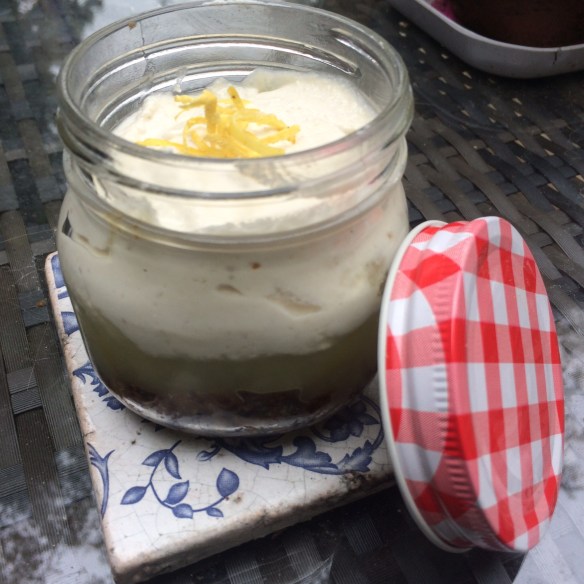
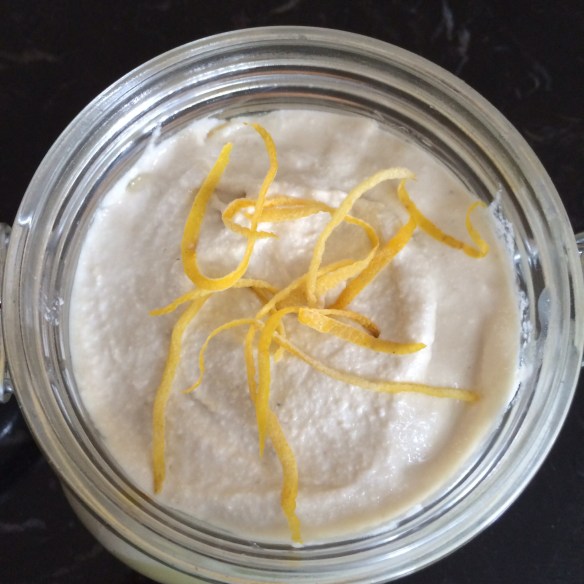
Construction of the pud!

You will need some jars, glasses, ramekins, or whatever you fancy serving this in.

First take a few spoonfuls of the base mixture and press well into the base of your chosen jar. I like to have a depth of 2-3 cm, but obviously you can add more or less as you like.

Then add a generous layer of lemon curd – this curd is beautifully tart so you don’t need a huge amount – I used about 1-2 cm.

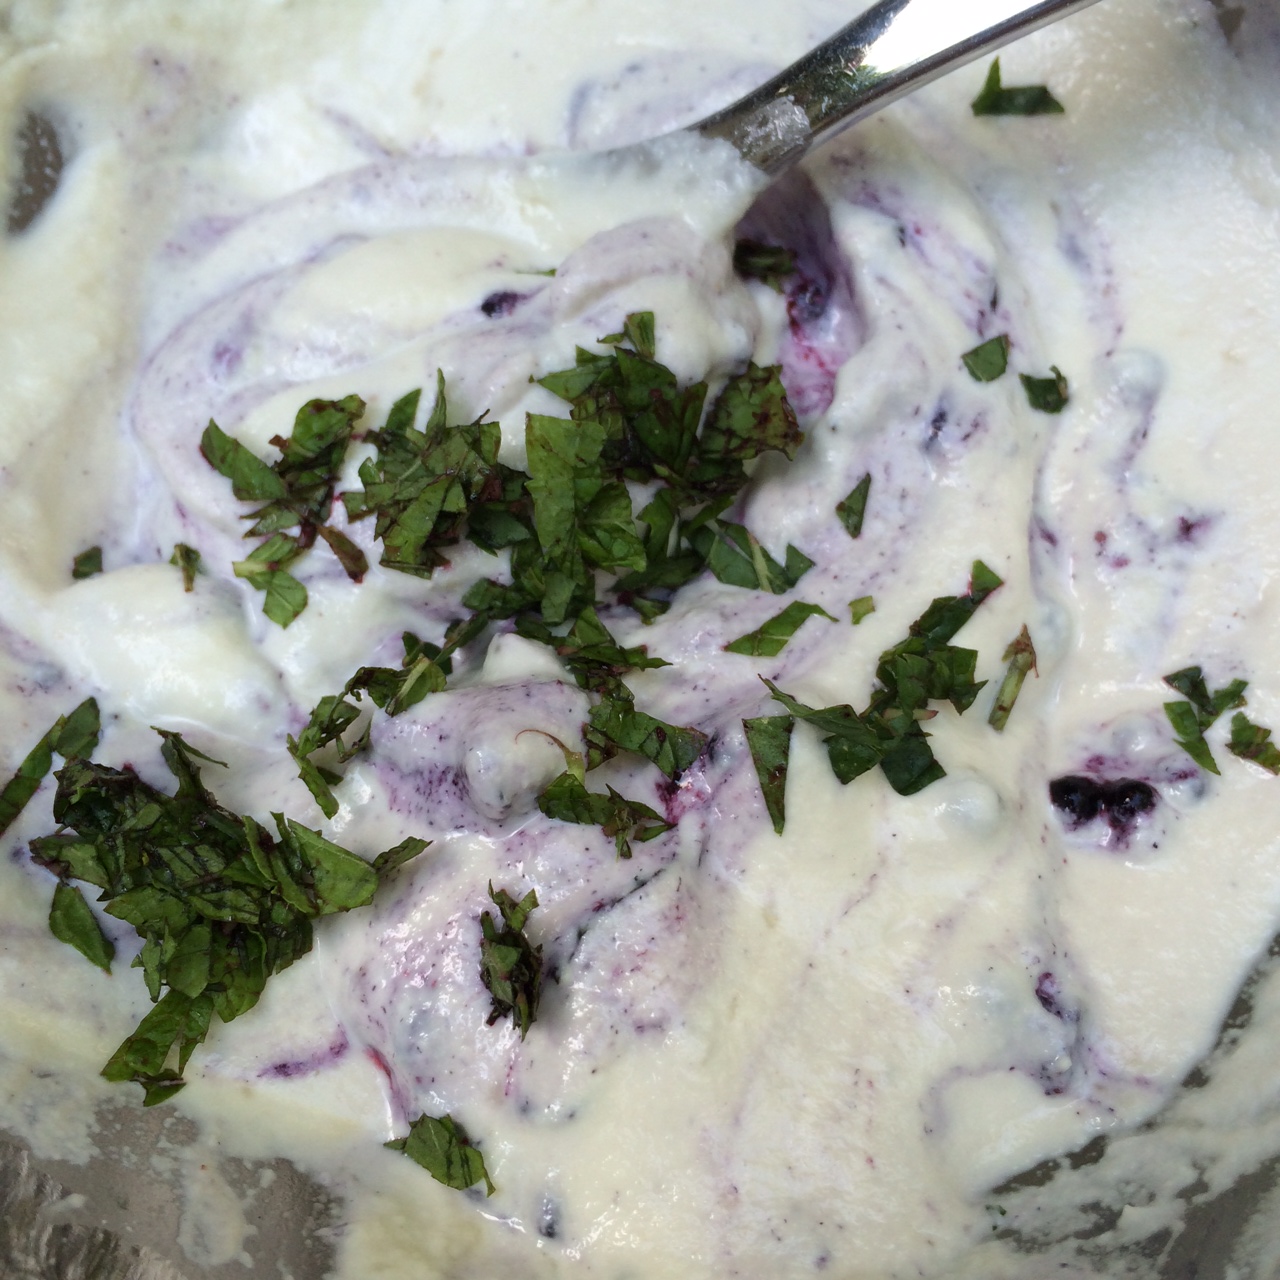
Finally take your topping and stir 2 – 4 tbsp lemon curd through it (adjust to taste) and then layer on the top – as thick as you want!

Finish with some lemon zest. Keep in the fridge until you’re ready to devour it!

IMG_0962.JPG

You can even supersize this and make a massive one – for sharing… (Or not 😉 )

IMG_0964.JPG

Homemade healthy coconut “bounty” bars! Dairy and Gluten-free


I made these a while ago but totally forgot to put the recipe up! Bad Nancy!

These are delish – a great alternative to a traditional “Bounty” bar and FAR healthier! They’re made with raw chocolate so they’re full of antioxidants and the coconut centre is pure coconut, nothing else!

2014-04-15 17.33.27

You will need some sort of mould for this – it can be any shape and any size you like! I’ve gone for a rectangular one as I happened to have one in my cupboard but anything will do.

For the chocolate you will need:

1 cup Cacao butter (melted)

1 cup Raw Cocoa powder

1/3 Cup Maple syrup (or other liquid sweetener)

For the filling you will need:

A few tbsp desiccated Coconut (adjust quantity to taste)

Coconut butter – the amount will depend on the size of your chocs so start with a small amount and it’s easy to make more as needed. You need to make sure you use a whole coconut flesh butter, rather than coconut oil. I used the Artisana brand.

2014-04-12 17.07.29

Start with the chocolate. Mix the cacao butter, cocoa and maple syrup together and ensure there are no lumps. Pour a small amount in to the mould – remember you are filling this so don’t fill the mould – probably aim for a third of the mould. Save enough to cover the filling later. You will probably find that it settles at the bottom leaving the sides with only a very thing layer. This is ok – just pop it in the fridge for now. After about 5 mins check it and as it’s beginning to solidify just swirl the mould around so the chocolate coats the sides too. Place back in the fridge until set hard (15 mins should do it).

Now prepare the filling. Just melt the coconut butter gently in a warm pan, stirring all the time. Add as much desicated coconut as you want to get the desired texture and then pour in to the chilled moulds. Place back in the fridge immediately until this has set (at least 15 mins)

2014-04-12 17.01.50

Cover the top with more of your raw chocolate mix (you may need to re-warm it if it’s started to set). Pop straight back in the fridge until properly set – 30 mins or more.

These are best kept in the fridge until you want to eat them and then remove them and allow them to warm very slightly at room temperature for a few mins before serving. I made my chocolate layers just a little bit thick… but I quite like that! 🙂

Enjoy!

2014-04-13 12.44.28

Blackberry and cinnamon cakes with blackberry and mint swirled cashew cream!


I managed to get a mahoosive haul of wild blackberries last weekend so decided I’d better find some ways to use them! I fancied a light, muffin/fairy cake kinda thing for tea so came up with this little beauty. They’re delicious on their own, but if you want something a bit special then serve them with this blackberry and mint swirled cashew cream for a bit of afternoon tea!

photo 2 (2)

For the cakes you will need:

1 cup of non-dairy Milk
1 tsp Cider apple vinegar
1 1/4 cups Gluten-free flour or Spelt flour
2 Tbsp Cornflour
3/4 cup Raw unrefined sugar/ coconut palm sugar
3/4 tsp Baking powder
1/2 tsp Bicarbonate of soda
1/2 tsp Himalayan rock salt
1/3 cup Olive oil
2 1/4 tsp Vanilla extract
1 tsp ground Cinnamon
Blackberries – couple of handfuls (depending how large they are!)

For the cashew cream you will need:

A cup of cashew nuts (or however many you want to use!)
Some water
maple syrup/agave syrup/rice malt syrup (optional – to taste)
handful of Blackberries
handful of fresh Mint leaves
A blender/ vitamix

Soak the cashews overnight in water (so that they are well covered).

To make the cakes:

Preheat oven to 350 F. Put the milk and vinegar together in bowl and whisk together, then leave to curdle for a few minutes. Add the milk mixture, oil, sugar and vanilla extract to a large bowl and mix together. Sieve the flour, cornflour, cinnamon, baking powder, bicarbonate of soda and salt into the liquid mixture and stir well until no large lumps remain. Gently stir the blackberries in to the mix. Pour into cupcake liners in a muffin pan – this should make approximately 15 cakes. Make sure the blackberries are covered with batter (you may need to just gently push them down).

photo 2

Place in the oven for 20 – 25 minutes until a skewer inserted in the middle comes out clean. Once done place on a wire rack to cool.

photo 3

To make the cashew cream

Drain and rinse the soaked cashews and then pop them in to the blender. Start by adding about half as much water as cashews to the blender and give it a blitz. Continue adding water until the cashews are smooth and you have the consistence of cream that you want – less water, thicker cream! If you want to add some sweetness add your choice of liquid sweetener to taste.

Smoosh the blackberries up a little bit with the back of a knife, and chop the mint finely. Stir it in to the cream and adjust quantities to taste.

photo 5

Serve your cakes with a big dollop of the cream and a sprig of mint!

photo 1 (2)

Guilt-free Chocolate cake (with beetroot!)


You can’t beat a good chocolate cake and this is definitely a good chocolate cake! It’s totally vegan and totally yummy! This was inspired by a delicious cake my friend Vicky made so I thought I’d have a go at veganising and gluten-freeing it! 🙂

2014-06-07 21.18.06-1

You will need:

250g cooked Beetroot

250g unrefined Raw sugar (coconut palm sugar etc)

190g self-raising gluten free Flour

60g raw Cacao powder

1 tsp Bicarbonate of soda

3 tbsp Chia seeds soaked in 9 tbsp water

180 ml Almond oil (or other non flavoured oil)

1 tsp Vanilla extract

1 tsp Chocolate extract (or extra Vanilla if you don’t have this)

2014-06-07 21.18.34

Preheat the oven to 170 C. Lightly grease a 23 cm diameter cake tine.

In a large mixing bowl, sift together the flour, cacoa and bicarbonate of soda. Then stir in the sugar.  Pop the cooked beetroot in to a food processor and blend until smooth. Place this in to a sieve over another bowl and push out any juices with the back of a spoon. You don’t need the juice for this recipe but don’t bin it – you can throw it in to a smoothie 🙂

Put the beetroot pulp back in to the processor and then turn on the motor and add the soaked chia seeds, vanilla and chocolate extract (if using) and then slowly pour in the oil.

Mix until well blended. Make a well in the centre of the flour mix and add the beetroot mixture. Gently fold together with a large spoon. Pour the mixture in to the cake tin and place in the oven for 35 -40 mins (or until a skewer comes out clean). Remove from oven and allow to cool for 5 – 10 mins in the tin, then remove and place on a wire rack to cool.

Then enjoy with a cup of tea (and maybe a cat)! 🙂

2014-06-07 21.22.39

Chocolate hazelnut cherry loaves


Fresh out the oven!

20140713-205056-75056014.jpg

Chocolate hazelnut cherry loaves – vegan and low in gluten (or gluten free if you want 🙂 ). I used the same recipe as my usual choc cherry loaves but used chunky hazelnut butter instead of almond butter and it’s divine!

Yum!

20140713-204808-74888715.jpg

Fruity Raw Chocs


As you’ll know from my recent raw choc recipes (see here and here) I’ve been having loads of fun playing around with my raw choc and raw white choc recipes, and my collection of freeze-dried fruit powders. The results were awesome!

The fruit powders work brilliantly with both the dark and white raw choc and they add an amazing tartness and freshness to the chocs. They also make the white chocs look very pretty 🙂 (I get my fruit powders online from here)

2014-05-11 09.26.12

You can make solid chocs of one flavour or you can use the flavoured white chocolate to add colour and patterns to dark chocs. They come out looking amazing! If you are very clever (and more patient than I am 😉 ) you can add different colours to different parts of your mould to highlight certain details 🙂 The world is your chocolate box! Warning though – if you’re anything like me your entire kitchen will be covered in raw choc when you’re done! Is it wrong that I considered licking it up to clean it….. (don’t judge me 😉 )

2014-05-11 09.29.44

2014-05-11 09.35.362014-05-10 20.01.45

Now I couldn’t decide which of my freeze-dried fruit powders to use so I used them all (separately!). I think my favourite were raspberry, passion fruit and cranberry – I love the tartness of them 🙂

2014-06-11 16.25.33

So all you need for the dark chocs is:

1 cup Cacao butter (melted)

1 cup Raw Cocoa powder

1/3 Cup Maple syrup (or other liquid sweetener)

Freeze-dried fruit powder of your choice – approx 1 tsp – adjust to taste

2014-05-11 09.31.54

For the white choc you need:

1/4 cup melted Cacao butter

1 tbsp Cashew butter

1 tsp dry dairy-free milk powder – rice, coconut or soya milk powder (This is optional but it makes the chocolate creamier so is worth it if you can find it)

1 tbsp unrefined raw Icing sugar (adjust to taste)

1/4 tsp Vanilla extract

Freeze-dried fruit powder of your choice – approx 1 tsp – adjust to taste

The method is the same for both – melt the cacao butter and then stir in all the other ingredients. Mix well.

2014-05-10 20.01.34

Now for the fun! and mess…. You can do whatever you like! I made a load of small quantities of chocolate of various flavours. Then I filled some moulds full of that flavour which worked well.   Then I had some fun….. either carefully dribbling one flavour in to the mould or liberally splashing it around to create a beautiful marble effect. Splash one flavour at a time, then pop in the fridge to set before doing the next.

2014-05-10 20.01.51

Place in the fridge between each one until you’re finished. Allow to set properly in the fridge and store in there until you want to eat them!

2014-05-11 09.29.50

2014-05-11 09.31.23