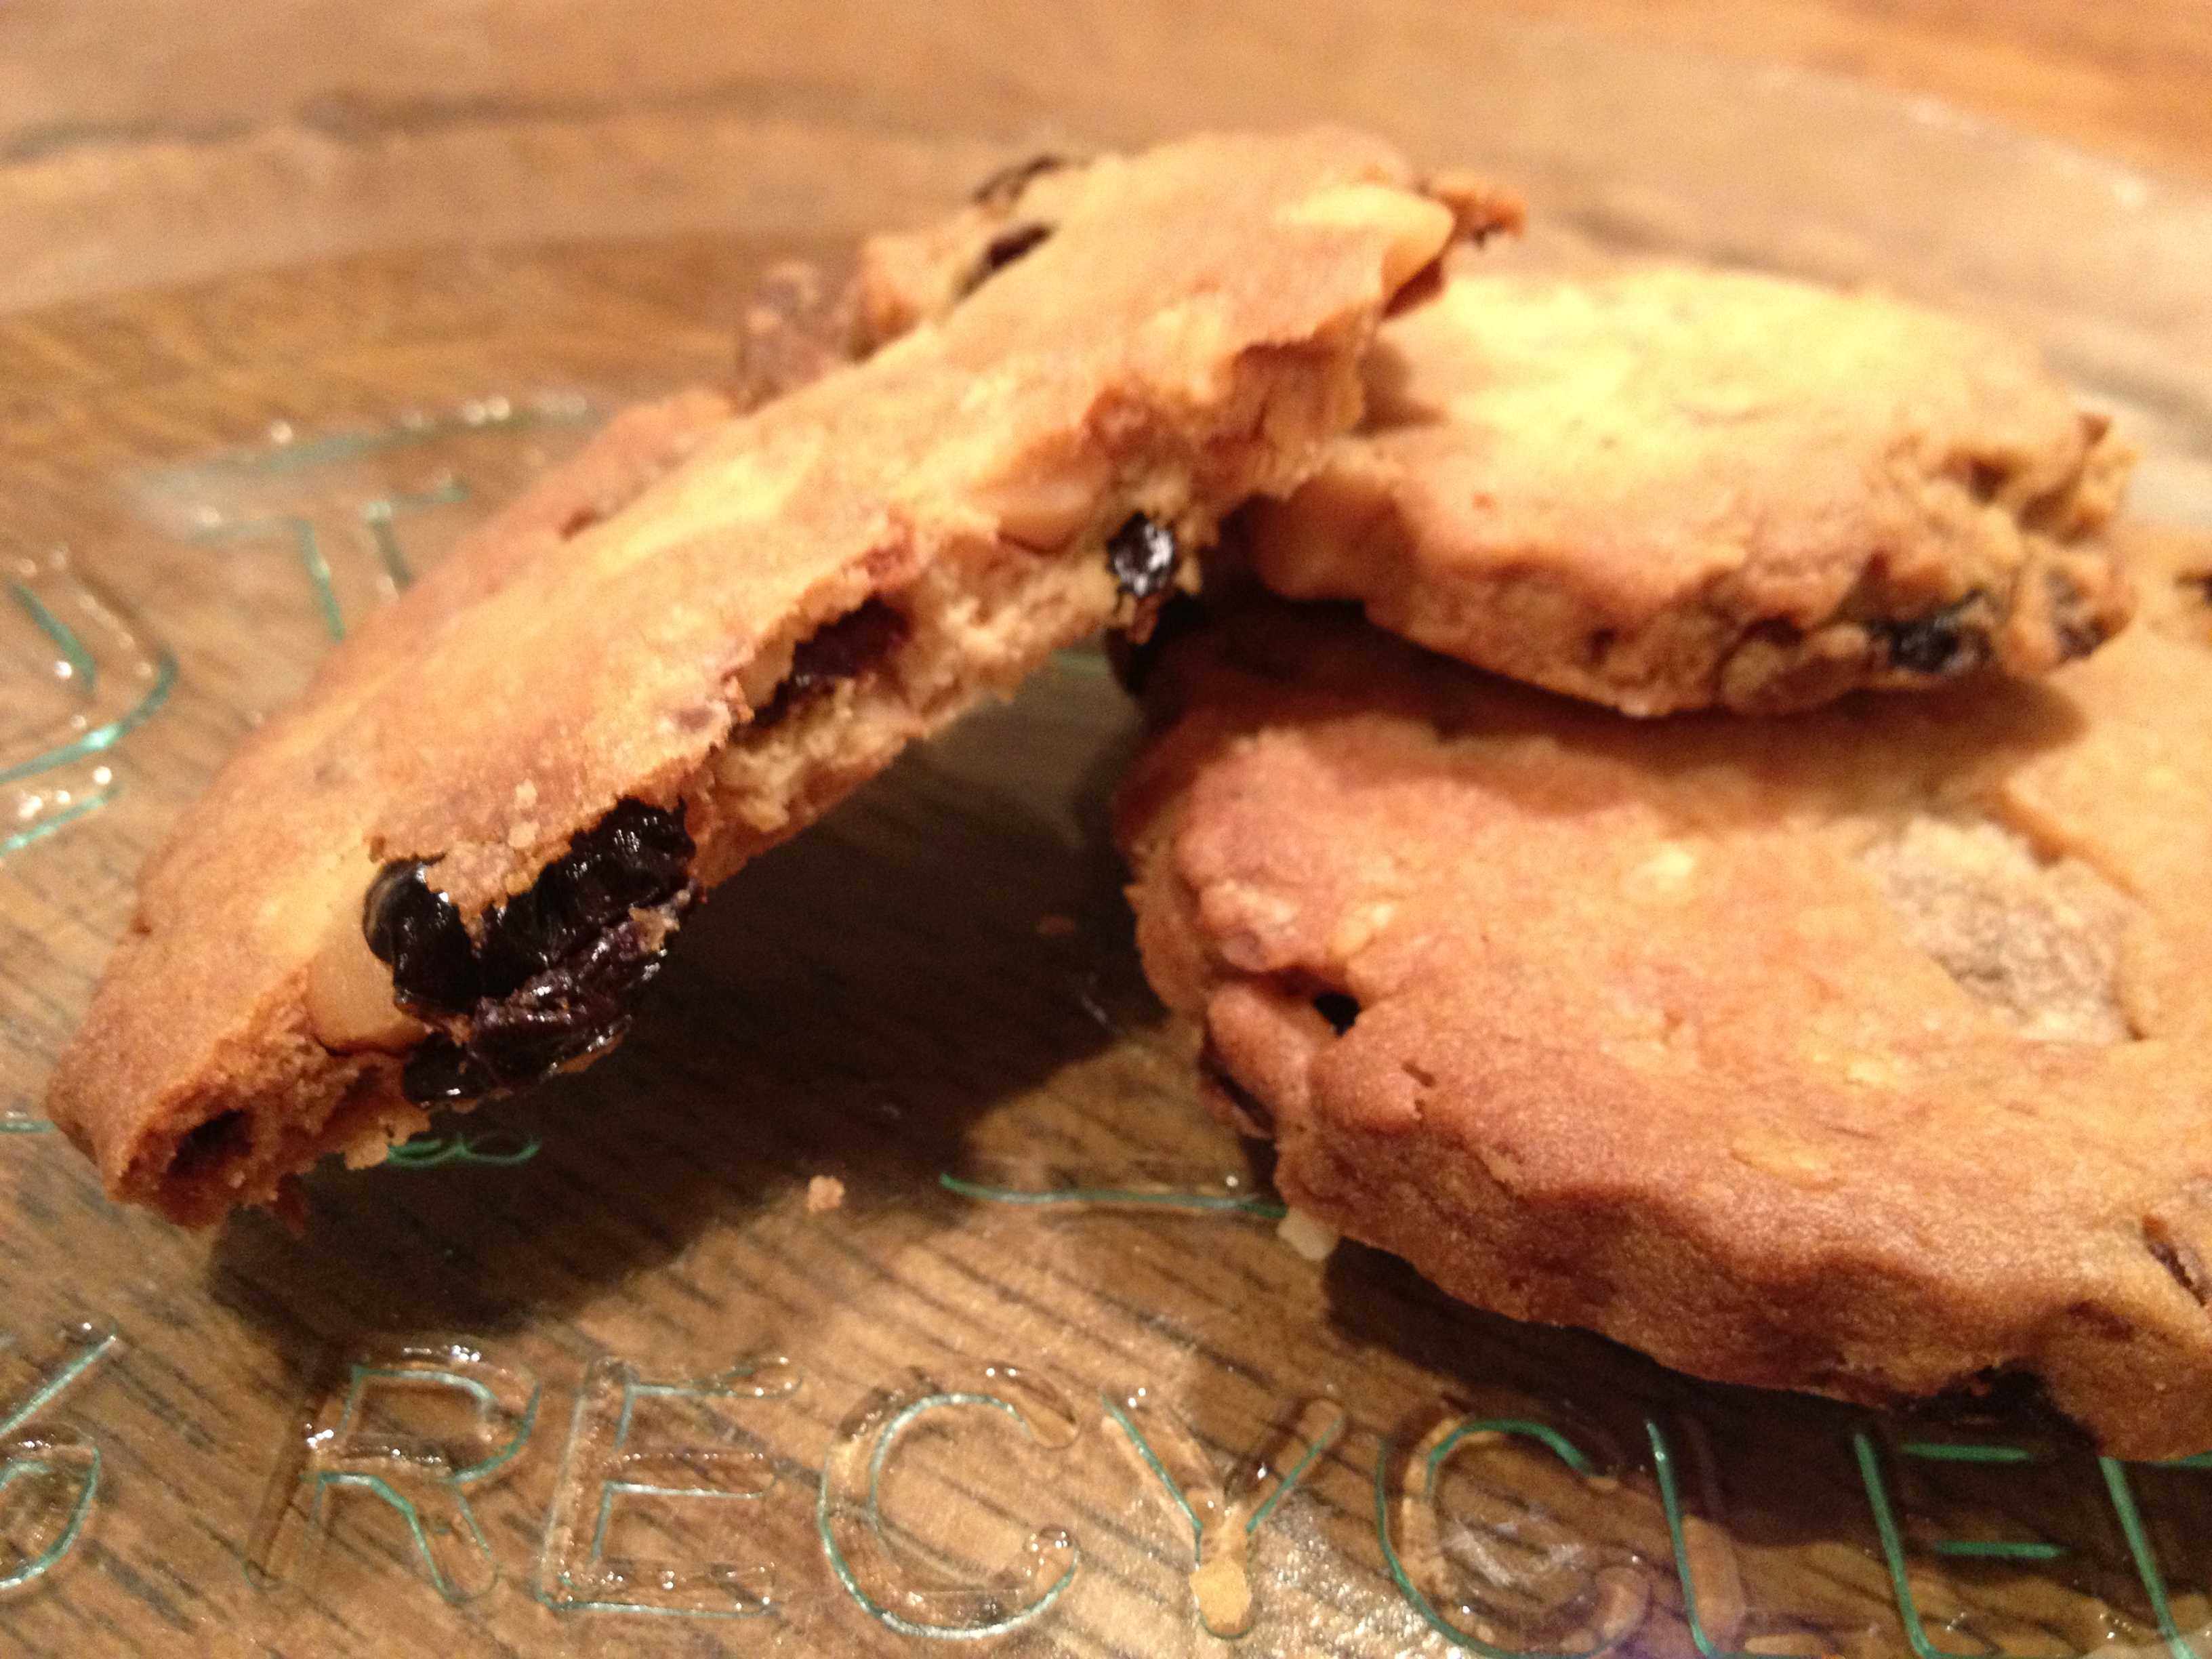
You may have noticed a certain penchant for cookies and biscuits lately? what can i say? I just love this simple recipe and how easy it is to customise it with whatever flavours you like 🙂
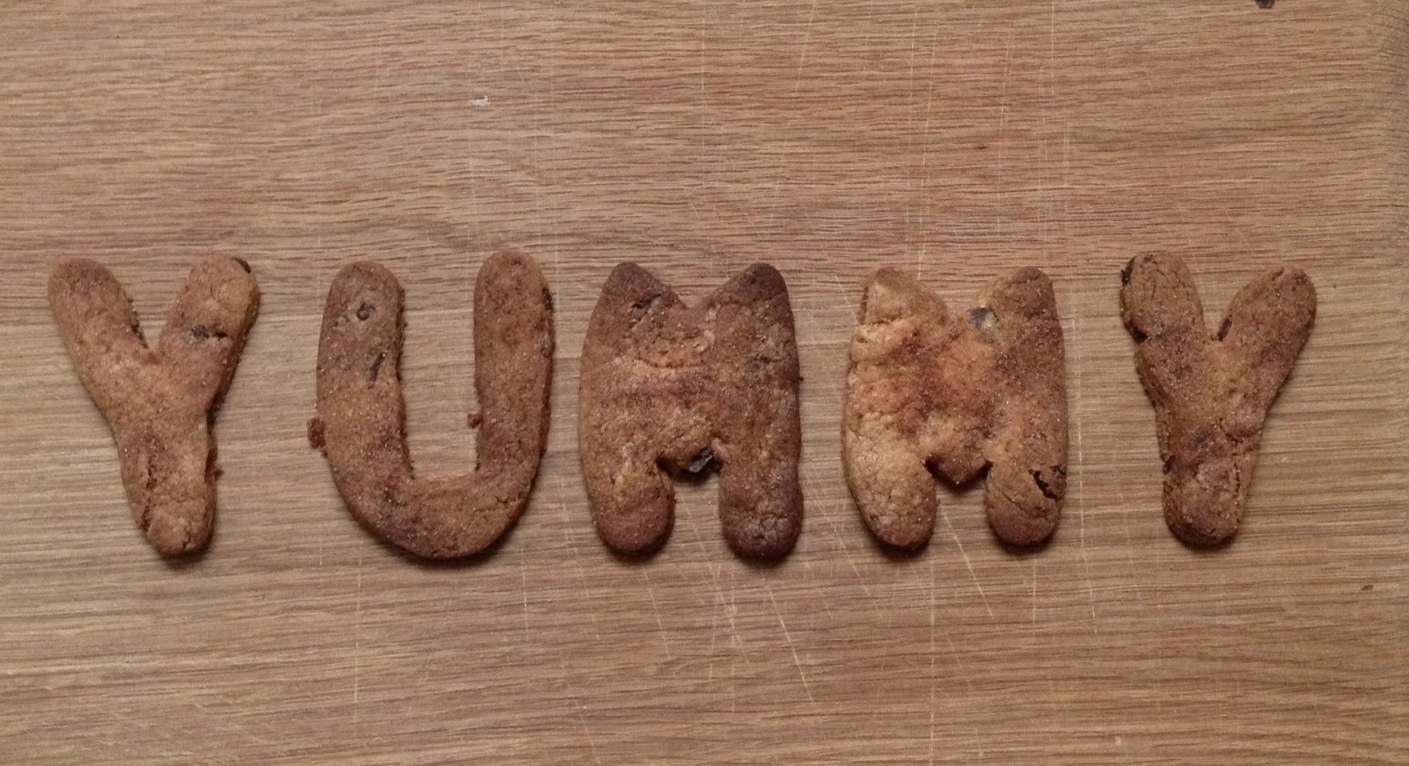

So this weekend Mother’s Day and the return of my lovely friend from holiday inspired me to bake some more biscuits for both of them 🙂 Both are fans of the combo of ginger and dark chocolate and they work brilliantly with these cookies. I also had some fun with a cool set of letter cutters (I’m such a child!).

You will need:
2 cups Spelt flour or gluten-free flour mix
1 cup Unrefined Icing sugar
6 oz Dairy-free margarine (get the best quality you can)
A handful of crystallised ginger
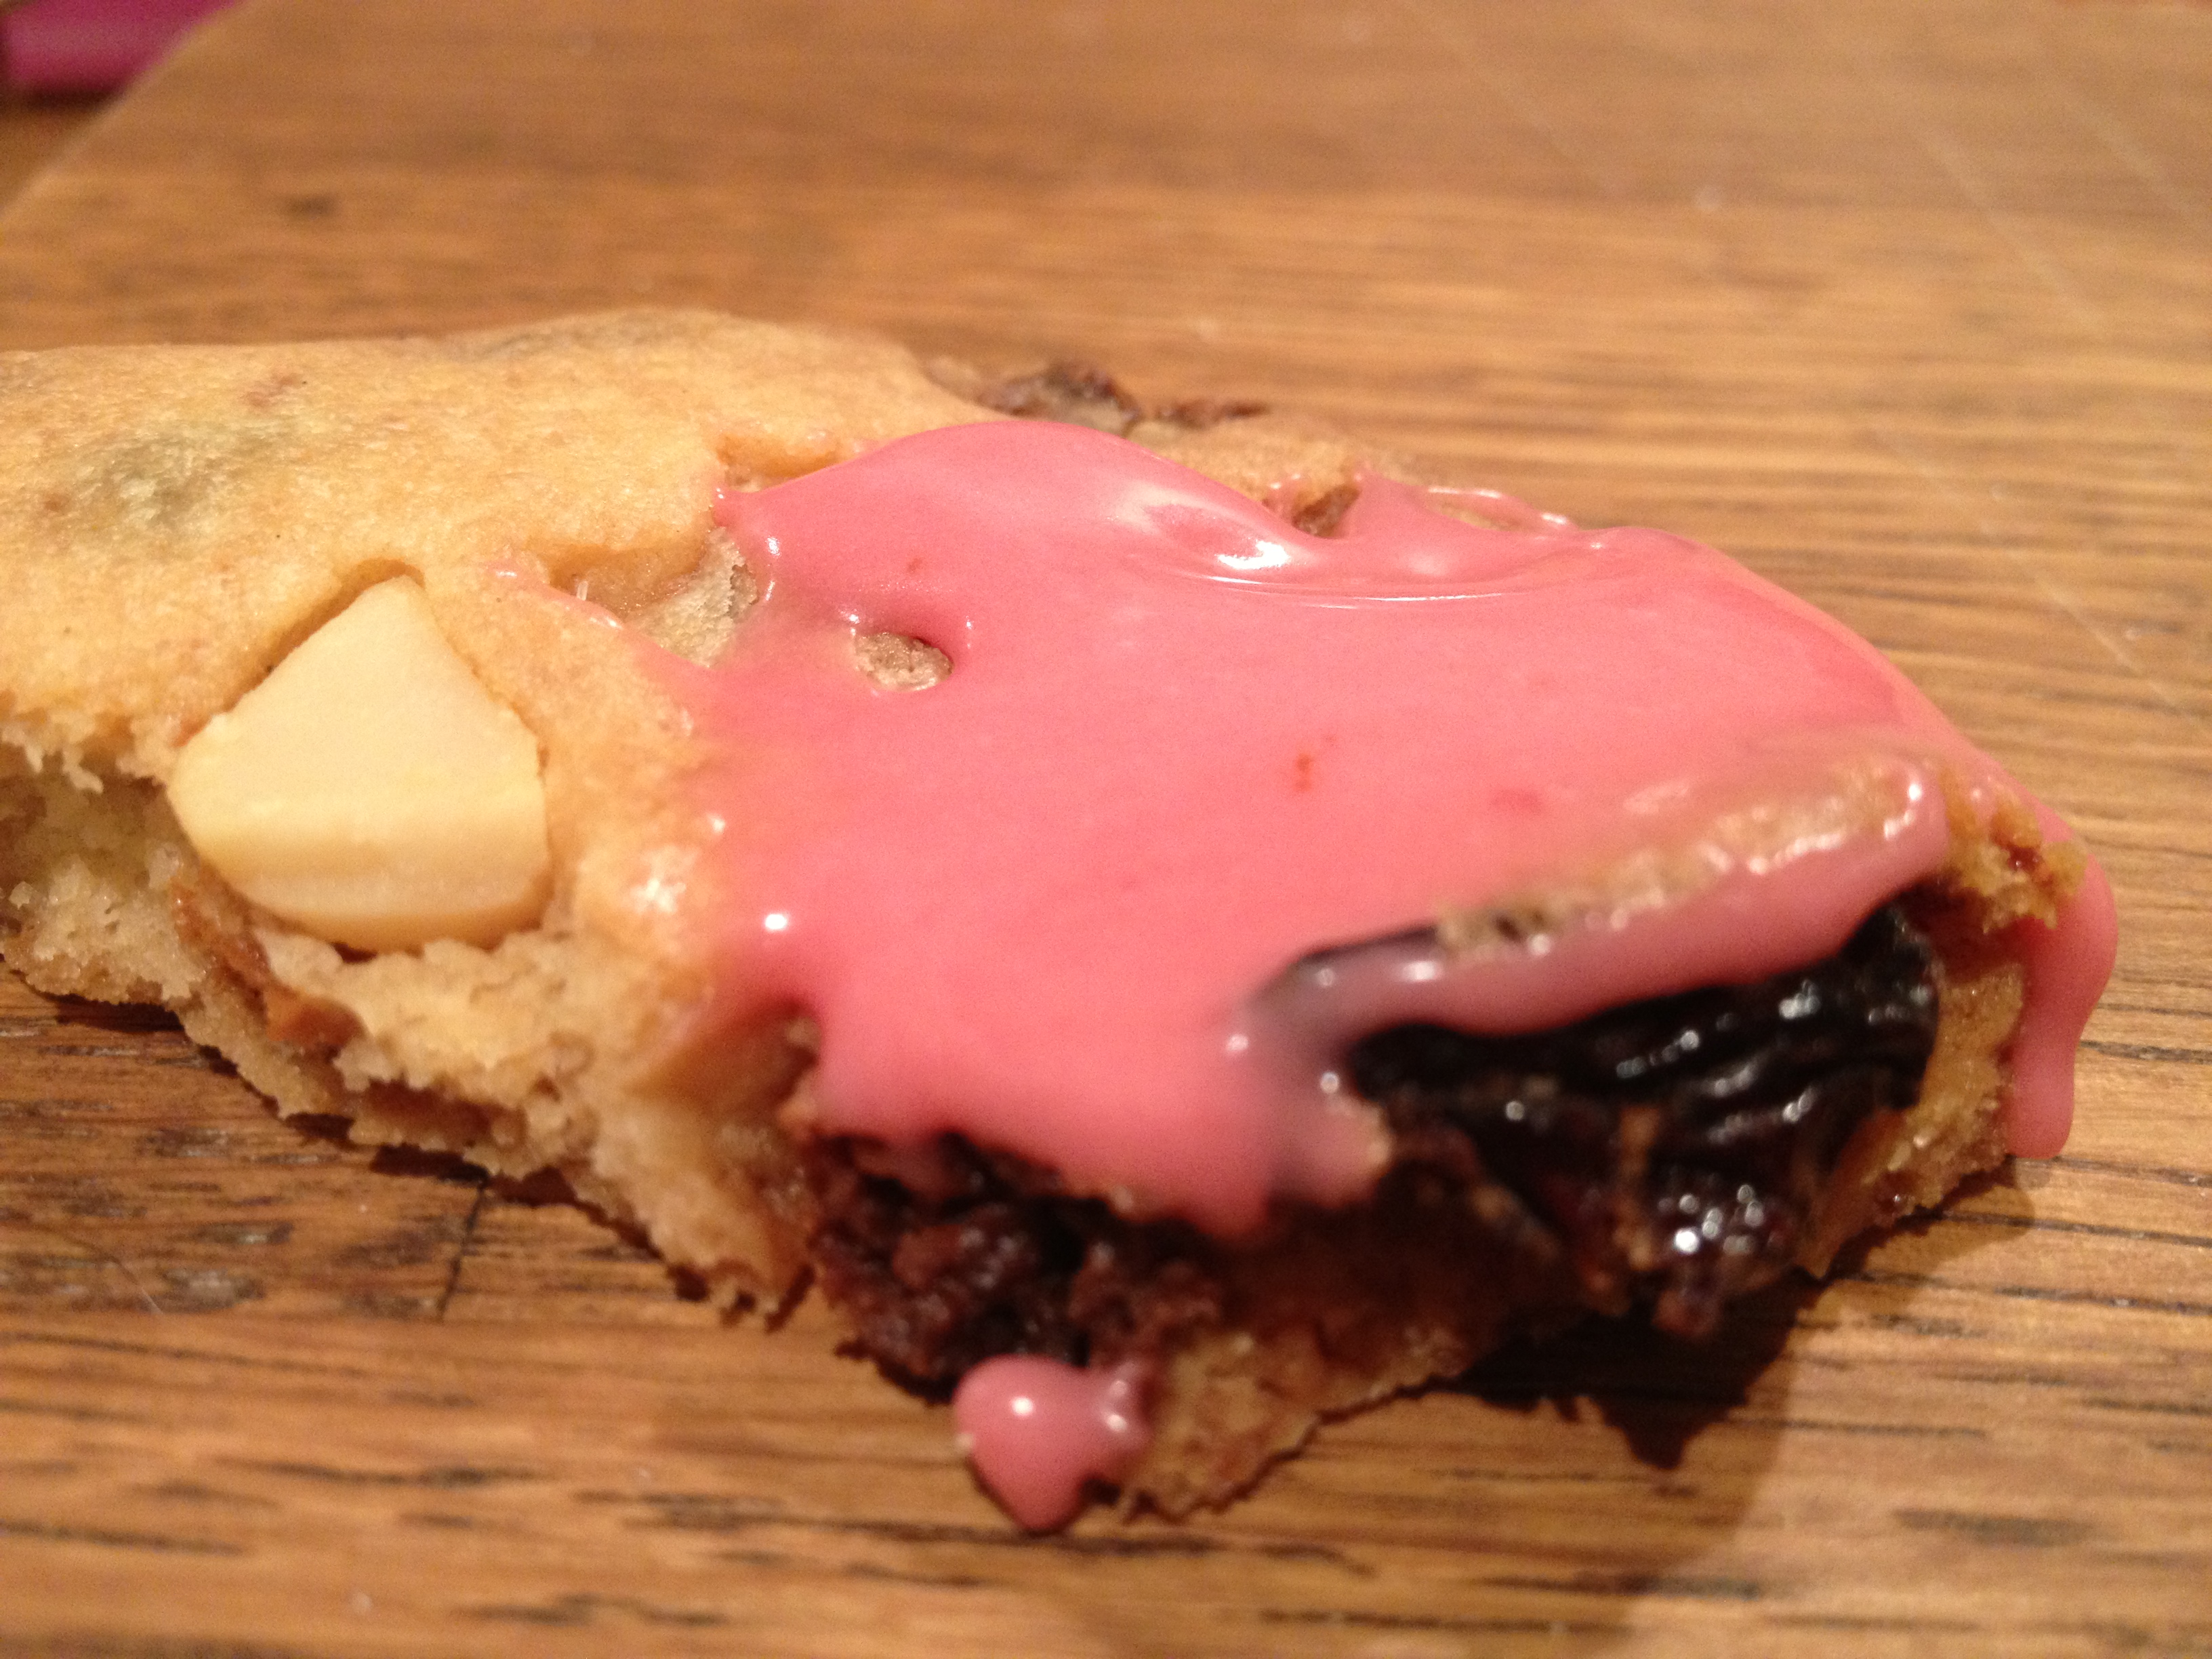
A handful of dairy free chocolate (I used Willie’s chef’s drops)

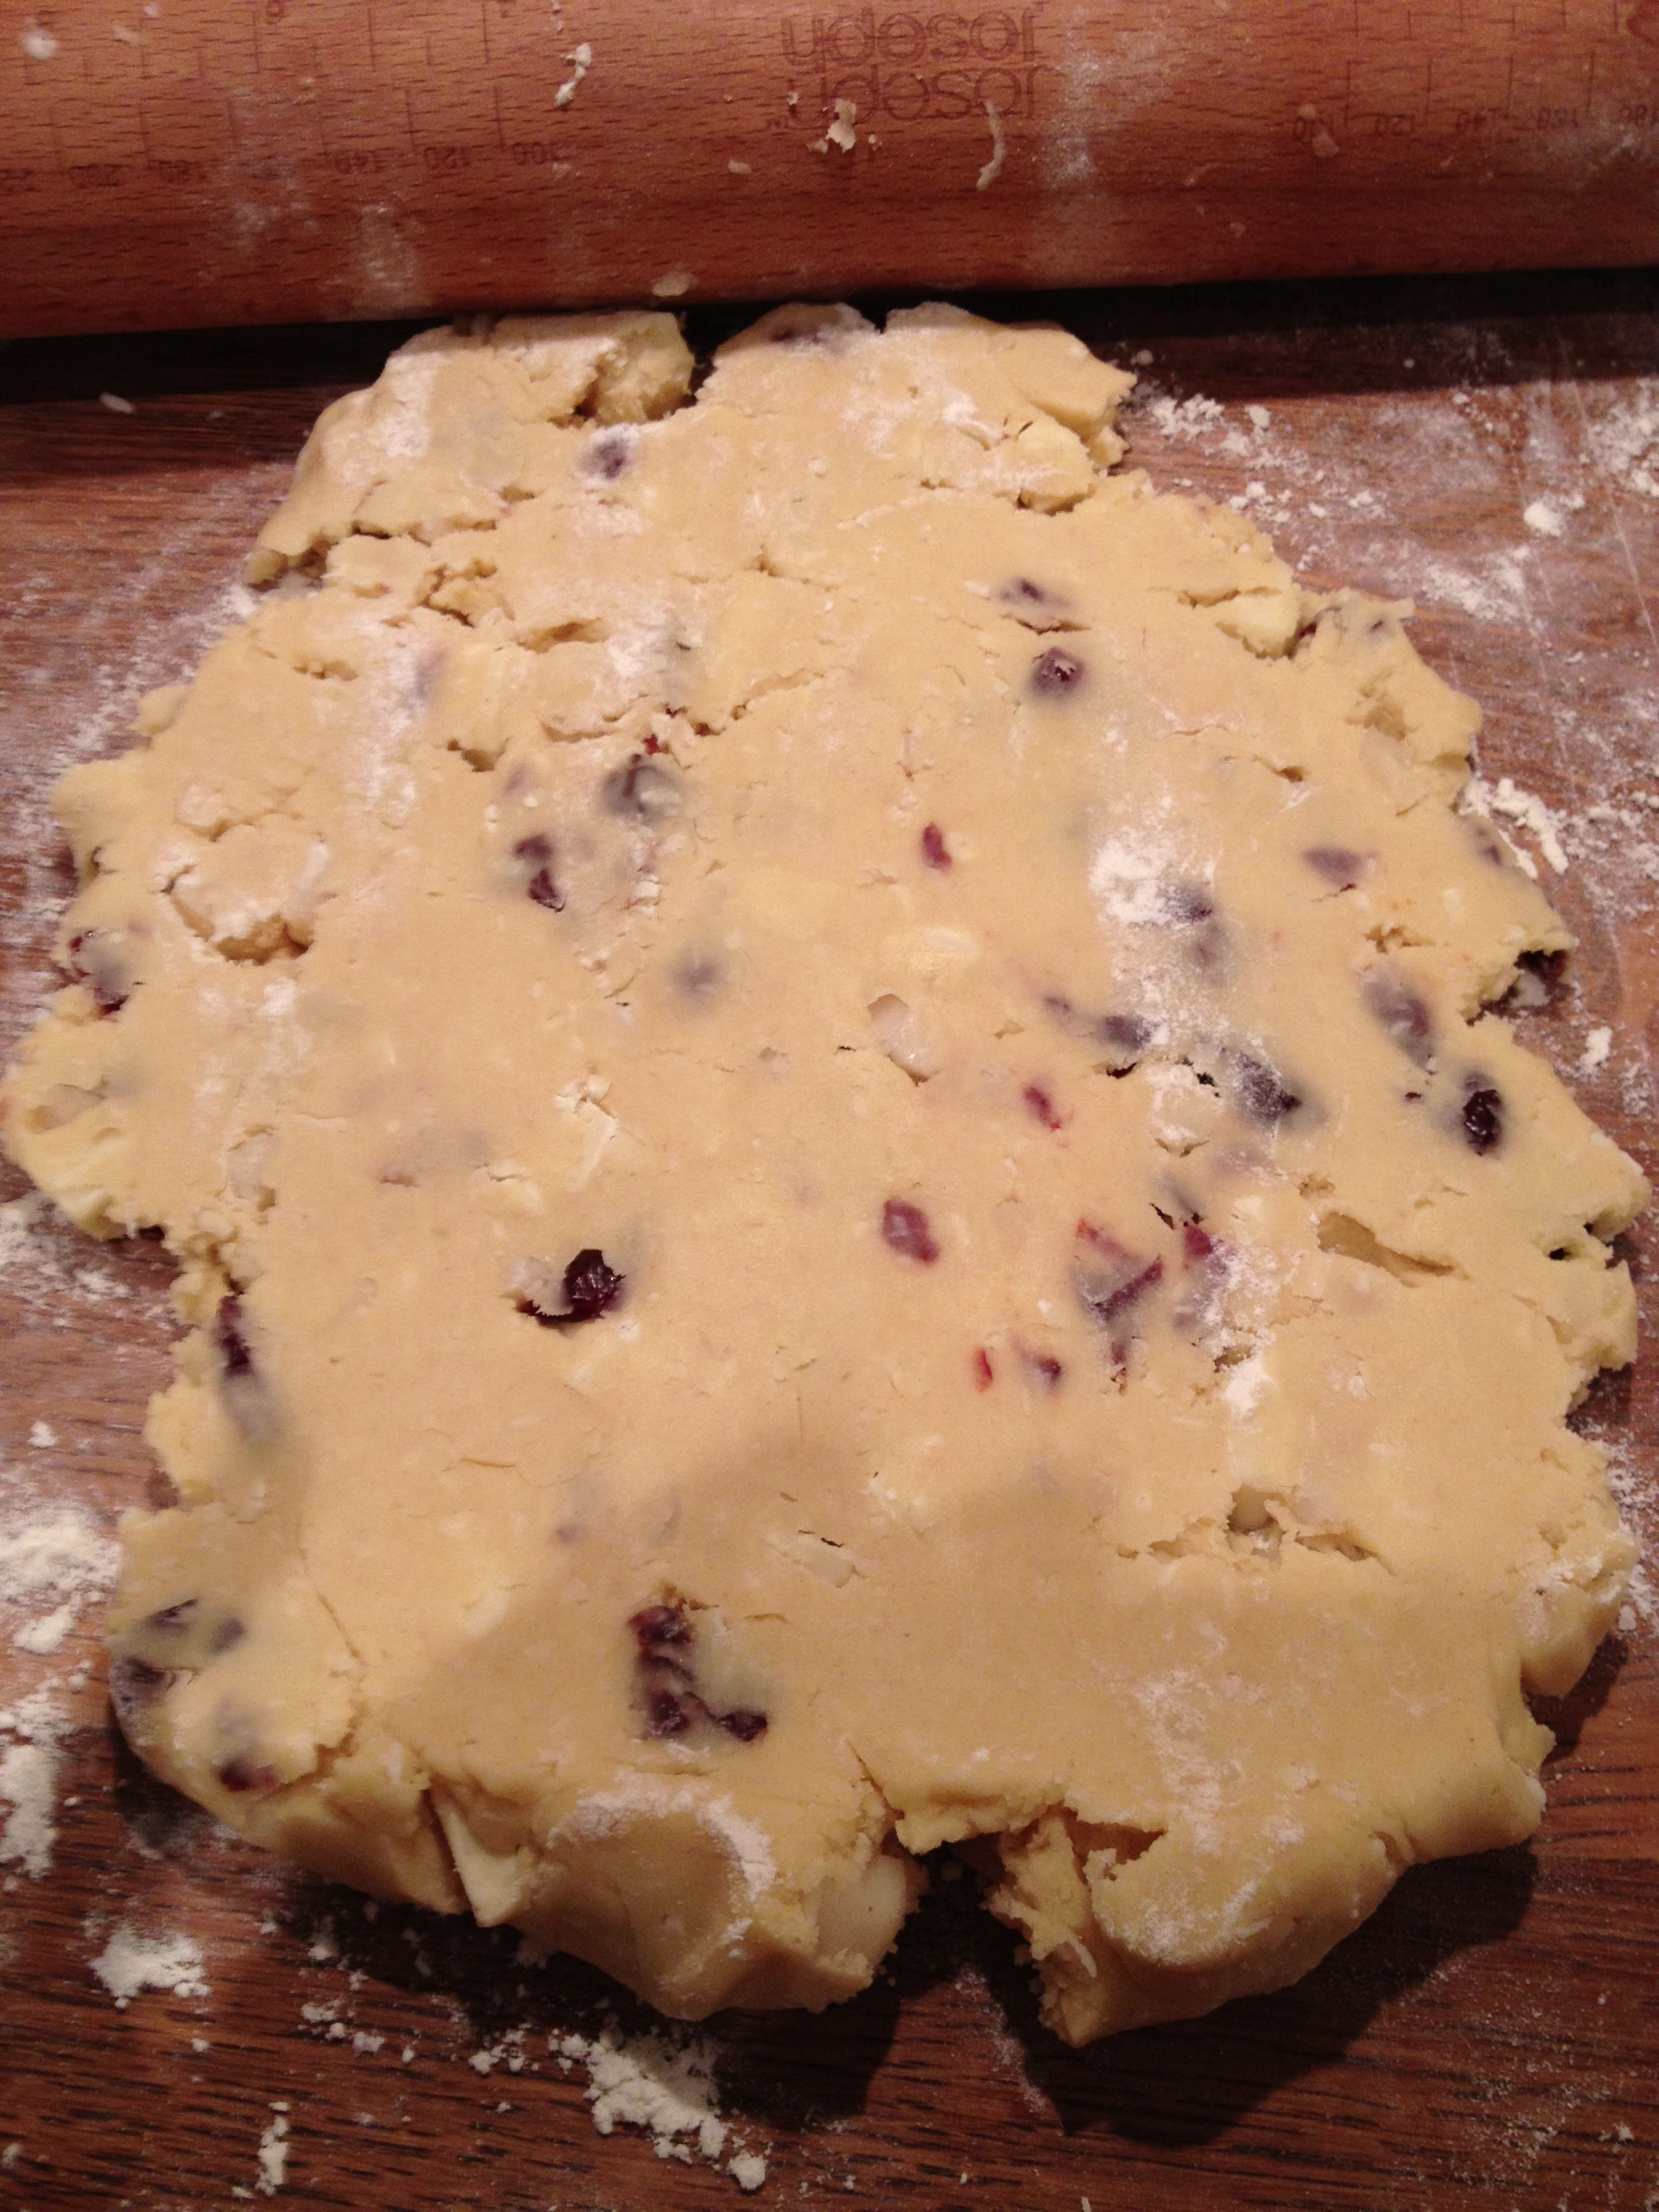
Pre-heat the oven to 180 C. Put the margarine in a large mixing bowl, sieve the flour and icing sugar in and cream it together. Try not to over mix but make sure the margarine is properly mixed with the dry ingredients. Chop the ginger and chocolate into small pieces and add to the mix. Once it’s formed a dough wrap in cling film and chill for 30 mins (optional). If you find the dough is too sticky then add some more flour.
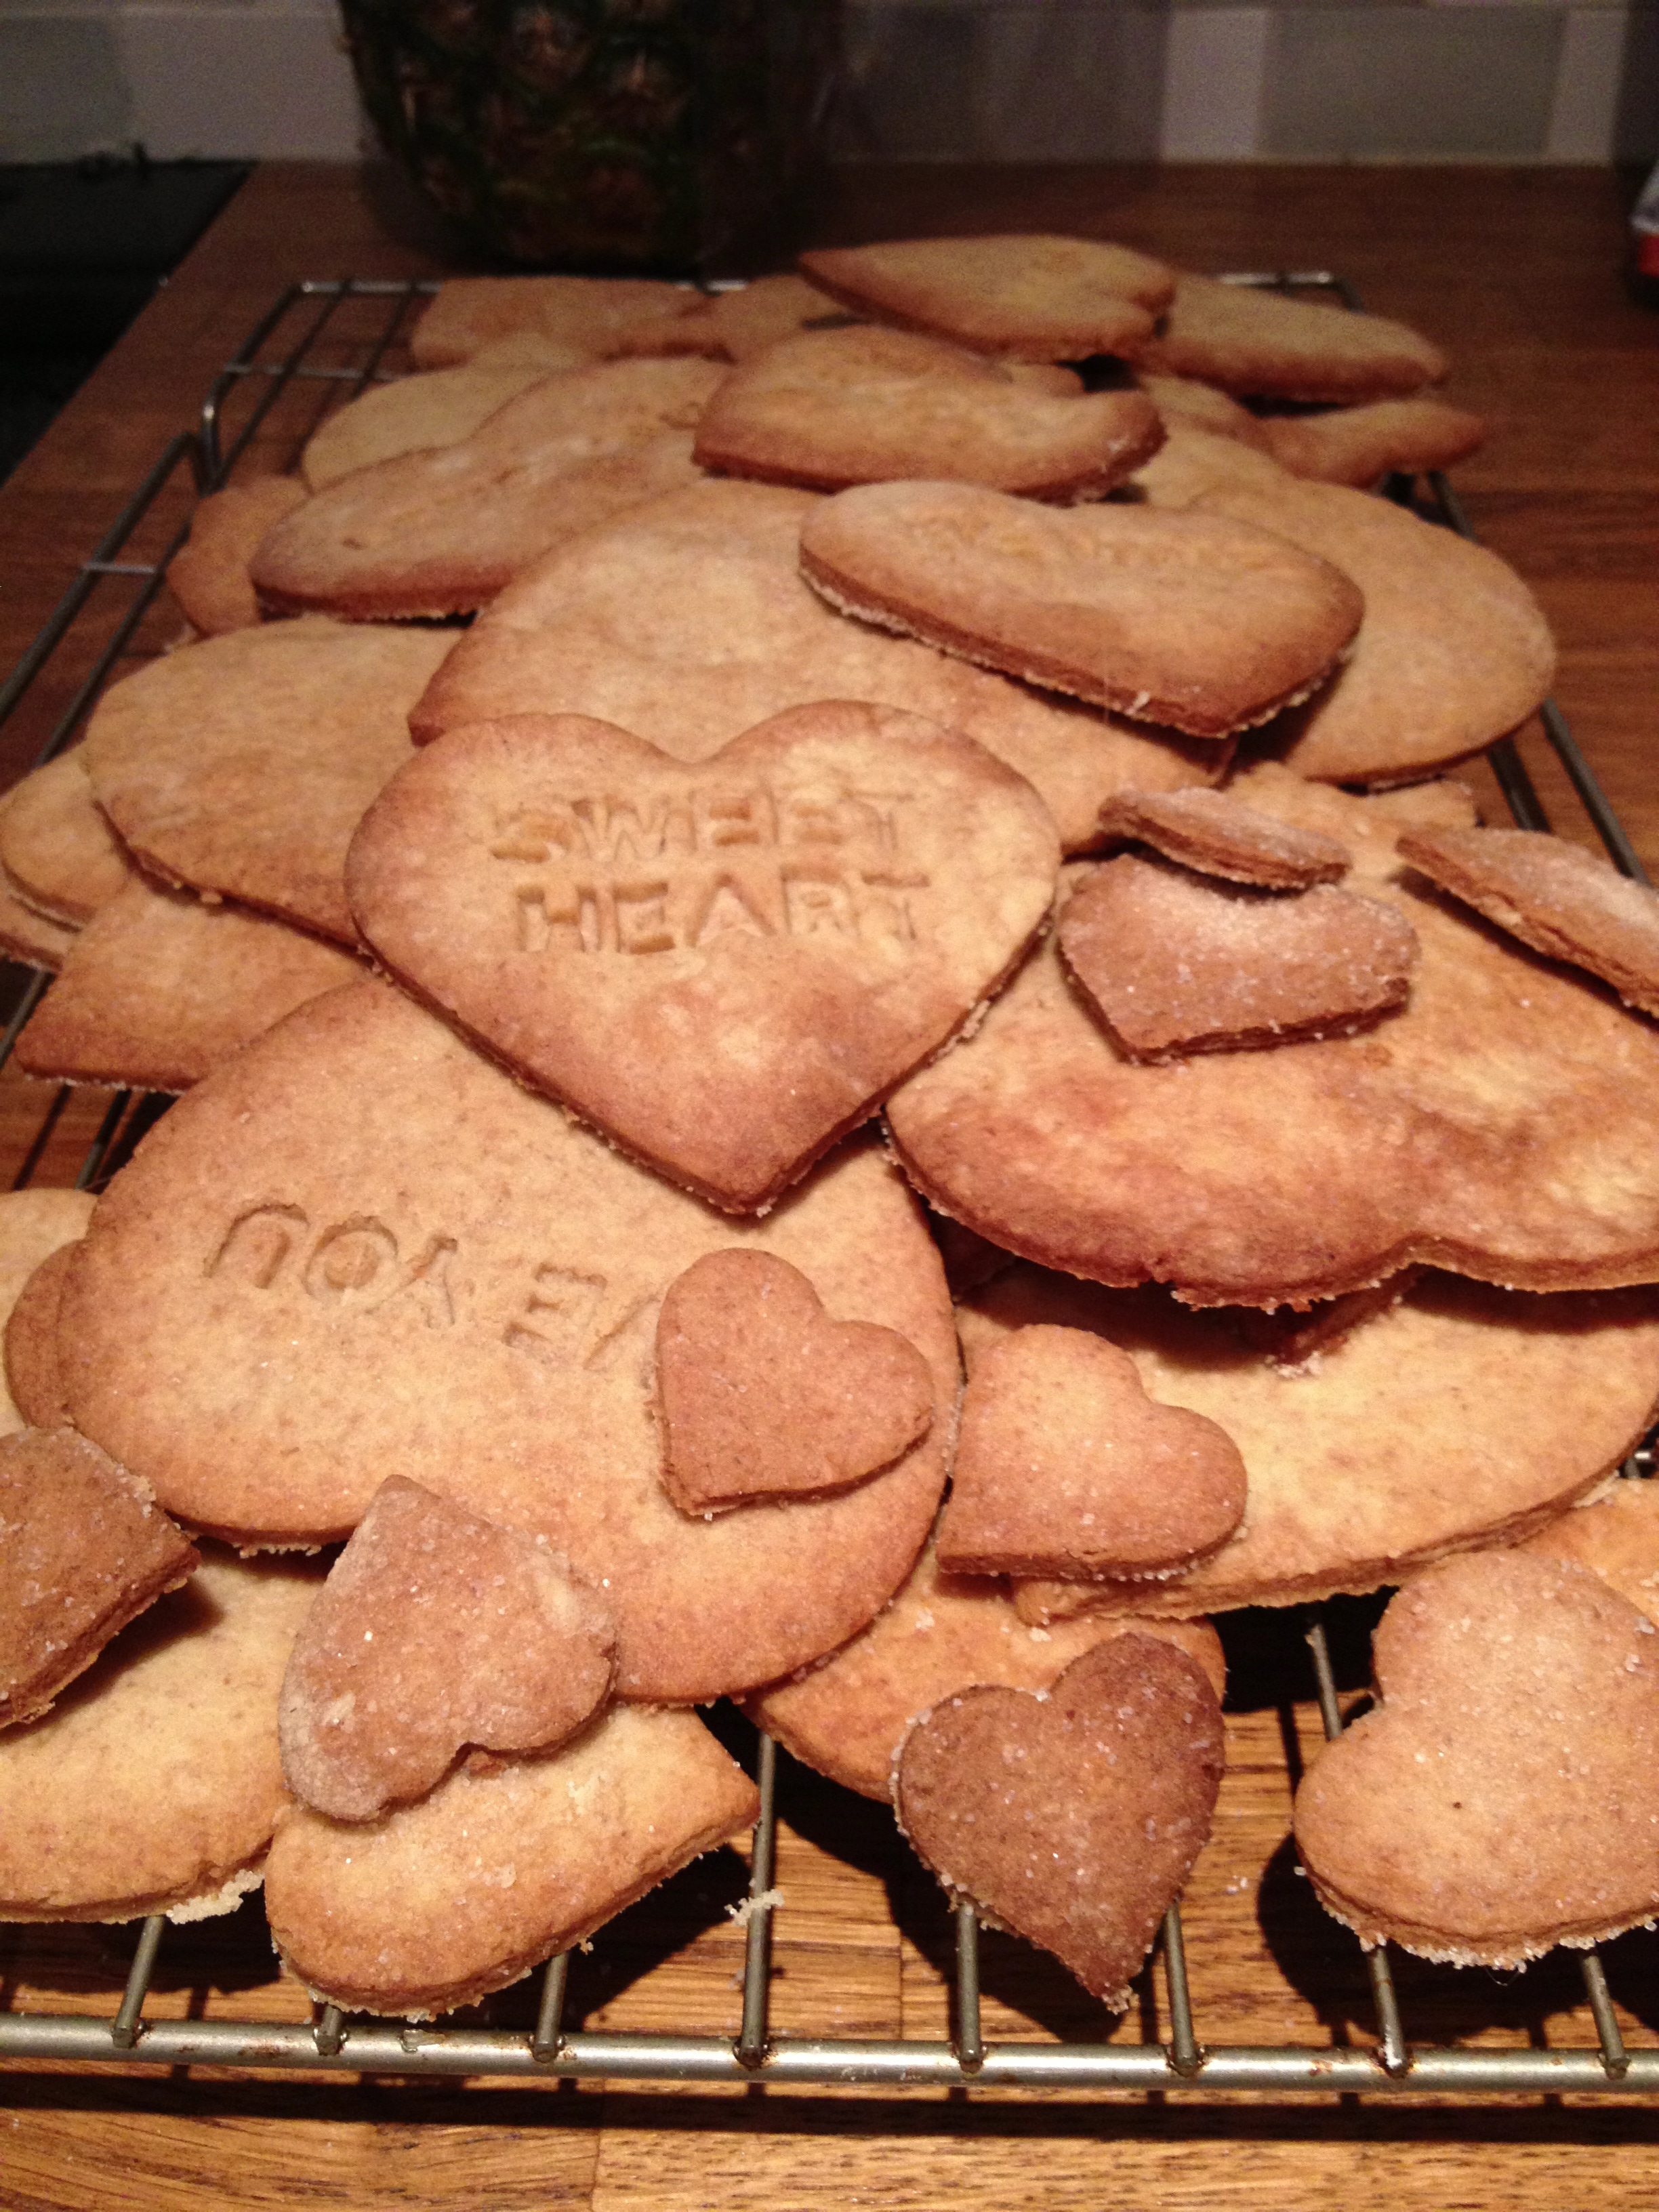
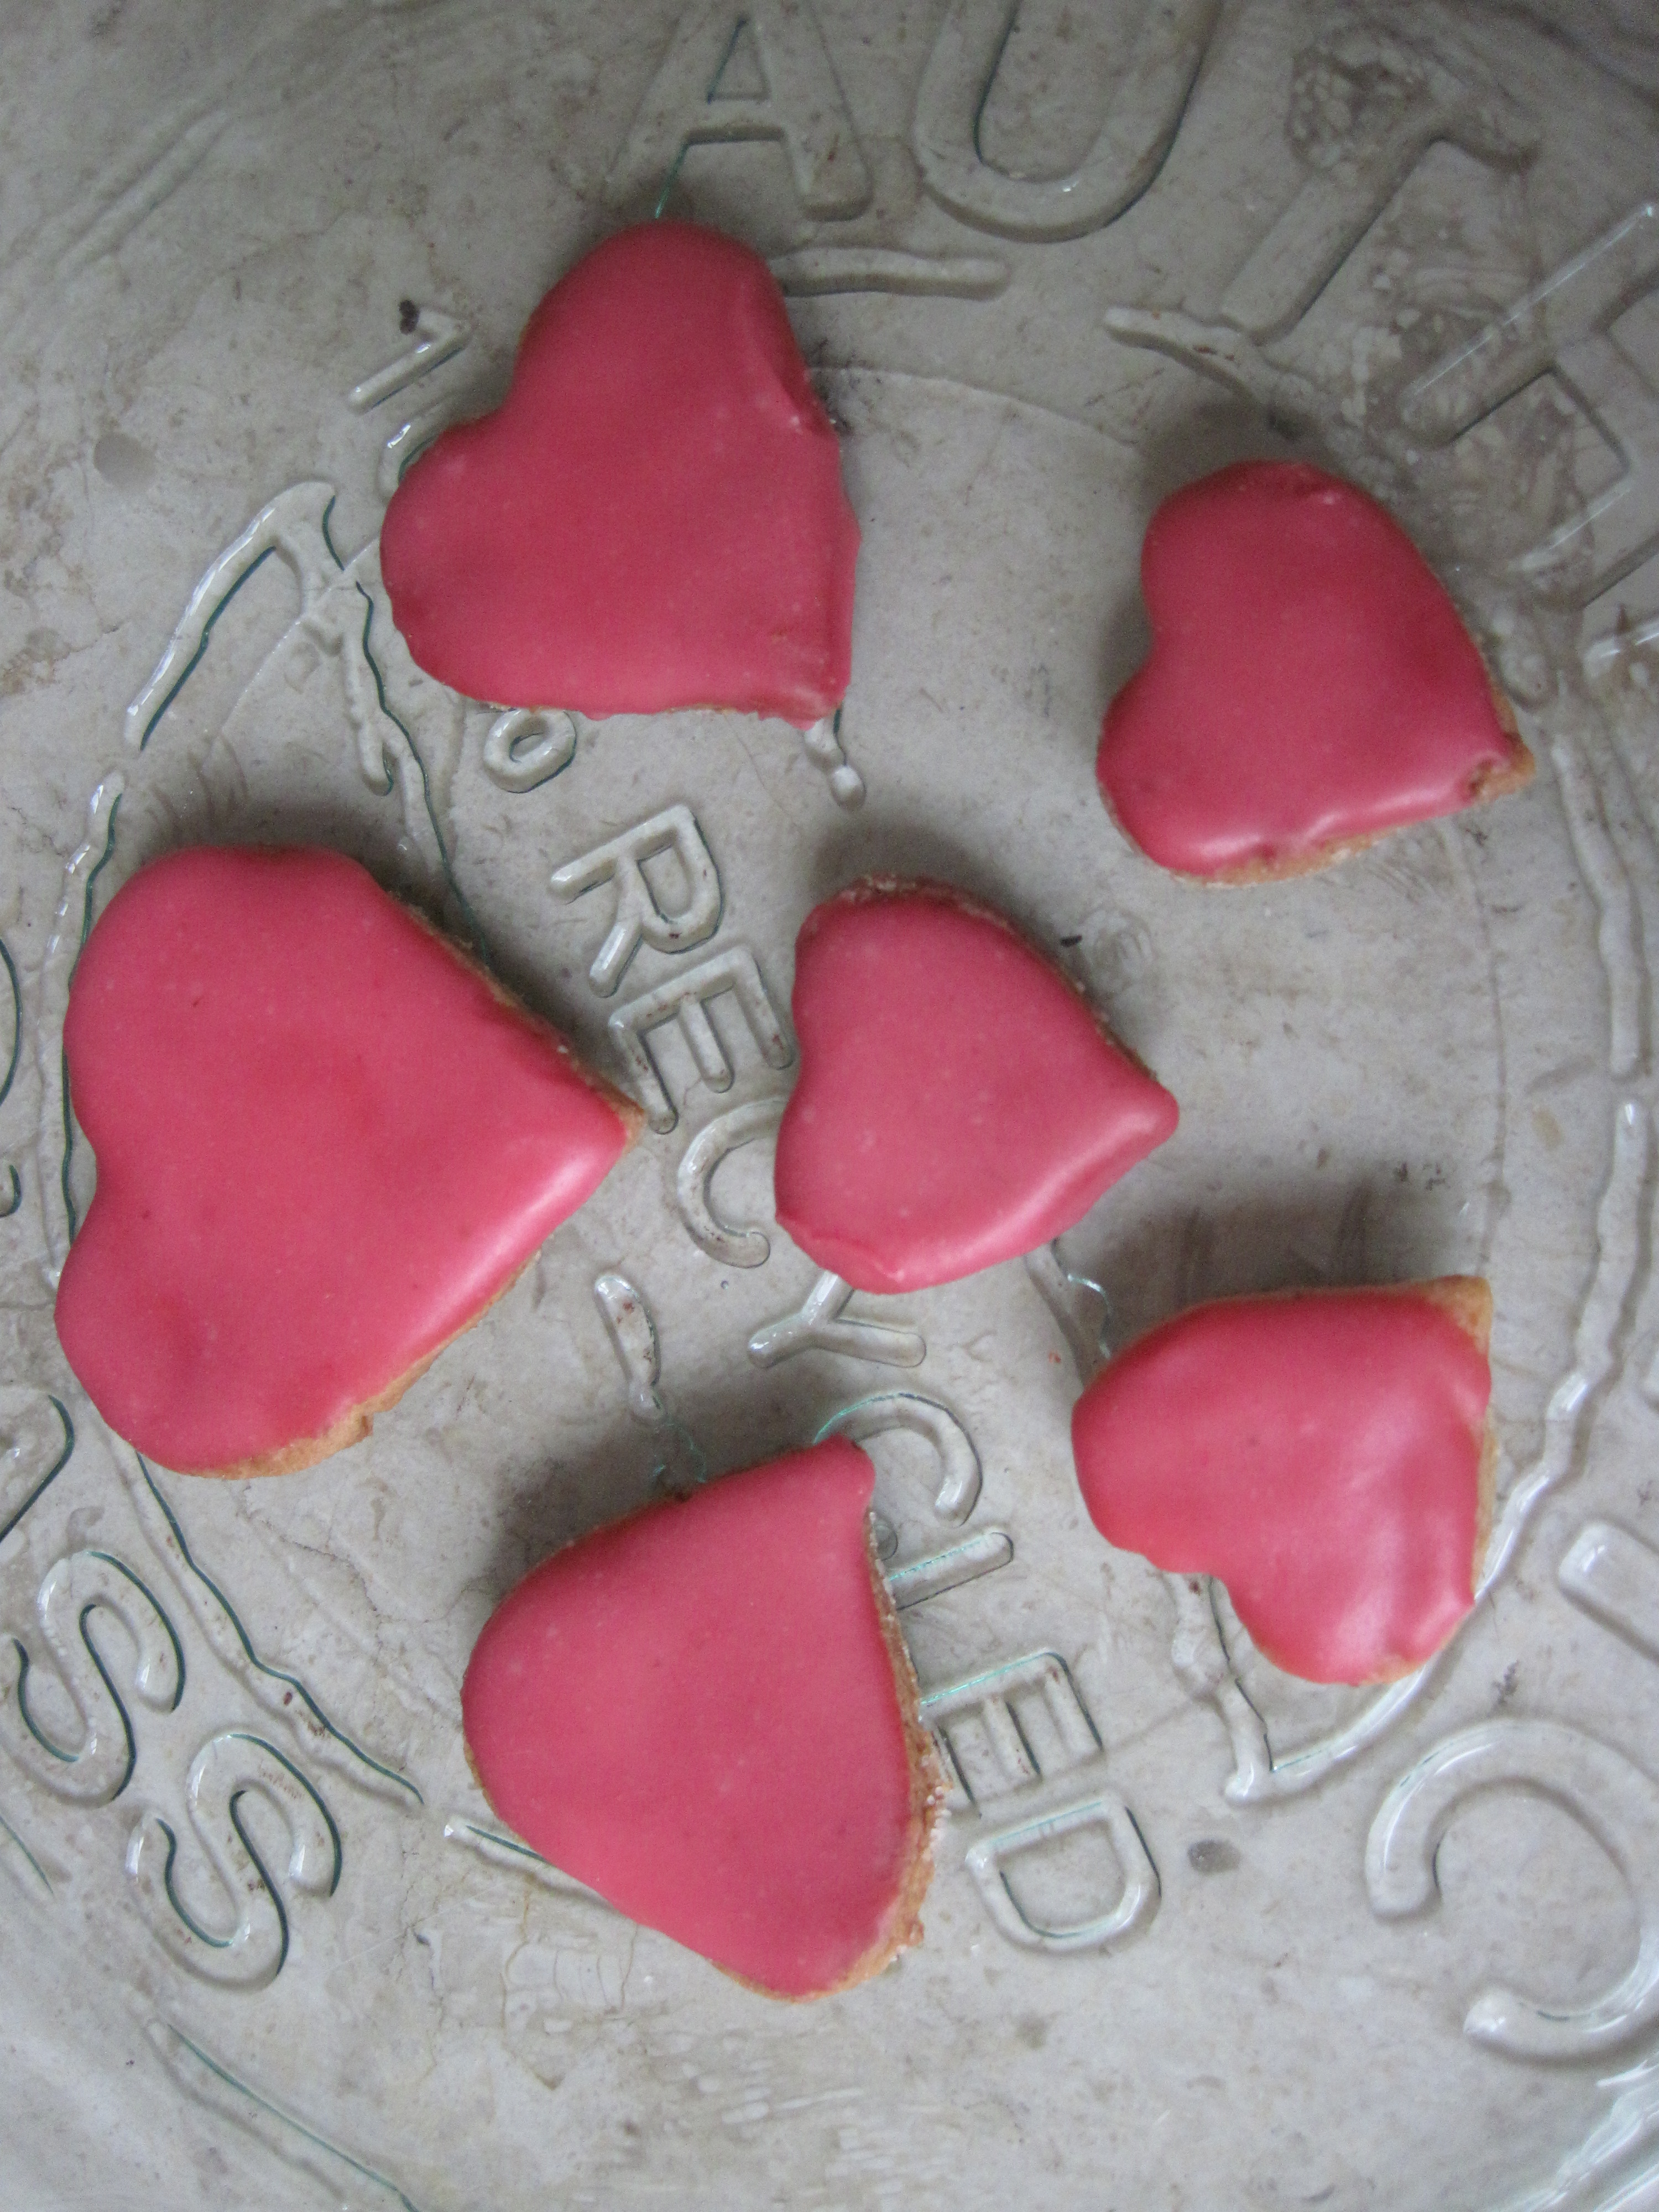
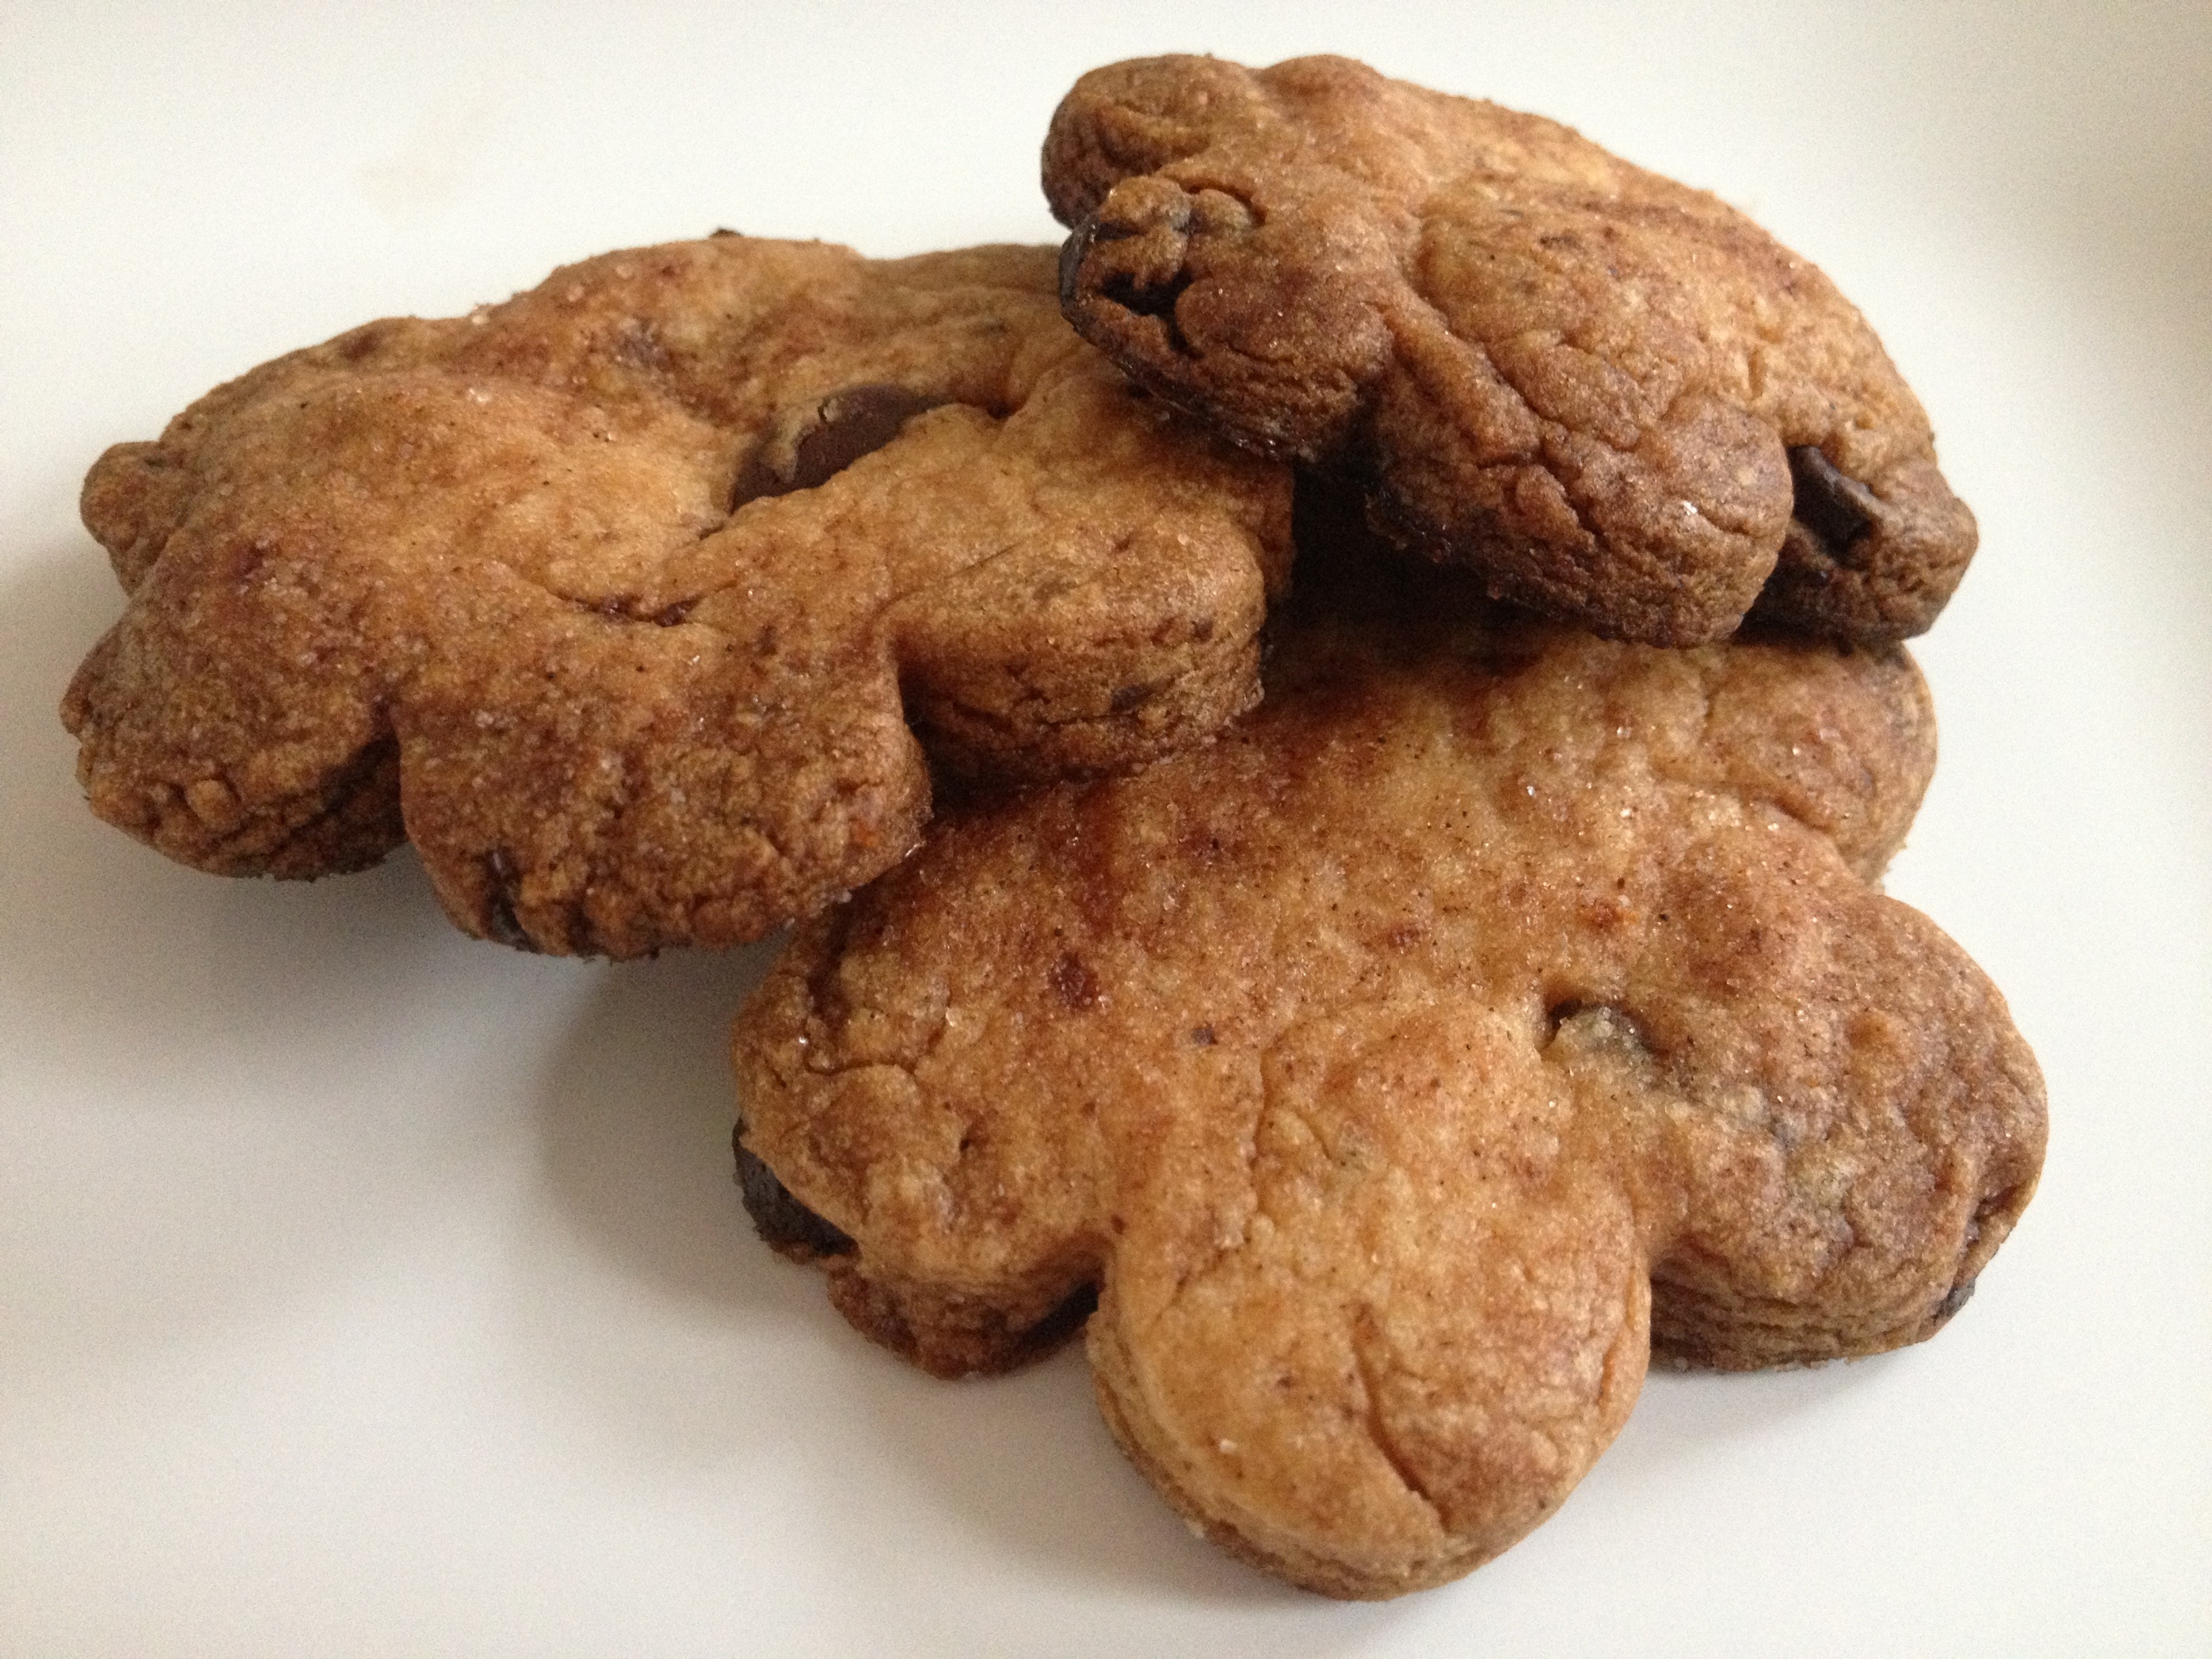
Roll the dough out and use cutters to cut your biscuit shapes and transfer to a greased baking tray. I found that this dough worked best as a thick biscuit (about half a cm). If you don’t want to roll it then take small balls and flatten on to the baking tray. Bake in the oven for 10 – 12 mins or until as brown as you like them (I like my biscuits bordering on burnt so I kept them in a little longer! 🙂 ).
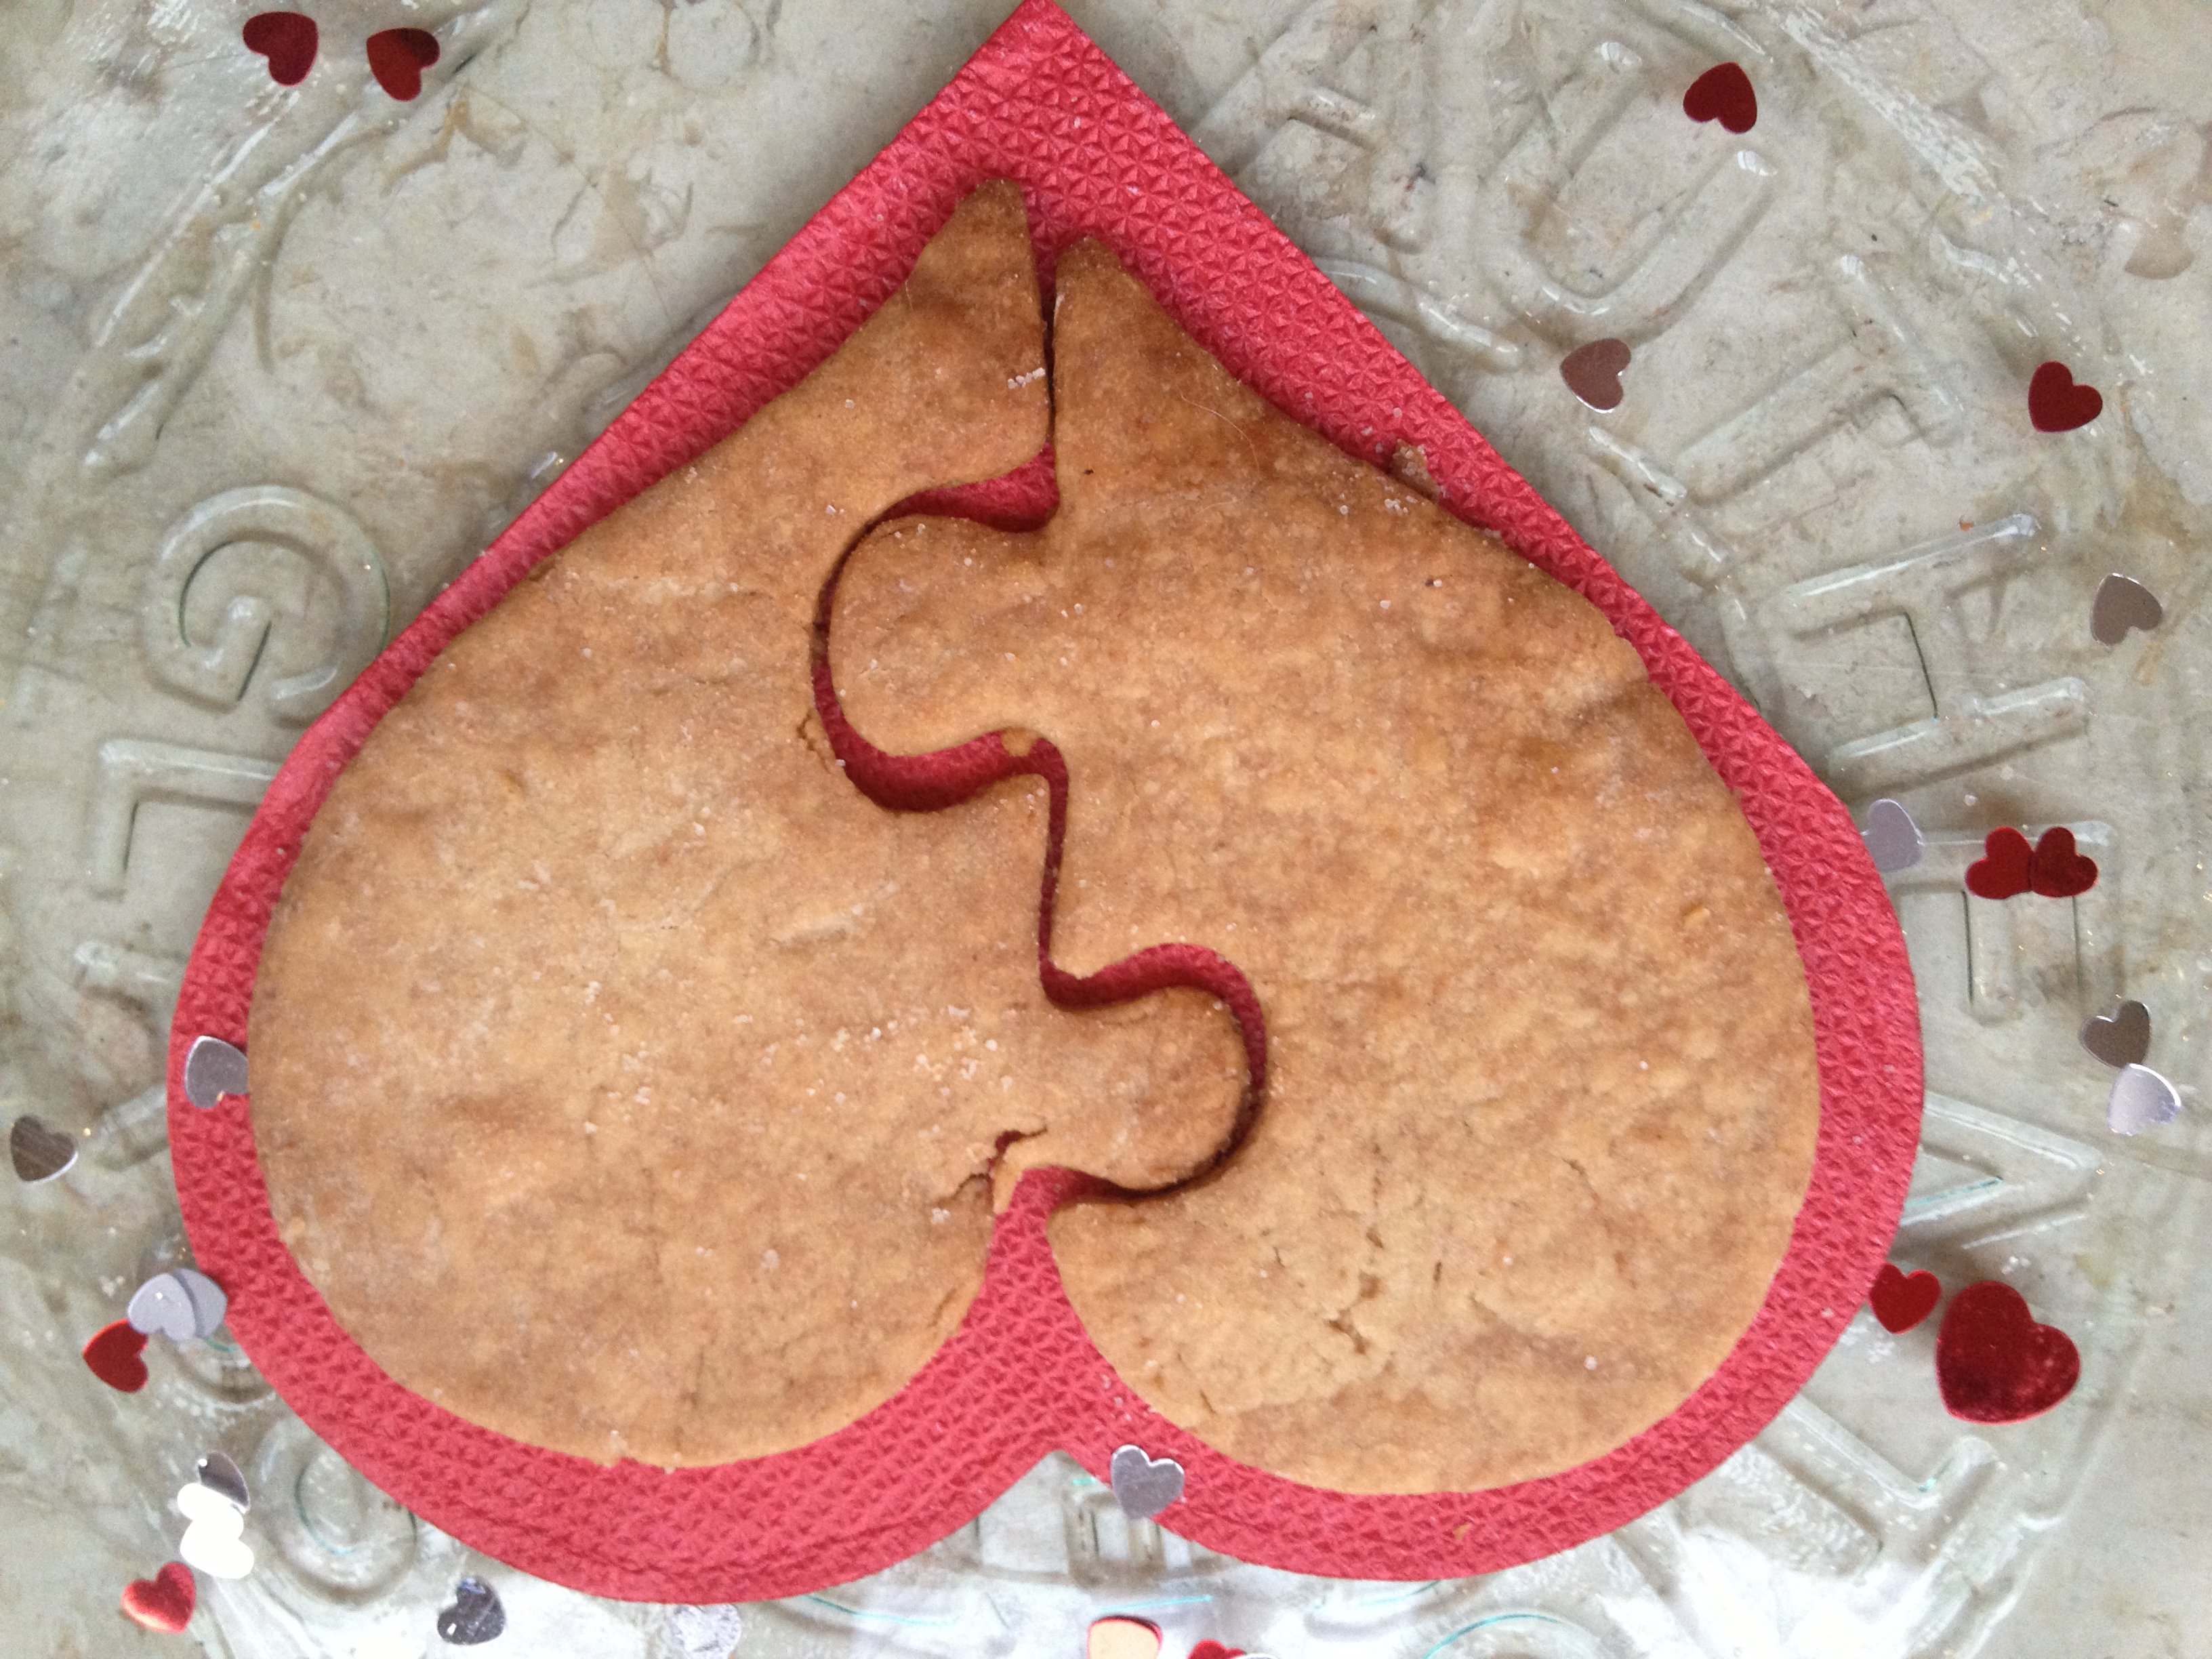
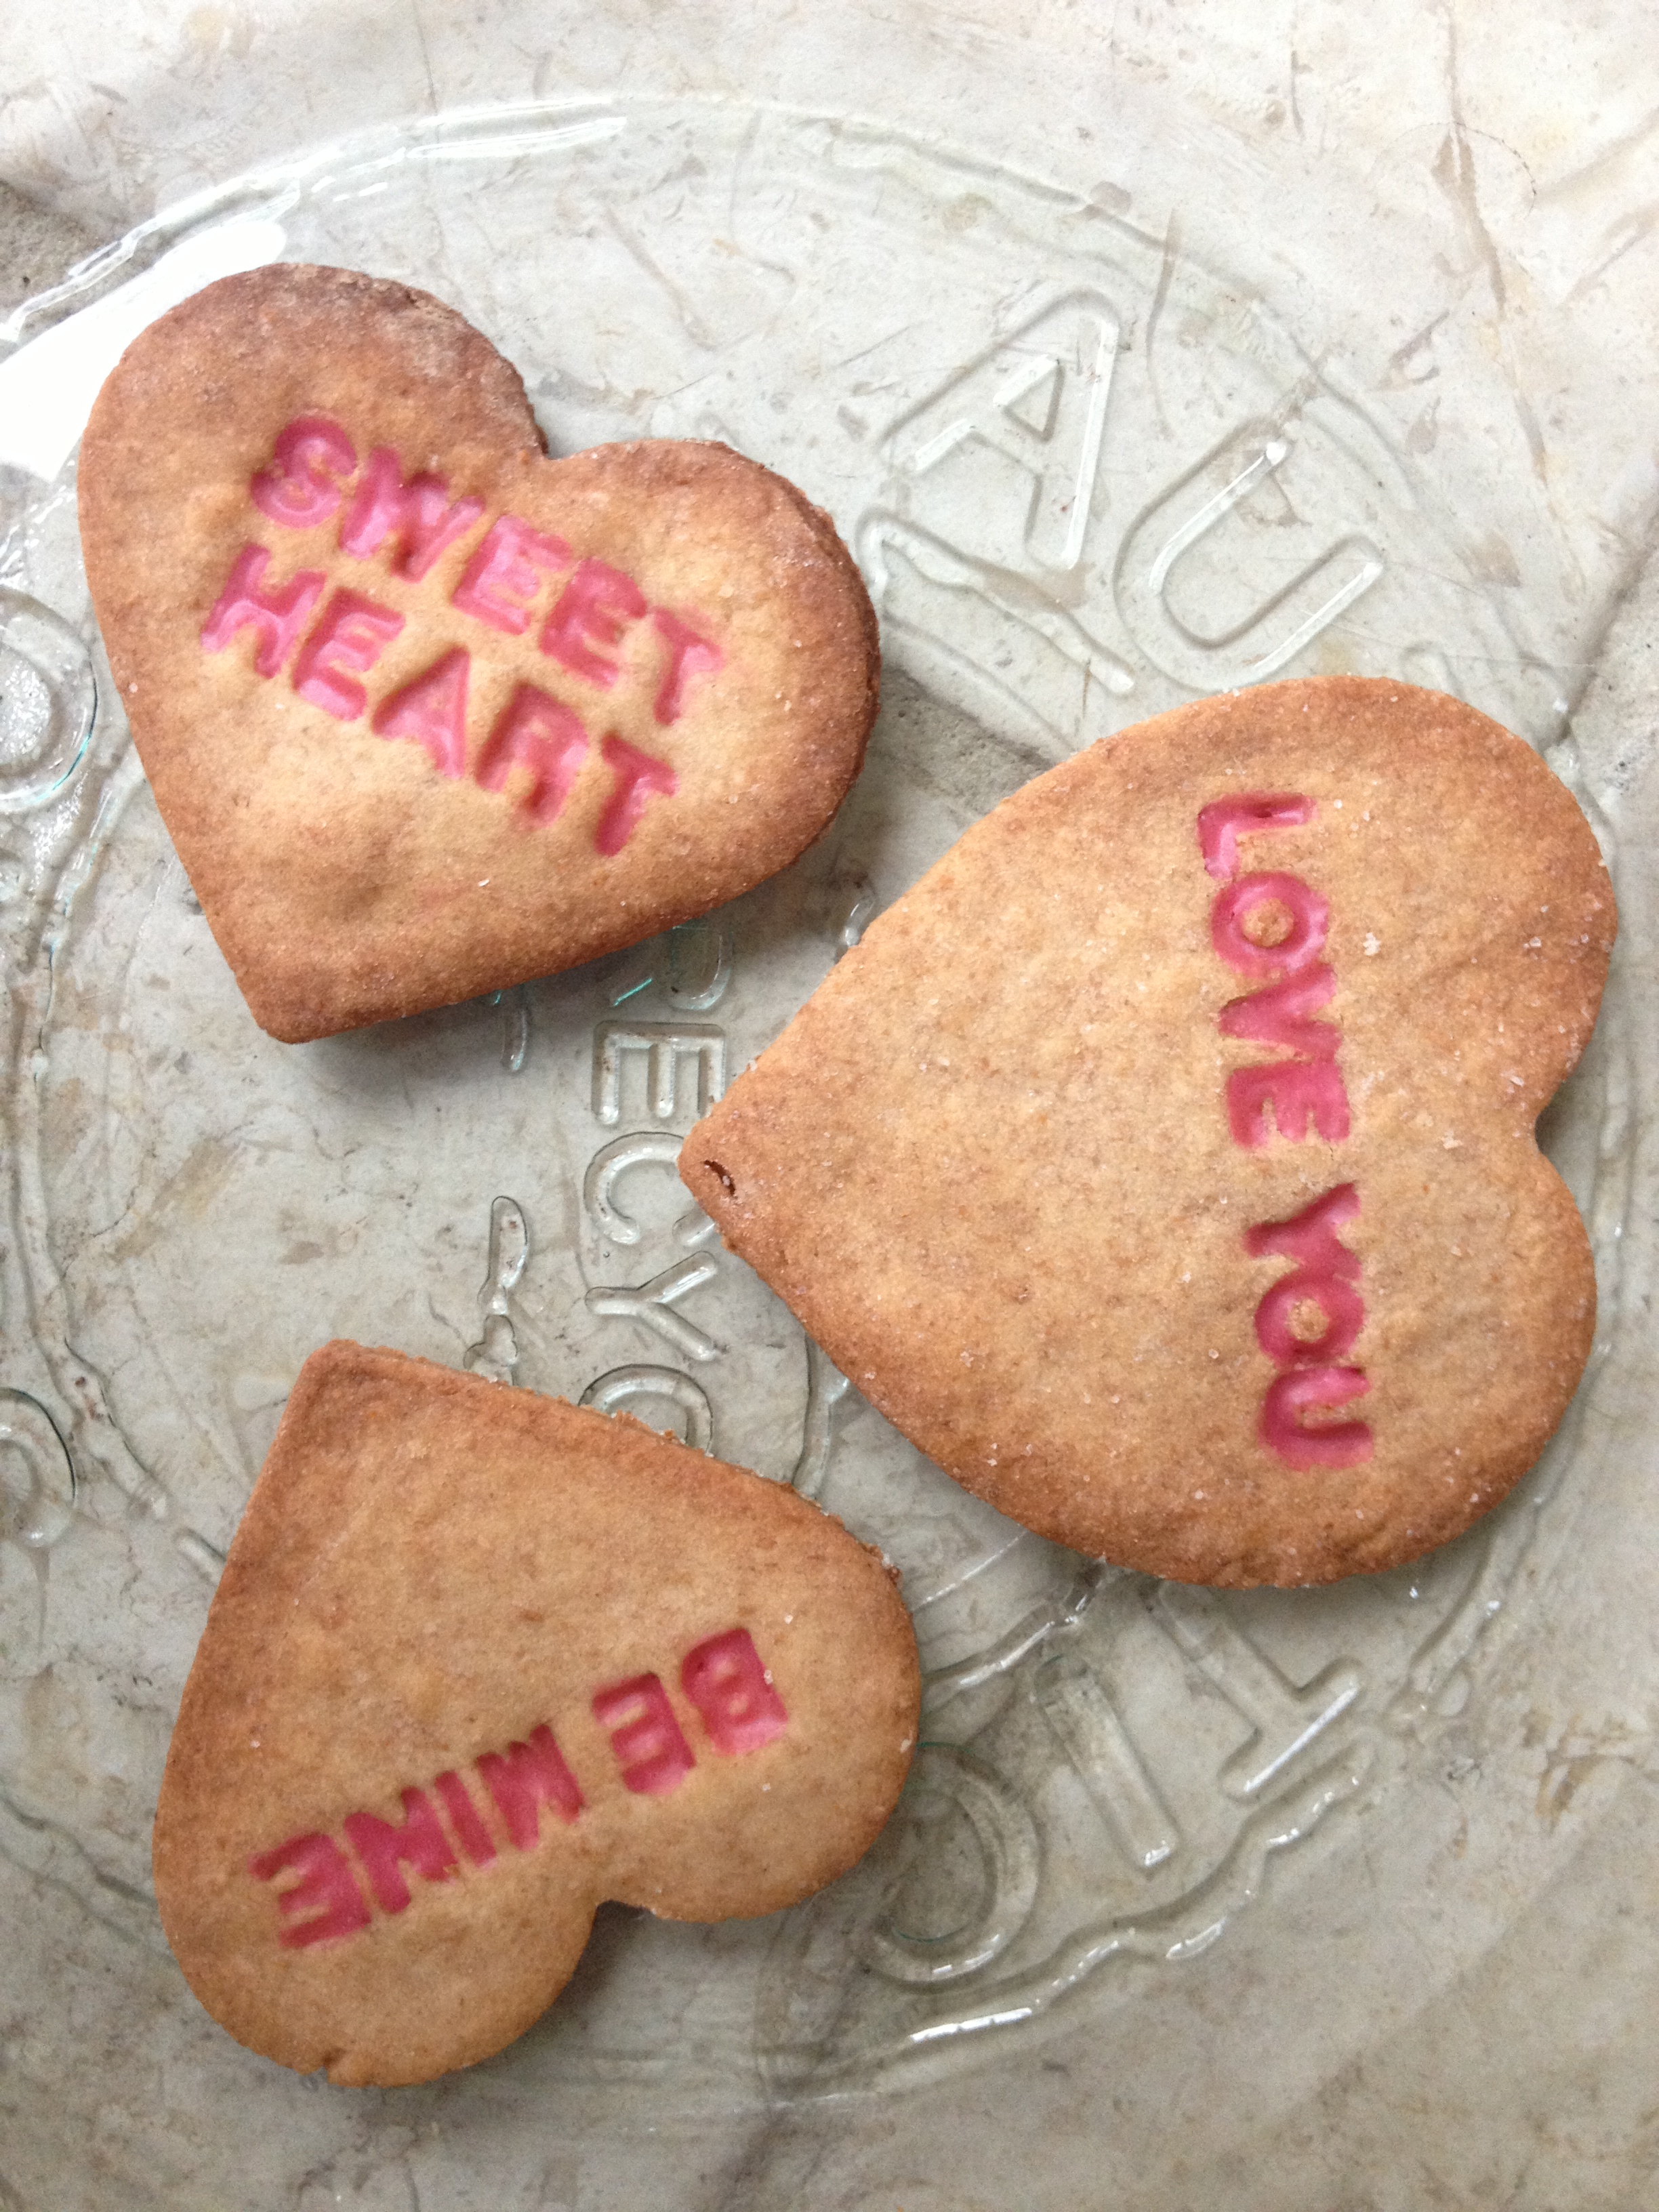
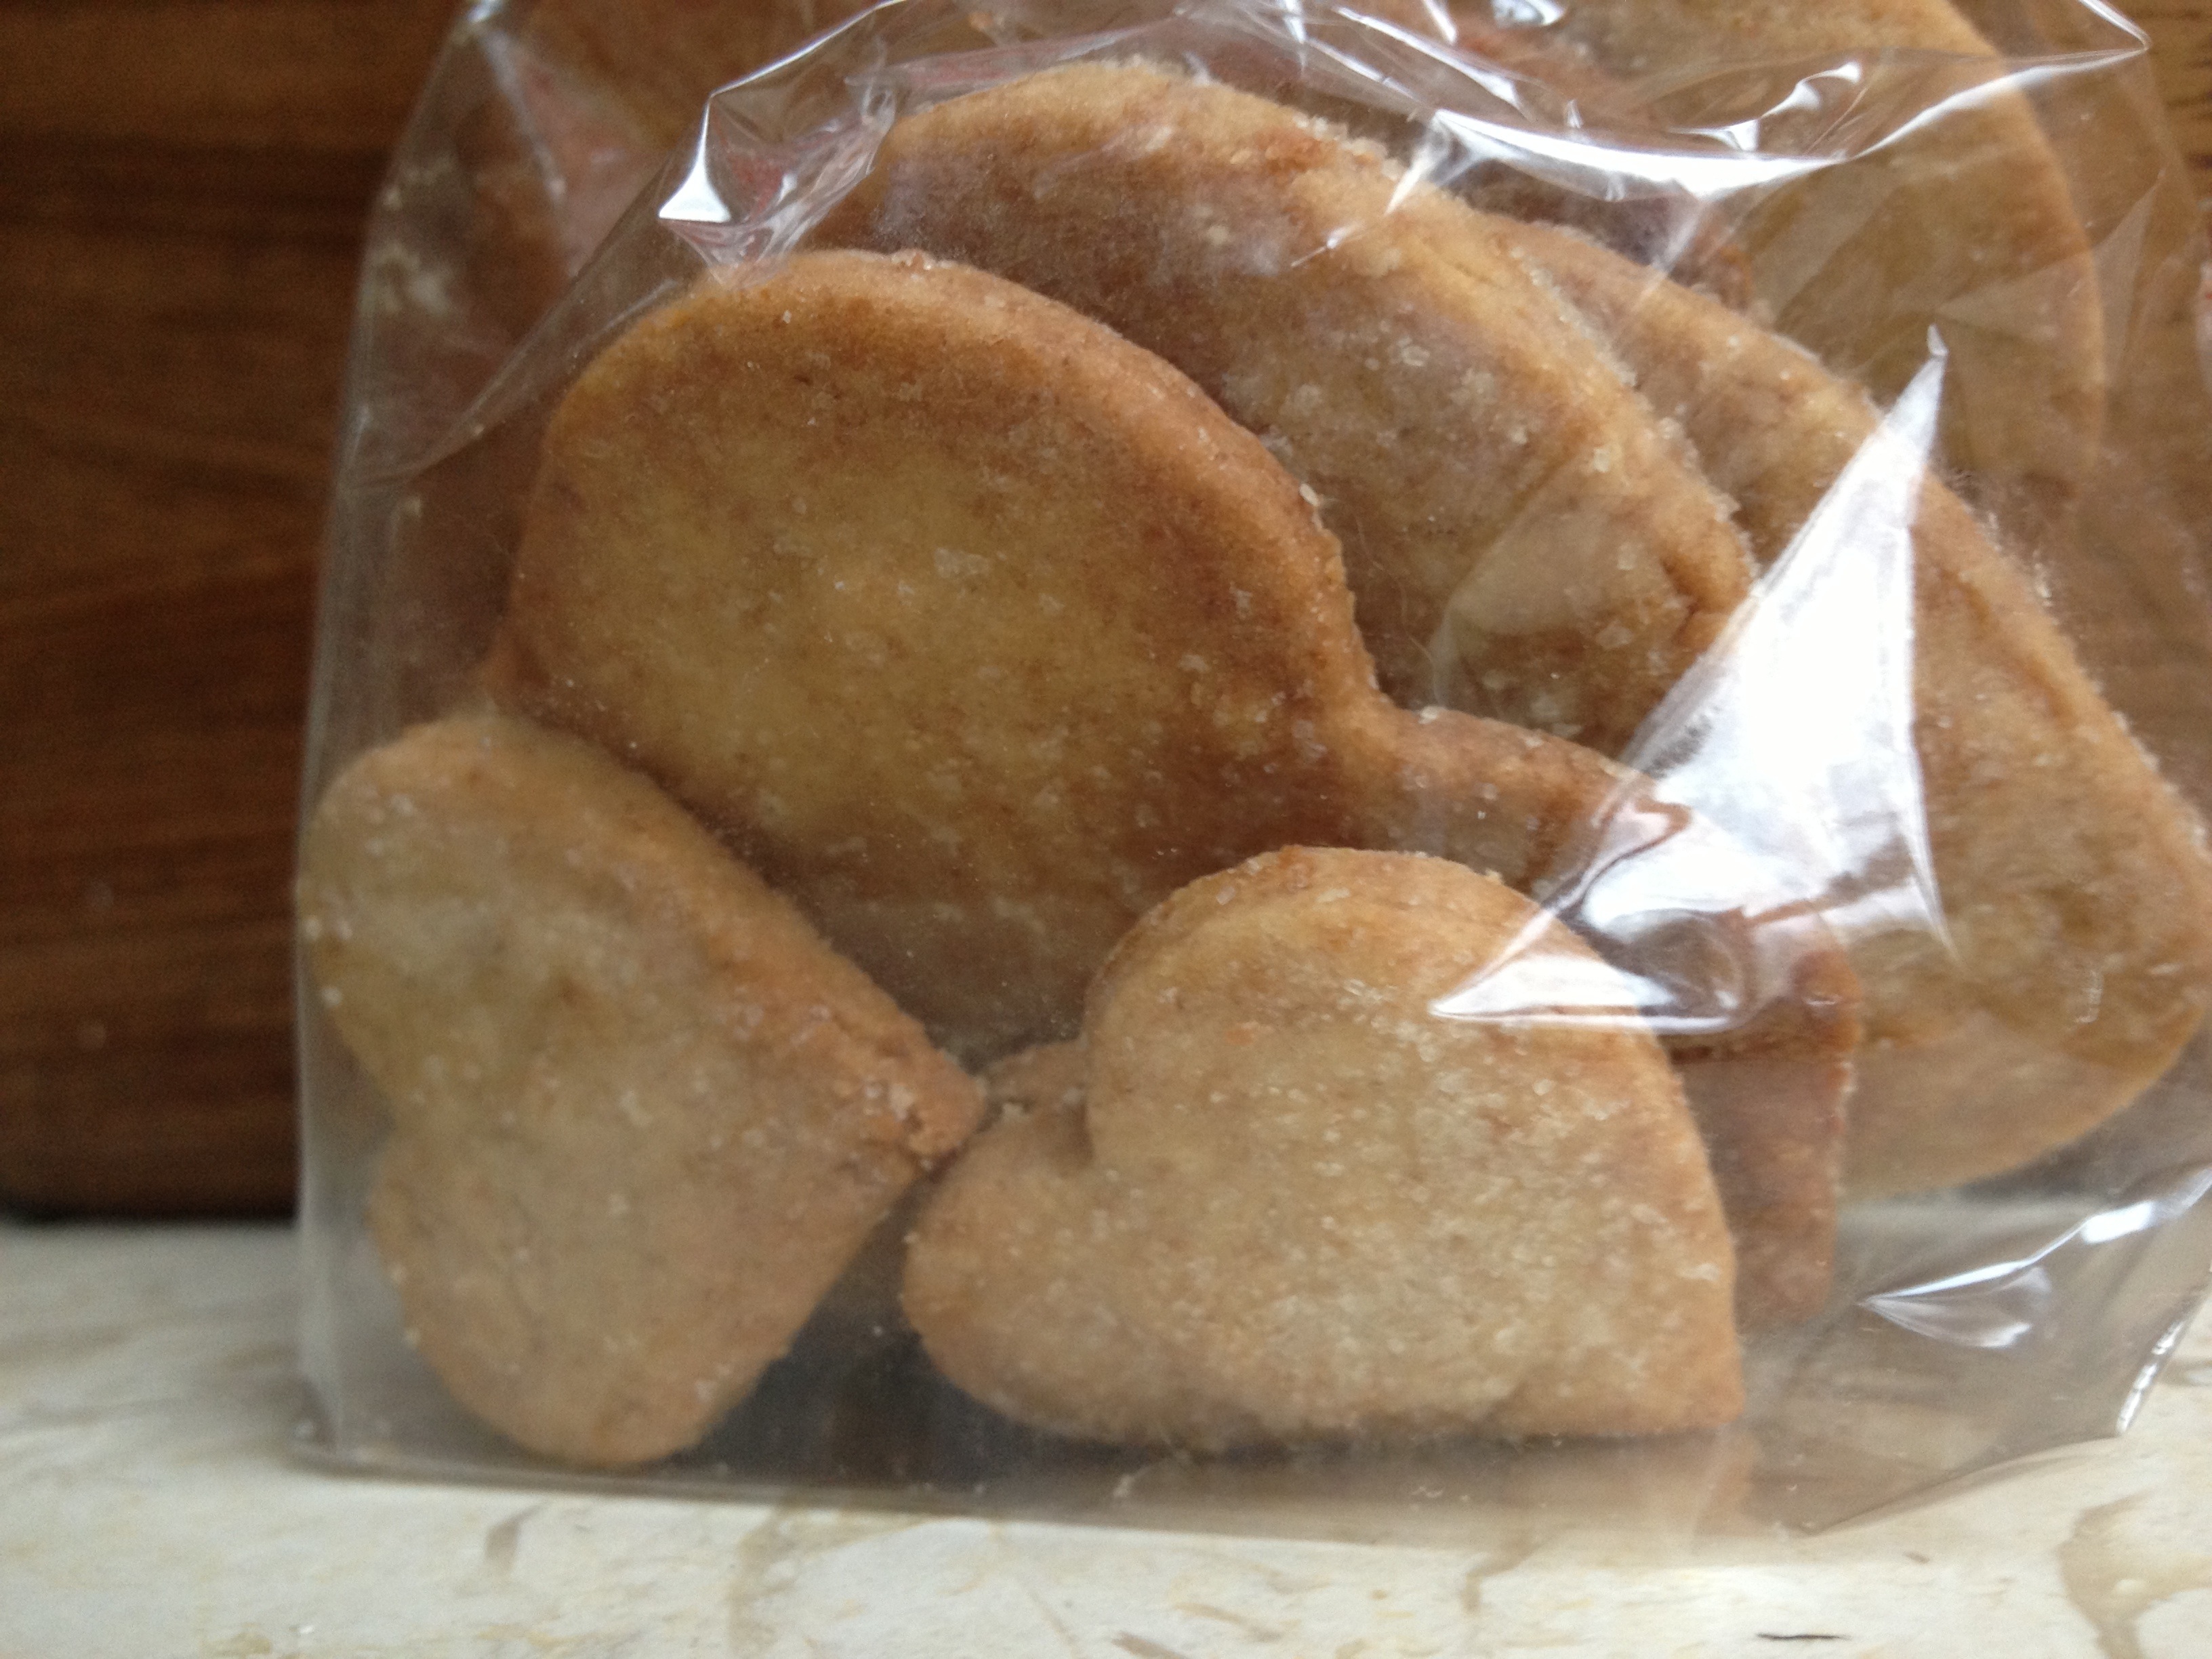
If you have some letter cutters (or you’re handy with a knife and can freehand them) then you can have fun spelling stuff in biscuit form! 😉


![IMG_0352[1]](https://pureandsimplebakes.com/wp-content/uploads/2013/02/img_03521.jpg)
![IMG_0356[1]](https://pureandsimplebakes.com/wp-content/uploads/2013/02/img_03561.jpg)
![IMG_0354[1]](https://pureandsimplebakes.com/wp-content/uploads/2013/02/img_03541.jpg)