Primal Snack Box – A wonderful box of delicious goodies! A review


I am lucky enough to get some pretty awesome things to review and this is definitely right up there with my favourites.

If you haven’t heard of them Primal Snack Box are the UK’s first monthly paleo snack box delivery service. You can sign up for a regular delivery or you can just buy a one off box and they have two types – Forest or Savannah (Savannah contains meat products). Now although I’m not “paleo”  the Forest box is vegan so totally ticks the boxes for me and they were lovely enough to send me one to try. They were even lovelier and also gave me a special code for you guys to get 10% off your first box! Just use the special code PUREANDSIMPLEBAKES on check out – just click through and place your order! (after you’ve read my review of course 😉 )

IMG_1367

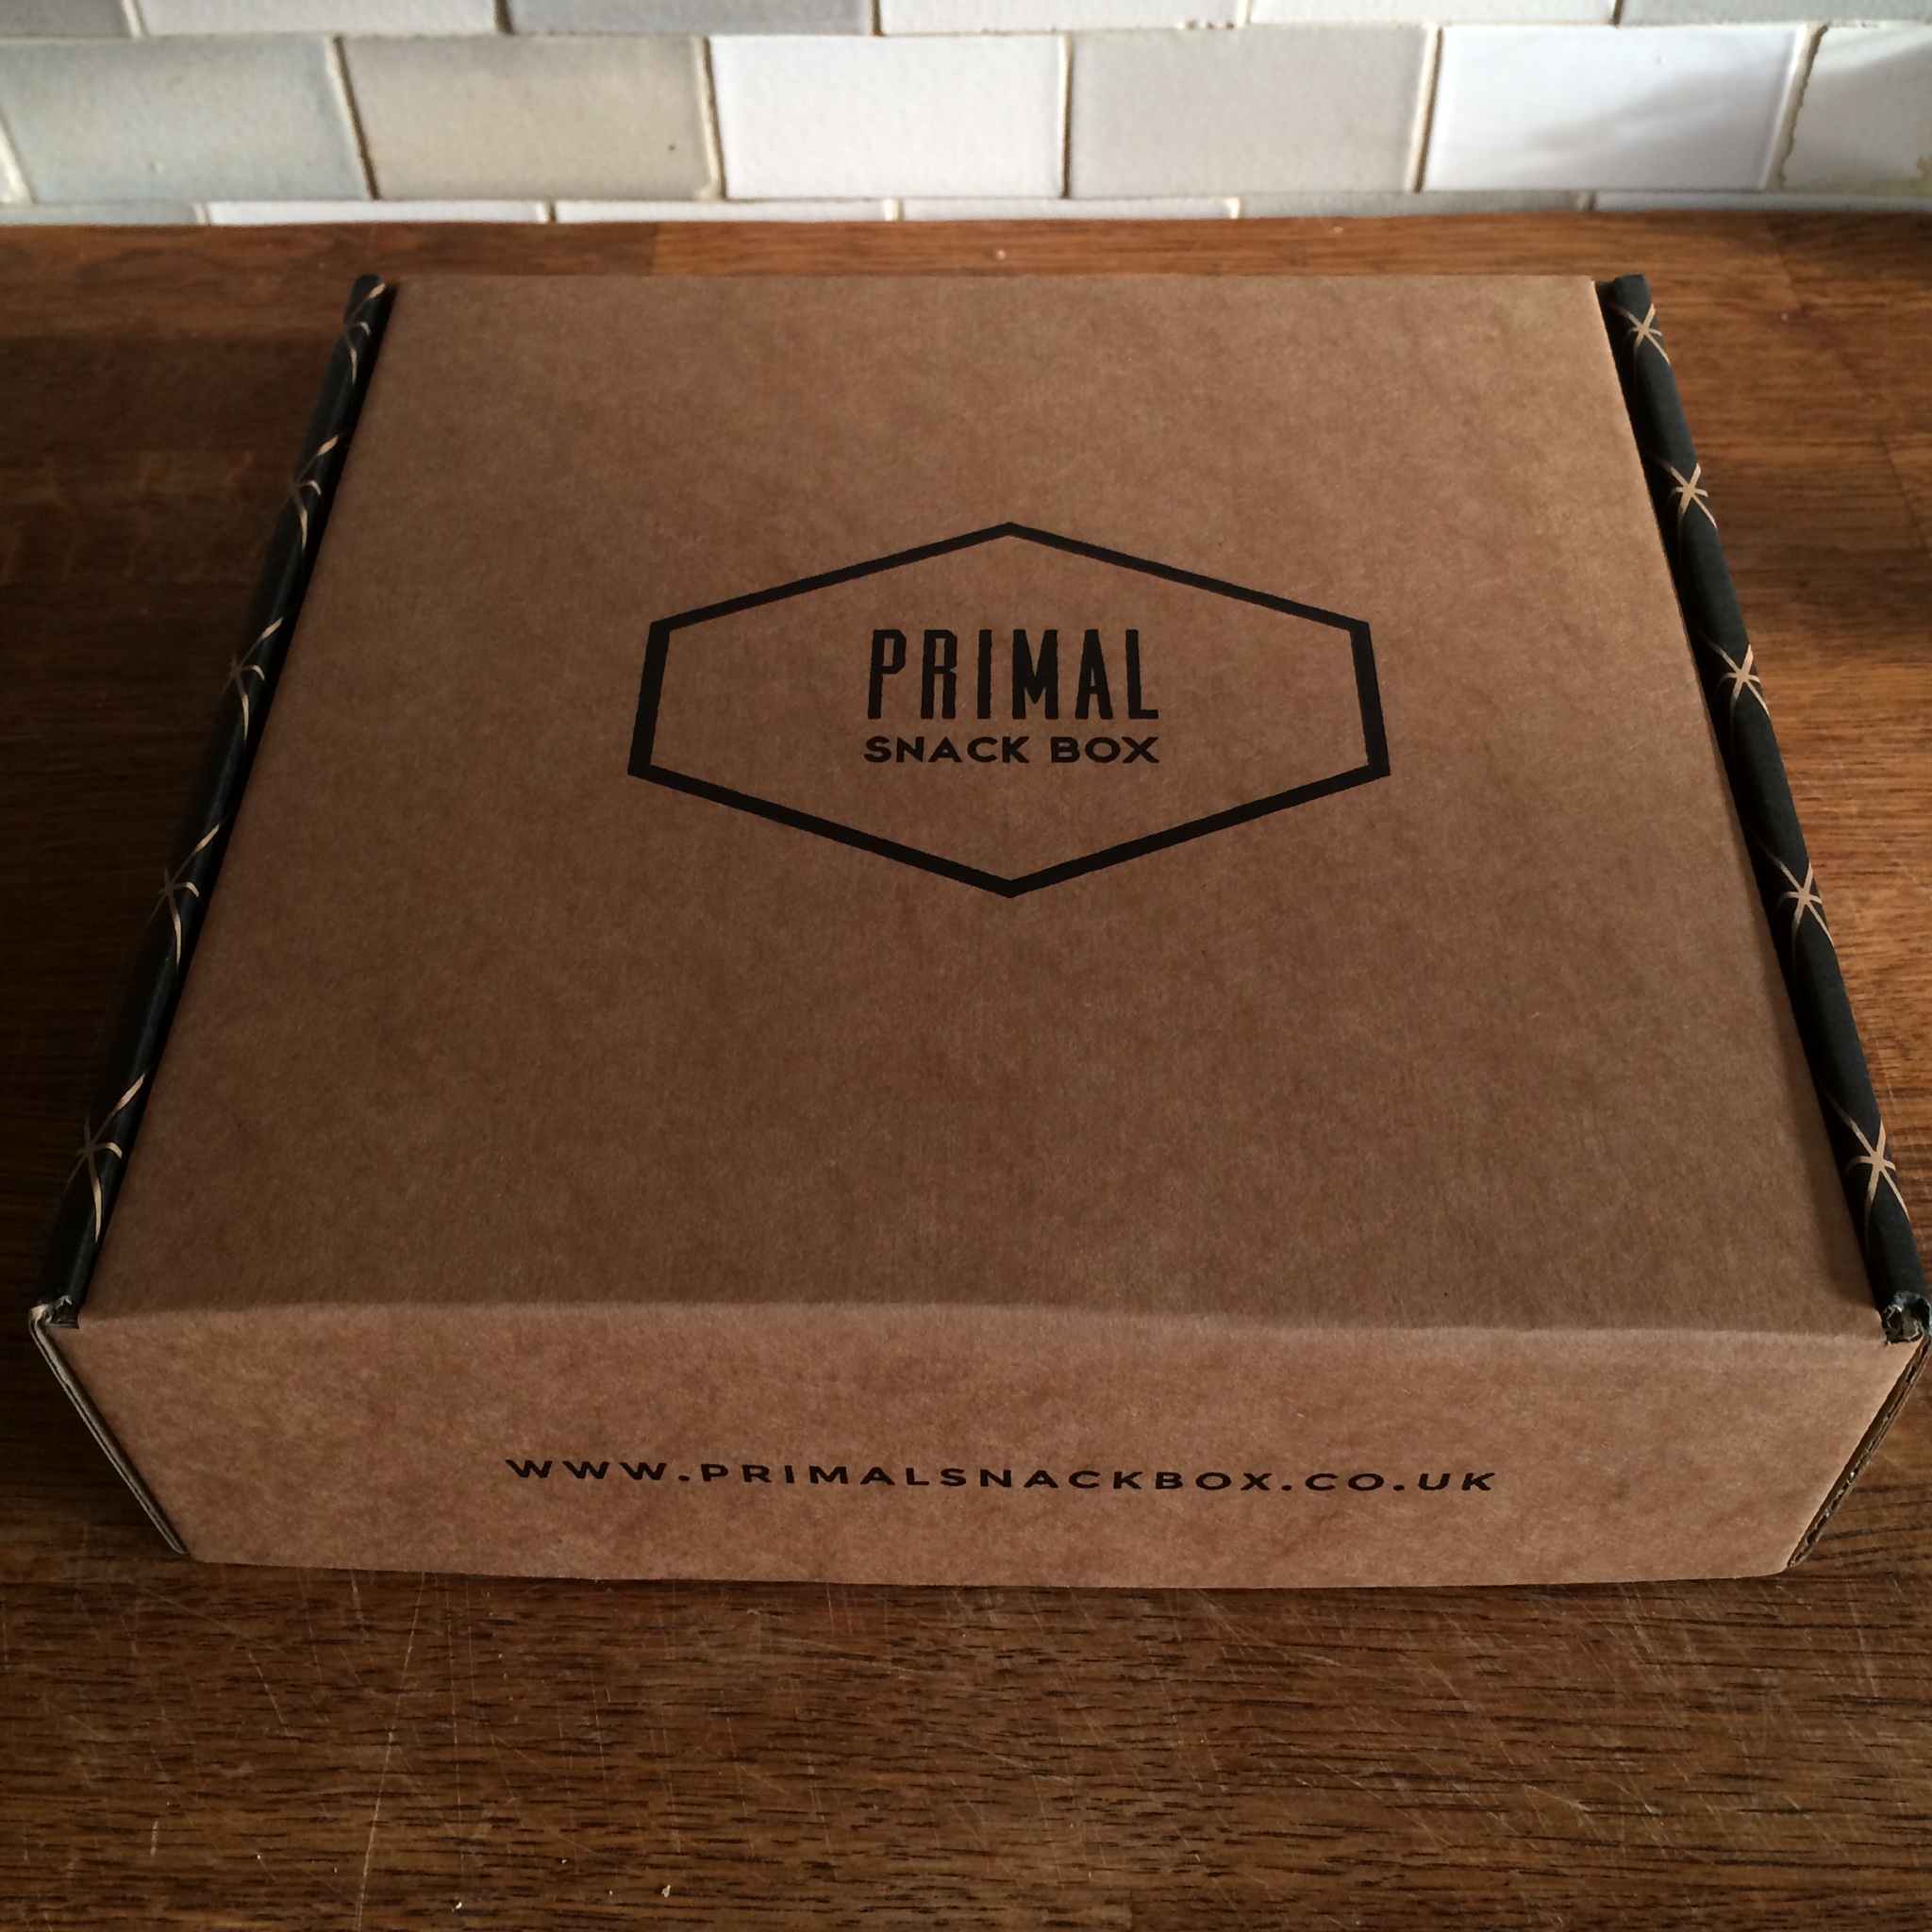
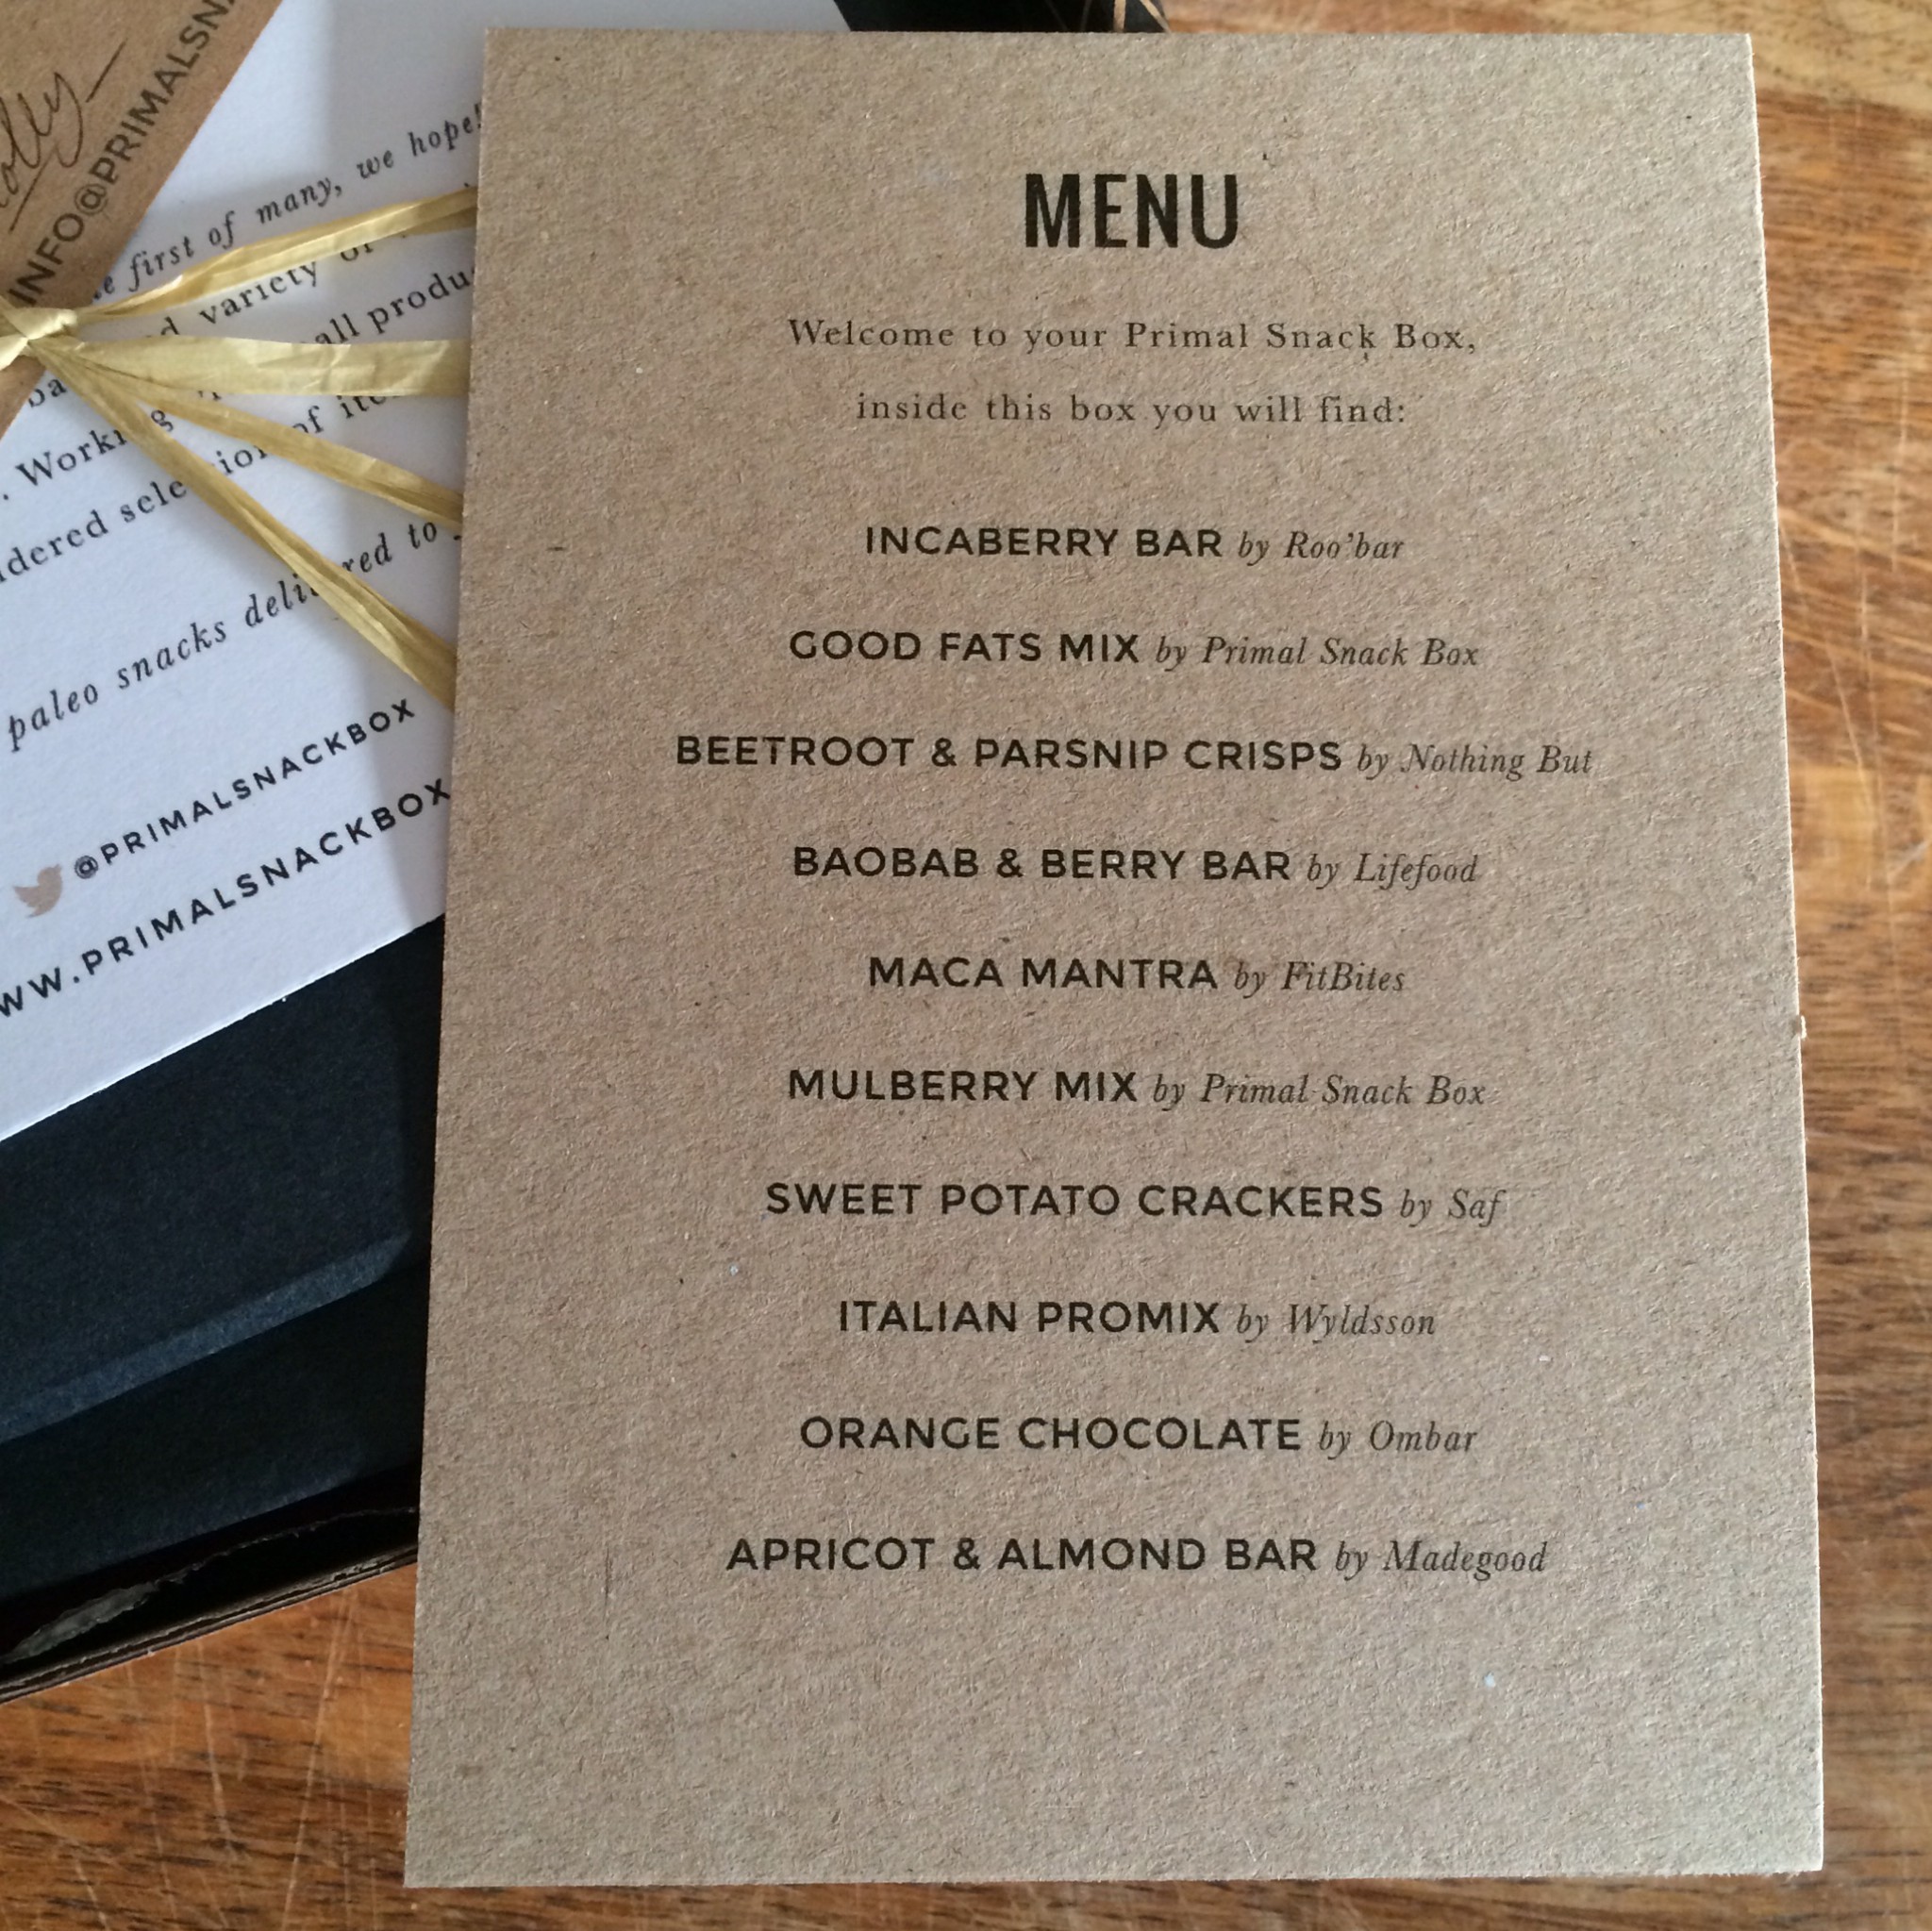
Now first off – the presentation is fab! It arrives in a lovely sturdy box, well packaged and really feels like you’re opening up a little gift – it’s so beautifully put together and there’s even a little menu! I think I’m in love already!

IMG_1371    IMG_1369

This box arrived at a time when I was about to dog-sit for my friend for 2 weeks so I was constantly on the go and often needed something to grab and eat as I took the dogs out – this box was perfect. That also explains why most of the photos are in the woods!

Primal snack work with small producers which is another thing I really love  and it’s a great way of introducing you to products you may not otherwise have come across.The box contained all these wonderful things!

IMG_1375

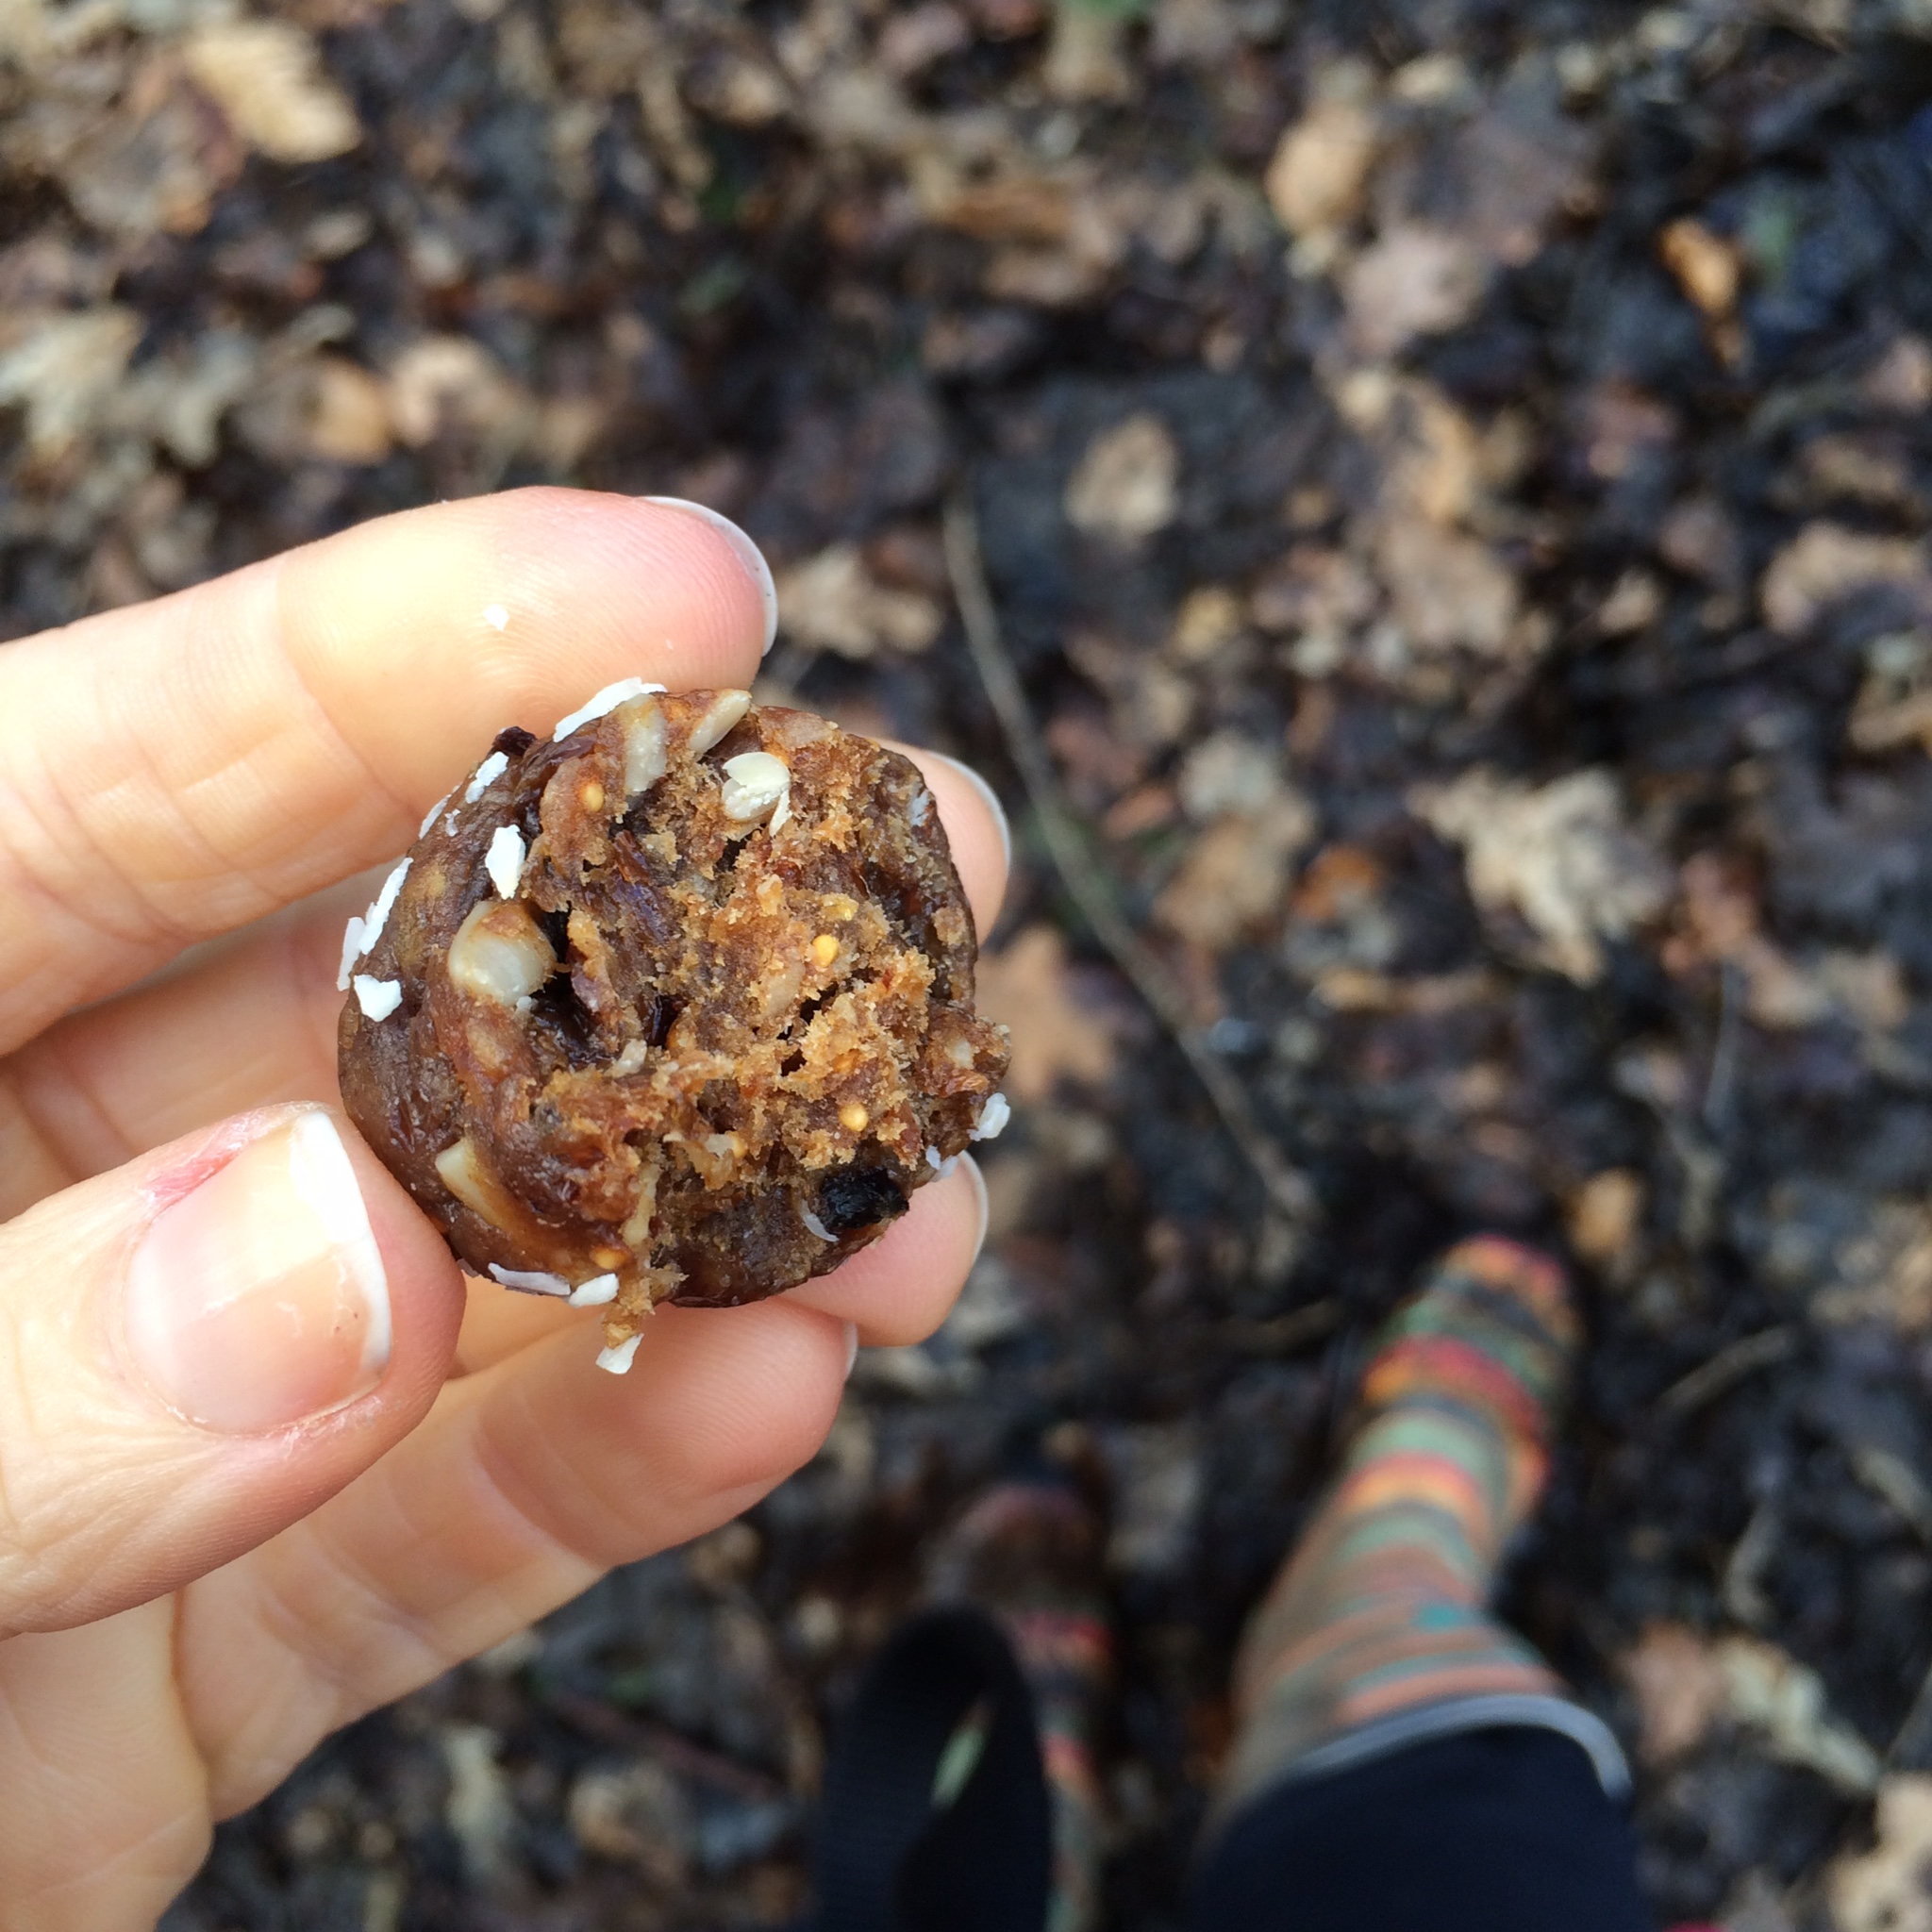
Fit bites – these were really good – little balls of fruit and nut – like little power houses of energy. You get two in a pack, they’re generously sized and they tasted delish – great shot of energy for the walk.

IMG_1416  IMG_1418

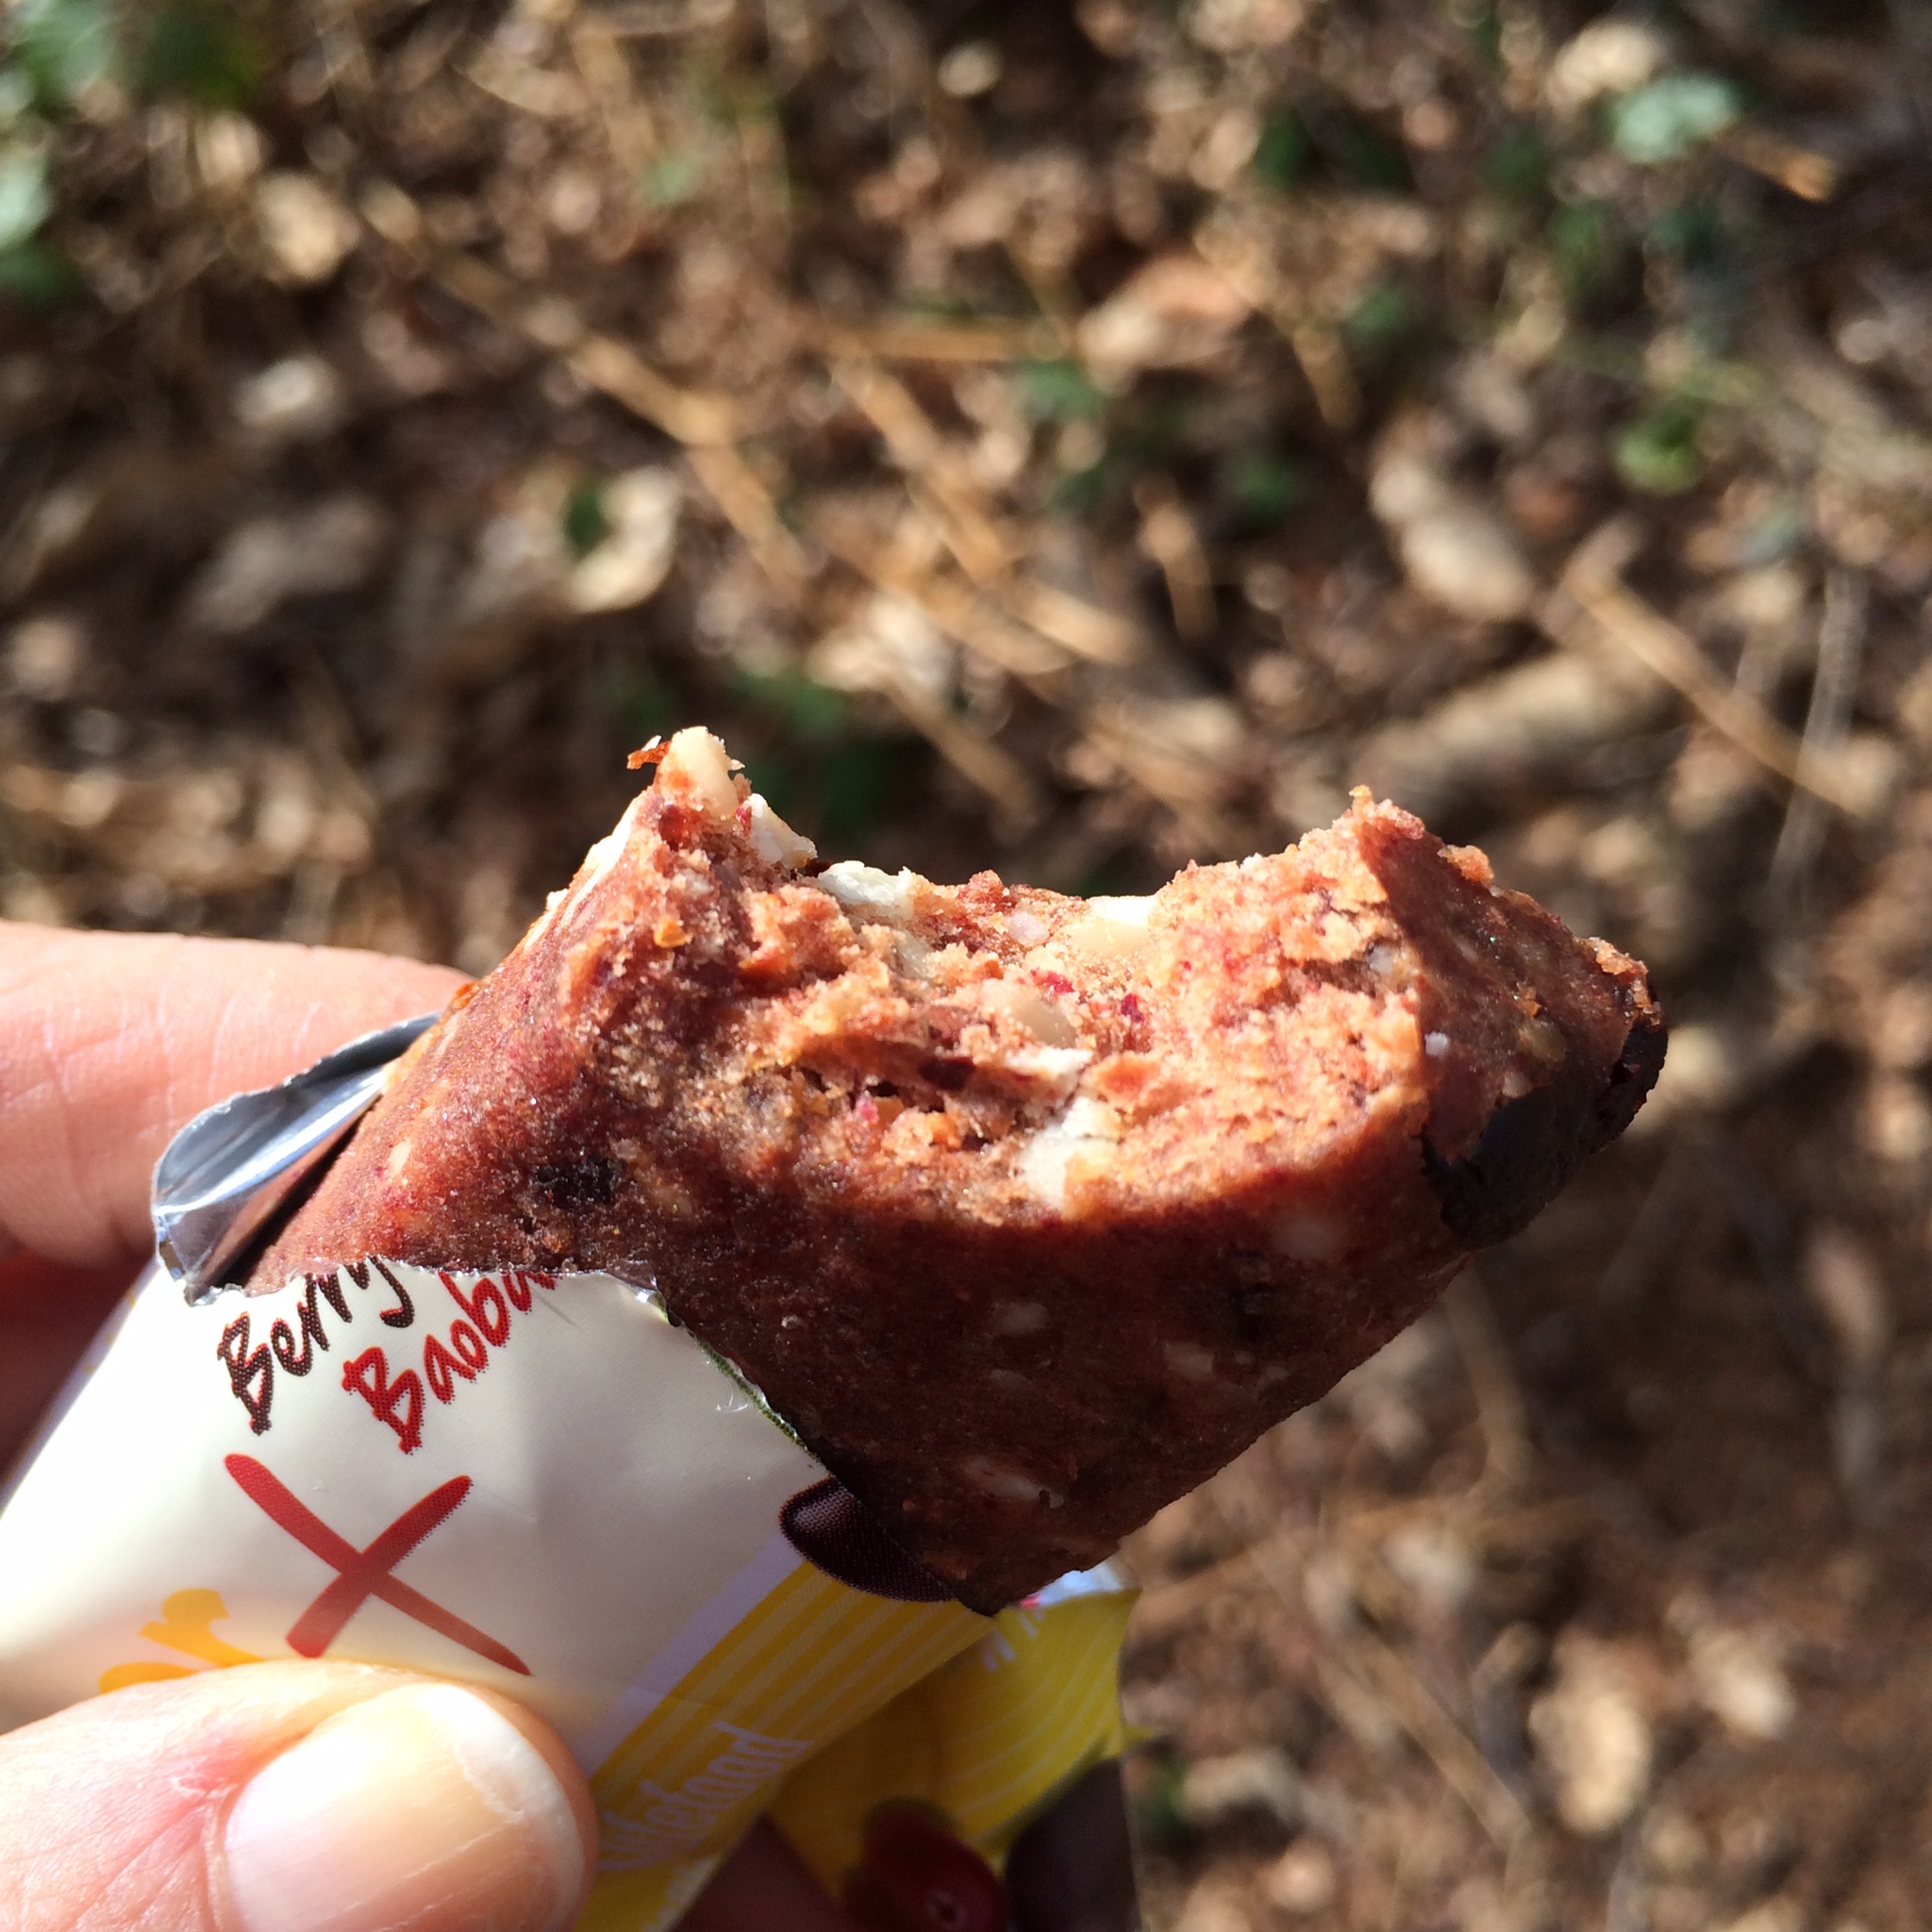
Lifebar – Berry, Maca and Baobab –  now this was a surprise  – never tried one before and wasn’t sure what to expect but it was lovely! Tangy yet creamy, chewy and really filling. Will definitely get these again!

IMG_1421  IMG_1423

SAF Raw sweet potato crackers – I had these for my lunch, spread with wasabi hummus and tofu and they were fab! They’re a nice thick cracker, not super crunchy but with some crack and not soggy at all. They held up under the hummus too and didn’t go soft. Loved the flavour and they are super filling. Another one I will definitely get again.

IMG_1426  IMG_1429

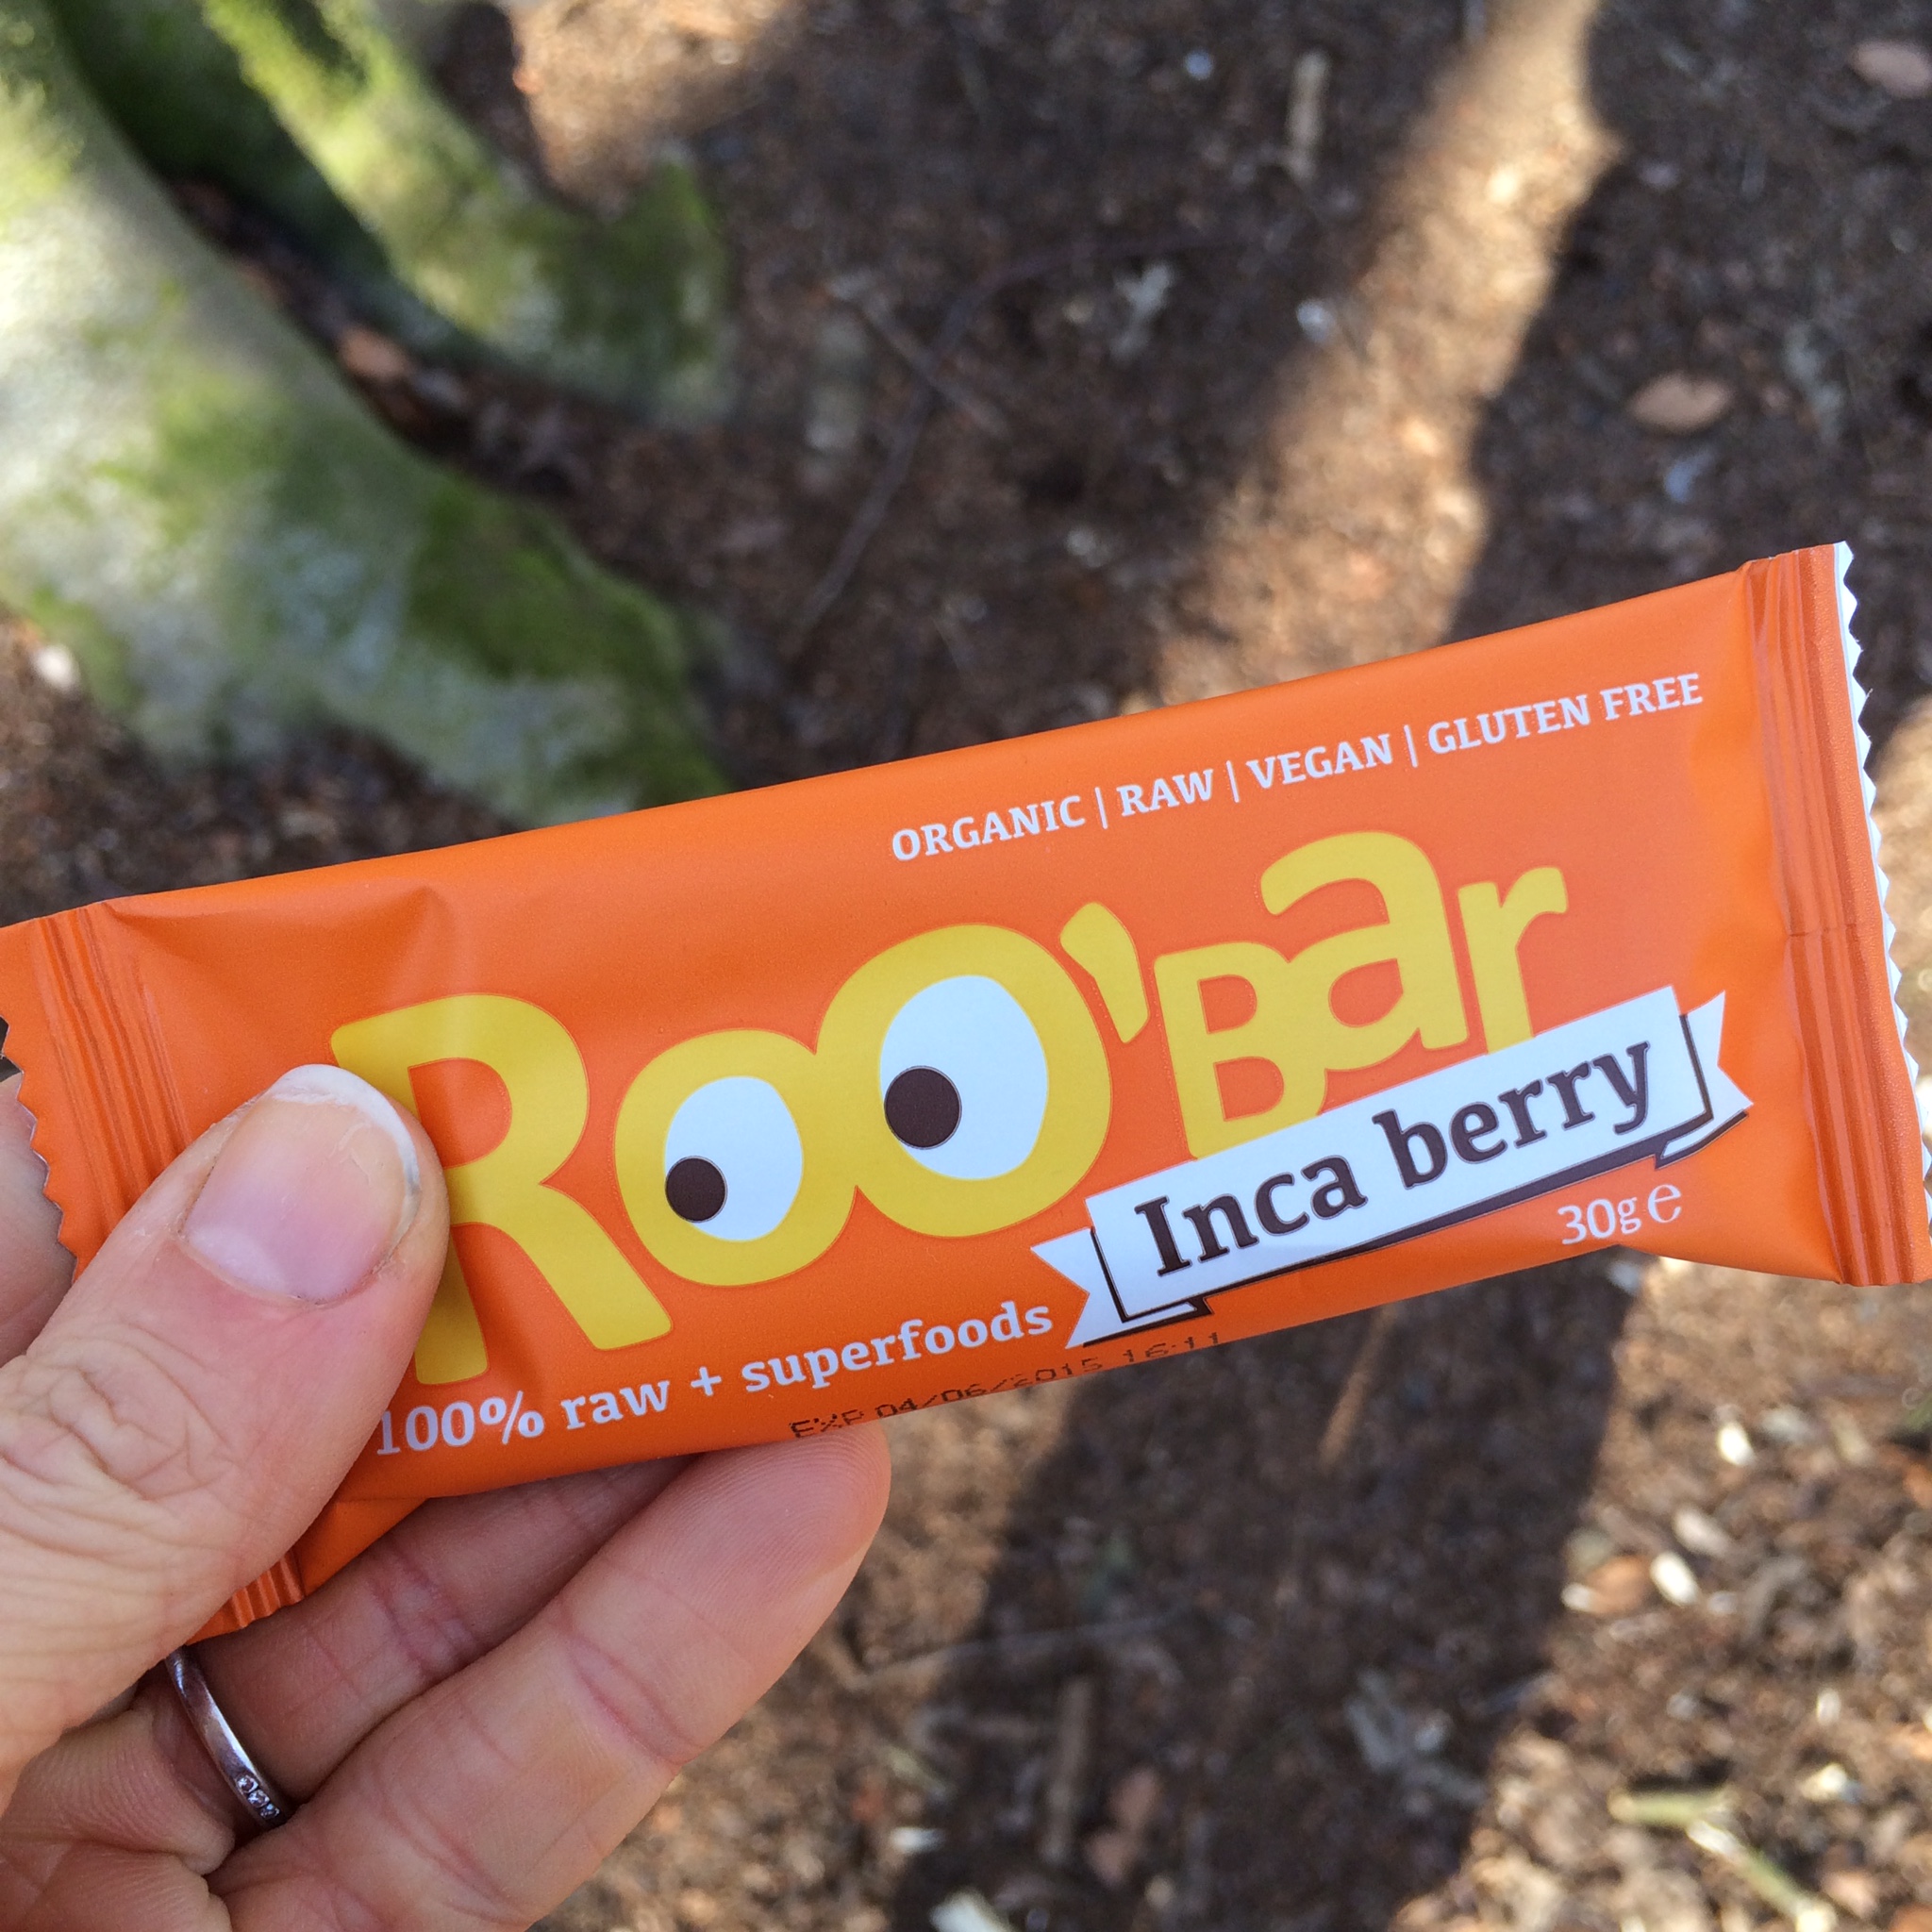
Roo’bar – inca berry – another delicious tangy bar – a good size for a snack and really tasty. Look how happy I am with it! 🙂

IMG_1430 IMG_1432 IMG_1433

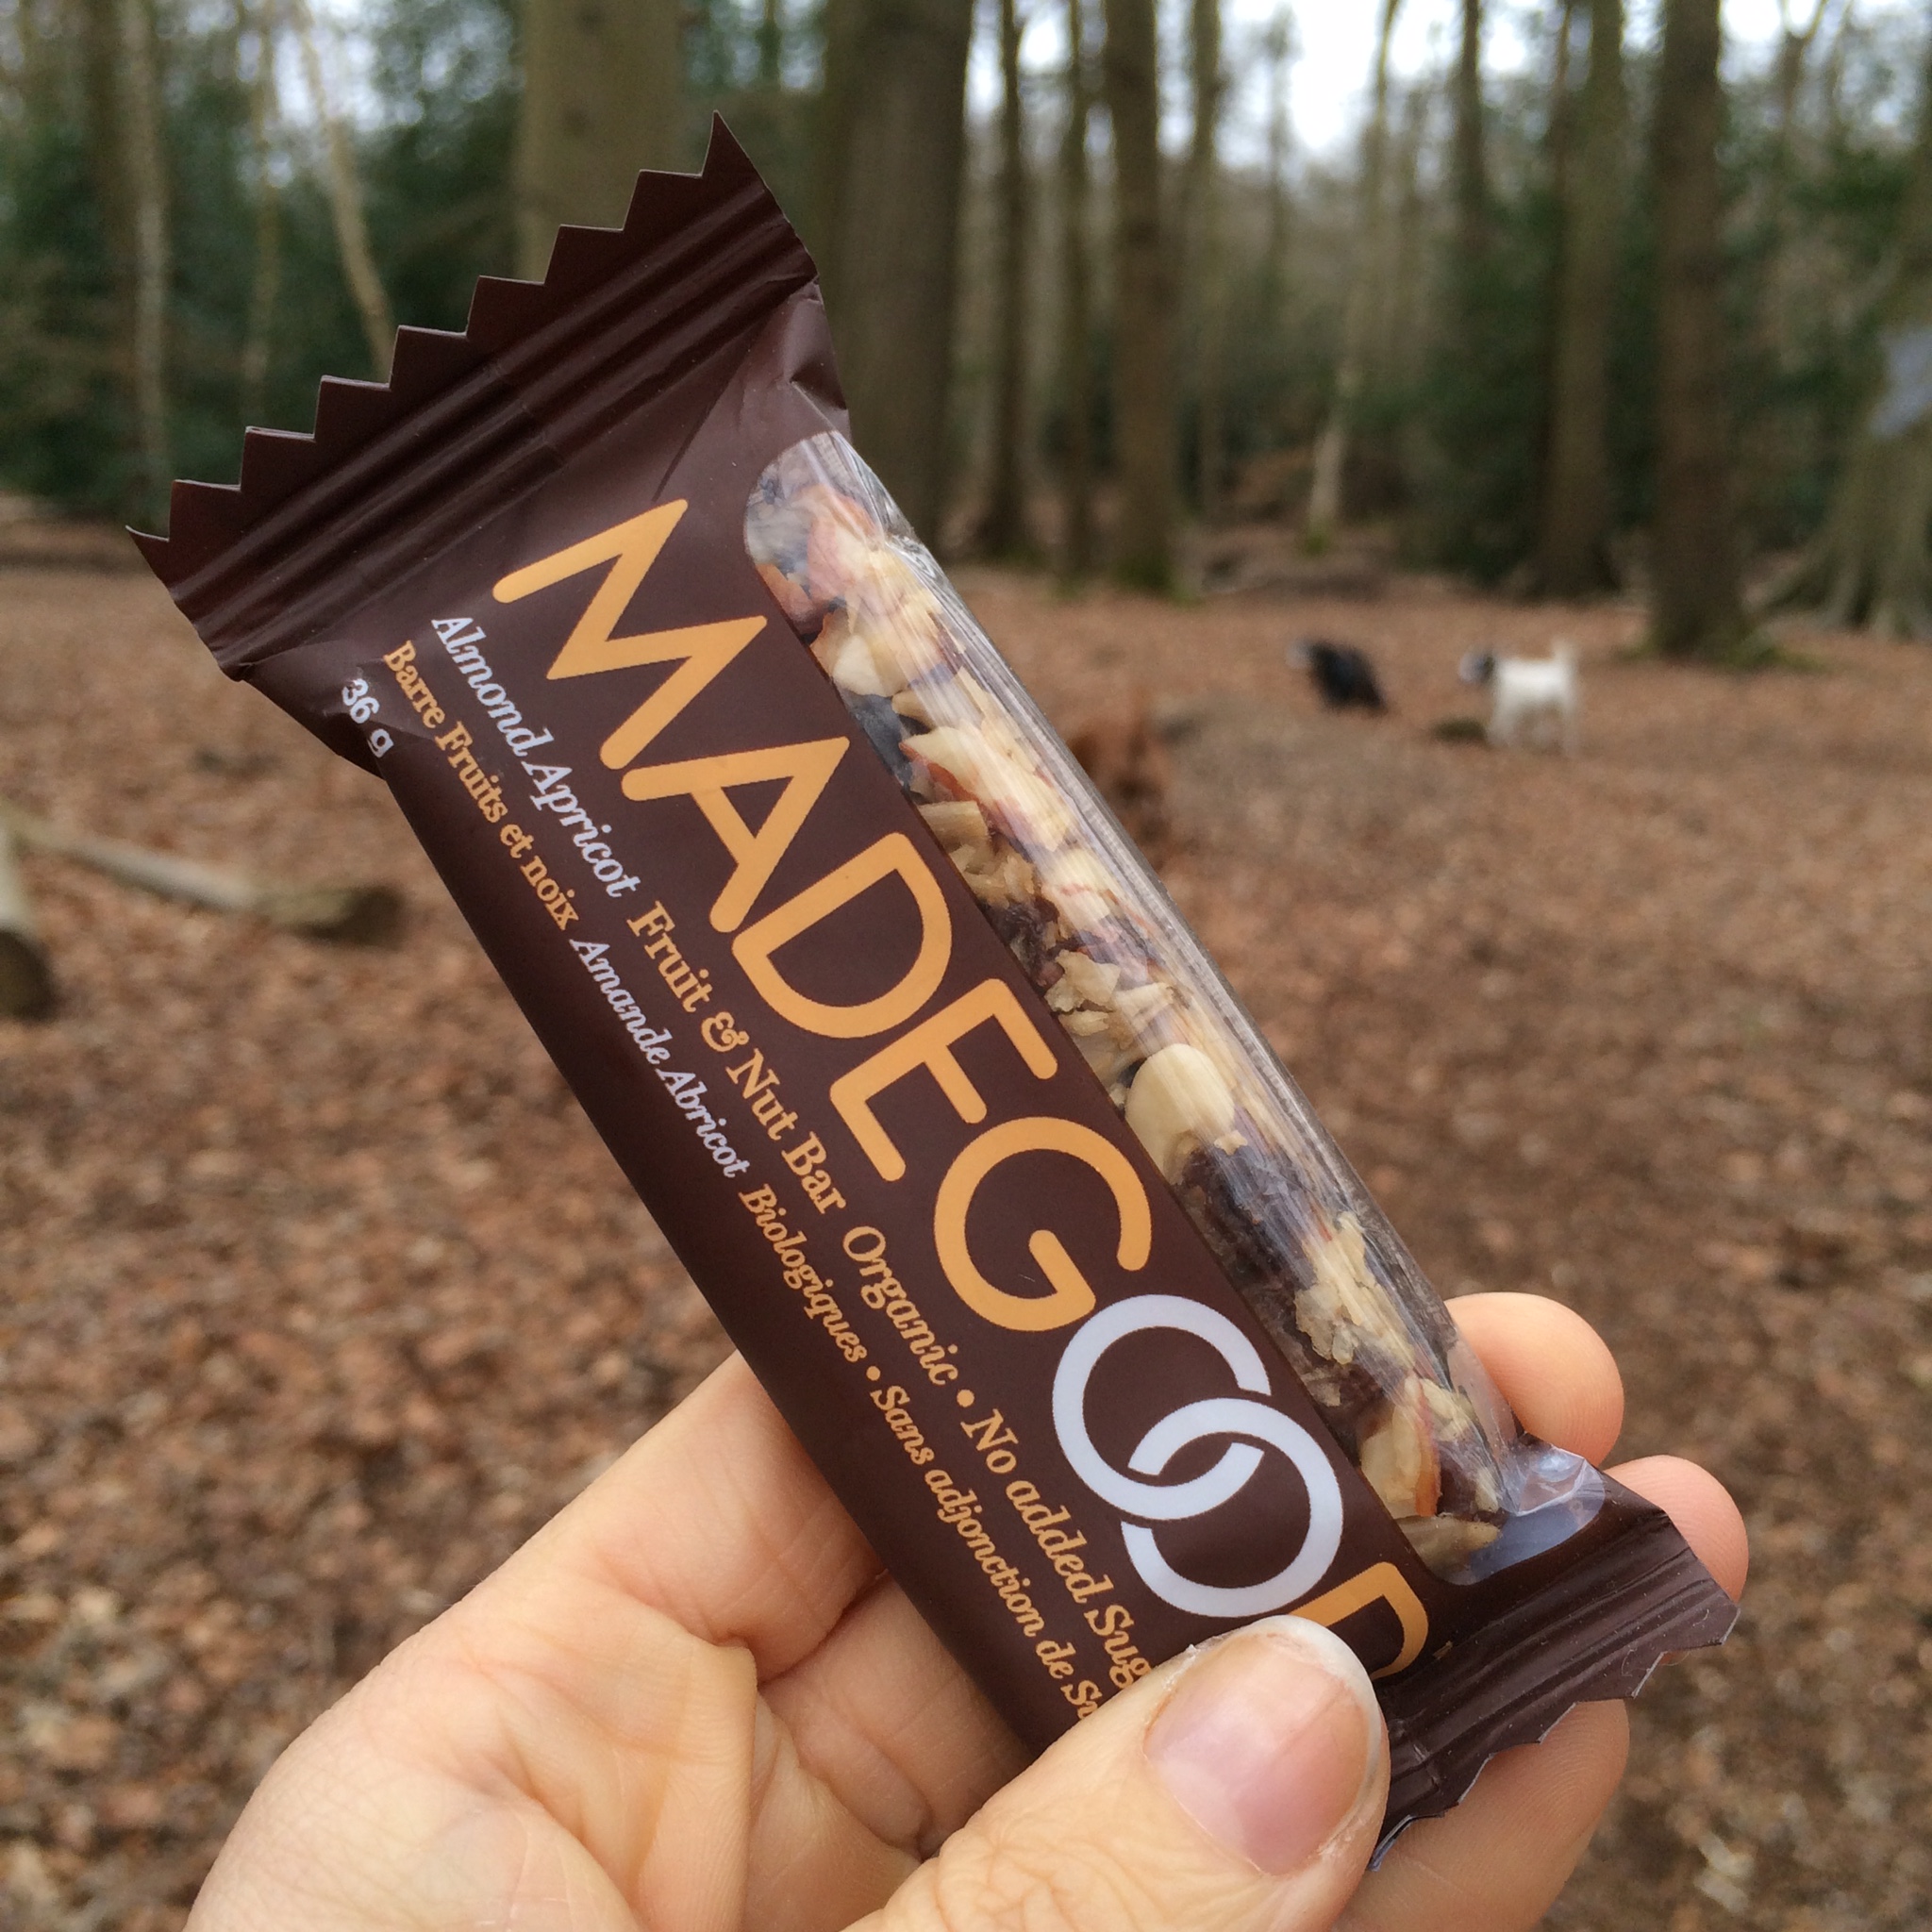
MadeGood – almond apricot – now to be honest I was expecting an overly sweet, bog standard cereal-type bar here… but no – not at all. This is all nuts and fruit (naturally as it’s Paleo) and was really tasty. Sweet but not overly so and full of good stuff – tasted great!

IMG_1454

Wyldsson Italian Promix – This was probably the most unusual thing in there for me – I’m not used to savoury snacks like this. It was good – I downed half of it – it’s not too tomato-ey or salty but it is tasty. I sprinkled the rest over my salad :). Really nice and I wouldn’t have tried if it hadn’t been in the box as it’s not the sort of thing I’d go for in a store.

IMG_1463   IMG_1464

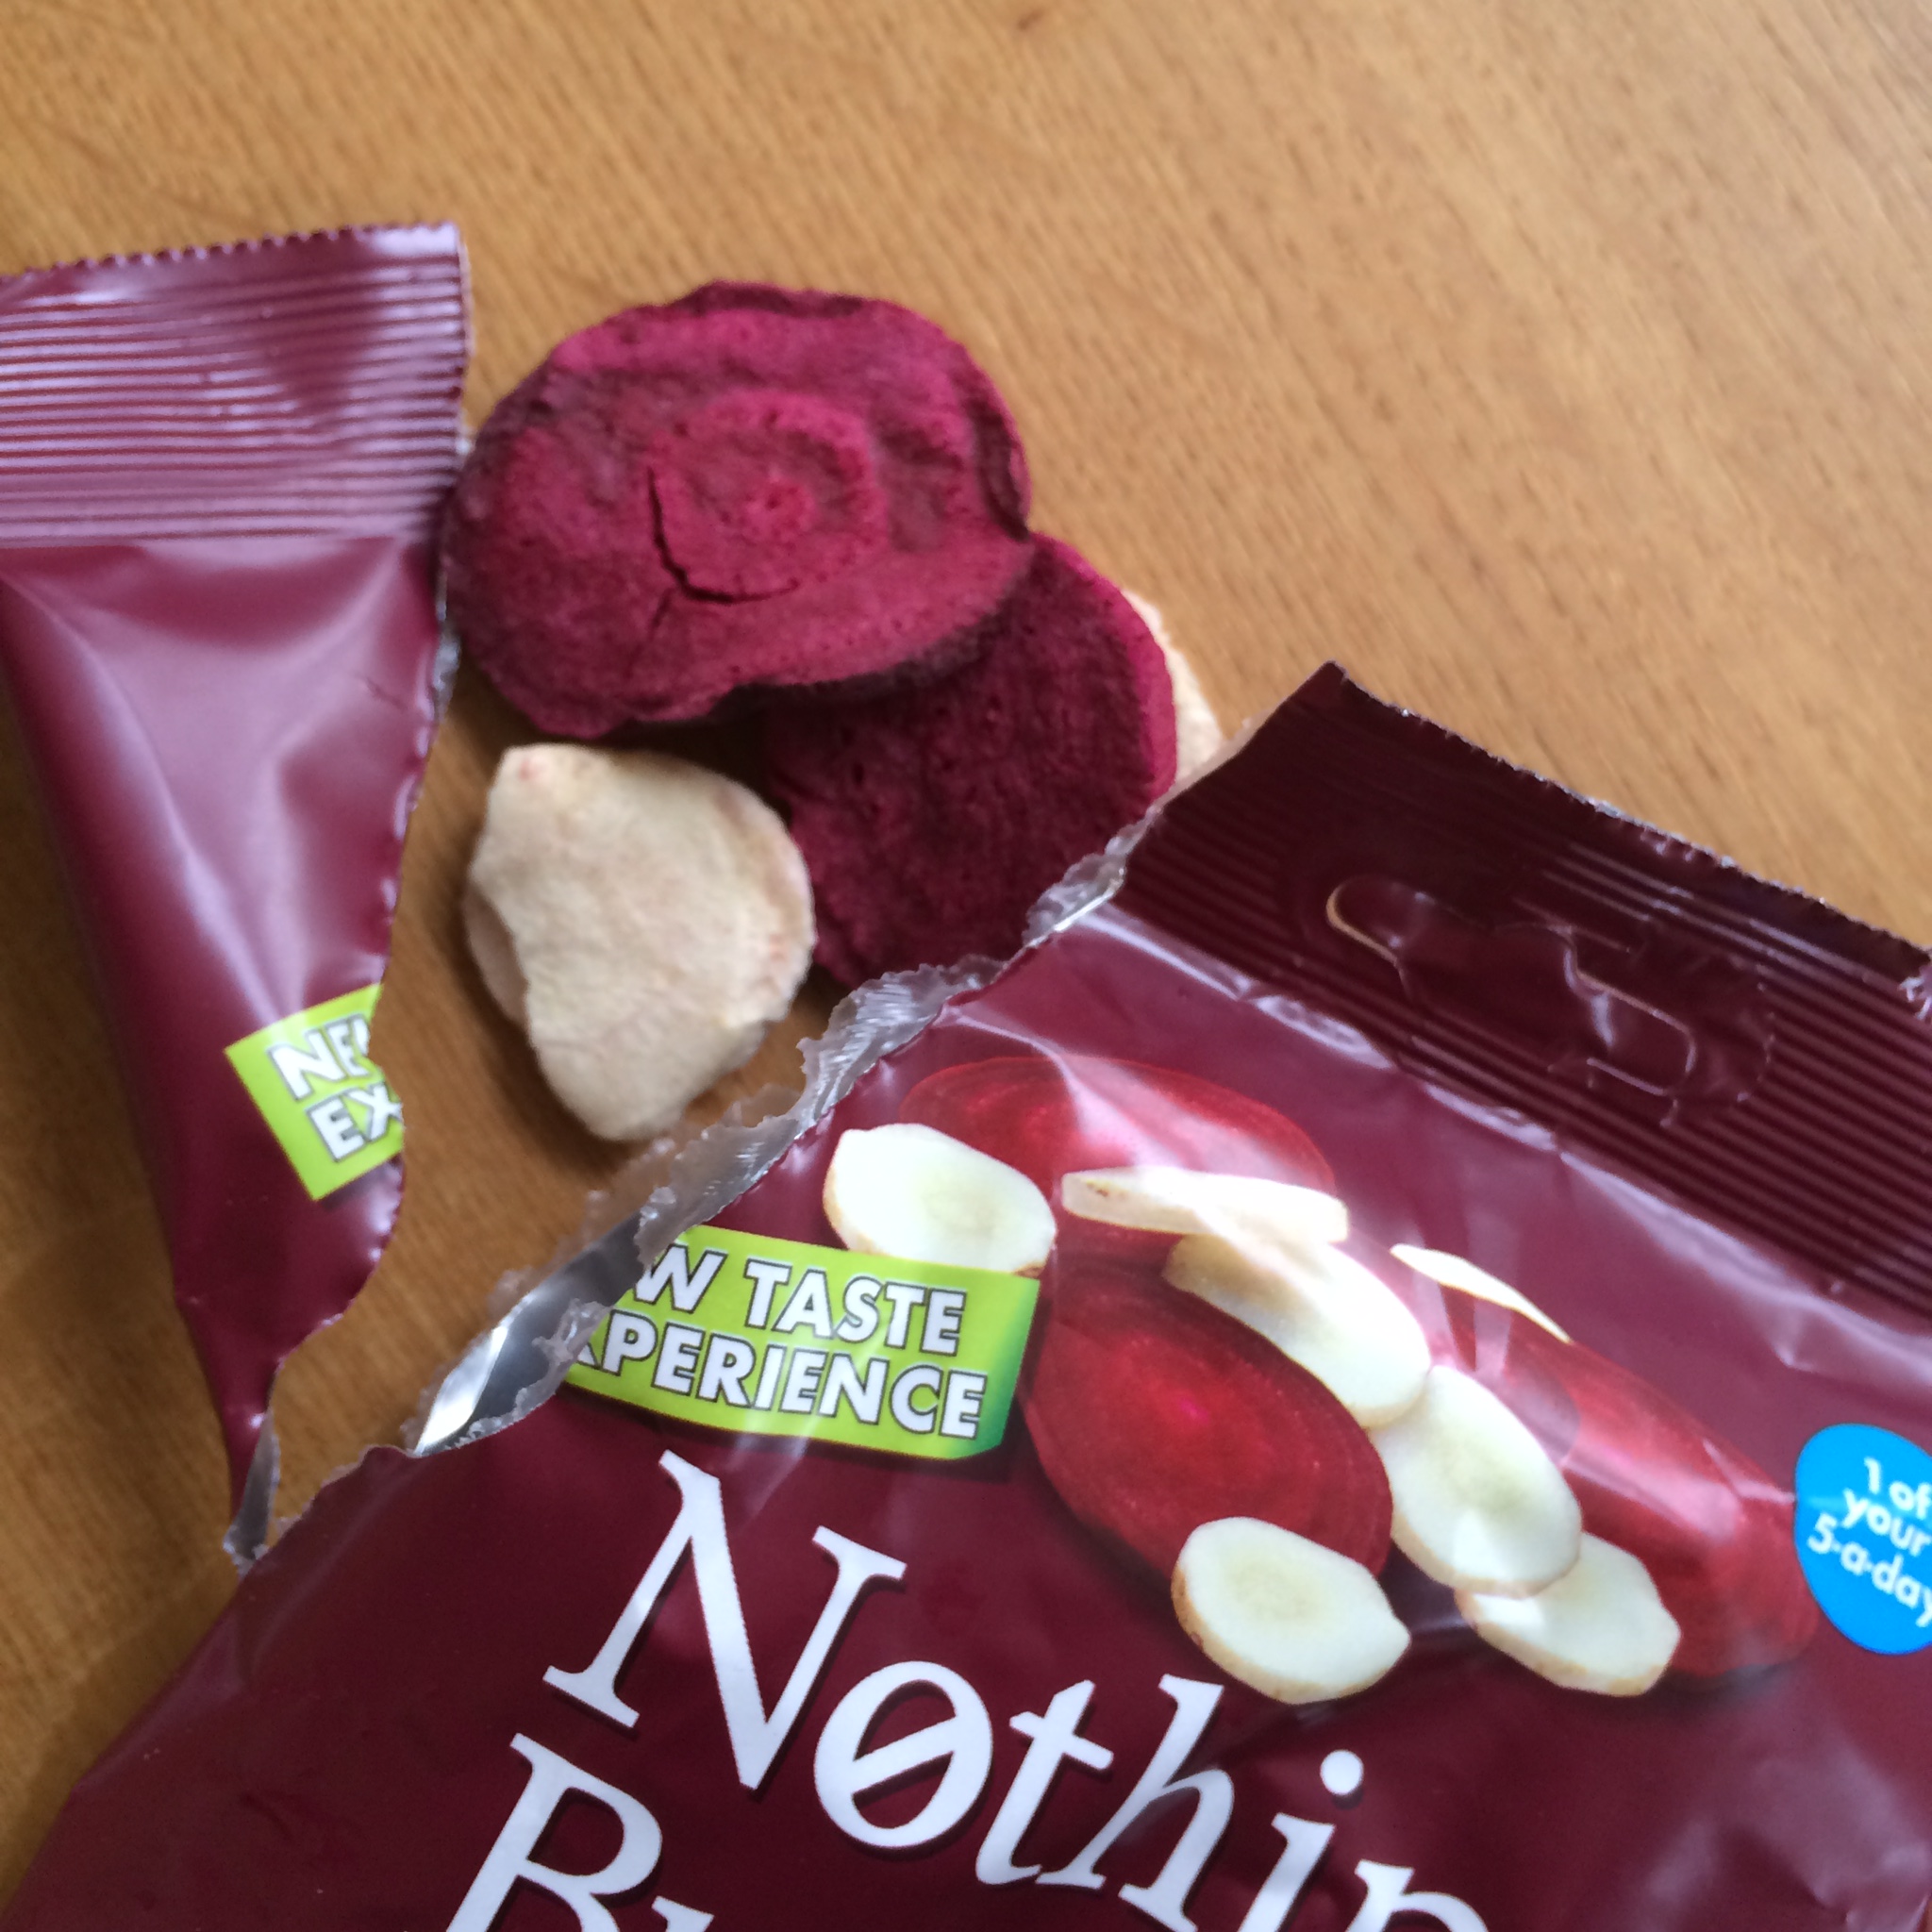
Nothing But – Beetroot and Parsnip – these are exactly that – nothing but.. dehydrated beetroot and parsnip crisps. They’re really yummy – no added salt or flavour and make a perfect vessel to dip in to hummus! As a savoury snack on their own I think I’d want a bit of salt however, but that’s easily done. No nasties in them at all and the beetroot ones weren’t overpowering in flavour.

IMG_1457

Two bags of mixes from Primal themselves – the mulberry mix (almonds, mulberries and pumpkin seeds) and the good fats mix (cashew, macadmia and coconut) – perfect snack sized bags of 40g and both delicious. A great way to control your portion size too. Lovely combinations of flavours.

IMG_1460

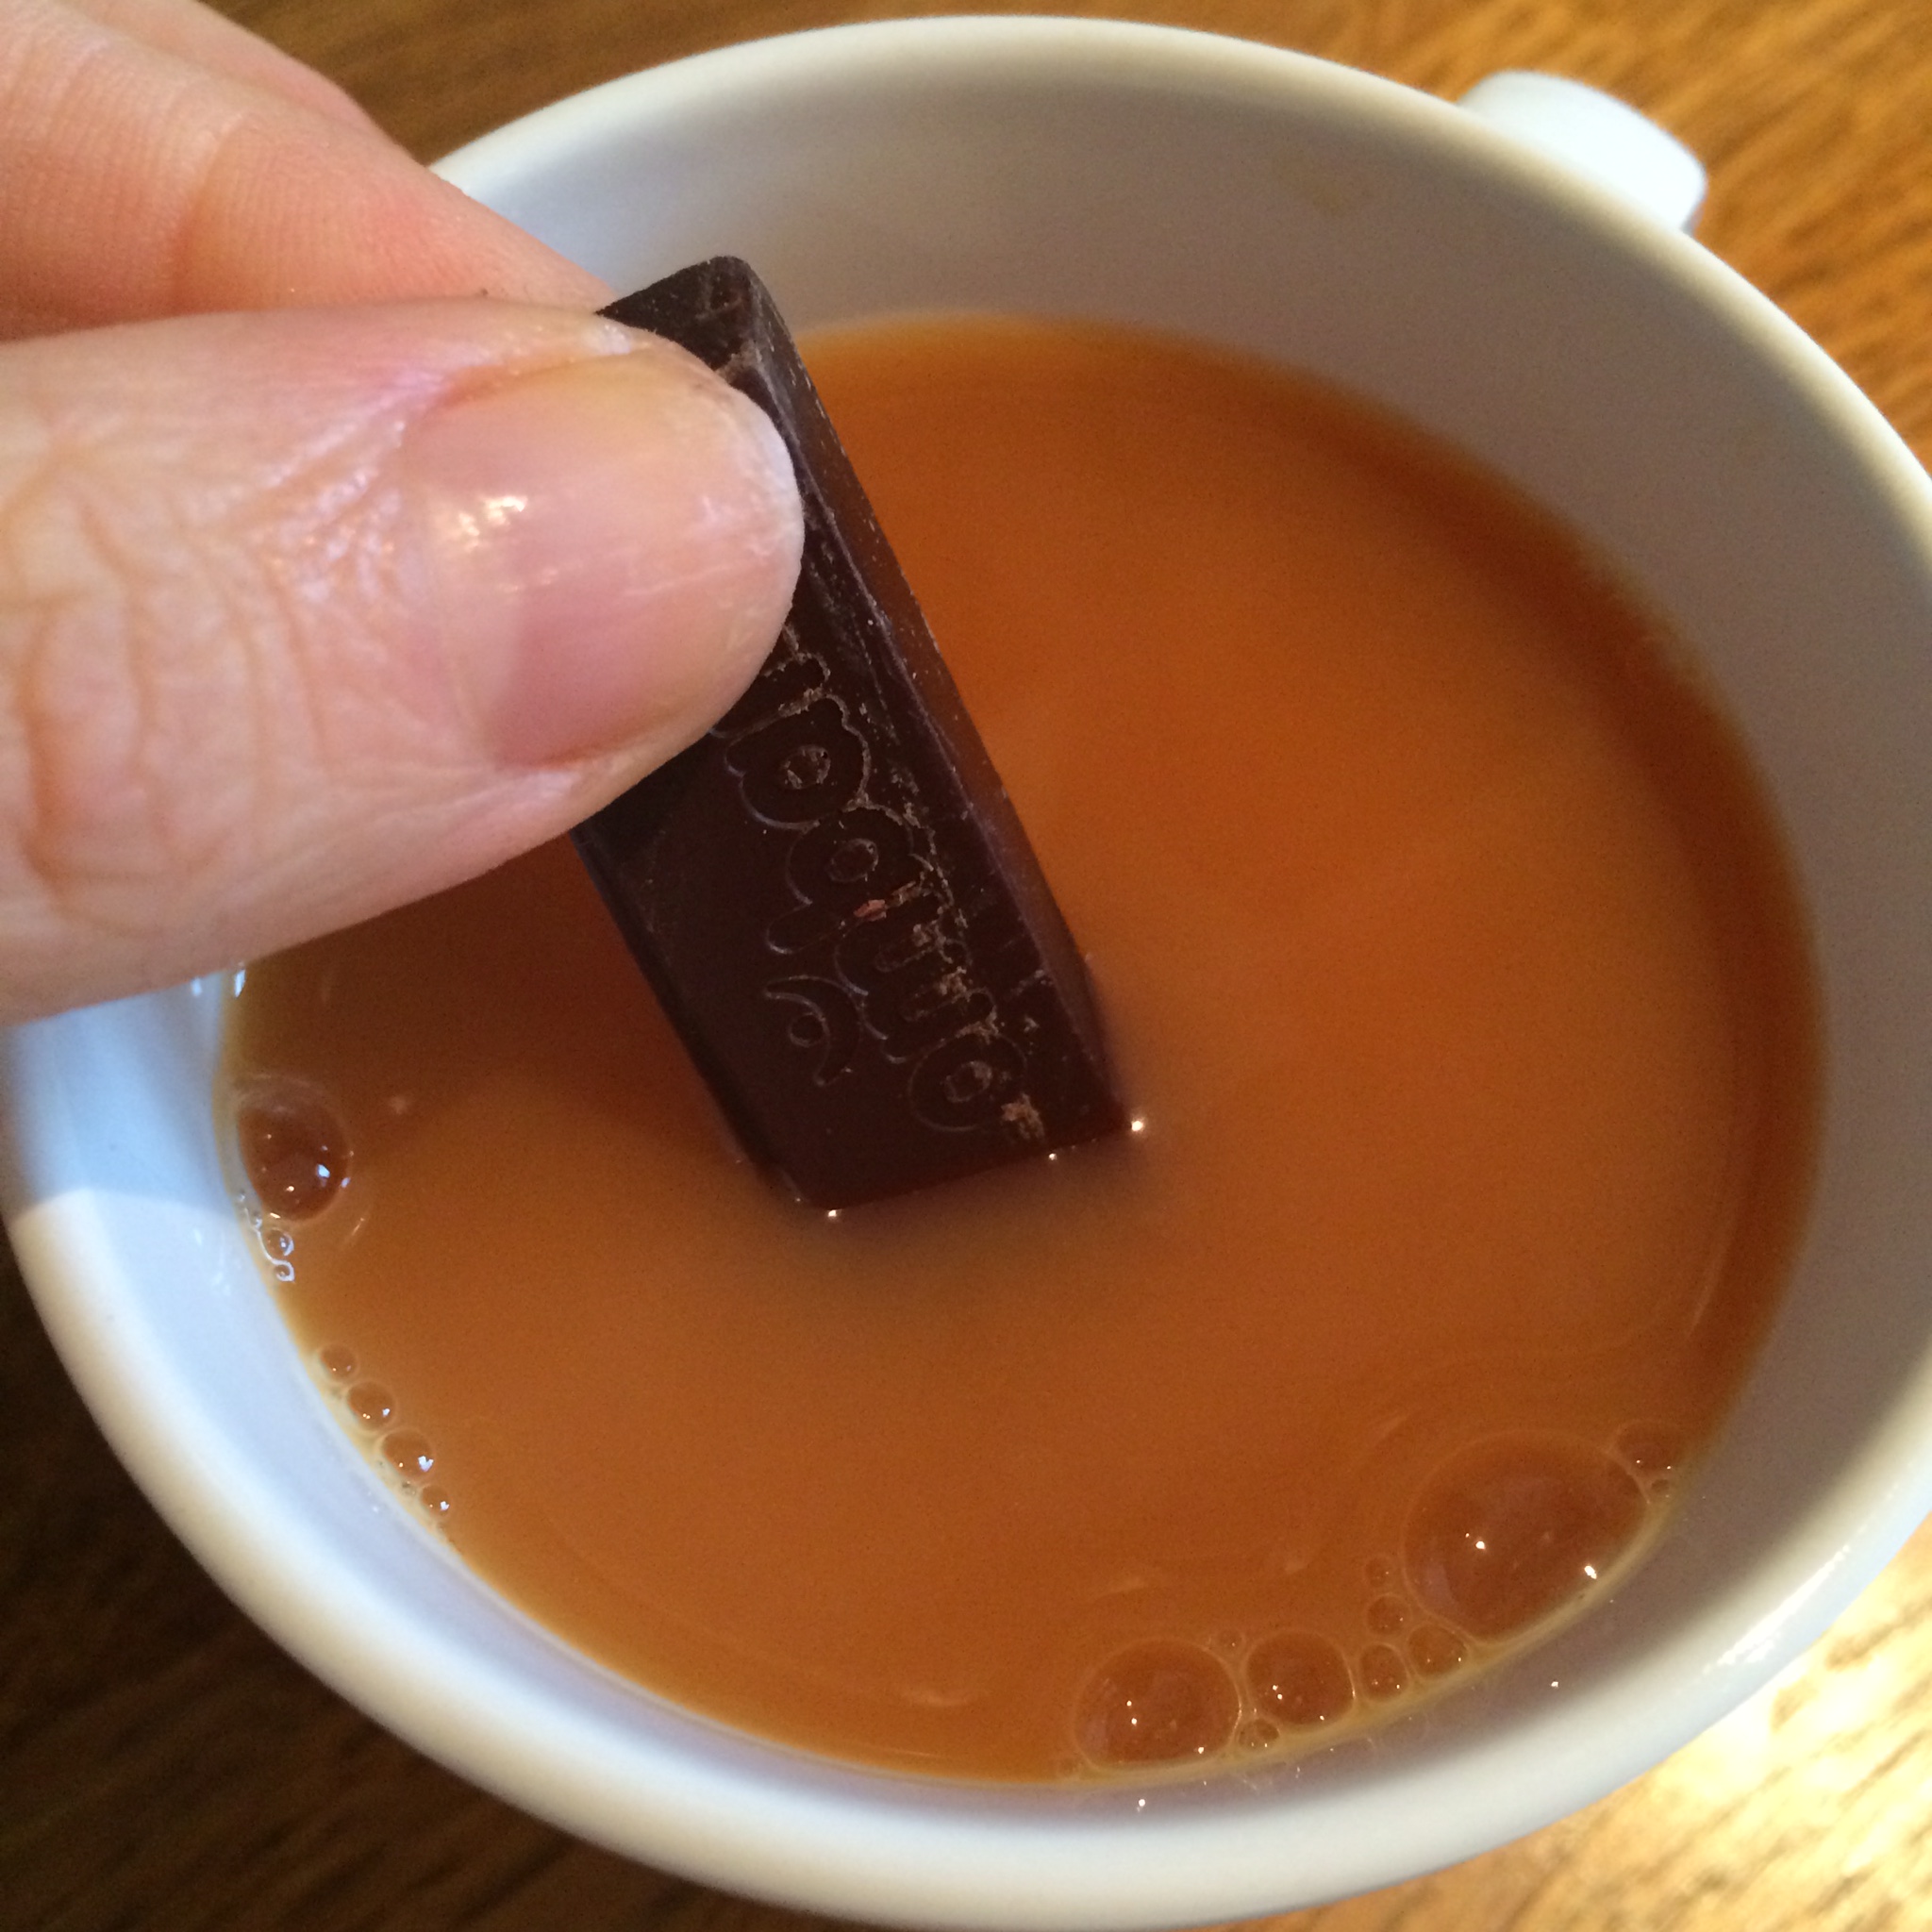
Finally – Ombar – cranberry and mandarin. Now anyone who follows this blog knows I have a penchant for orange chocolate so this was bound to be a winner. This raw choc is lovely – and even nicer dunked (quickly!) in a cup of tea! Creamy smooth chocolate, but not too melty to the touch and a lovely hint of flavour – definitely the thumbs up from me!

IMG_1465 IMG_1466

So all in all a pretty amazing box of goodies! What I really love is the way you get a great range and selection of snacks for your money – and things you may not otherwise have tried. There’s a good balance of sweet and savoury, slightly naughtier and also healthier treats and all packaged so beautifully. A box would make a fantastic gift for someone, or a great way to introduce someone to healthier snacking. I’m going to order myself another box right now!

Thanks again Primal Snack Box for keeping me going on those dog walks and vastly improving my snacking over the past few weeks!

Now don’t forget – you can get 10% off your first box by using the special discount code PUREANDSIMPLEBAKES – just click through and place your order!

You can order your own here: http://primalsnackbox.co.uk/

And find them on facebook, twitter and instagram!


Homemade Toffee Poppets! Raw, dairy-free Chocolate Caramel Balls!


When I was little my grandma (Nannie 🙂 ) would come to pick me up on a Friday night from school and as a treat she’d take me across the road from our house to the newsagents to buy some sweets. I could have whatever I wanted… More often than not I went for a packet of Poppets – either mint, or the toffee ones (also known as Toffets). For those of you who haven’t had the pleasure – they were a little cardboard box full of nuggets of chocolate covered mint fondant or chewy caramel. I always associate them with those friday night treats and my Nannie and so they hold a special place in my heart 🙂

Poppets - Mint CreamsPoppets-toffeePAY-CHW-PPT

I’ve been having a bit of a caramel craving lately so I thought I’d better try to recreate those yummy little balls of goodness. (I’ll have a go at mint ones too at some point 🙂 ). As well as plain ones I also thought I’d try adding some coconut and nuts to the outside – you could coat yours in anything you like!

IMG_2749

You will need:

For the centres:

10 – 12 Medjool dates

3 tbsp Almond butter or Cashew butter if you don’t want the almond taste

(water as required)

For the chocolate:

1/2 cup Coconut oil (melted)

1/3 cup Cacao/cocoa powder

1/4 cup Coconut syrup

Desiccated coconut/chopped roasted nuts to decorate if desired

IMG_2752IMG_2751IMG_2750

Pop the dates and almond/cashew butter in a processor and pulse until blended and smooth. Add water if you want a softer texture. Take small spoonfuls and roll into balls with your hand – this is easier if you can chill it in the fridge for a while first. Pop the balls in the freezer for as long as you can wait!

To make the chocolate combine the coconut oil, cacao powder and coconut syrup and whisk with a fork.

Take the balls out the freezer and pop in to the chocolate to coat. Use a fork to move them around until coated and then pop on some greaseproof paper to set. Once set a little bit turn so the bottoms don’t stick.

IMG_2738 If you want to coat them in coconut or nuts then as soon as you’ve coated in them in chocolate roll in the coconut/nuts and then place on the greaseproof paper.

IMG_2736    IMG_2739

Then place in the freezer until ready to eat! All I need to do now is recreate the little cardboard box!

FullSizeRender

Raw Almond Caramel Chocolate Fingers


I’ve been dying to make something nutty and caramel-ly for ages and just haven’t got round to it  – finally the other weeked I got all my ingredients out and had a play and I’m very very pleased with the results! These are delish! They need to be kept in the freezer and are best eaten cold otherwise they get a bit squishy… although… that’s not such a bad thing!!

IMG_1411

You will need:

For the base:

1 cup Macadamia nuts

2 – 3 Tbsp Coconut syrup (or any liquid sweetener – agave, rice malt syrup etc)

1/2 tsp Vanilla powder or 1 tsp vanilla extract

1/4 tsp Almond extract

For the caramel:

12 – 14 Medjool dates

3 tbsp Almond butter

1/8 tsp Almond extract

pinch of salt

A little Water as needed (it depends how dry your dates are)

For the chocolate:

1/2 cup Coconut oil (melted) or Cacao butter (melted)

1/3 cup Raw cacao powder

1/4 cup Coconut syrup or maple syrup (or any liquid sweetener)

1/4 tsp Vanilla powder or 1/2 tsp Vanilla extract

First you need to make the base. Pop all the ingredients into a food processor and pulse until well blended and it forms a sticky dough. Line a small tray with baking paper and then press the base mixture in to the tray firmly.

IMG_1388    IMG_1390

Pop this in the freezer and then start on the caramel layer. I find it easier if you chop the dates up a bit first, so chop them and pop in to the processor together with the other ingredients, but not the water. Pulse until blended in to a paste. If it’s a little too dry then add some water (carefully so you don’t add to much). Once you have the consistency you want (sticky but spreadable) then take the base out the freezer and spread the caramel on top. You may have some caramel left over – this is no bad thing, I rolled it into balls which I coated in chocolate for some extra little caramel bites! 🙂

IMG_1391

Place this back in the freezer for as long as you can – an hour or more if possible.

Once you’re nearing the end of your the hour you can make up the chocolate (if you want to make it sooner you can, and you can just gently warm it to re-melt it). It’s best to use a large bowl for this so your caramel fingers will fit in (it makes it easier to coat them). Add the cacao, coconut syrup and vanilla to the melted coconut oil or cacao butter and mix well using a fork or a small hand whisk. Remove the caramel from the freezer and slice into fingers (or any shape you want).

IMG_1394

Then comes the fun bit! First of call place a wire rack over some baking parchment (or a board – or anything you don’t mind getting messy!). Make sure your chocolate is melted and combined well, then begin the dipping! Dunk the caramel fingers in the chocolate and ensure they’re coated. Then transfer to the wire rack and allow to set. They will stick to the rack, so before they’re set just move them slightly. If you’re anything like me you will probably end up with a bit of a mess on the bottom side, don’t worry, just wait til the top is set (it won’t take long) and turn them over and drizzle chocolate over them to tidy them up.

If you find the chocolate starts to thicken while you’re still coating them then just pop it in the microwave for a few seconds to re-melt (or even just place in a warm area – like on a radiator for a few moments – it melts so easily). Once they are all coated and lightly set (because the fingers are frozen it sets pretty quickly but will still be fragile) pop back in the freezer (I just popped them in a tupperware pot).

IMG_1395

Store in the freezer until you want to eat them.. then eat! They’re delicious as a quick pick me up.. and if you’re feeling really naughty they’re even better dipped in a tofu chocolate chili mousse (oh yes I did..!).

IMG_1400IMG_1408IMG_1414


Treating myself – Divaliciously Raw, a review


Every now and then it’s important to look after yourself, so when I stumbled across this site –Divaliciously Raw and all Gail’s amazing goodies I decided I should most definitely take the opportunity to treat myself to some deliciousness! I couldn’t decide what to try so went for the Valentine’s box, which gave me a taste of all her main products. Although that box won’t always be available as a package, all the contents are. They are all raw, gluten, wheat and egg free and vegan!

It arrived so beautifully packed – it really was like receiving a valentine’s gift! There was even a card!

IMG_1271IMG_1272

And then just look at how stunning these cakes look! I couldn’t believe it! Wow – just wow!

IMG_1275So in my box of goodies I got:

Raspberry Rapture Love Bomb

Magical Mint Love Bomb

Oriental Orange (Orange and Ginger) Love Bomb

Two Goji Bites

Ultimate bar

Zinger Bar

Unconditional Love Cake

Now where to start…Firstly they were all beautiful so it was really hard to know what to try first! I ended up going for the love bombs.

The love bombs were just perfect – lovely chocolatey coating, moist cake inside and then a surprise creamy filling. The flavours are really good in these and they really feel like a decadent dessert. They have a great nuttiness to them and a texture that really works. The creamy filling is definitely the best bit and it was hard not to eat them all at once! I’m not sure which my favourite flavour was to be honest – they were all so good!

IMG_1339 IMG_1345 IMG_1336

IMG_1340IMG_1348IMG_1338

Goji bites – these were a lot larger than I expected – which was great! They’re a little harder in texture than the bombs and kinda crumble in to your mouth – which i really liked. Lovely flavours – nutty and with enough goji to really taste it and balance the chocolate.

IMG_1335

Ultimate bar and the zinger bar – these were both delish. The ultimate bar has mulberries, goji berries and buckwheaties in which give it a fantastic crunch and sweetness – this was great dipped in a cup of tea! The Zinger was just bursting with flavour from the Incan (golden) berries which were a great balance to the dark raw chocolate.

IMG_1366

Last and by NO means least – the unconditional love cake! Sharing is caring so I did share this – not only with my very good friend Colette, but also with my husband. And we all agreed this was out of this world. Raw chocolate, filled with raw chocolate cake, chocolate ganache, caramel and a malted cashew cream. Oh my word! This was just amazing! Definitely my favourite!

IMG_1358IMG_1363

So there you go! That was one big, delicious treat for me! I highly recommend you check out Gail’s page on facebook and place an order. The cakes aren’t cheap but the amount of love, care and sheer dedication that’s gone in to them mean they are most definitely worth every penny and they’re not small either so you’re getting a lot of cake for your buck! Do let me know if you try any!


Green Goodness Protein Smoothie


Starting today with this delicious, fully loaded, green glass of wonderfulness!

IMG_1227

If you’re worried about the kale and spinach – don’t be – you can’t really taste them. They just give the smoothie a lovely freshness and of course are packed full of fab nutrients.

I made up a batch of smoothie to last a couple of days so this will serve 2 – 4.

You will need:

3 bananas

2 cups of Almond/Soya milk

4 Tbsp Vanilla protein powder (I use About time vegan protein powder)

generous handful of Spinach

generous handful of Kale

handful raw Cashews

1 Tbsp Cashew butter (just to add a little extra creaminess but you could just add more cashews)

1 cup Ice

Optional – a drizzle of coconut syrup if you need it

Blend in a high speed blender and serve!

IMG_1228

A wonderful bowl of love! Chia pudding :)


I thought I’d treat myself with this gorgeous bowl of love!

IMG_1031
Mixed berry chia pudding swirled with chocolate coconut pudding, topped with cacao nibs, desiccated coconut and berries.

IMG_1038

For the berry pudding you will need:

2 tbsp Chia seeds
1 cup mixed Berries
1/2 cup Almond or soya milk
Liquid sweetener to taste (I used coconut syrup)

For the chocolate coconut pudding you will need:

2 tbsp Chia seeds
1 tbsp Cocoa powder
1/2 cup Coconut milk
1 tbsp desiccated Coconut
1 tsp Lucuma (or vanilla powder if you don’t have this, or 1/2 tsp vanilla extract)
Sweetener to taste ( I used a drizzle of coconut syrup)

For the topping:
Cacao nibs
Desiccated coconut
Berries

For both puddings mix the dry ingredients together well then add the wet ingredients. Mix really well and then allow to sit in the fridge for at least an hour before checking. Adjust the amount of liquid to suit – add more if it’s too thick or if too think you can add some more chia seeds. Let it sit for at least another hour.

Spoon the berry pudding into a bowl, add a couple of spoonfuls of chocolate pudding and then swirl through the berry pudding. Sprinkle with cacao nibs and desiccated coconut and add berries. Serve! 🙂

IMG_1042

Chia Threesome! Chocolate, Vanilla Caramel Cinnamon and Berry Pud


I thought I would have a little fun with some chia puds yesterday and what better, given it’s nearly Valentine’s day, than a decadent looking and tasting, yet totally healthy threesome pud!

I can almost feel the love! 😉

IMG_1245

This is super easy to make. Of course you don’t have to make three flavours – you can make two, or one! whatever you like! If you don’t have lacuma you can leave this out of the chocolate pud, and for the caramel one you can use maca instead (though go easy and keep tasting to get the taste you want, or use vanilla instead).

IMG_1236

For the Chocolate chia pud you will need:

5 tbsp Chia seeds

1 1/2 cups of Almond or coconut milk (or soya milk if you prefer)

1 tsp liquid sweetener (to taste) – you can use coconut syrup, maple syrup, agave, rice malt syrup – your choice

1 tbsp Raw cacao powder

1 heaped tsp Lacuma


For the Vanilla caramel cinnamon pud you will need:

5 tbsp Chia seeds

1 1/2 cups Coconut or almond milk (or soya milk if you prefer)

1 heaped tsp Lacuma

1 tbsp Mequite powder

1 tsp Cinnamon (to taste)

2 tsp liquid sweetener (to taste)


For the Berry chia pud you will need:

4 tbsp Chia seeds

1 1/2 cups of berries – I used blackberries, blueberries and strawberries

1 cup Almond or Coconut milk (or soya)

1 heaped tsp of Vanilla powder (if you don’t have this then use 1/2 tsp vanilla extract)

Liquid sweetener – to taste (I didn’t bother using any as I like my berries tart 🙂 )

For each of the puds pop the chia seeds into a bowl (one bowl for each flavour), mix the dry ingredients in and then add the milk and liquid sweetener and mix really well with a fork. For the berry pud I pureed the fruits in a blender – blitzing them for a few seconds, then poured that straight over the seeds.

Make sure you mix really well and then cover and leave in the fridge to set for a few hours (at least). Check after an hour and give another stir. If you prefer a thicker texture add a little more chia at this point. If you want it a bit more liquid add a little milk.

Processed with Moldiv

Once set remove from the fridge and layer in to your bowl or jar. Sprinkle some desiccated coconut on top and a couple of berries to decorate and enjoy!

IMG_1243

IMG_1247

Pancakes! Super quick dairy and gluten free pancake recipe


I’d been having cravings for pancakes for weeks so the other weekend I whipped up a quick batch of these lovely gluten-free, dairy free fluffy pancakes!

IMG_1213

I used rice flour because it’s what I had in the cupboard but you could use buckwheat, coconut flour, spelt flour (if you’re not fussed about gluten) etc – just adjust the amount of milk if needed (with coconut flour you will need more).

You can serve these with anything you like – I went for berries, coconut syrup and banana ‘nice’ cream (frozen bananas blitzed in my vitamix). They’re also lovely with banana, chia jam and lemon curd – yum yum!

IMG_1218

You will need:

1 1/4 cup rice flour
1 tbsp Coconut sugar
1 1/2 tsp Baking powder
1/2 tsp Cinnamon (optional)
1 1/4 cup Soya/almond/coconut milk
1 1/2 tbsp Almond oil (or another light oil)
1/4 tsp Vanilla extract

Mix the dry ingredients together in one bowl.
Mix the wet ingredients in another and then add to the wet mixture. Stir well.
Heat a frying pan with a little oil – drop a good dollop of batter in, allow to cook, turning so both sides are done.

IMG_1222

Coconut Collaborative dairy-free yoghurts review

Image


I’ve waited until after the Christmas/ new year palava was all over with to post this – but I’ve been bursting to share it with you all!

The very lovely people over at the Coconut Collaborative were kind enough to send me some pots of their recently launched range of dairy-free coconut yogurts for me to try. This is truly a yoghurt for everyone – it’s free from dairy, soya and gluten so perfect for anyone with food allergies or following a dairy-free/vegan lifestyle.

They’re available in a few varieties- natural, raspberry (natural with a layer of raspberry compote), mango and passion fruit (natural with a layer of tropical fruit compote) and natural with berries and seeds (which comes with a little bag of seeds and berries for sprinkling).

They’re free from nasty additives and are made with only live coconut milk, dairy-free cultures and some starch to thicken them. The fruit compotes are natural too with no artificial sweetners etc. Best of all they are full of coconut fat – but it’s fat I hear you cry?! Yep but coconut fat is one of the best fats you can eat – it’s full of medium-chain fatty acids which means it’s a great fat to eat as it’s broken down and used for fuel, rather than being stored as body fat. Yay! 🙂

I was sent the raspberry and mango and passion fruit yoghurts to try. Both were simply delicious. The raspberry one is lovely – a little sweetness from the raspberry and a lovely light yoghurty tartness from the coconut yoghurt.

Raspberry.JPG

The mango and passion fruit one is also really good and I had this with some tropical granola which was a divine combo! Once again  – it wasn’t too sweet but had a lovely tangy taste. These are a fab option for dairy-free yoghurts, and unlike other coconut yoghurts they’re not too rich which means they’re good any time of day – for brekkie, a snack, or even dessert.

Mango.JPG

I’ve tried the natural one myself too and that’s also delicious and would also make a great alternative to sour cream on savoury dishes e.g. my pumpkin chili (posted over at The Pure Form Fitness Kitchen). On top of all of that they are also beautifully packaged!

Packet.JPG

You really must try these – I promise you won’t be disappointed.

The yoghurts are available from Waitrose, Ocado, some Tescos, Itsu stores, Daylesford Organics, Harvey Nichols and some local healthfood shops. They also make the most delicious ice cream too – so if you see that then grab yourself a pot as it’s amazing!

Check out their facebook and twitter accounts for more info 🙂

Nancy’s Mince Pies! gluten and dairy free!


It’s mince pie time again! whoop! It’s so hard to find plant-based, dairy and gluten free mince pies that don’t taste like cardboard so I decided to make my own and boy are they good! I could eat these by the dozen… and in fact I do!

This recipe has been posted here before but has recently been featured over at Pure Form Fitness Kitchen so I thought I’d repost for you 🙂

and here’s a little video of me making them too :

For the Pastry:

4 oz Buckwheat flour
2 oz ground Almonds
5 tbsp Agave nectar
Up to 6 tbsp Water

For the Mincemeat:

3 oz Bramley apples, cored and finely chopped
6 oz Mixed dried fruit (I prefer raisins, currants, cranberries and apricots)
1 oz Vegetable suet
2 oz Raw sugar (coconut palm or dark raw muscovado)
Juice and grated zest of half an Orange
1 level tsp of ground allspice
1 pinch ground Cinnamon
1 pinch ground Cloves
1 pinch grated / ground Nutmeg
1 small handful chopped Almonds
1 tbsp Date syrup

Make the pastry first. Put the buckwheat flour and ground almonds in a processor and add the agave. Pulse and gradually add the water until it forms a dough. You may find you need more or less water. If it is too wet add a little more flour. Once it is forming a firm dough remove, wrap in cling-film and place the mixture in the fridge. You can do this by hand if you prefer – just ensure you mix the flour and almonds thoroughly.

Put all the ingredients for the mincemeat into a saucepan. Cook on a low heat, stirring frequently. Cook until the apple is soft and the mixture is thick – it may take some time. Remove from the heat and allow to cool.

Preheat the oven to 180 C/ gas mark 6.

Lightly oil a mini muffin tin with almond, coconut or hazelnut oil. Remove pastry from the fridge and roll out on a lightly floured surface. Roll it as thin as you can – a few mm. Use a round biscuit cutter to cut out the bases. Place them in the tin. Place in an oven to blind bake for 5–10 mins. Keep an eye on them – this pastry browns quite fast. Once the edges are brown and the middle is firm remove them. While the cases are in the oven take a smaller star shaped (or any shaped) biscuit cutter to cut out the “lids”.

Roll and cut out the pastry cases and lids

Roll and cut out the pastry cases and lids


Place a generous helping of mincemeat in each of the cases and place your chosen “lid” on top. Lightly oil and sprinkle with a little cinnamon and raw sugar.

Fill the cases and add the lids

Fill the cases and add the lids

Place the pies back in the oven and bake until golden (5 – 7 mins but check regularly). Keep a careful eye on them. You want the tops to brown but be careful the bases don’t burn. Remove from the oven and leave to cool for 5 mins, then remove and place on a wire cooling rack.

Enjoy!

Enjoy!